STEPS
TOOLS
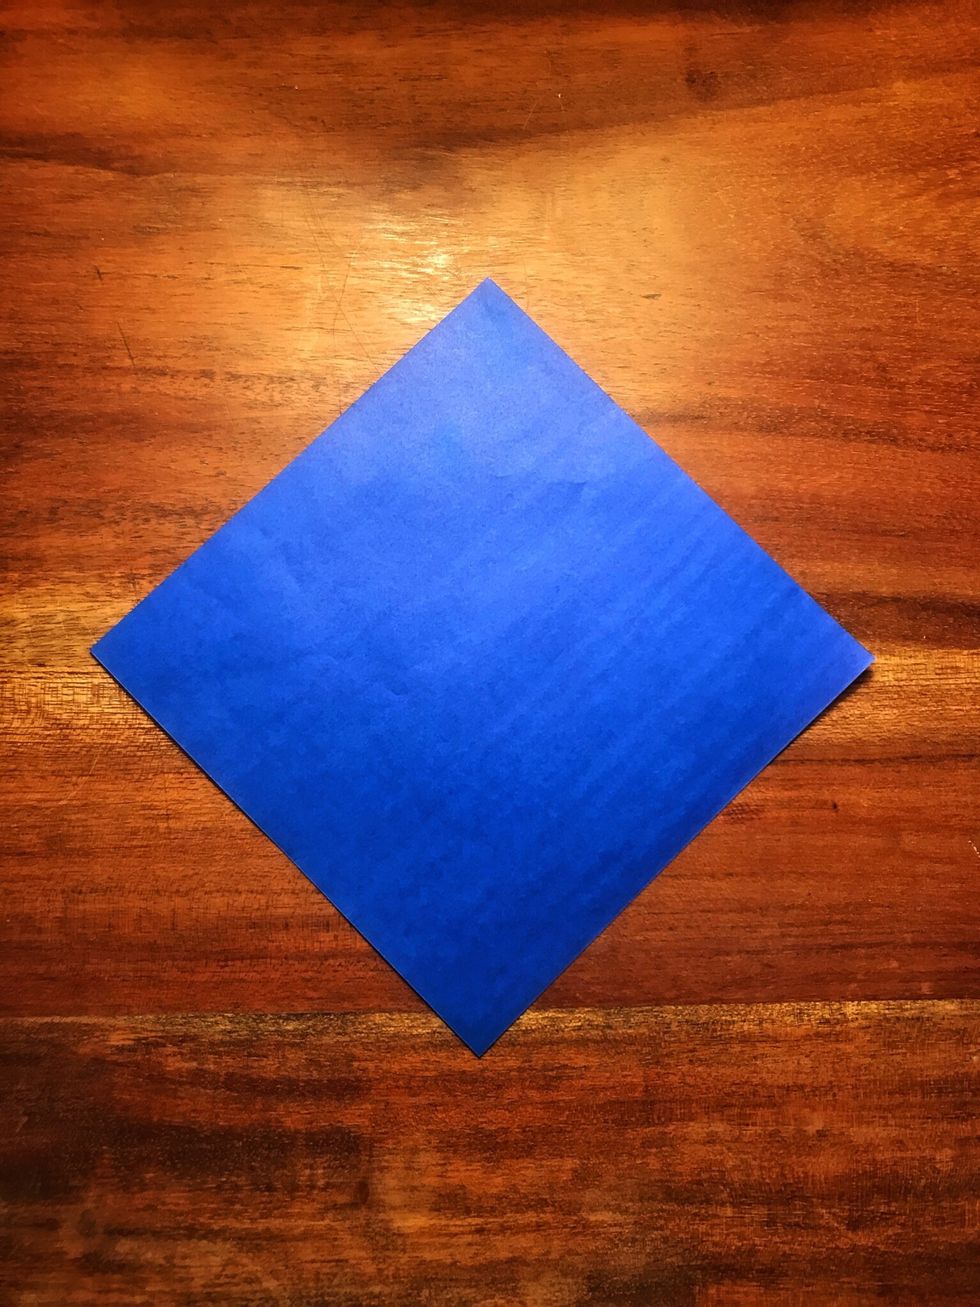
Start with a square piece of paper. Turn the sheet so it looks like a diamond with the white facing you. Then fold the paper in half with the corners together.
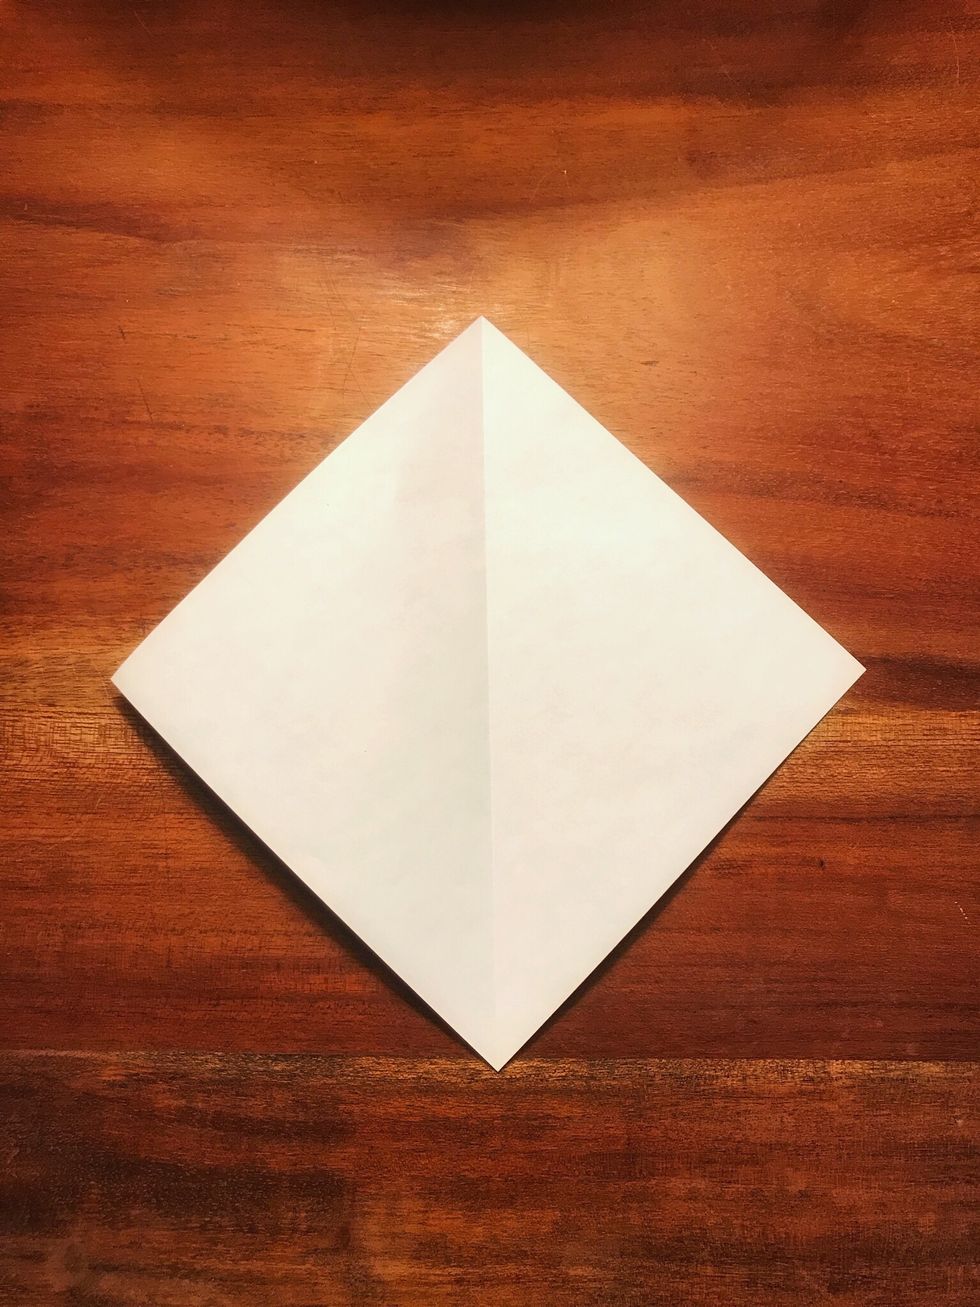
Create a fold on each side of the paper so that the creases meet at the bottom corner of your paper. The sides of the diamond should touch each other on the vertical fold-this is called a valley fold.
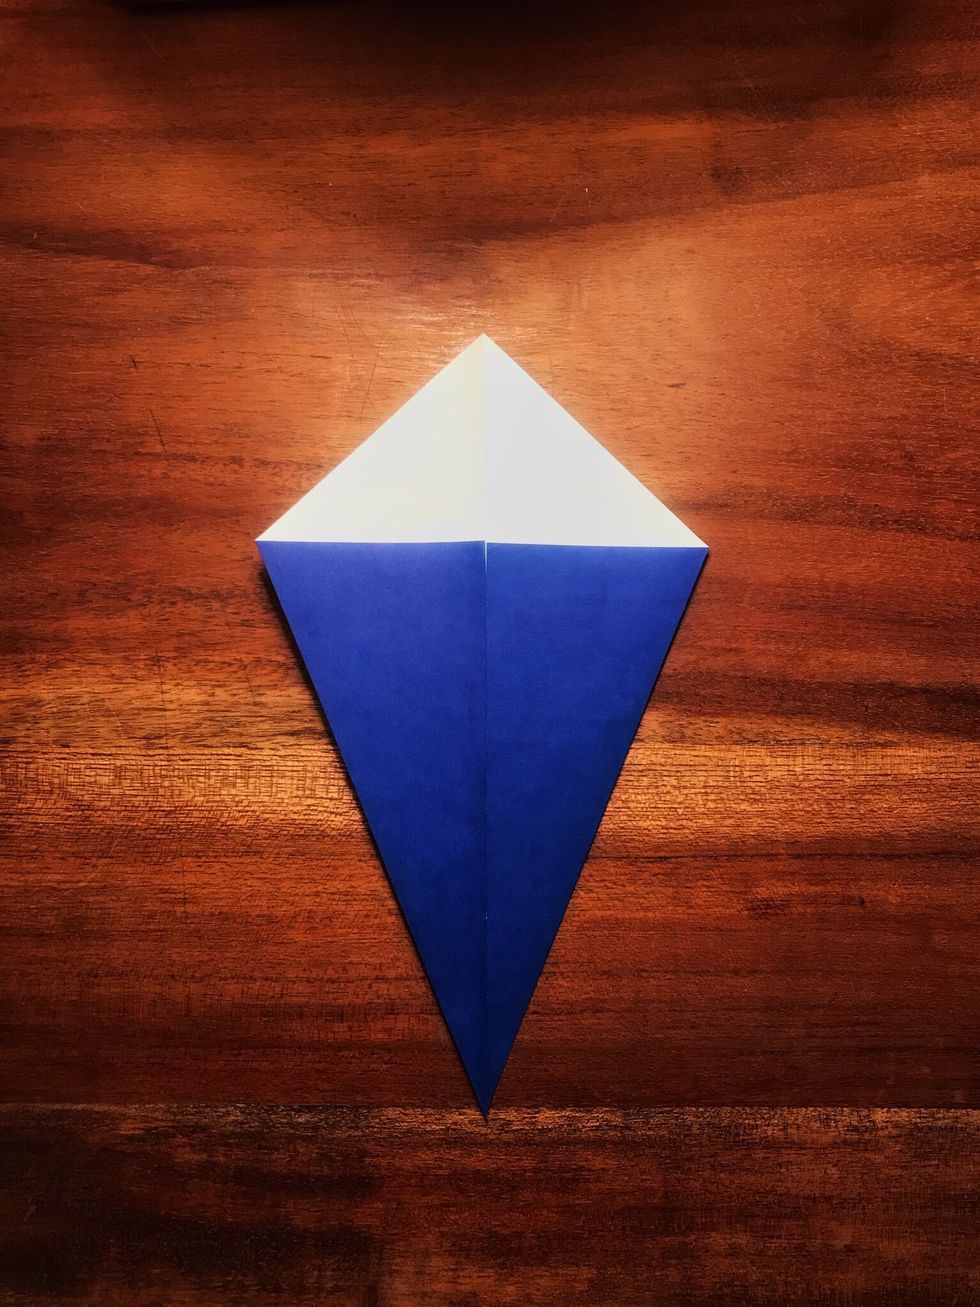
Repeat what you just did to the paper but make the crease meet at the top instead of the bottom.
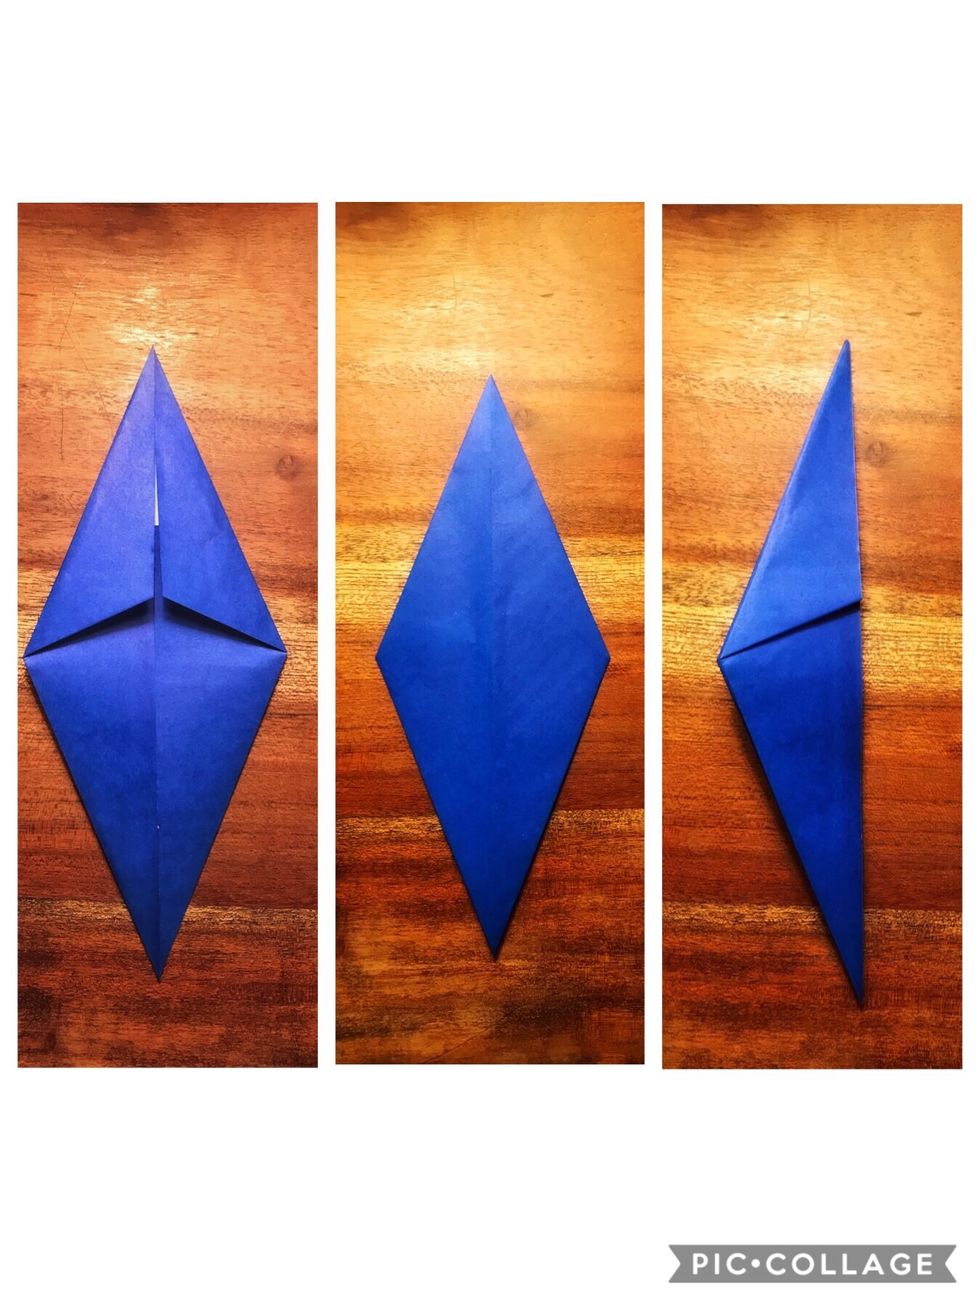
Turn the model where the creases are facing away from you and then fold in half.

On the side of the model that has the fold from step 4, make an inside reverse fold as is shown here.
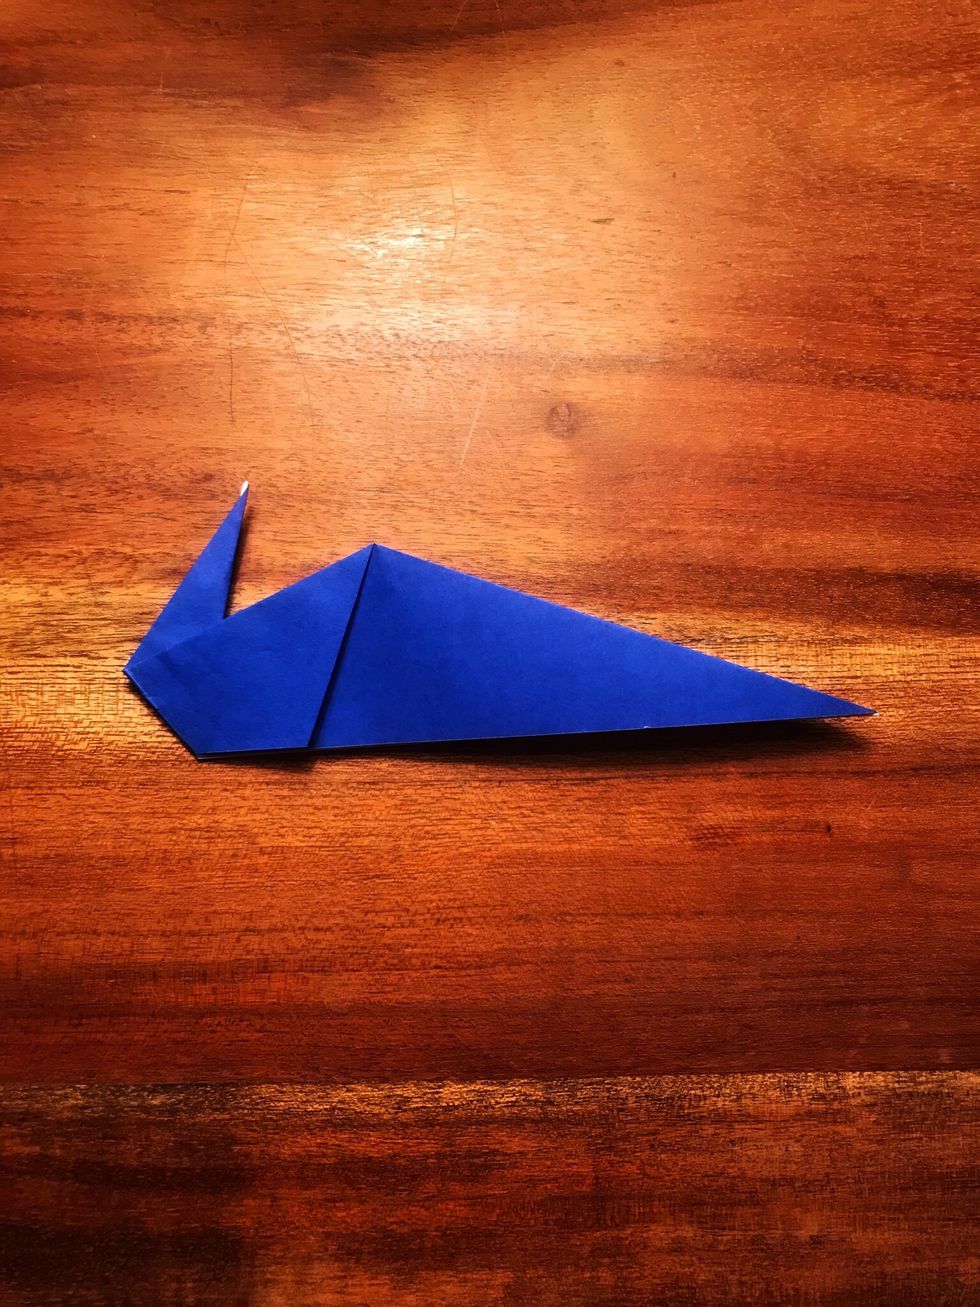
Now to create the neck of the duck, create the same inside reverse fold on the other side of the model.
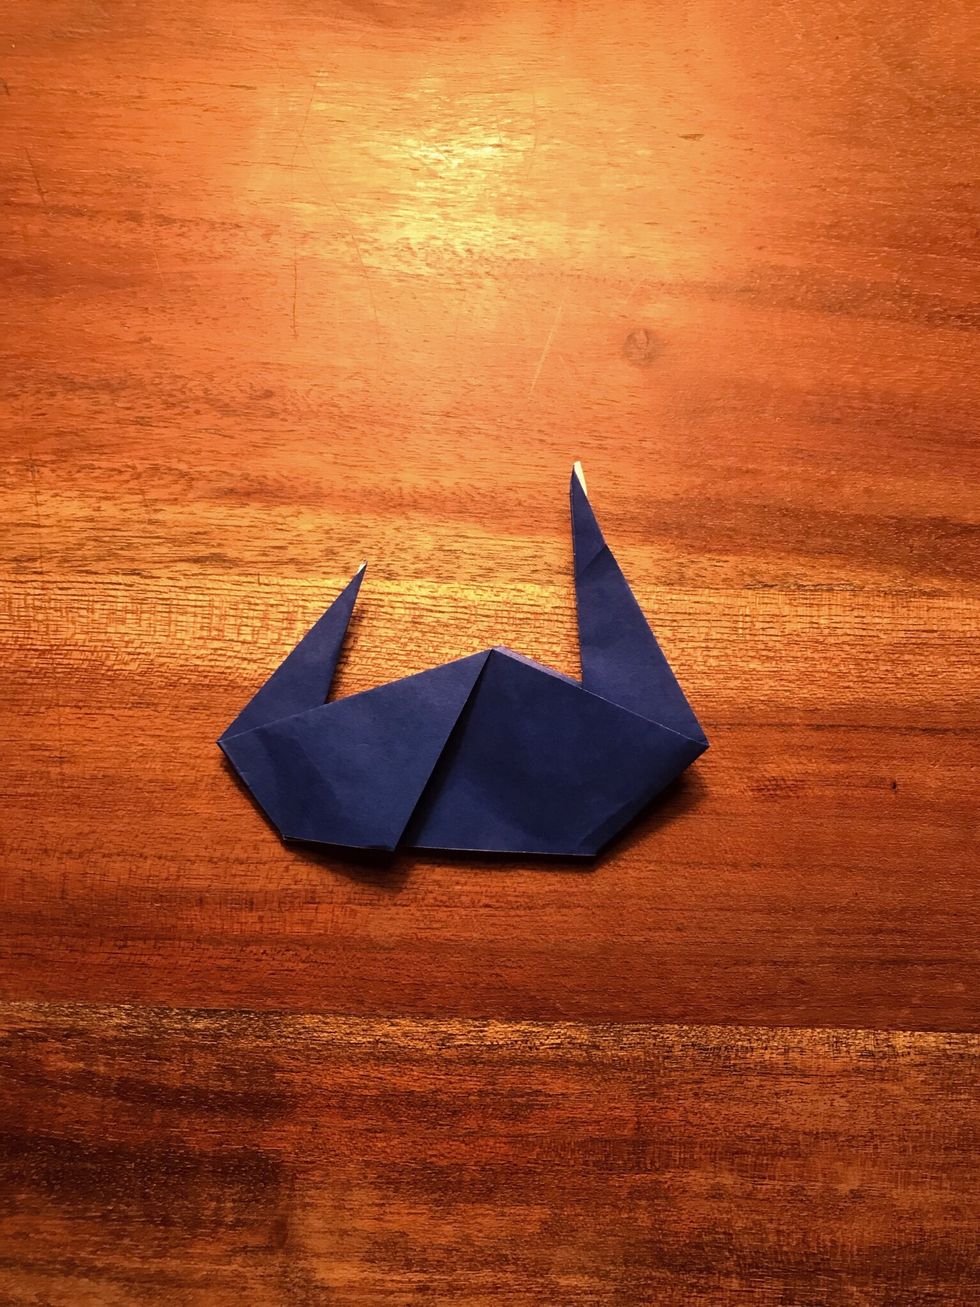
To make the head and beak, make another inside reverse fold at the end of the neck.
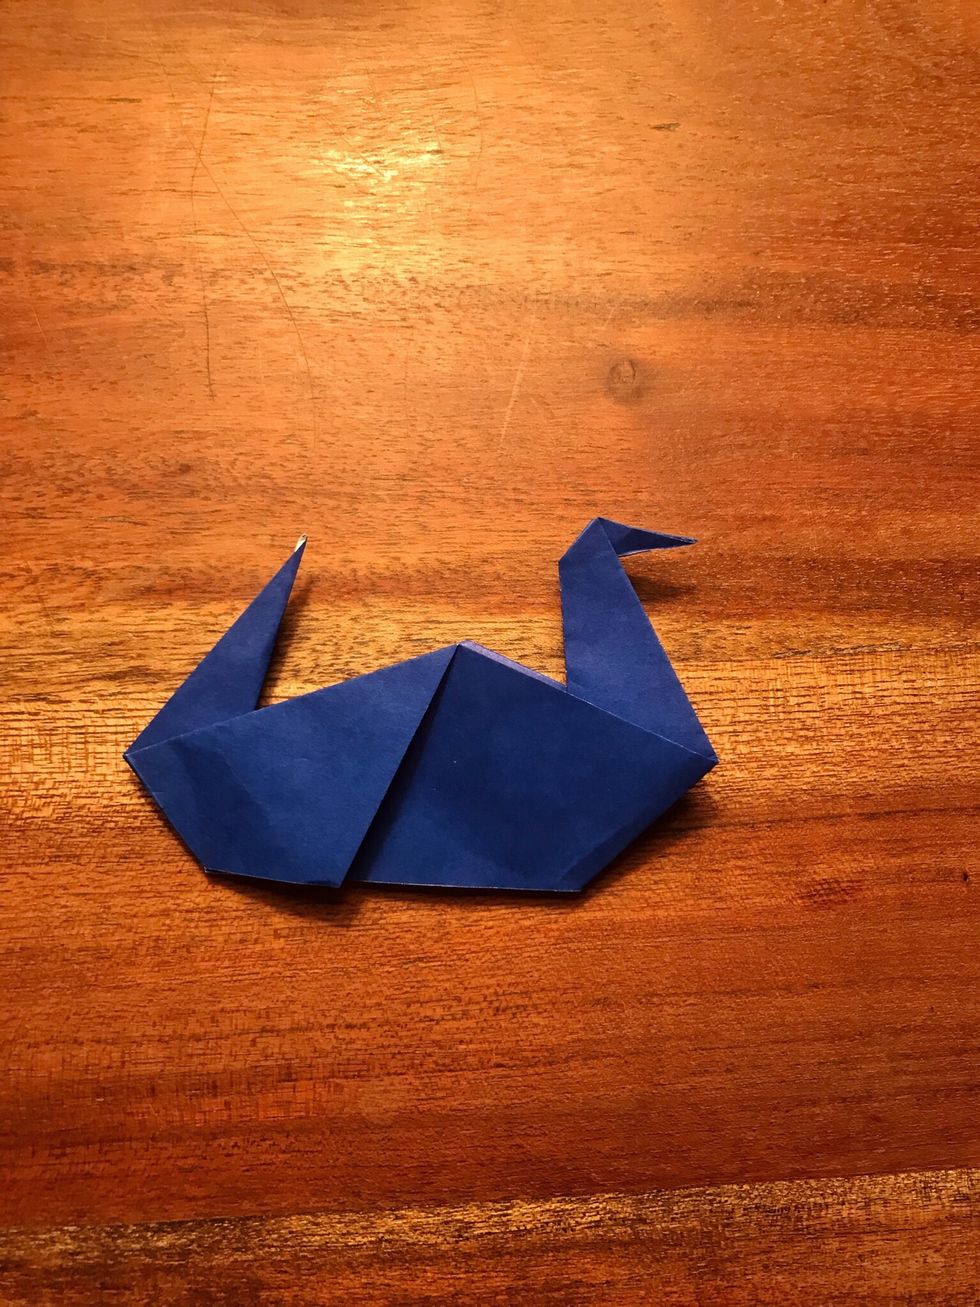
Now put two of your fingers in the two flaps near the tail of your duck and gently open the flaps. Doing this should let your duck stand on its own.
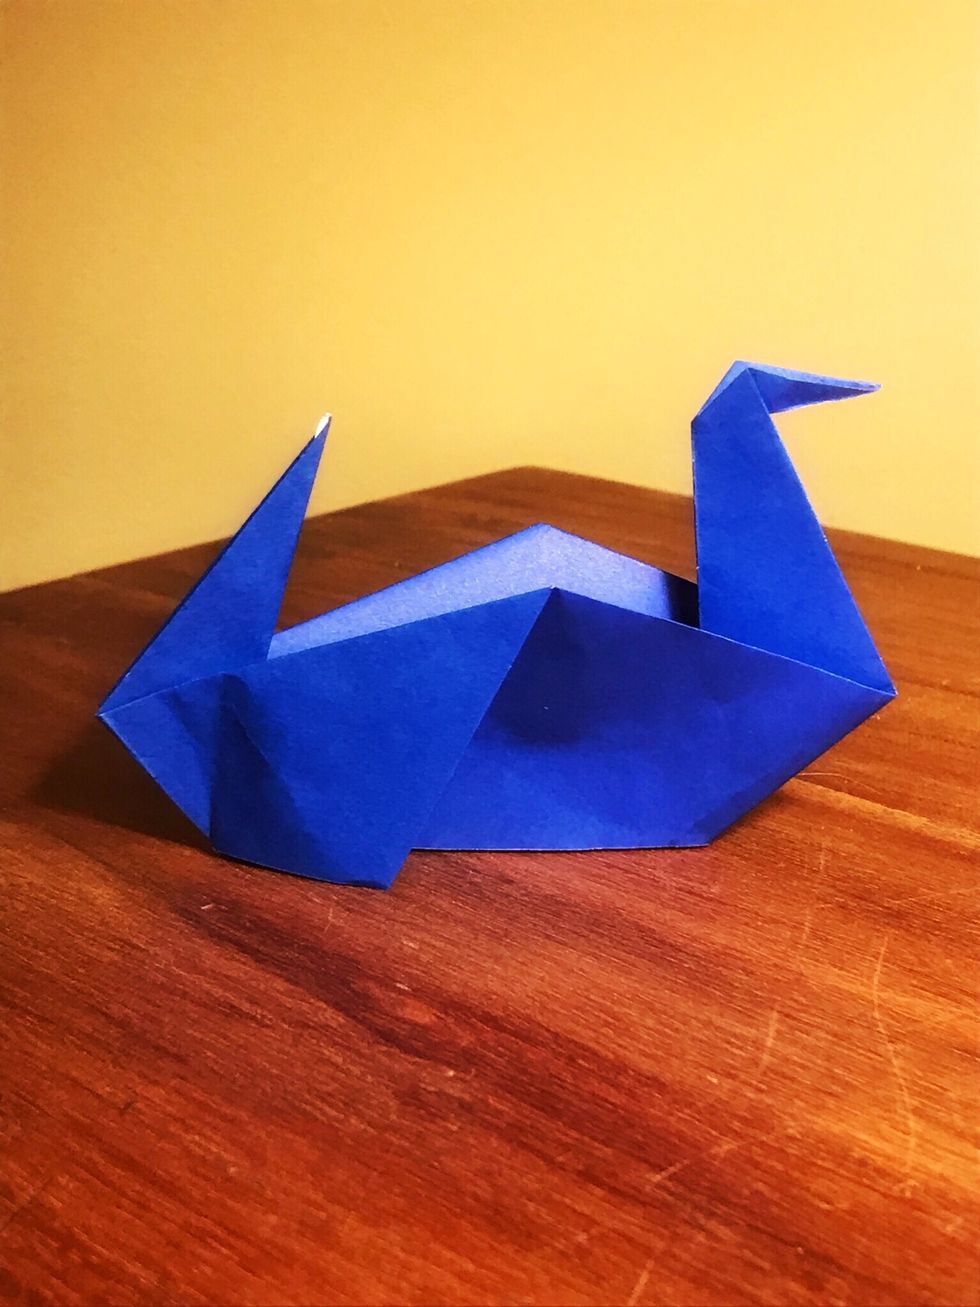
Now your duck should be able to stand.
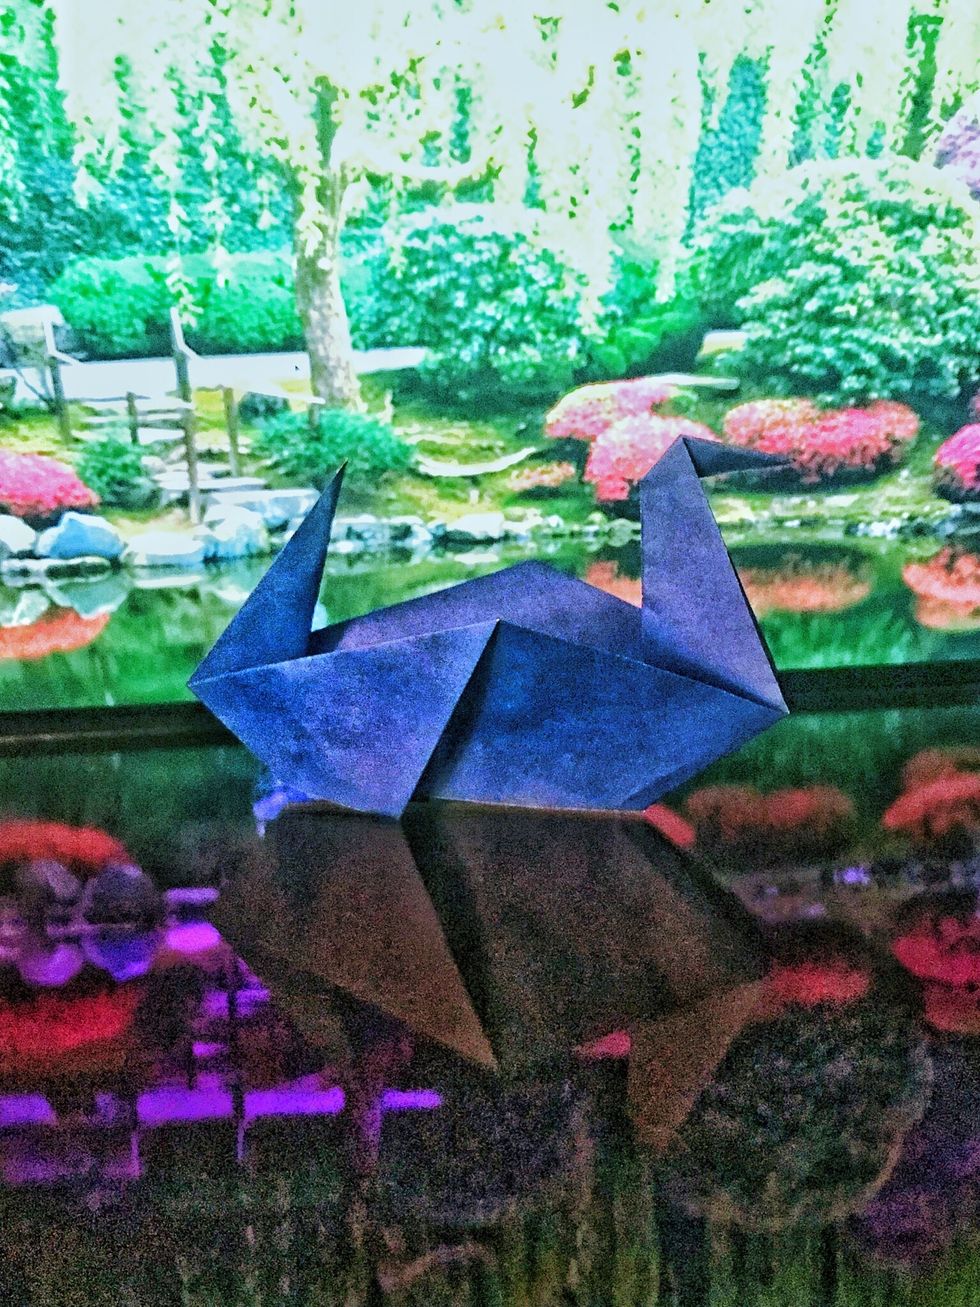
Good job! Now you have successfully created an origami duck!
The creator of this guide has not included tools
The Conversation (0)
Sign Up