The Conversation (0)
Sign Up
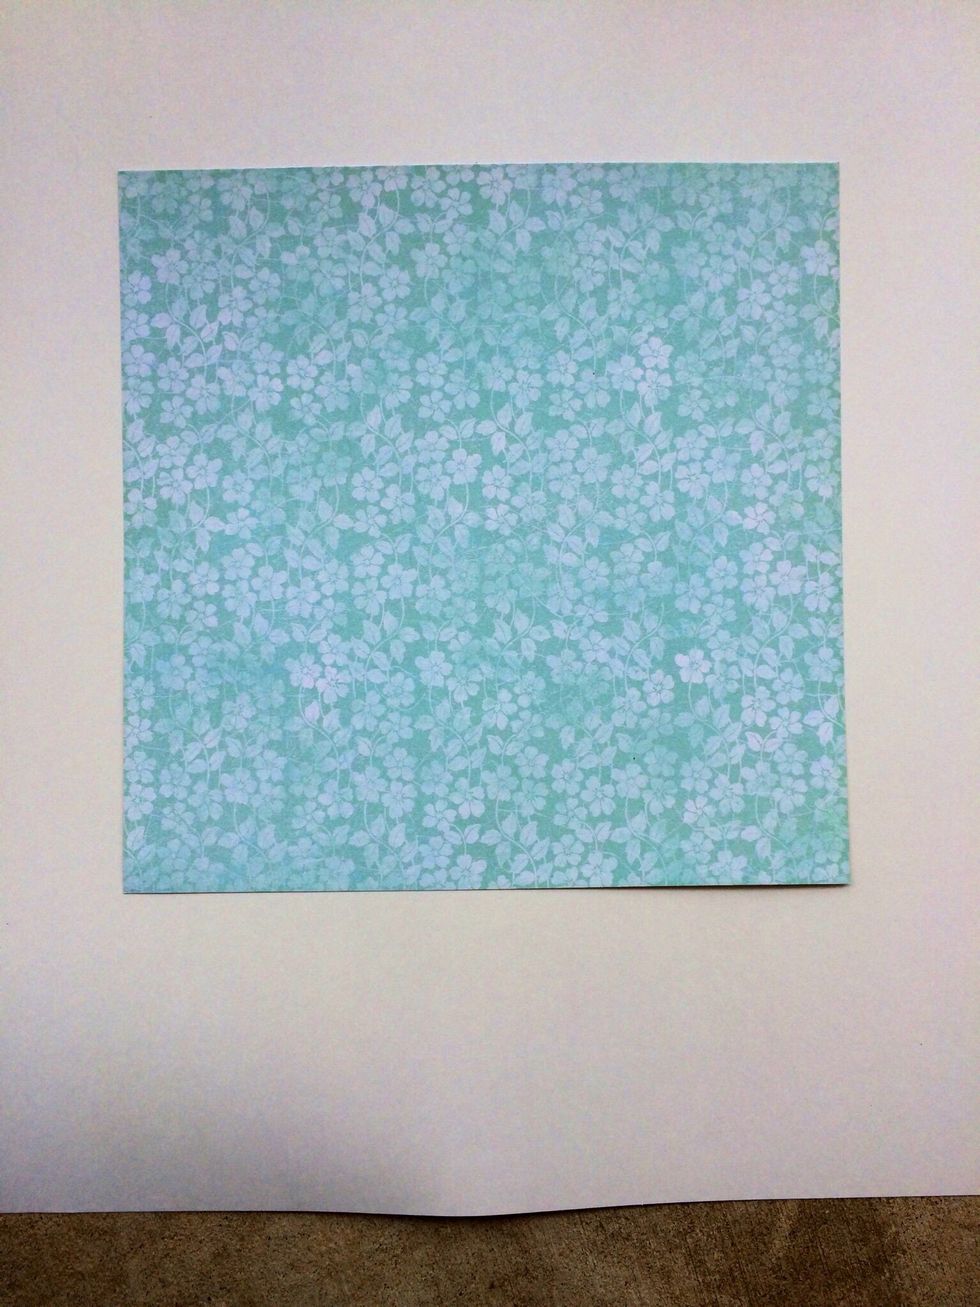
Start with a square sheet of paper. I am using a full 12x12 sheet from the "Bride 2 Baby" collection from Graphic 45.
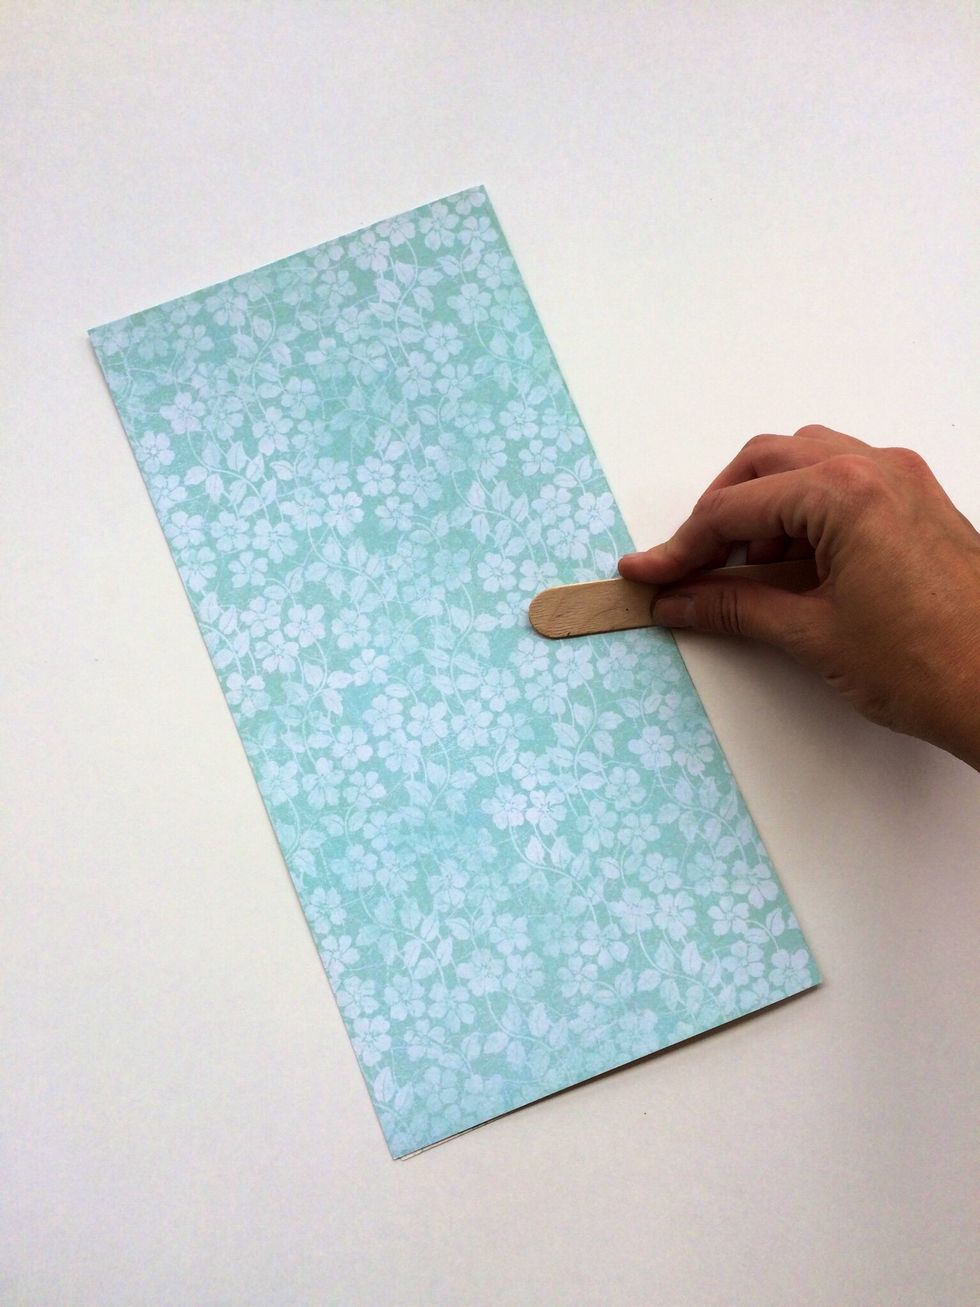
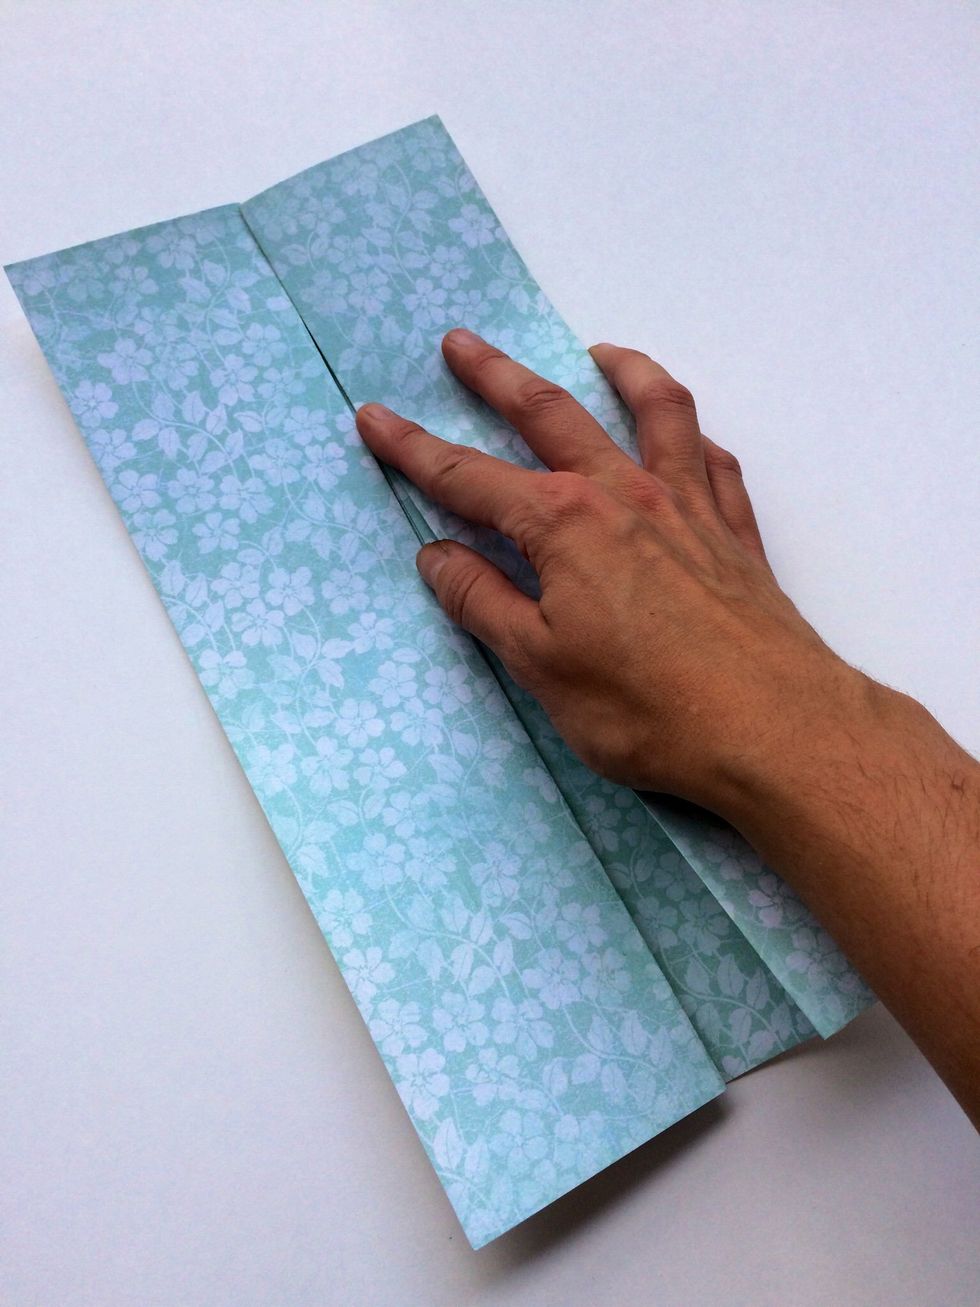
Fold your paper in half. Create well. (Good creases will help your project hold together and lay flatter.) Make sure that the pattern you want your dress to be is on the outside.
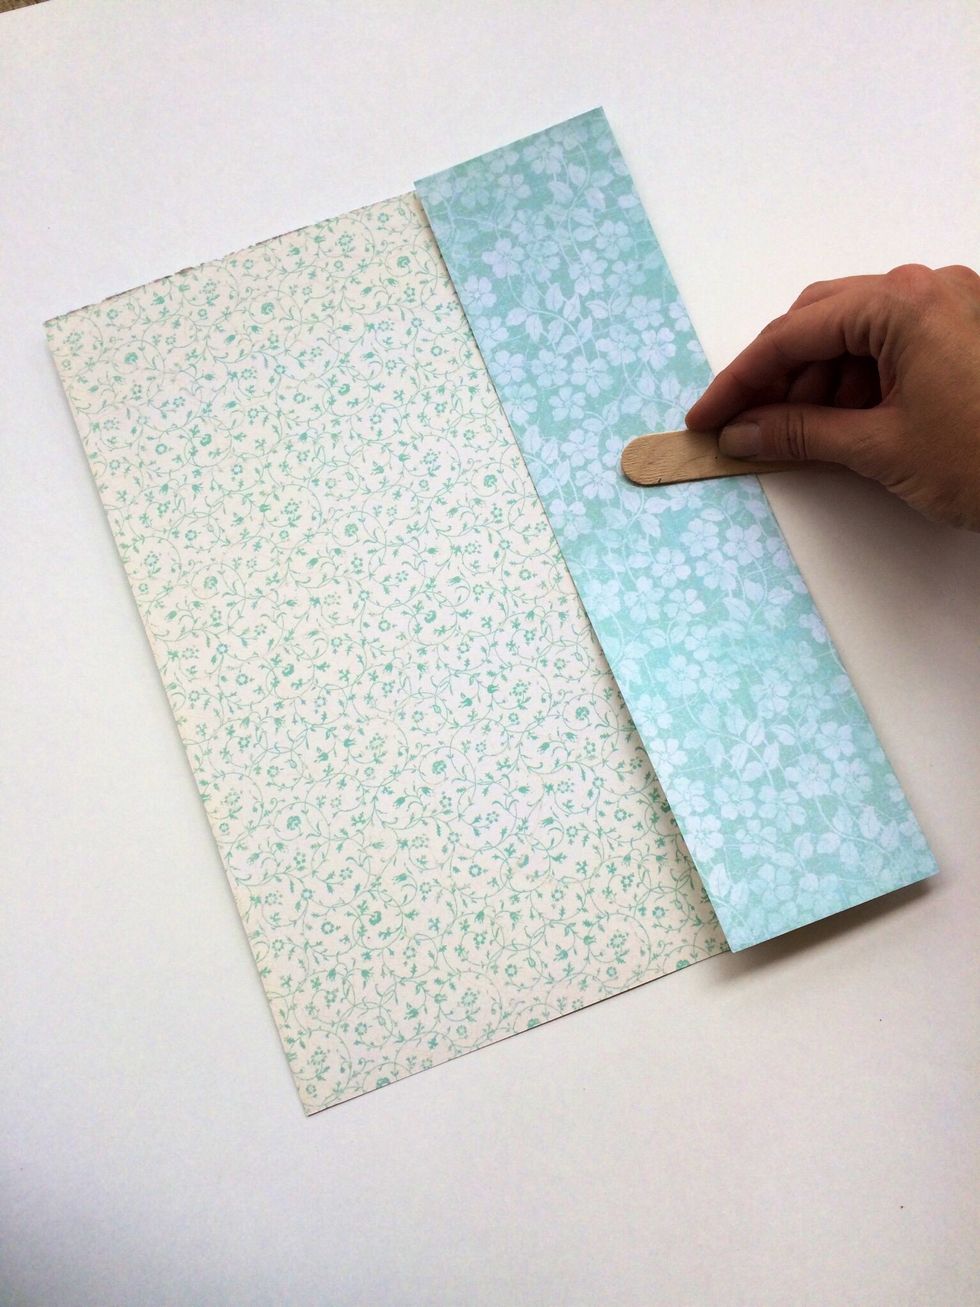
Open your paper back up. Fold one side in to meet the center crease you made. Crease your gold and then repeat with the other side.
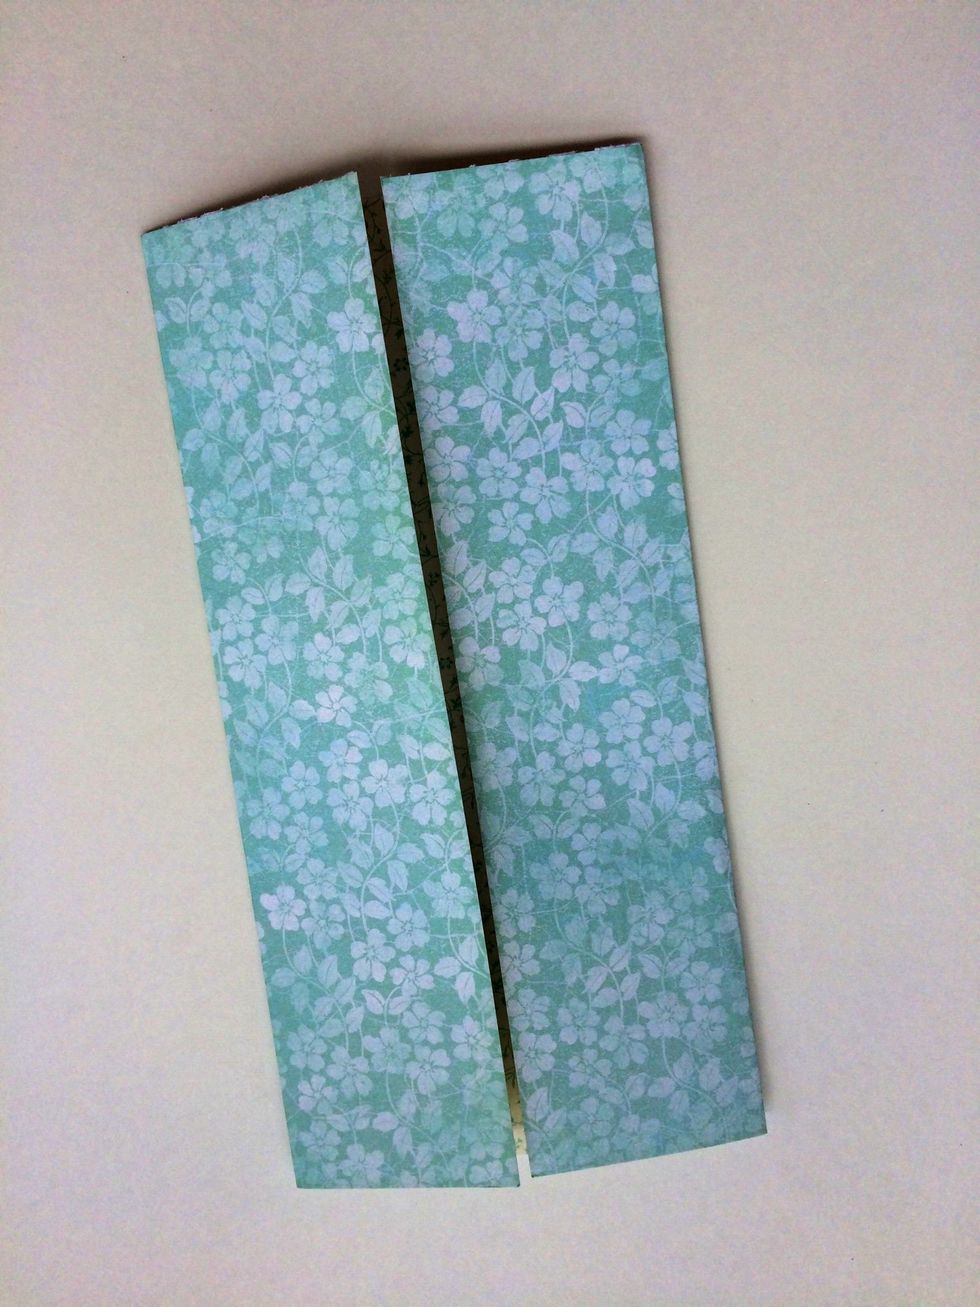
It will look like this.
Next open it up, with your dress pattern up.

Next, pinch together your mountain fold (the part pointing up) and line up that crease with your center line. crease your fold.
Repeat with the other side.

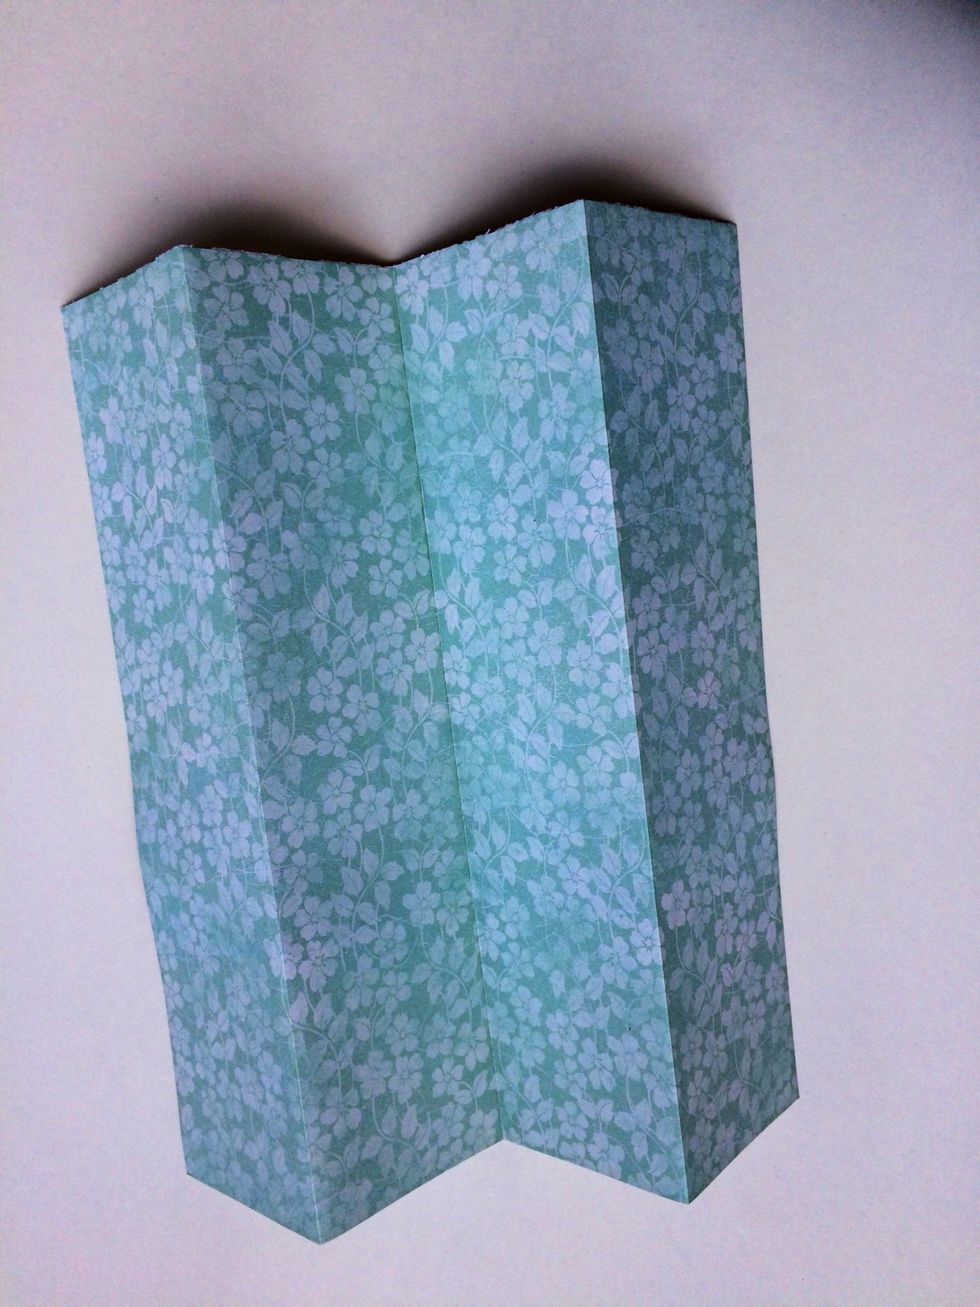
Your finished fold will look like this.

Leaving your paper folded, turn it facedown.

Take the bottom of your paper, and fold it up about 1 inch short of the top. If you are using a smaller paper, adjust this accordingly.
Leaving it folded in half, bring your flap that was folded up back down, holding on to the bottom inch.
The front of your dress will look like this now.
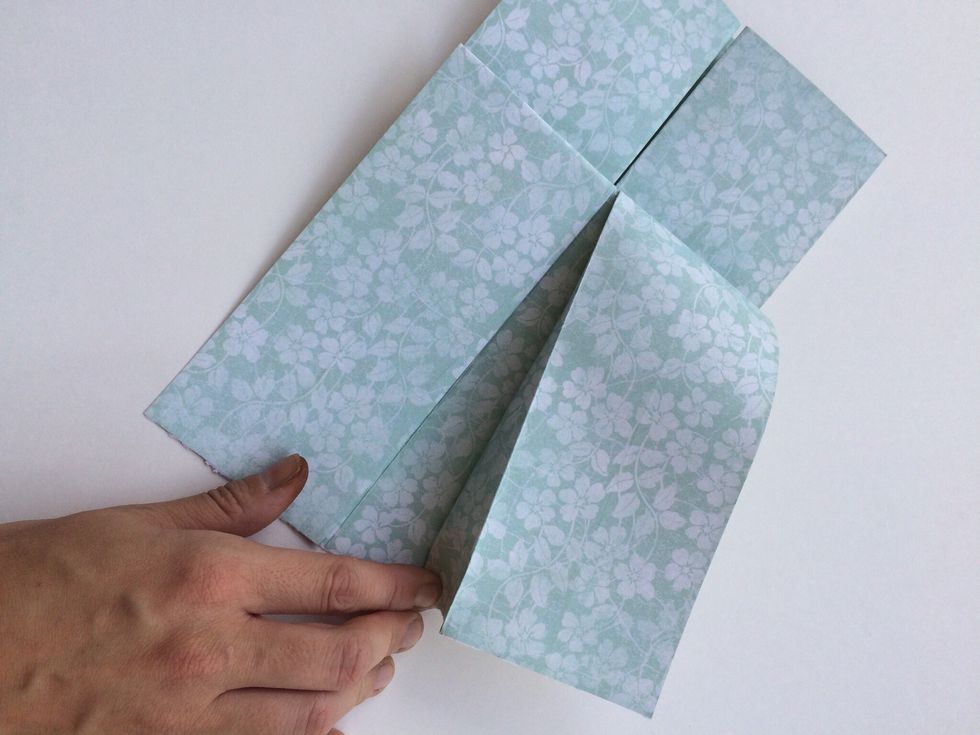
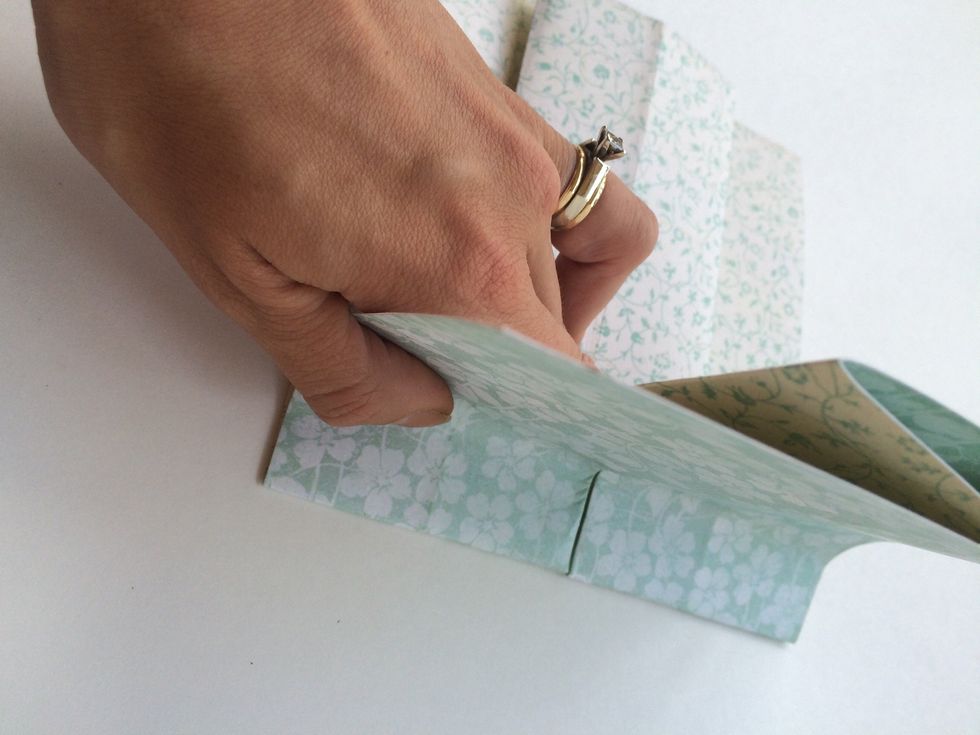
Next, holding on to the center of your dress pull the right side flap out until you can flatten it out.

You should be able to form a crease from the bottom of the flap to the waist of the dress.
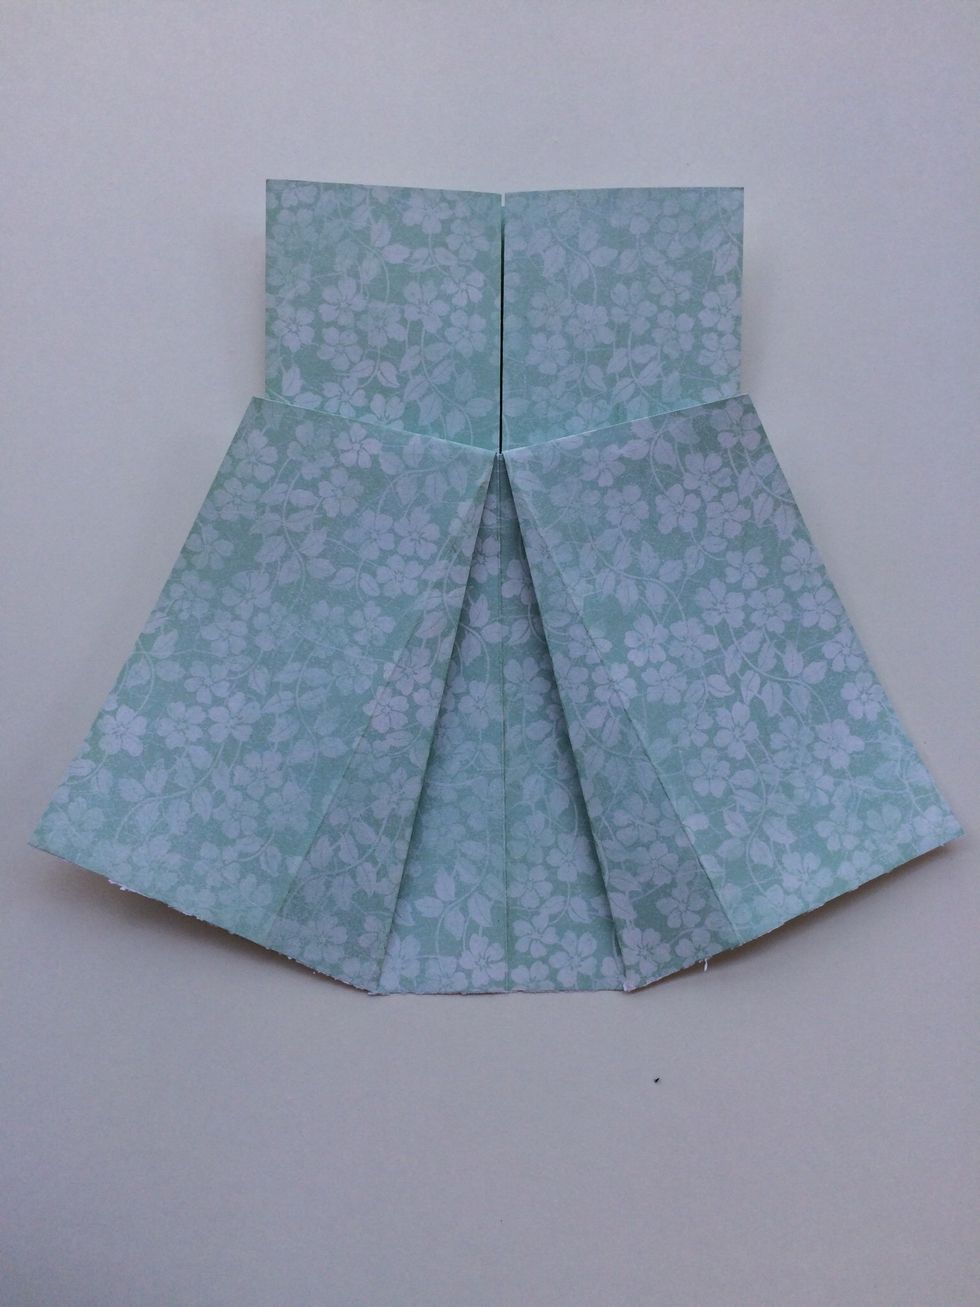
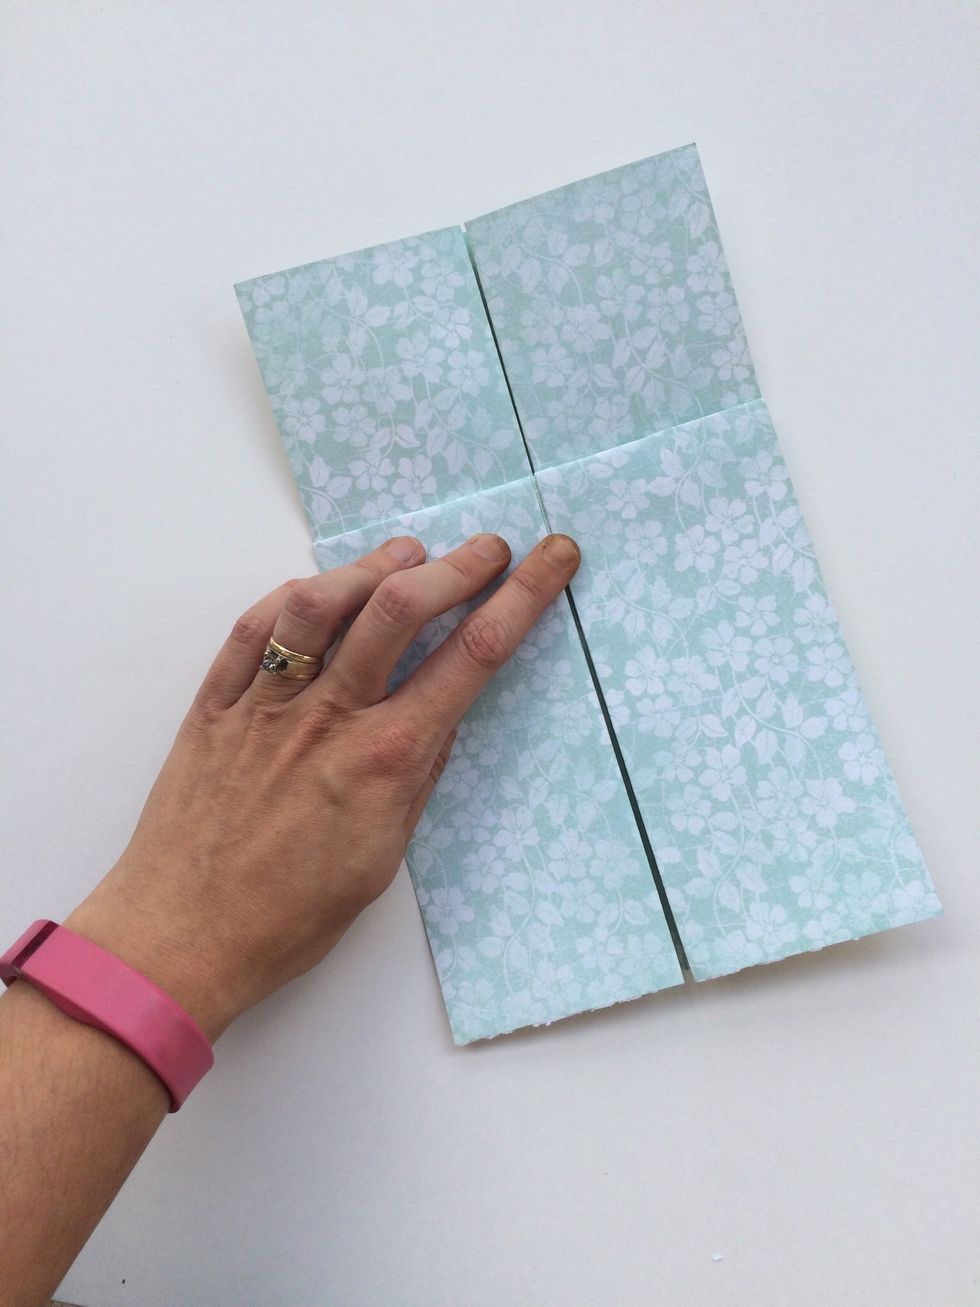
Once both sides are done, it will look like this.
Next, flip your dress over.
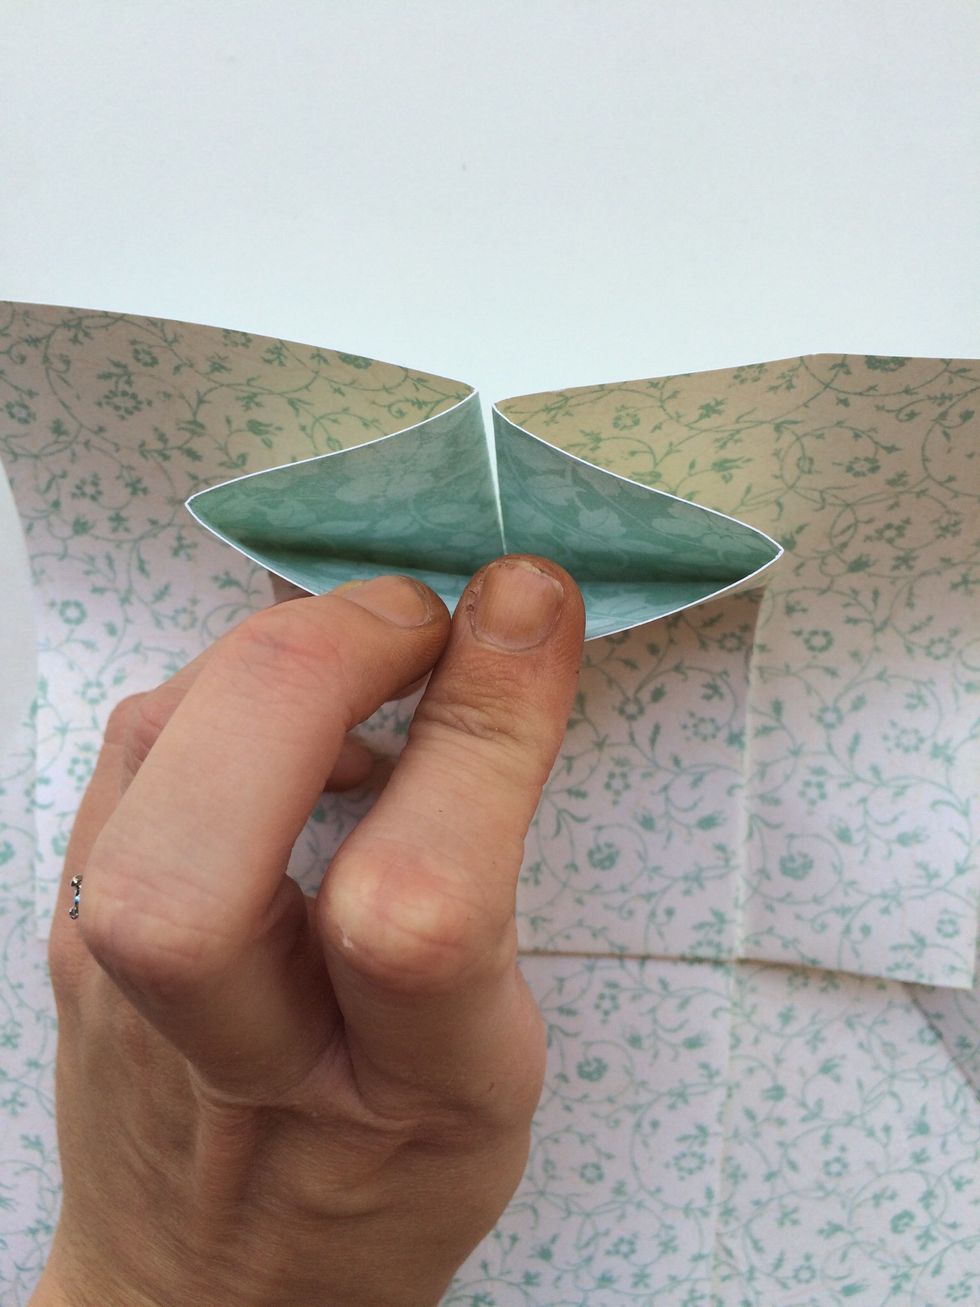
From the back, grab the "neck" of your dress.
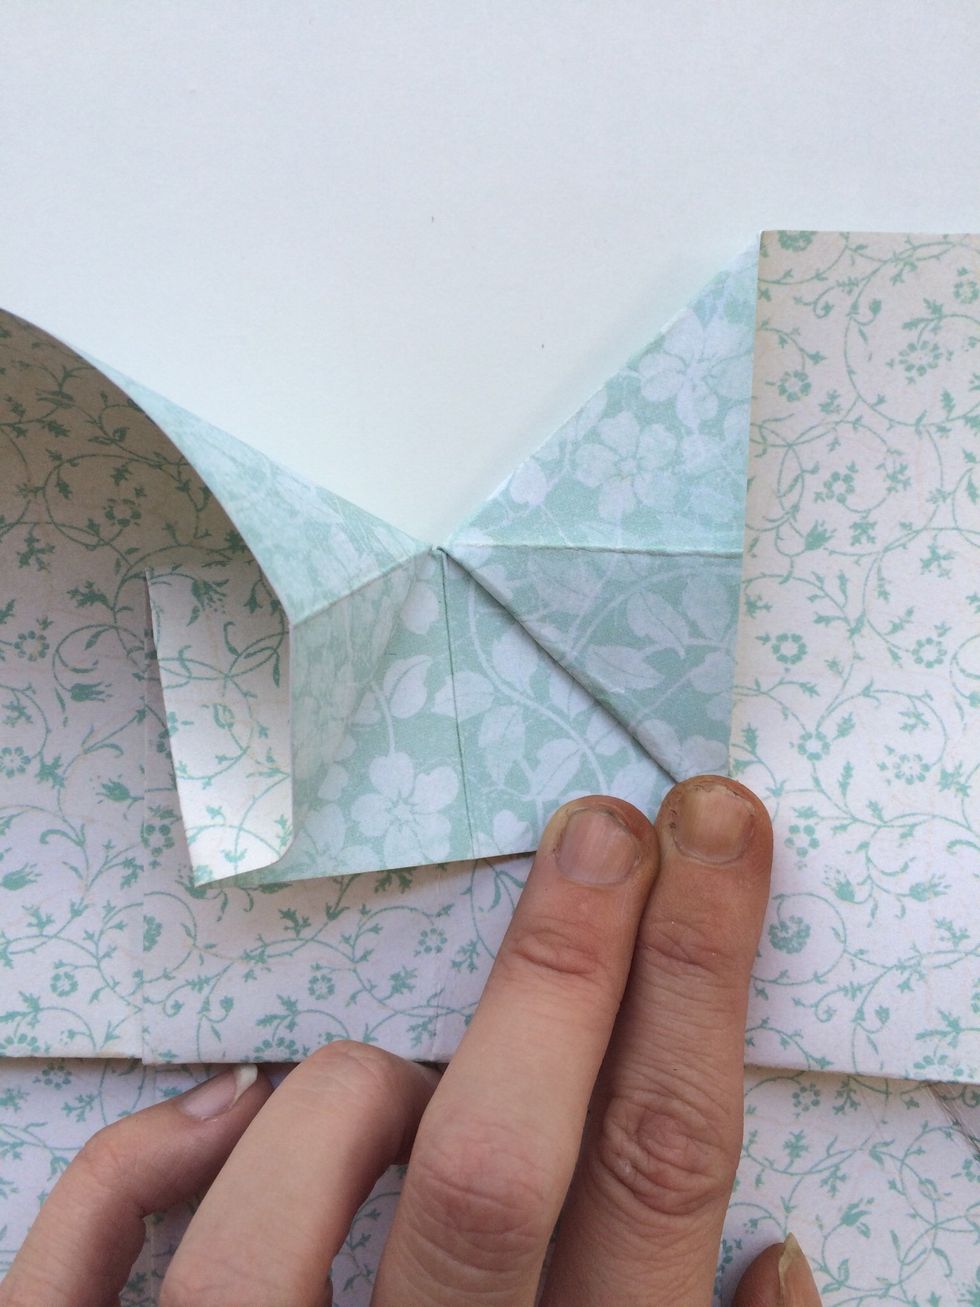
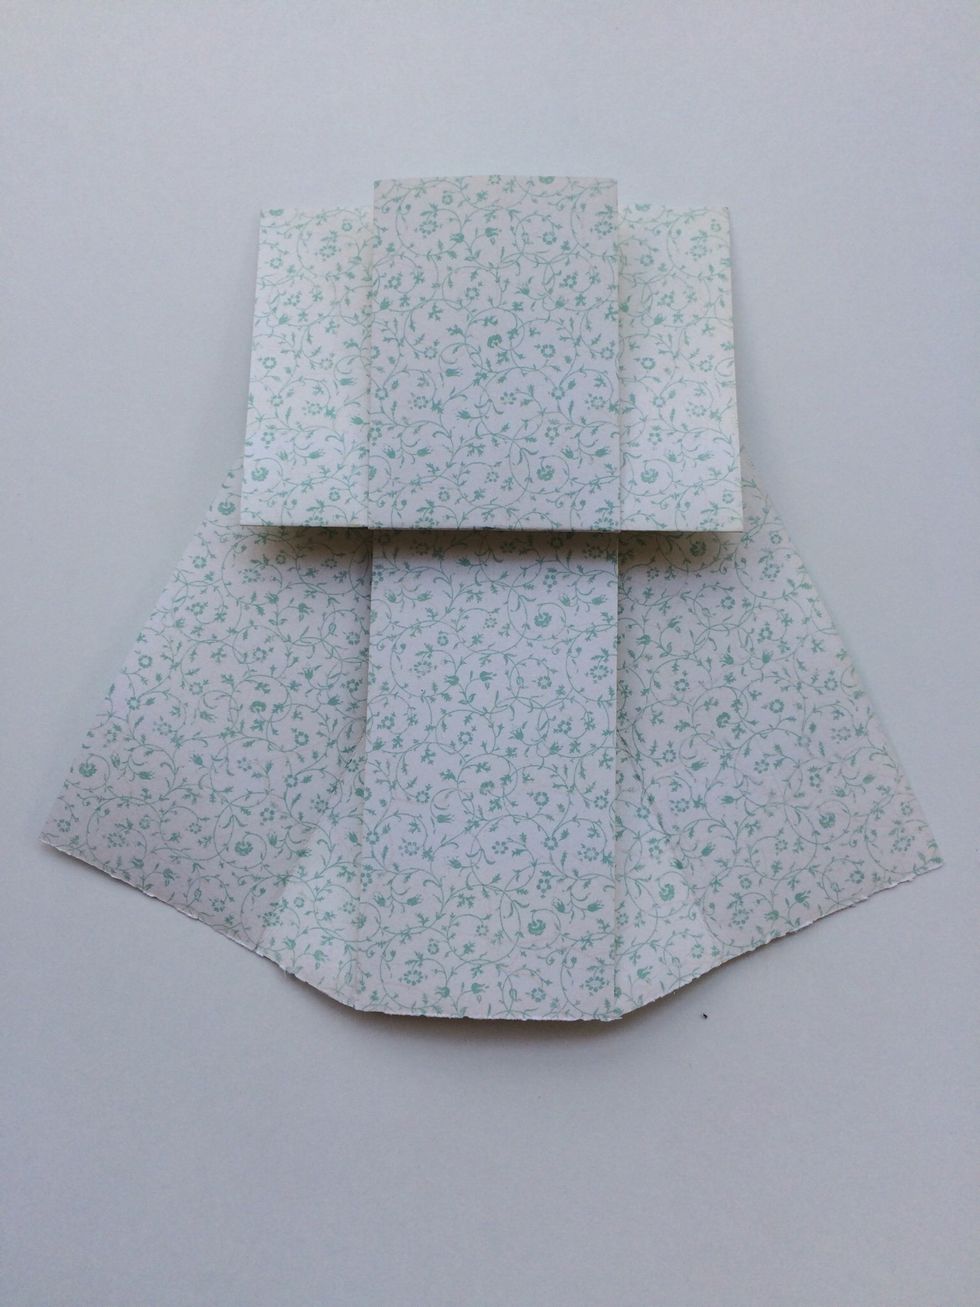
Press the neck flat and press down the right and left sides. Because of the creases you already made, these should form easily.
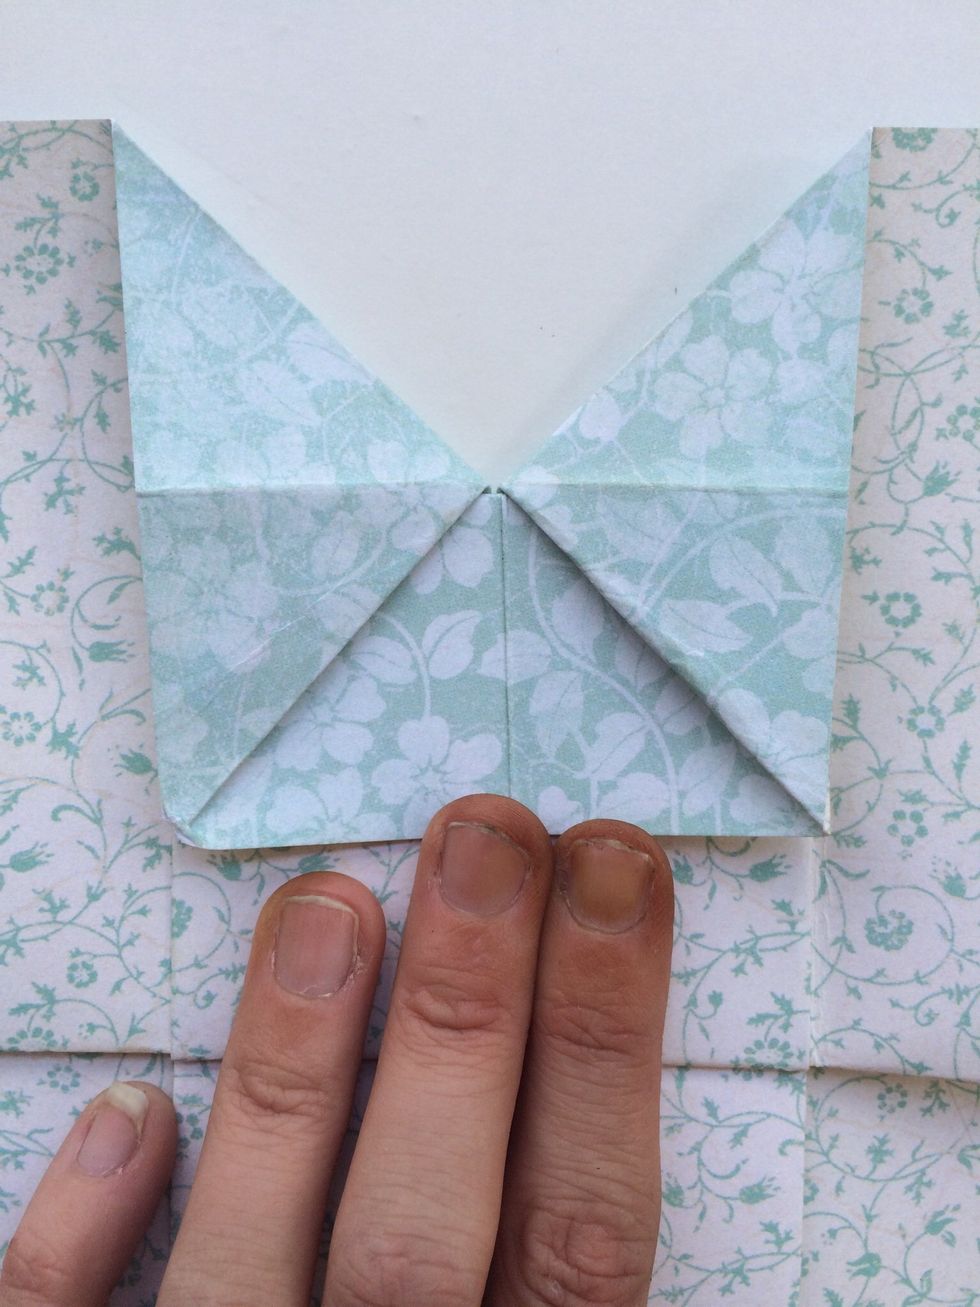
Finished, it should be almost a square. (Ignore my inky fingers! Lol)

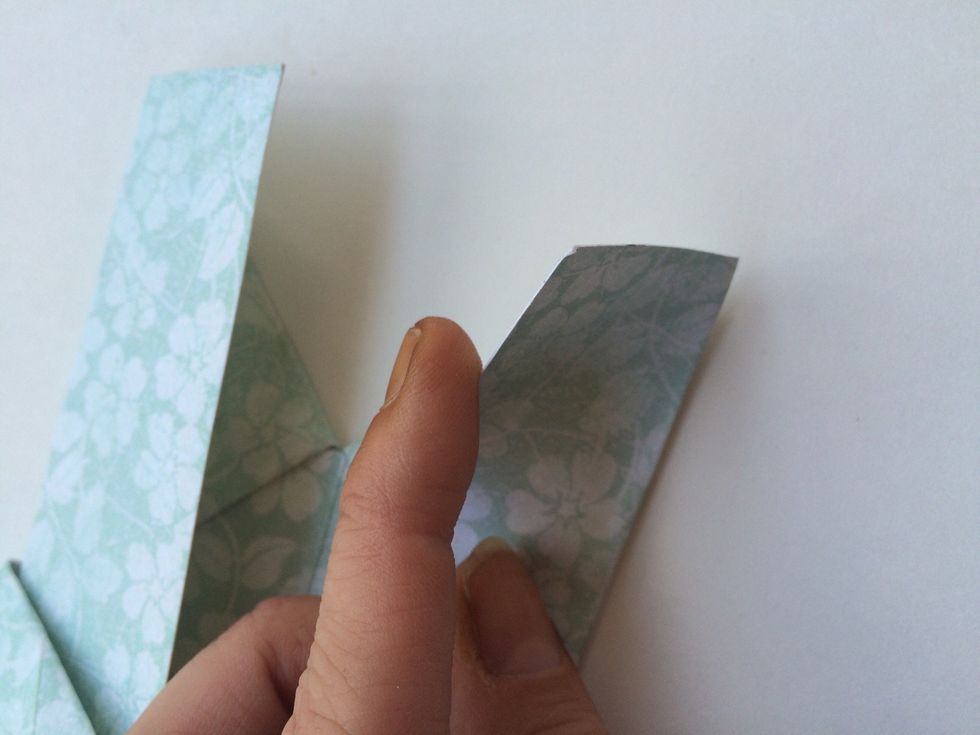
Next, grab the right flap and fold it over.
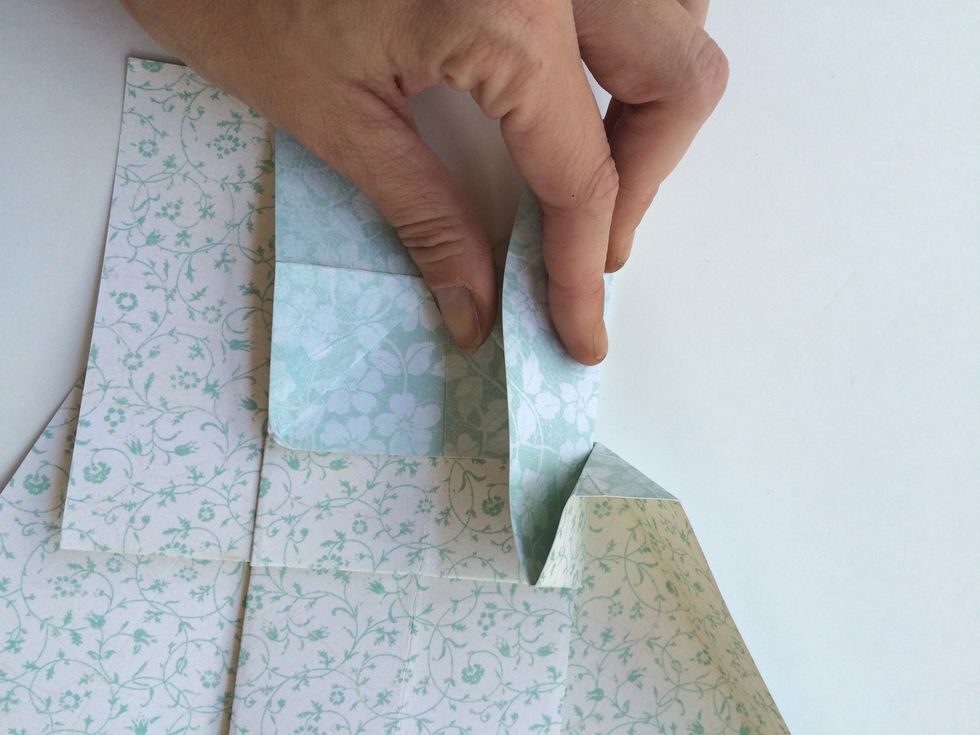
As you can see, this lifts up the "hip" of the dress.
Form a crease down the side of your dress by pressing from the waist to the bottom. Repeat this on the other side.
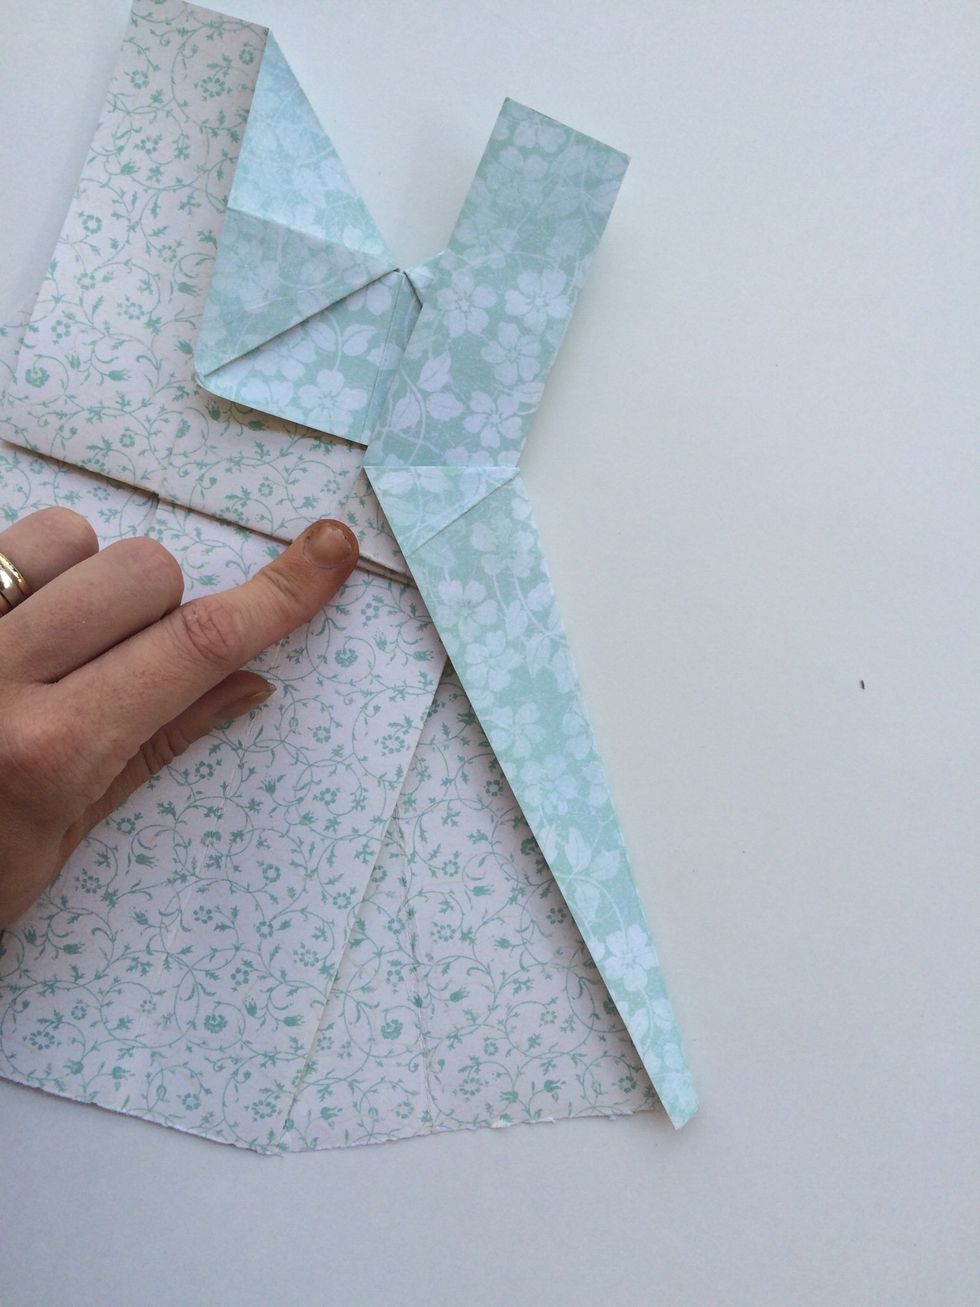
Take your top flap and fold it back....

This will make the "sleeve" of your dress on the other side. Repeat this on the other side.
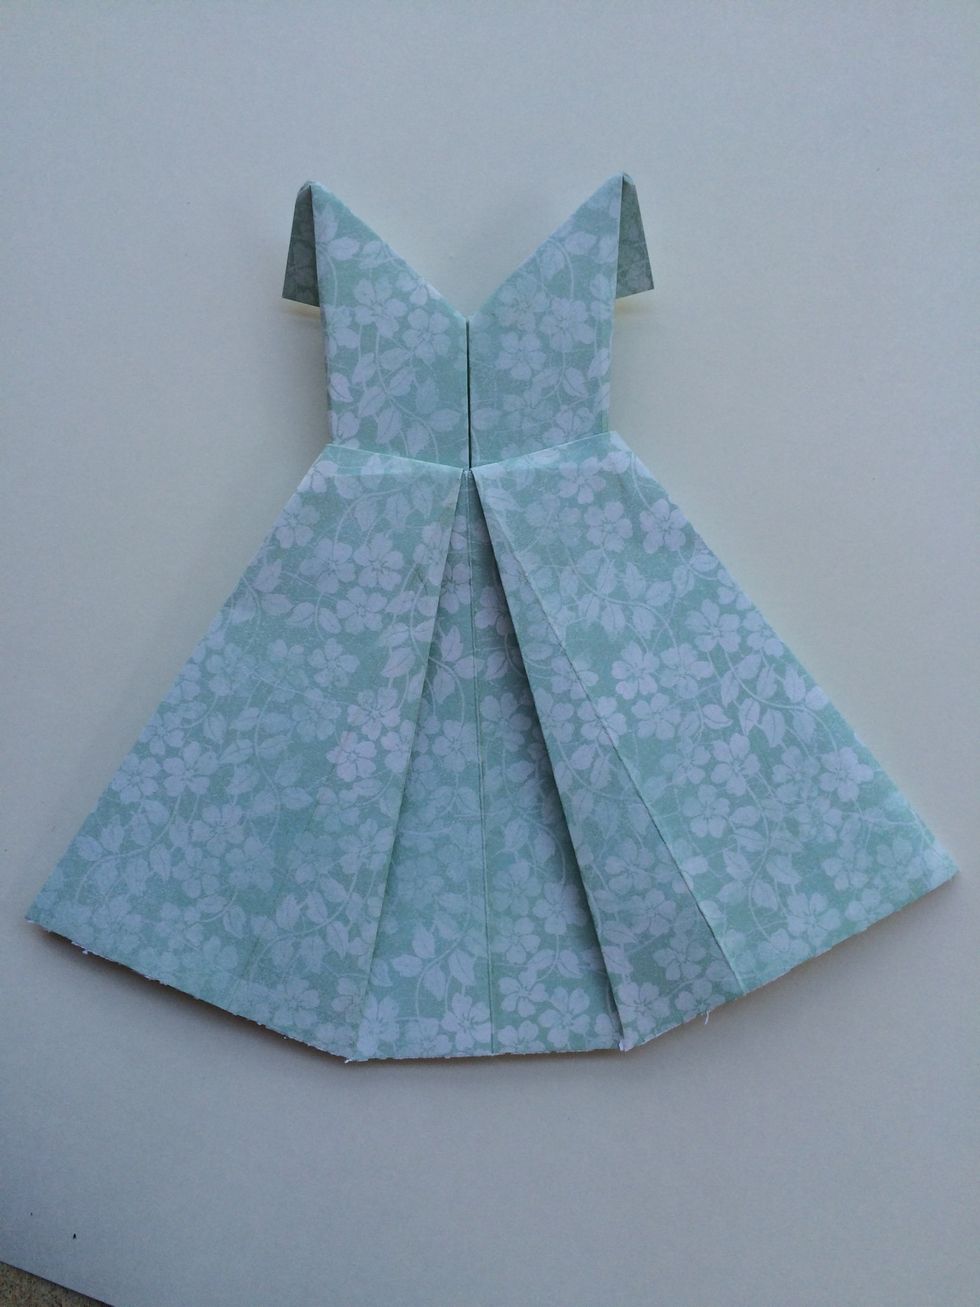
Turn your dress over and Voila! Your dress is done!
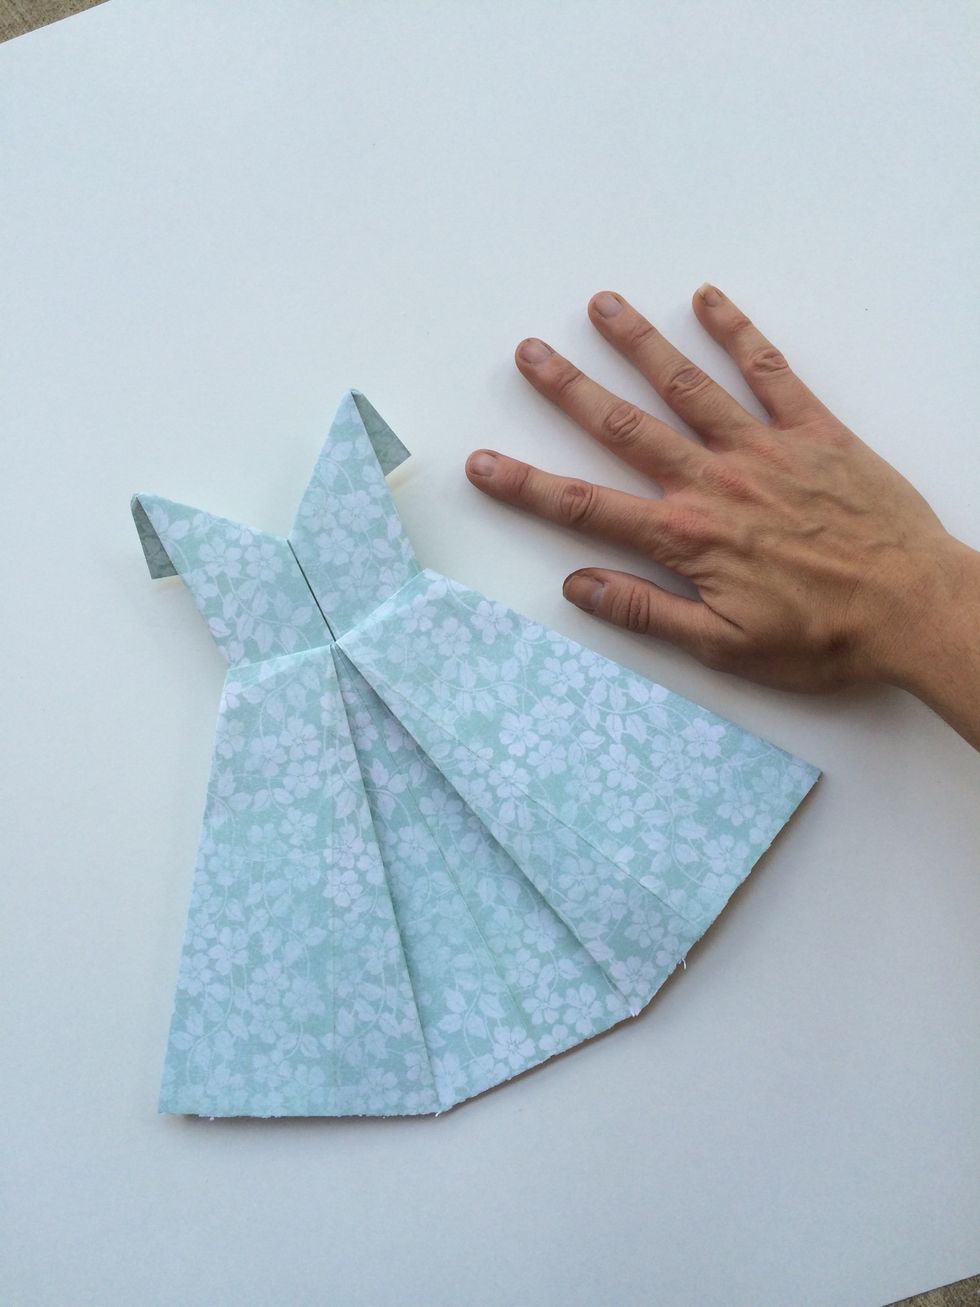
Just to give you an idea of size, i used a 12x12 sheet of paper and made a dress about 1 1/2 times the size of my hand.
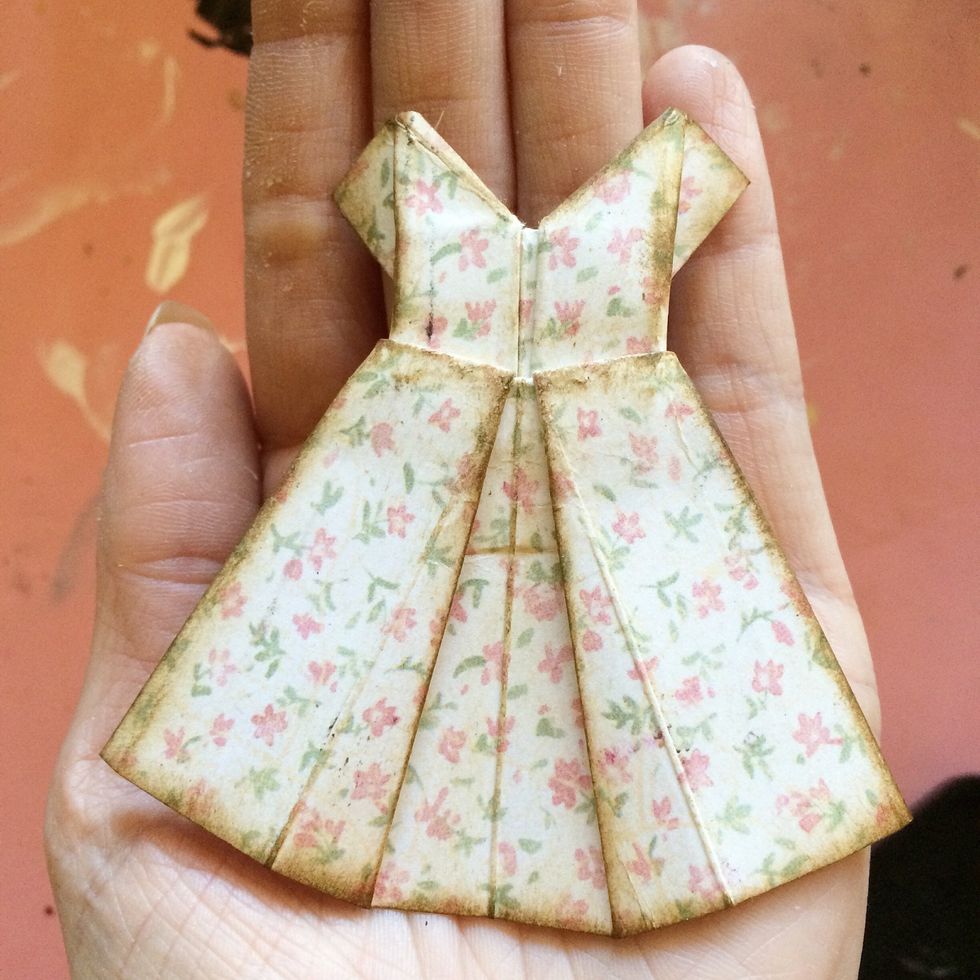
I used a 5 inch square piece of paper and made this cute little Palm-sized dress!
After you're done...have fun with adding embellishments like gems, jewels, lace, ribbon or whatever!