The Conversation (0)
Sign Up
We are going to make an origami cube!
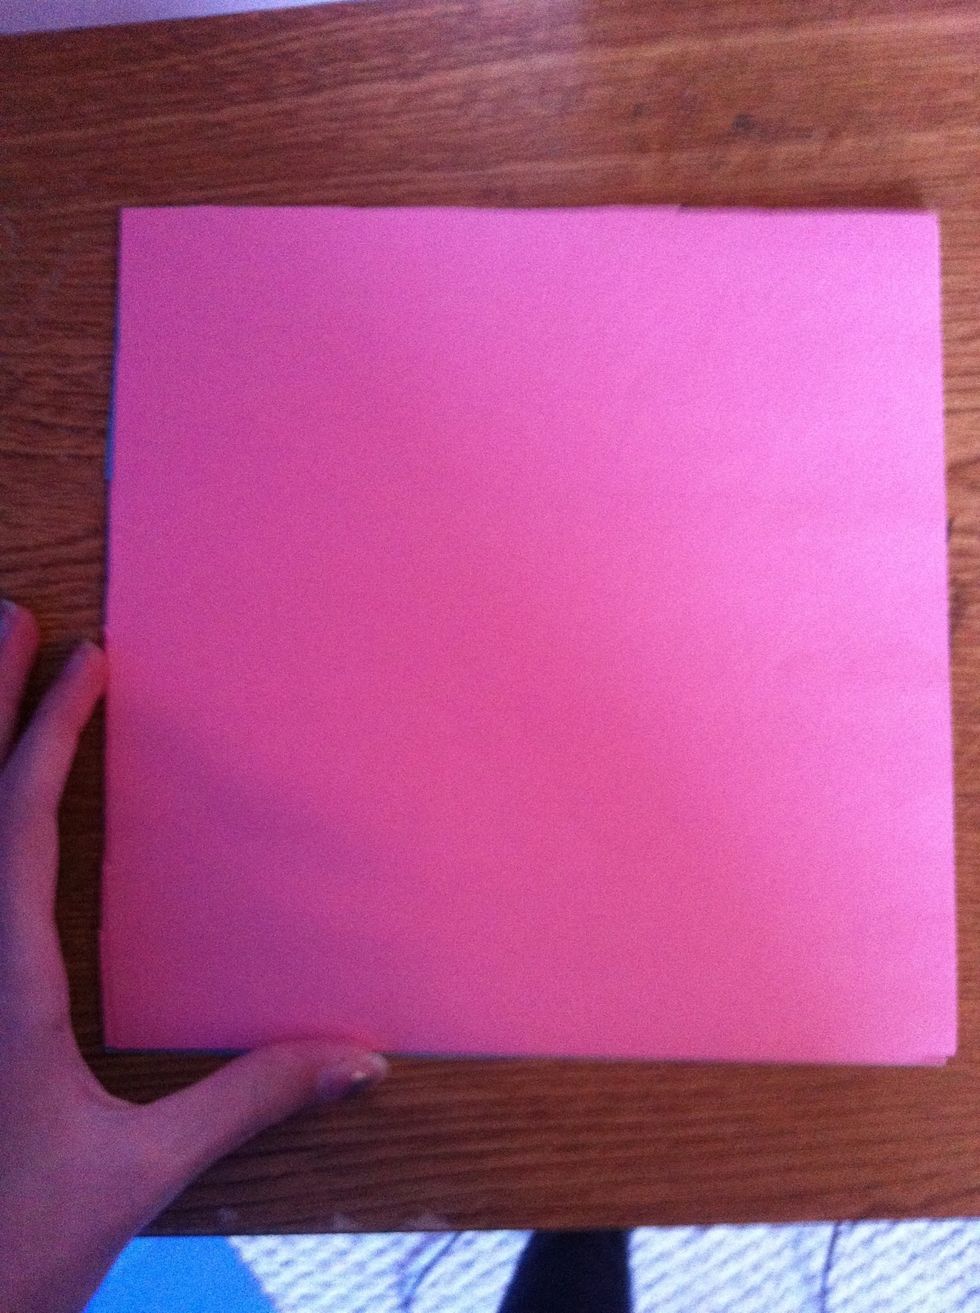
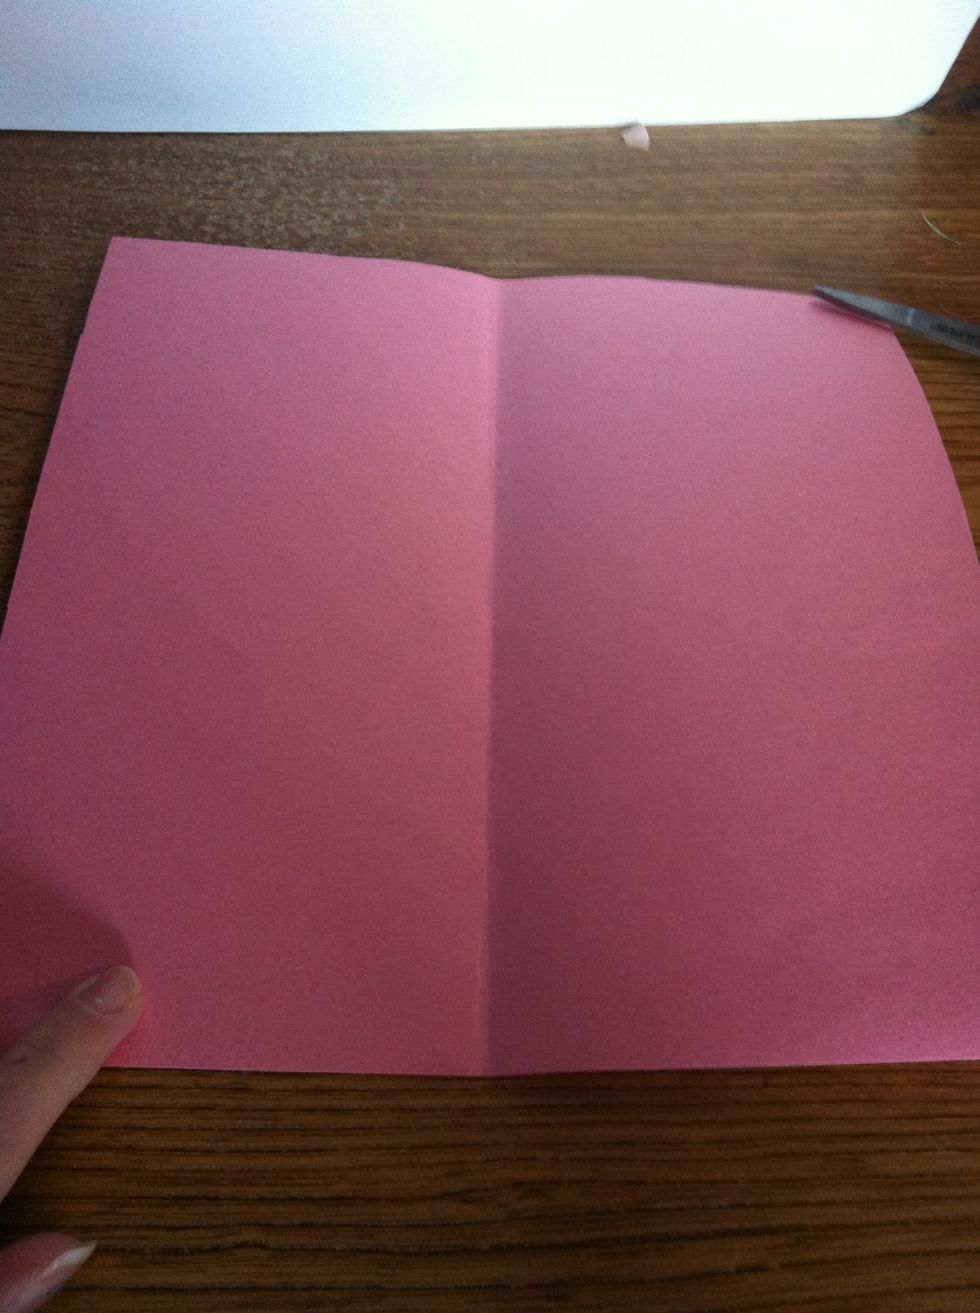
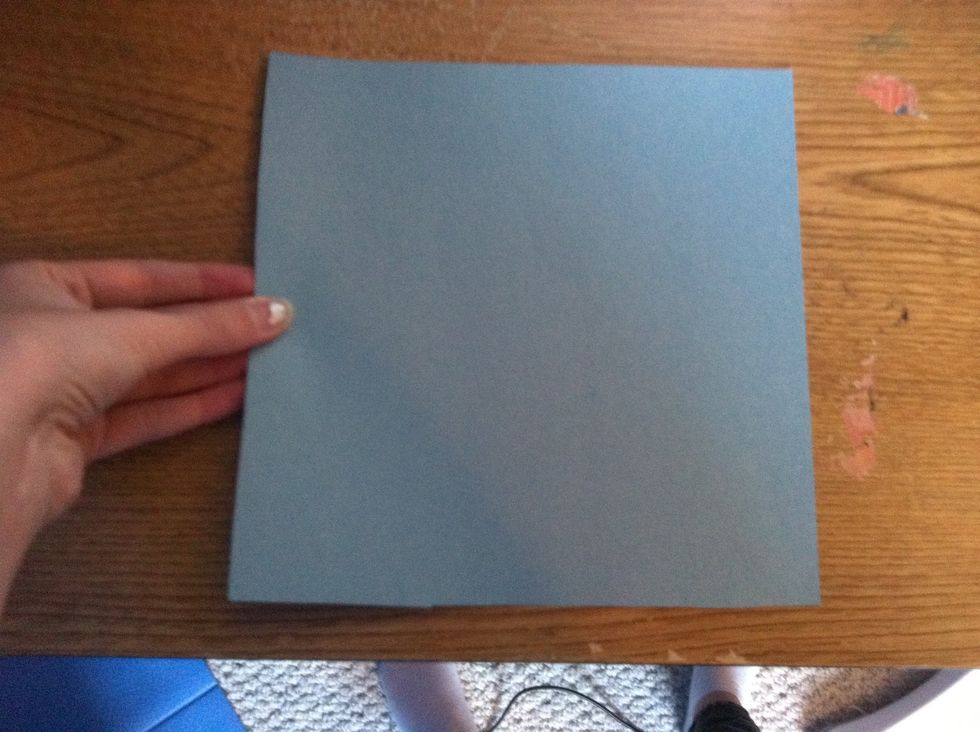
Cut paper into 6 square pieces. (at least 3x3 in. )
Take the first square
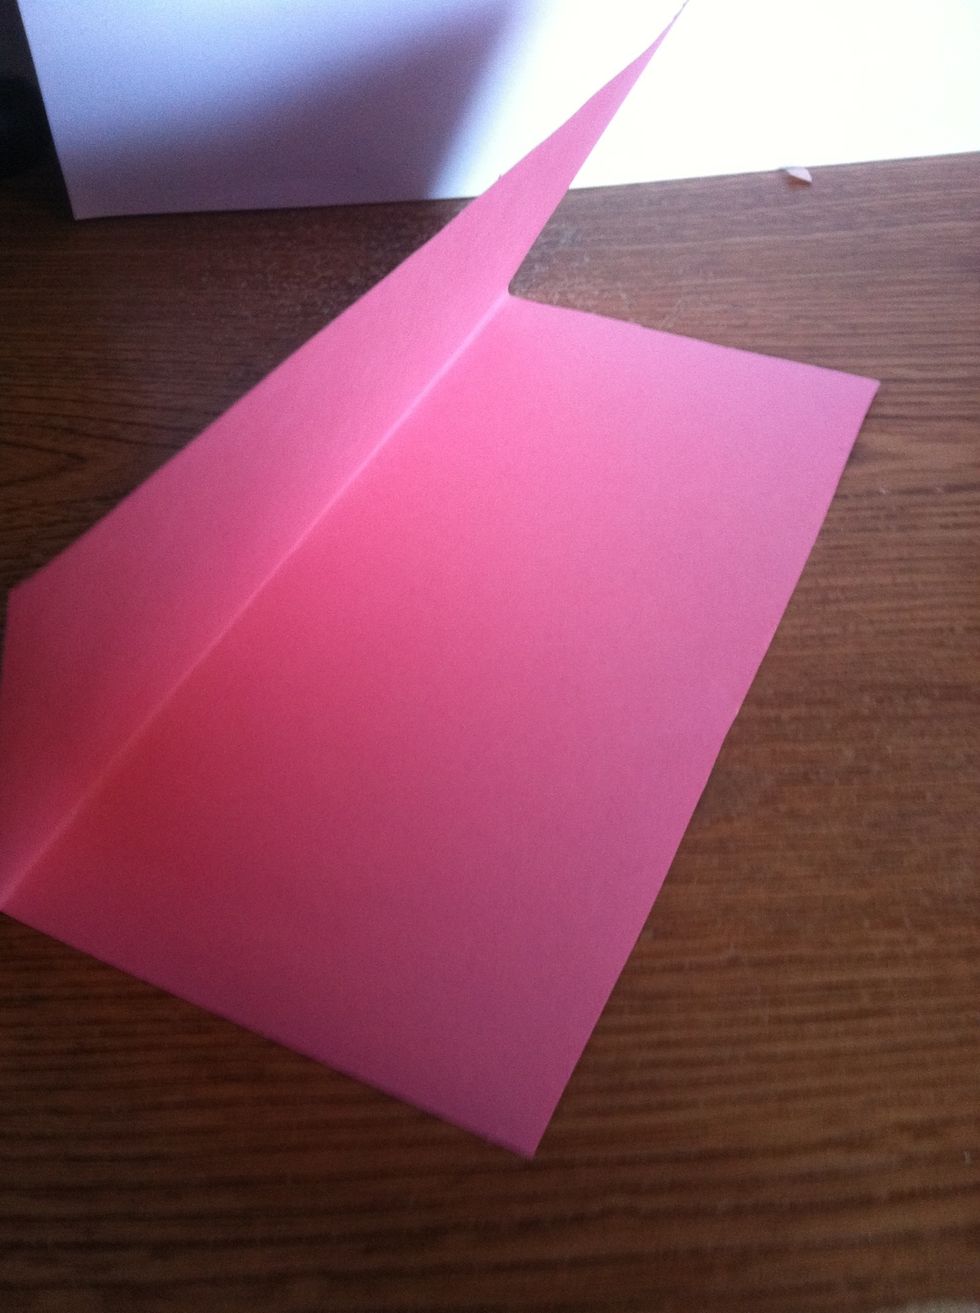
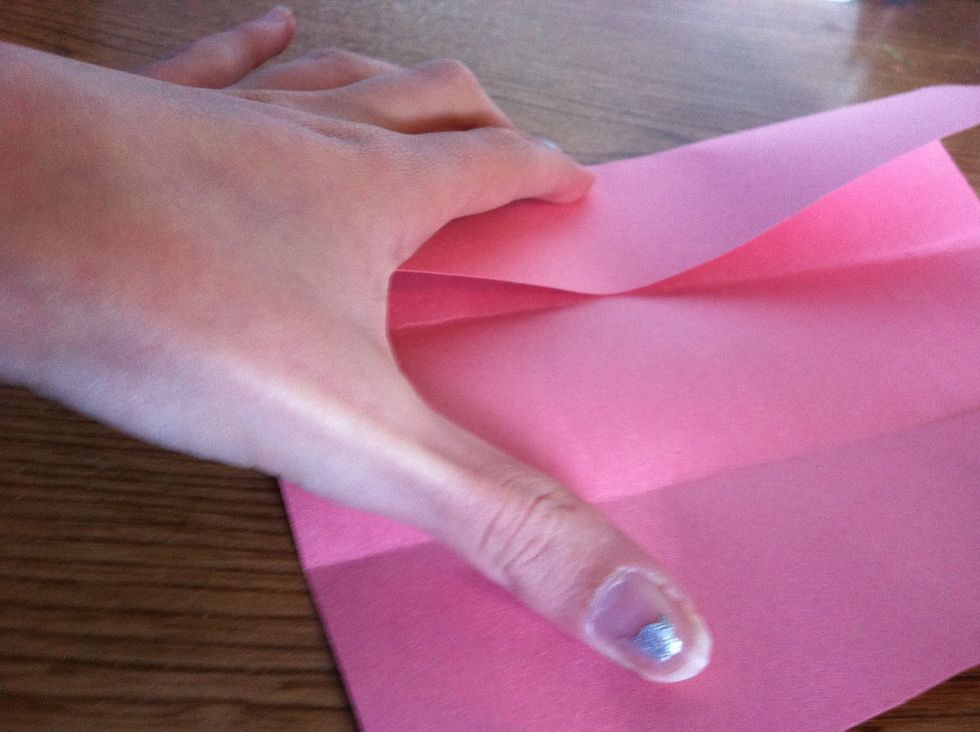
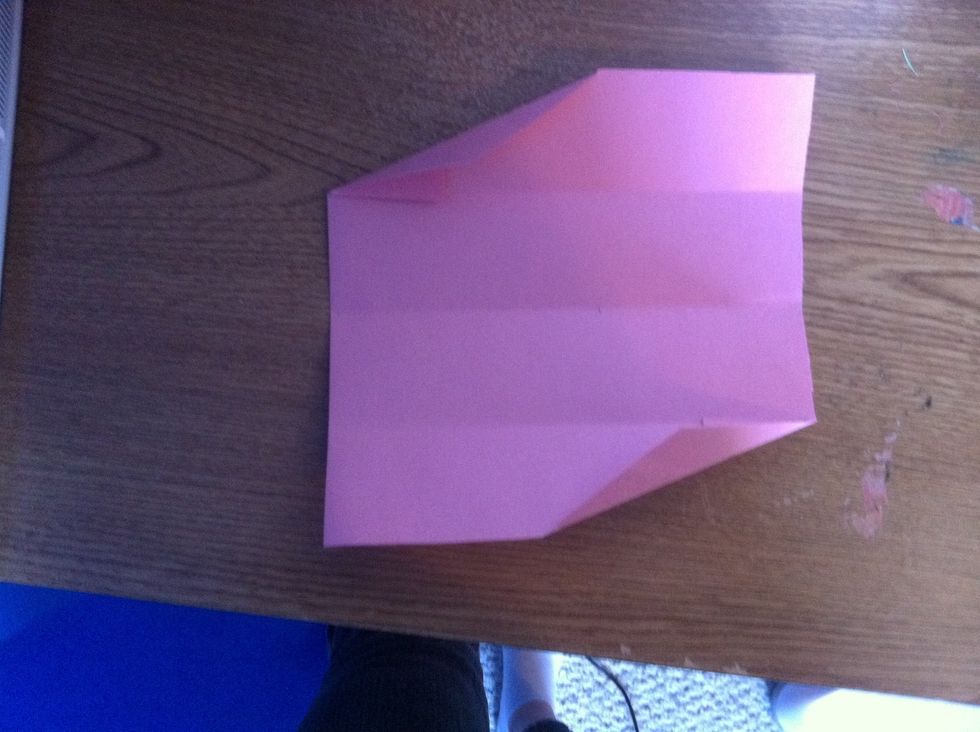
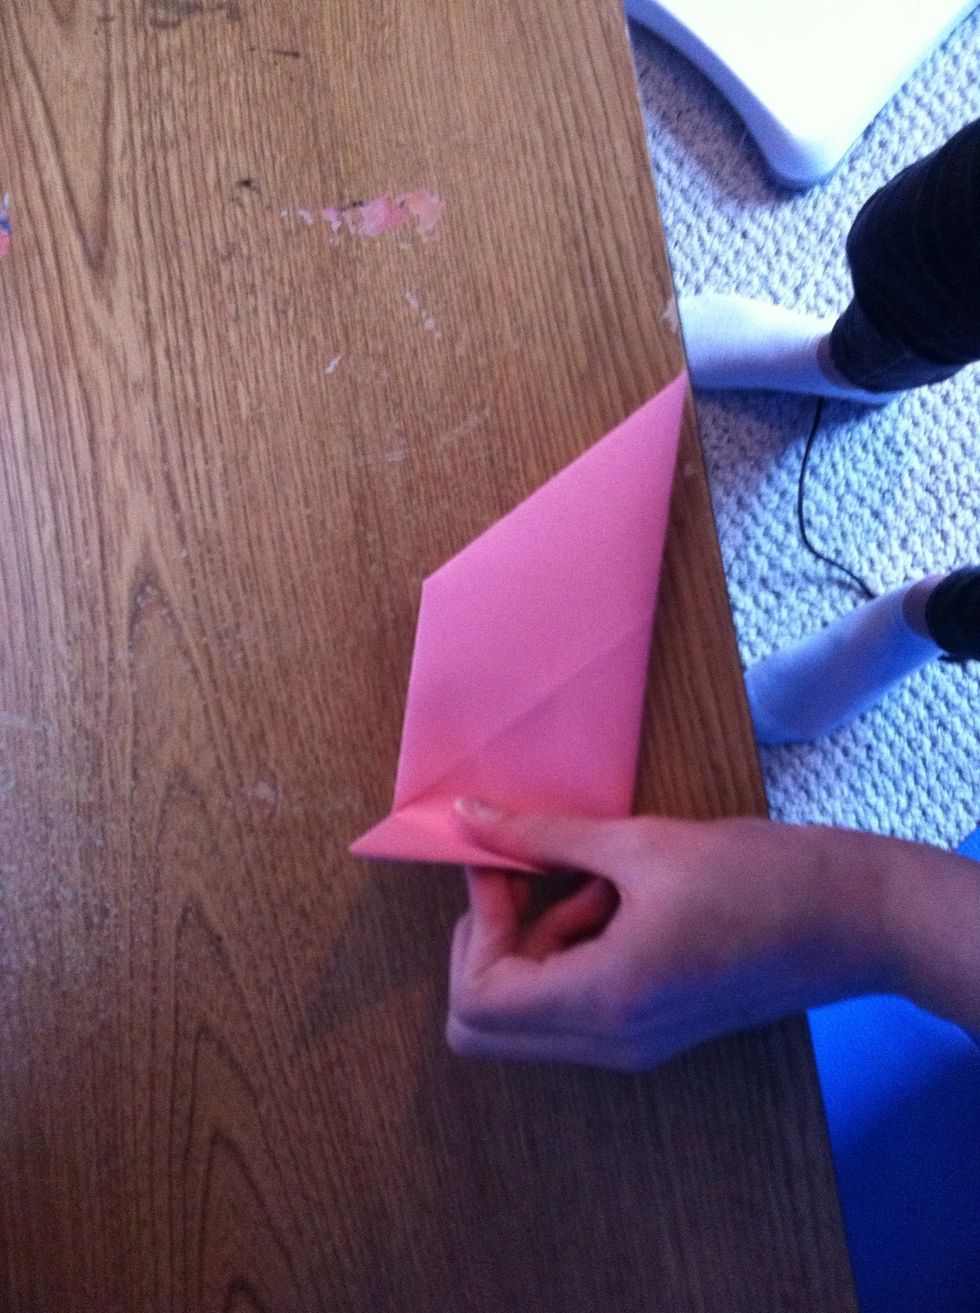
Fold it in half like shown.
Flatten it out.
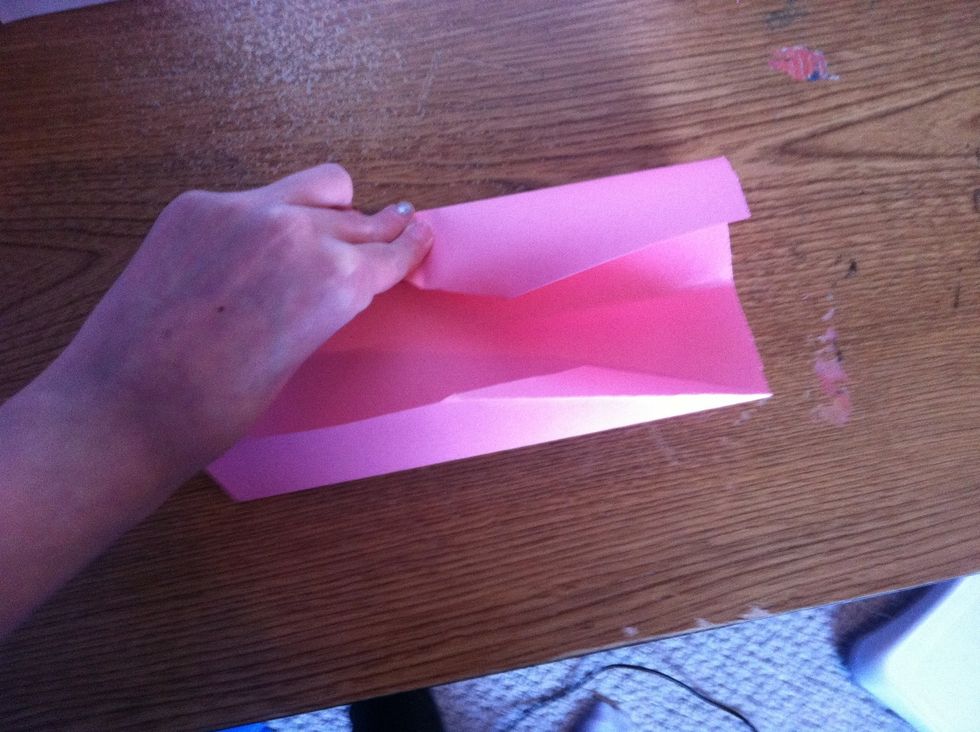
Then fold both sides of the half, in half.
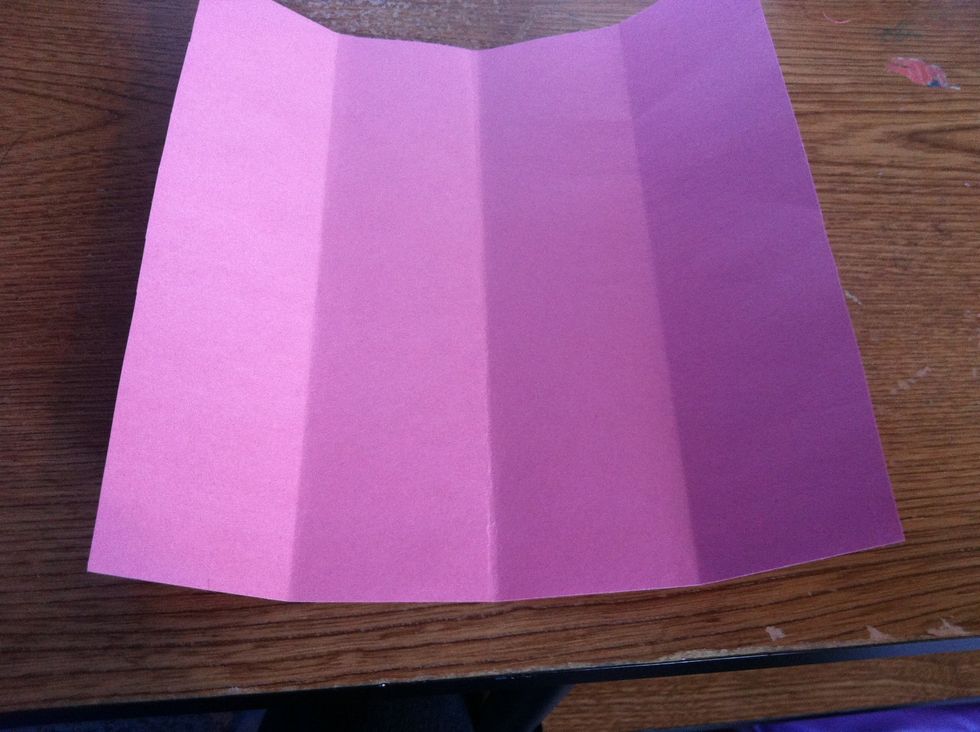
Flatten it out again.
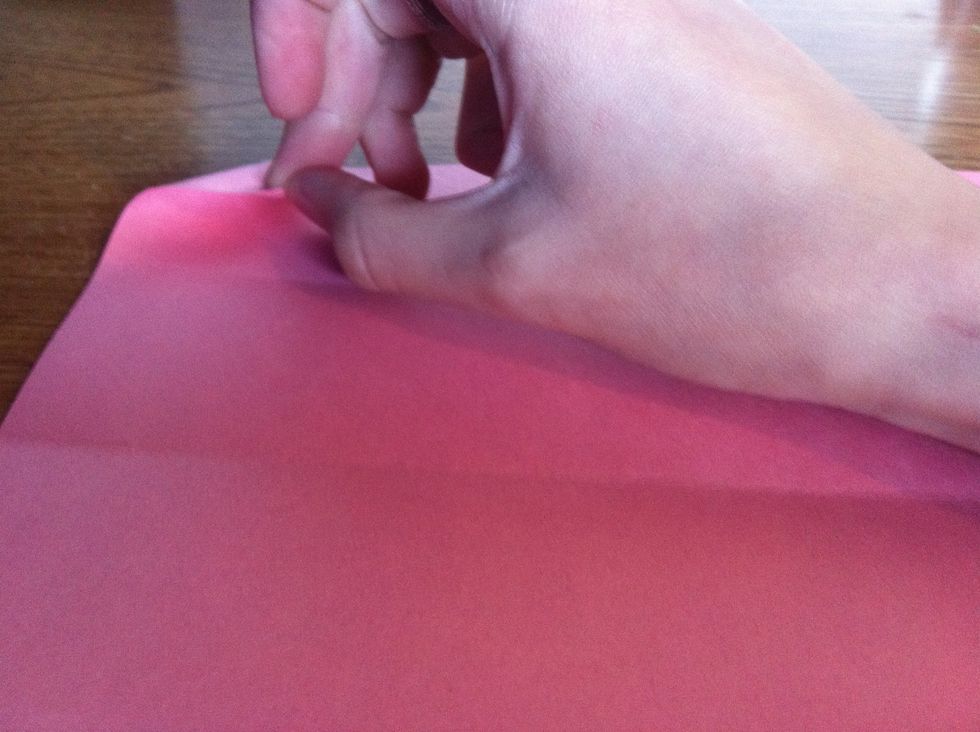
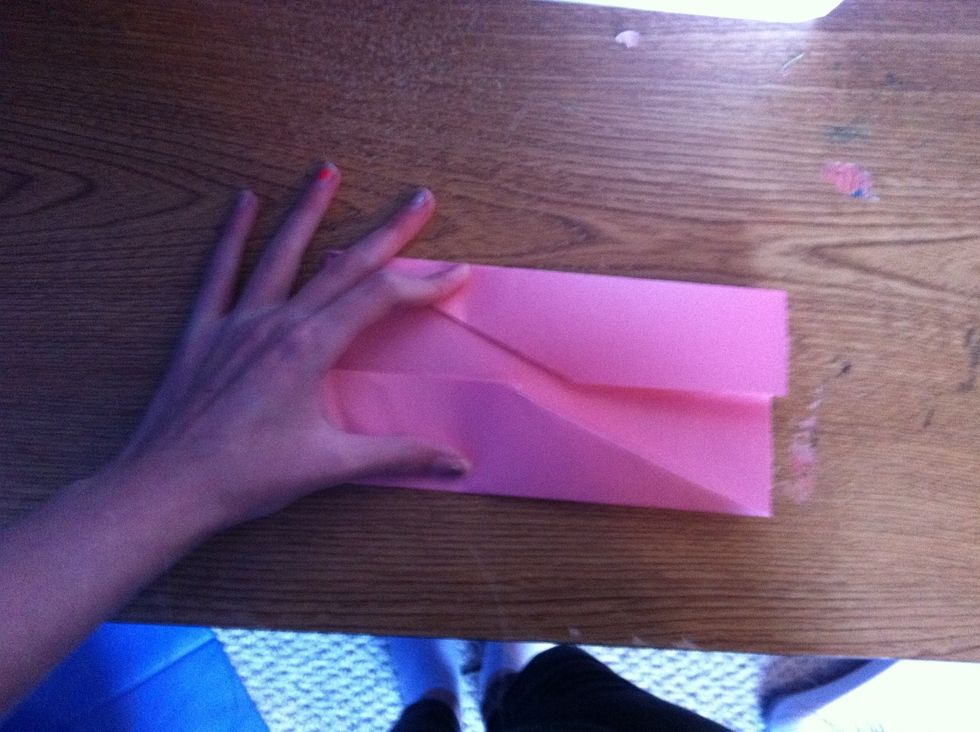
Fold the top left, and bottom right corners.
( the same way you fold the corner of a page in a book )
Flatten it out with the corners still folded.
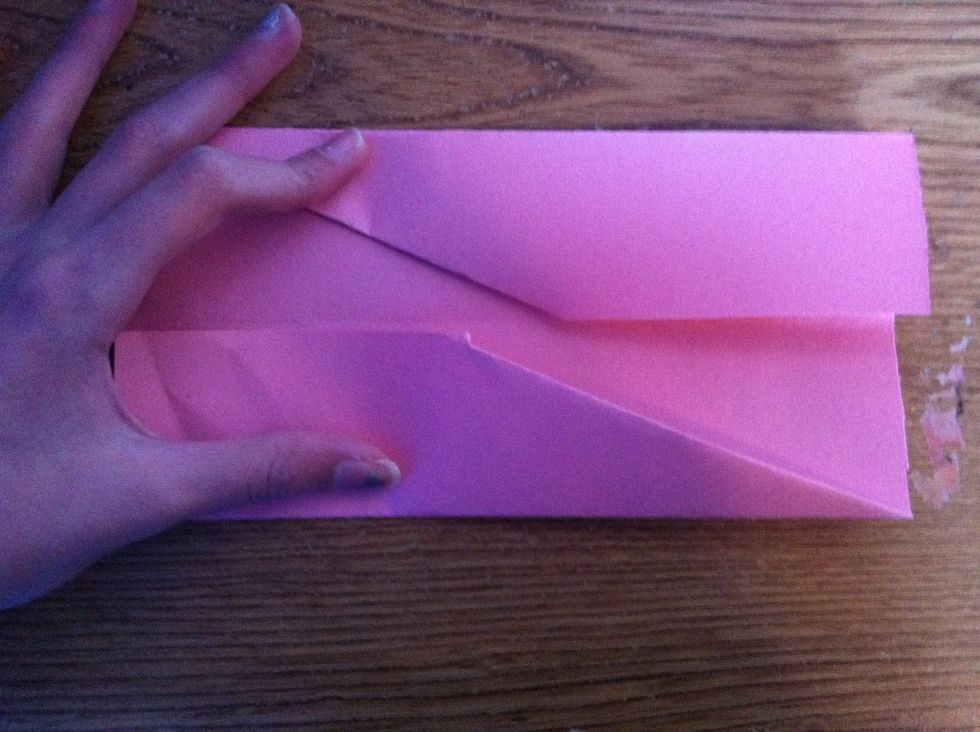
Now do another fold on those same two folds.
Flatten the crease to where it ends on the 1/4 mark. (< the half of the half )
Flatten it out again.
Now fold the quarter marks toward the center.
Flatten it again, but this time use one hand to keep it flat.
Like this.
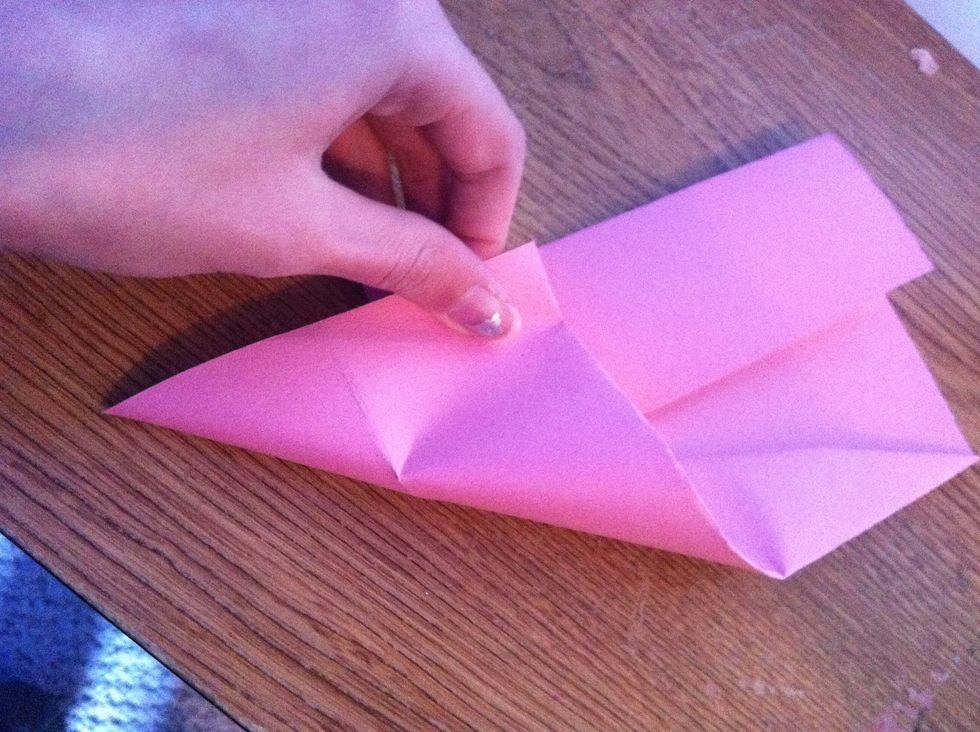
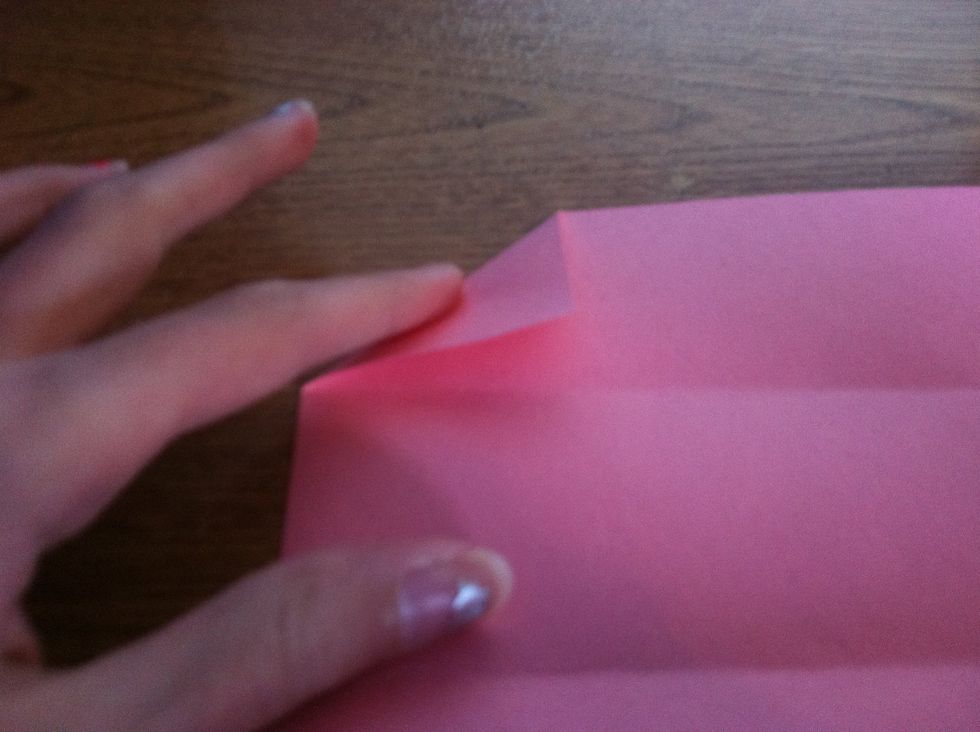
Now fold the two NOT FOLDED CORNERS like this.
1 down, 1 to go.
Now flatten.
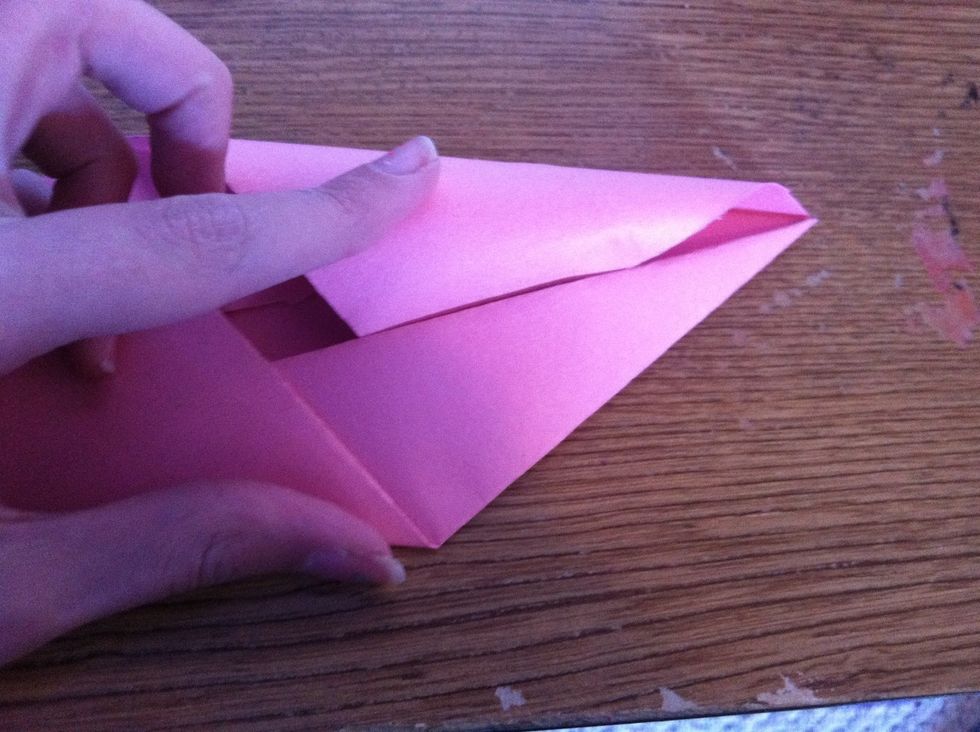
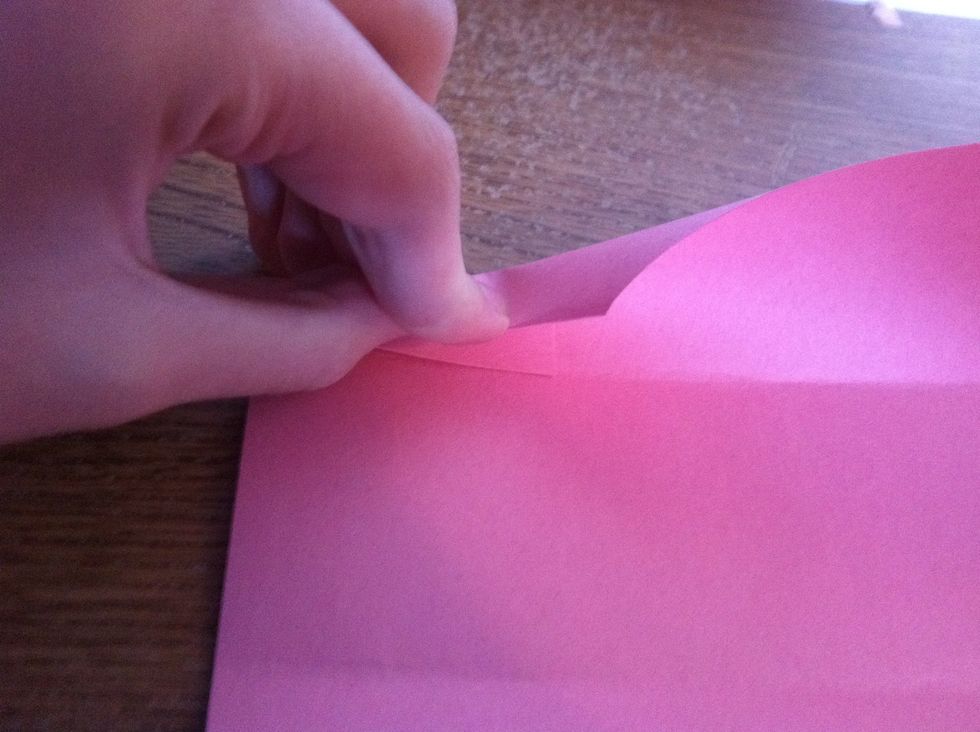
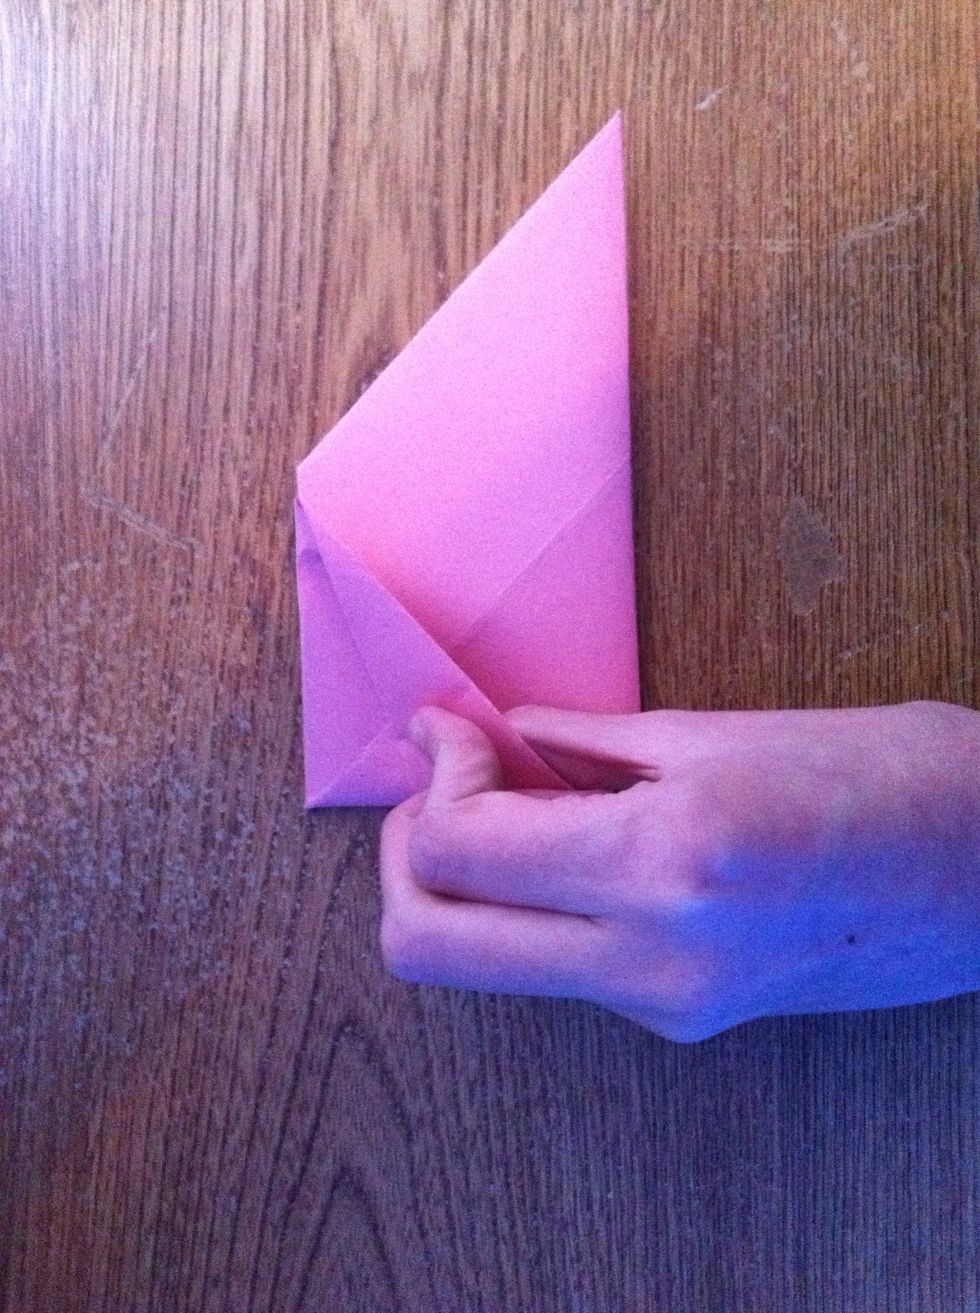
Now lift up those flaps you just made, and push them under the two tabs.

Like this. ( THIS IS AN IMPORTANT STEP! )
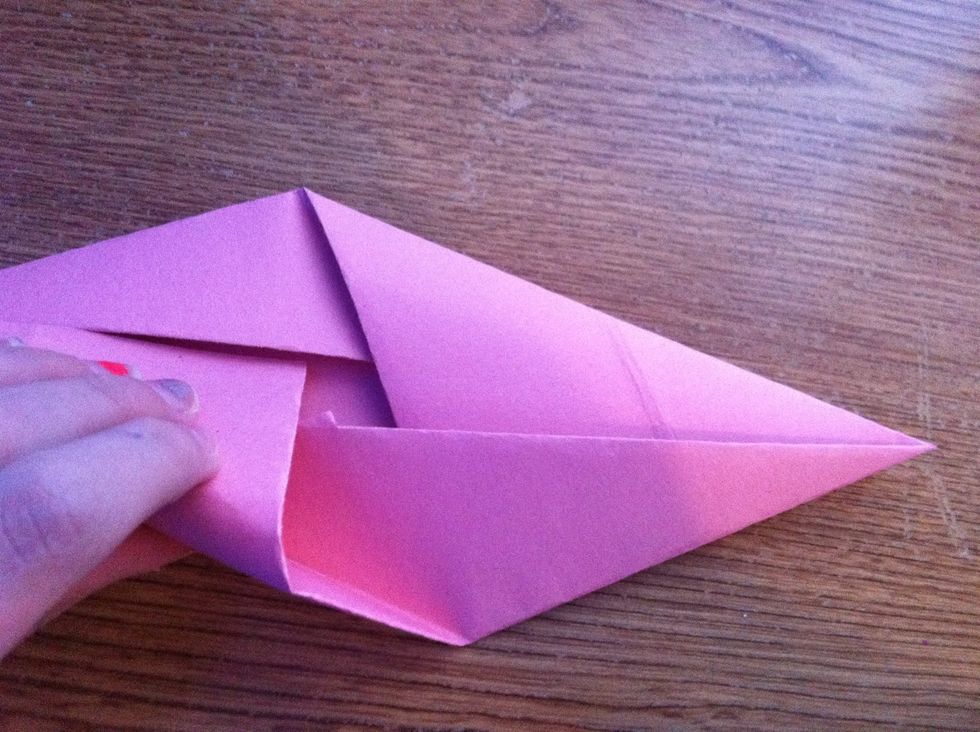
And again.
Once it looks like this, flatten it.
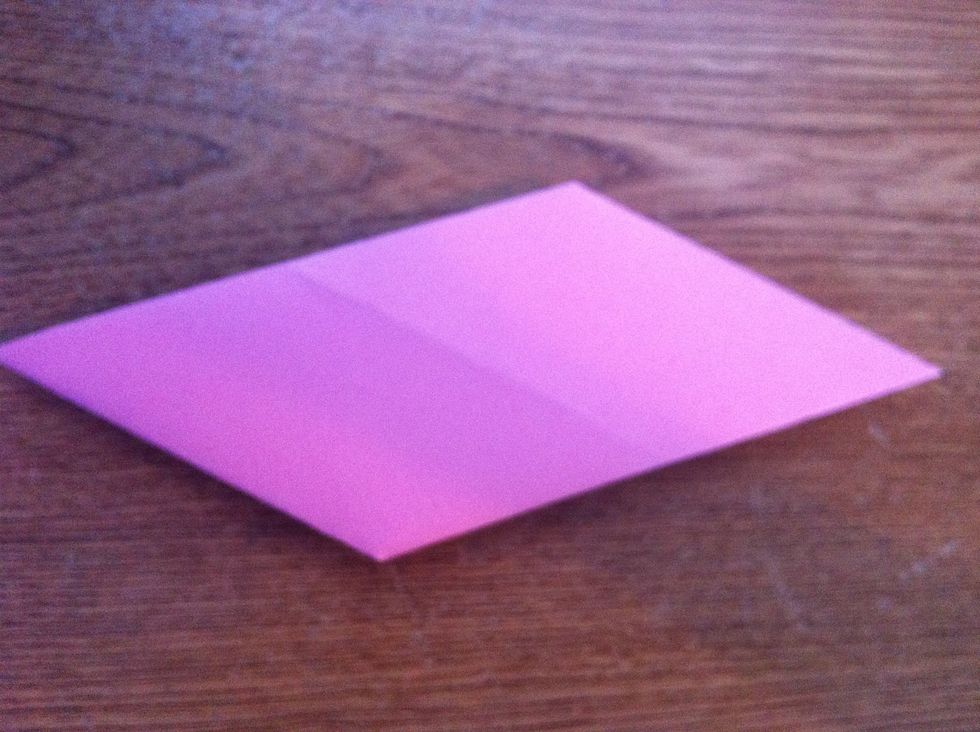
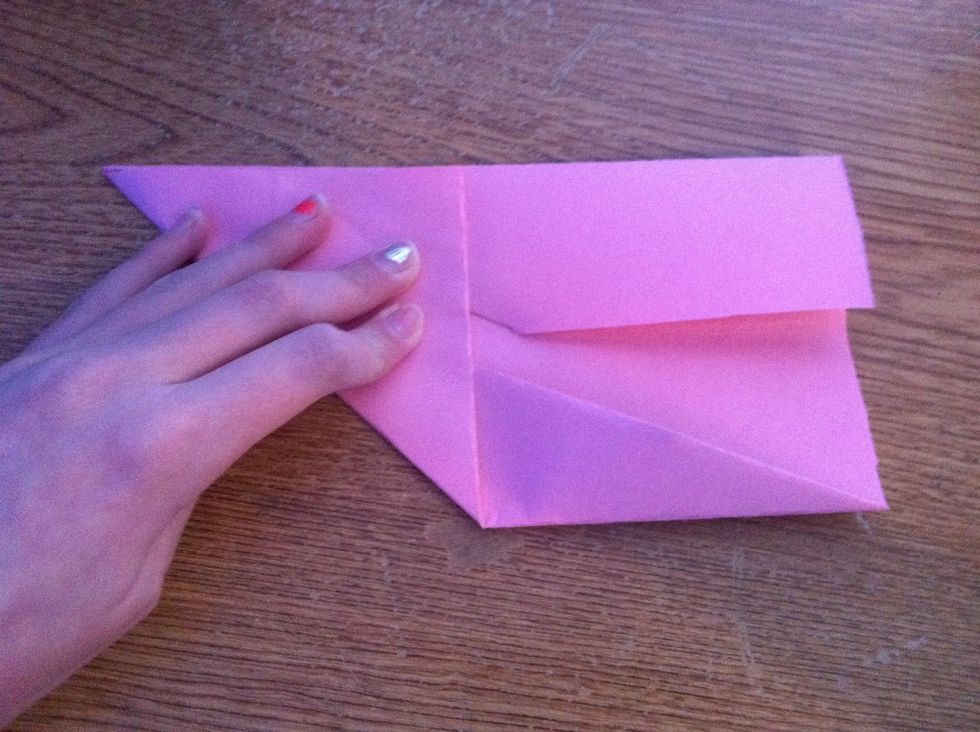
Now flip it over. (THE SIDE WITH THE FOLDS SHOULD BE FACE DOWN )
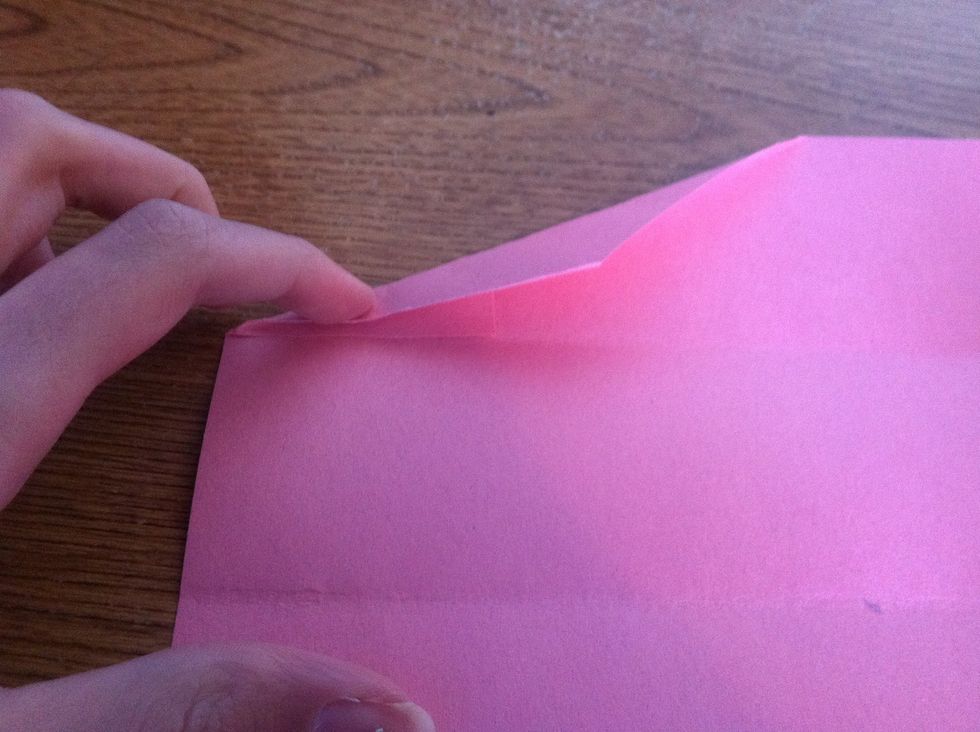
Fold the ends.
Like this.
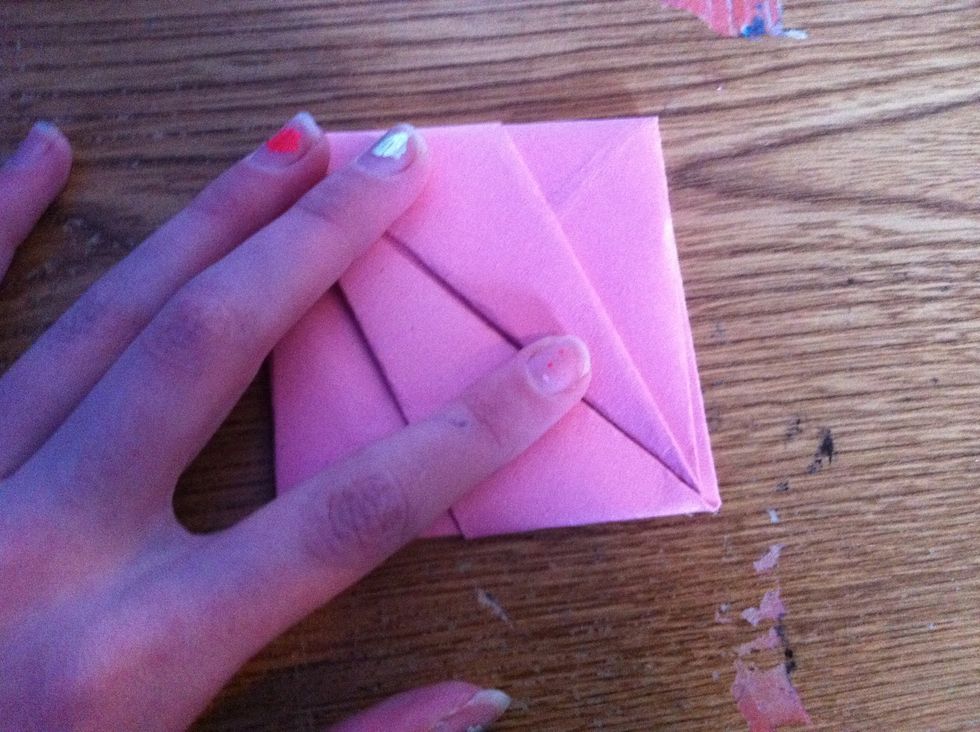
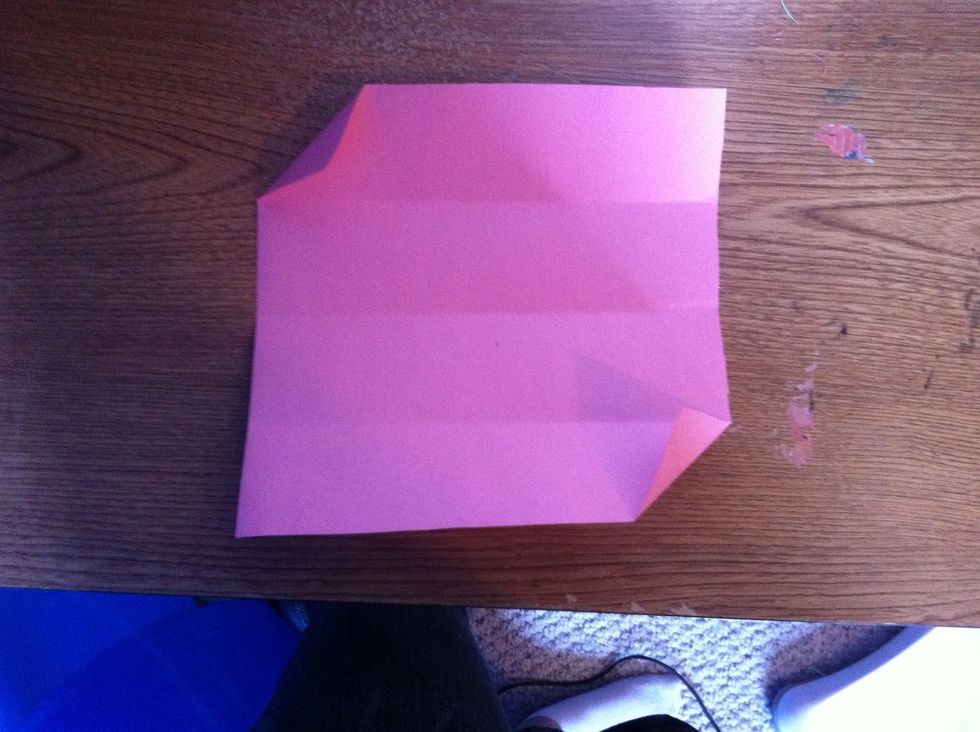
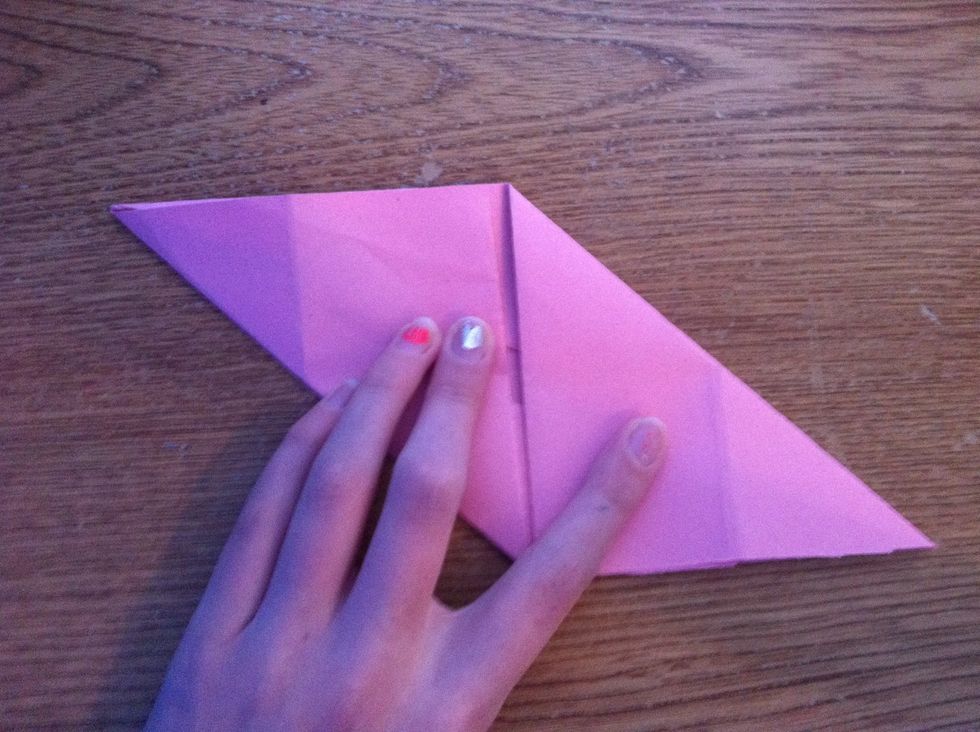
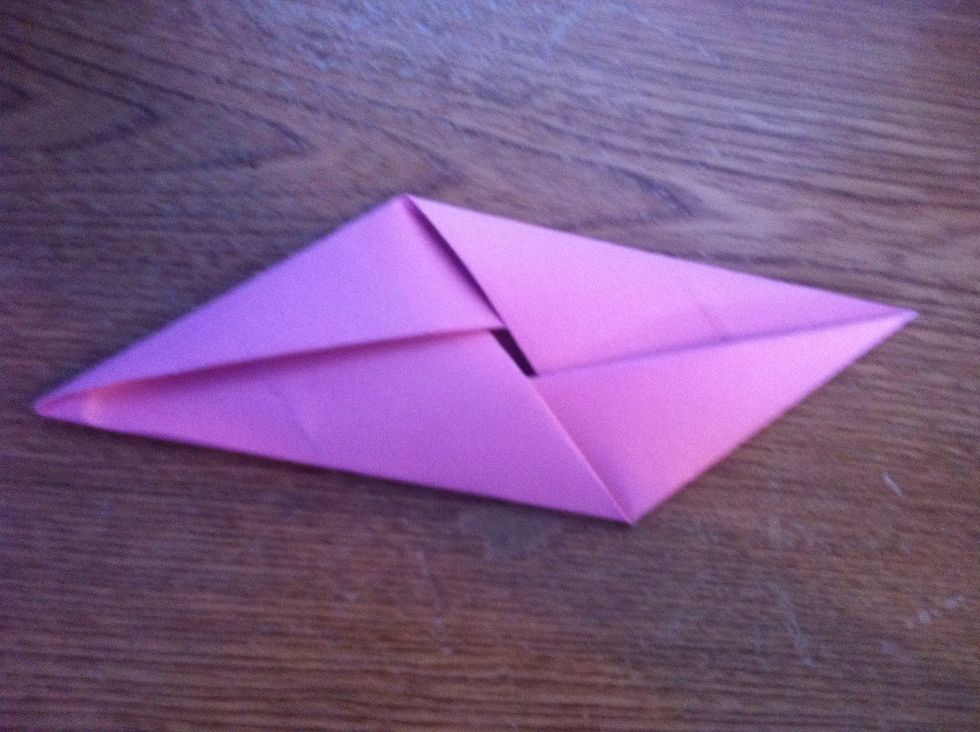
Once you have folded it to where it looks like this, let go.

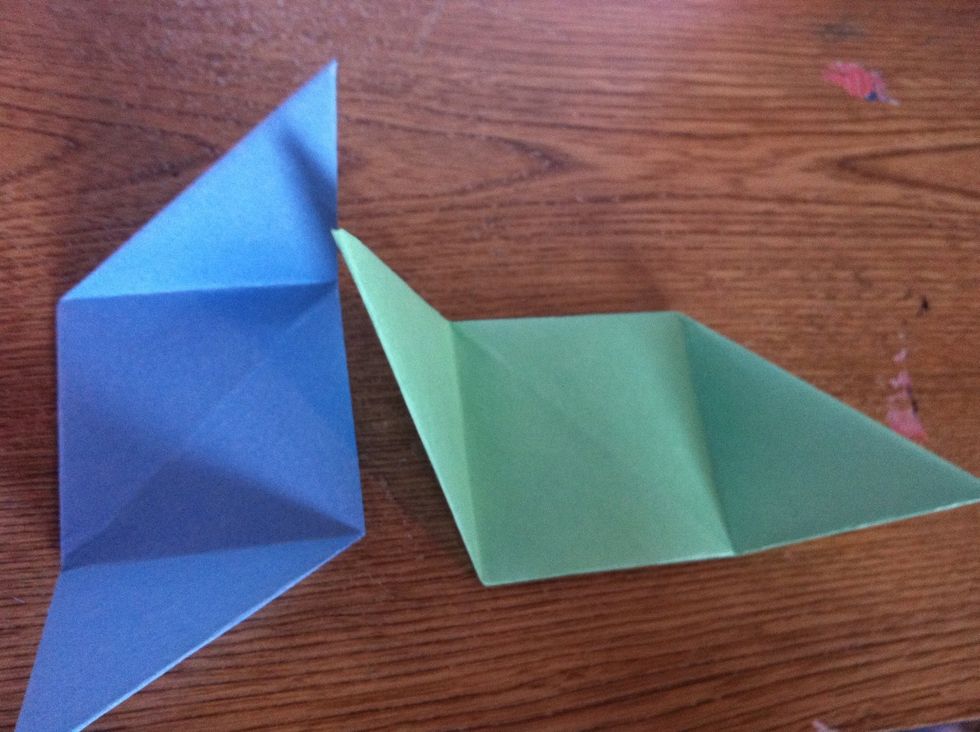
It should look like a square with flaps on the sides.
Repeat the previous steps on the other 5 square pieces of paper.
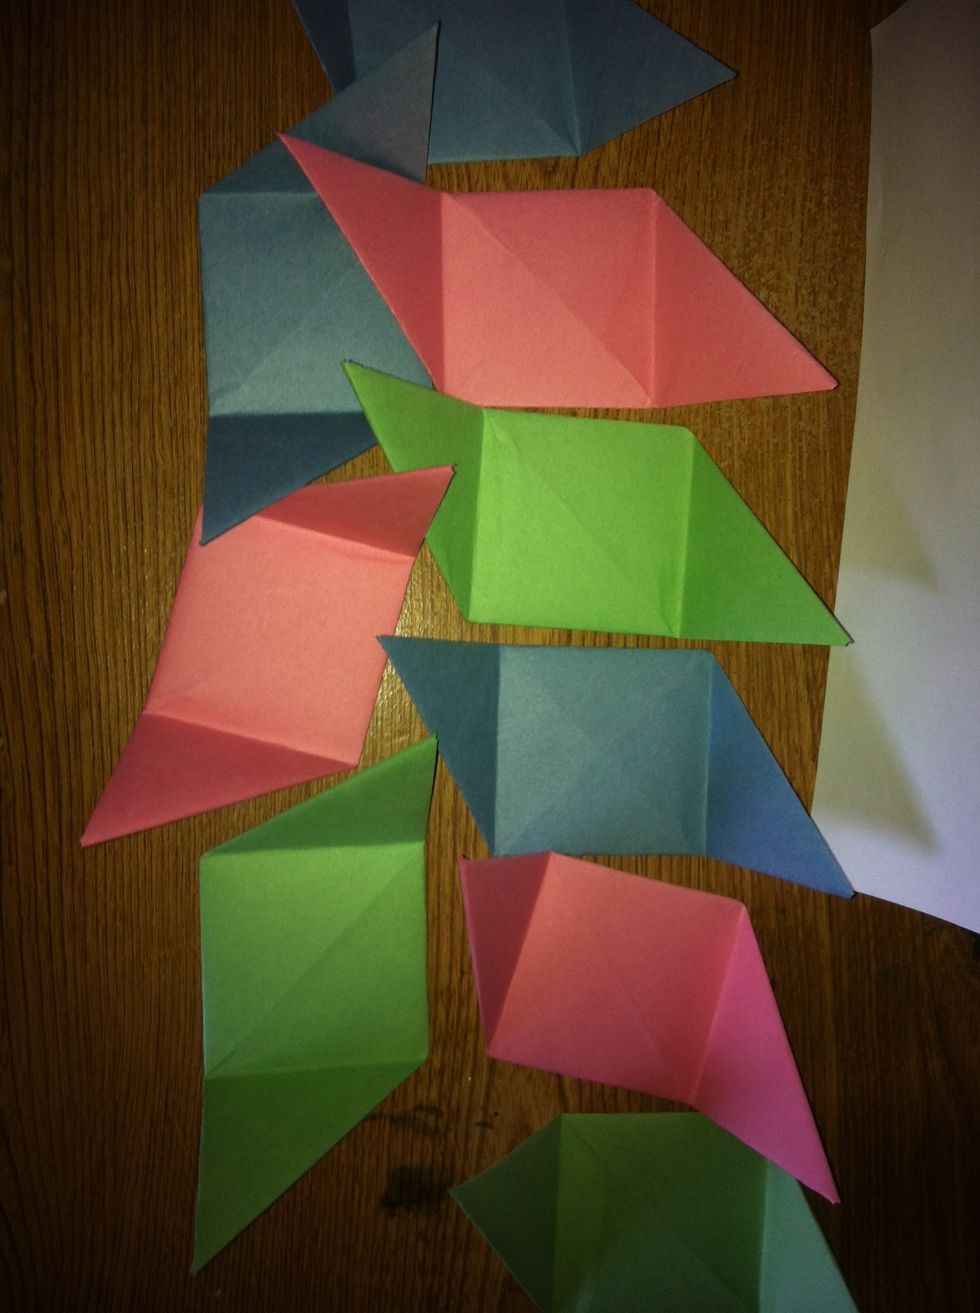
They should look like this, but you should only have 6.
Take 2.
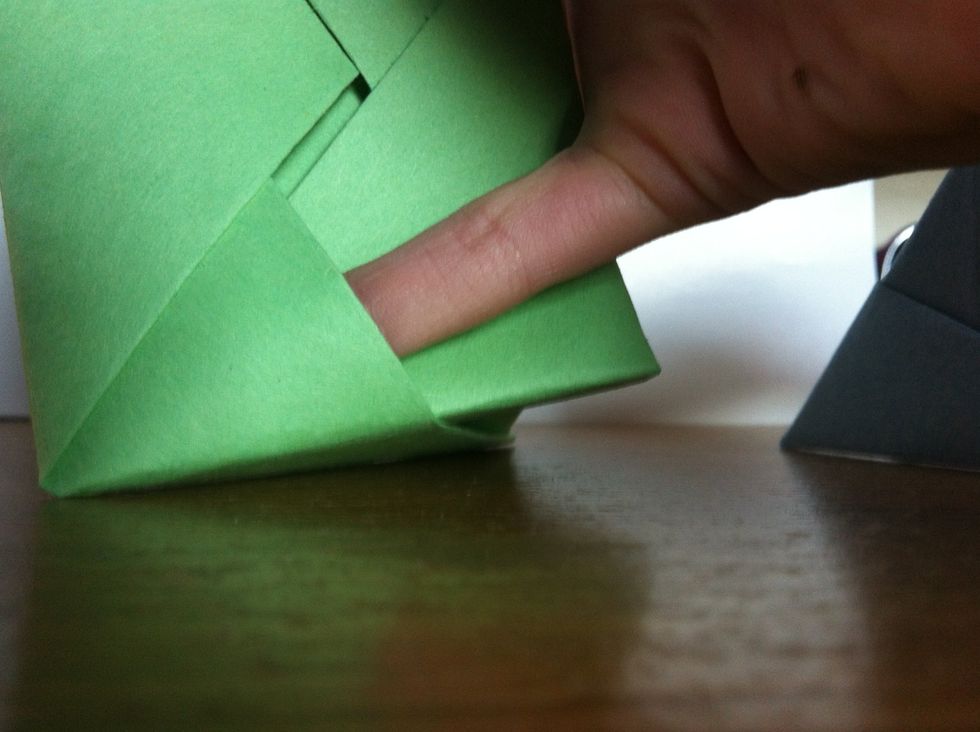
Push the other piece on through the small flap that my pinky is in.
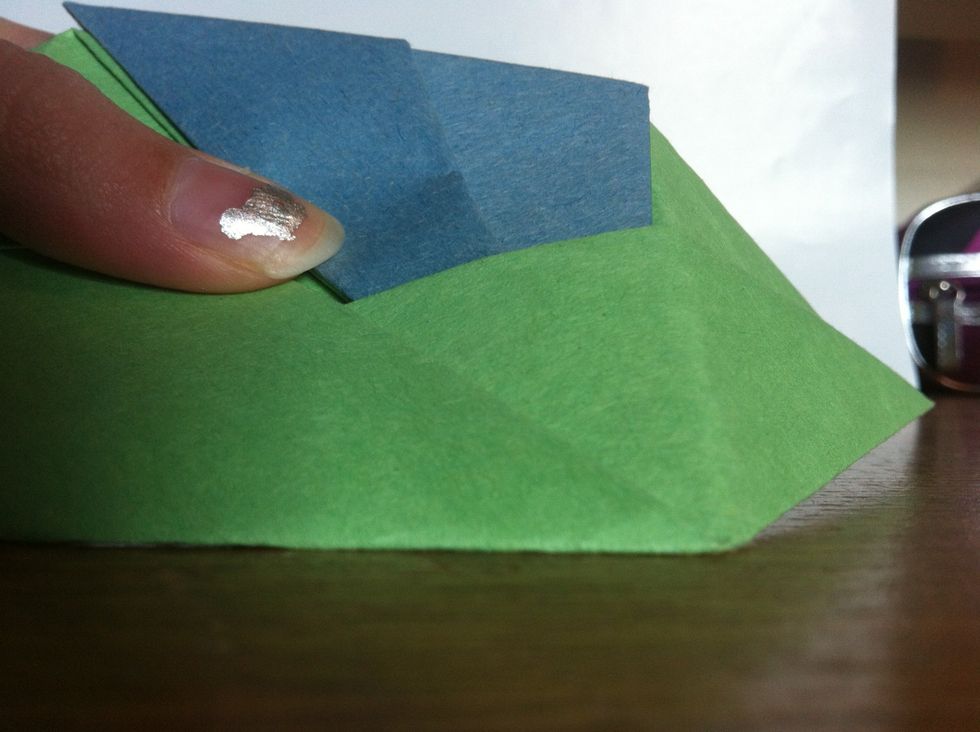
Like this. Then connect more pieces.
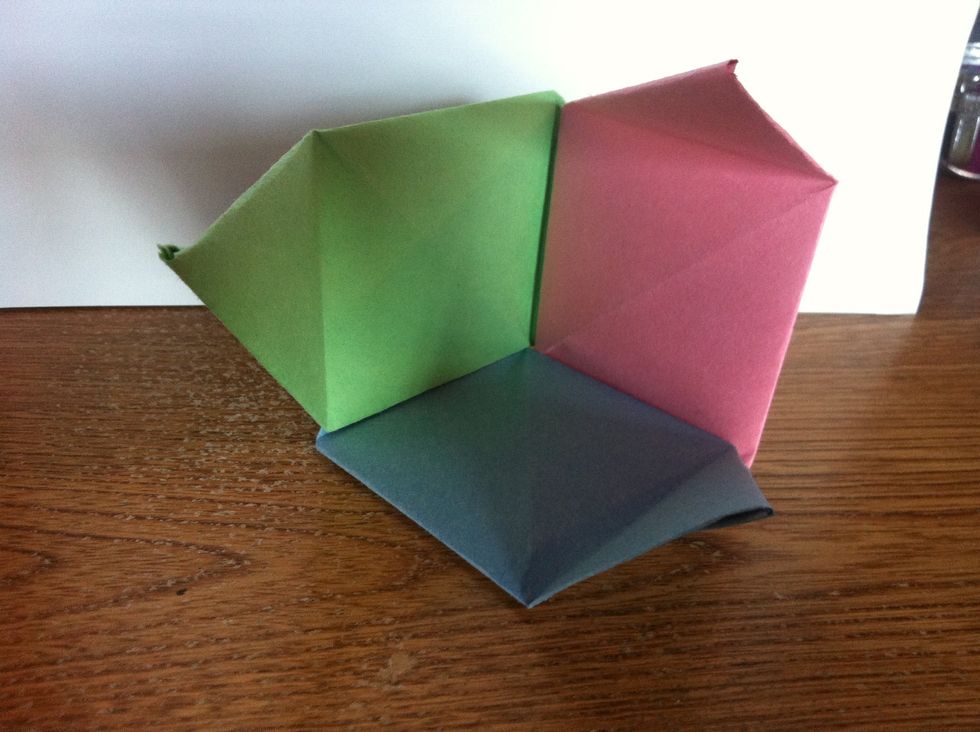
This is what 3 connected looks like.
From the outside.

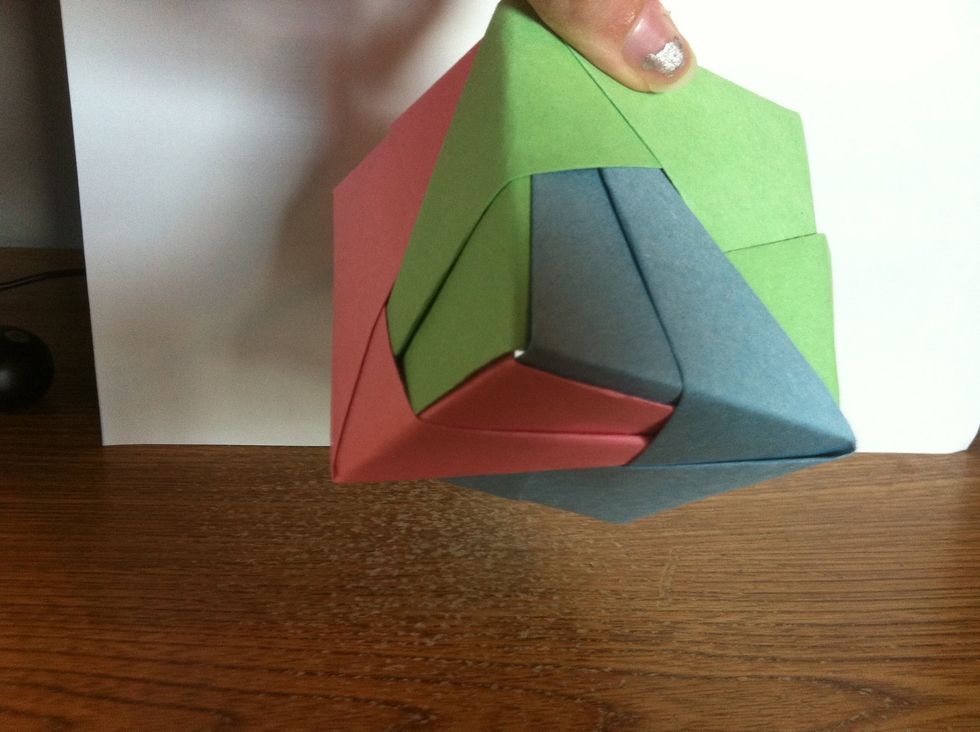
Connect all 6.
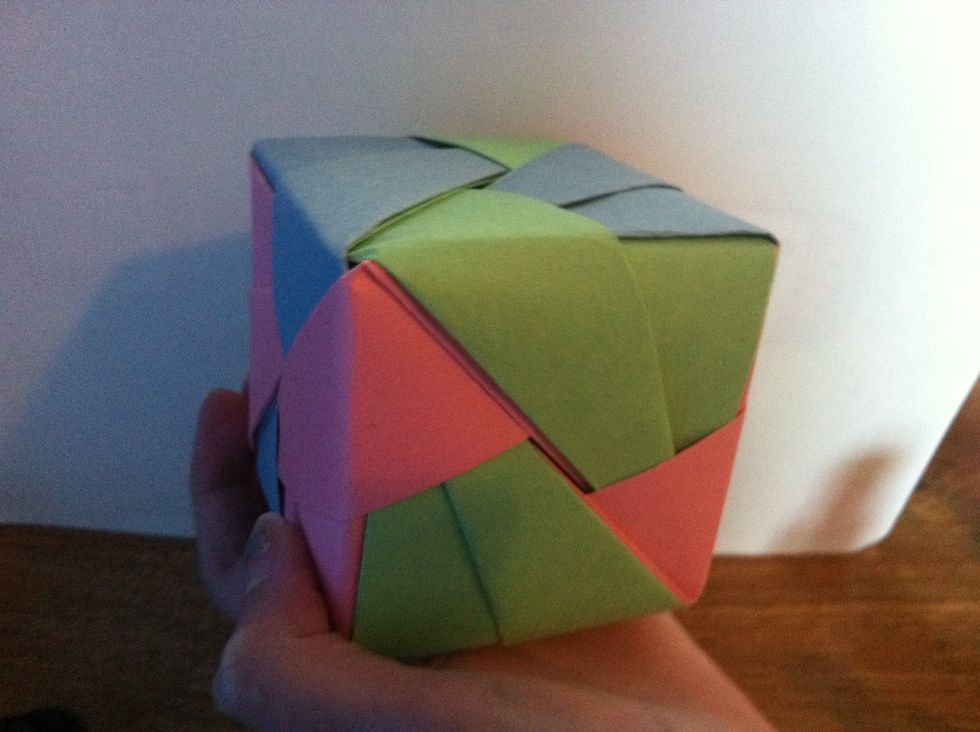
Now your done!
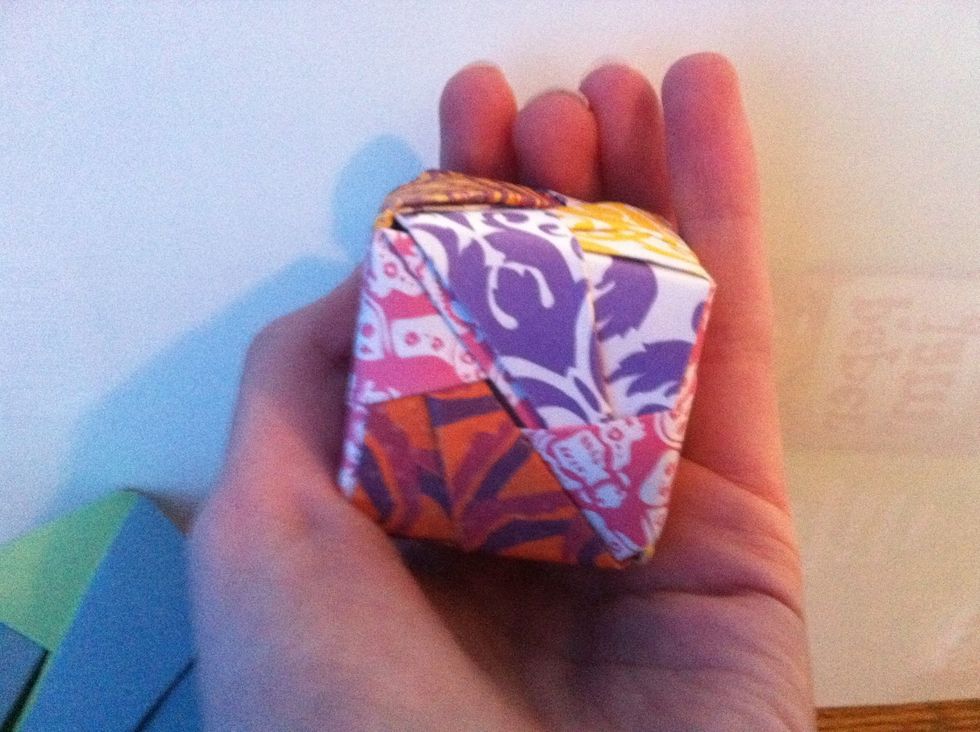
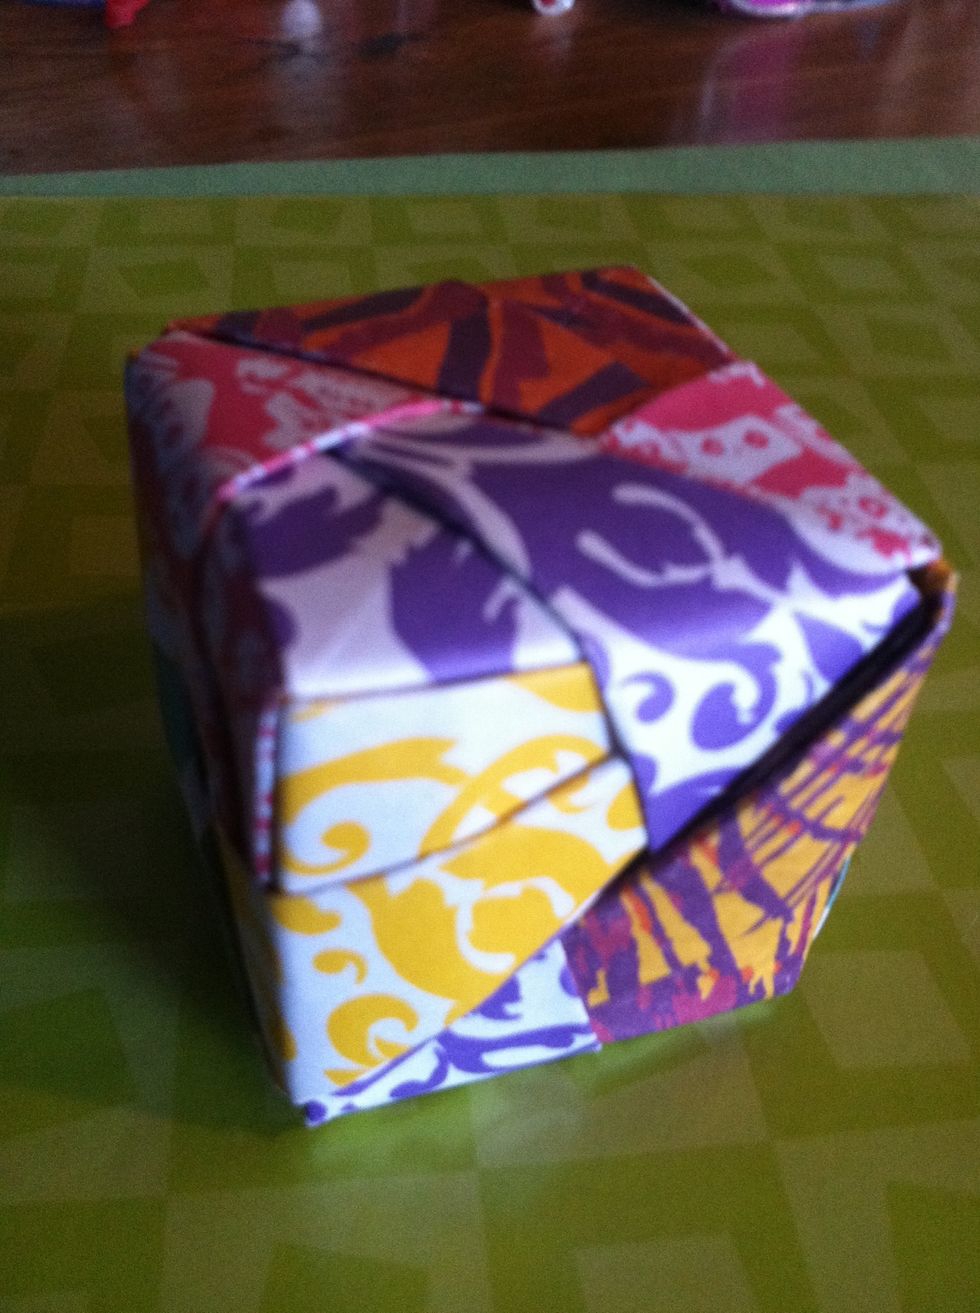
This is what one looks like with pretty paper.
That's it! You can use scrapbook paper, construction paper, printer paper, or notebook paper! Just make sure you cut it into square pieces! ( at least 3x3 inches ). I hope this guide helps!