The Conversation (0)
Sign Up
There are lots of origami butterflies out there, but this one is my favorite. It is also quite simple. First, fold a waterbomb base. I'll explain how...
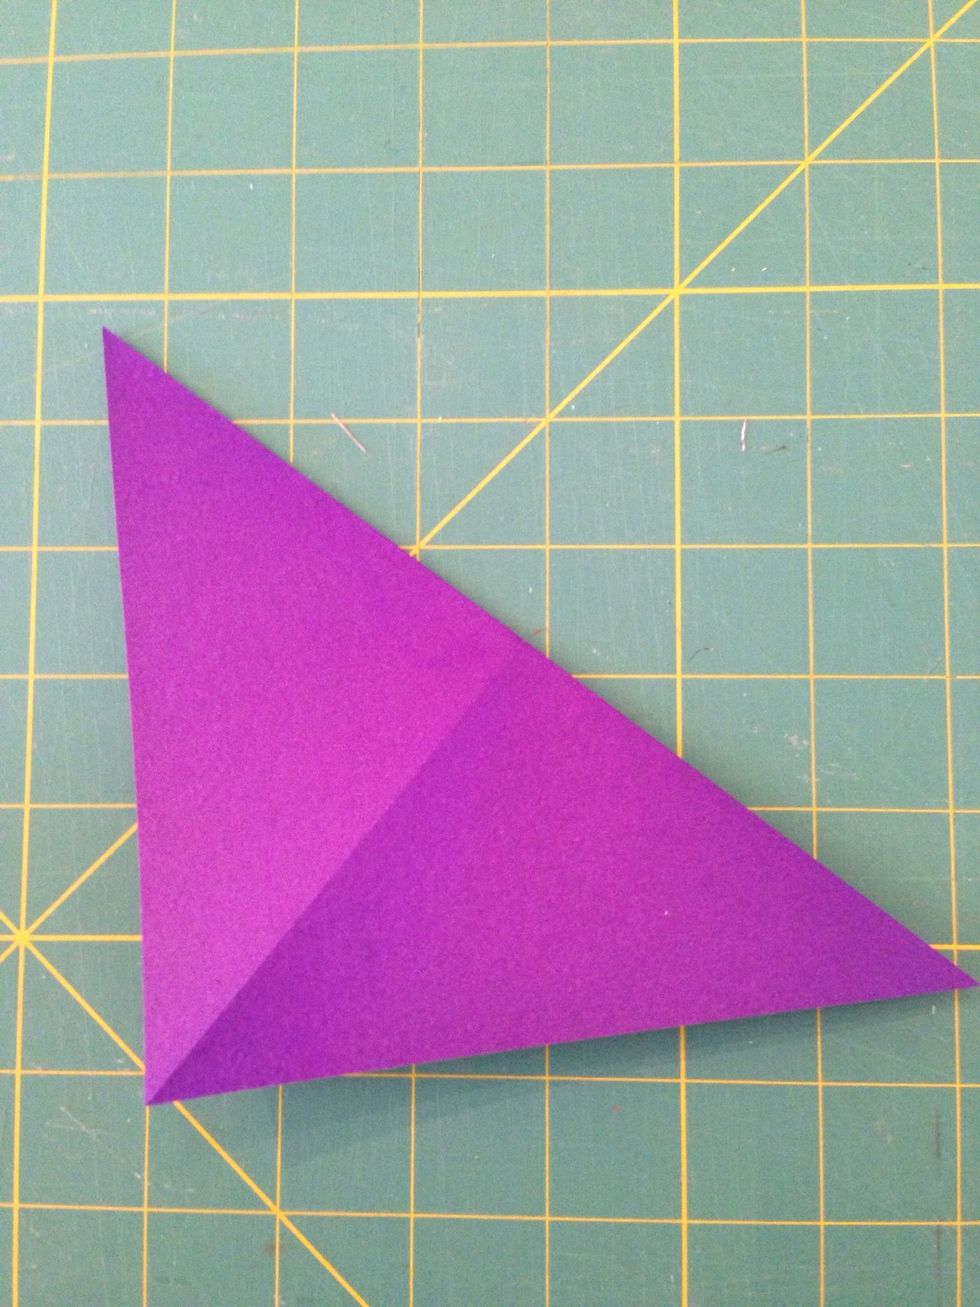
Fold the paper in half along both diagonals. Notice that the colored side is visible.
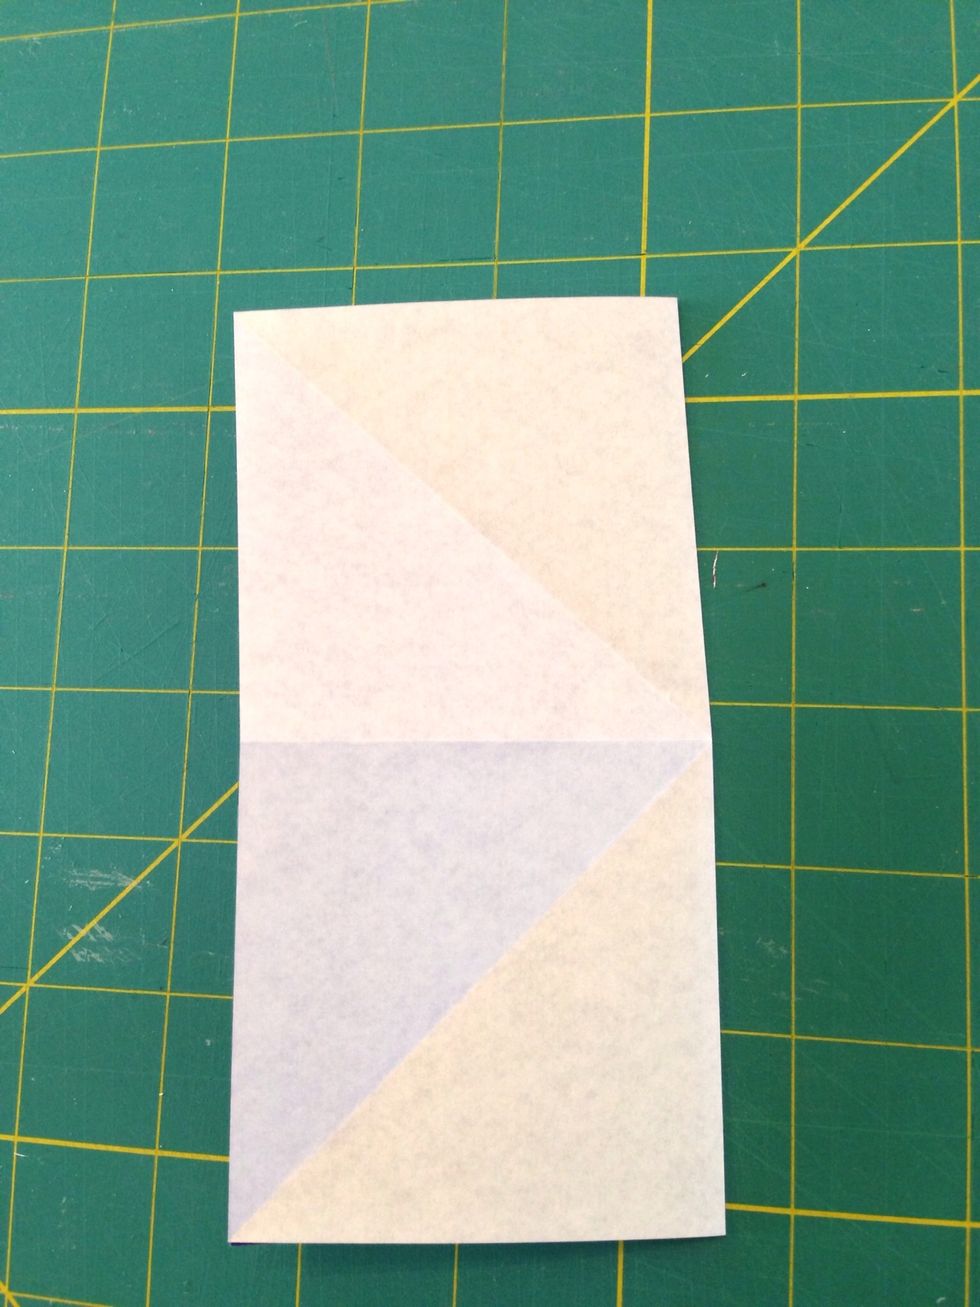
Now fold the paper in half horizontally and vertically. Notice that the white side is visible. Now unfold the paper.
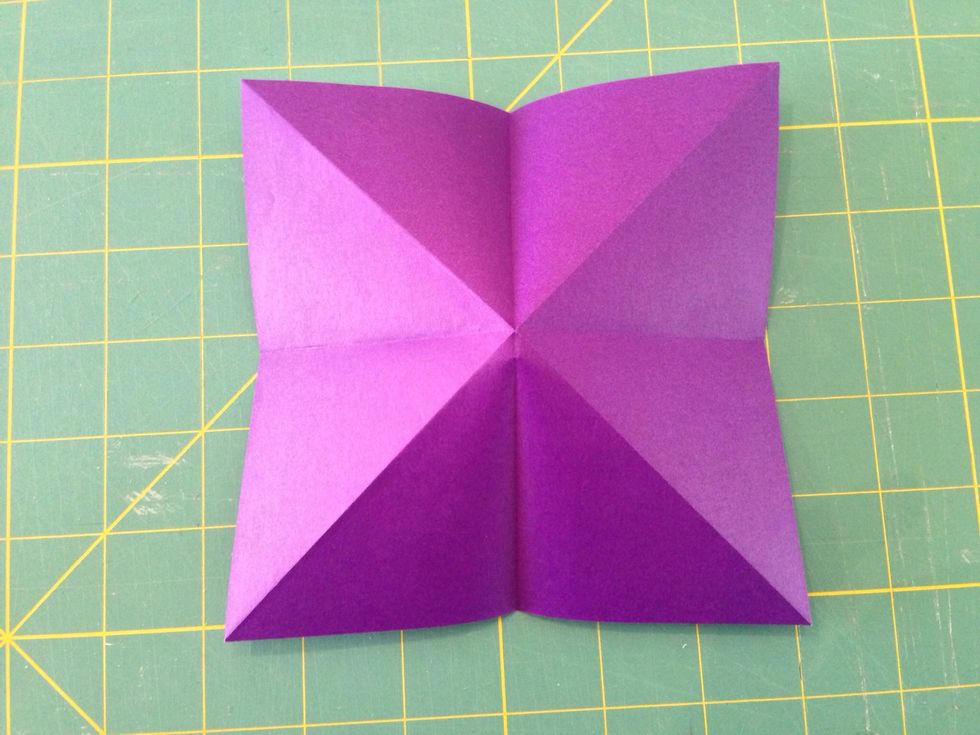
Turn the paper so the purple side is visible. Just flatten the paper along existing creases. See the next step for the result.
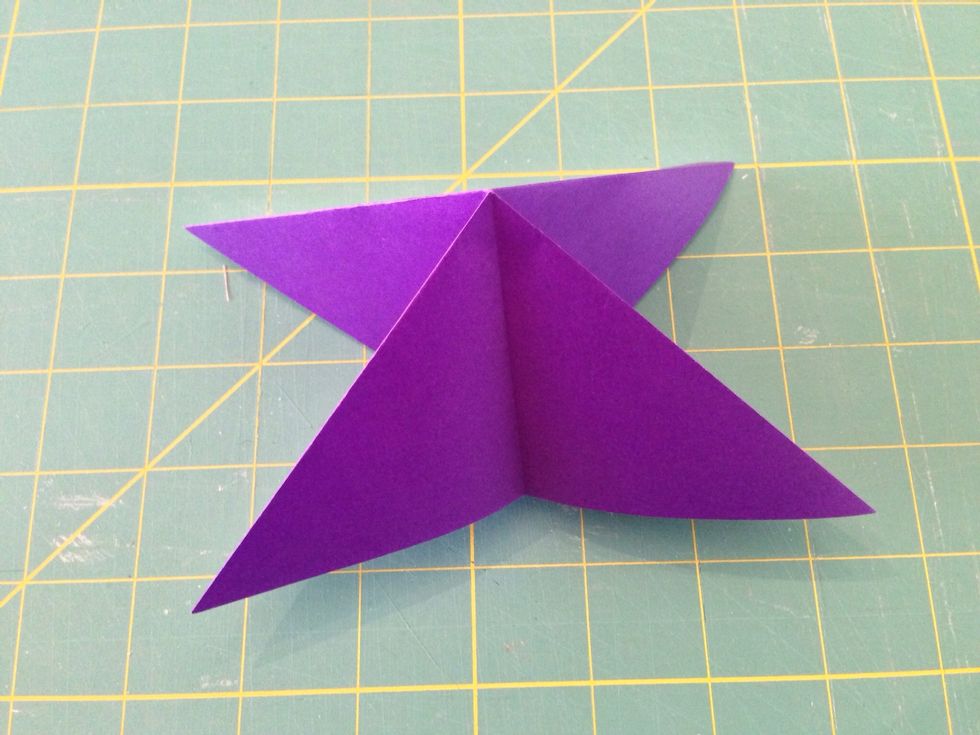
There! Totally easy! This is an origami waterbomb base. Now place it flat on the work surface.
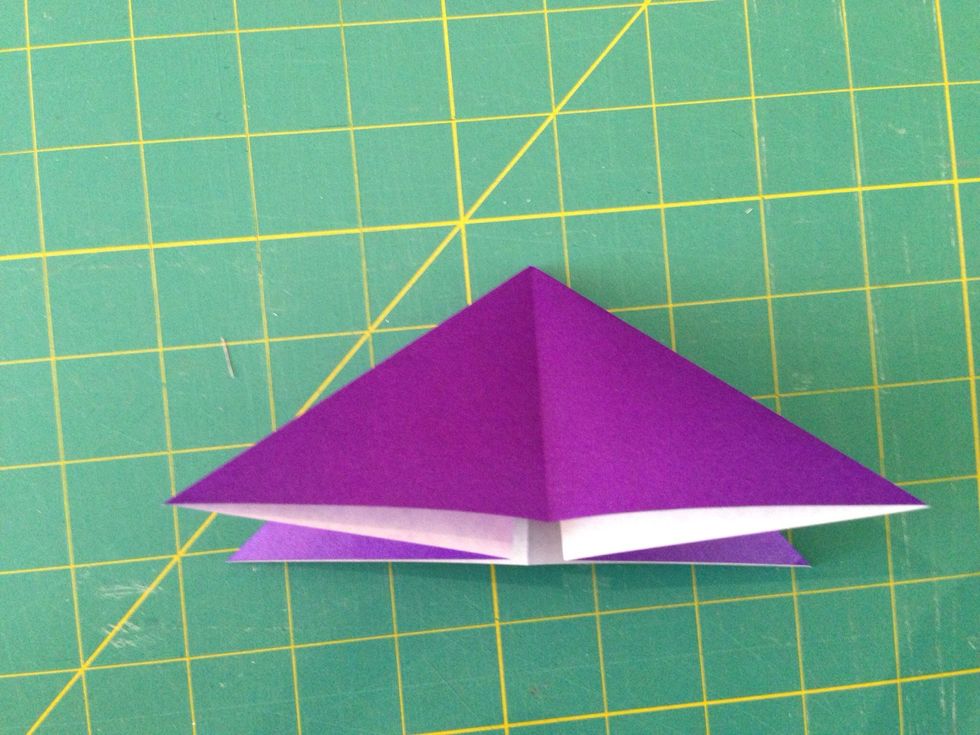
Fold the side corners to the corner at the top.
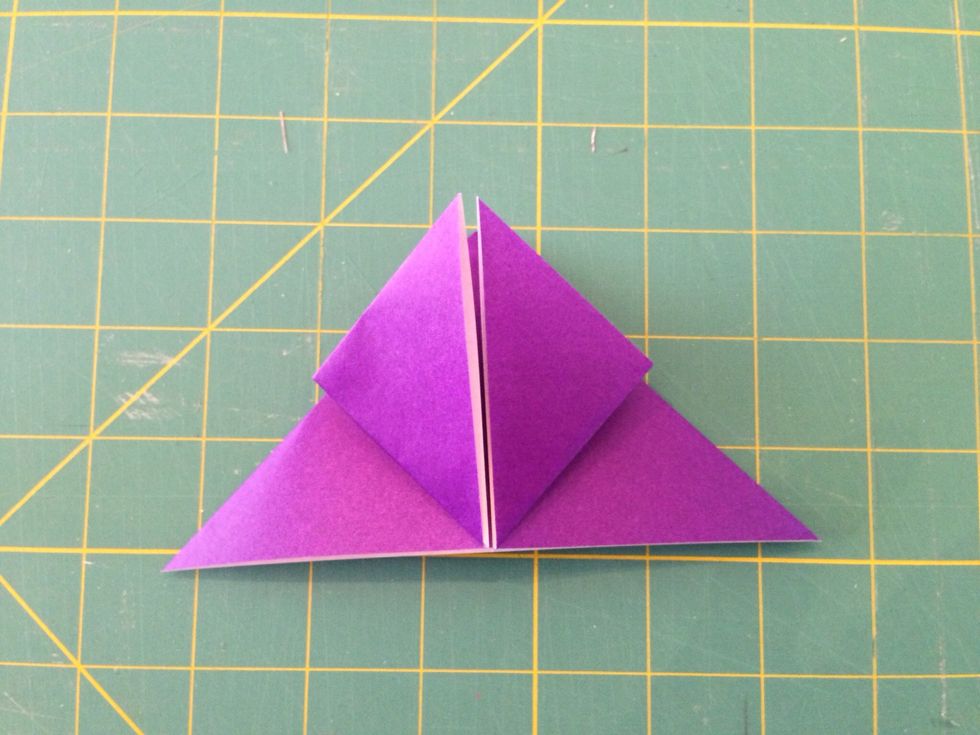
Now turn the paper over.

Pull the tip of the pyramid down so it extends a little past the bottom edge.
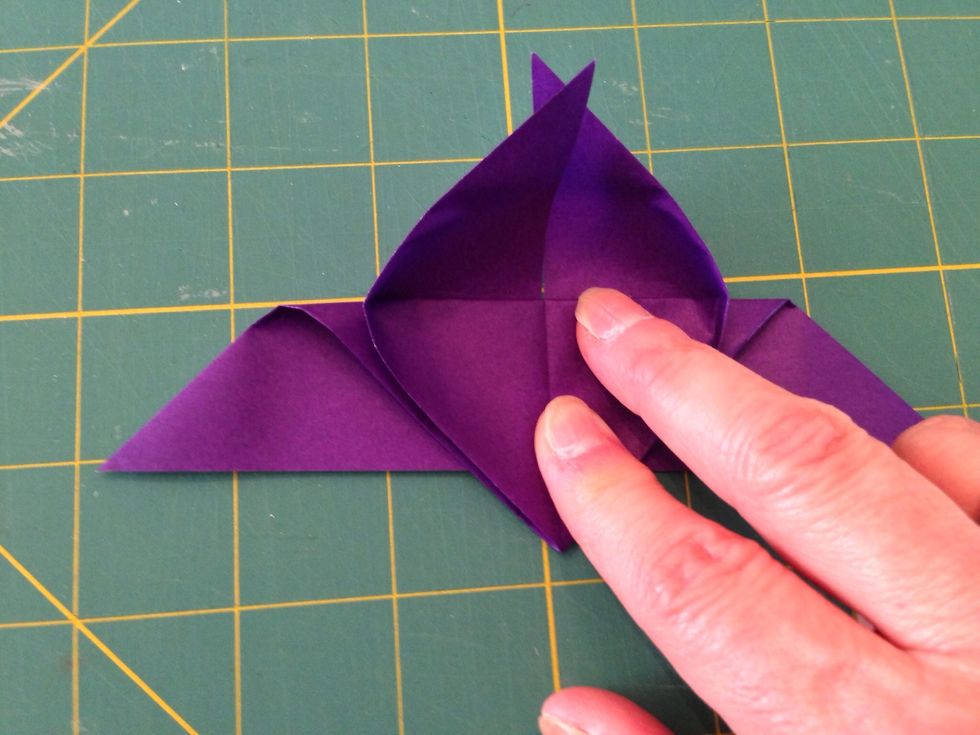
See how the paper at the corners has shifted? Press these areas flat. It will separate the wings so it will look more like a real butterfly.
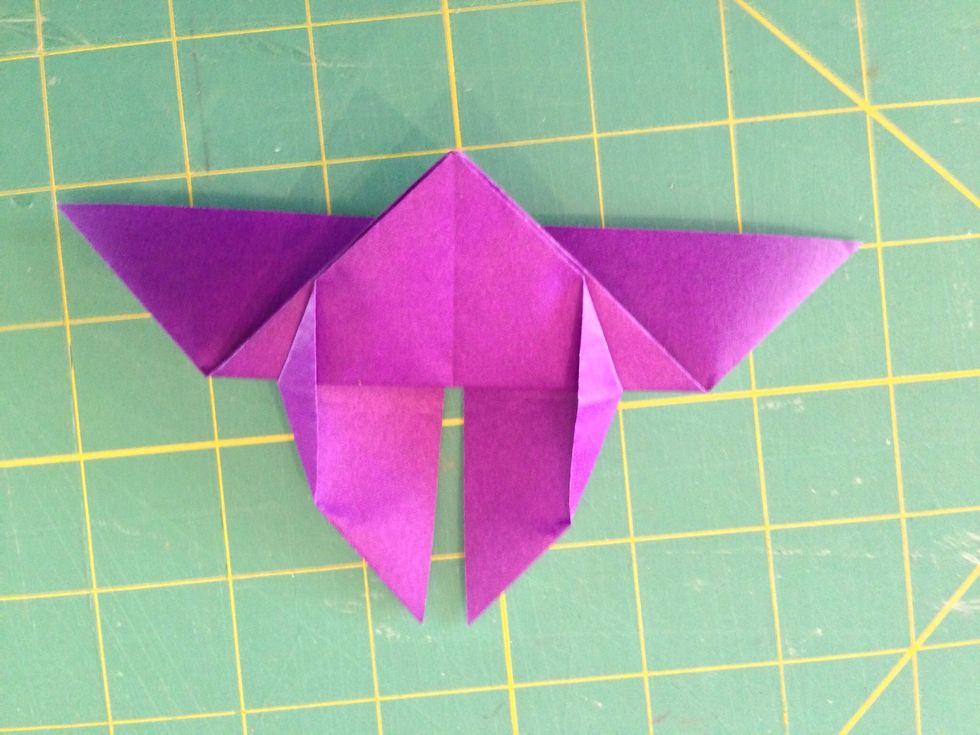
The wing corners are flattened now. Did you notice that I rotated the model? Extra points to Gryffindor if you did...
Flip the model over so it looks like this.

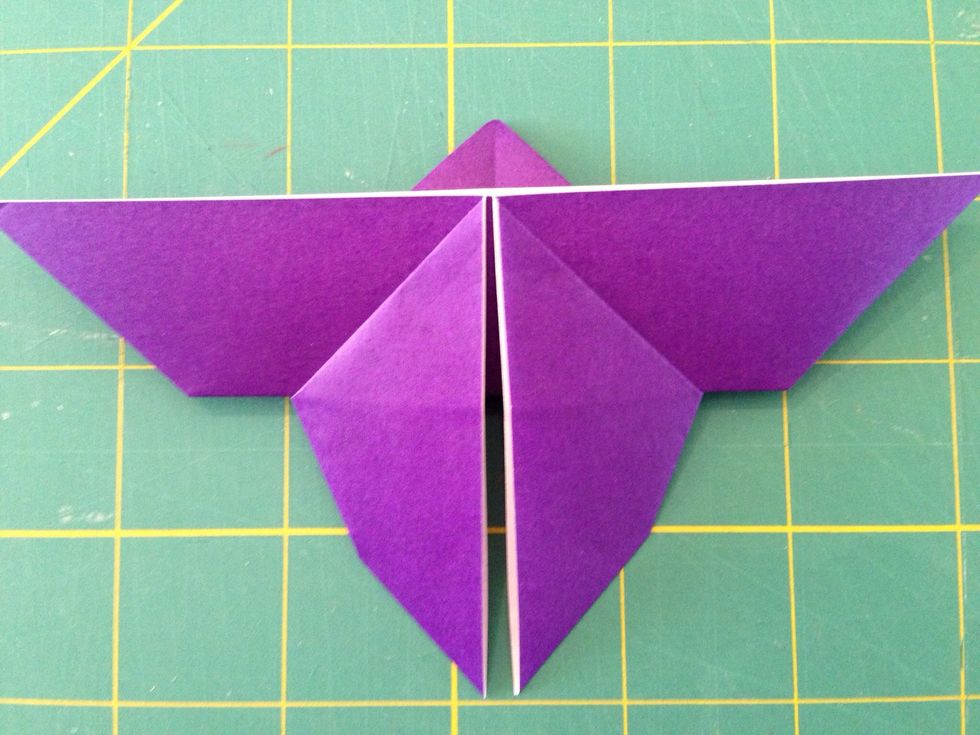
Fold the tip down, then fold the model in half down the middle. See the next step for the results.

Grab the body of the butterfly and fold the wings down at an angle.
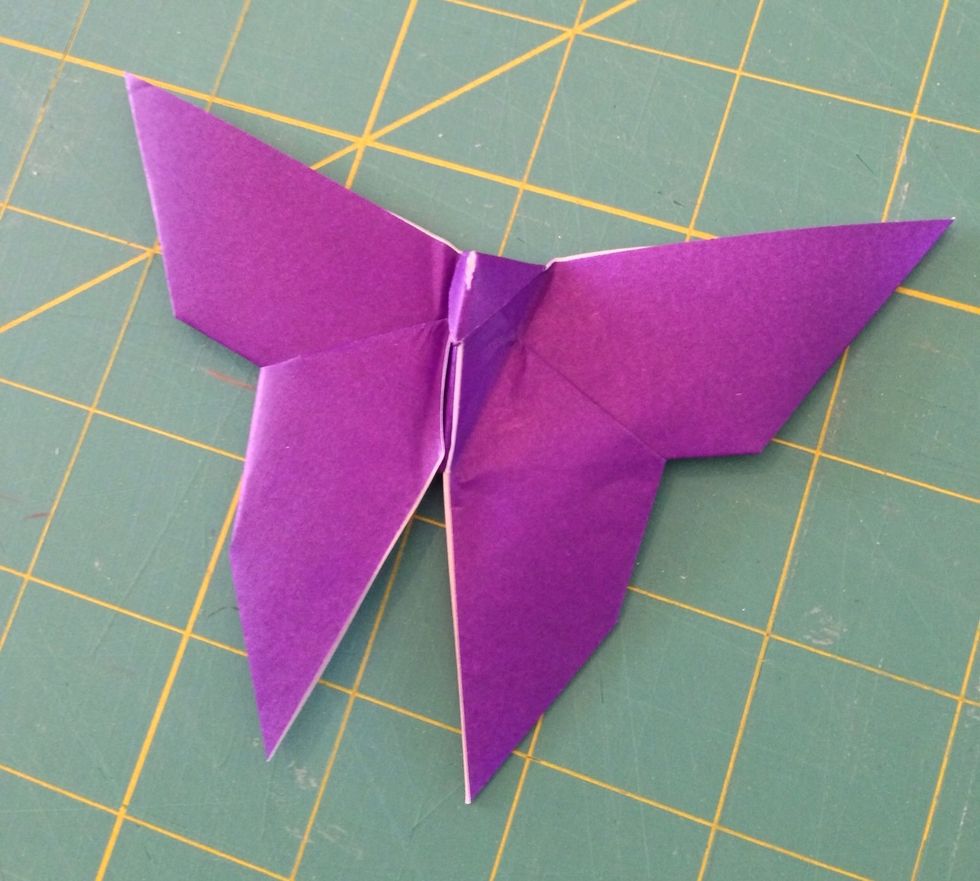
Your butterfly is finished!
This is a version of one of Akira Yoshizawa's butterflies. He has been called the father of modern origami; he helped teach the art of paper folding to the world!
Want to learn how to make butterfly earrings using this model? Stay tuned for another Snapguide. But first, practice making this model with 6-inch squares of paper.