The Conversation (0)
Sign Up
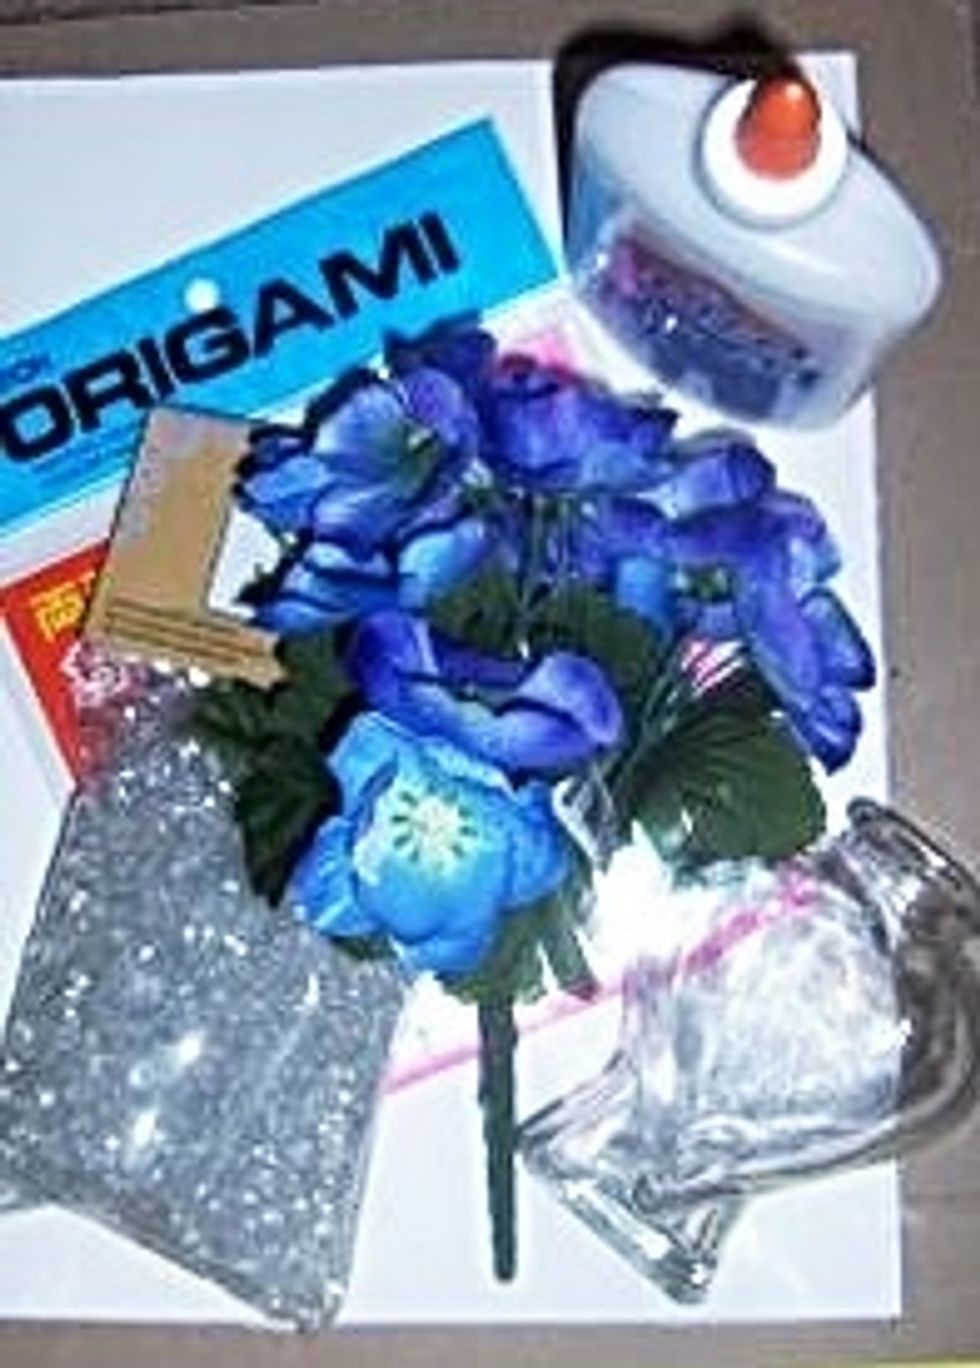
Gather supplies
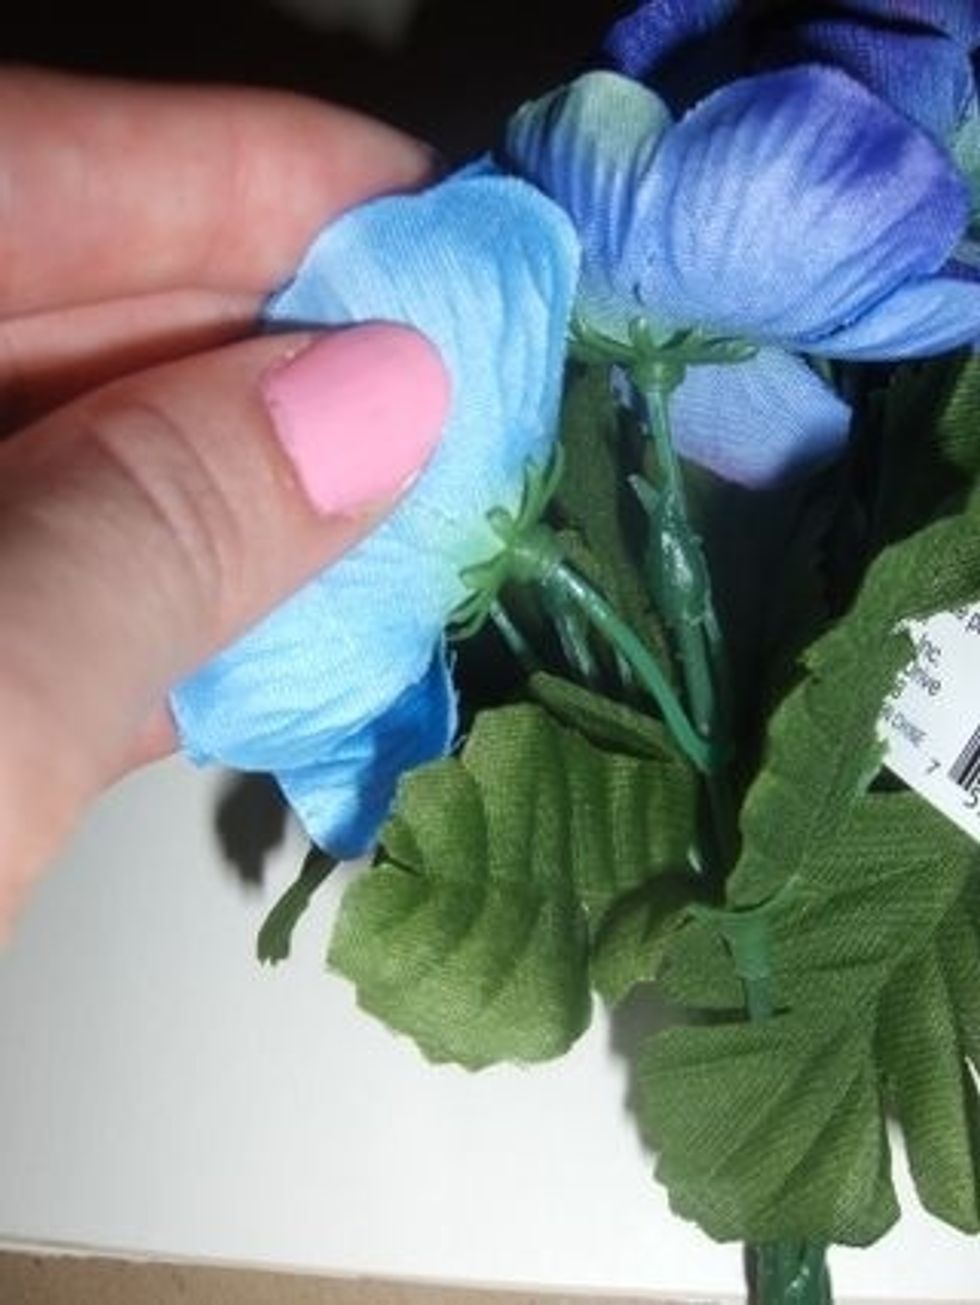
Start by removing the fake flowers by gently pulling them off
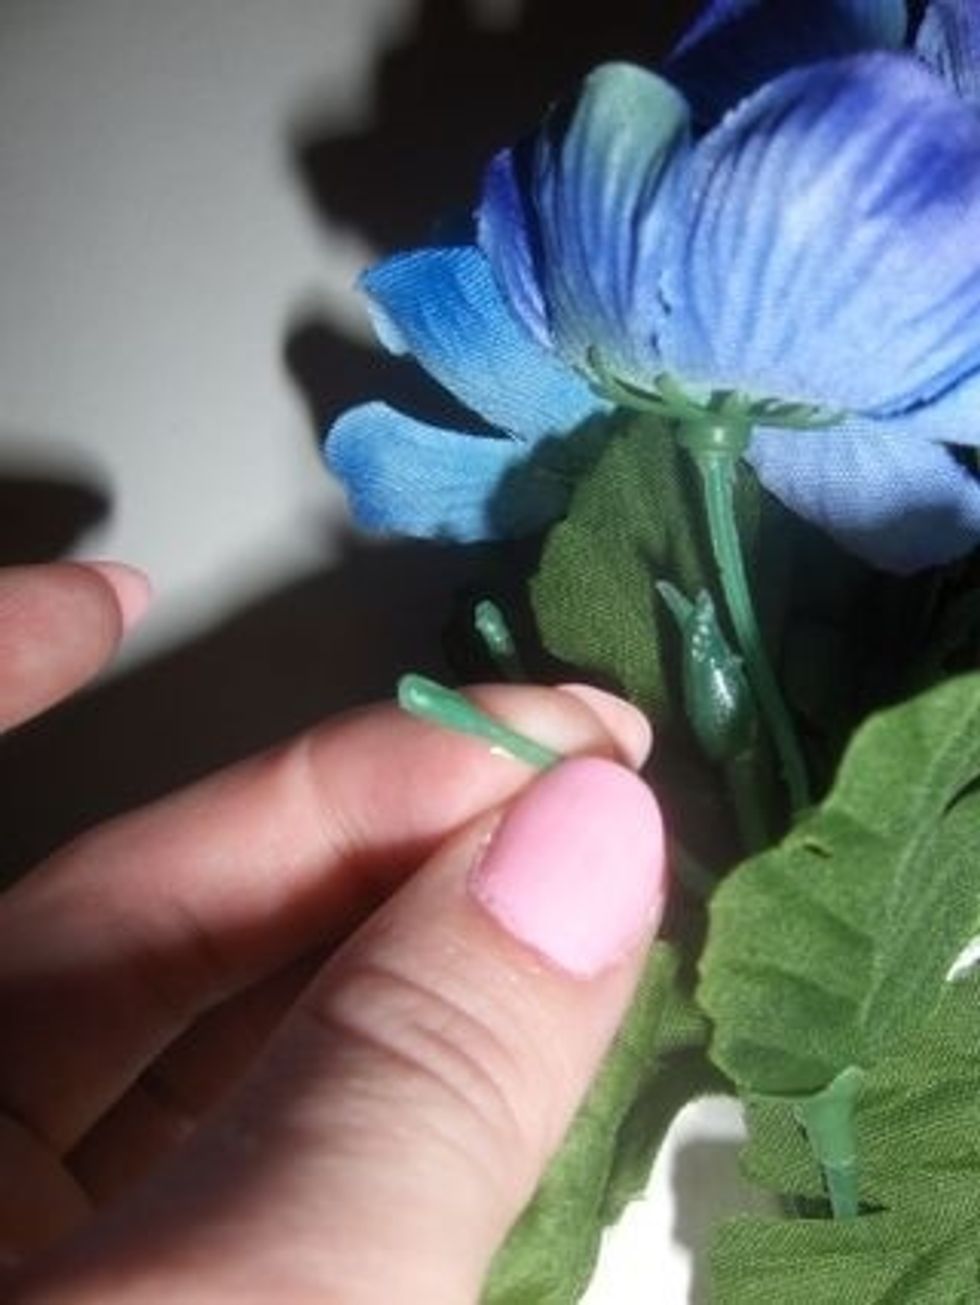
This is where you'll attach your paper flowers later. Count how many stems you have to know how many flowers to make. "Prune" with scissors as desired.
Now it's time to make the flowers!
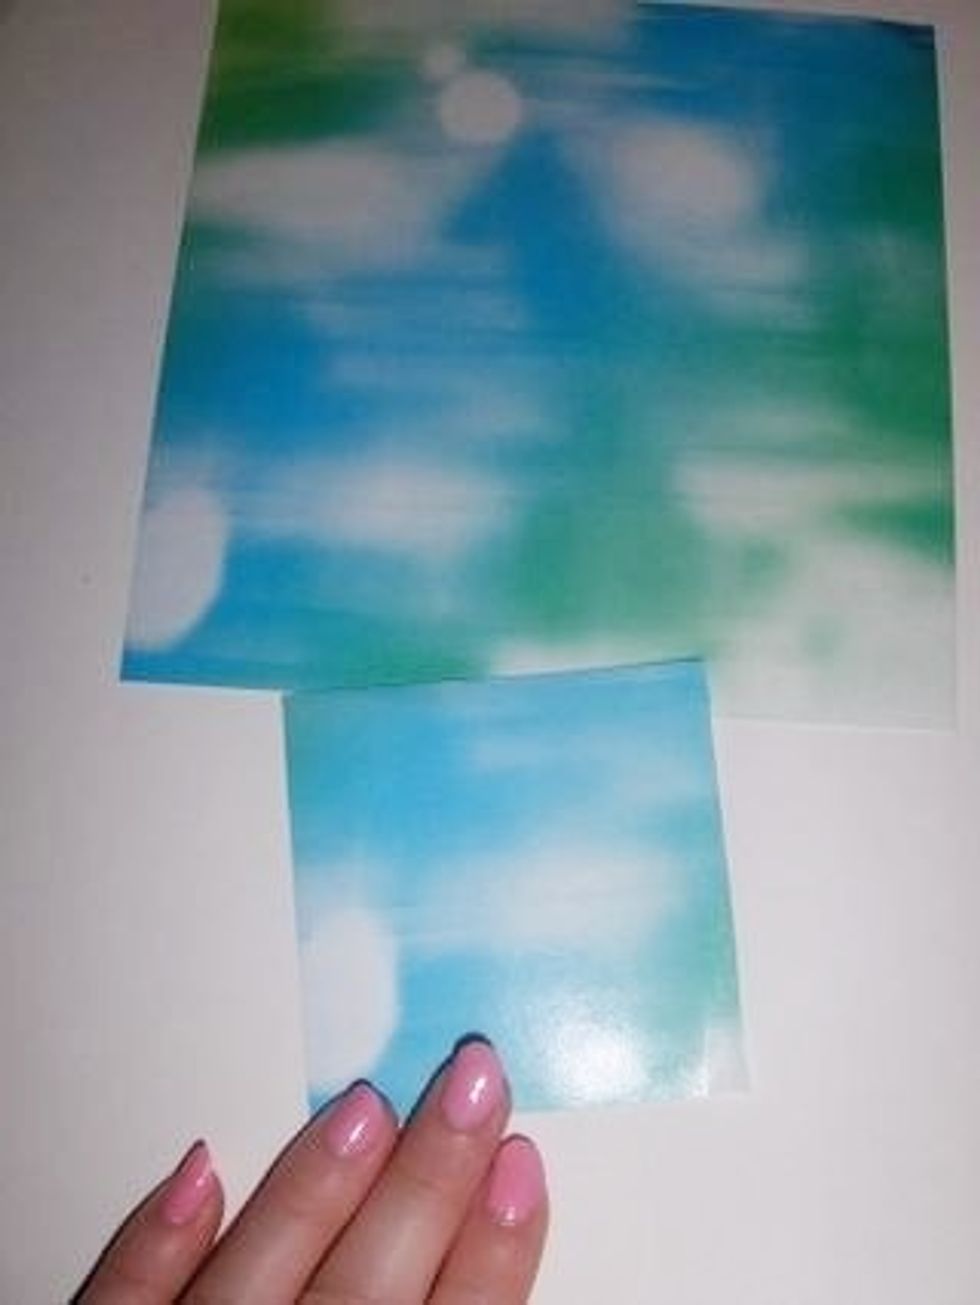
Unless you want huge flowers, cut your origami paper into four equal squares. Each square will make one of the five petals for one flower.
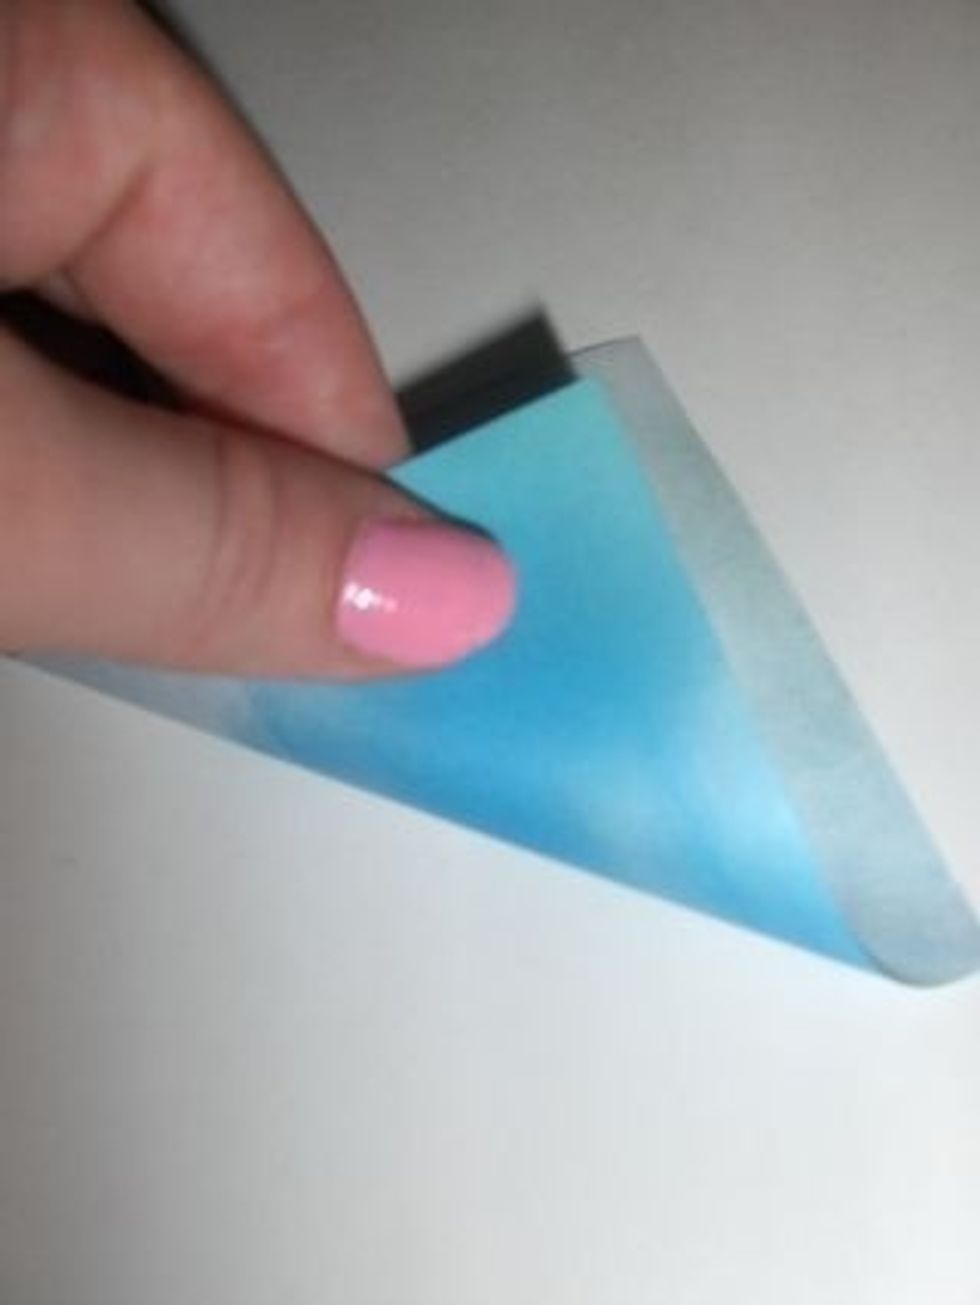
Fold square colored side down diagonally into a triangle.
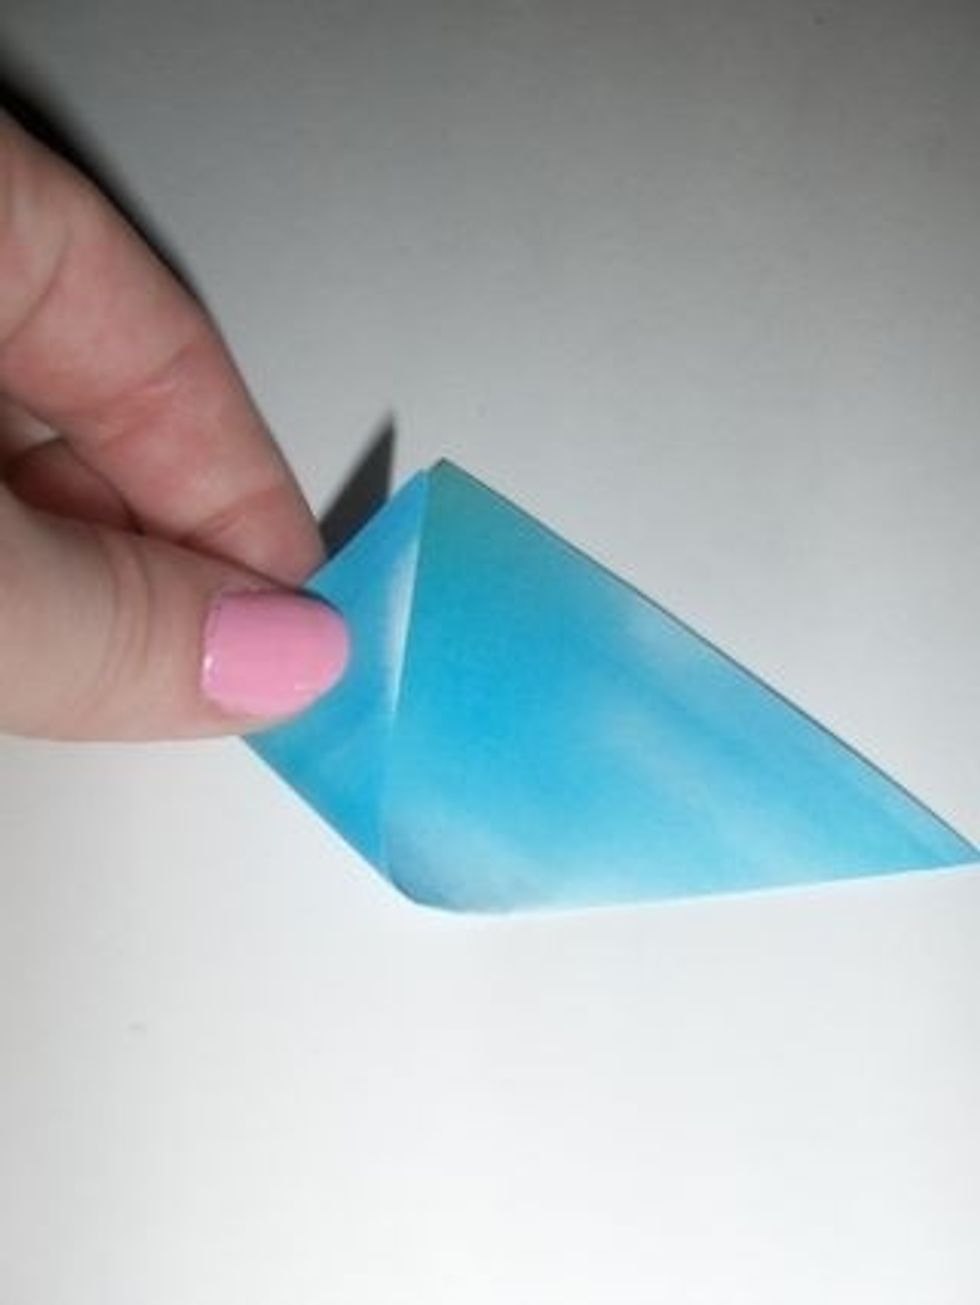
Fold corners in to center to form a diamond.
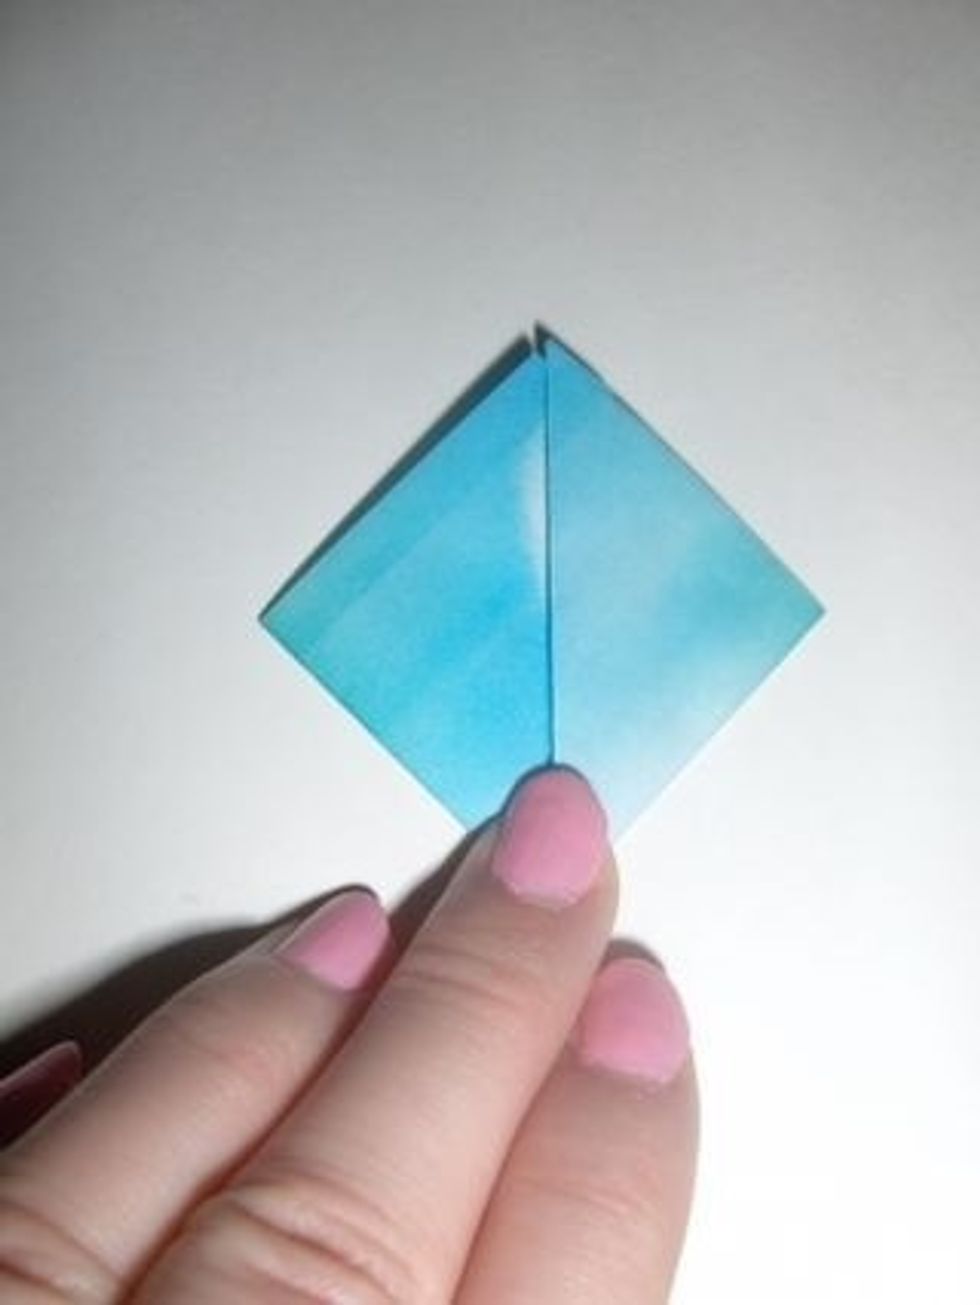
This is what it should look like.
Fold flap down so its edge meets the edge of the diamond.
This is what it should look like.
Repeat on other side
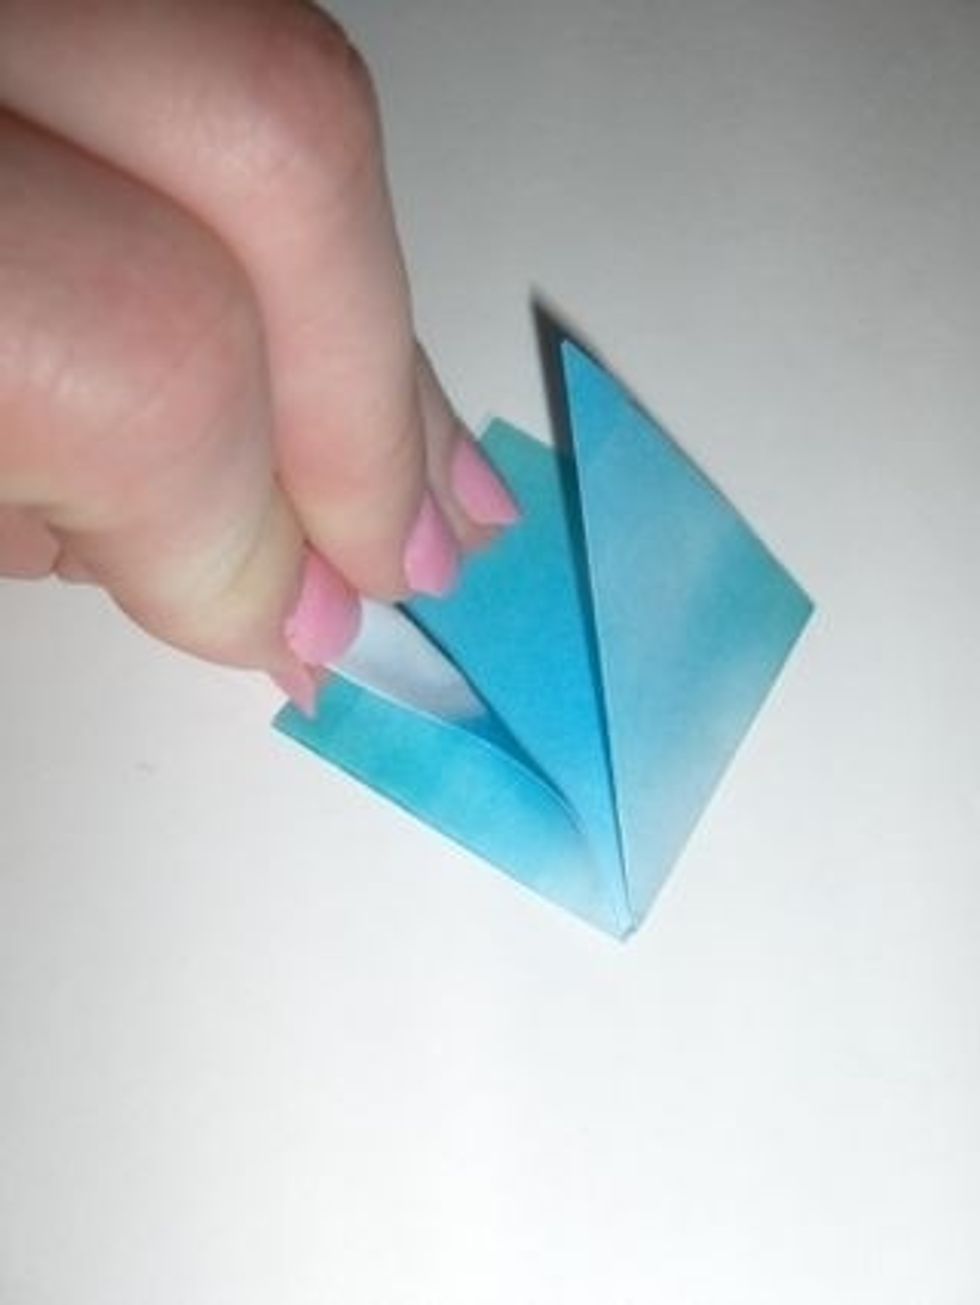
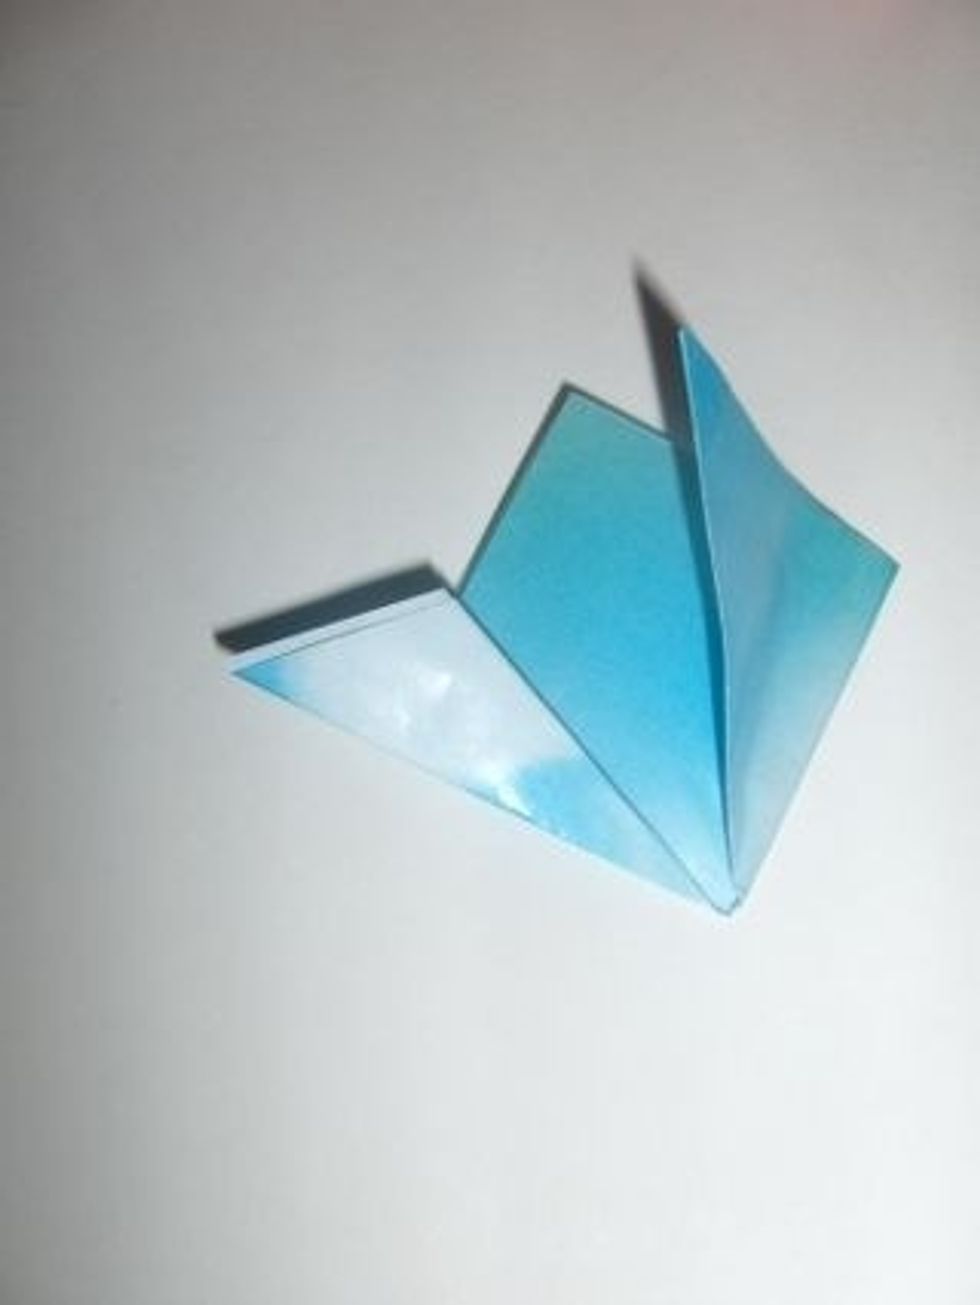
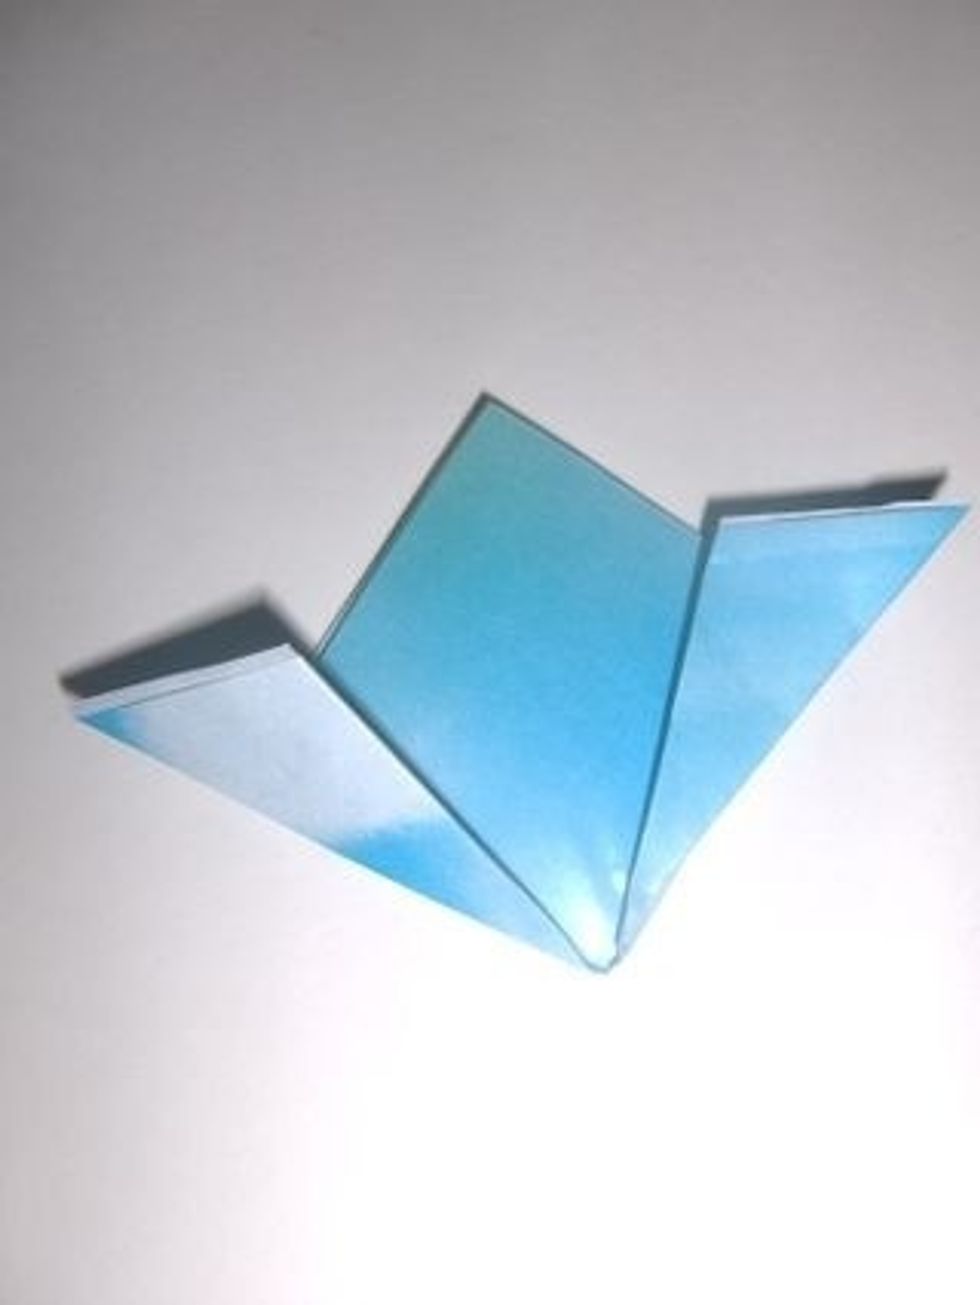
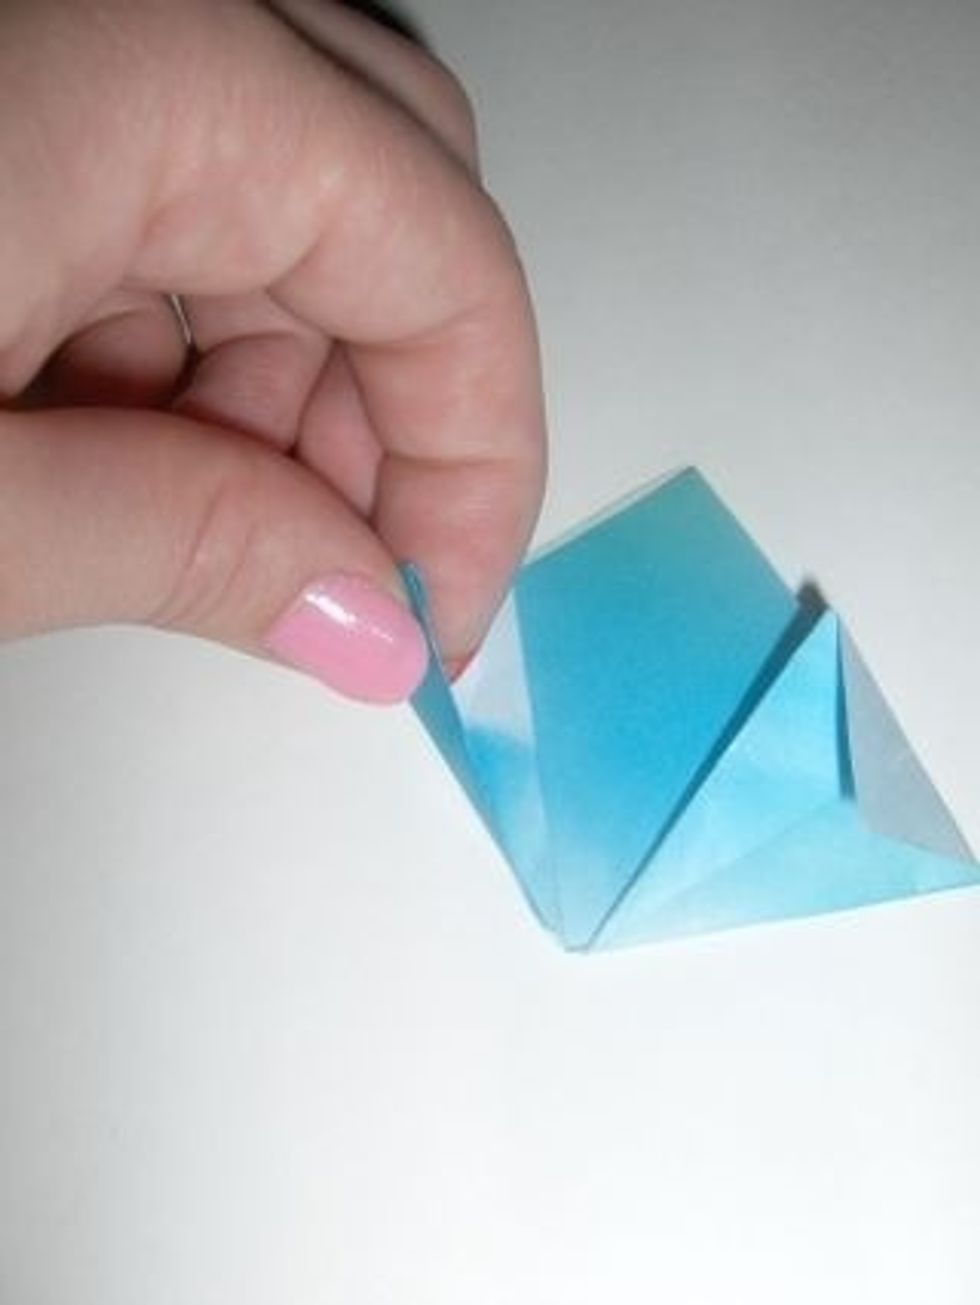
Lift up the flap you just folded and open it with your finger.

Squish it down and repeat on other side.
This is what it should look like.
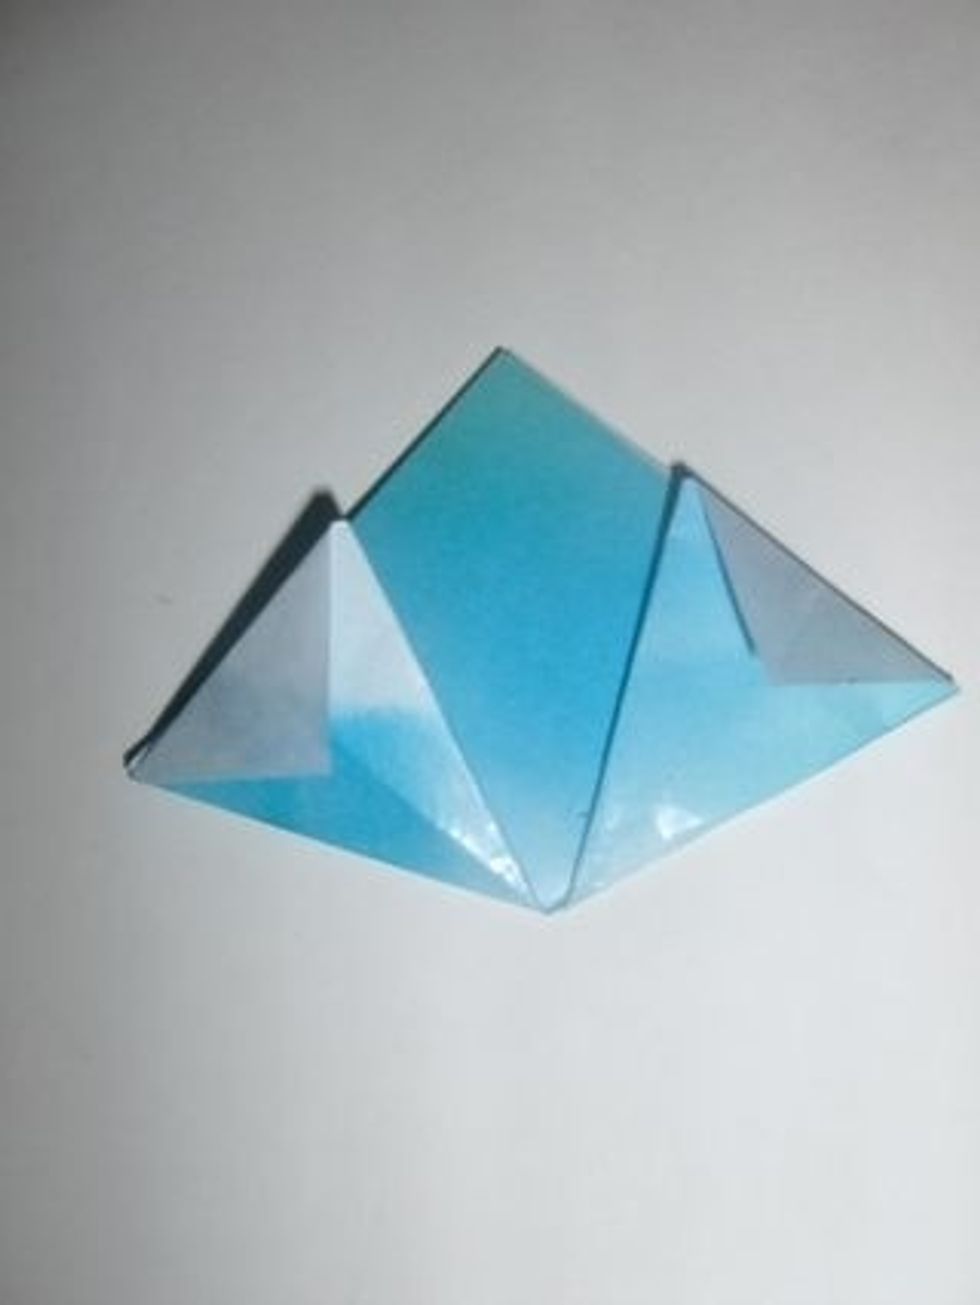
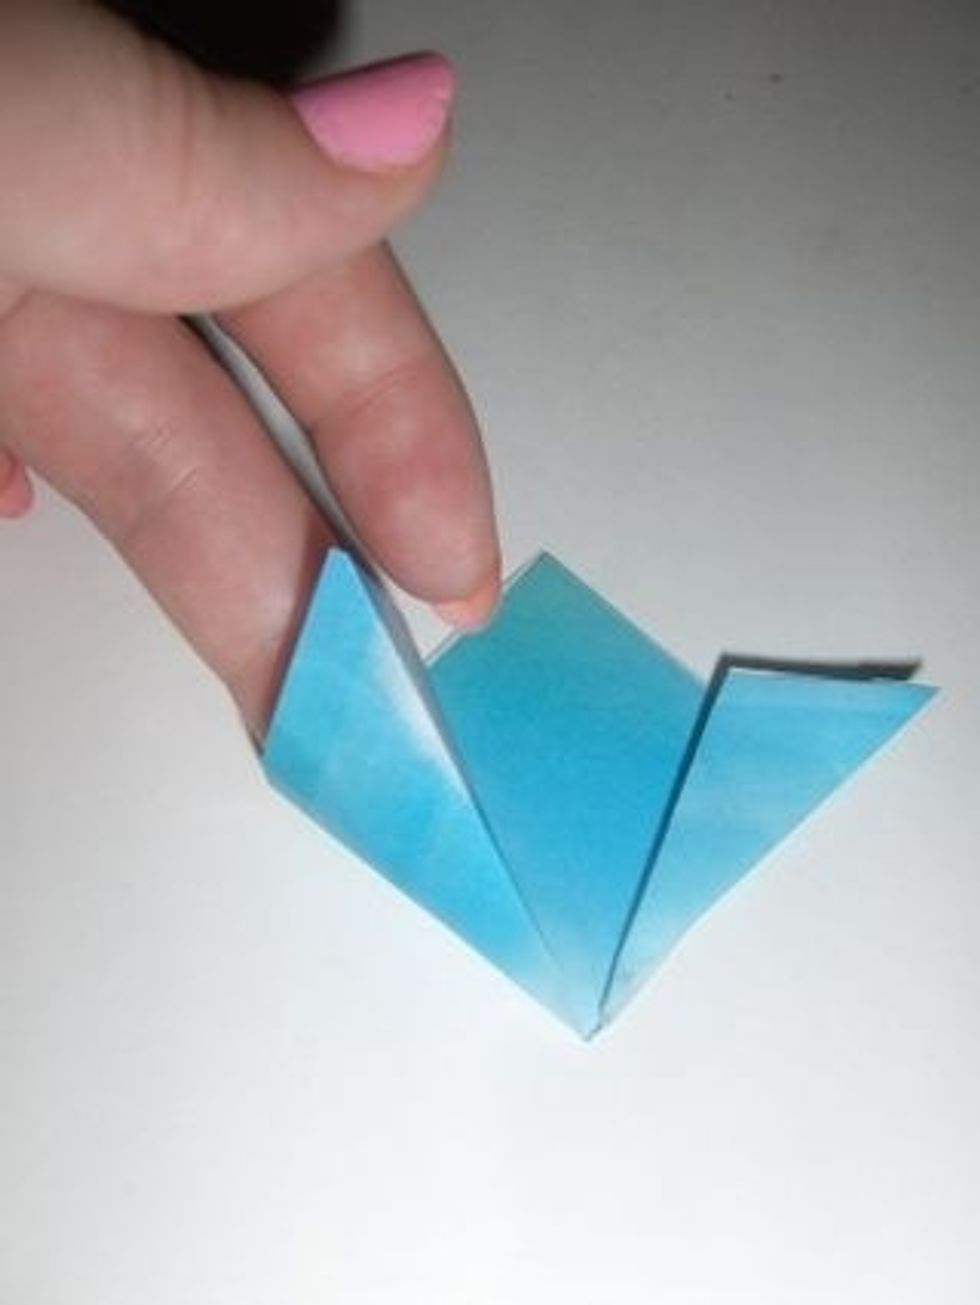
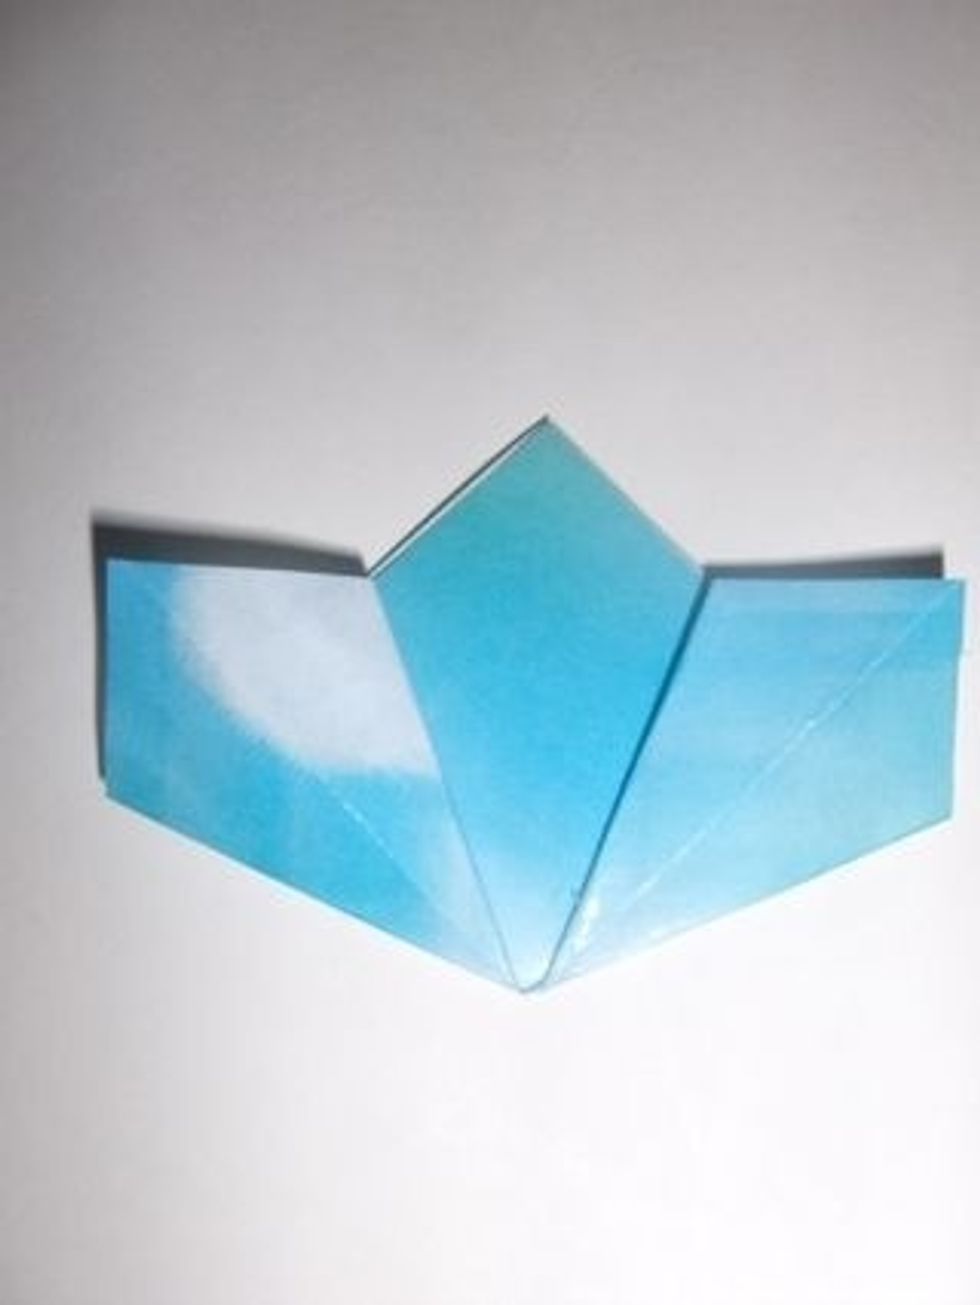
Fold down the corners sticking out as shown.
Fold these flaps in half as shown.
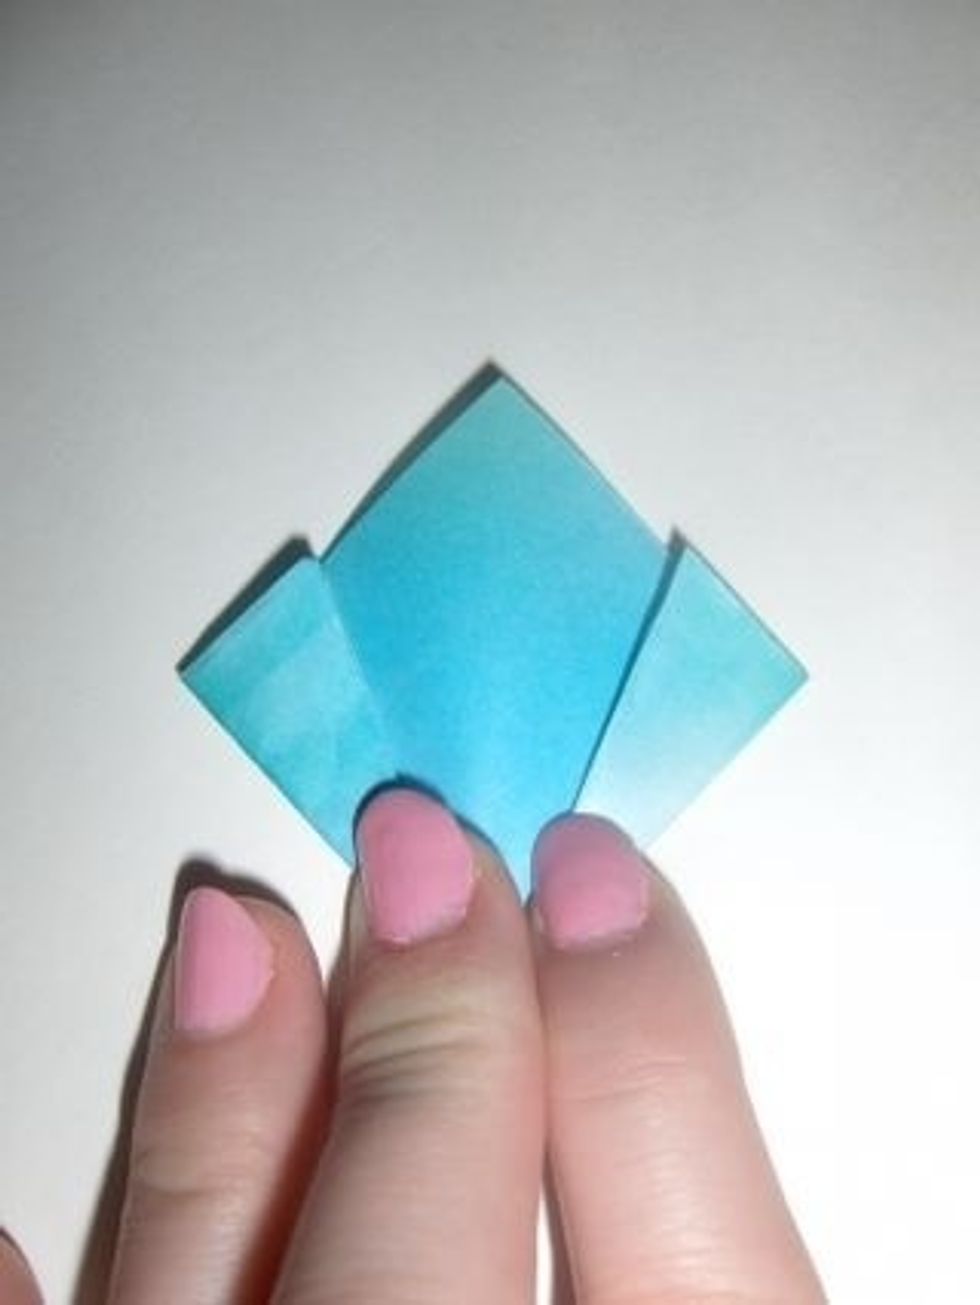
This is what it should look like.
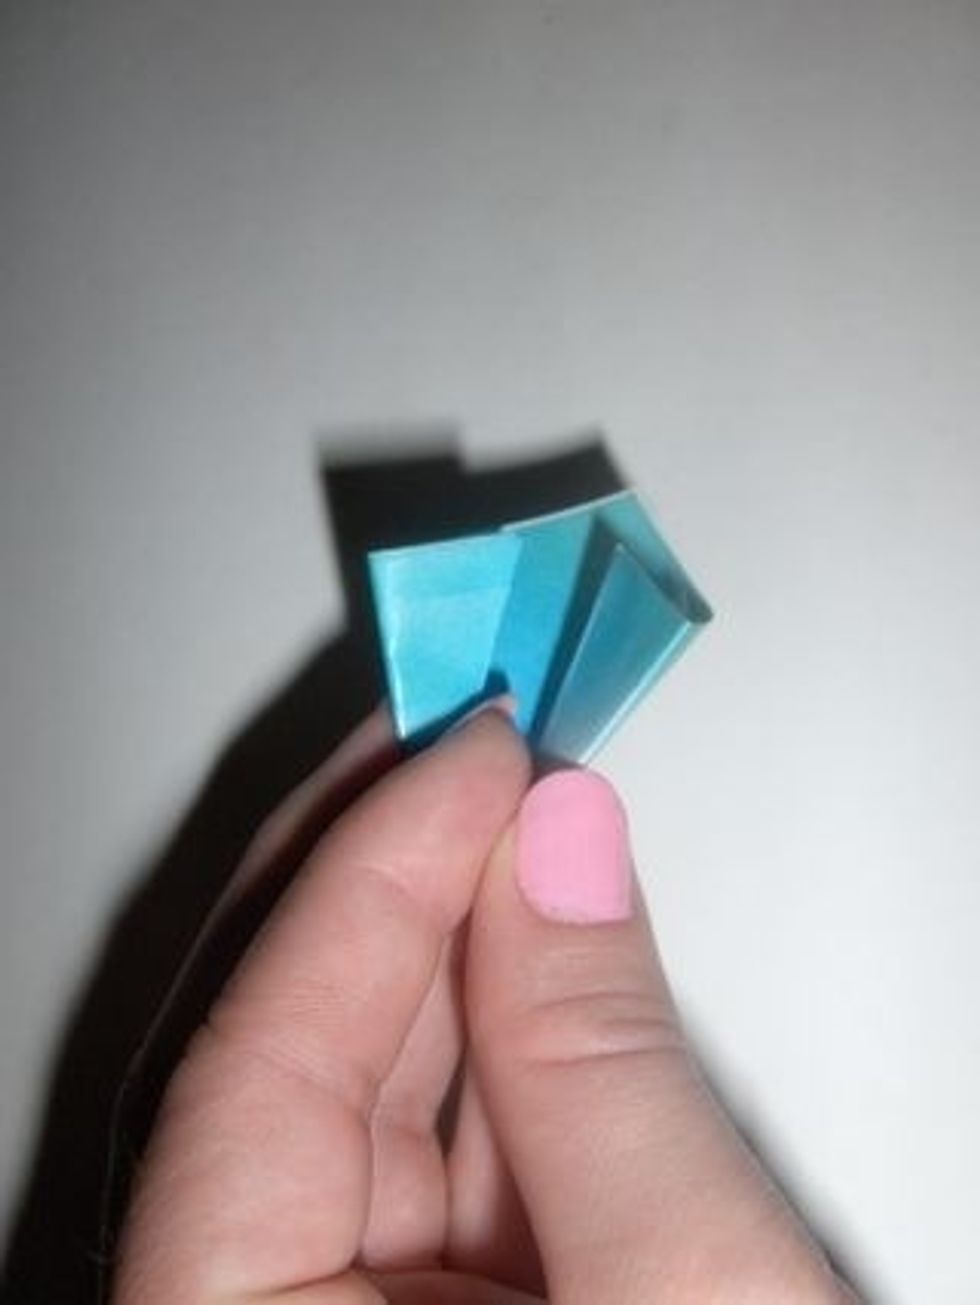
Bring the two edges together as shown...
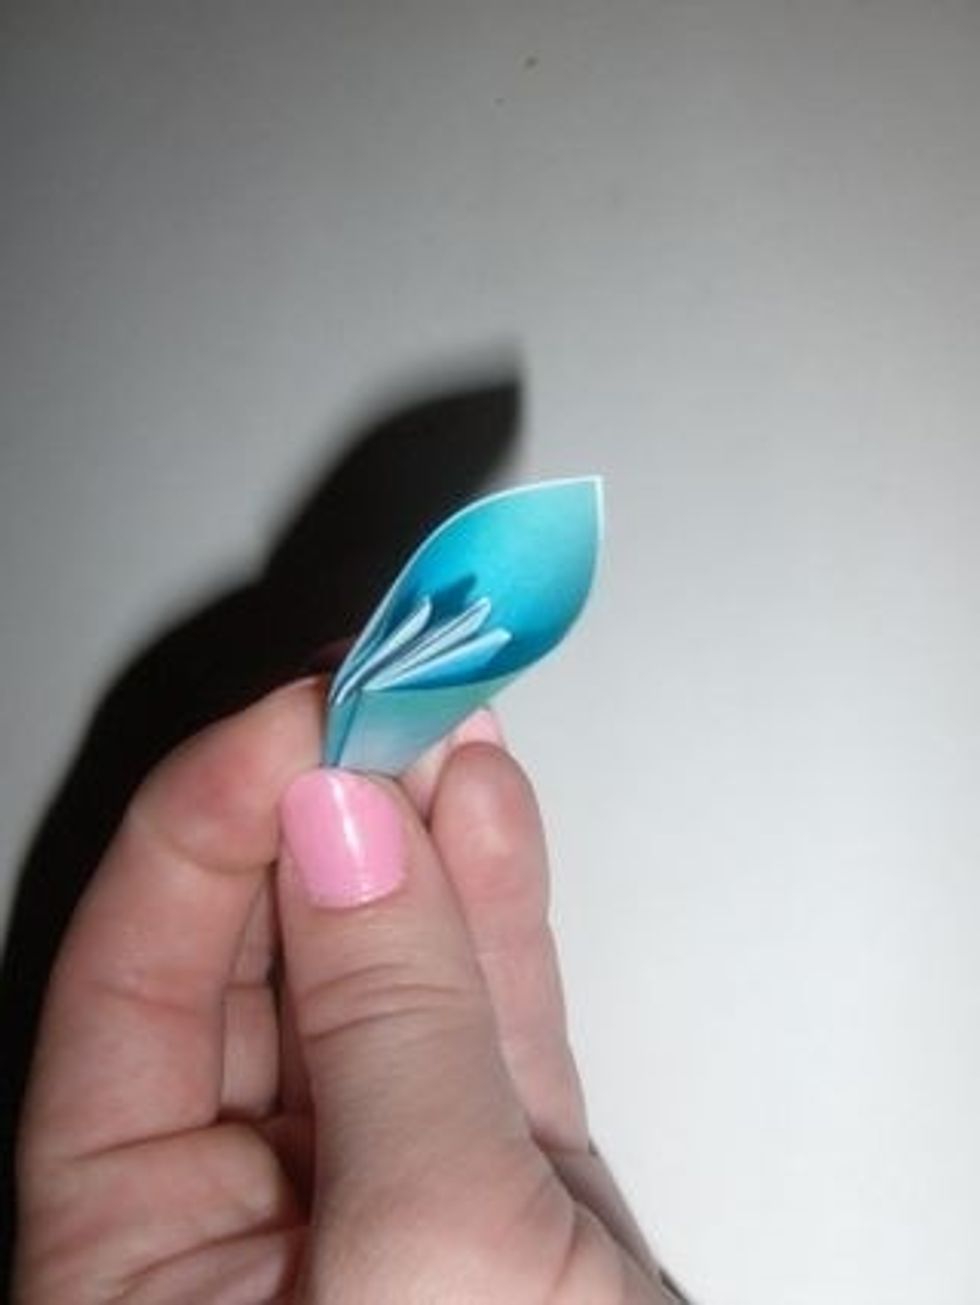
This is your first petal! You'll need to use the double stick tape and/or glue to attach the two edges.
Make four more petals...
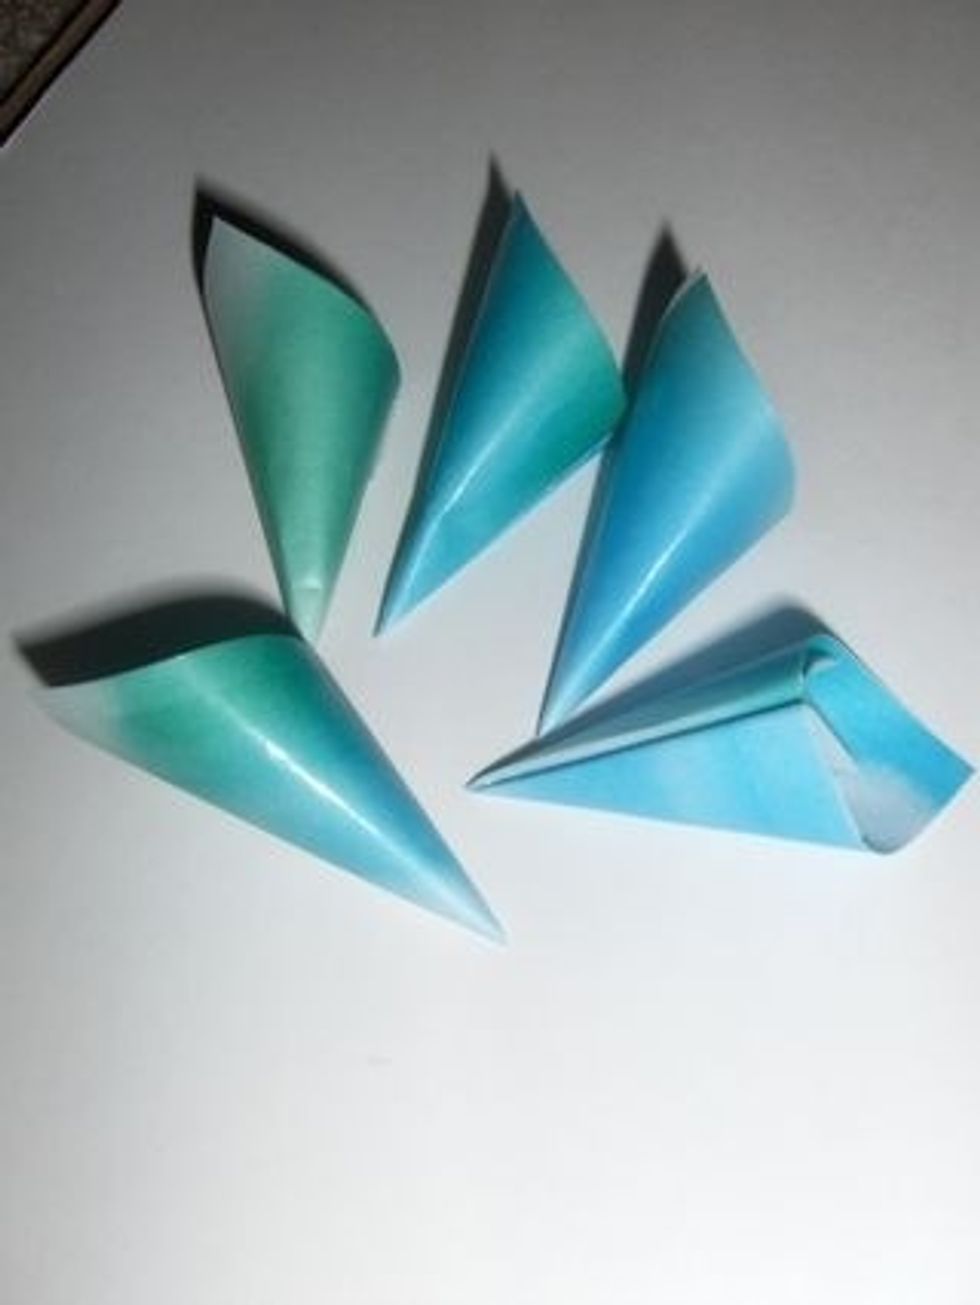
Here are all of your petals. Glue and tape to each other to make your flower.
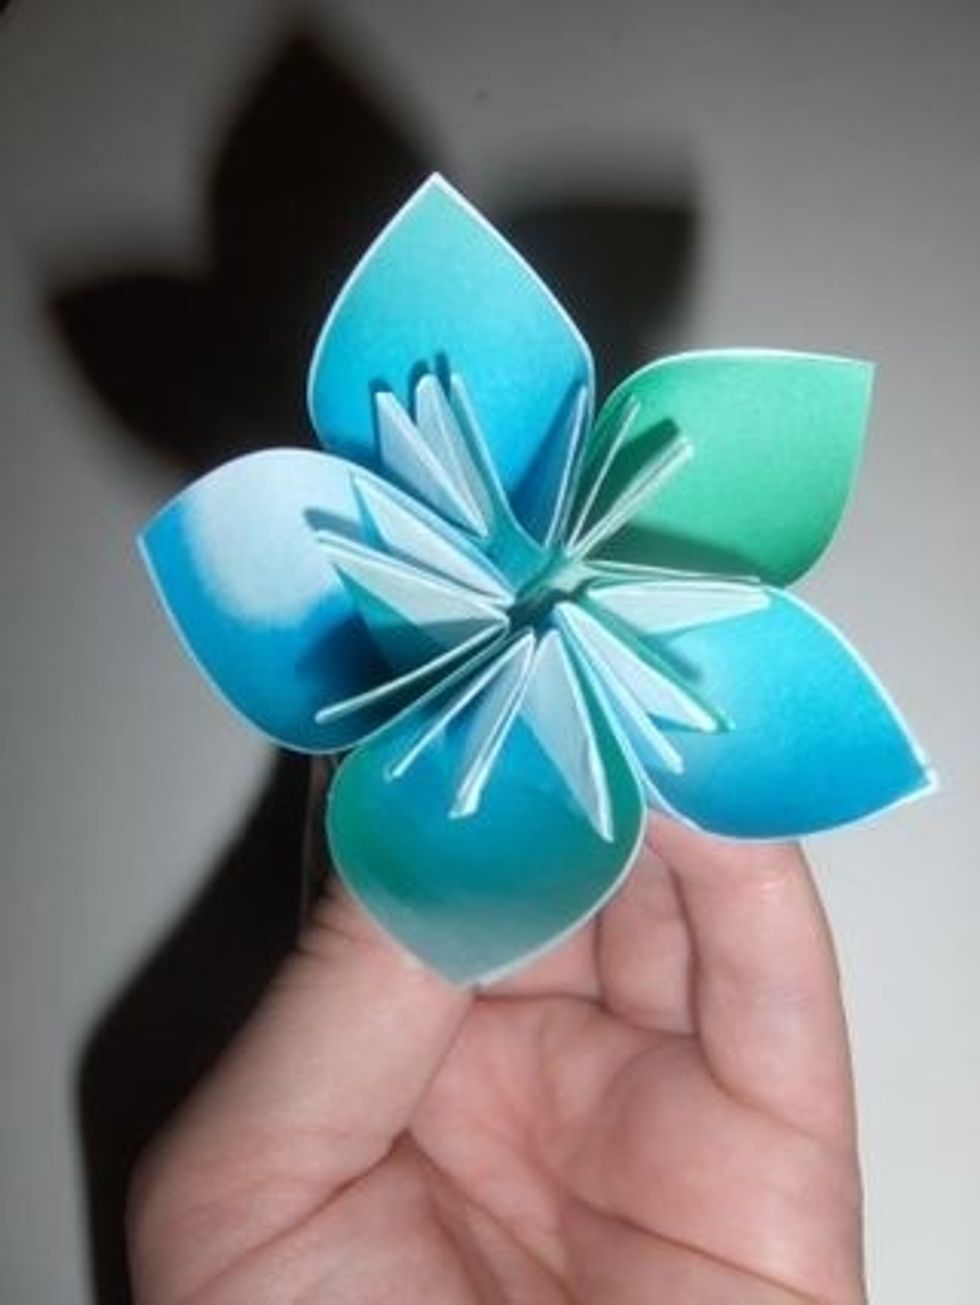
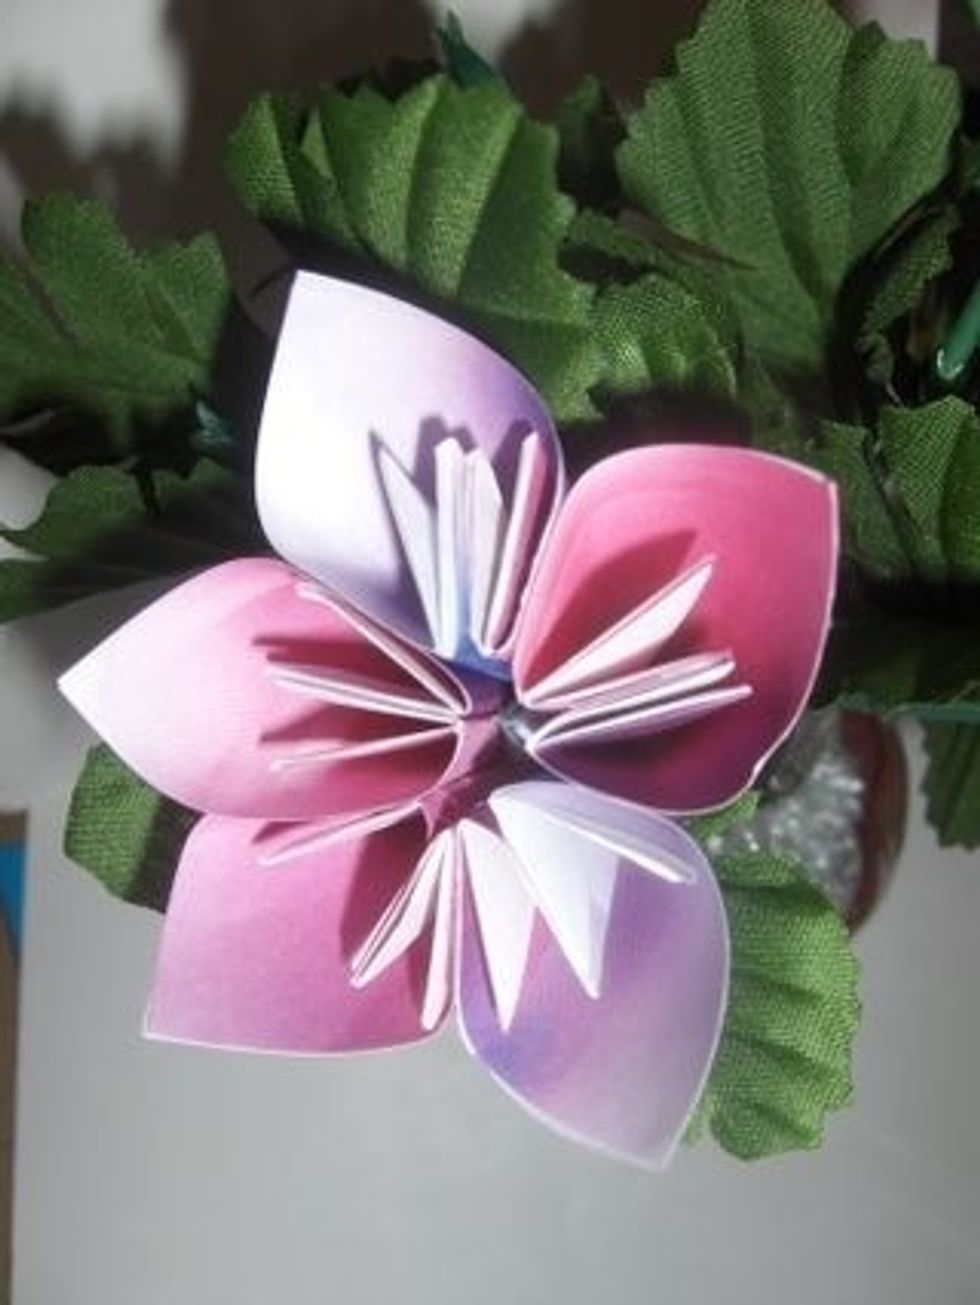
Your first flower!
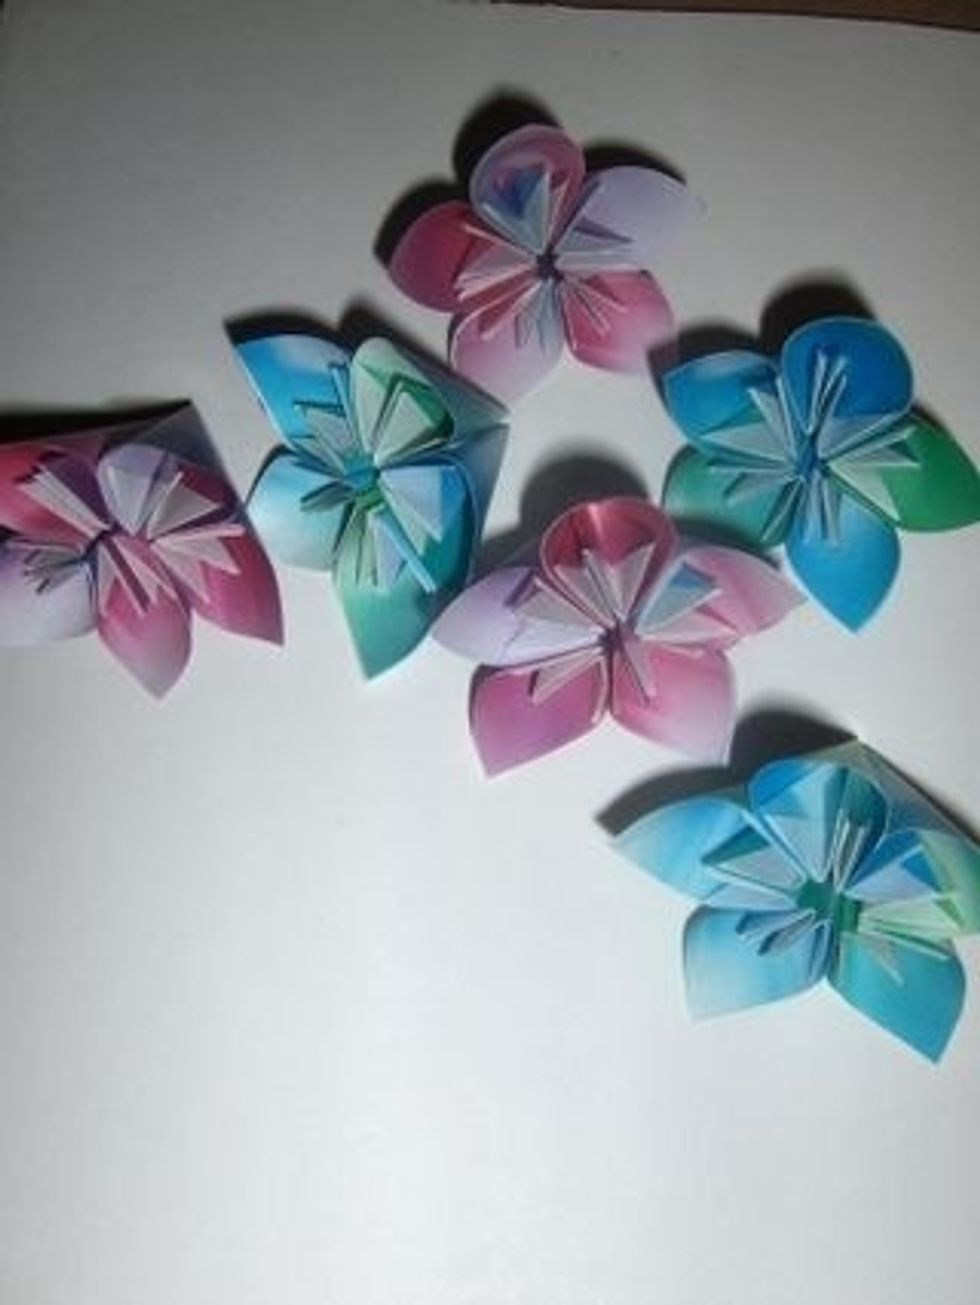
Make as many as you need for your stems.
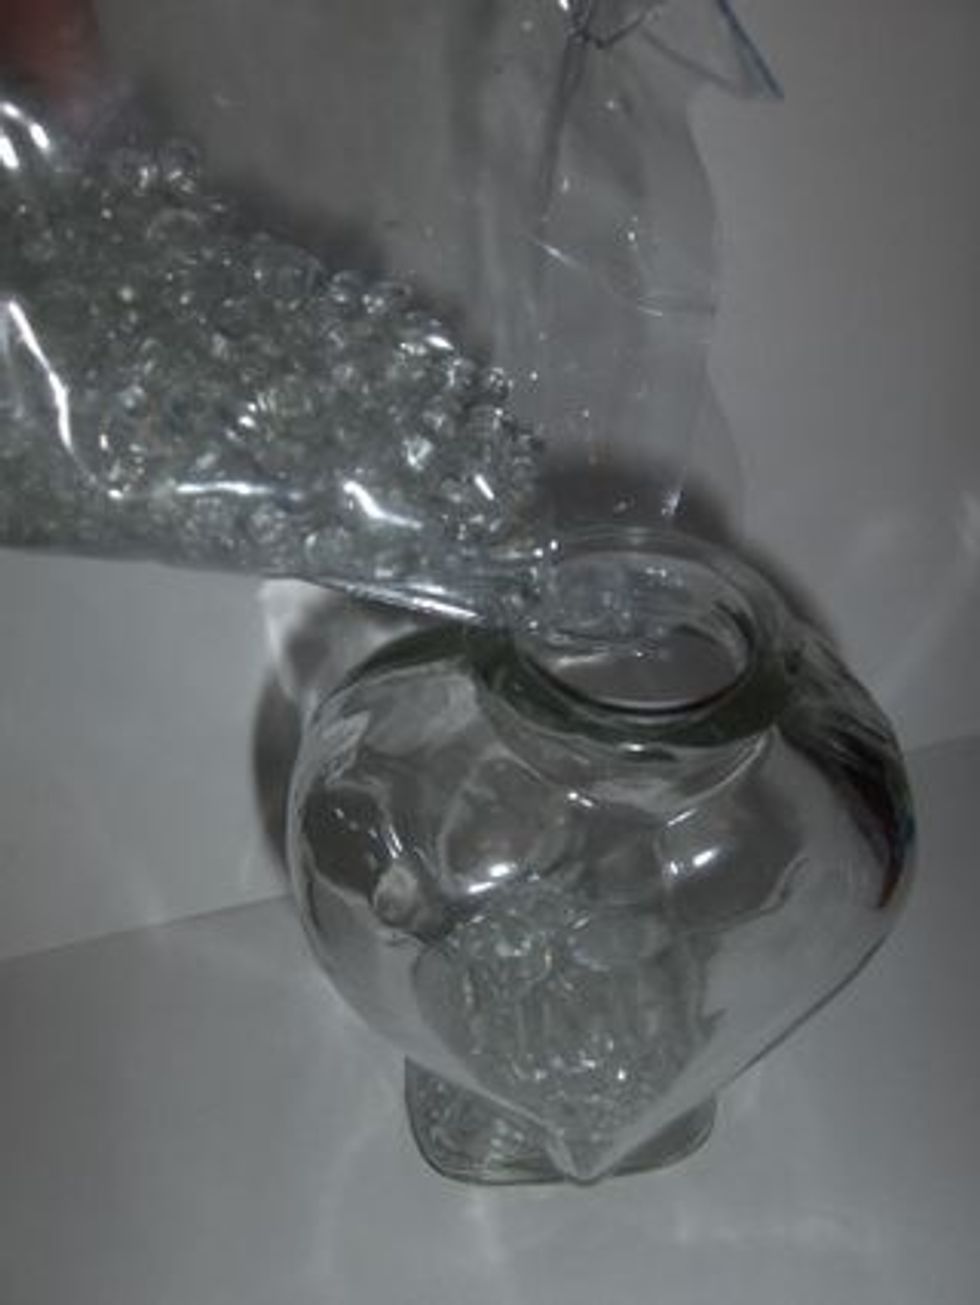
Go ahead and prepare the vase by pouring the glass beads into the vase (like water :-). )
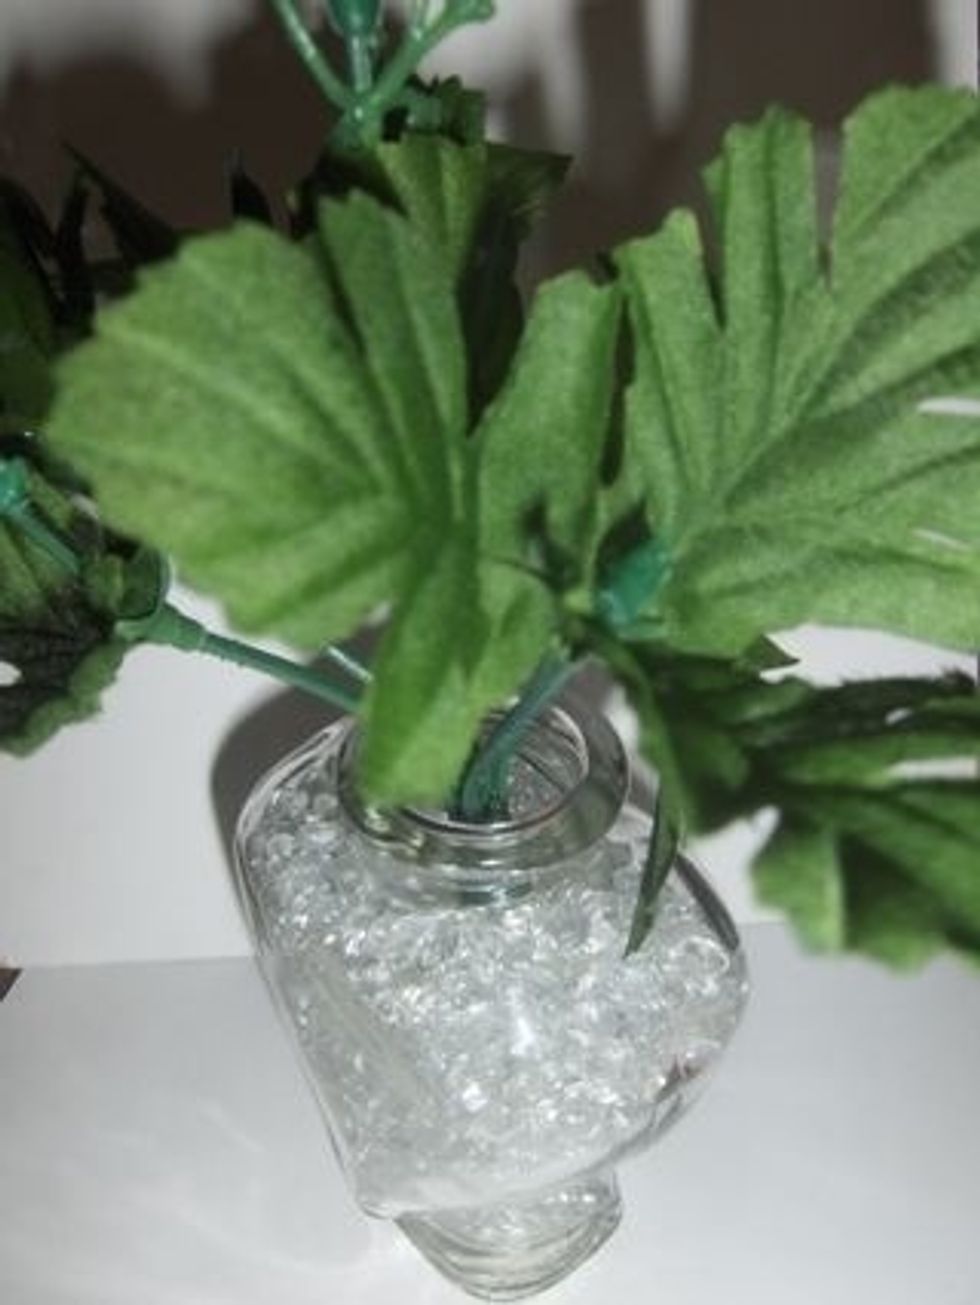
Place stems in vase so that the beads will hold it in place while you attach your flowers.

Put a little glue on the stem to help the flower stay on better.
Slide flower onto stem- there is a natural opening at the base of this type of origami flower.
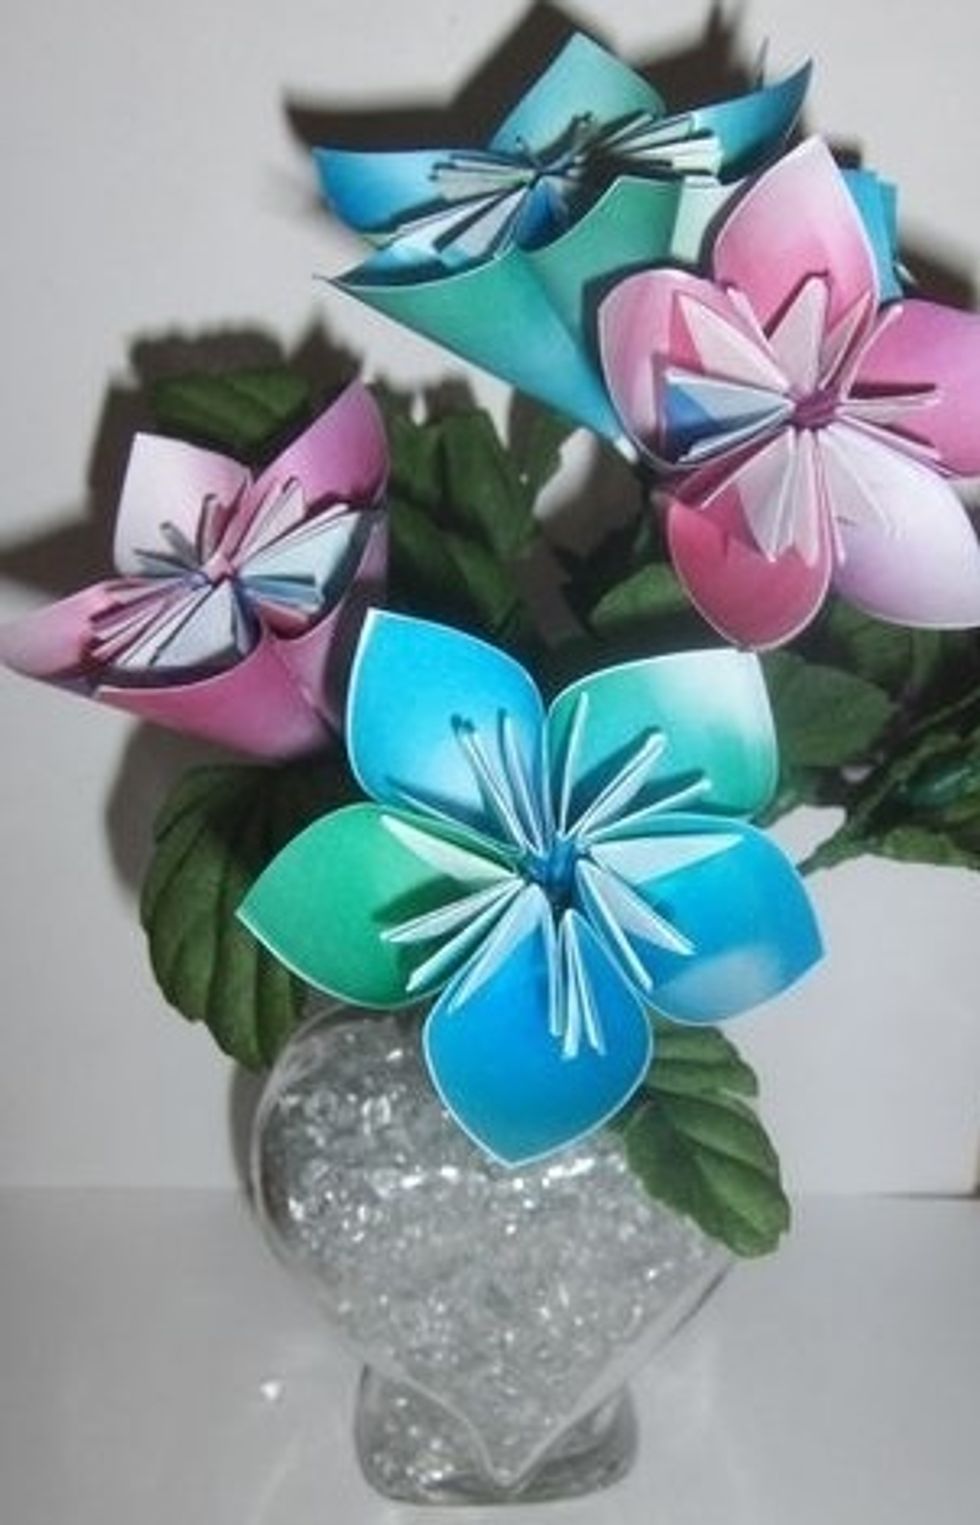
Repeat until all flowers are on; let dry. You now have a handmade bouquet that will never die! Happy Mother's Day!