The Conversation (0)
Sign Up
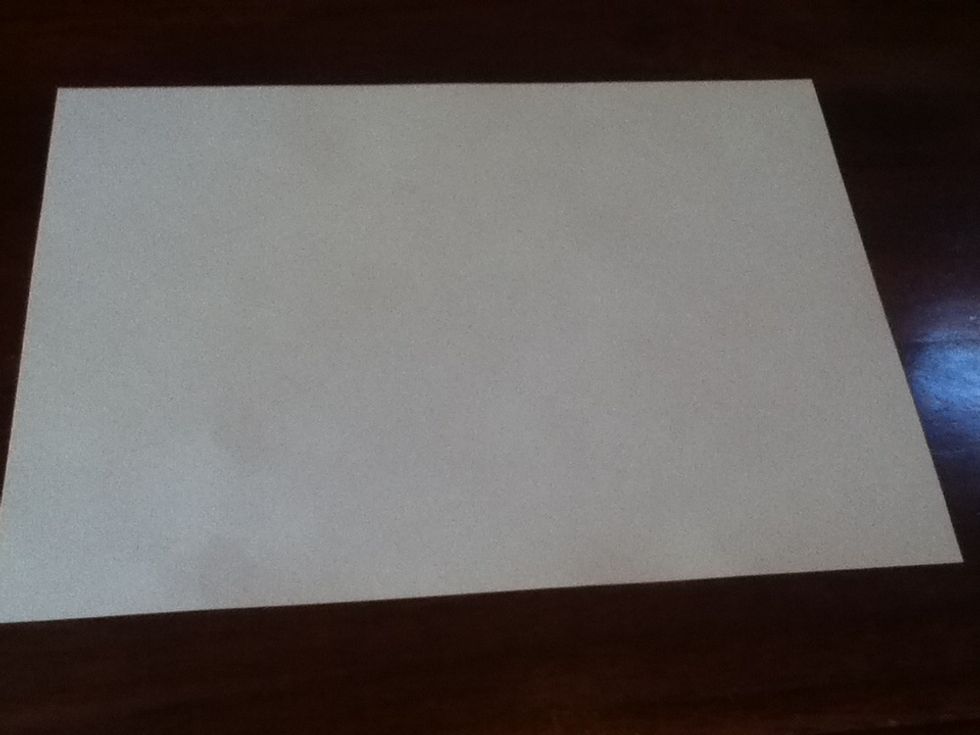
Take your paper and rotate it so that it's landscape
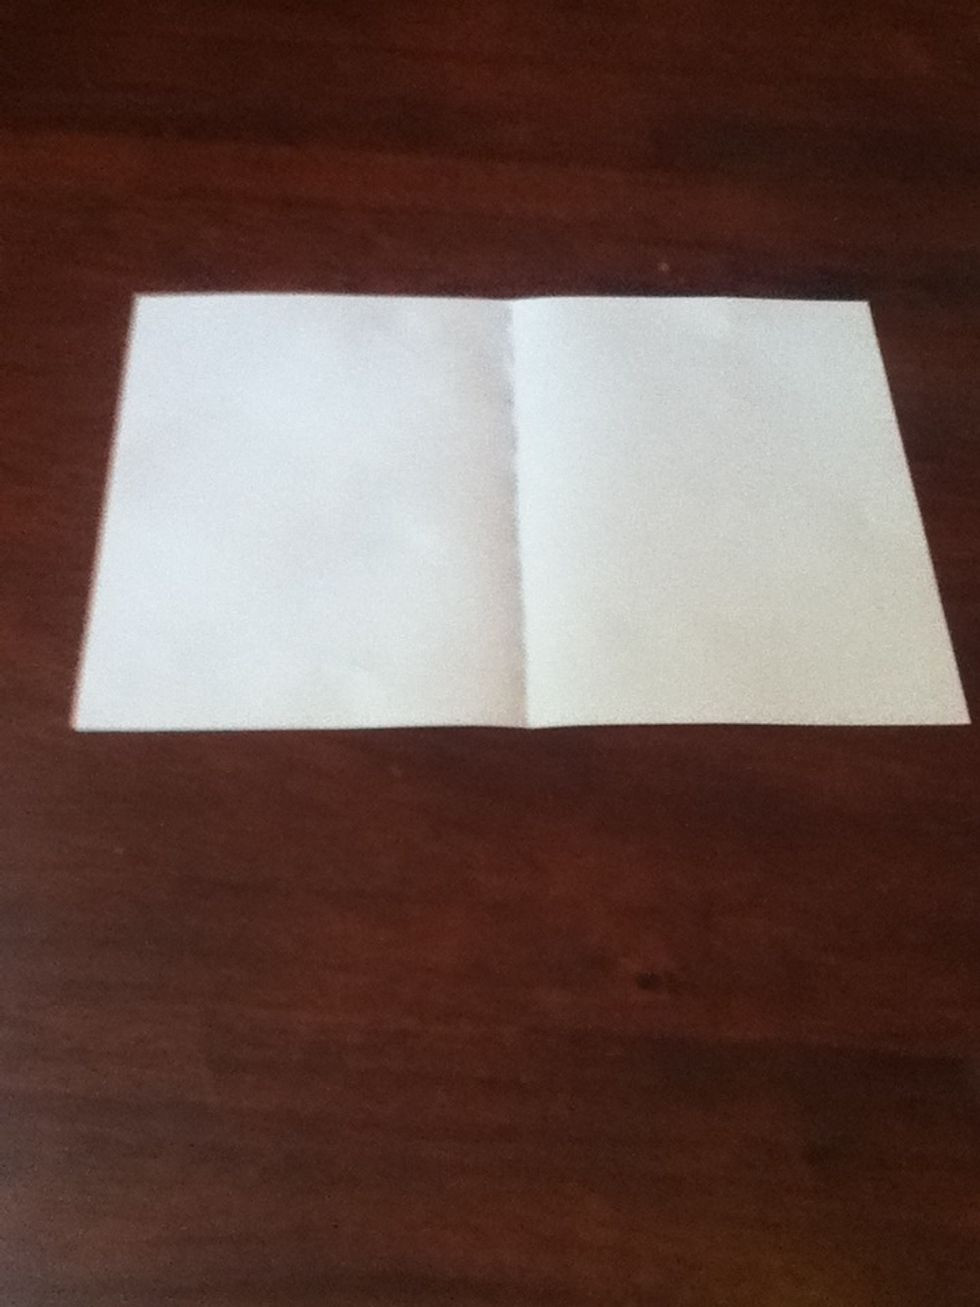
Now fold the short edge to the other short edge
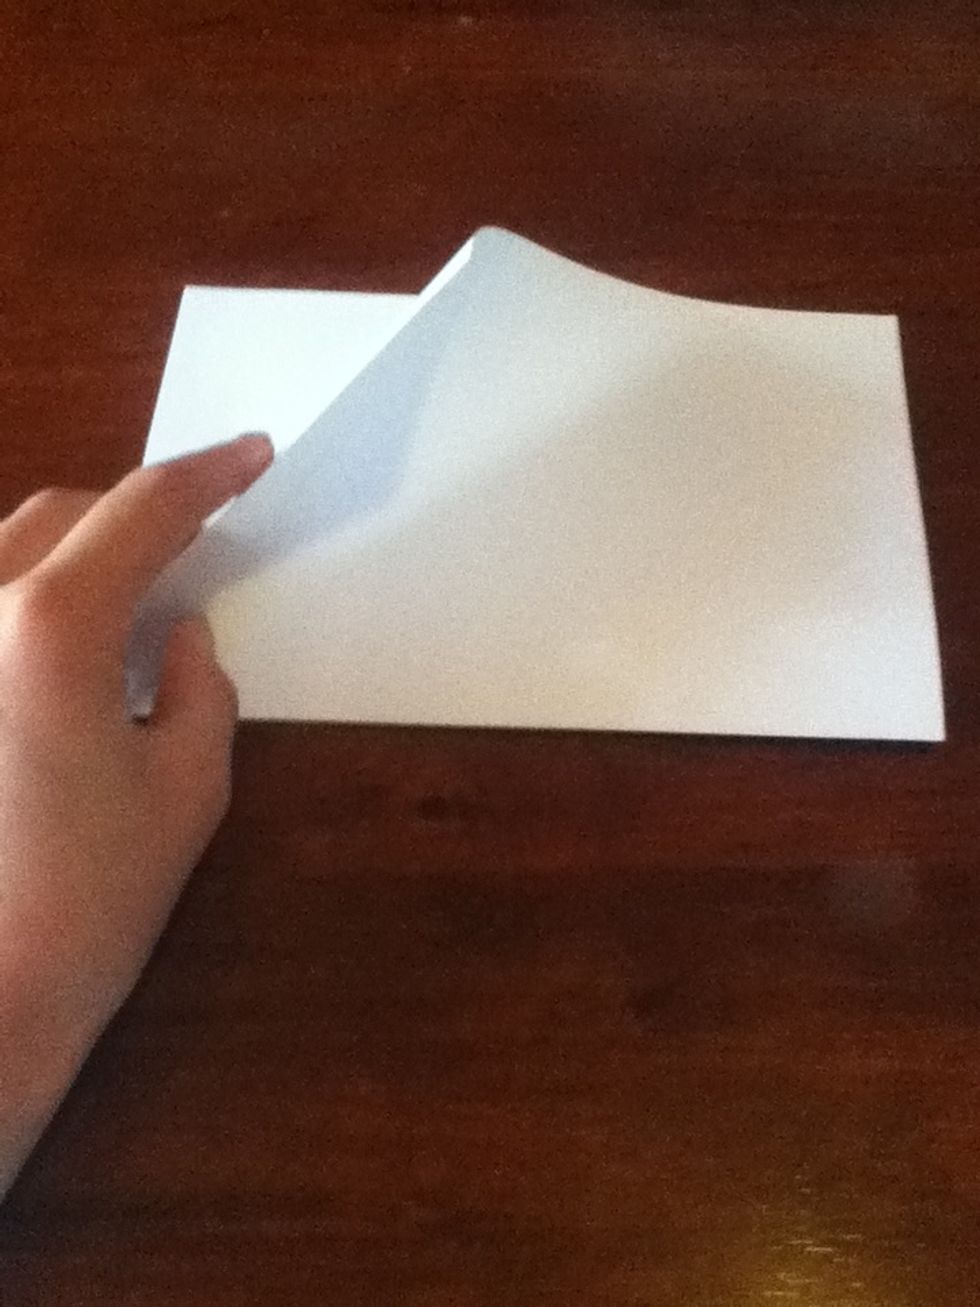
Rotate it so that you have the open side facing away from you

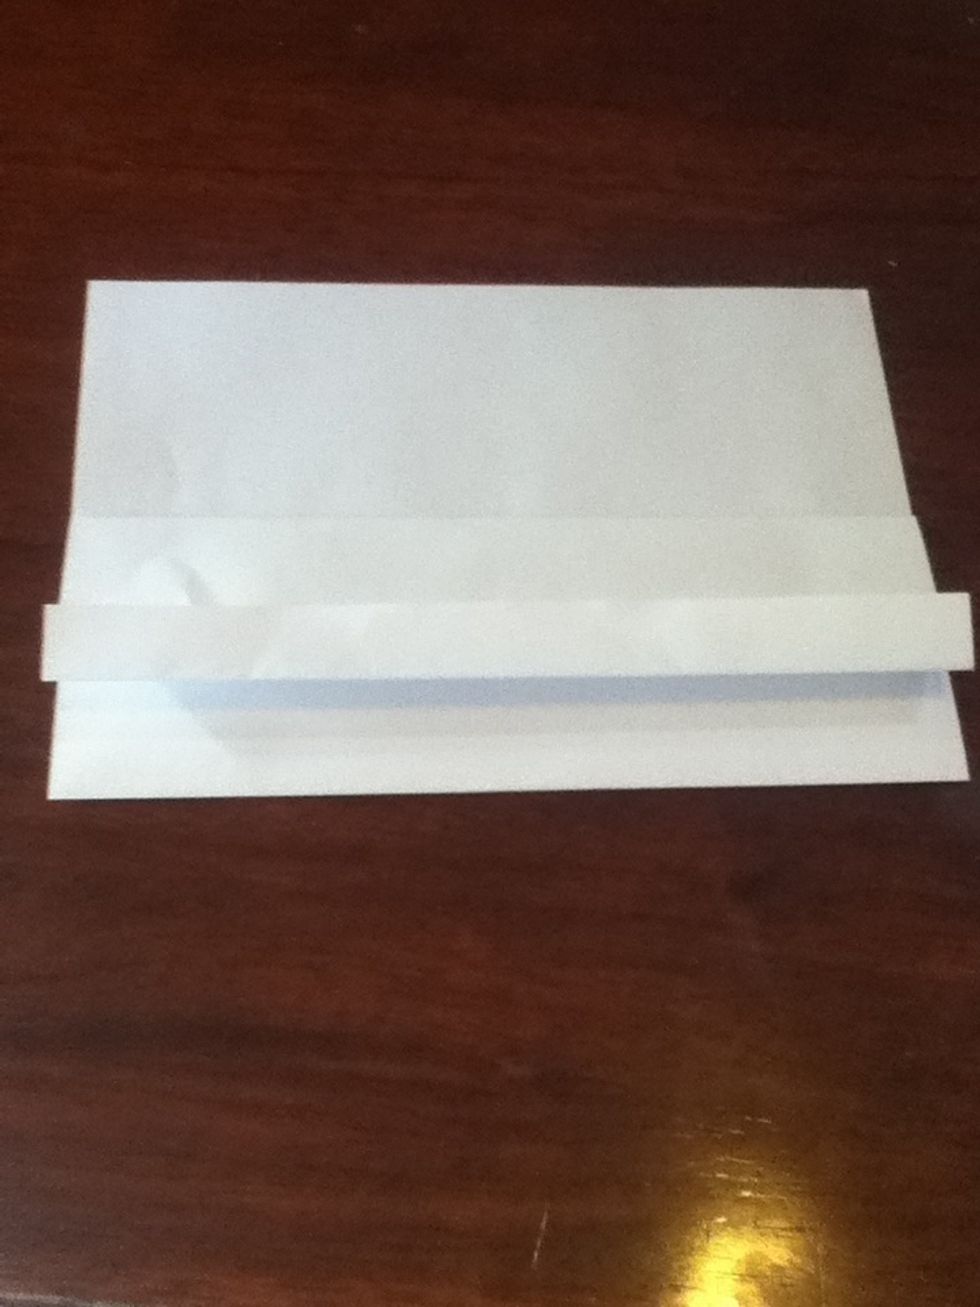
Now fold the TOP LAYER ONLY down to meet the bottom edge

Now fold that same layer up

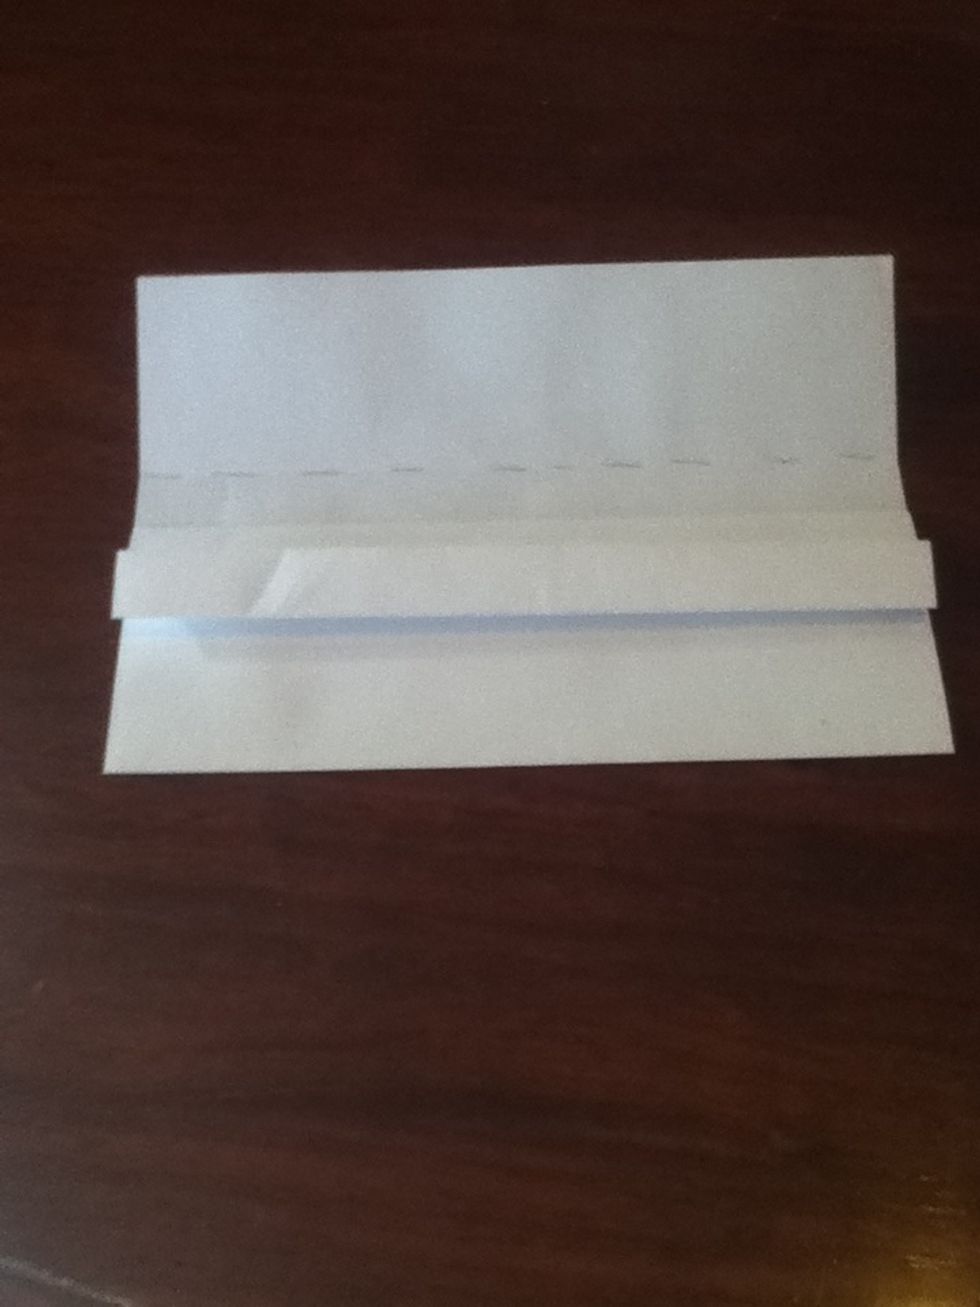
And unfold. Now you want to do the same with the bottom edge, fold it up to the crease you just made
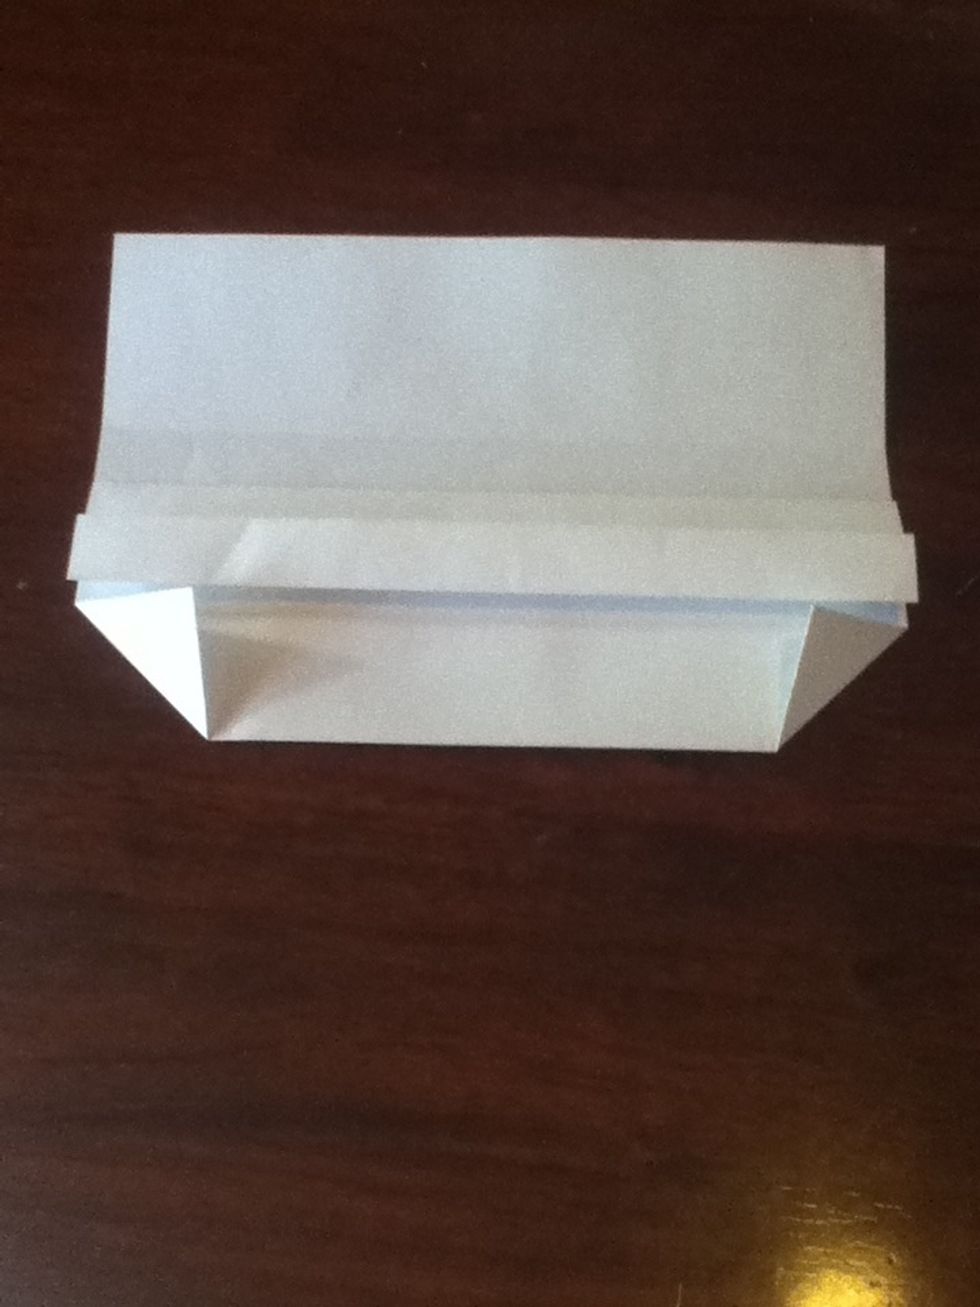
Like this

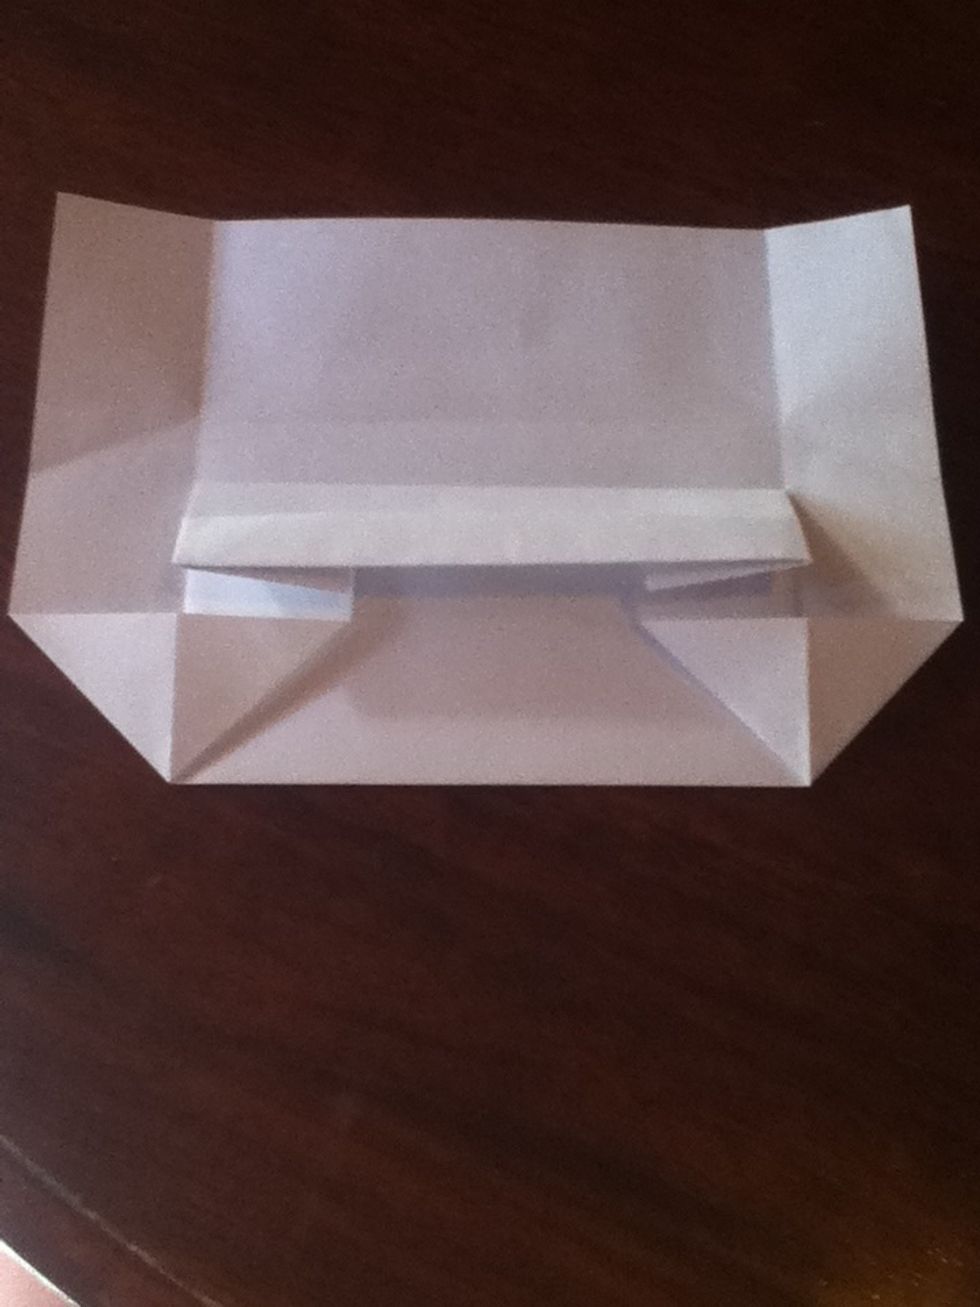
Now fold it up again but stop there and don't fold any more on the piece
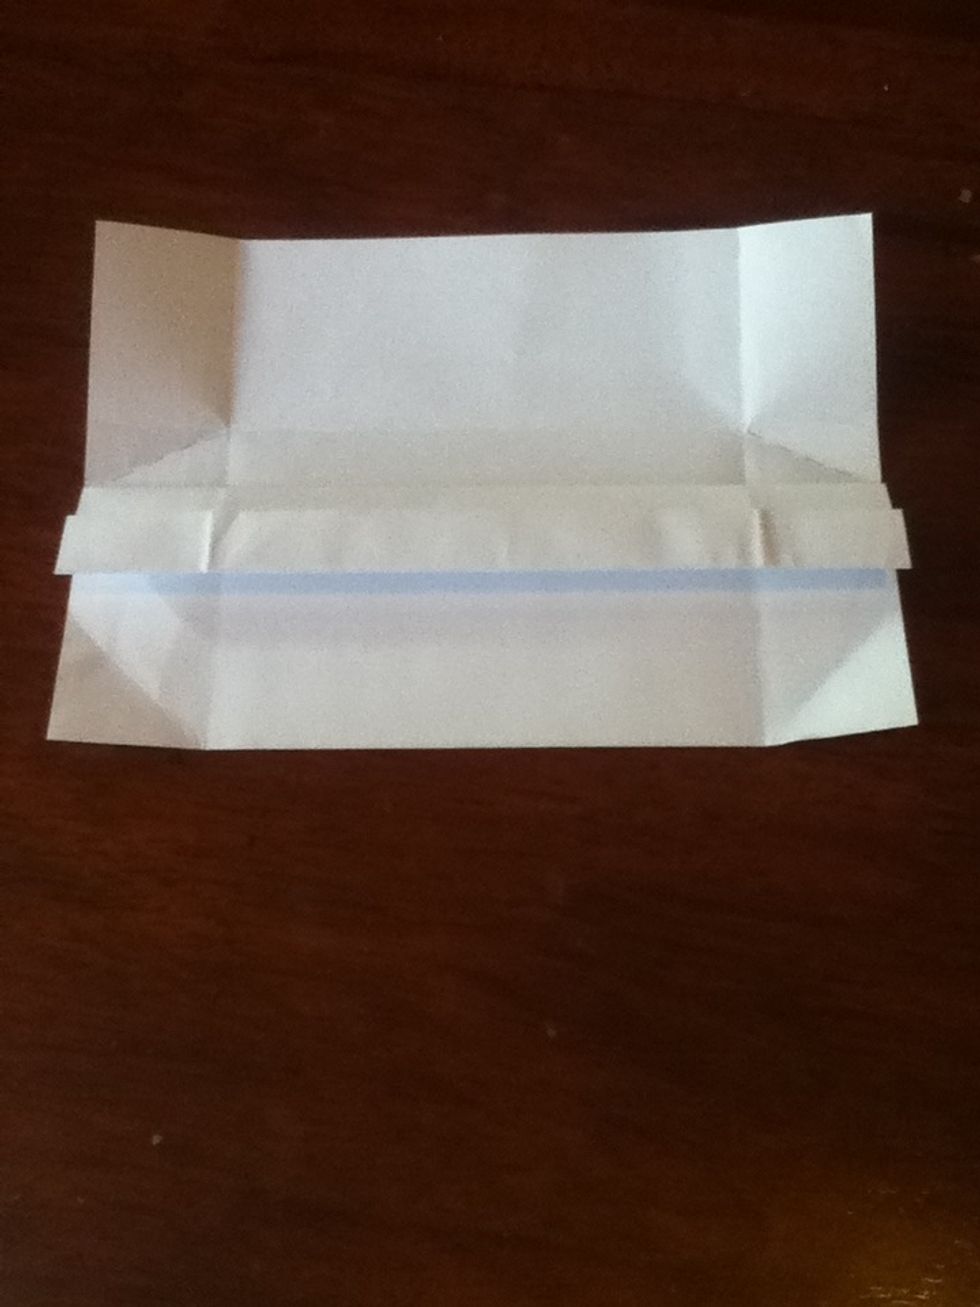
Now fold the top down, as far as I show you in the next slide
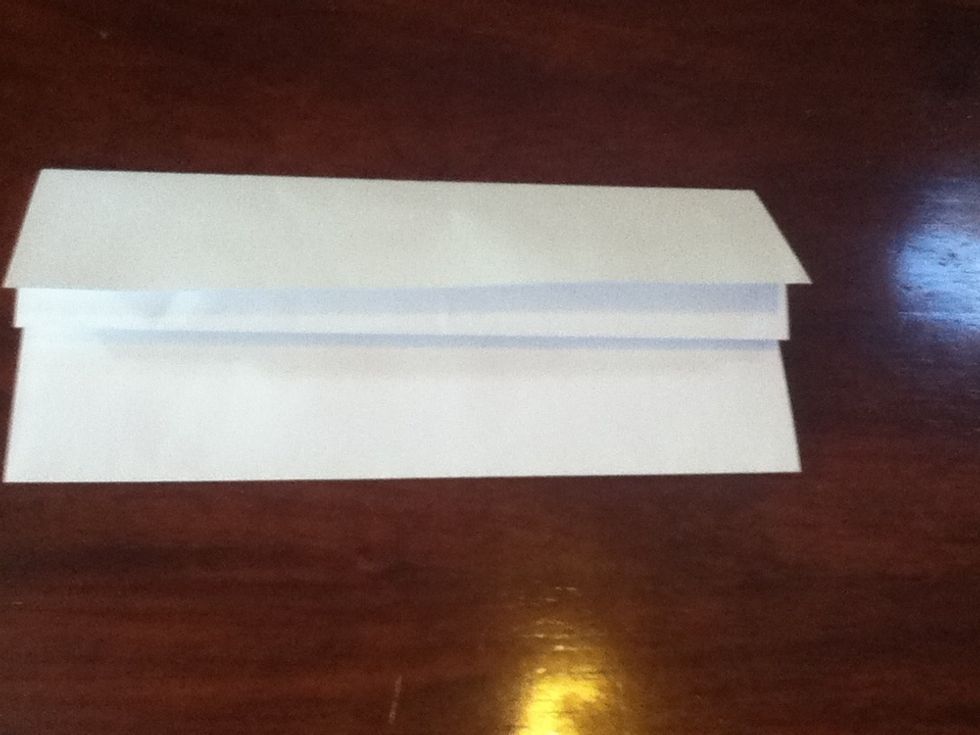
So fold it down to meet the second edge from the bottom
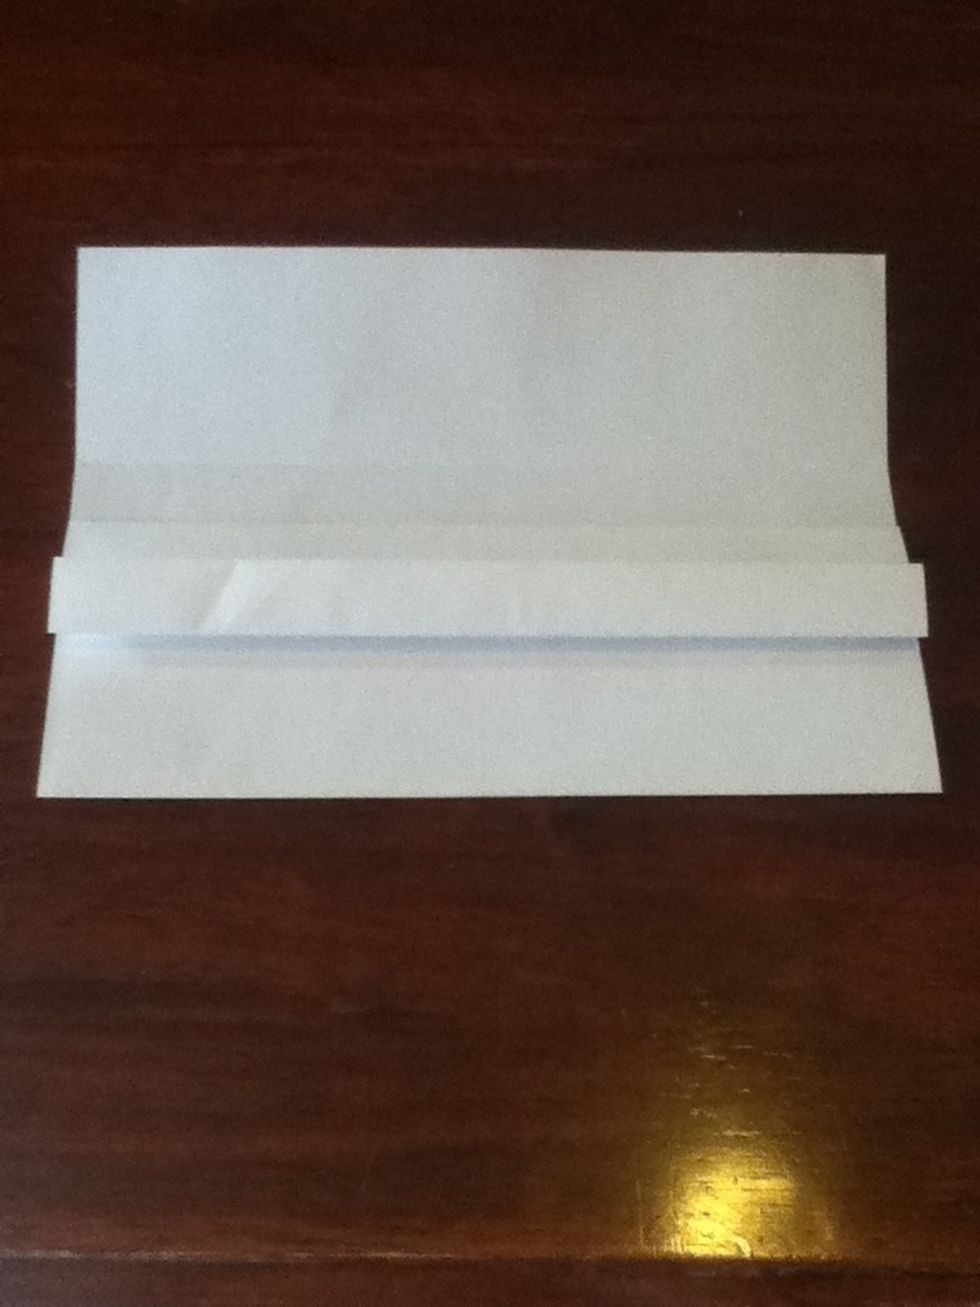
And unfold
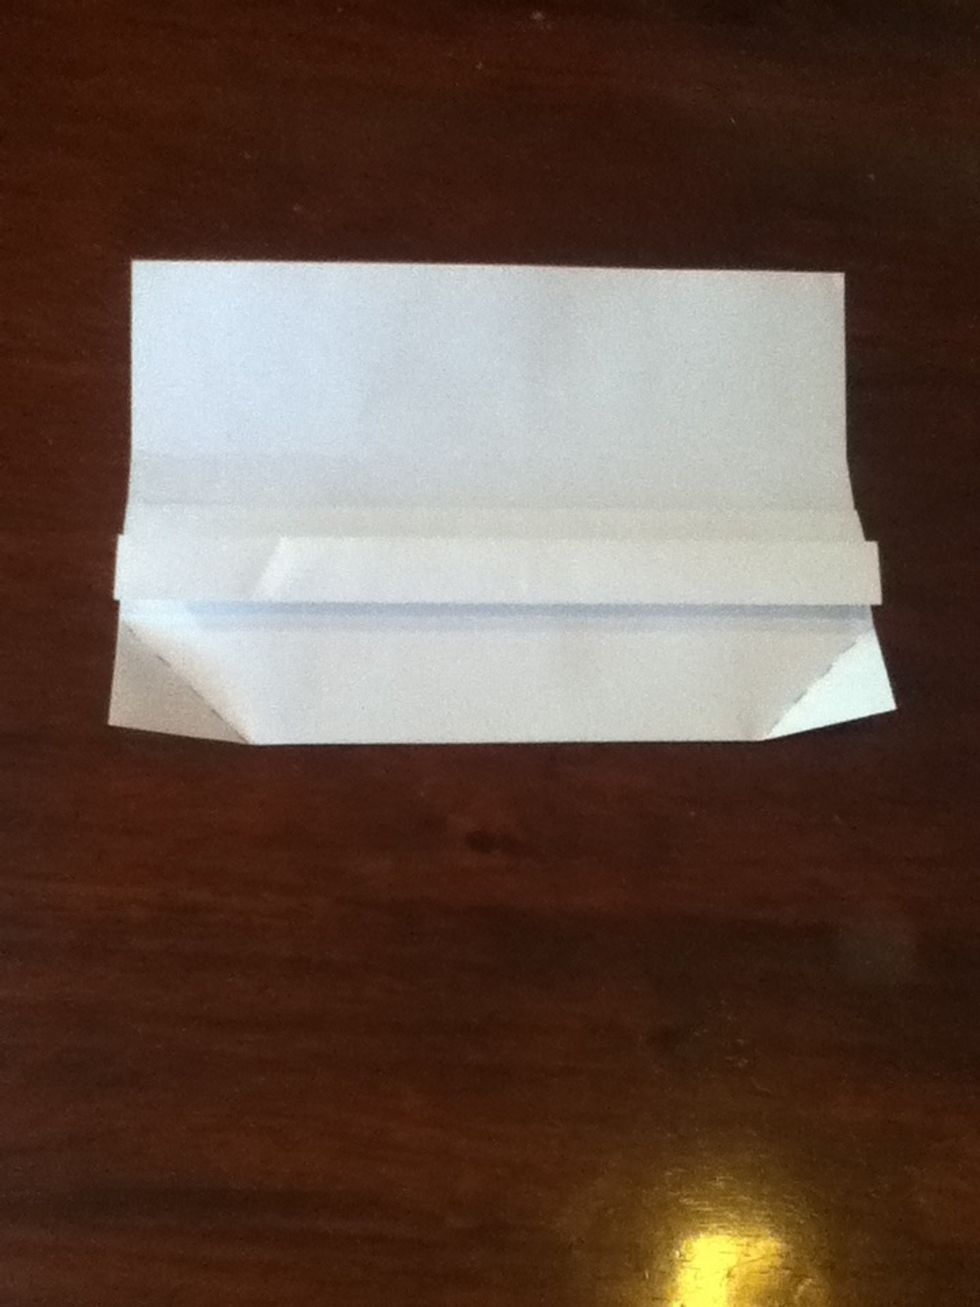
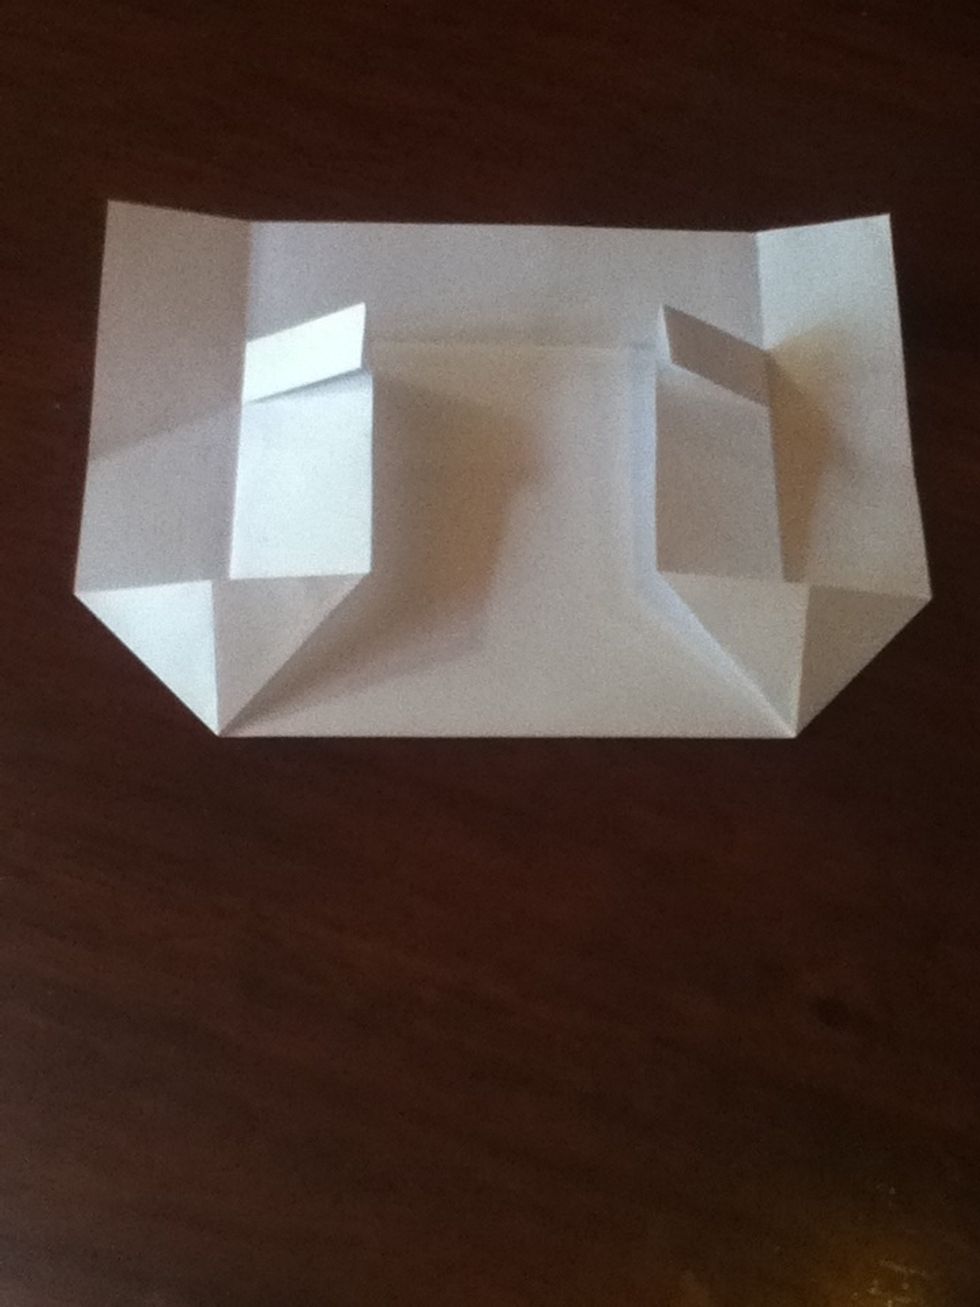
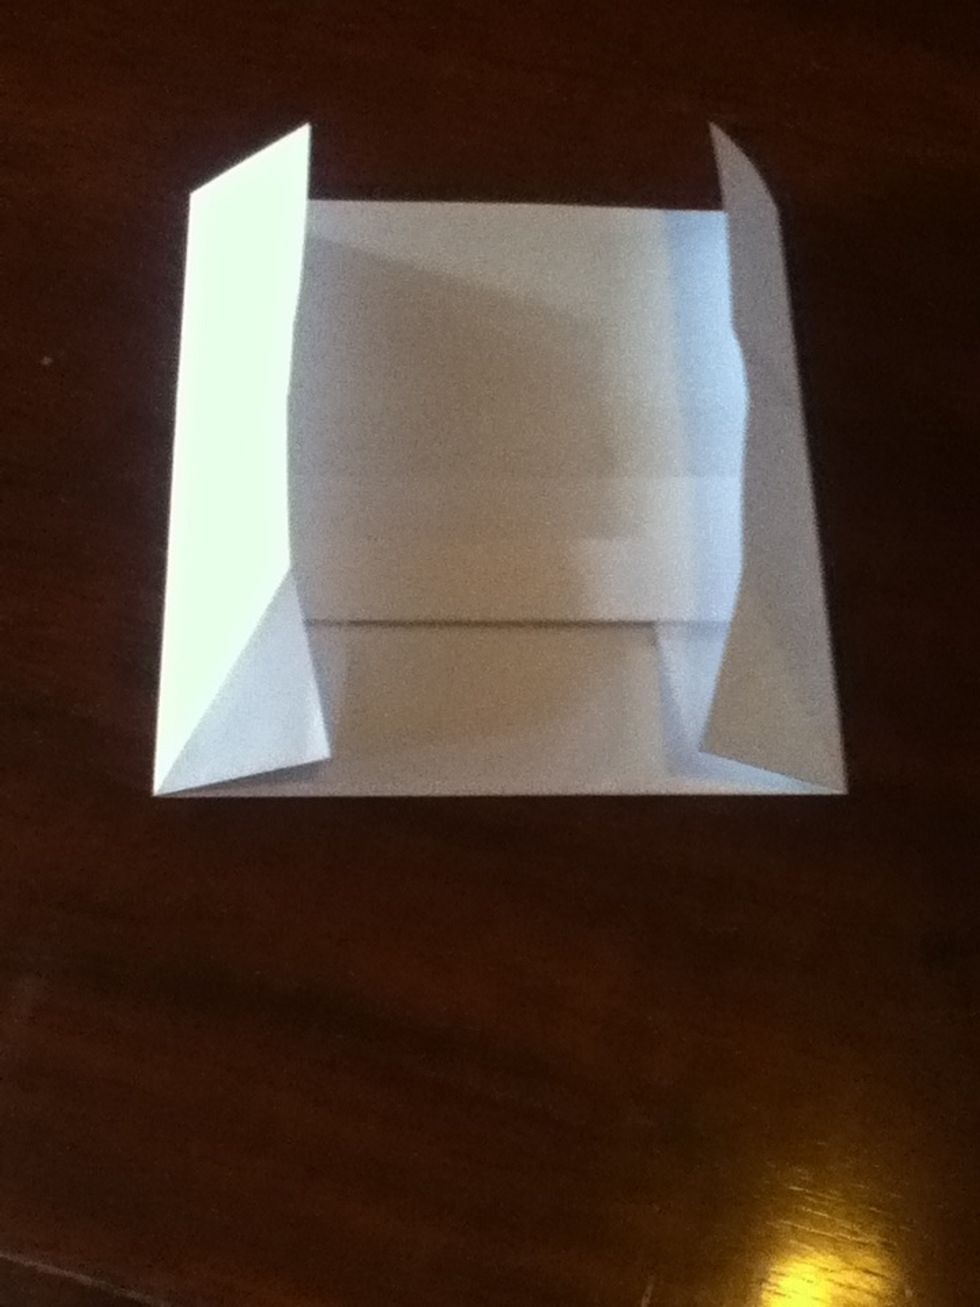
Now we're going to fold the bottom two corners up
Like so

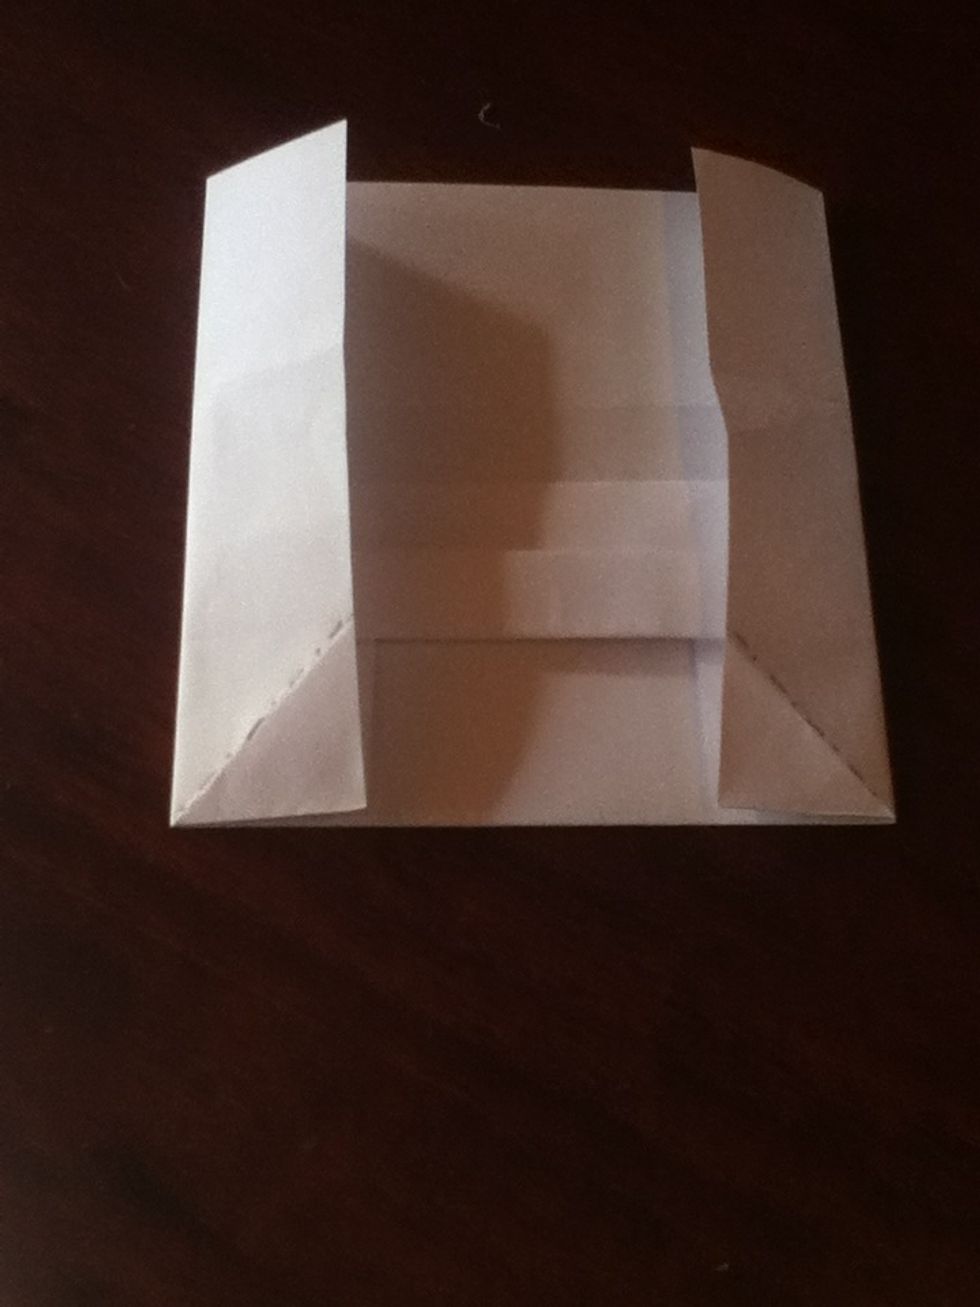
Unfold them then lift up the top section

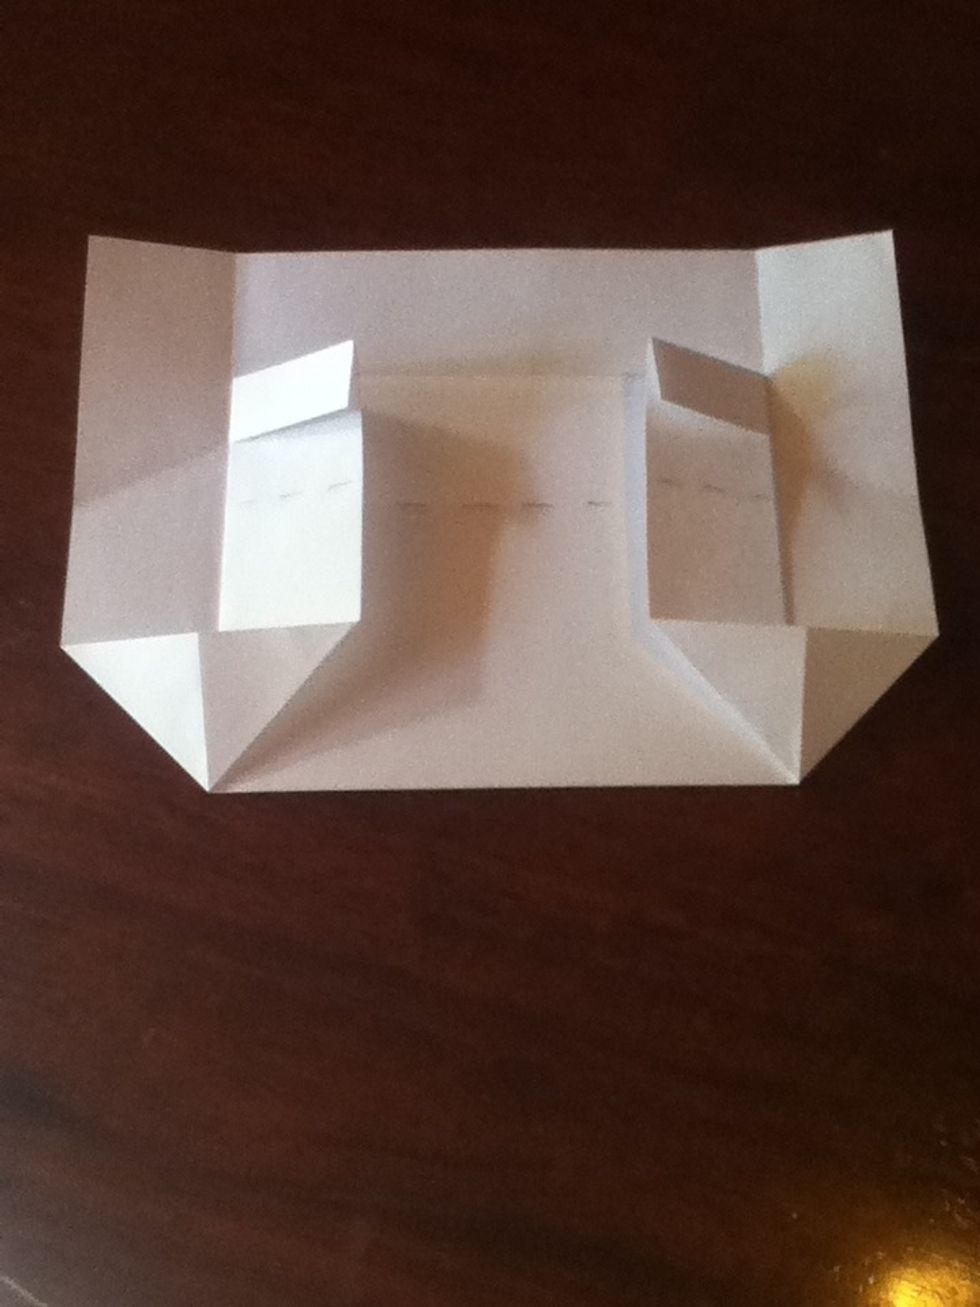
Now we're going to fold vertically using the bottom points of the triangles as a guide
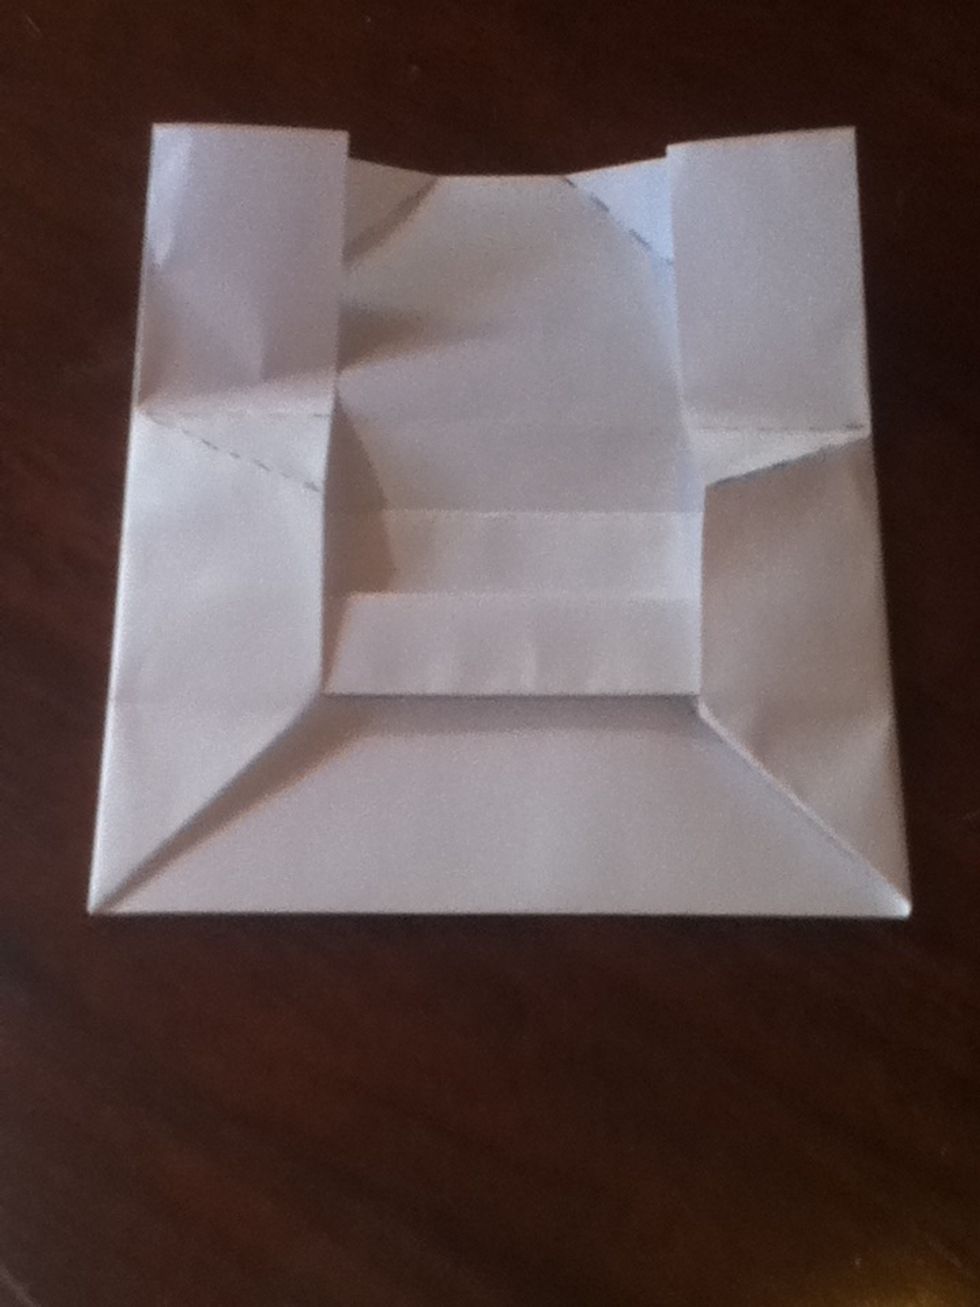
Unfold and bring that top layer back down. Now, if you can see I've put the dotted lines above that top section and so we are just going from those two creases we made earlier if that makes seance...

So fold along those lines and bring the top section up again

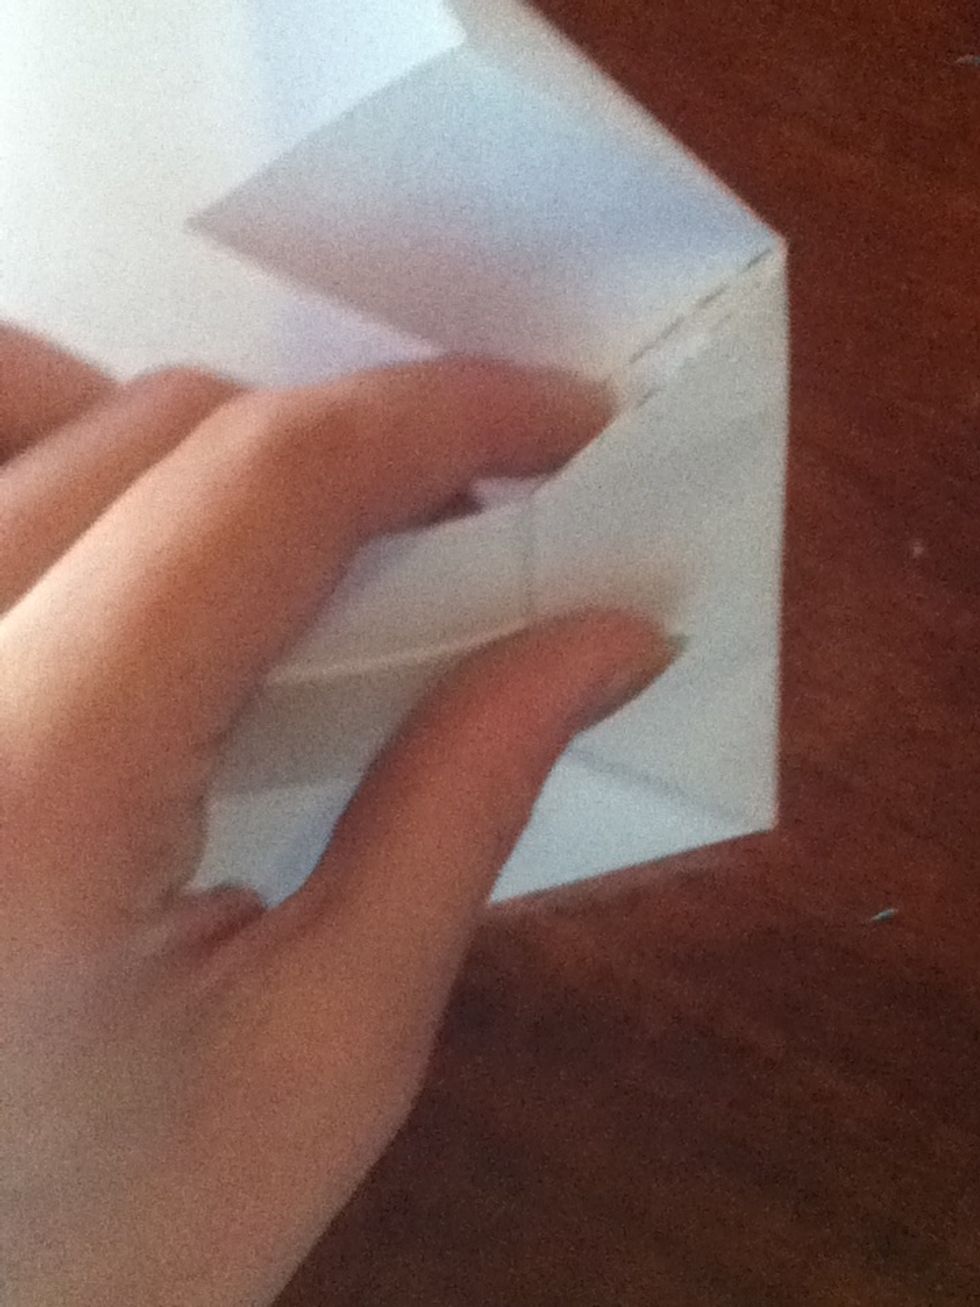
Now fold the TOP LAYER ONLY and fold it back so it pulls out the little triangle

And squash that flat
Repeat on the other side
Fold down on the dotted lines
Like so

Now we are going to bring the layer that we made over the top section that we just pulled down
Like this
These dotted lines mean that you have to make a mountain fold. But in these circumstances you just have to fold it under
Now we are going to mountain fold the bit that we made from the creases to creases
So push it in
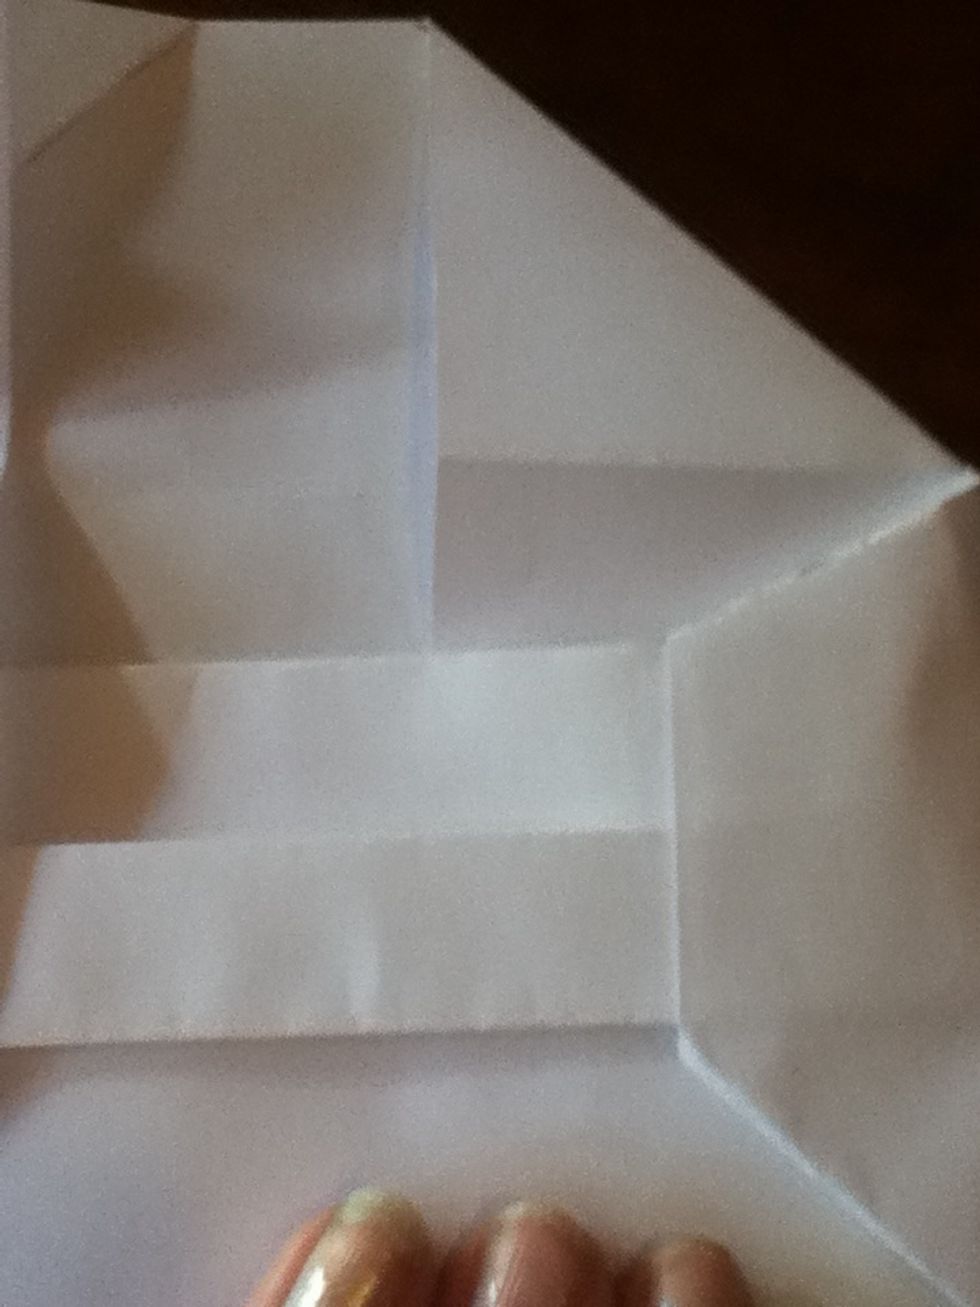
Like so then line up the crease line on the top layer with the layer underneath. As you can see I haven't lined it up properly yet
Like so. Now you have to pull the top layer down
Like so
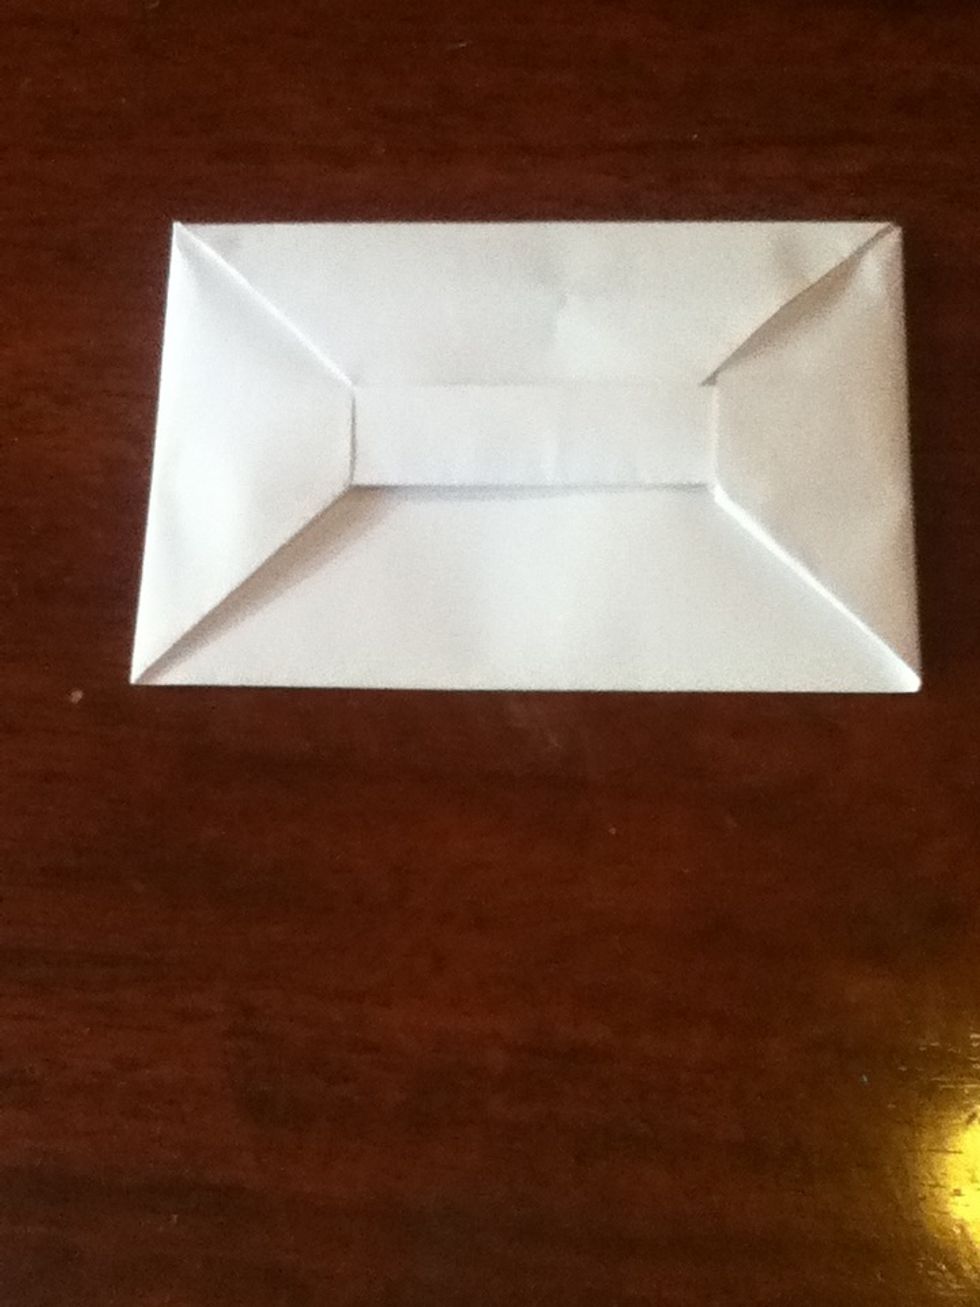
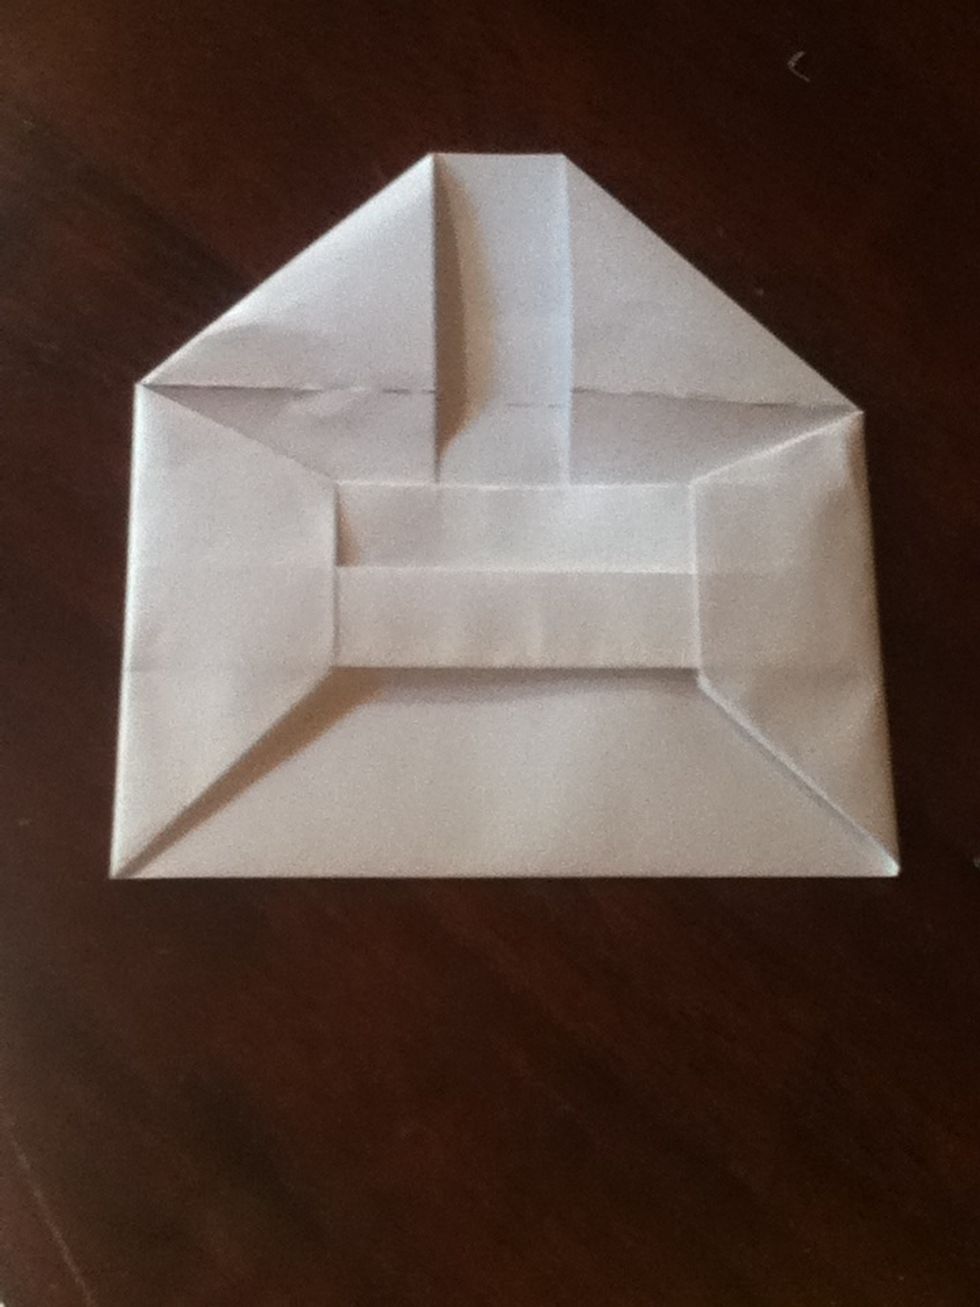
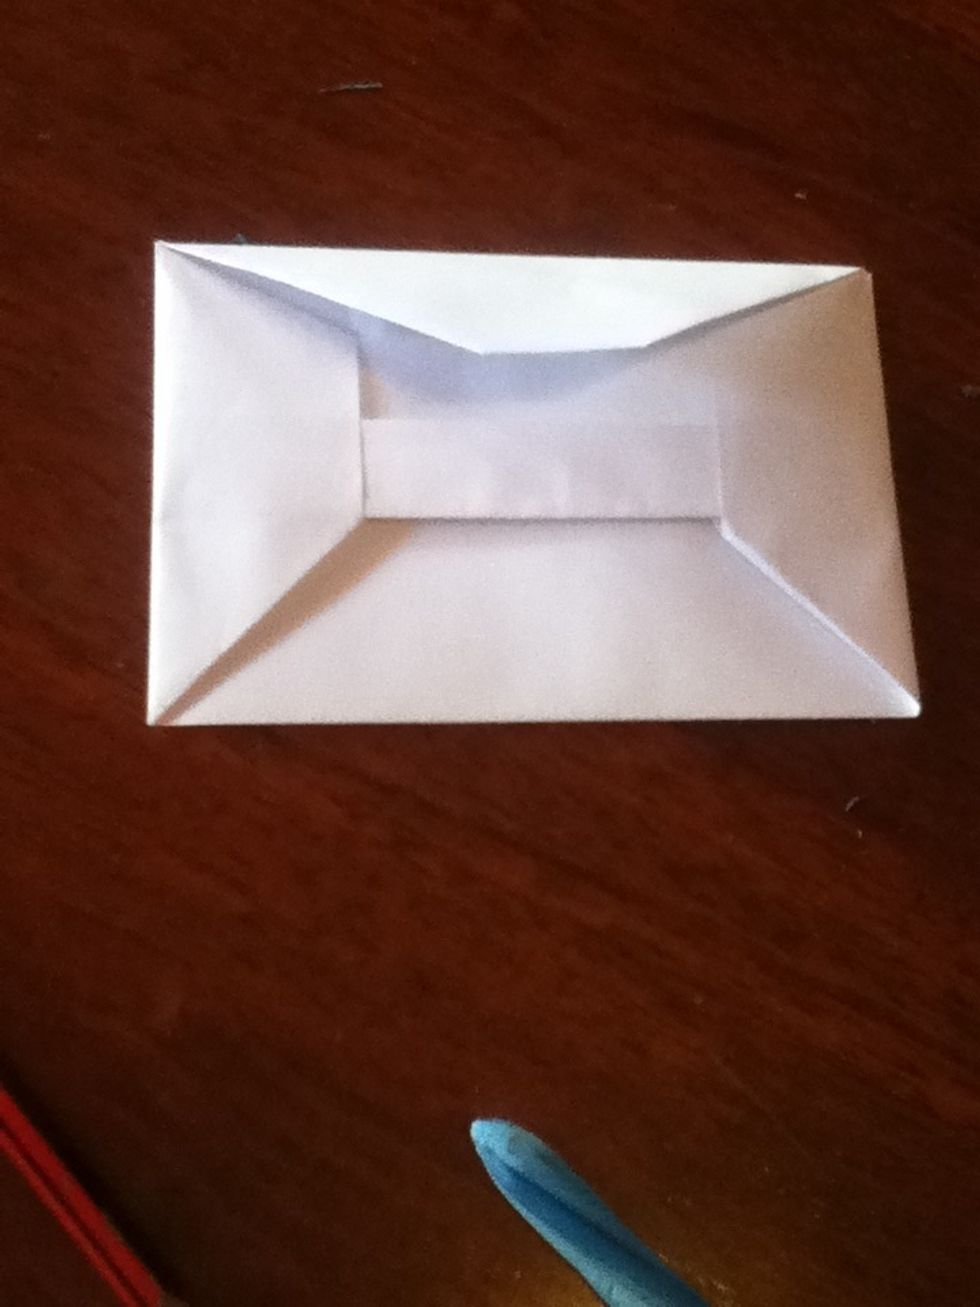
Now all you have to do is tuck into the little pocket!
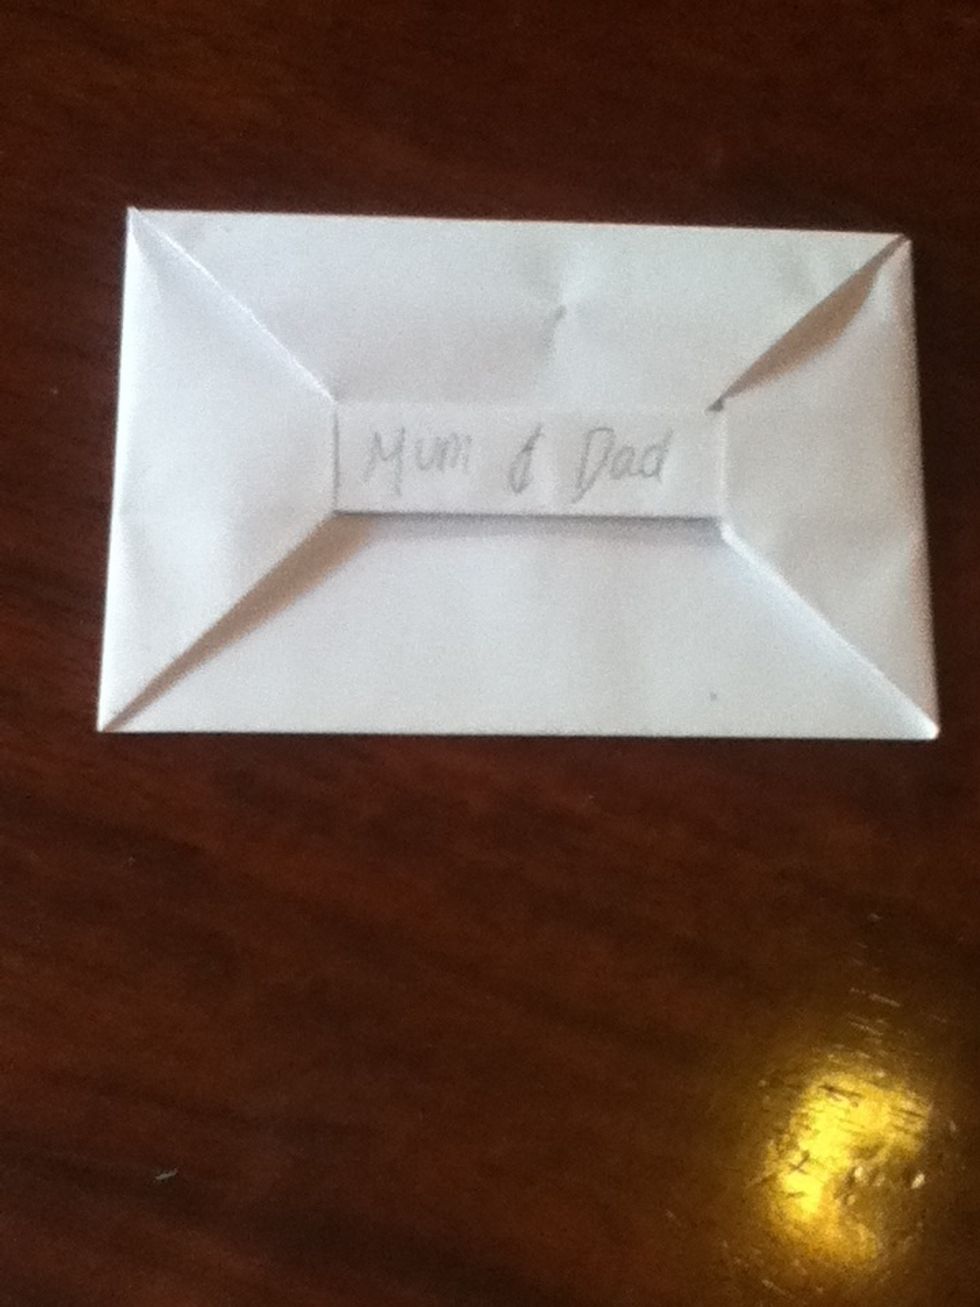
You can write who it's to on the bar in the middle!
I like to use these kinds of envelopes for people's birthdays or times when I'm not mailing stuff to people
If you want you can write the return address on the lid opening thing and who it's for on the other side, by all means, go for it! Have fun ;)