The Conversation (0)
Sign Up
We going to need: a square paper and much glue (optional).
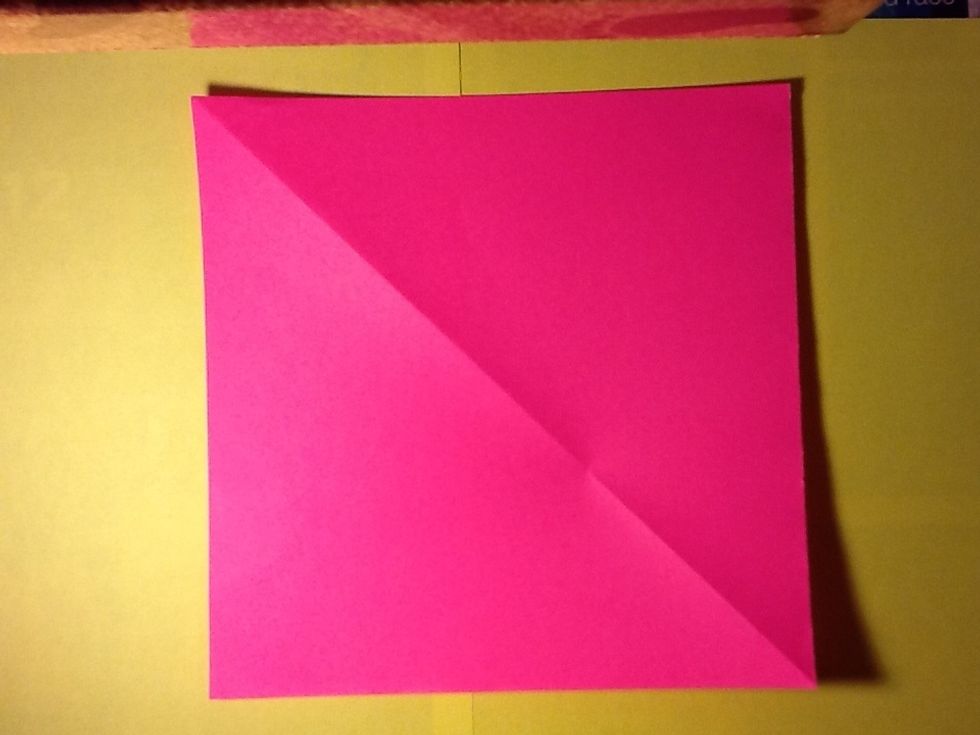
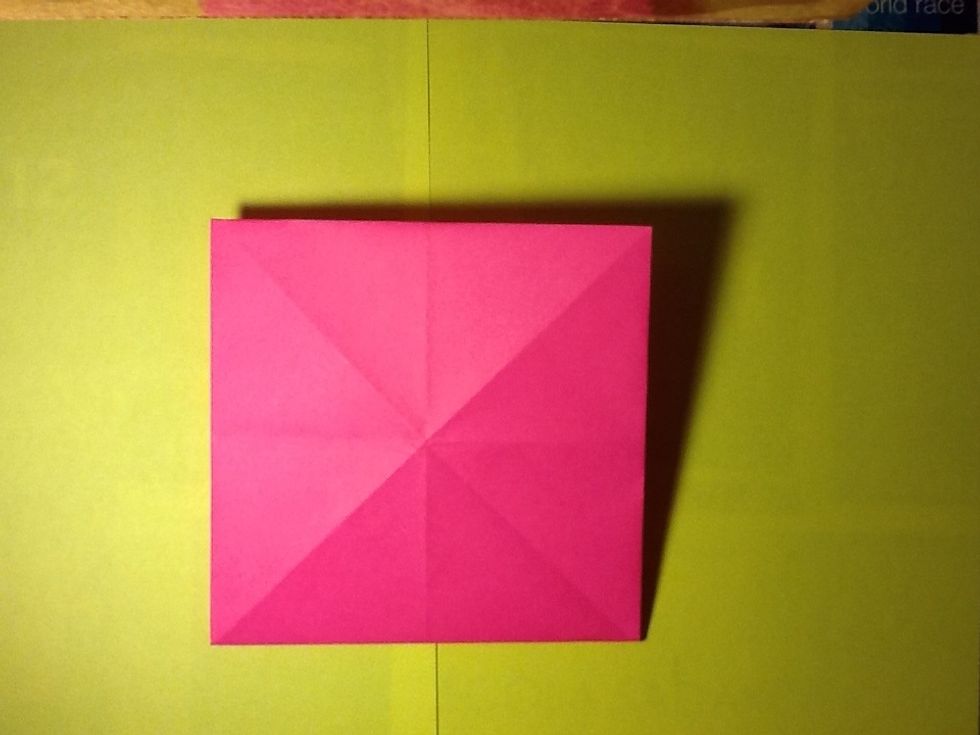
First we take the square

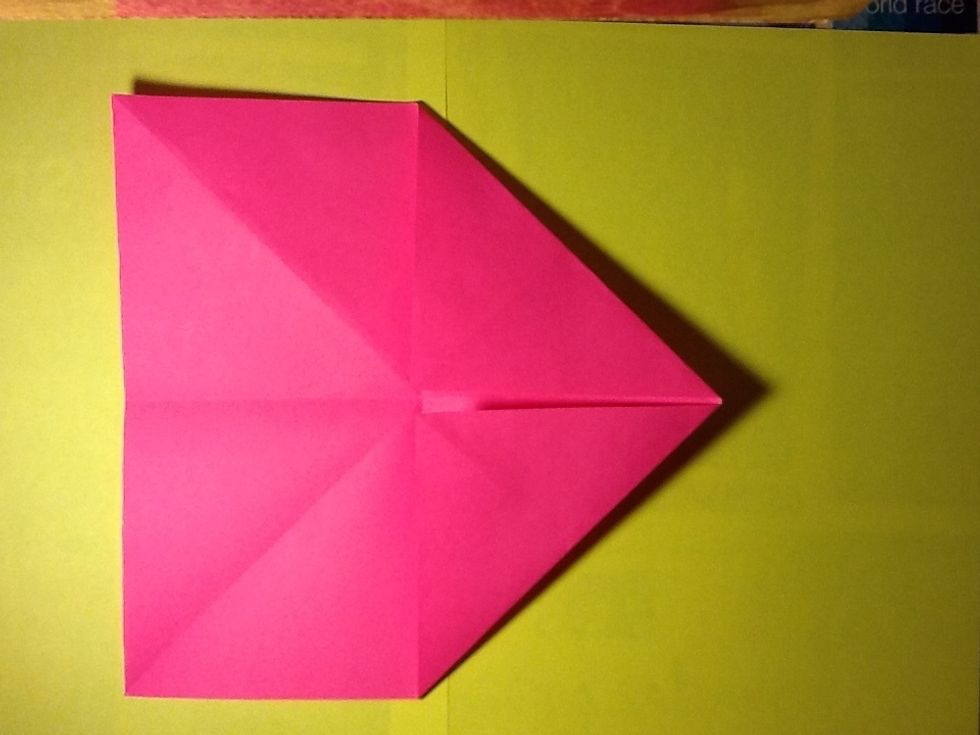
We make a triangle (one half of square)

And we do the same with the other half
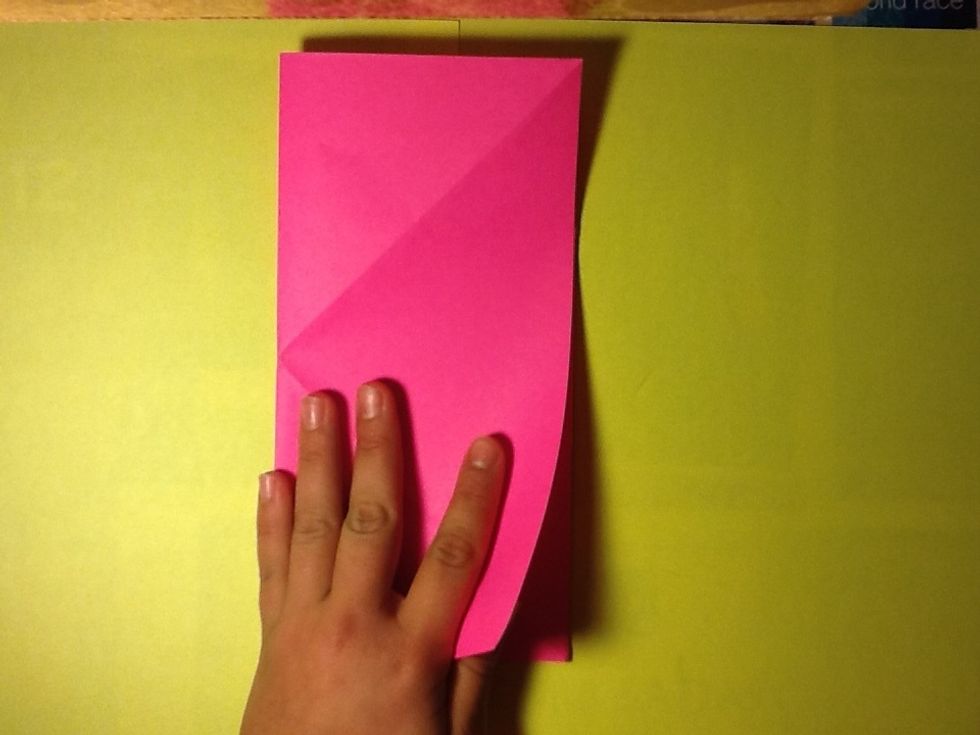
Now we do two rectangles (a half of square also)
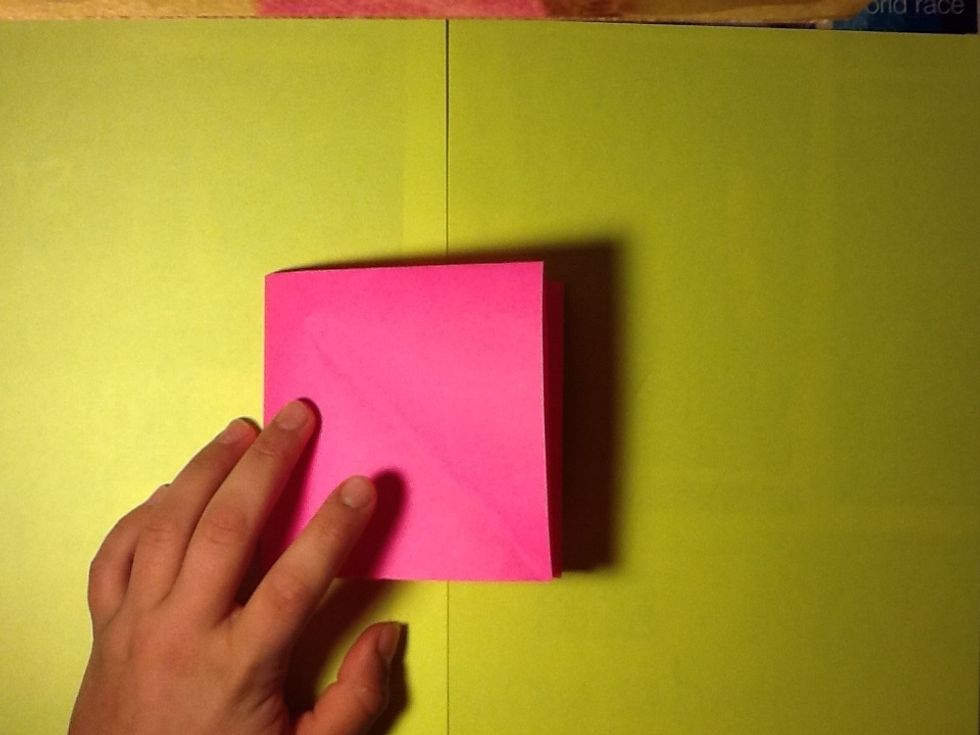
And now we make a little square (a quarter of the big square)
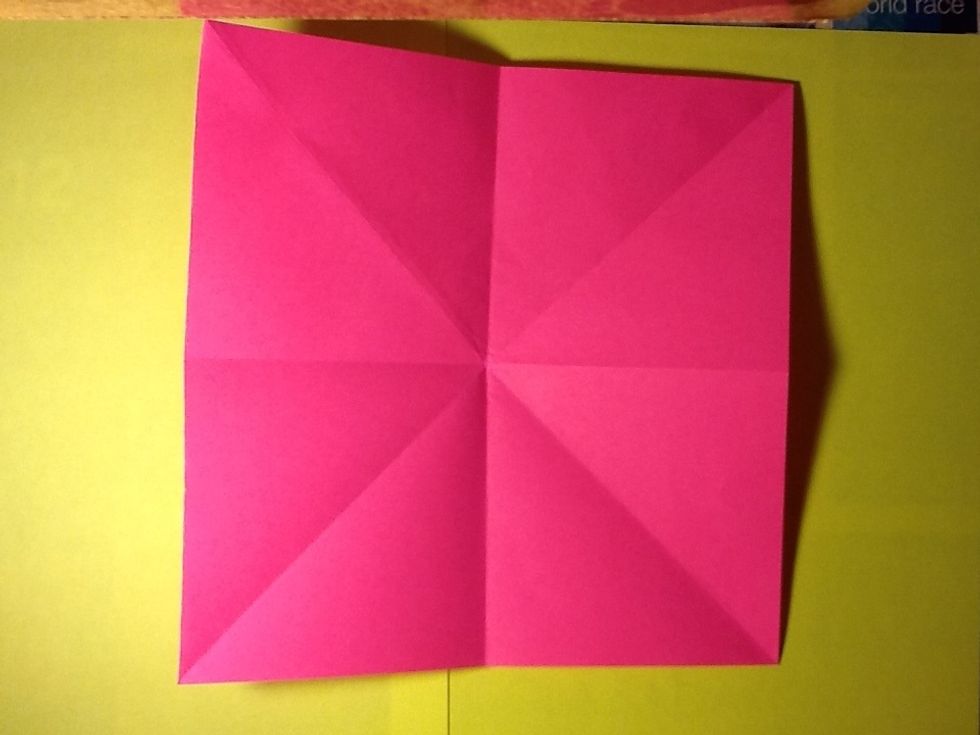
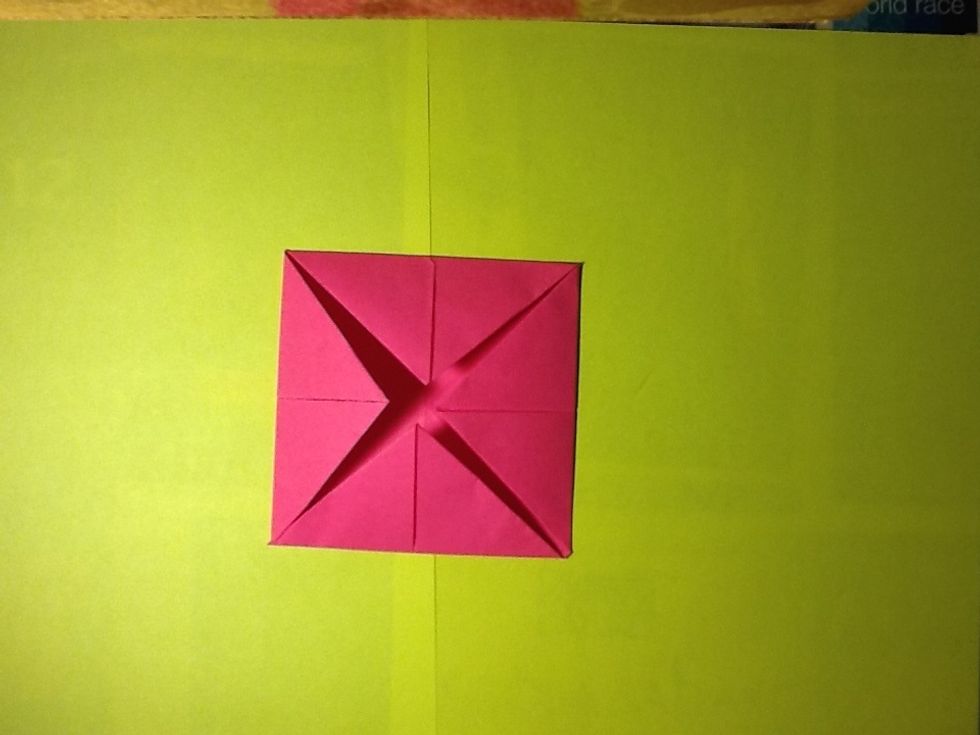
We returns with the first square and if all is correct we have to have this shape
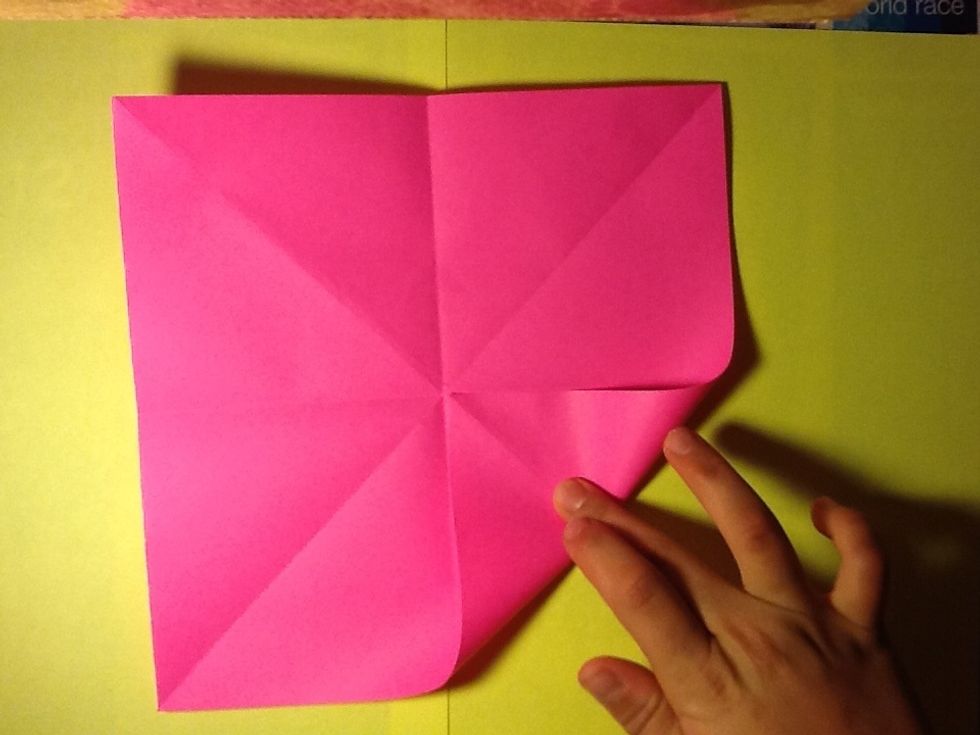
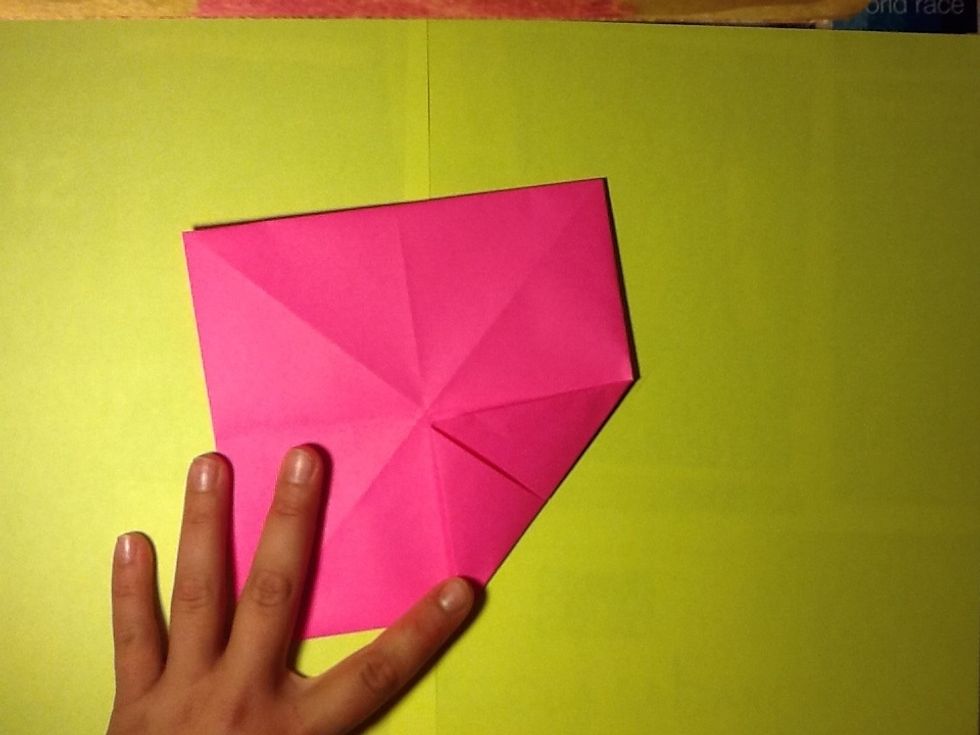
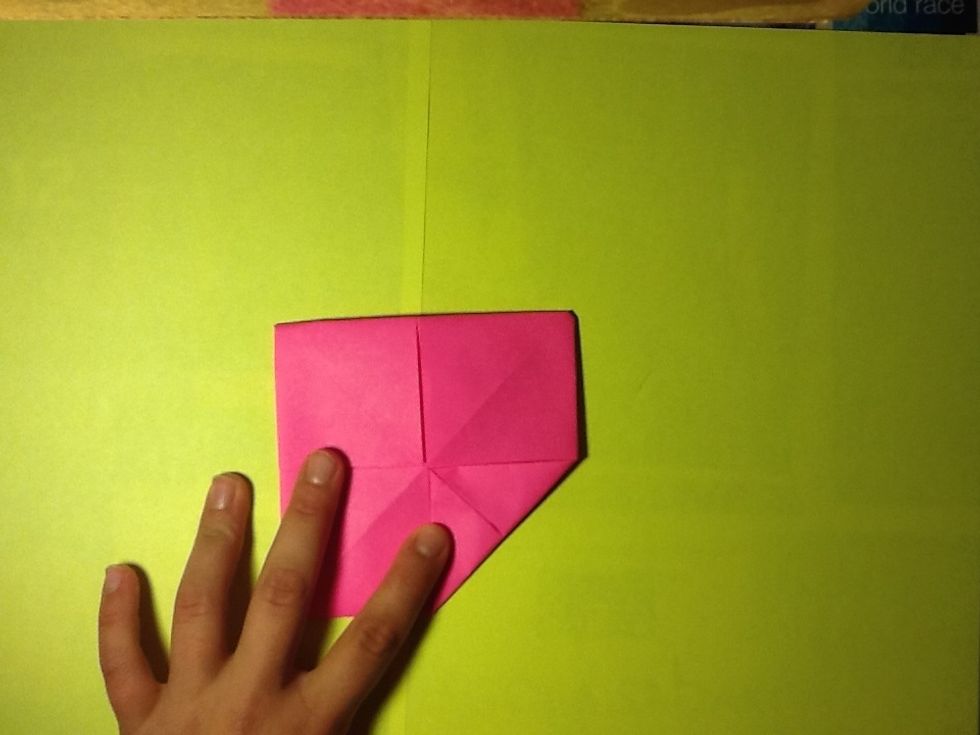
Now we put one point of the square to the center
We do the same with the other 3
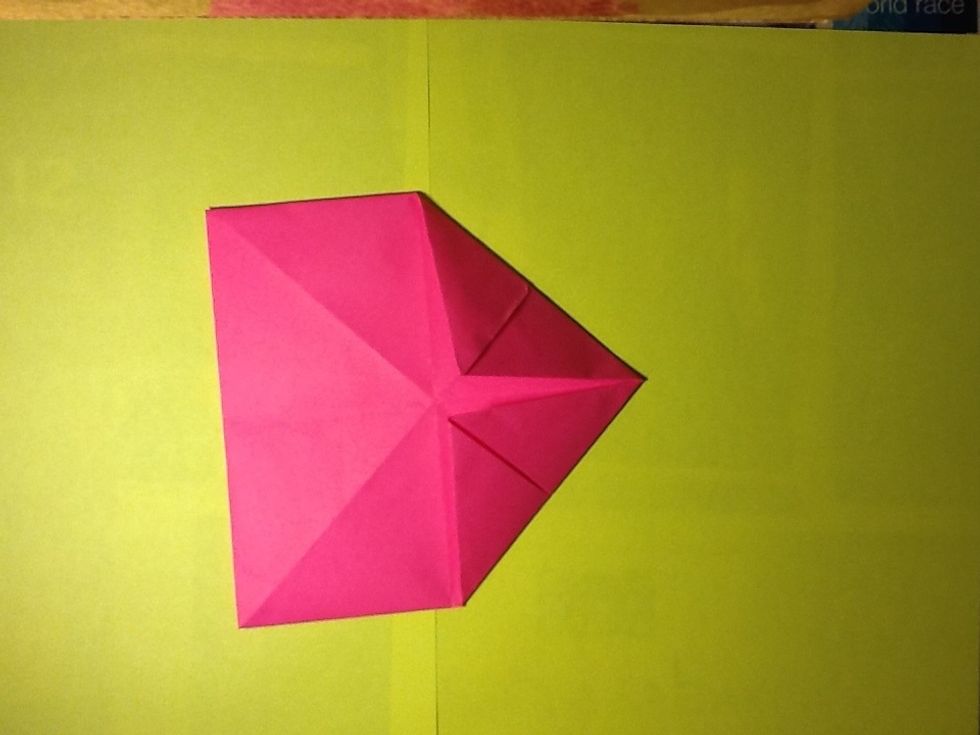
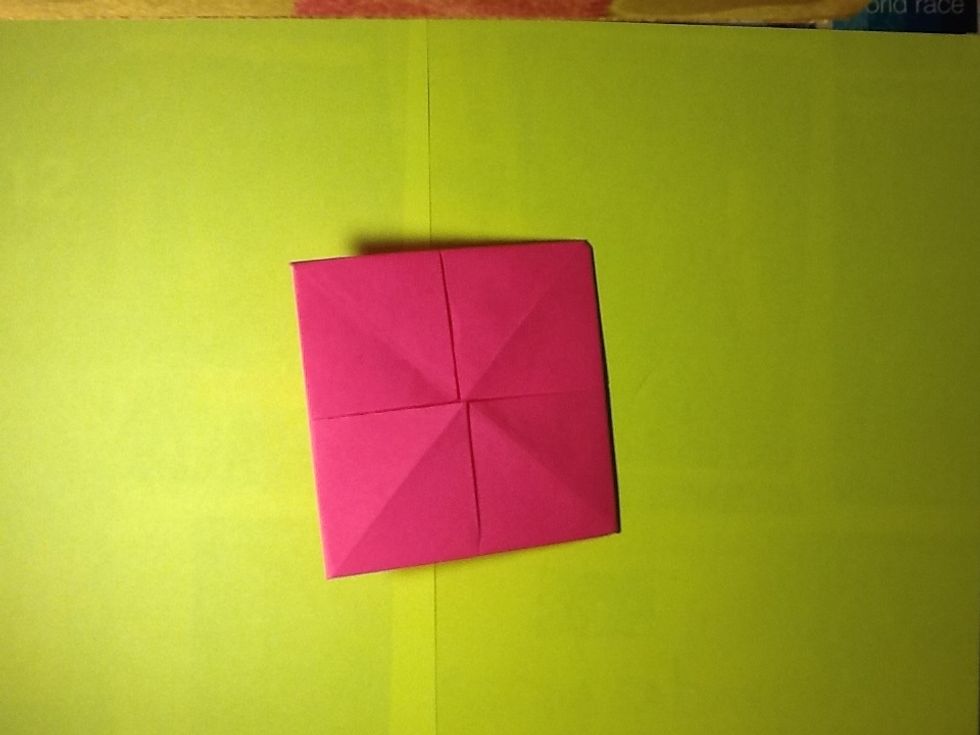
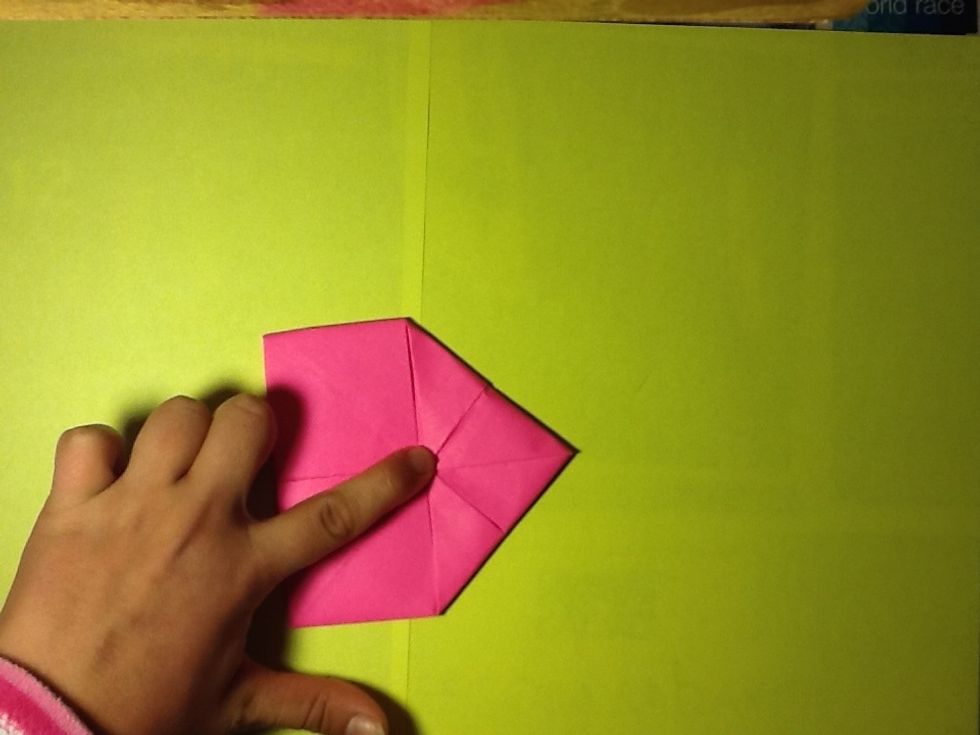
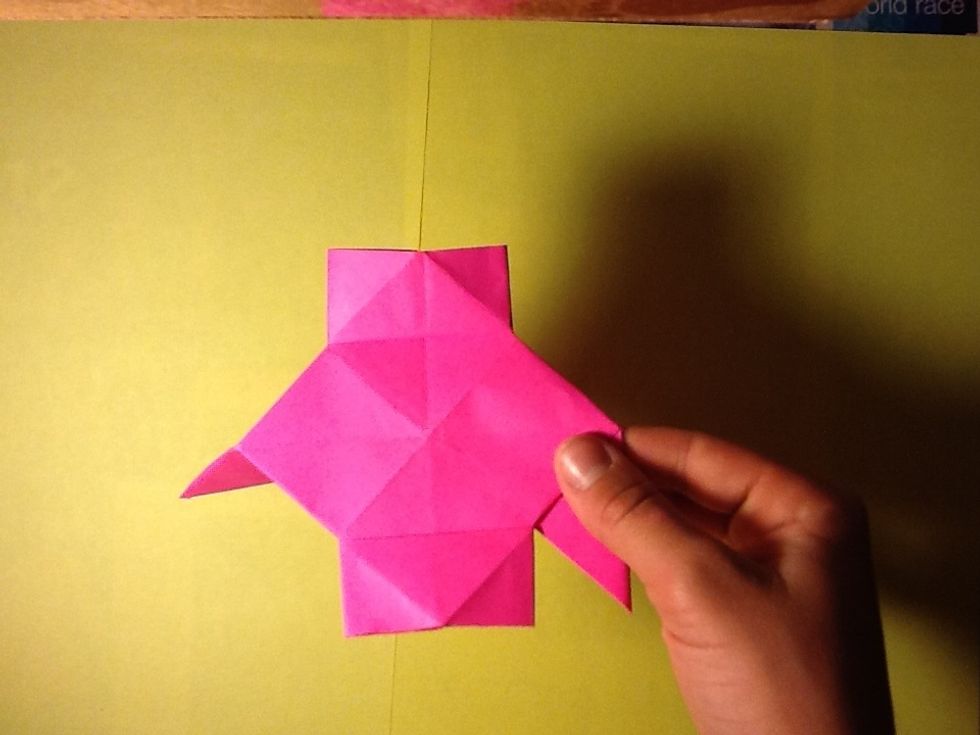
And we have a shape like this
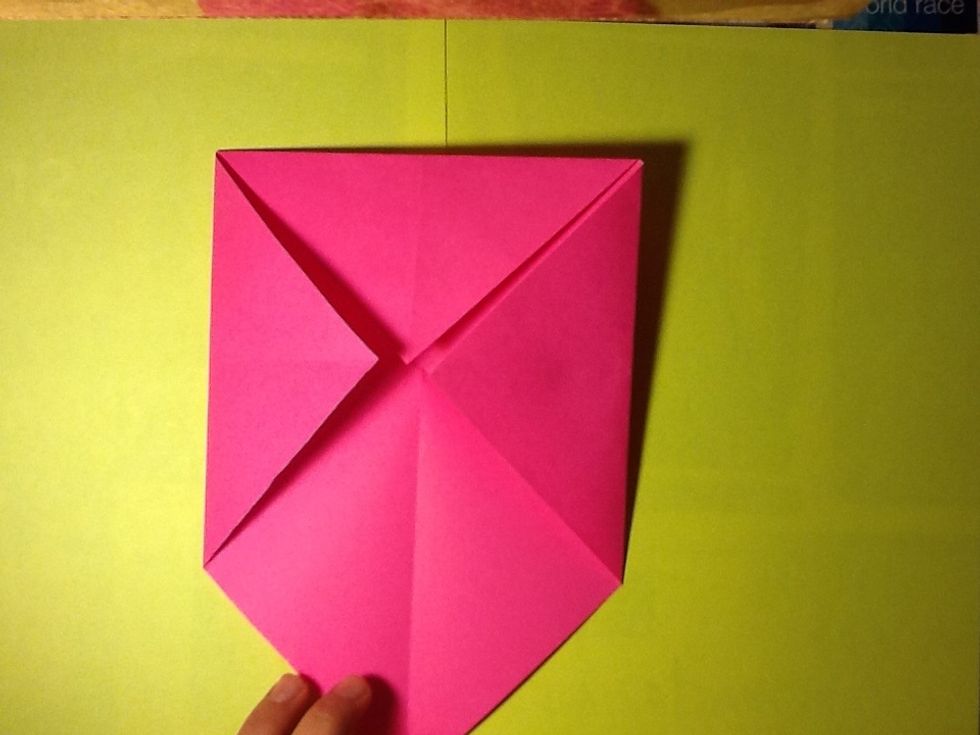
We turn the paper...
And we did the same like the last steep (point of the square to the center)
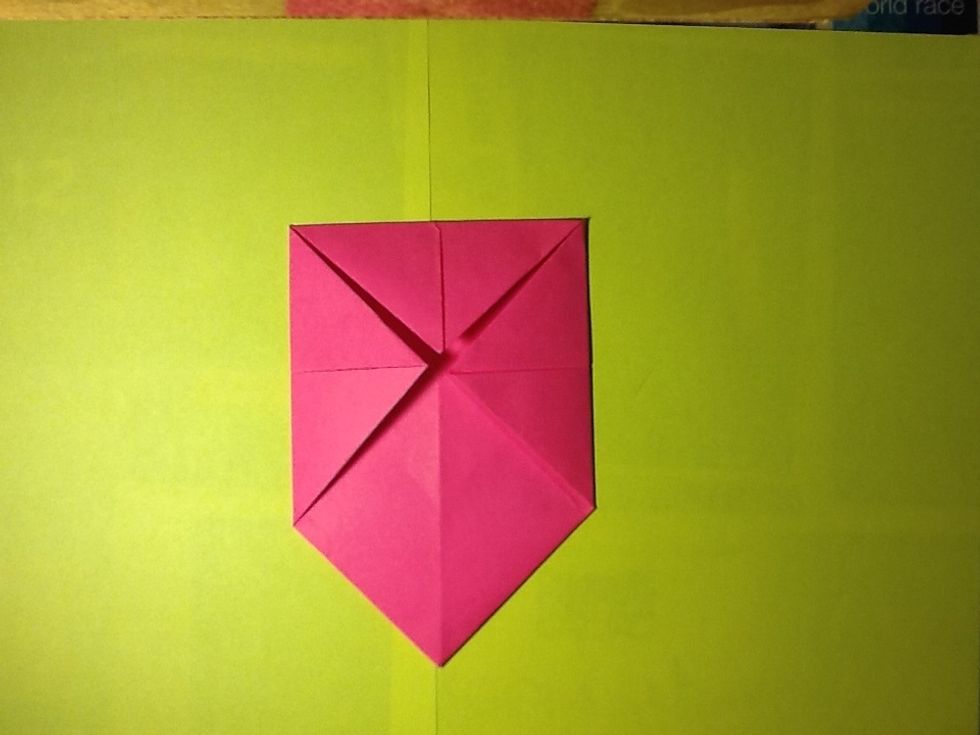
And this is the result...
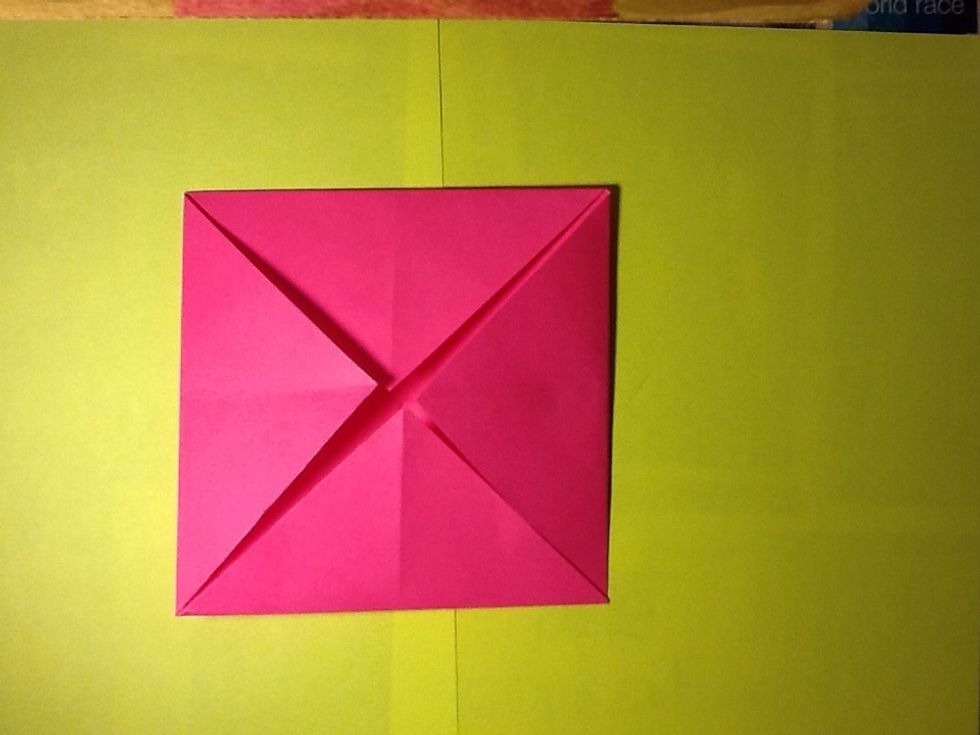
We turn the paper
And we repeat (point of the square to the center)
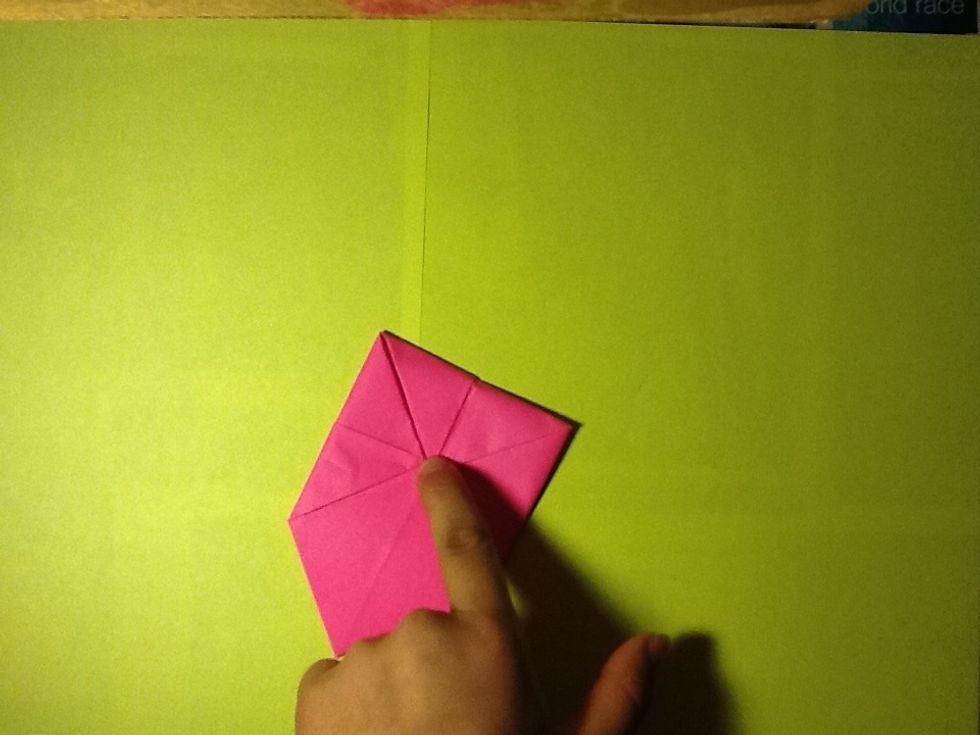
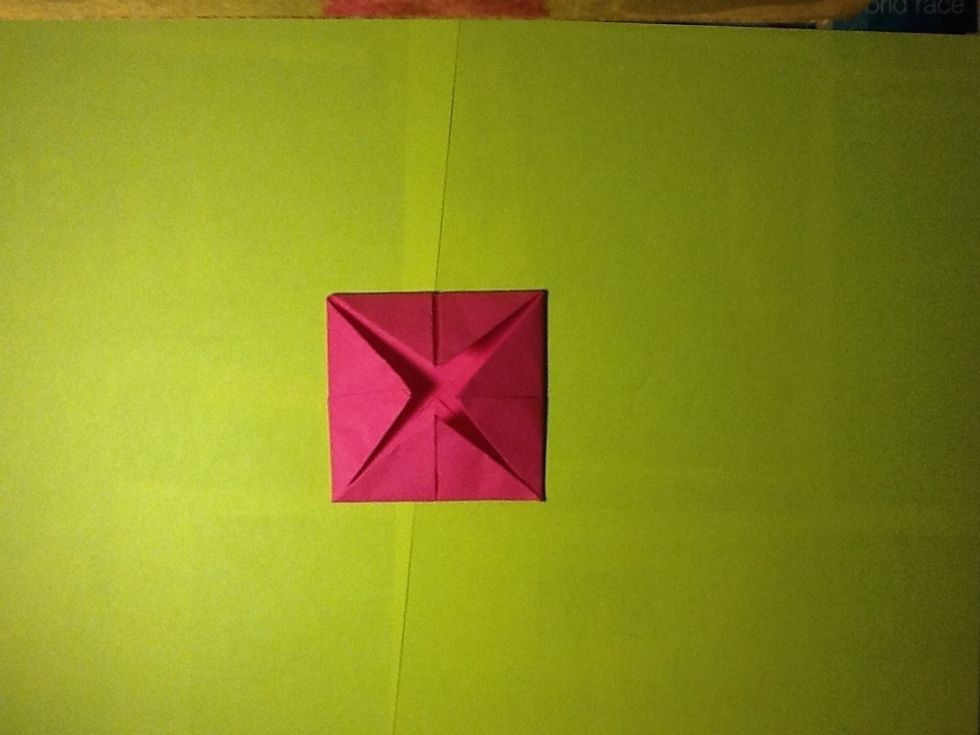
Now this square is the smallest
We turn the paper...
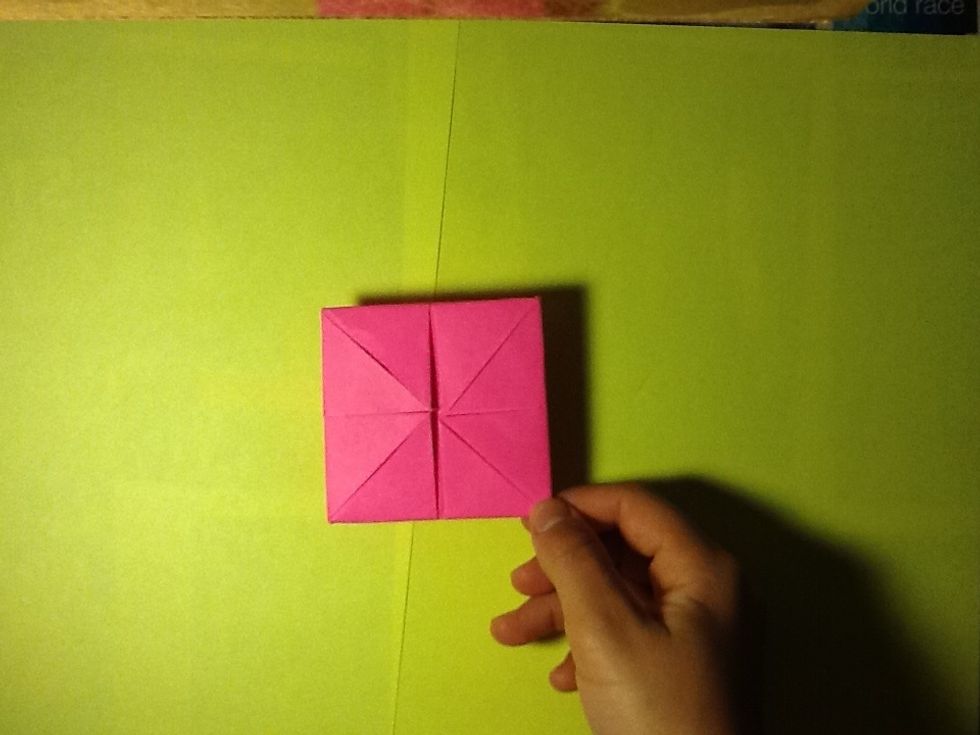
We retake the last shape
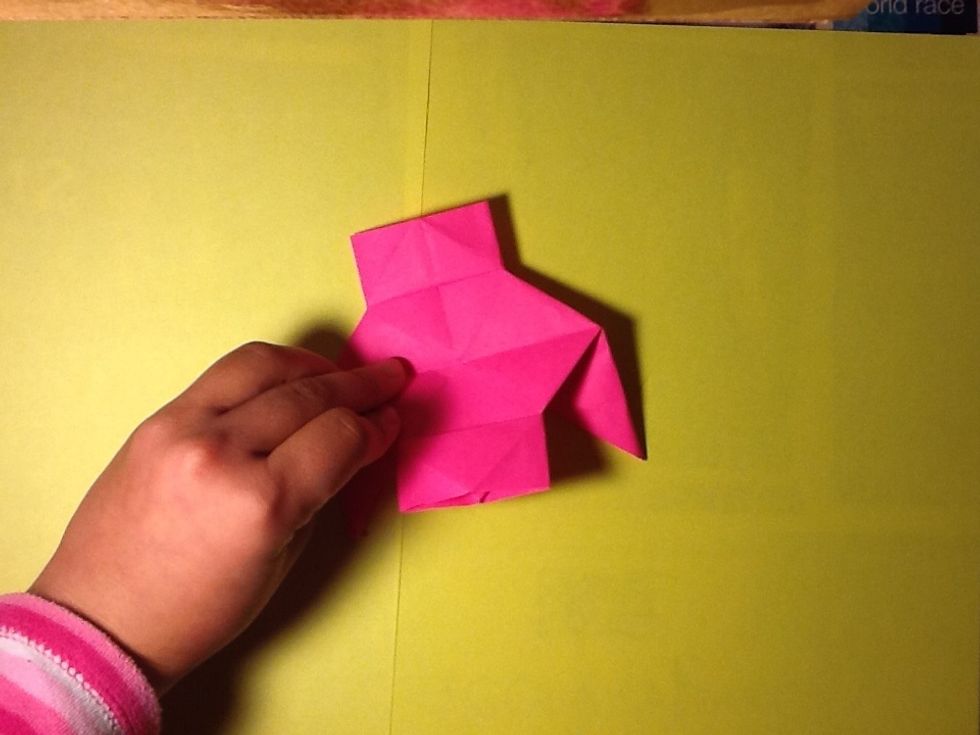
Turn the "arms of the t-shirt"

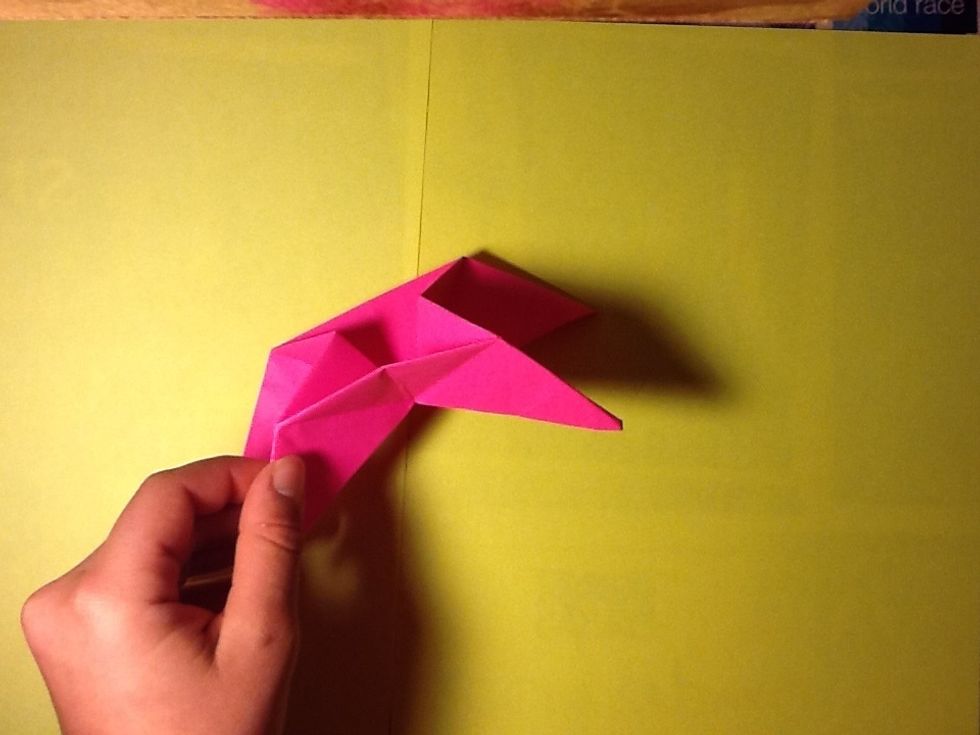
Look the picture...
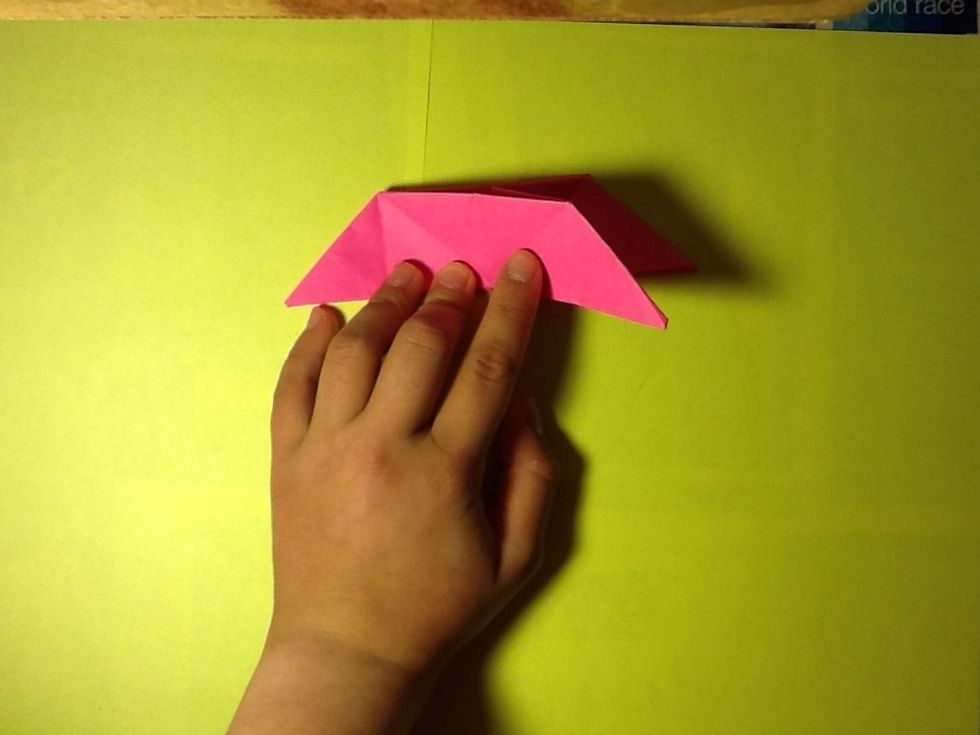
And do this shape
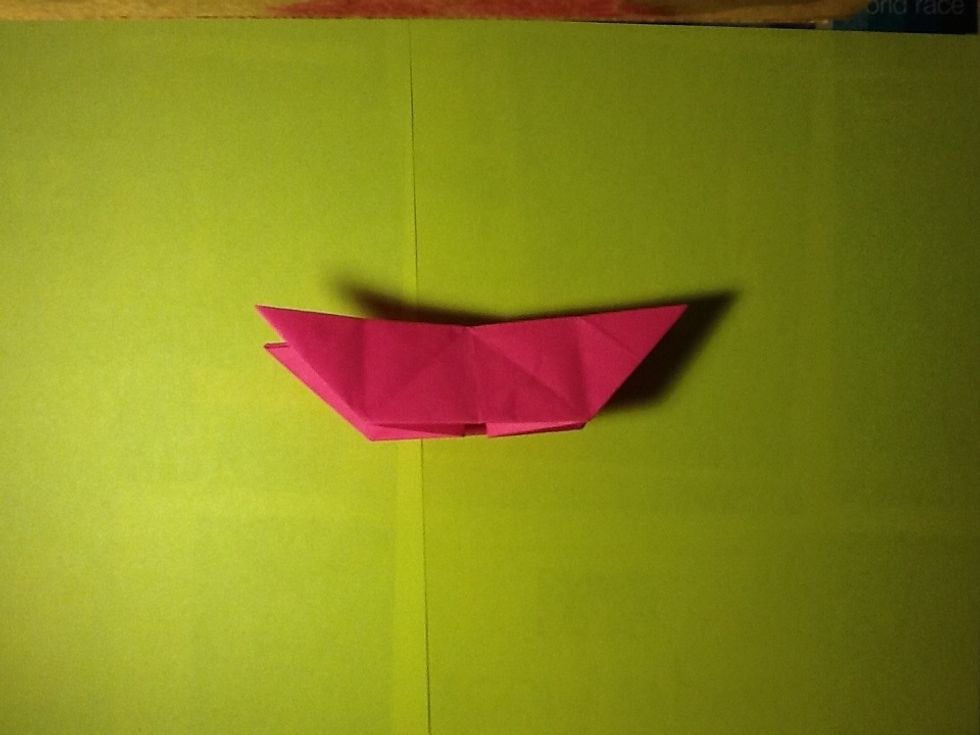
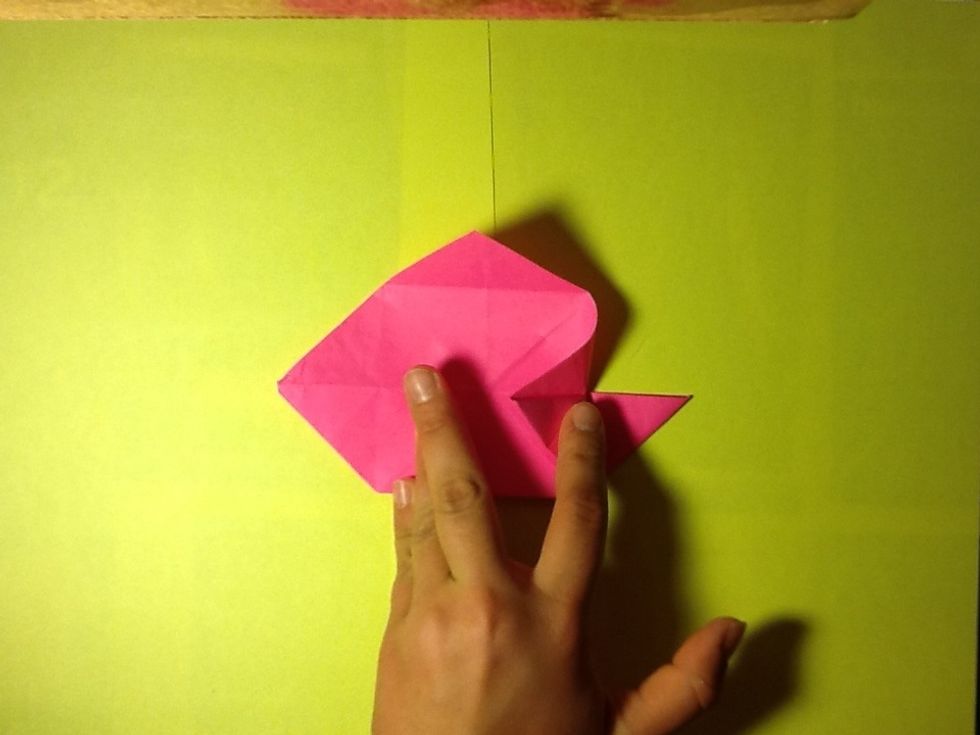
If look it, you can see that is a "boat"
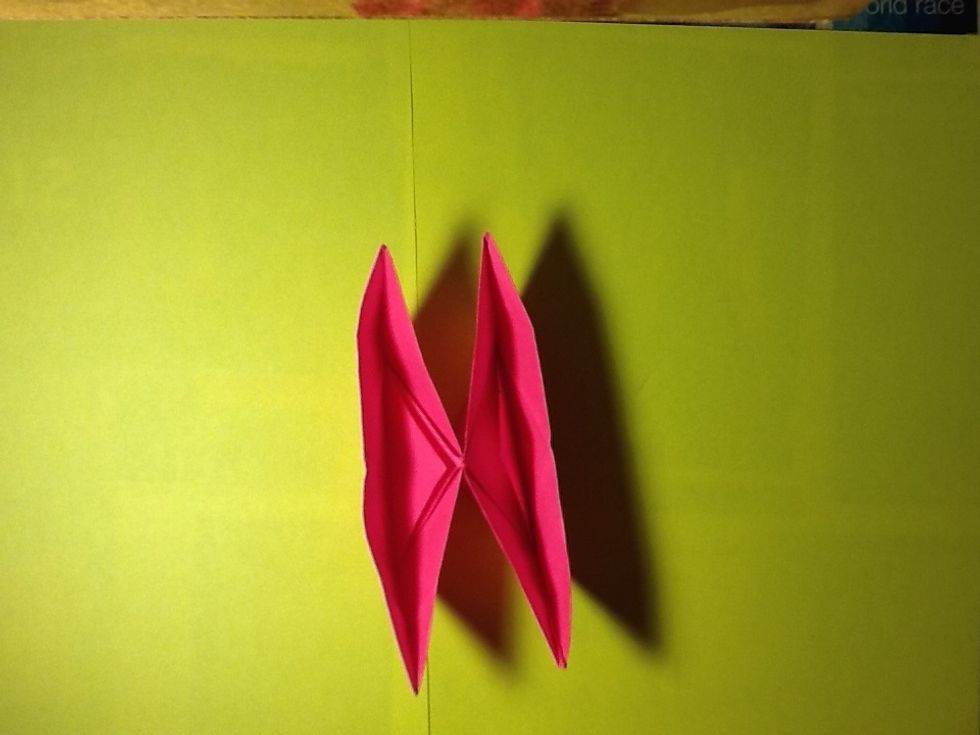
The boat by the superior face
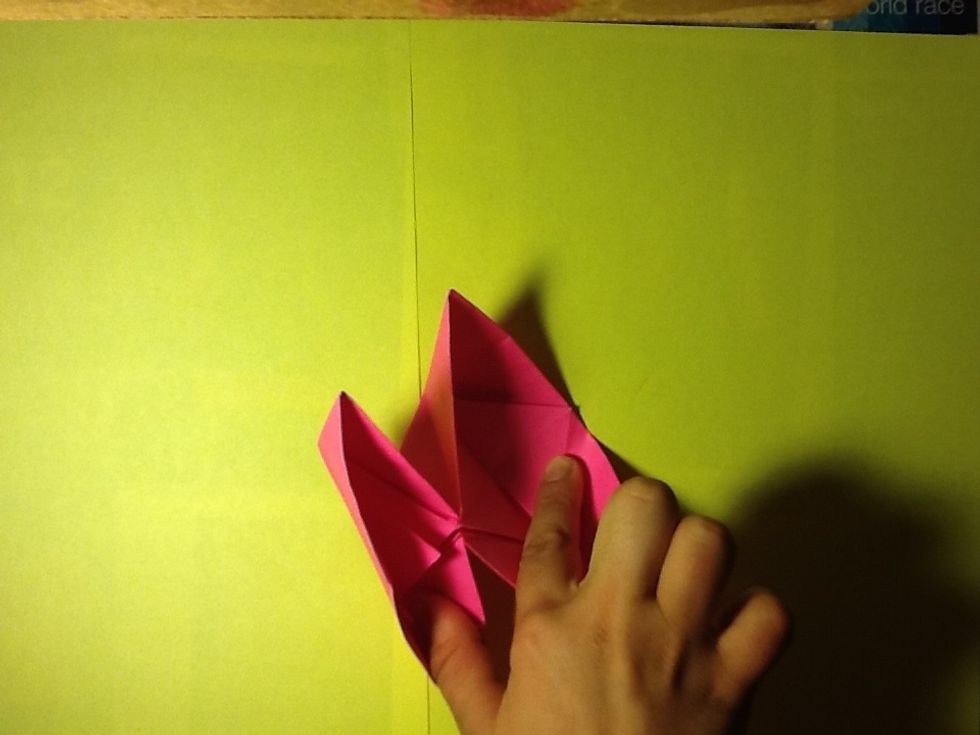
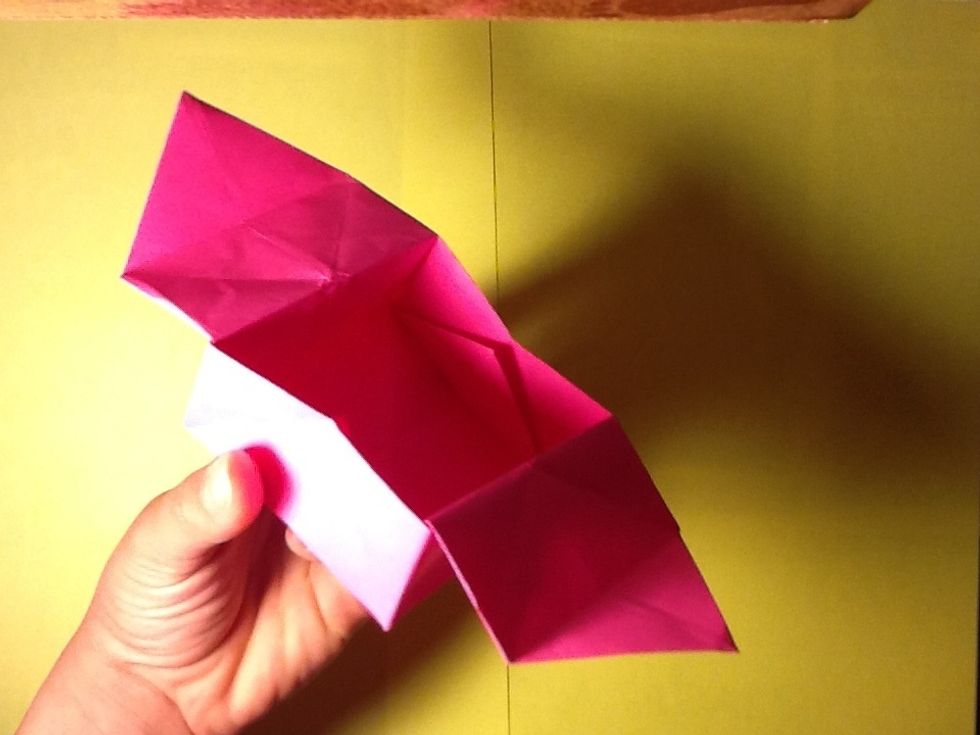
We open one of the parts and we take the triangle
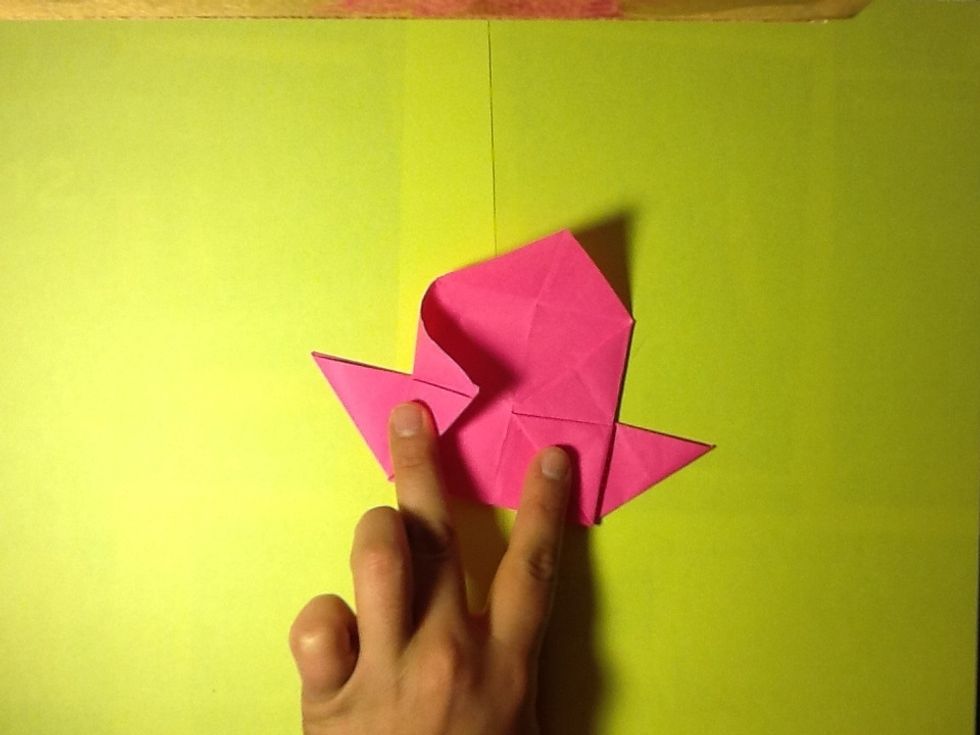
Out the boat
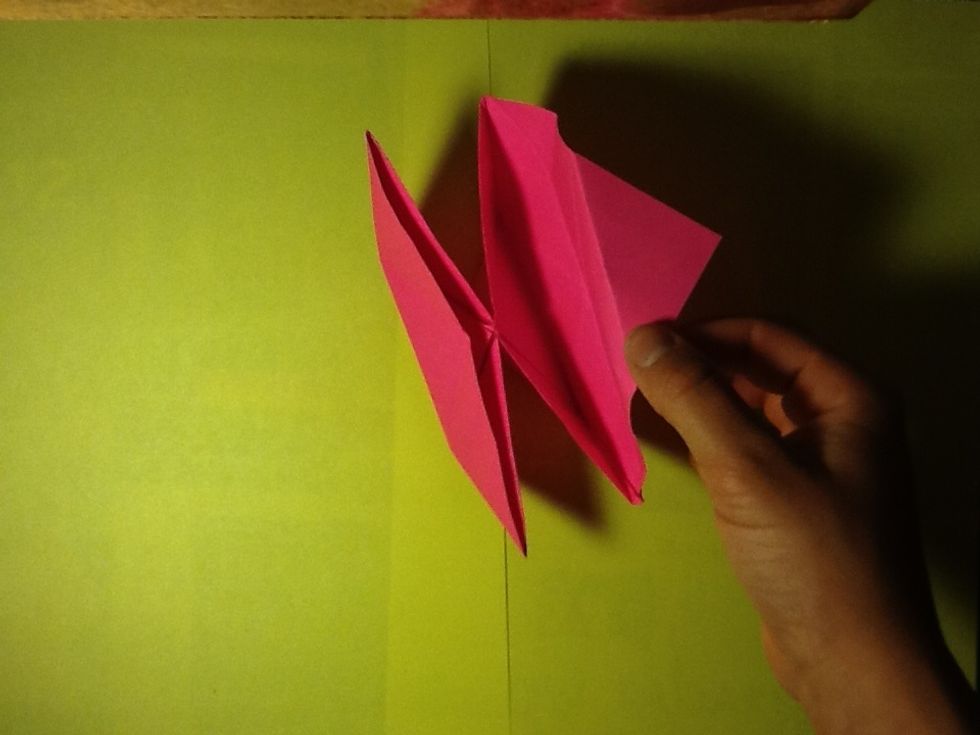
I we turn the paper we see this shape
One point to the center (the right point)
And the opposite too
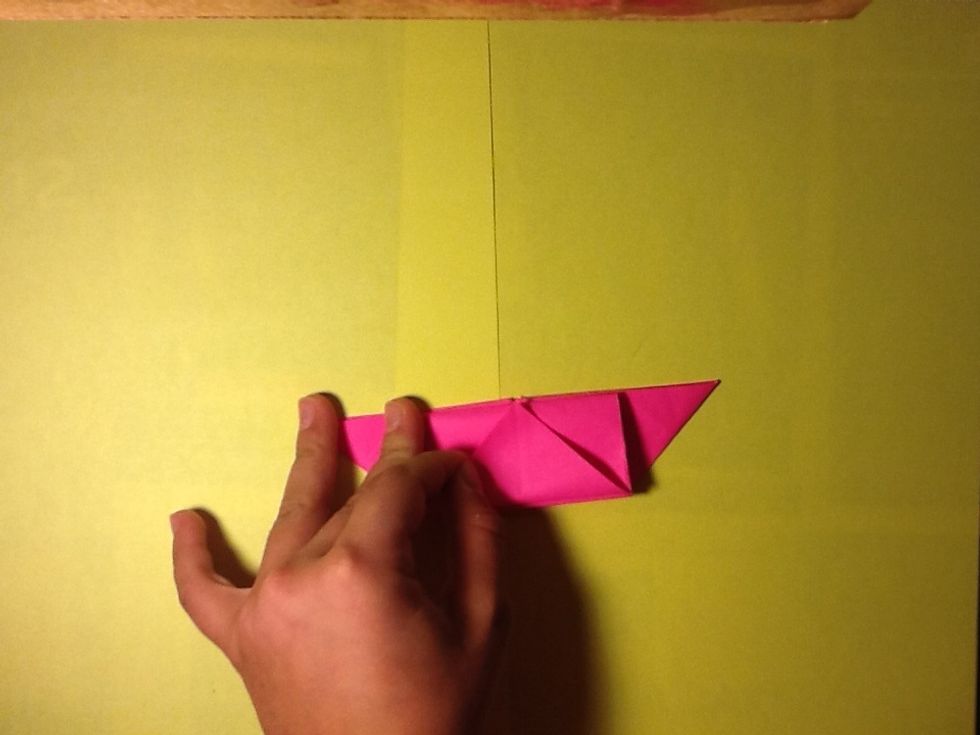
And we put the down point to the center
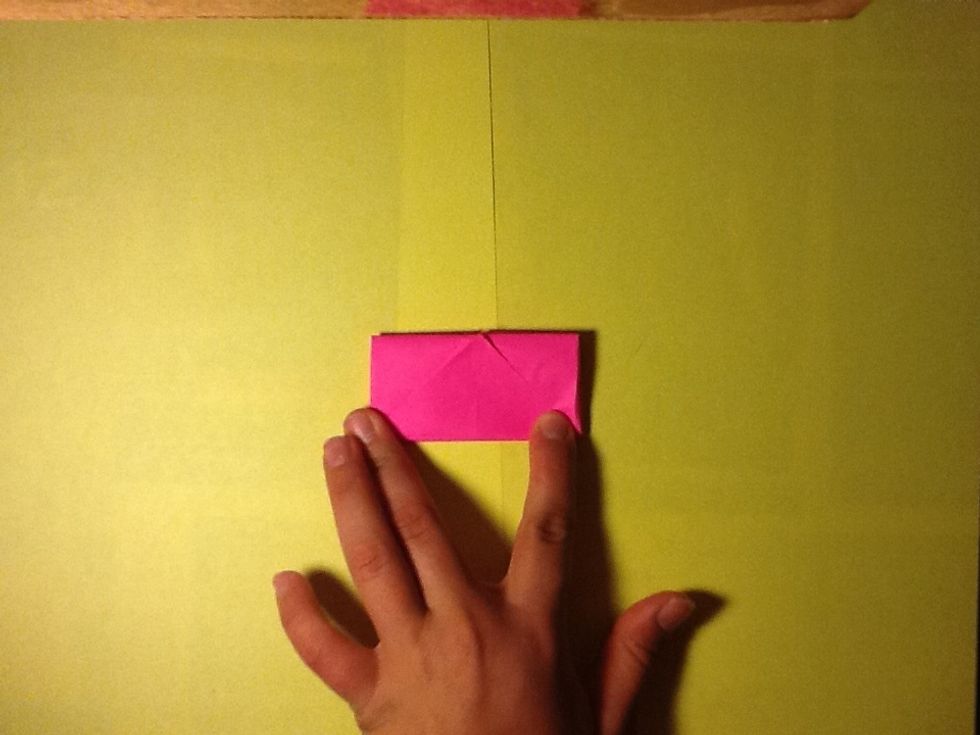
We do the same process with the other face
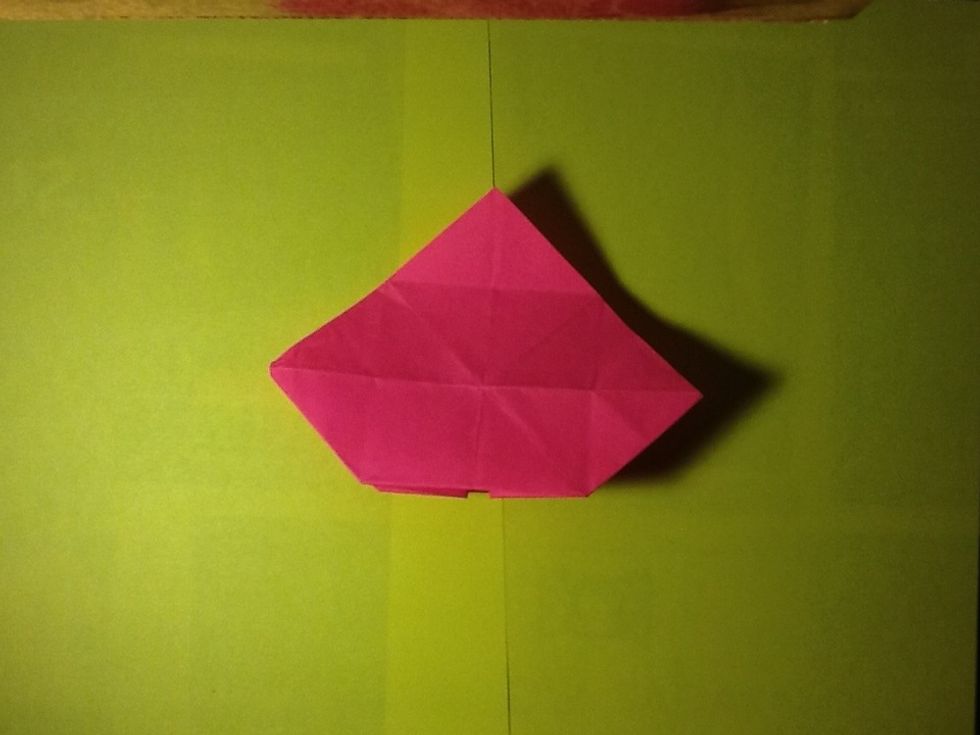
This is the basic box (no glue)

Now, we going to continue putting glue in the marked part
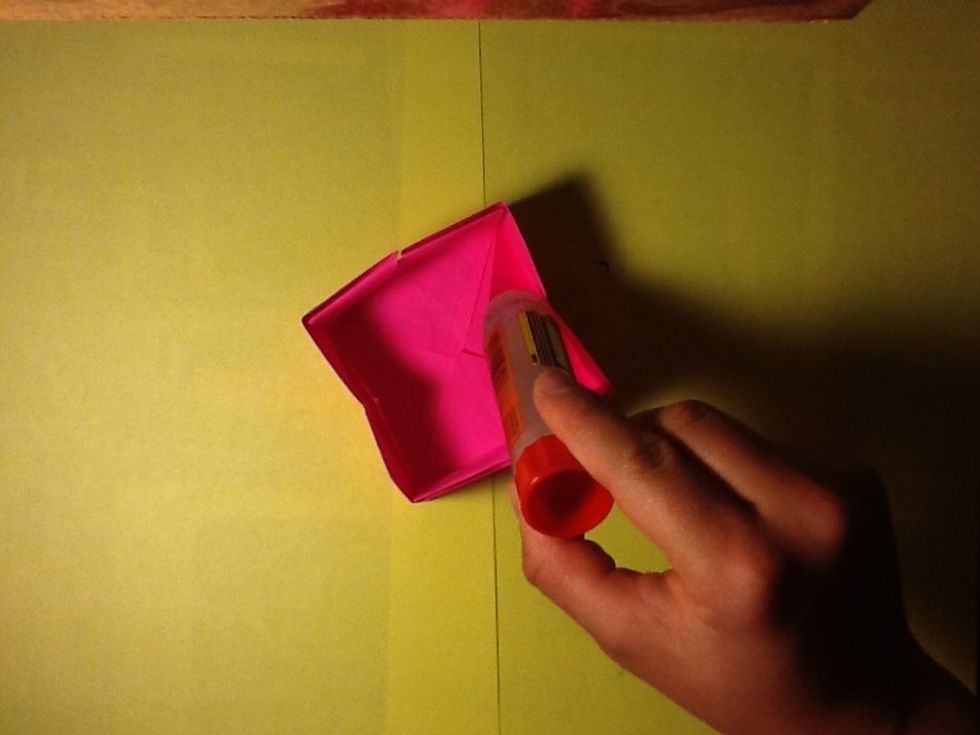
We can put paper in the interior triangles to finish with a better result
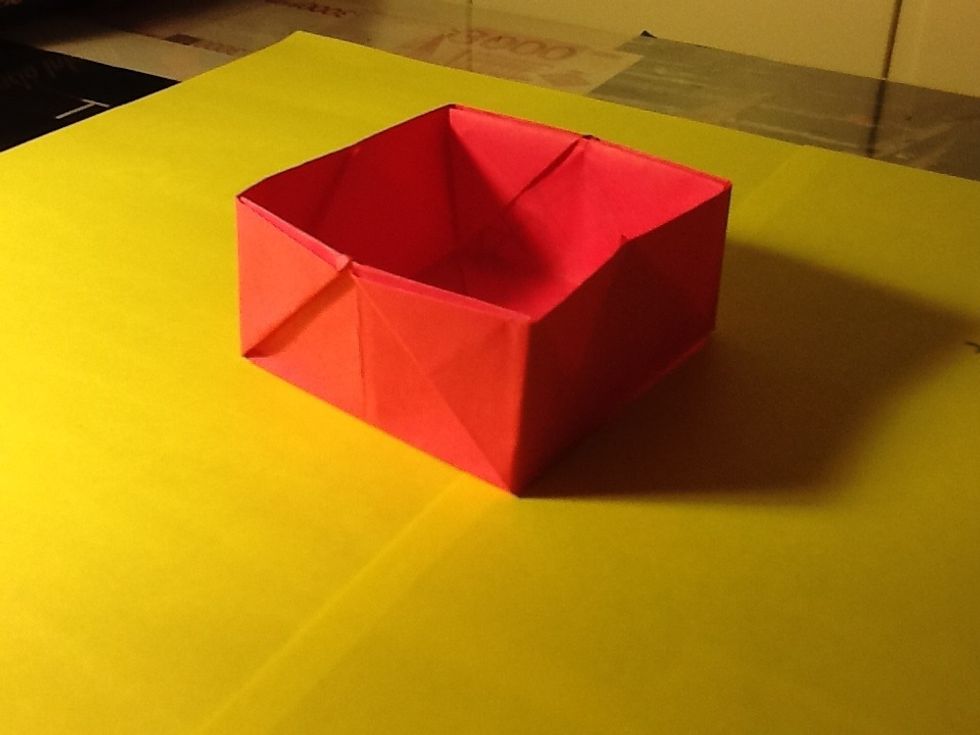
And that's all!!!
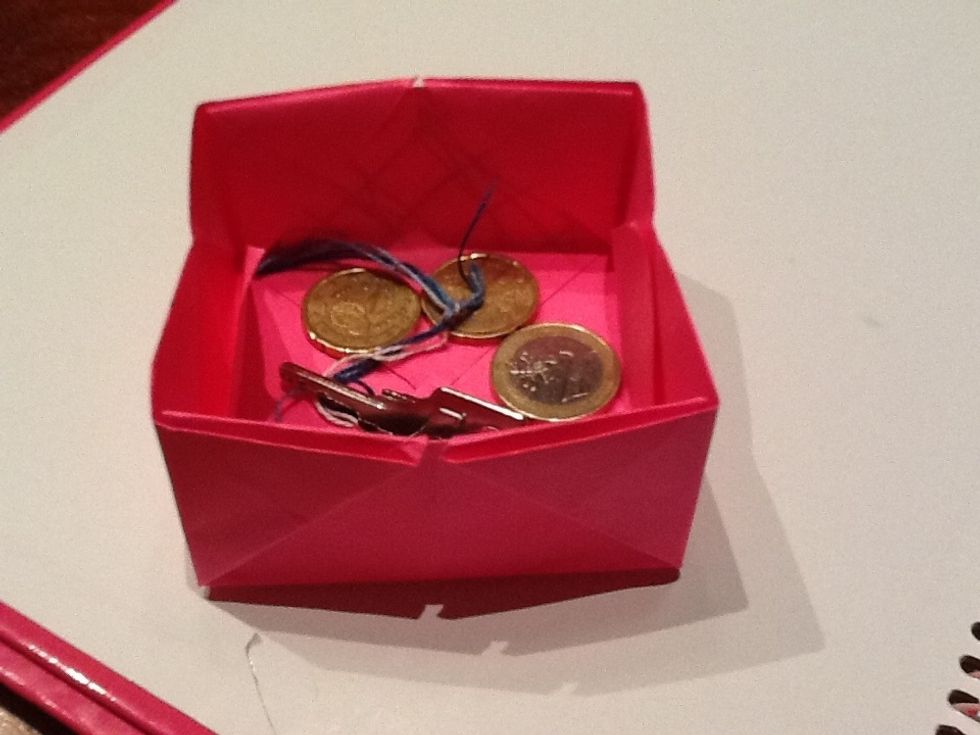
You can save your things like keys, bracelets, money, USB...
Thank you to watch my snap guide!!😛 Don't forget to put a like and your comment please!!