The Conversation (0)
Sign Up
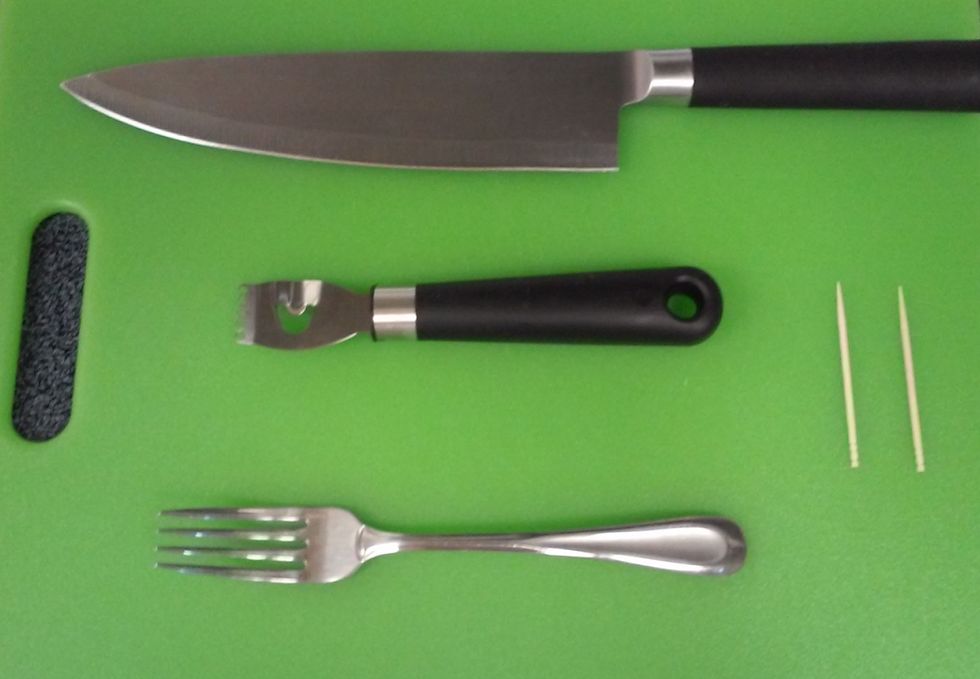
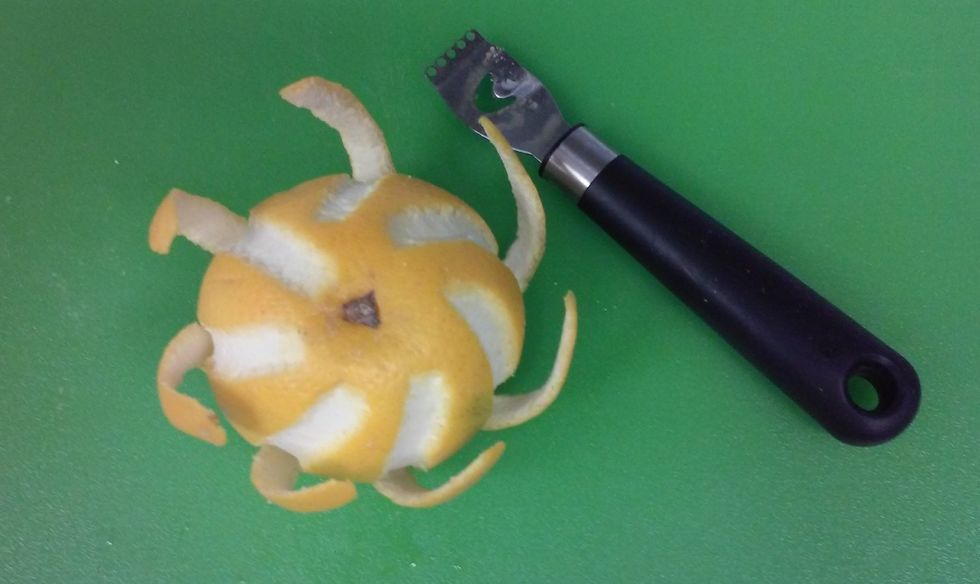
First, gather all the necessary tools for the project. Tools include a chef's knife, channel cutter, fork, and a cutting board. Be sure to gather the orange, cherry, and toothpicks as well.
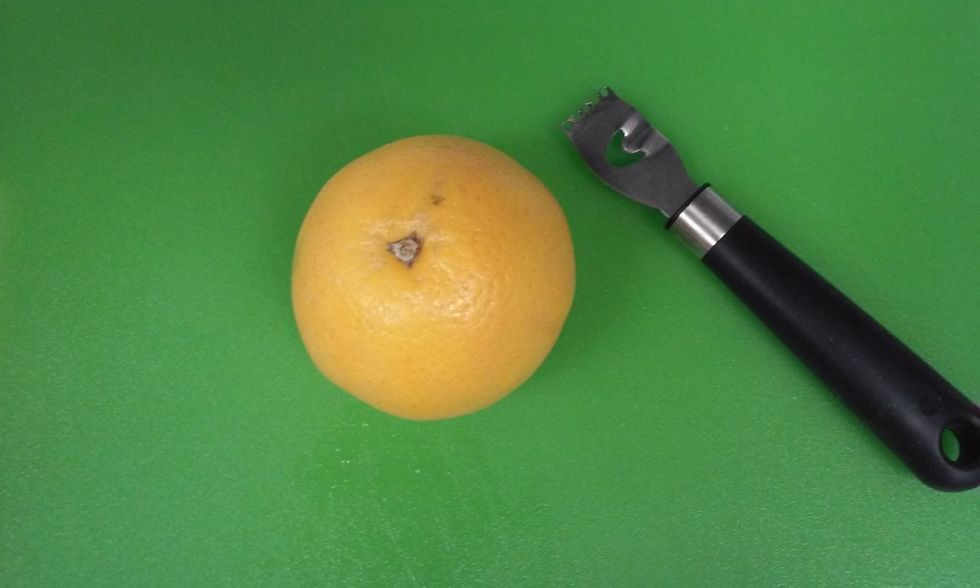
To begin we will start with the orange, cutting board, and the channel cutter.
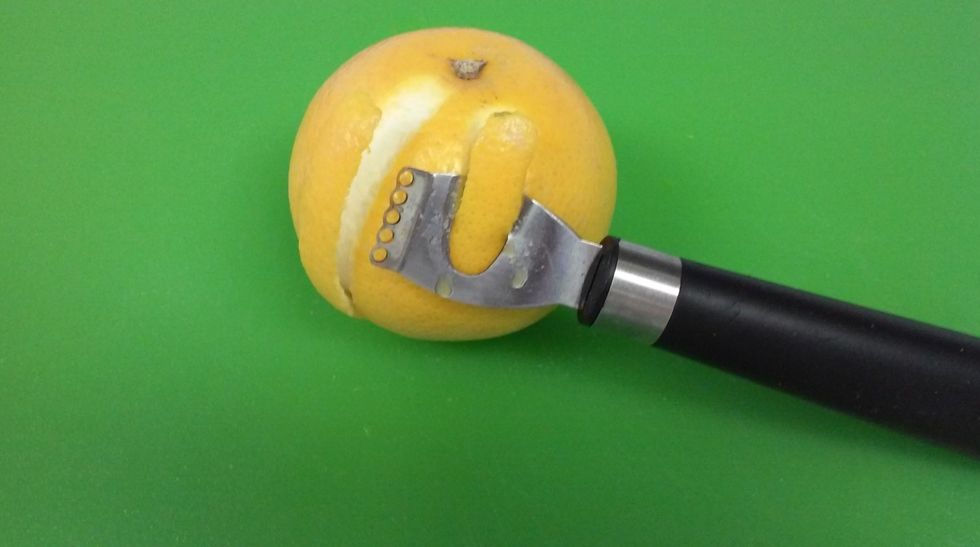
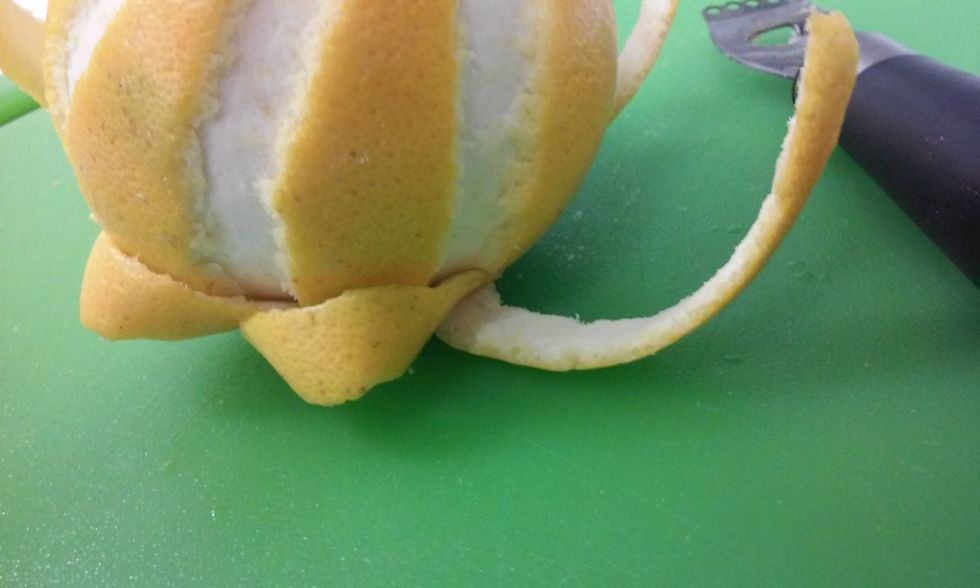
Dig into the top of the orange with the channel cutter, and begin to work the cutter downward to form a strip. Do not break the strip off.
Continue to use the channel cutter to make strips until you have made strips all around the orange. If you want you may make the strips diagonal to give it a swirl appearance.
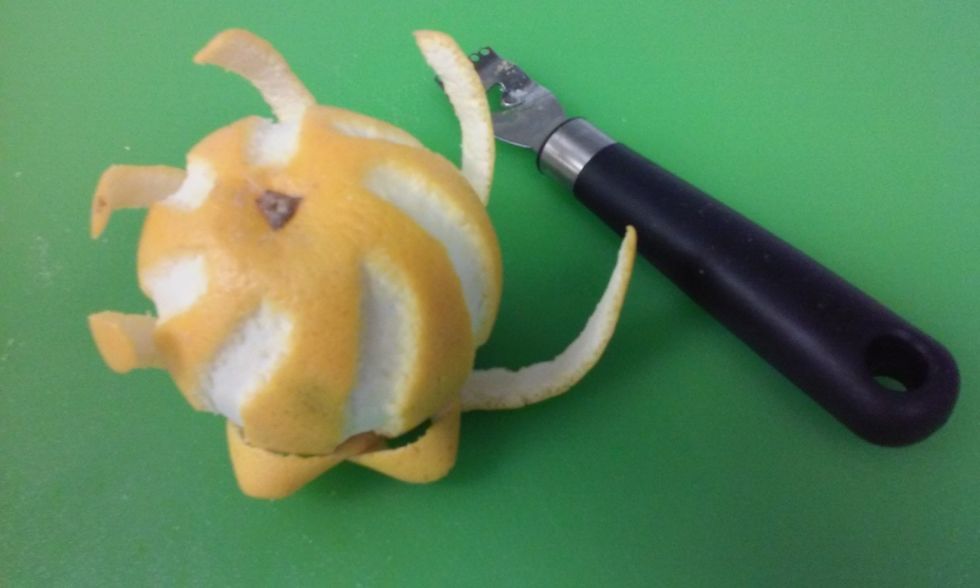
When all the strips are cut the orange should appear like this.
Next, take one of the strips and tuck it into the inner peel of the next strip beside it. Continue to do this until you have gone completely around the orange and all the strips are tucked in.
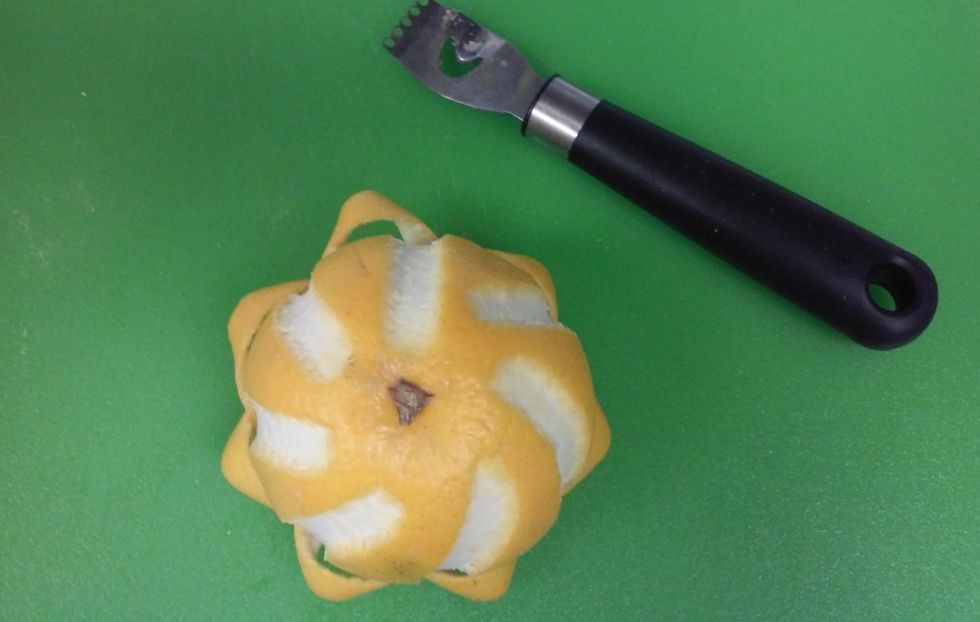
After all of the strips are tucked in, the orange should appear like this.

After that, cut the top half of the orange off using the chef's knife.
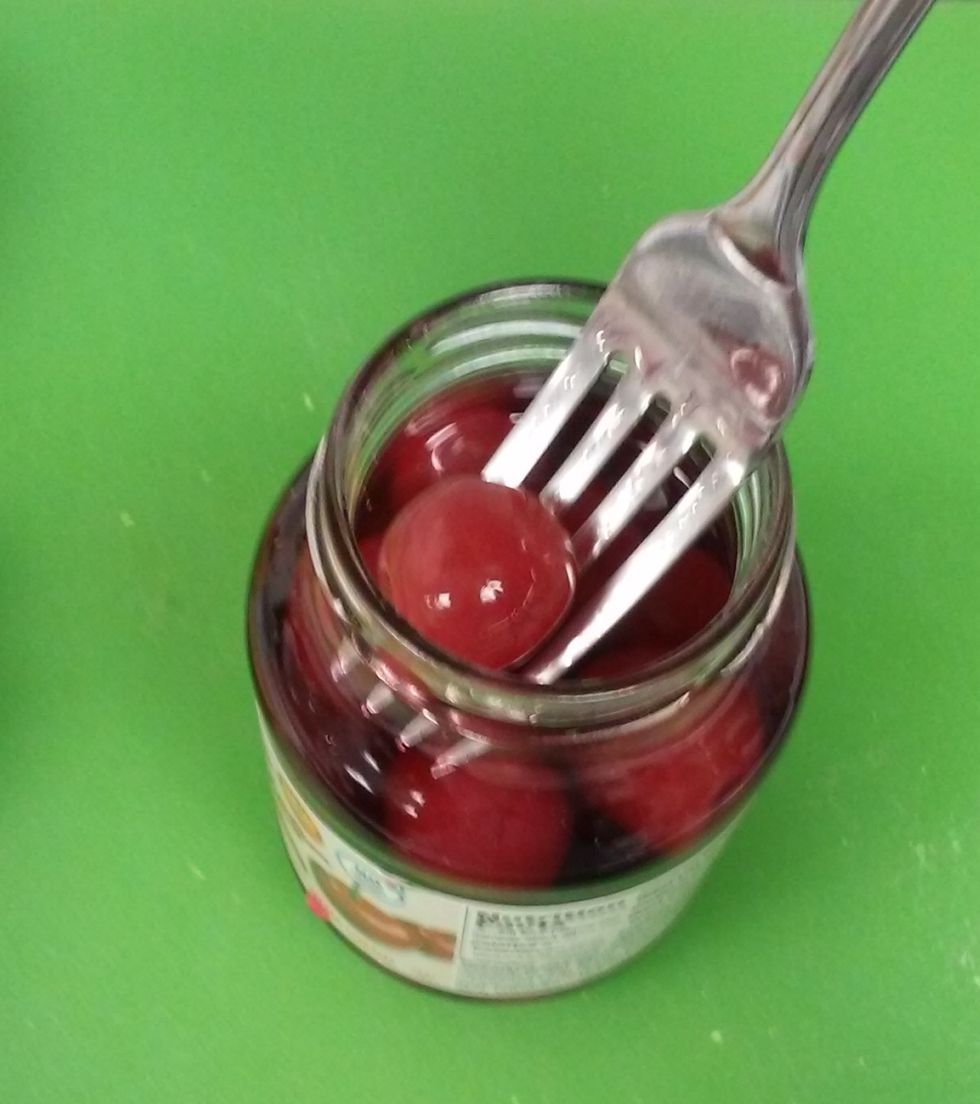
You will need to use your fork to get a cherry out of the cherry jar without getting your hands stained.
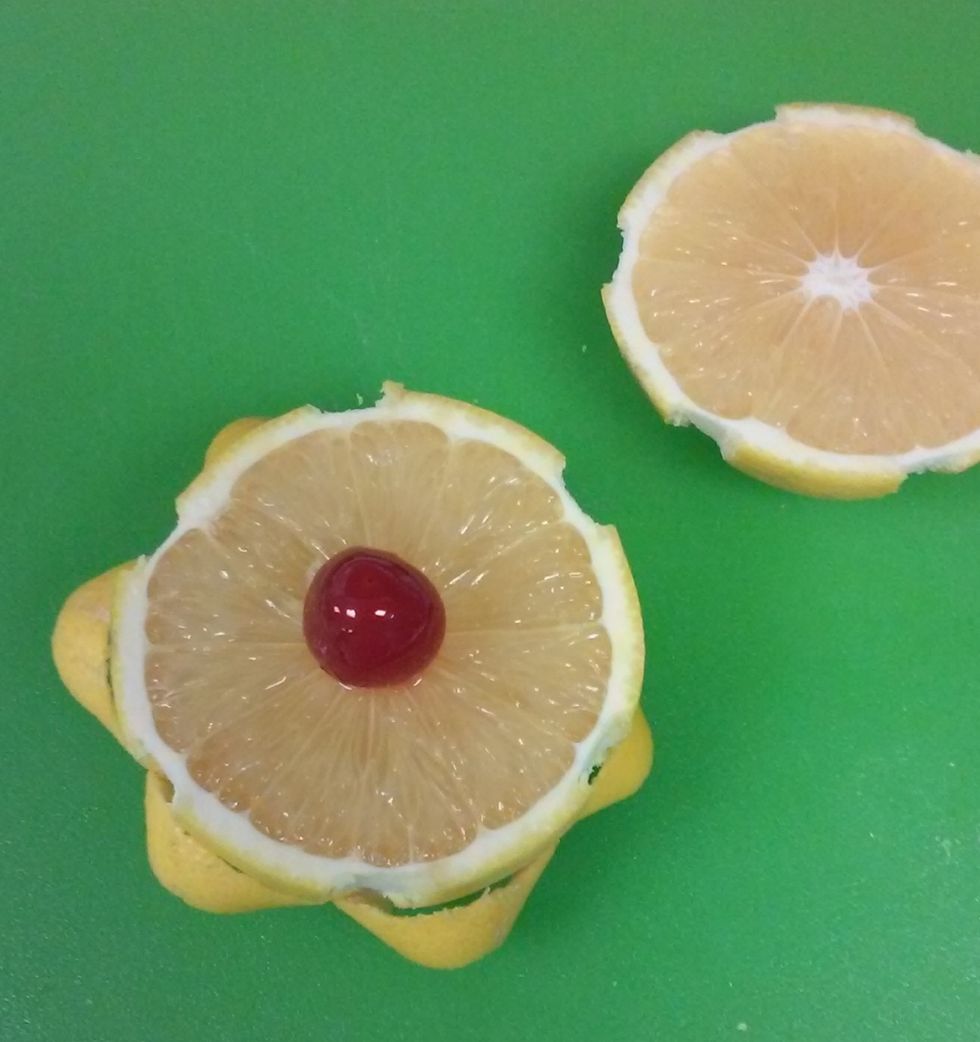
Place the cherry in the middle of the orange half with the edging around the bottom.

At this point you should have two orange halves. One for the top, and one with the bottom edging and a cherry in the middle.

Using the other orange half, without the bottom edging, stick a toothpick at an angle through the side.
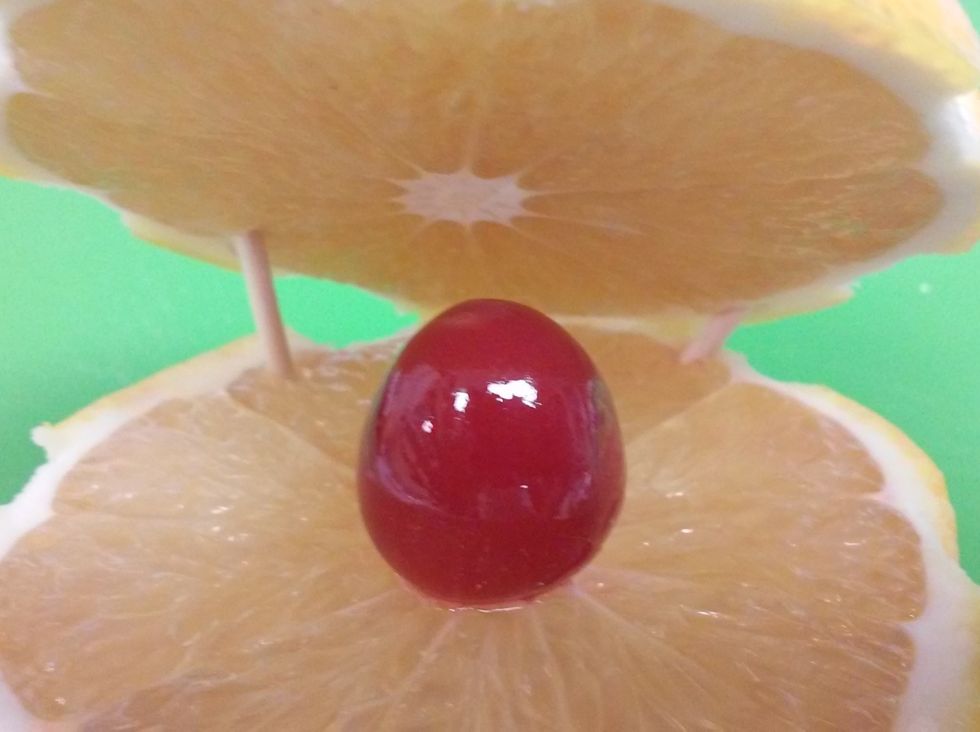
Stick the other end of the toothpick, that is in the top orange half, into the bottom half of the orange. Do the same with the other toothpick to secure it together so it will not fall down.
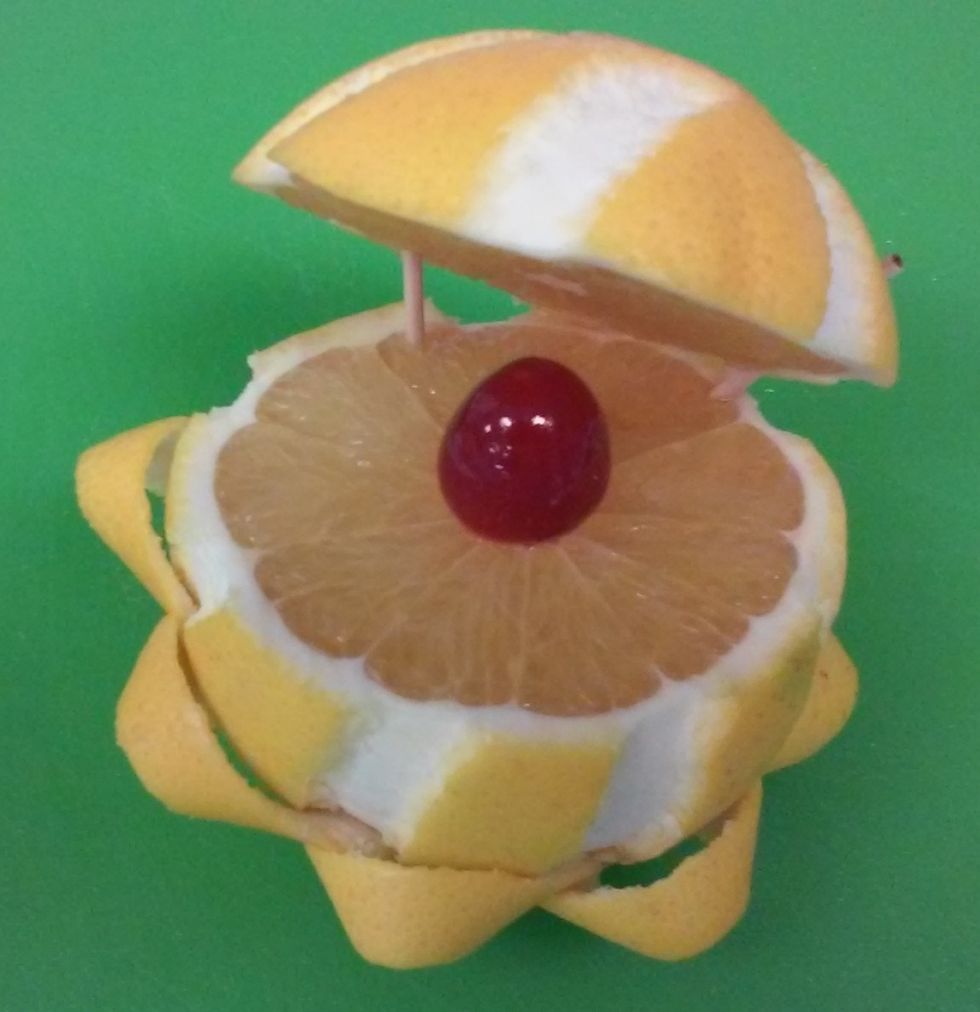
Now your Orange Bloom is complete!
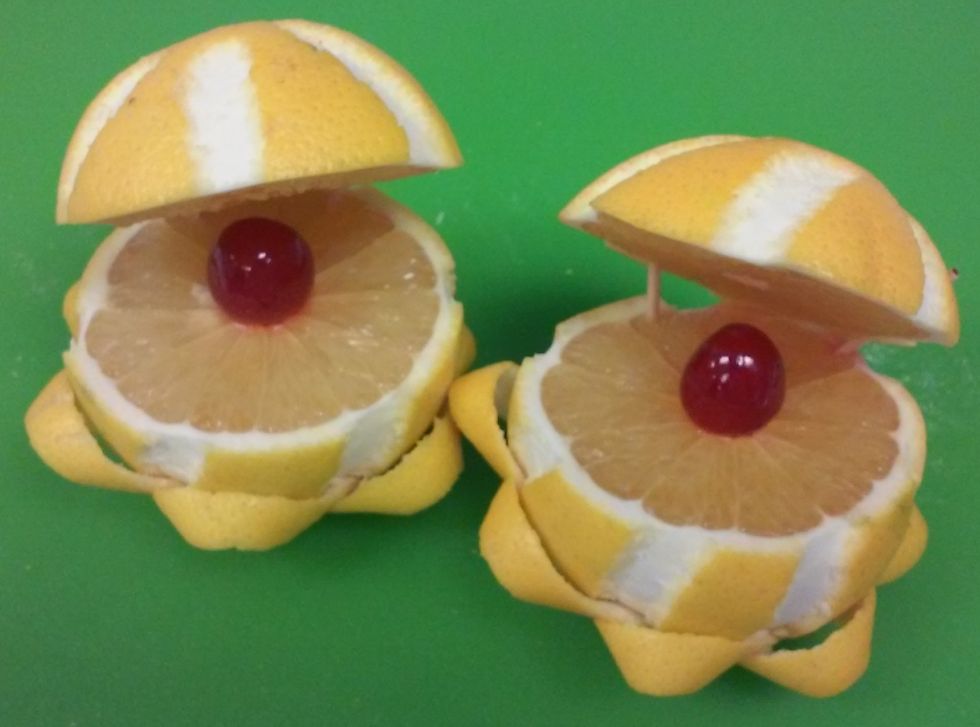
These can now be placed out for decoration on buffet tables or other festive places.
Source: 15 Excellent DIY Backyard Decoration & Outside Redecorating Plans. (n.d.). Retrieved October 10, 2017, from Pinterest website: https://www.pinterest.com/pin/291467407113355964/