The Conversation (0)
Sign Up
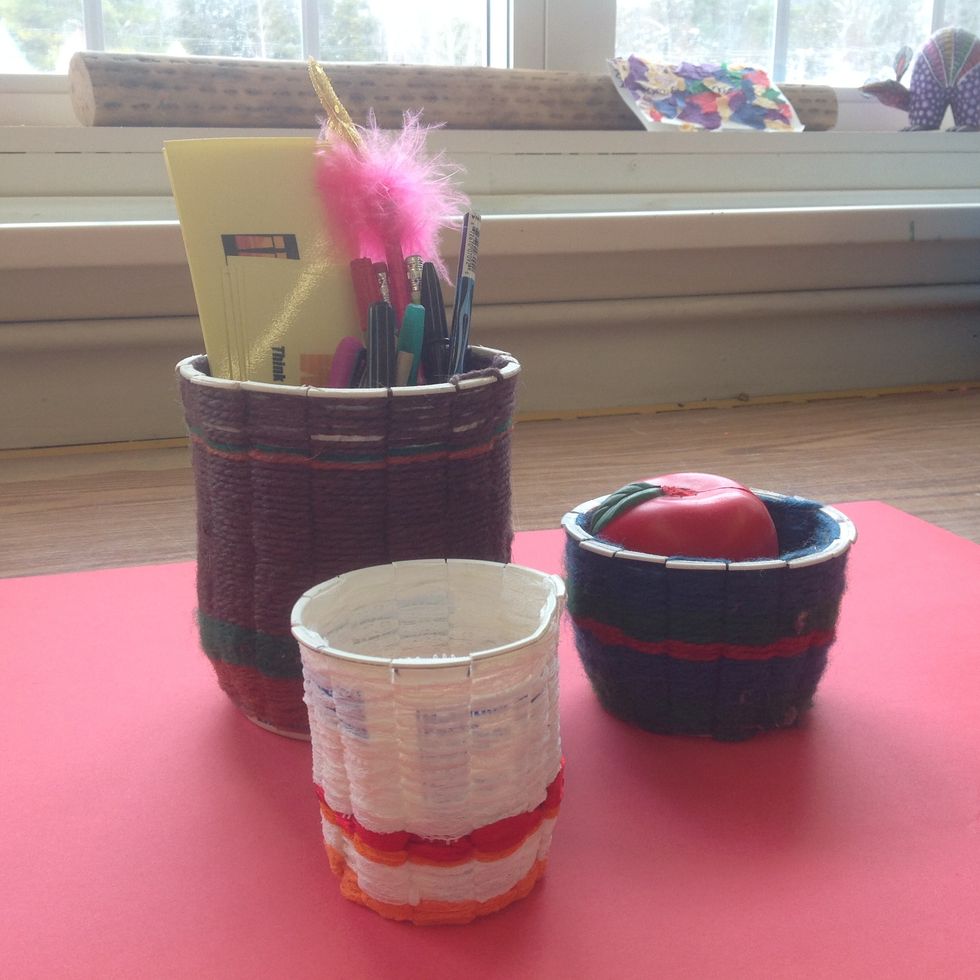
'Oops Baskets' can come in various shapes and sizes and are made from plastic containers and any materials you can weave with.
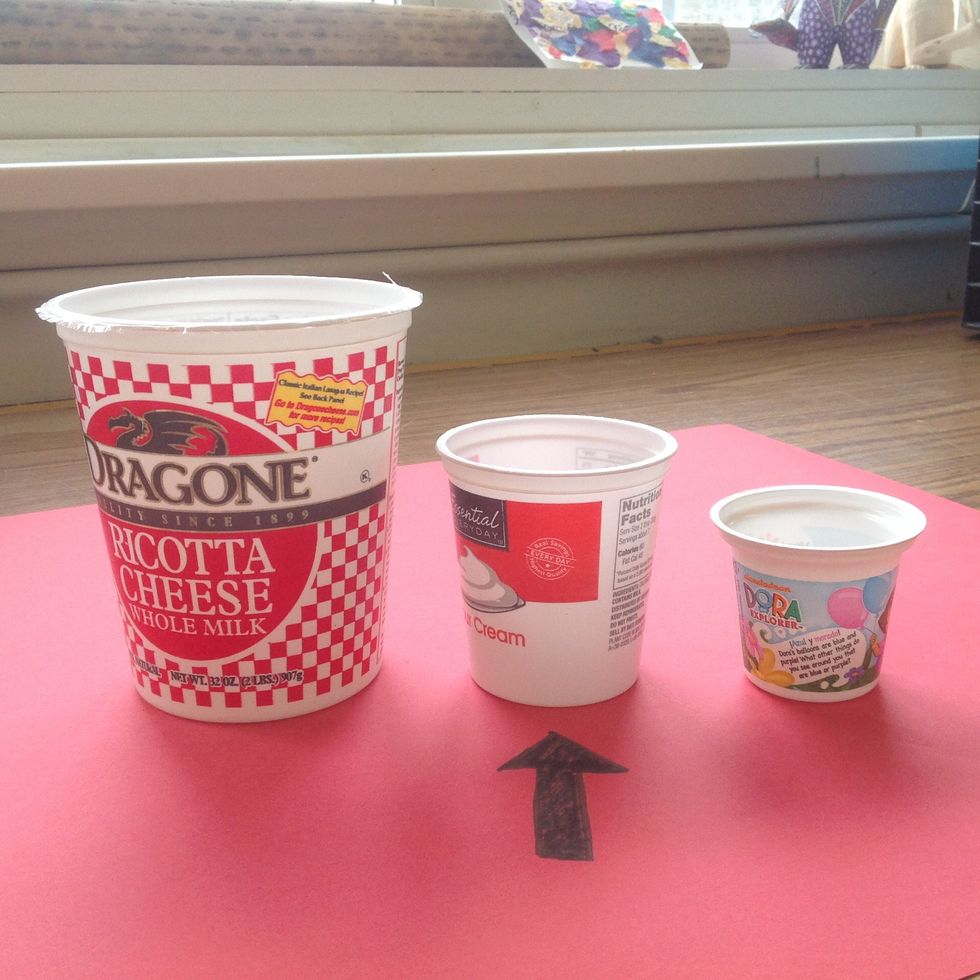
I recommend that to begin, you use a regular size yoghurt tub. Very large cups are time consuming and very small are tricky until you build some skills.
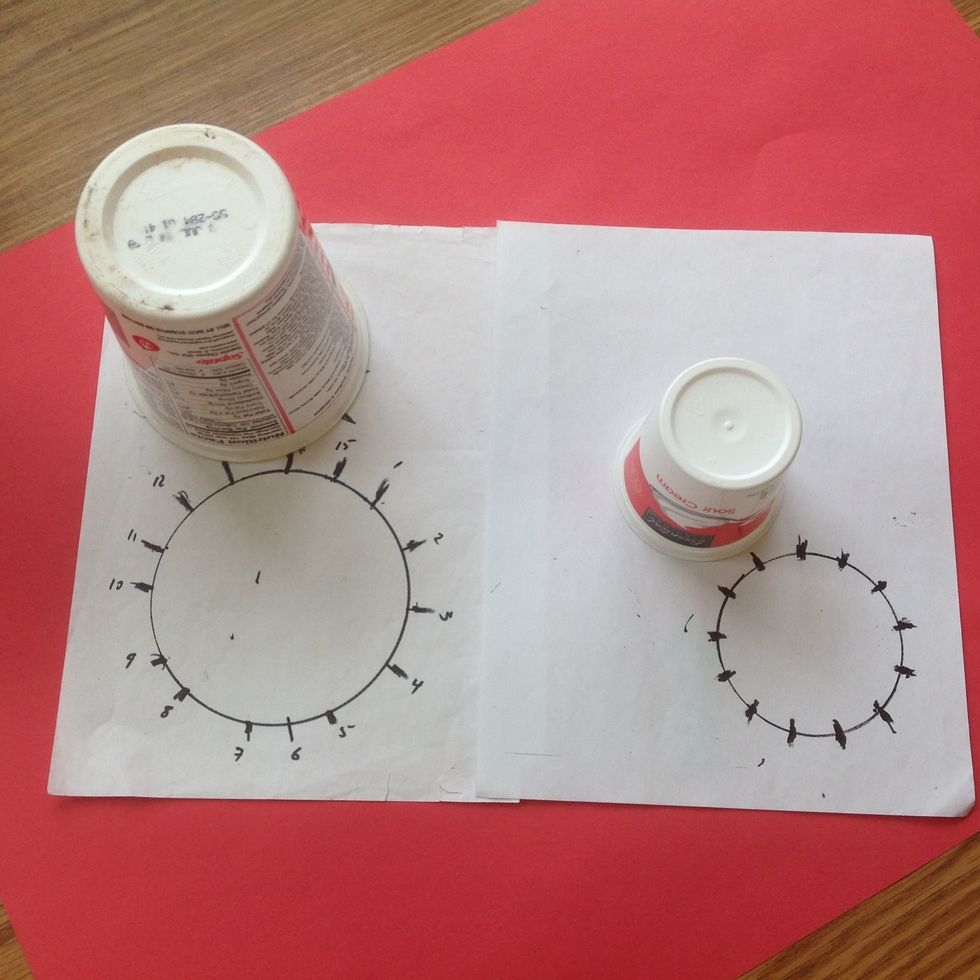
First, find the template that corresponds with the cup or tub you have selected.
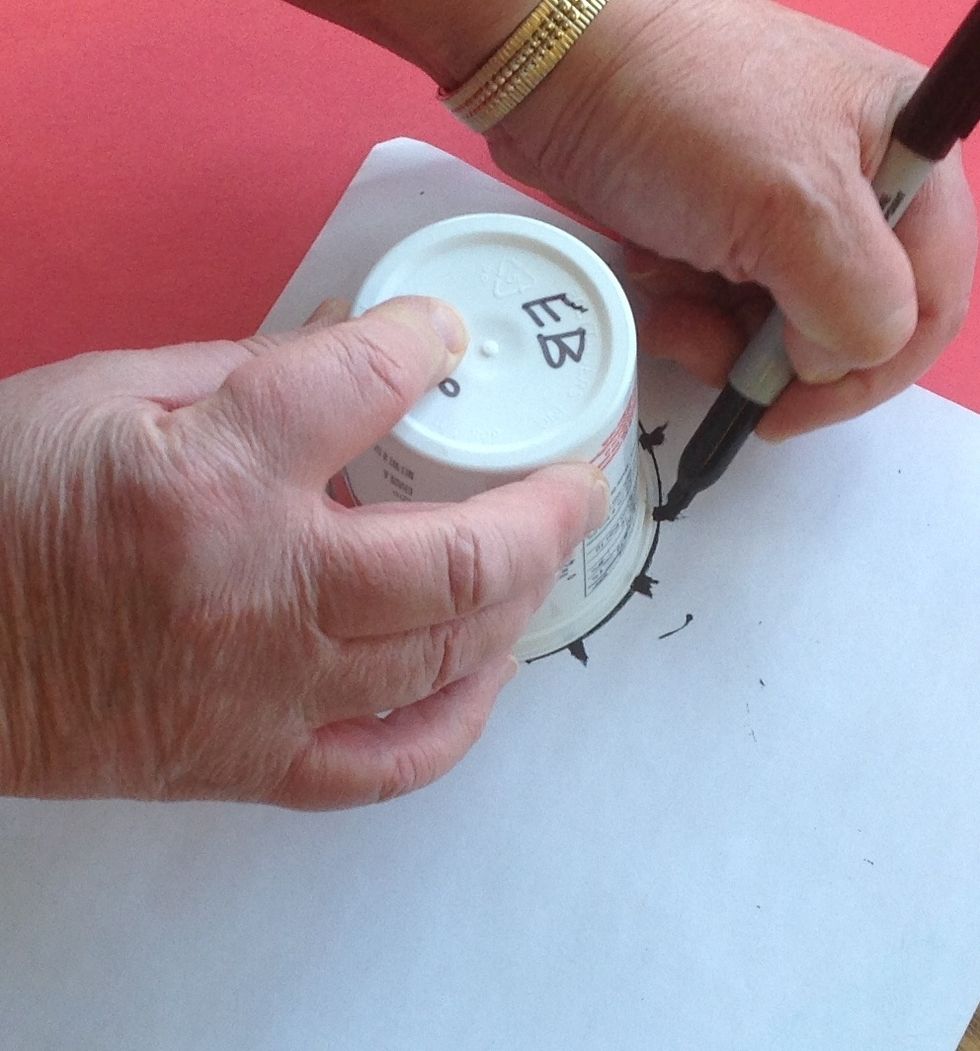
Write your initials and class on the base. Placing the cup upside down on the template draw marks on the rim of the cup corresponding to each line on the circumference of the circle template.
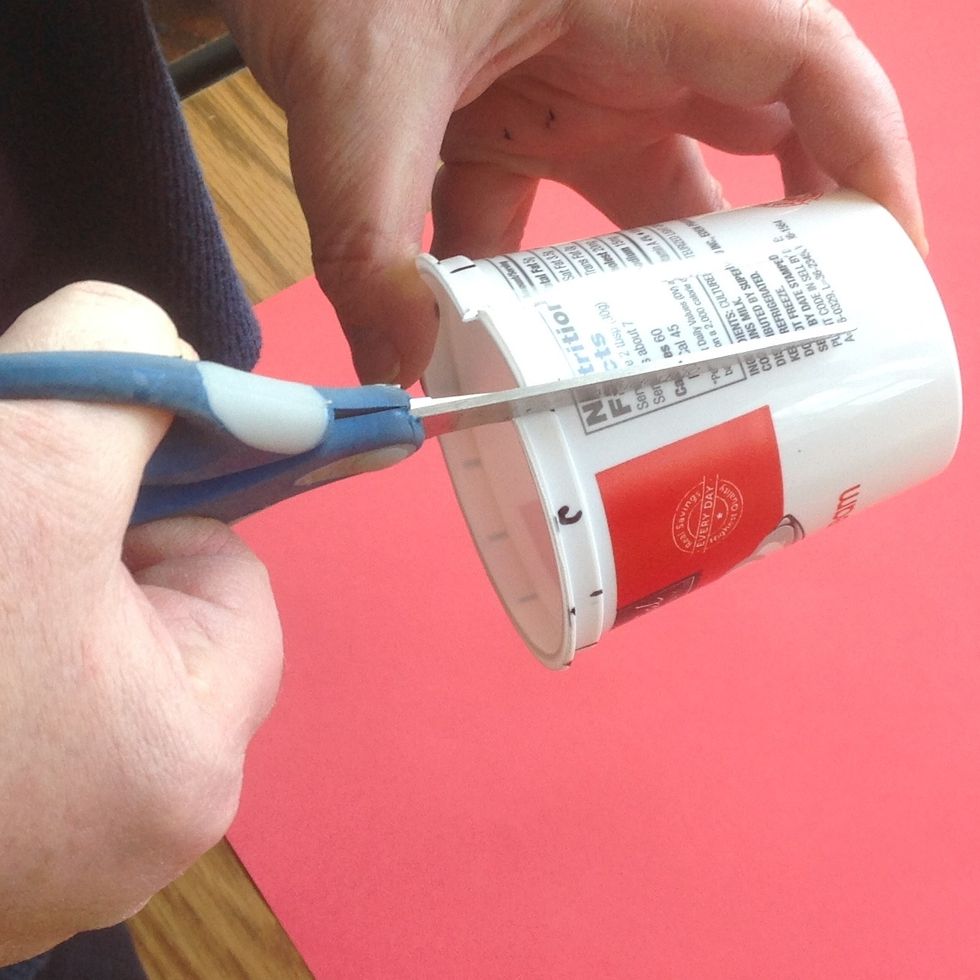
Using sharp scissors cut from each mark on the rim, AS STRAIGHT AND SMOOTHLY AS YOU CAN, down to the base of the cup.

Take the time to cut smoothly and avoid making jagged cuts as this will create little 'tags' which will drive you crazy later! Also try not to cut over into the base.
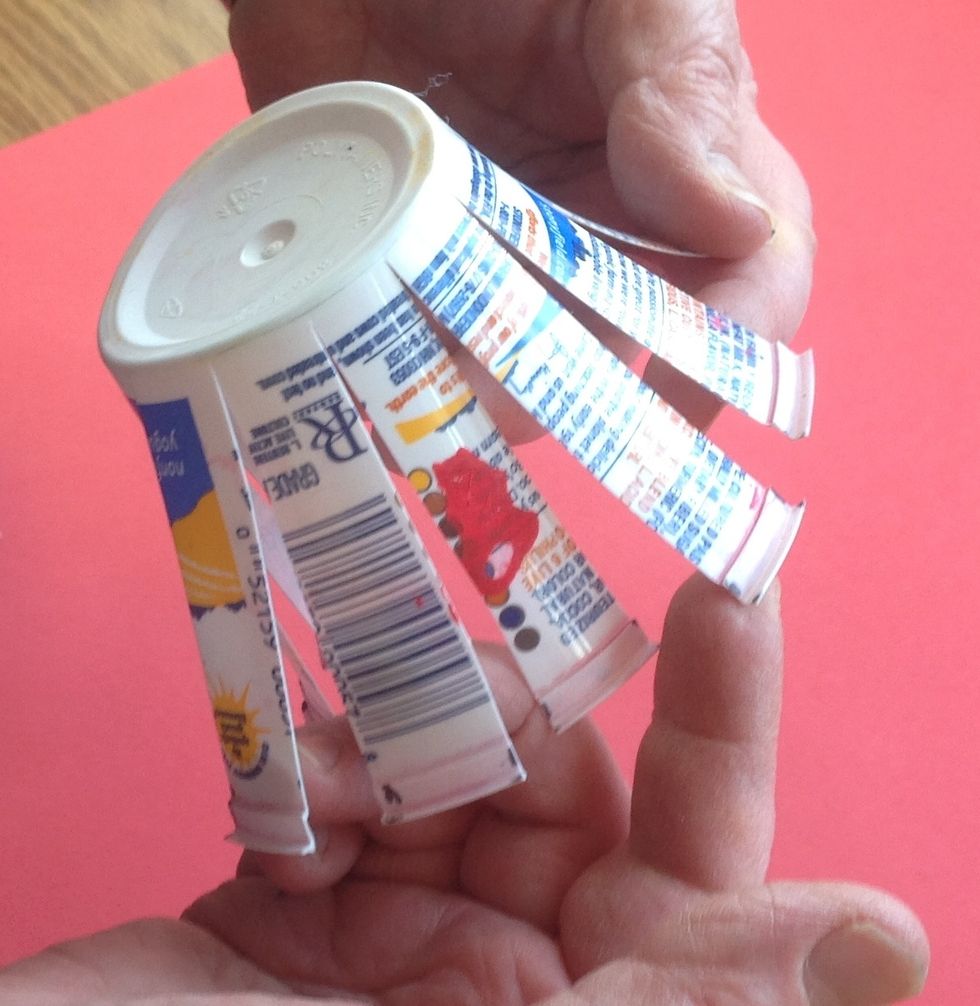
Check that you have an ODD number of warps (sections). If not you need to start over because the weaving will not work! You will find out why in due course......
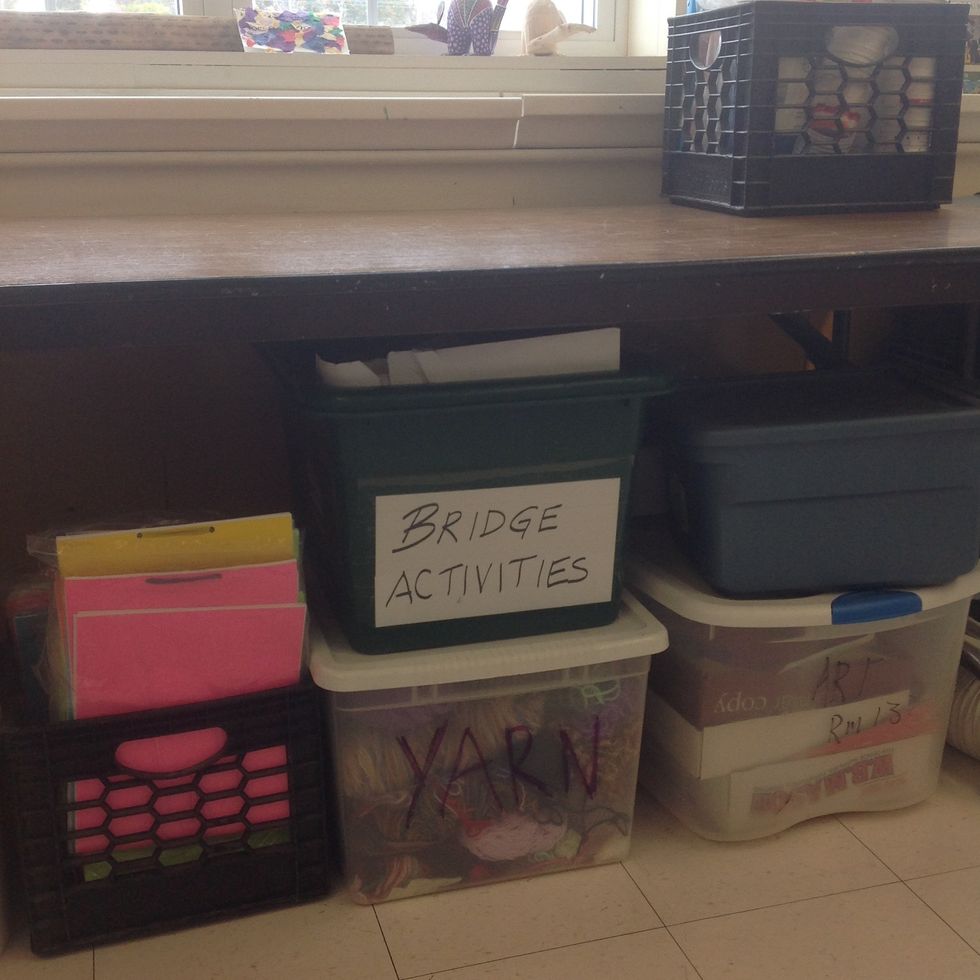
From the yarn tote by the window, select the yarn you would like to use first and roll off a small ball.
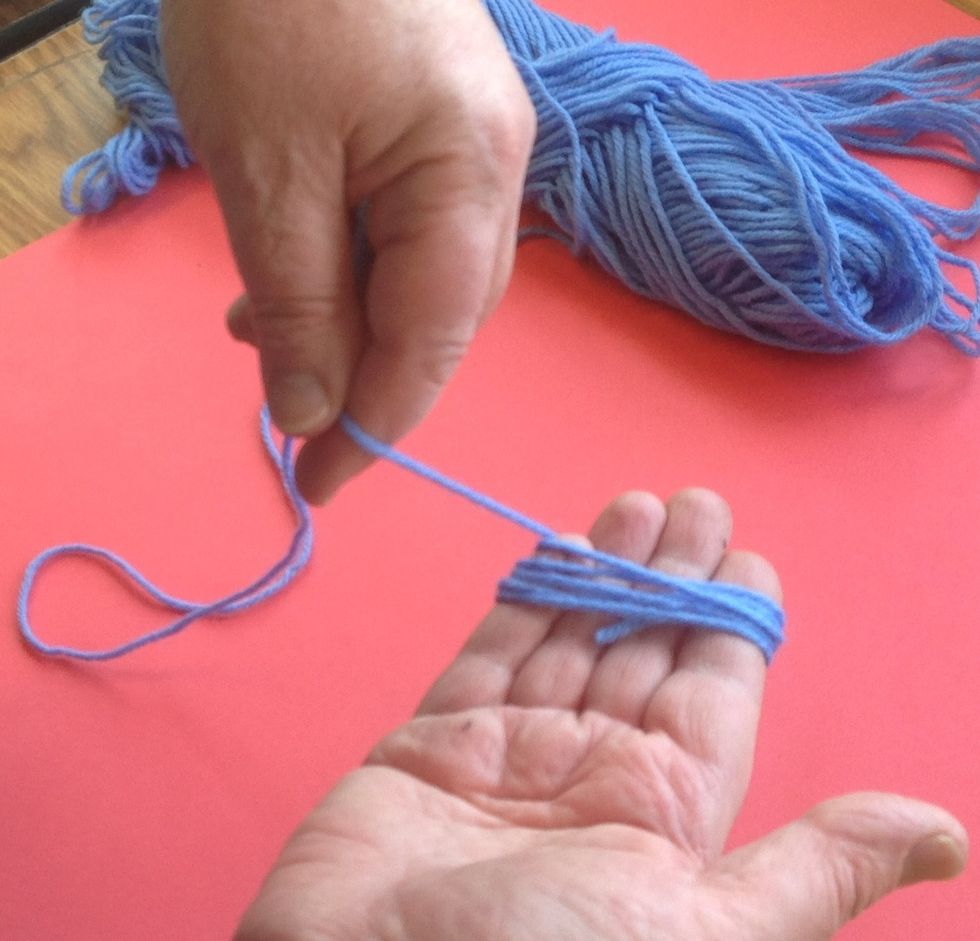
Remember, to roll off a small ball, wrap the yarn around your fingertips - not too tightly!
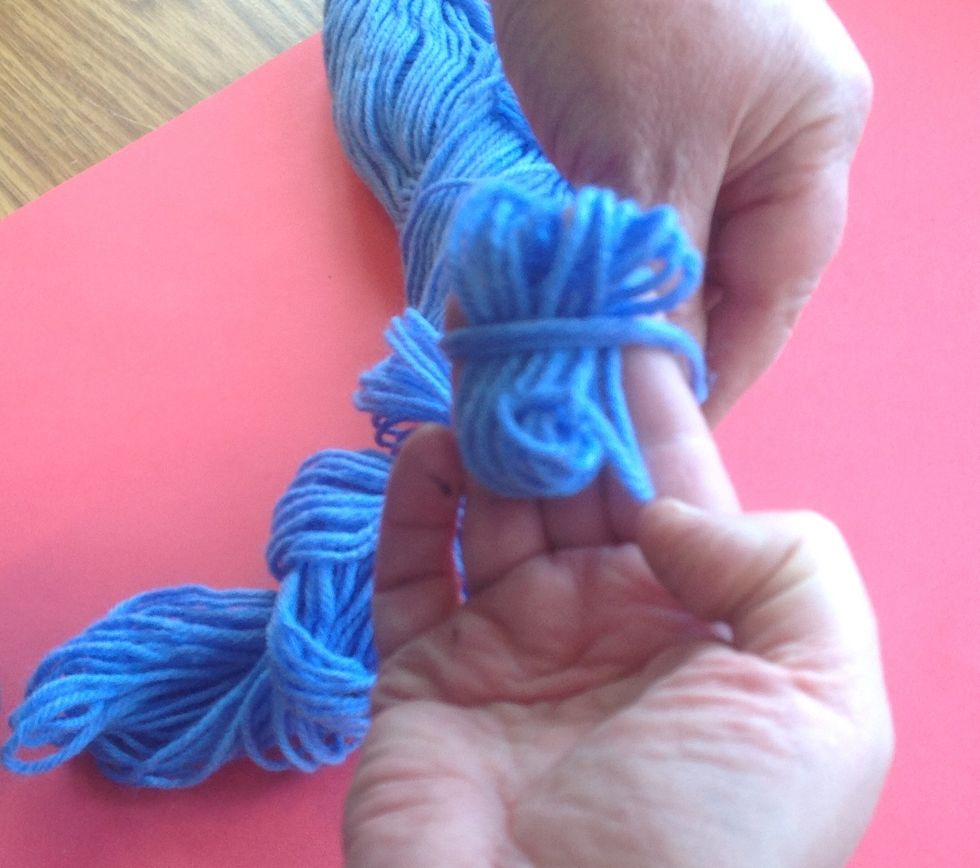
Then, remove the yarn and lay the 'loop' ALONG your fingers. Roll the yarn ACROSS the loop and around your fingers again. Until you have a ball that fits comfortably in your hand.
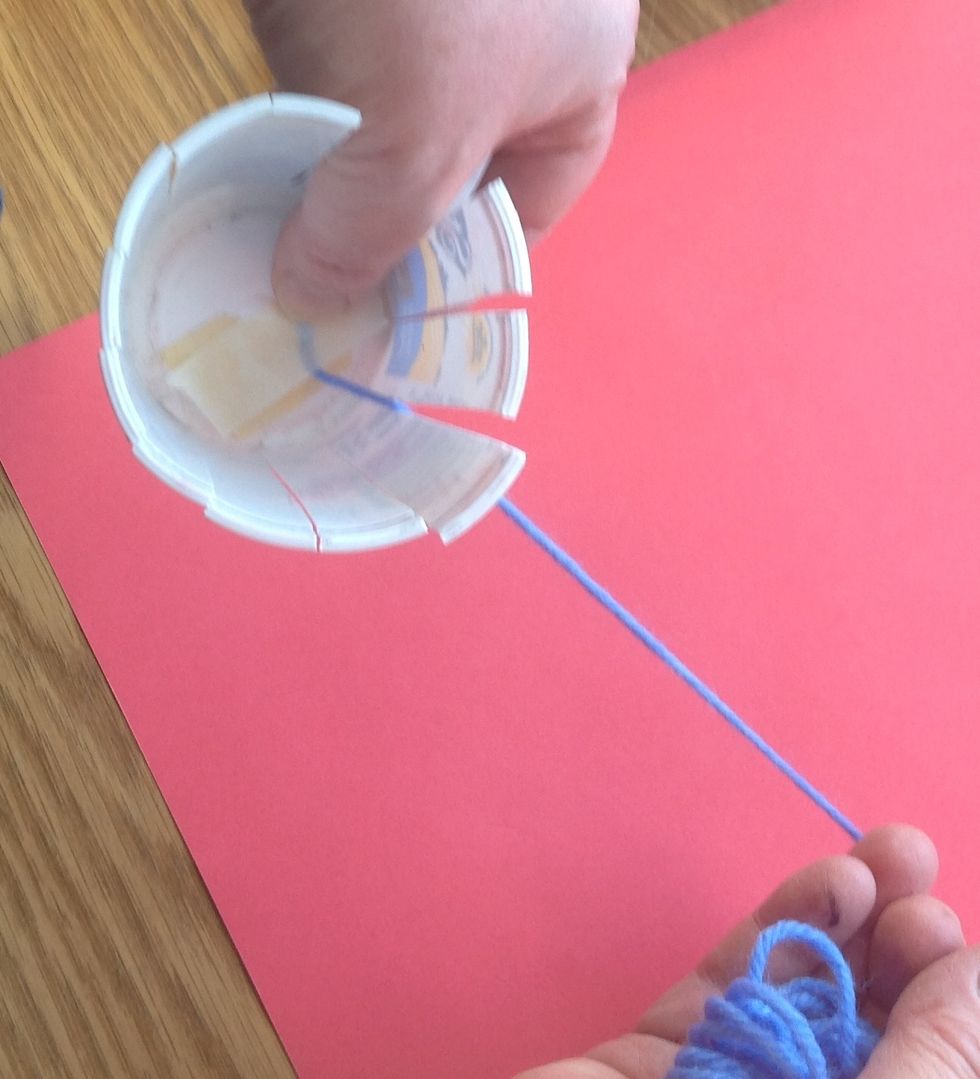
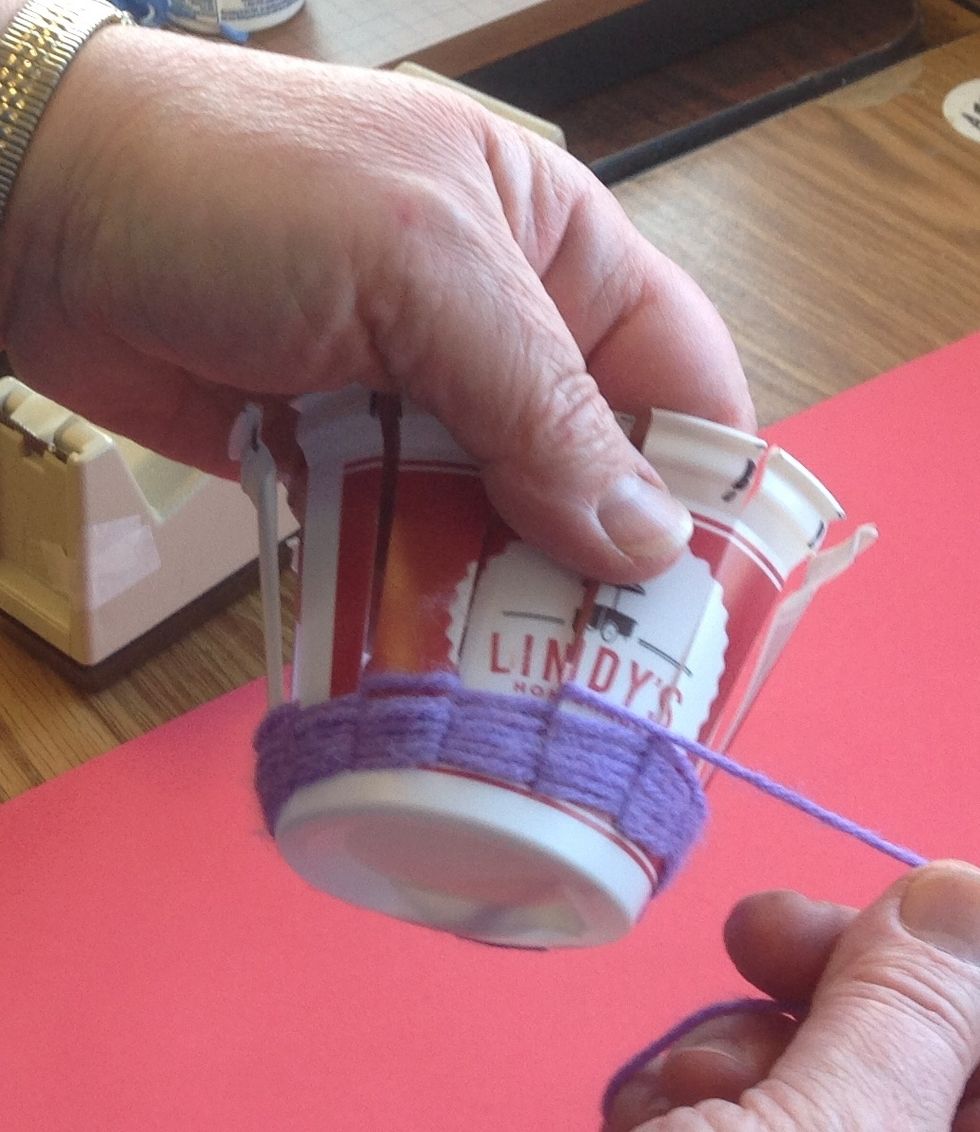
Using masking tape, attach the end of your yarn to the base inside the cup and lead the ball to the outside through one of the spaces between the warps.
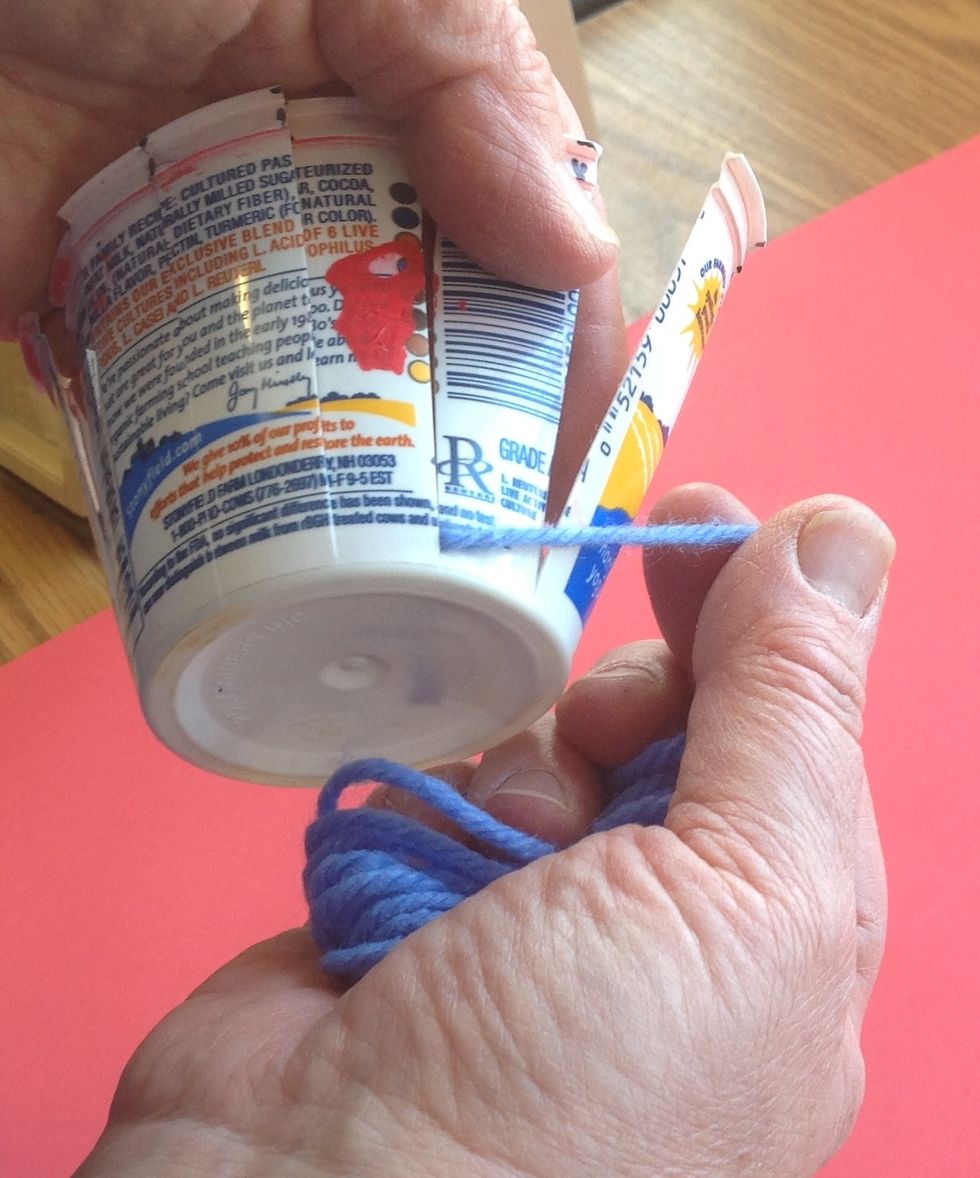
Decide which direction you wish to weave. This may depend on whether you are left or right handed. Whether you proceed to left or right you place the yarn OVER the first warp.
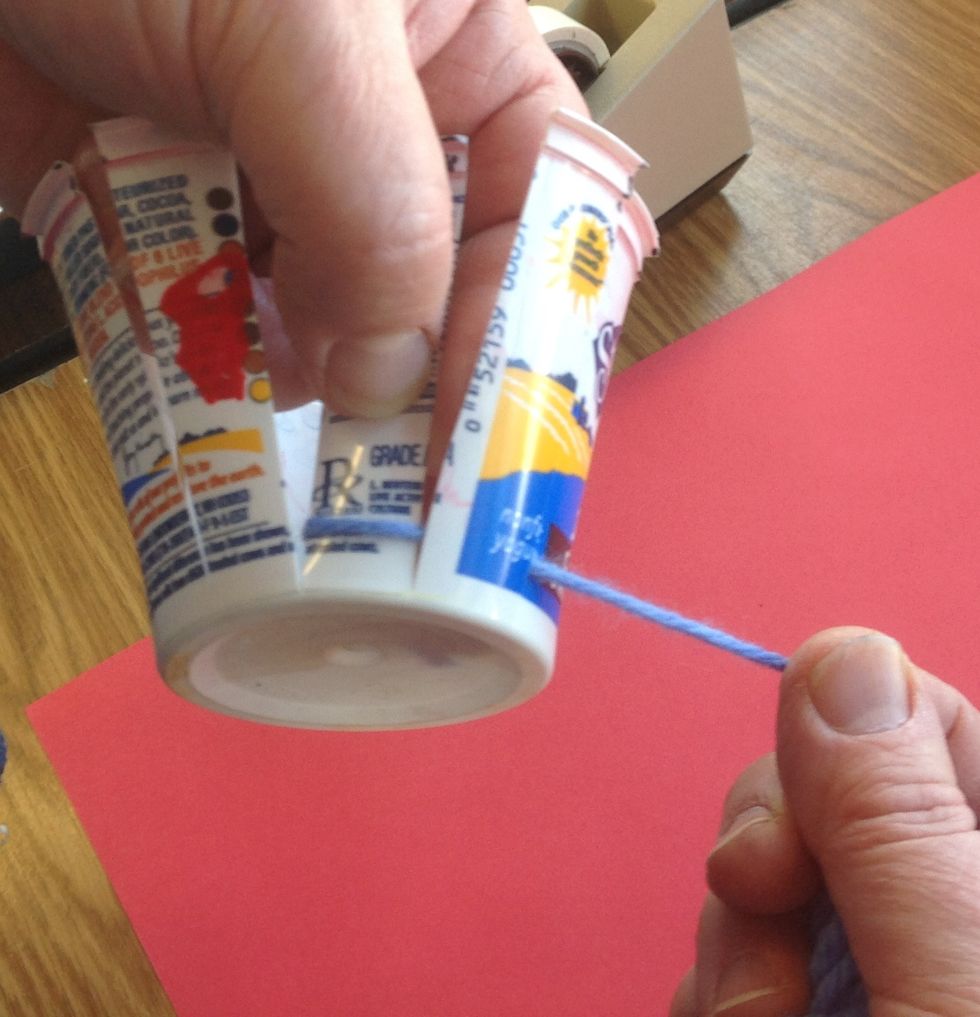
Then lead the yarn BEHIND the next warp. so begins the pattern of in front, behind, in front, behind which continues until you run out of yarn.

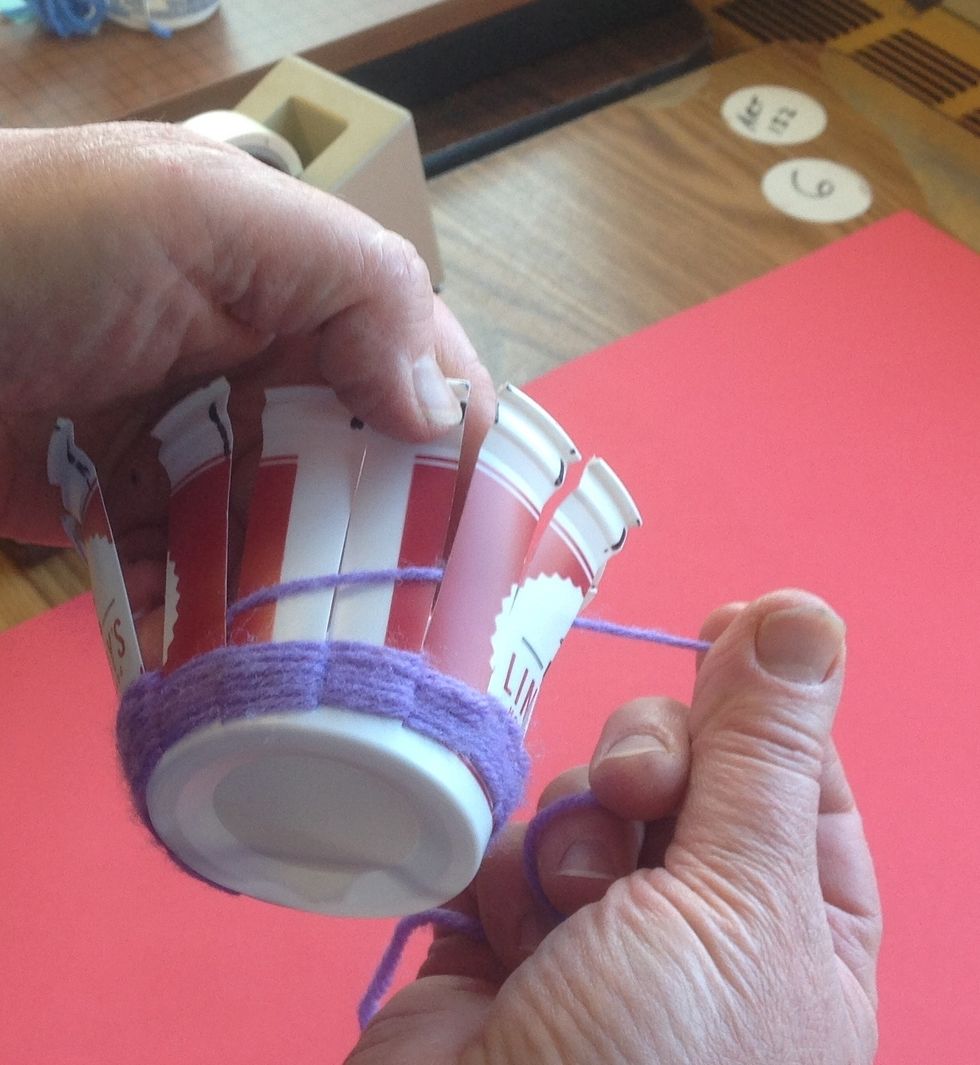
Add the step, 'push down', to your weaving process. This pushes the weft (rows) tightly together and prevents the plastic showing through. It may be helpful to say the steps as you go along.
Continue weaving following this sequence until you run out of yarn or wish to change colors.
If, at any time, you find that you are going behind a warp which you went behind on the previous row then you know something is wrong. Undo the weaving back to the error and then proceed accordingly.
When you run out of yarn or need to change color, tape the yarn to the back of the warp.

Create a second ball of yarn and tape the end to the same warp. Lead the yarn out through the space the yarn would have come out of had you continued weaving with the previous color.
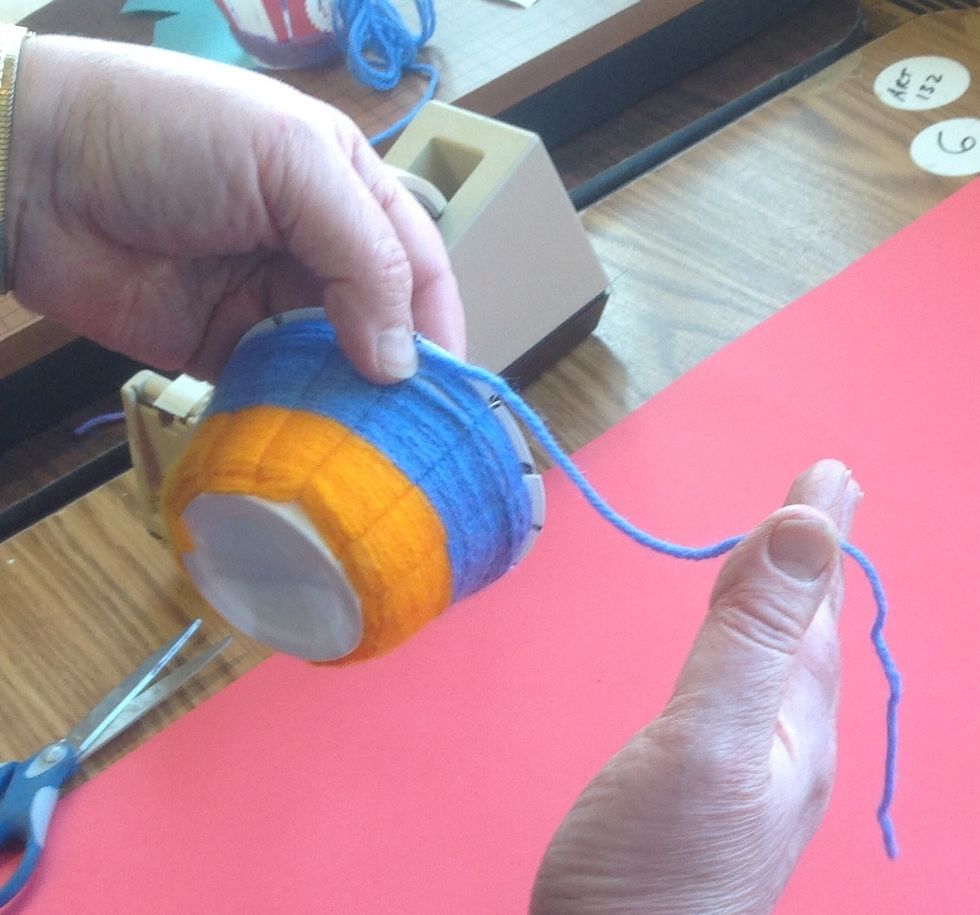
Repeat the 'in front, behind, push it down' weaving process until you reach the rim of the cup. DO NOT CUT THE YARN OFF! Leave at least 9 inches so that you can thread a darning needle onto the yarn.

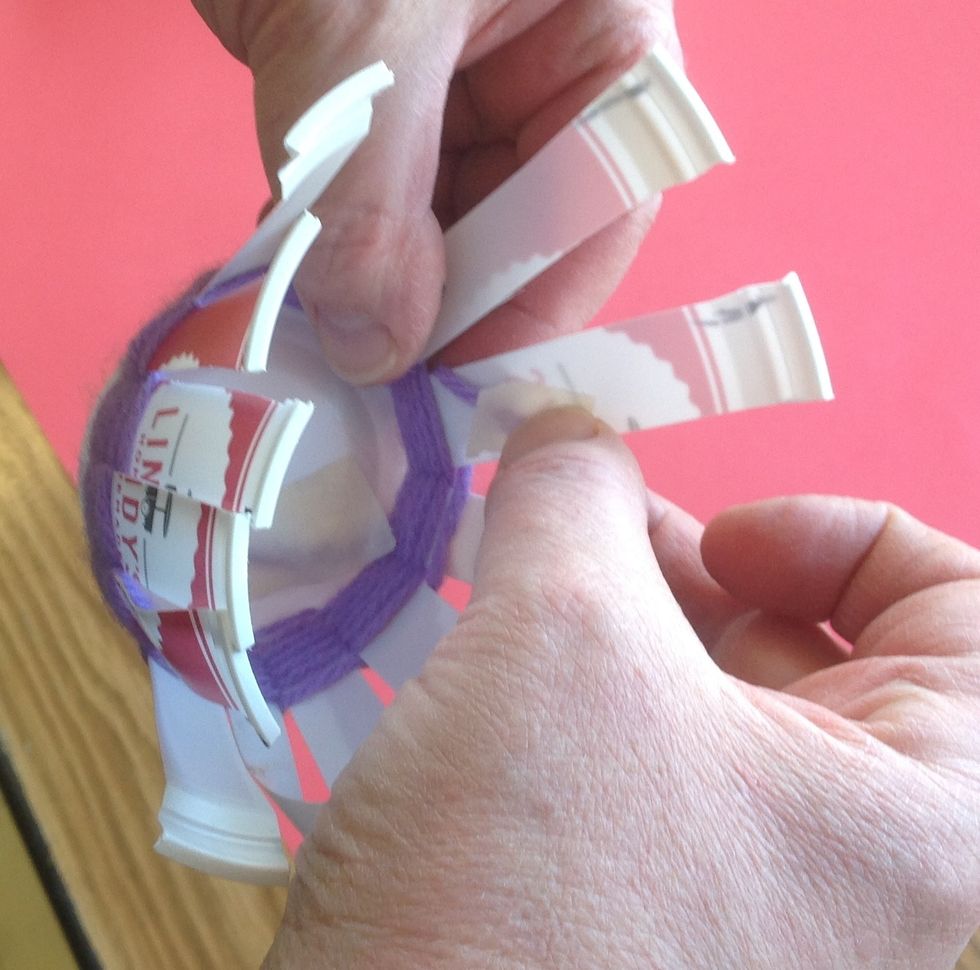
Thread the yarn onto the needle by pinching a loop of yarn and pulling it through - DO NOT TIE THE YARN TO THE NEEDLE.
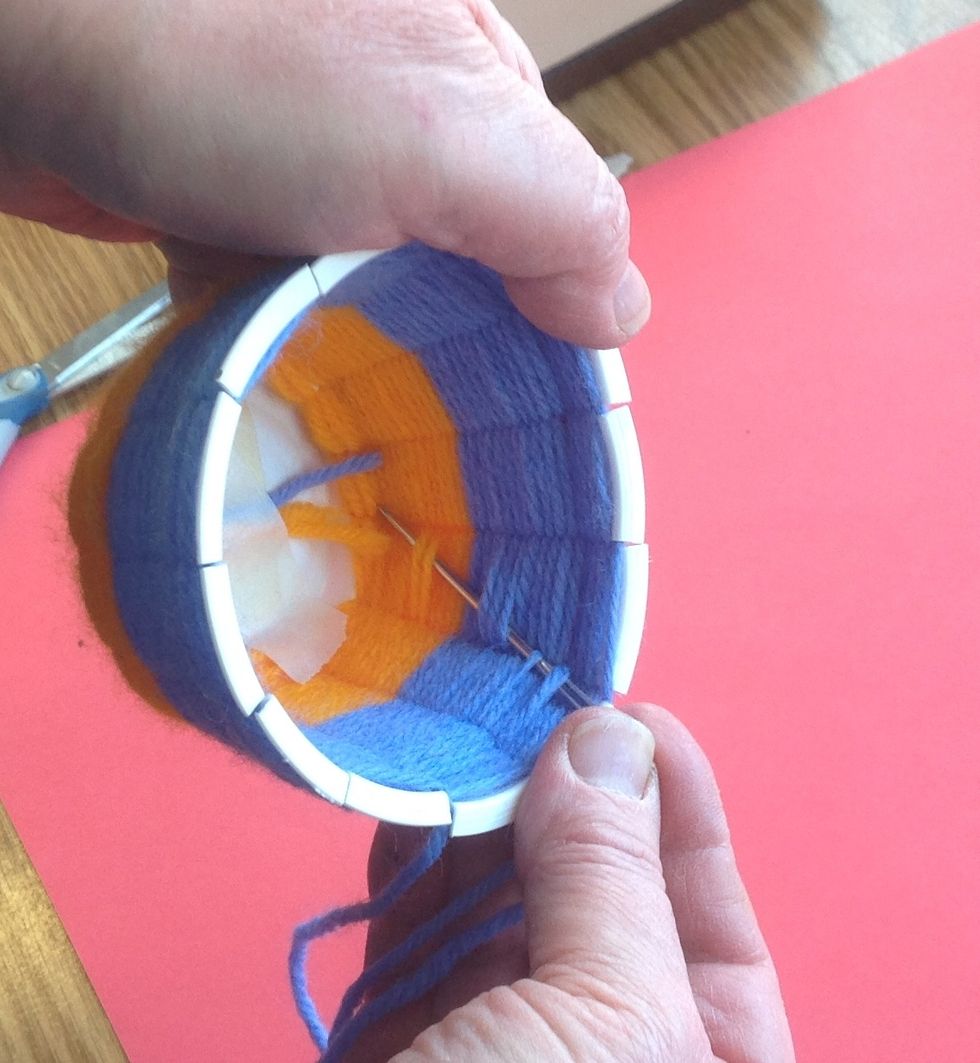
On the inside, moving from the top down towards the base, weave the needle in and out between the weft (rows). When you reach the base cut off the yarn leaving around half an inch hanging out.
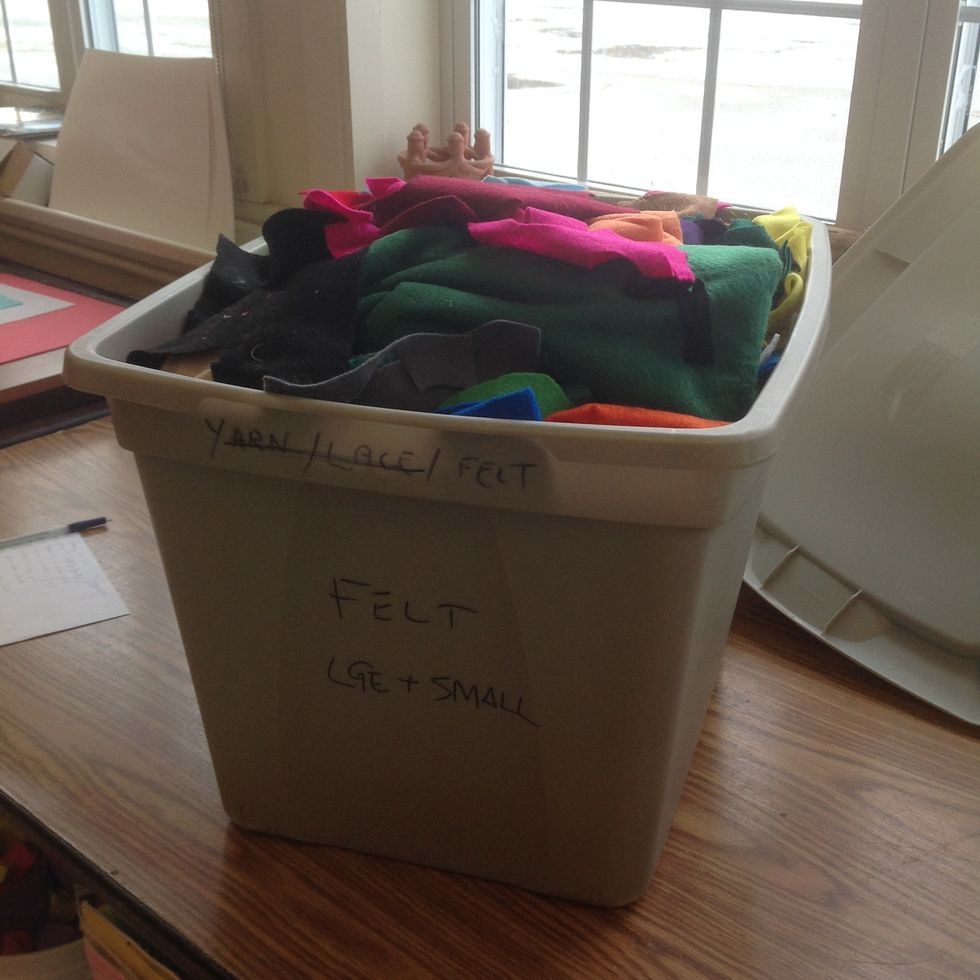
You can now trim off any unsightly ends and remove visible tape. To finish, choose a piece of felt from the tote by the window to line the inside of your 'Oops Basket'.
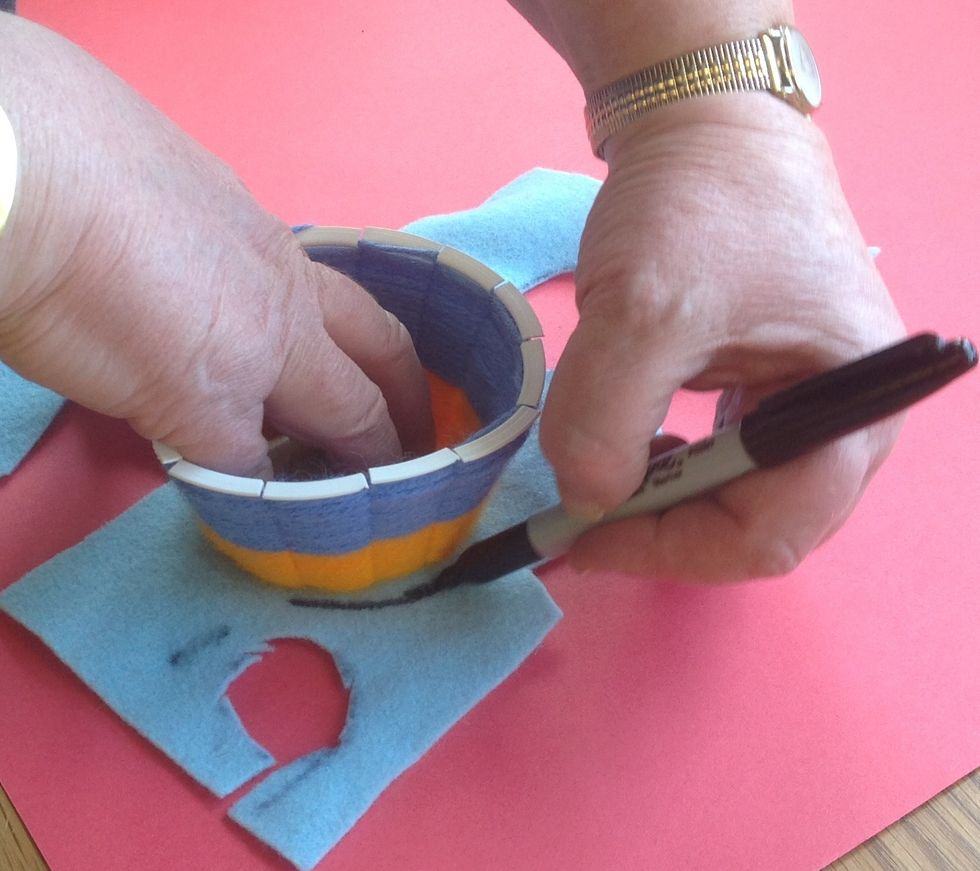
Sit the cup on the felt and trace around the base with permanent marker. PLEASE DO NOT CUT OUT OF THE CENTER - work from the edges first remember!
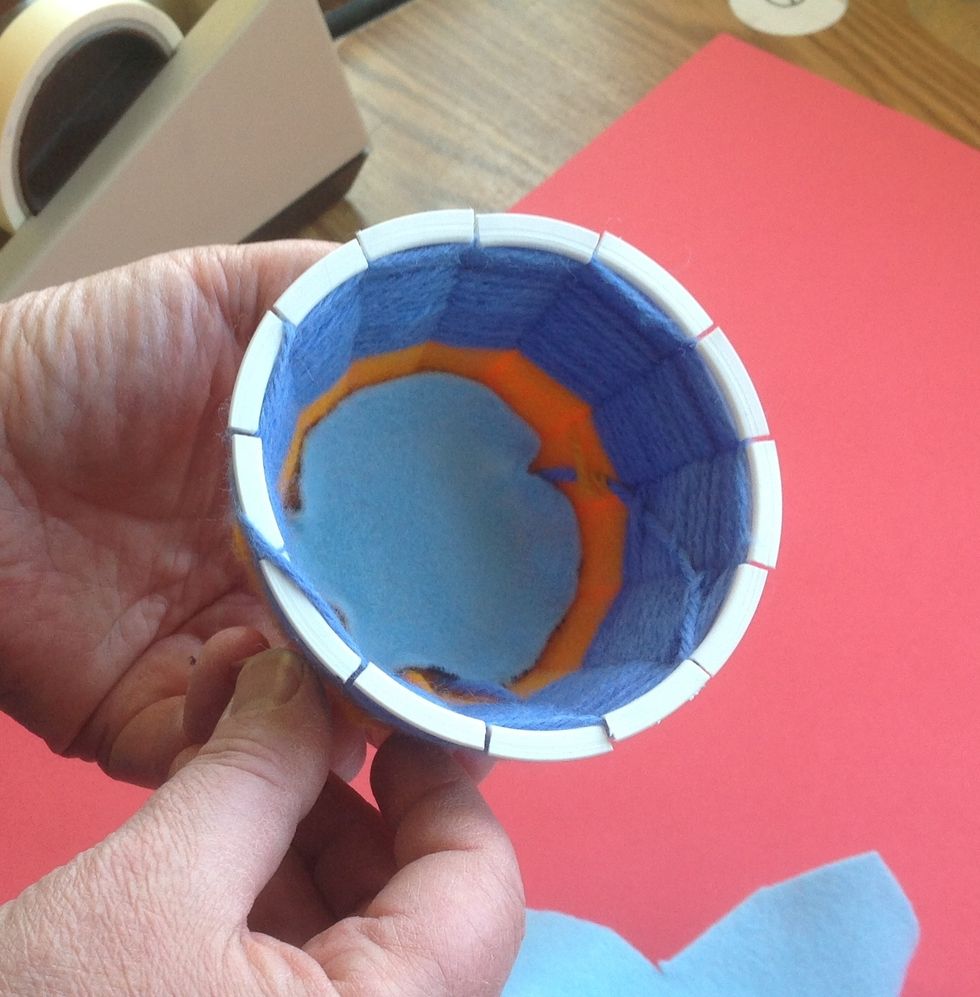
Finally, cut out the felt circle and place in the bottom of the 'Oops Basket'. Now it is ready to take home.