The Conversation (0)
Sign Up
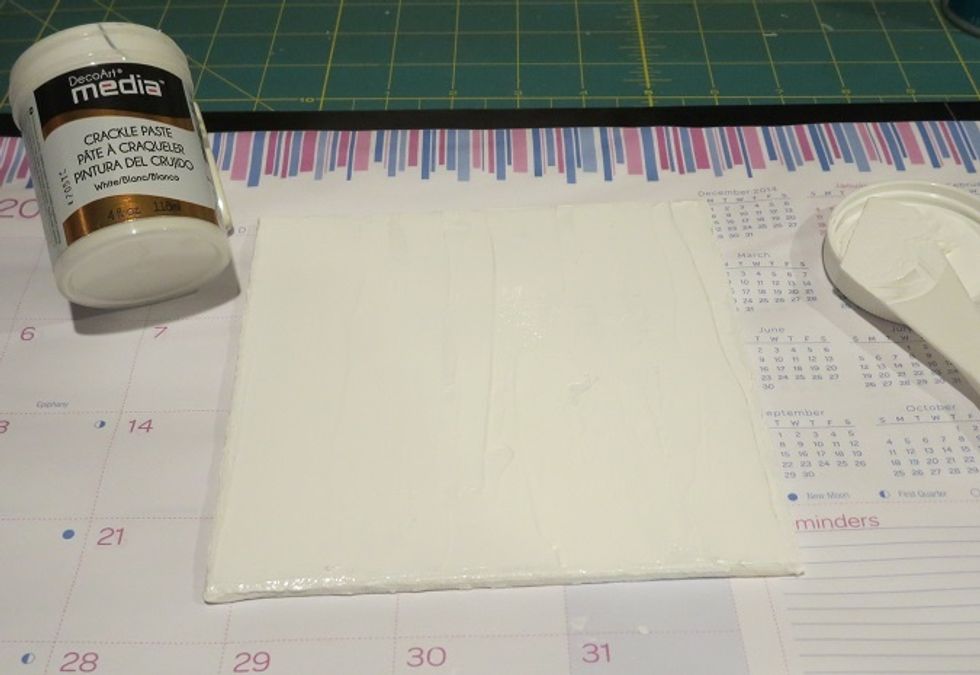
I used a plastic applicator tool to spread the crackle paste unevenly across the entire board. Some places have a lot and some have very little.
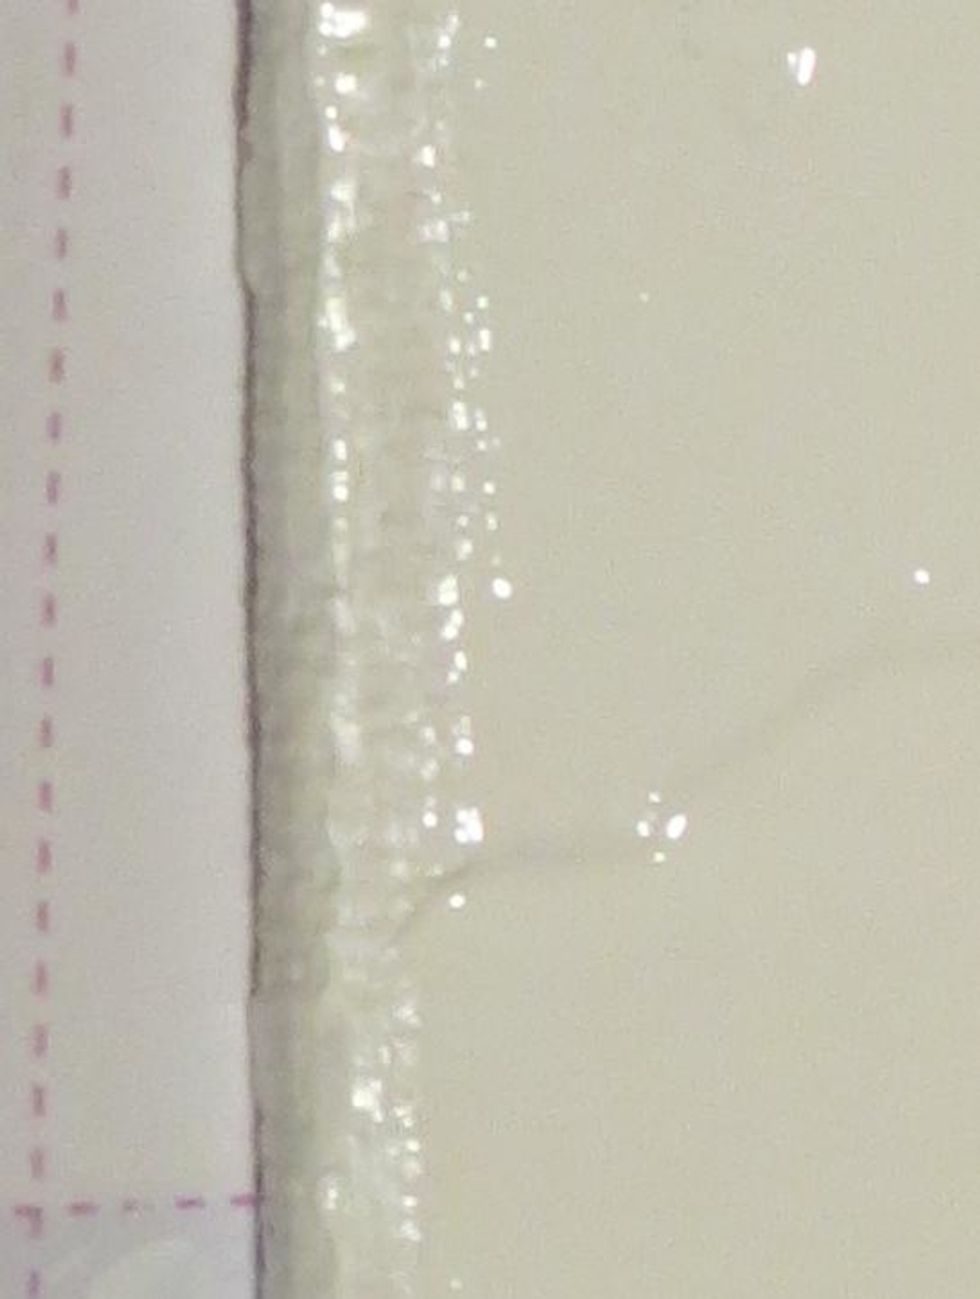
The crackle paste starts out very smooth and creamy. As it hardens, the cracks form. The thicker the paste, the larger the crackle.
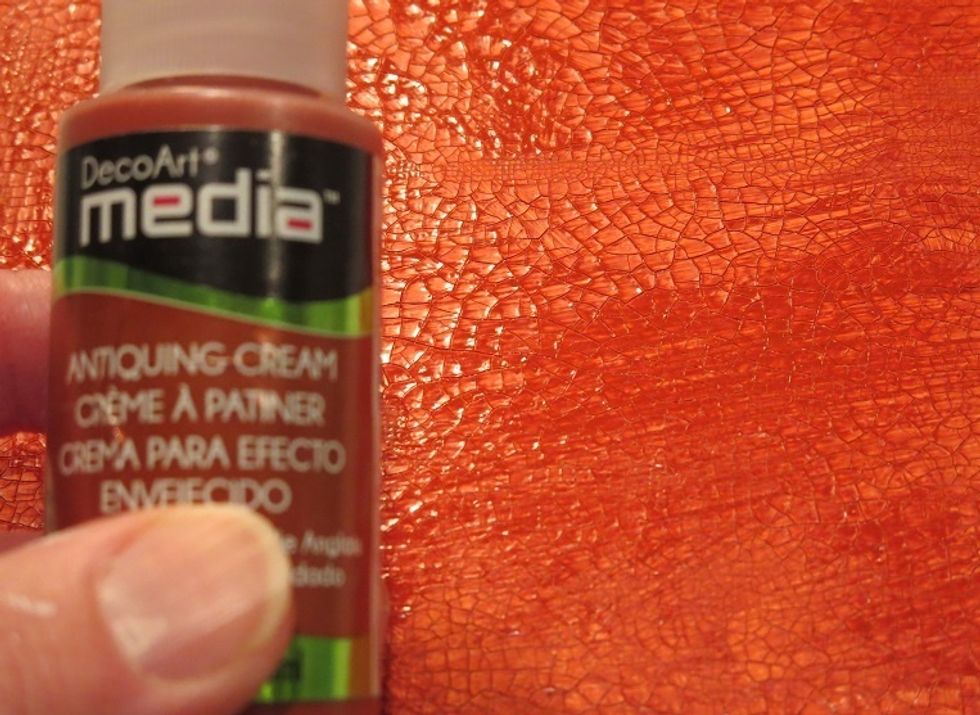
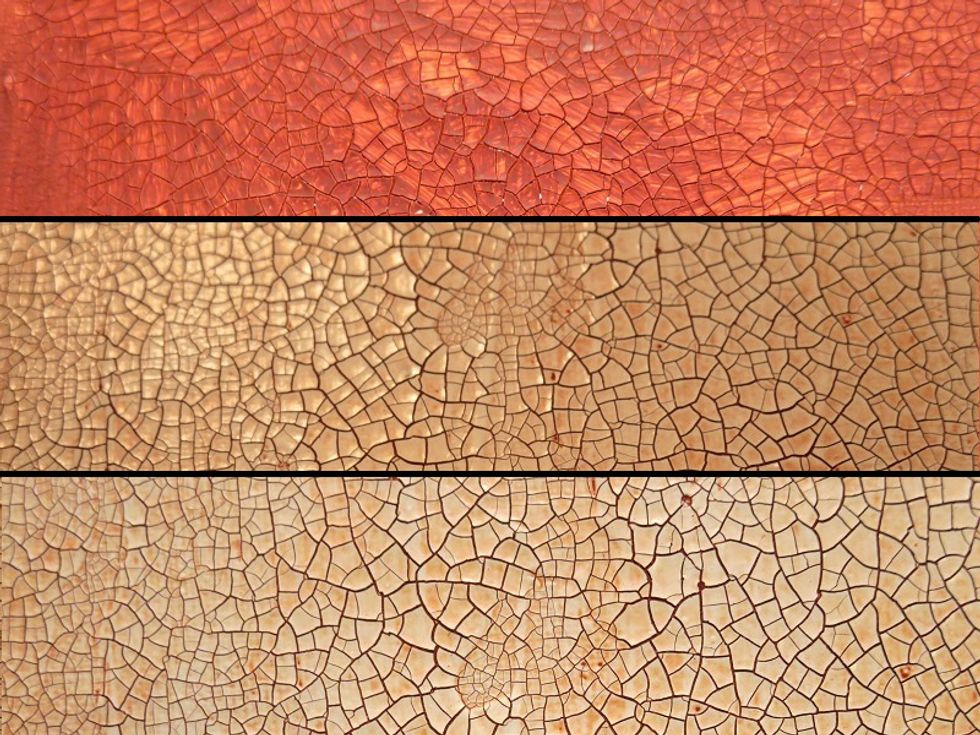
Antiquing cream was brushed on the entire canvas. It's a fluid that dries quickly. It is not permanent so you can wipe off the excess you don't want with a damp cloth. I used baby wipes.

The Antiquing Cream has a matte finish when it dries and really emphasizes the awesome texture.
It took several minutes (and several wipes) to get down to the light finish underneath. The crackle past dries to a glossy finish, which emerges as you wipe off the cream.
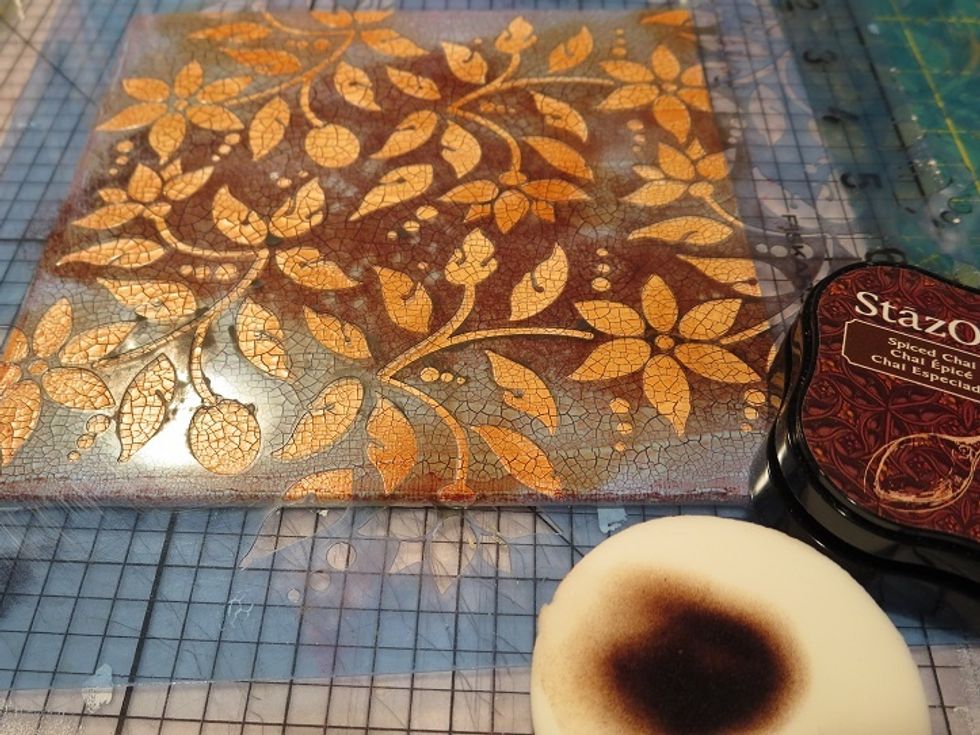
A makeup sponge was used to add ink to the board through this lovely floral Americana stencil. StazOn ink has a mild glossy look on top of the crackle.
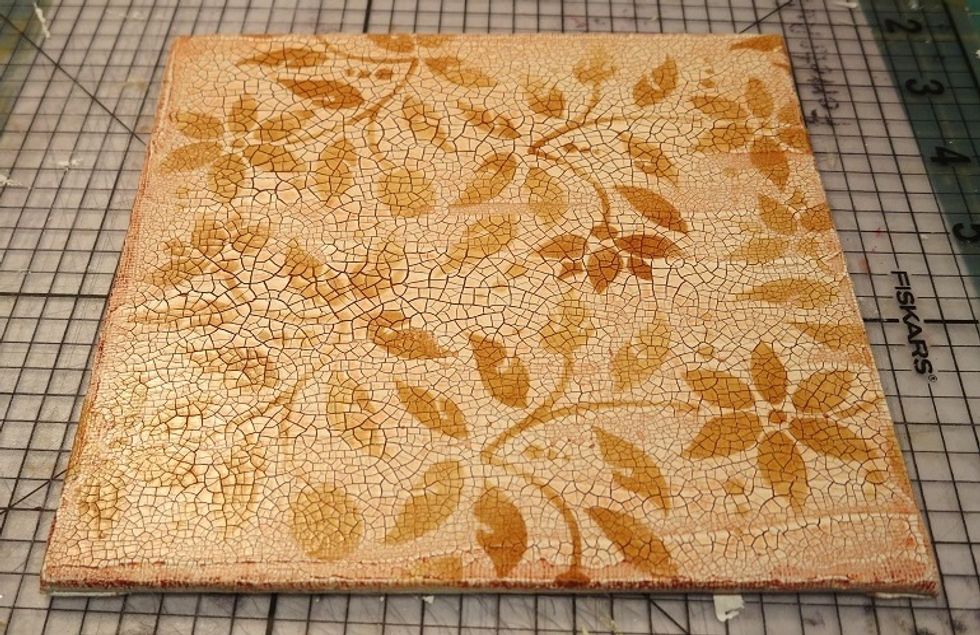
With the stencil removed. Look at the depth of color that Antiquing Cream brought to the canvas!

I added more StazOn Spiced Chai around the edges, being sure to go around to the back.
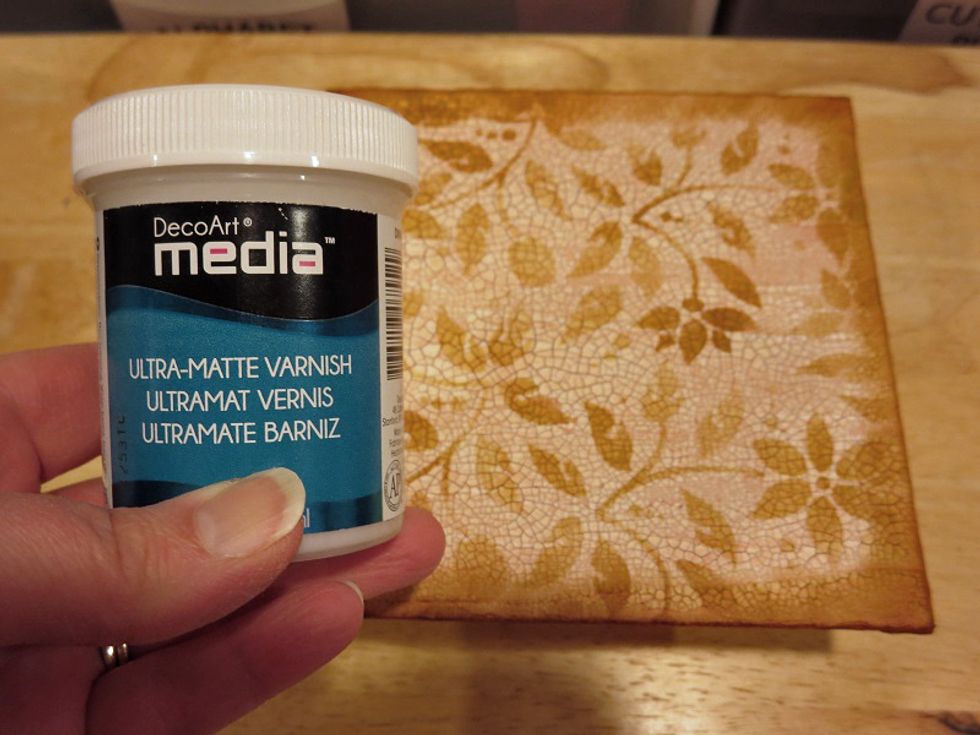
I'm not fond of glossy projects, so I coated the entire board with Ultra-Matte Varnish. The Antiquing Cream needs to be sealed to be permanent and the varnish did that, too.
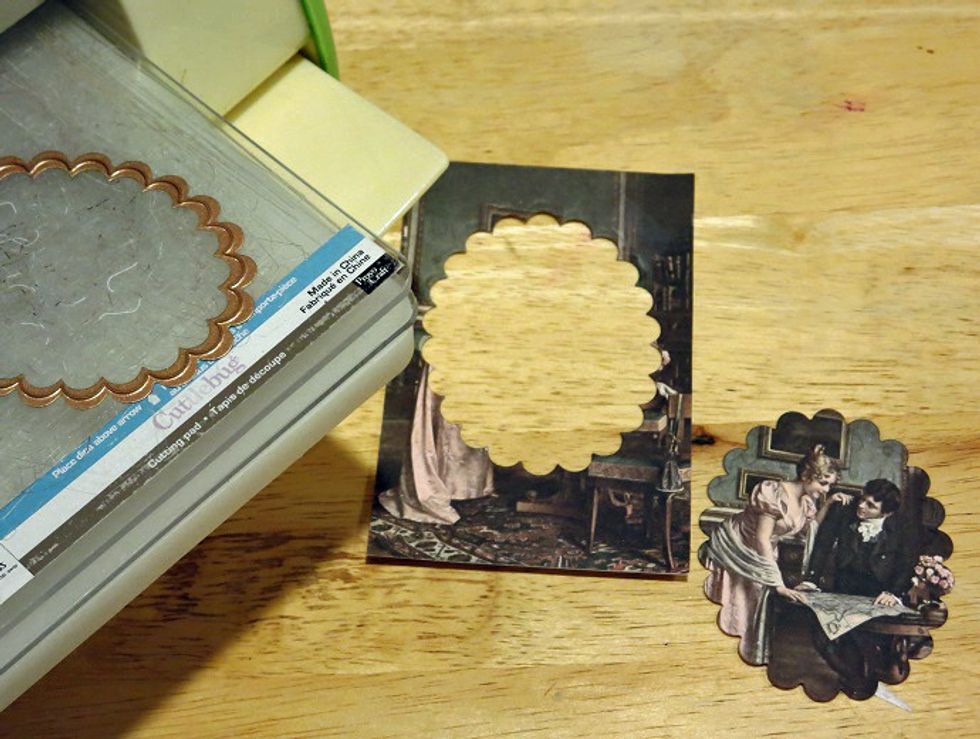
This image reminded me of a Jane Austen novel! I love how innocent yet intimate the photo is.
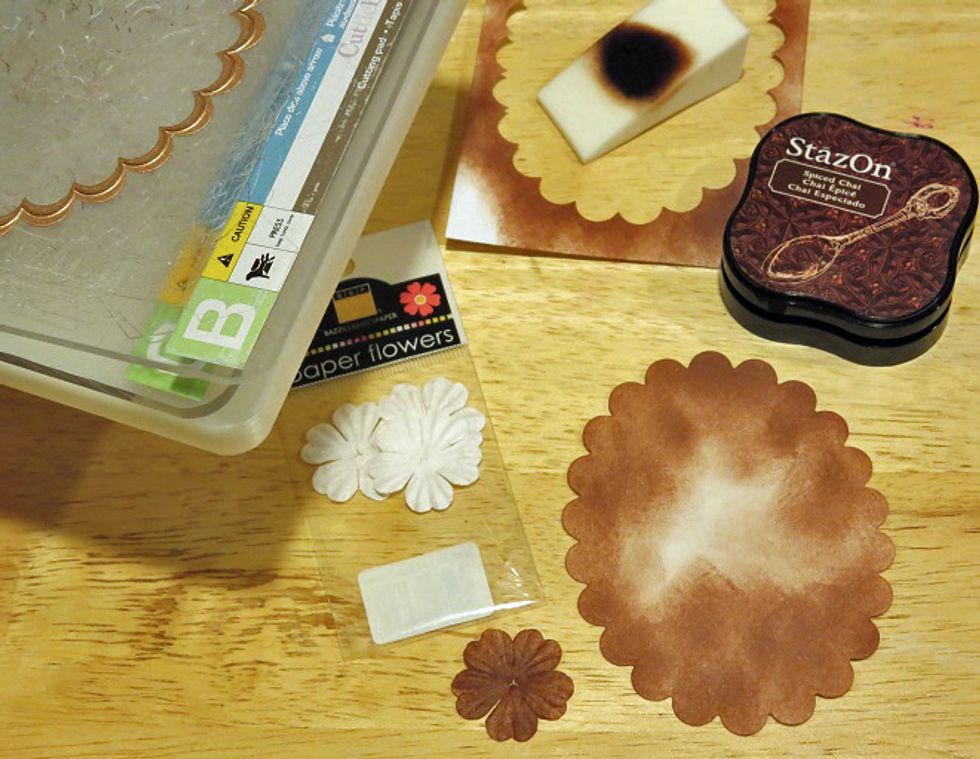
I colored flowers and a mat for the photo with the same StazOn in.
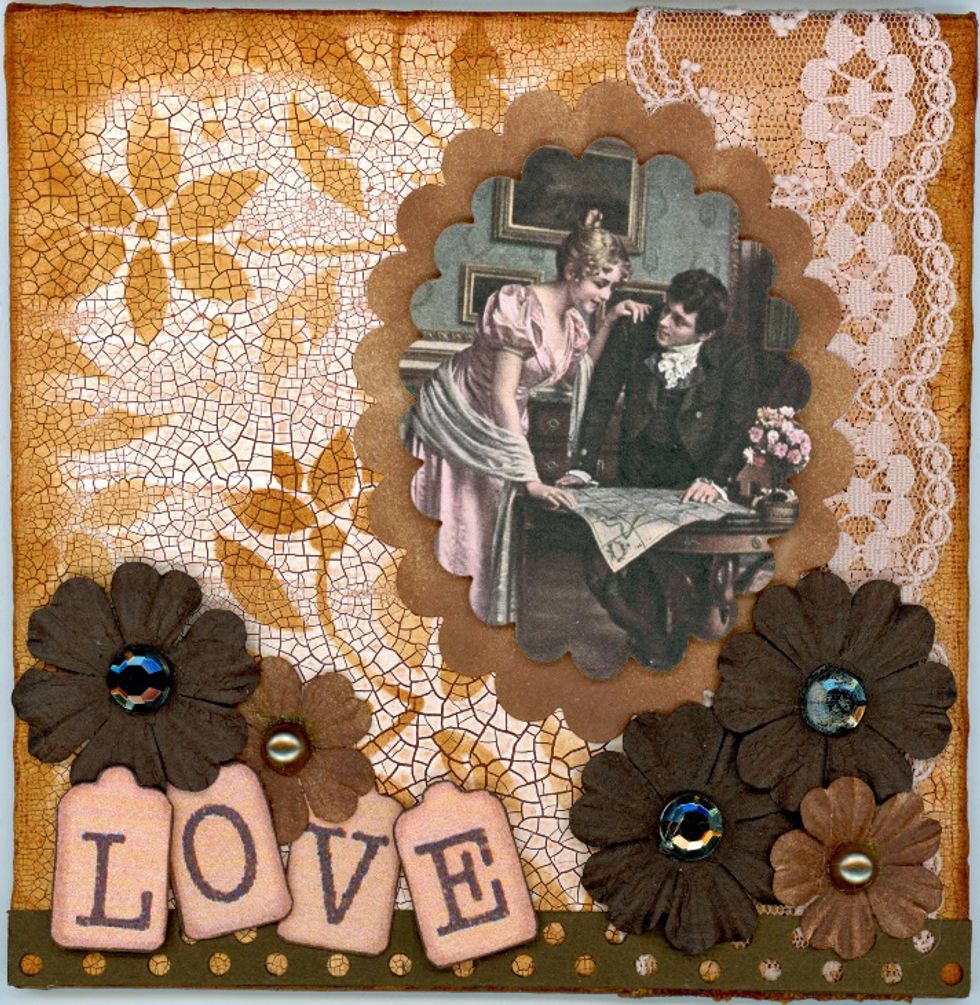
A little lace leftover from a Mailbox Muse kit, a paper border and some gems from my stash complete the project.
This Old-Fashioned Romance canvas will be featured on the Altered Pages Artsociates blog on January 23, 2015. I hope you'll go to there and check it out. The team has a lot of wonderful projects.
And stop by my personal blog to see my other projects that I hope will inspire you to go out and create! My blog is Robin's Birdhouse. http://www.robinsbirdhouse.blogspot.com
The Altered Pages Artsociates blog can be found at http://alteredpages-artsociates.blogspot.com/