The Conversation (0)
Sign Up
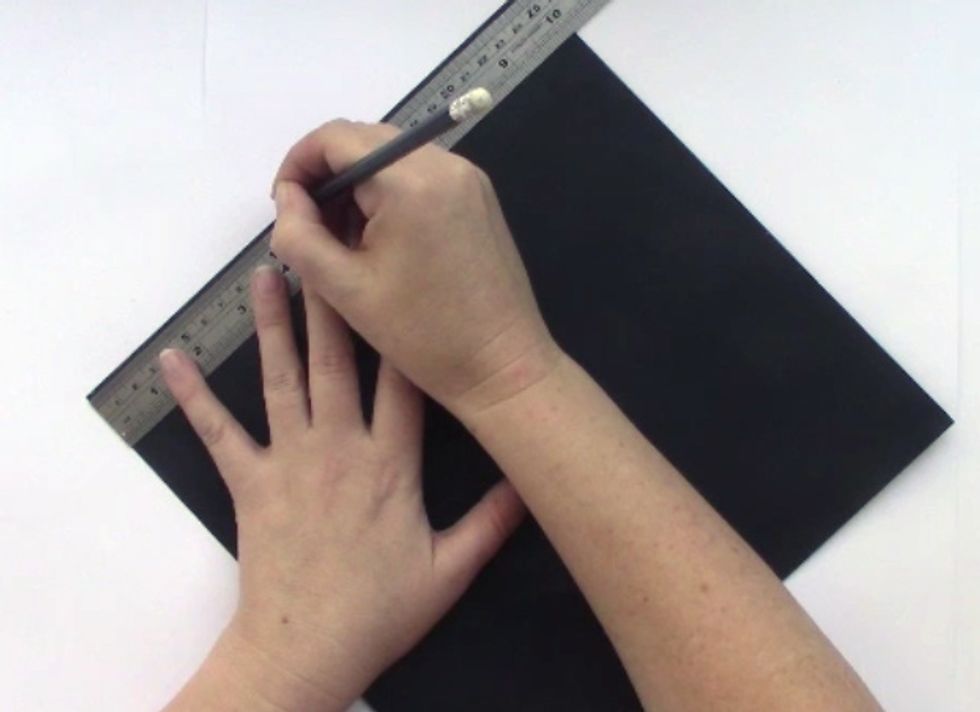
25.7x25.7cm Black Cardstock Turn the card so the corner faces you Mark the corners at 9 and 11cm do this both sides
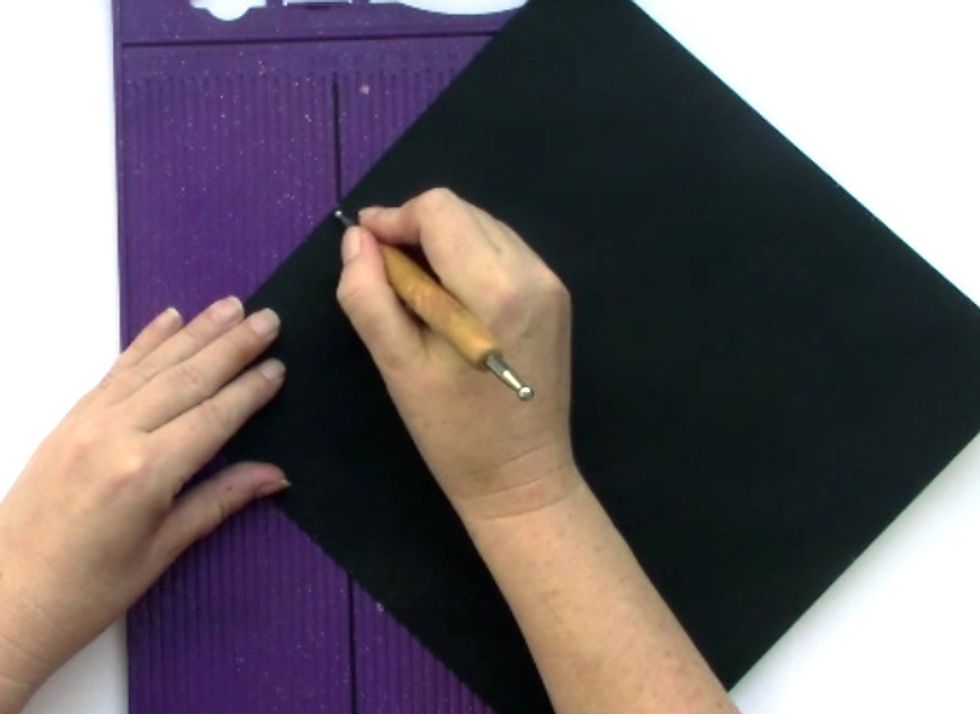
Score all 4 lines
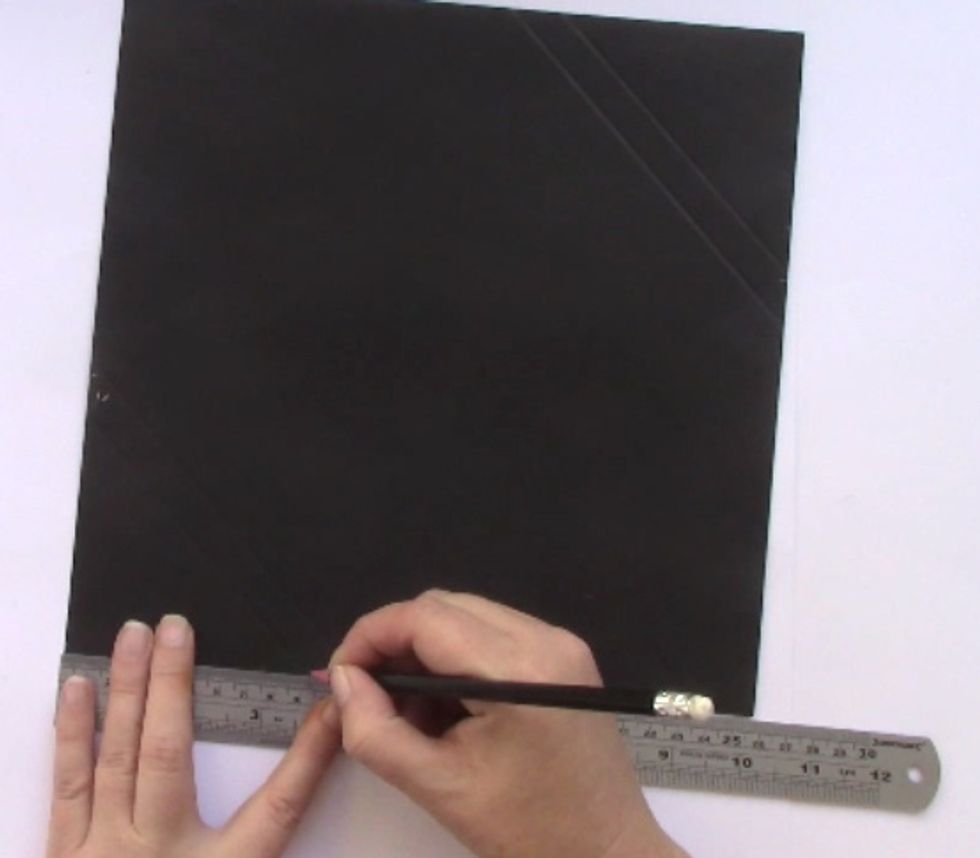
Turn your card to the other corners and mark them at 7.5 and 9.5 cm

Score All the way edge to edge on one side Only Score up to the already score line on the top
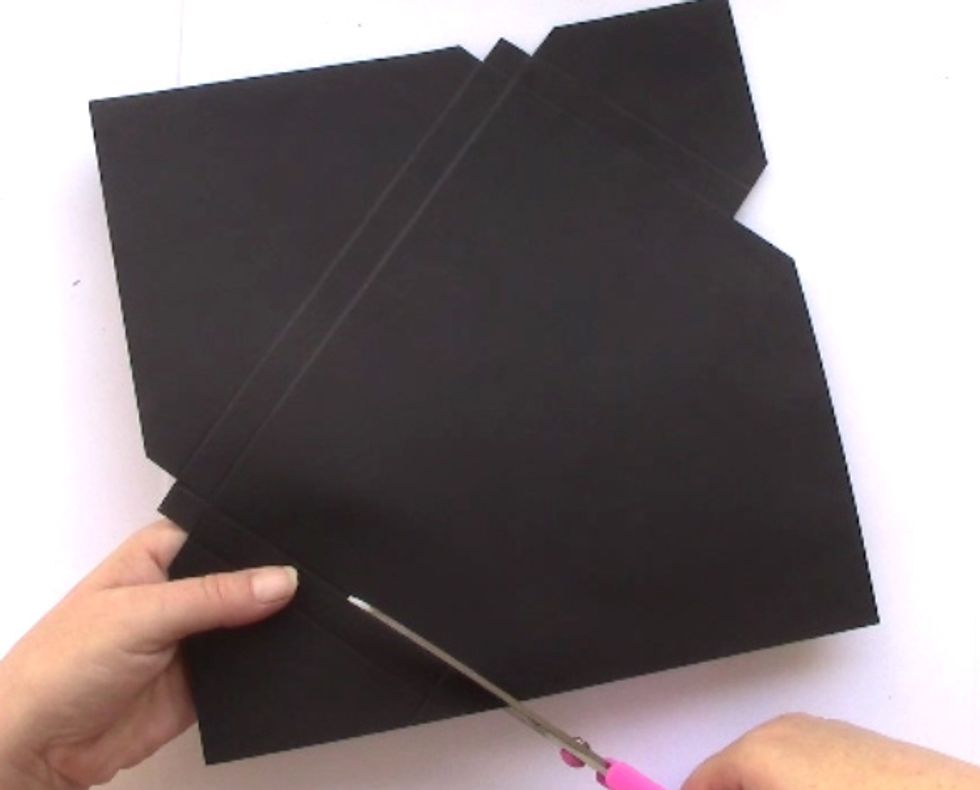
Cut out your Corners as shown
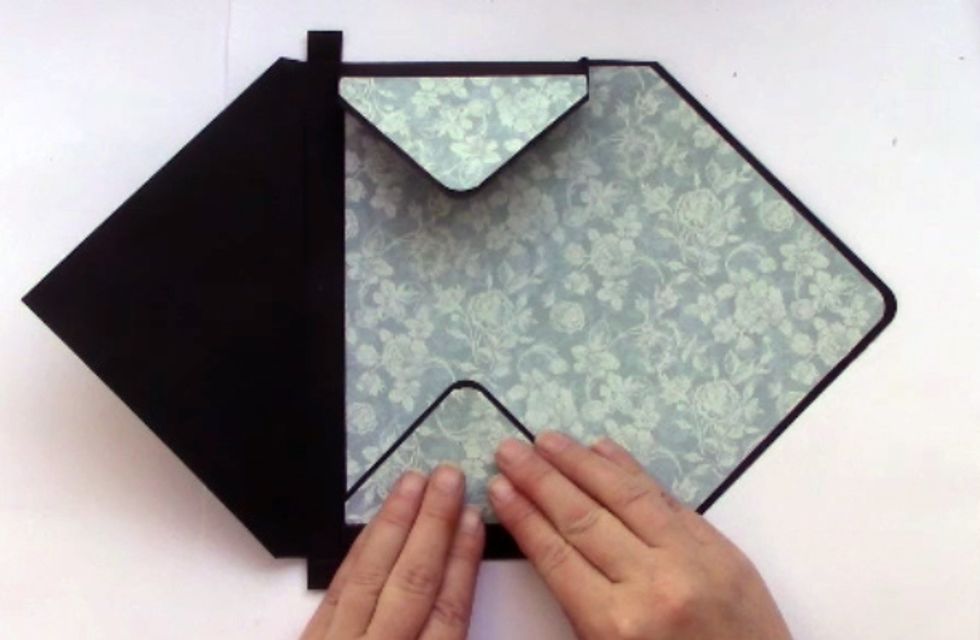
Download template from my Blog (link in Bio) and measure papers to match and adhere them in place.
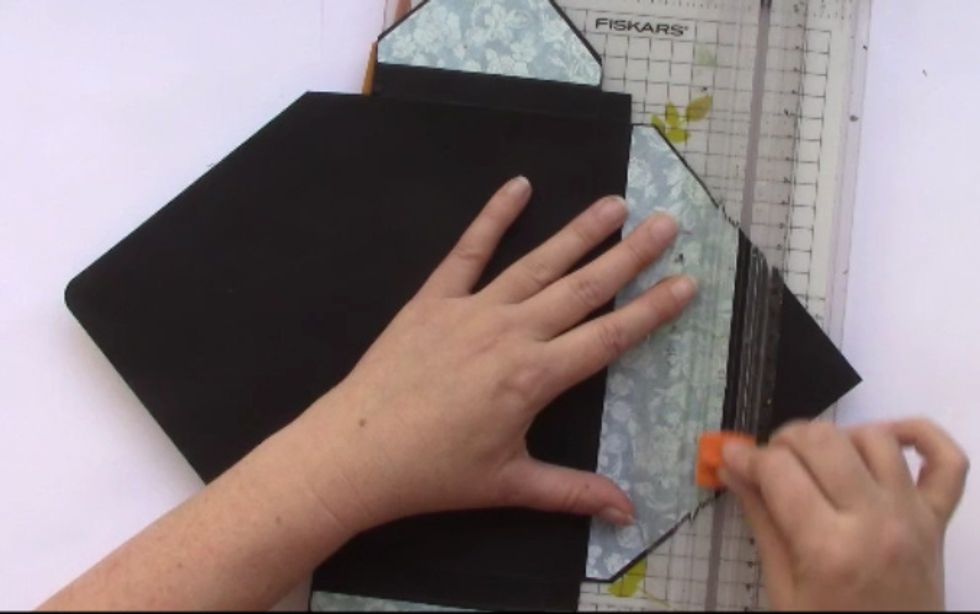
Trim of excess from the front panel of your envelope.
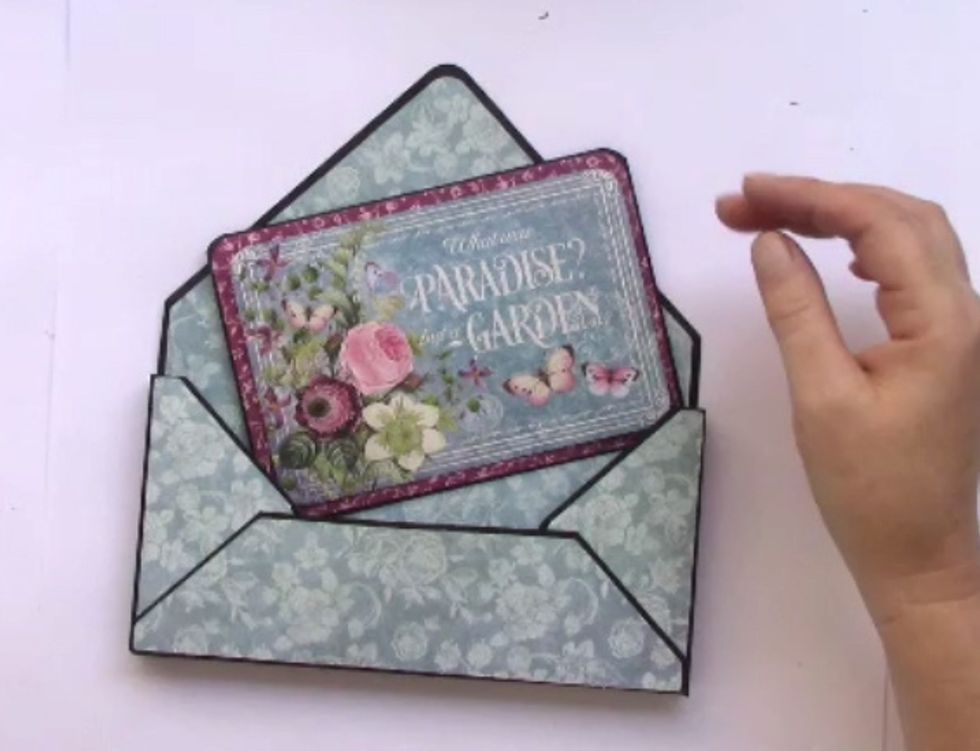
Make a Card To Fit your Envelope.
Fussy Cut Elements from the Bloom Collection to Decorate.
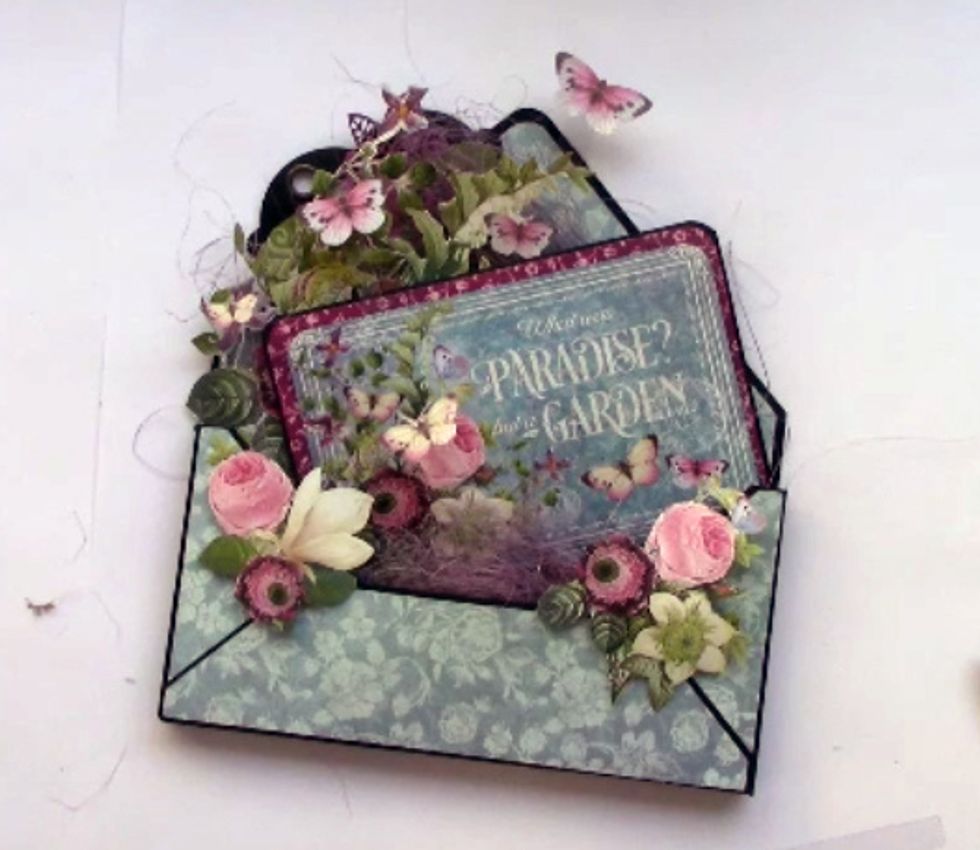
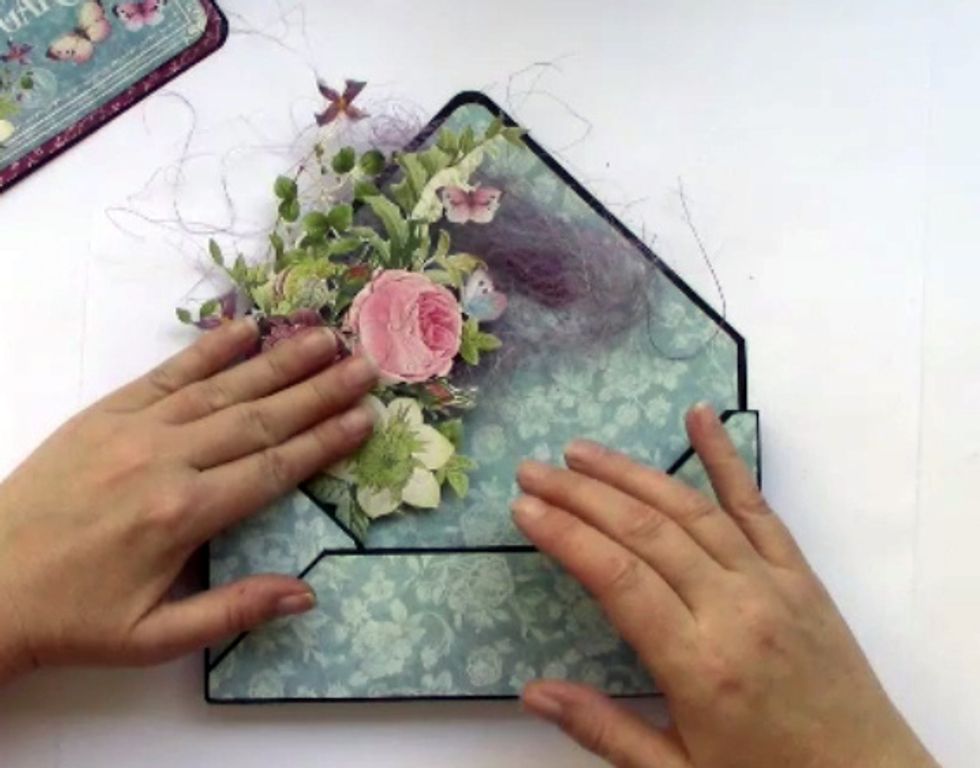
Add Sisal, Small G45 Tags, Butterflies on Acetate.
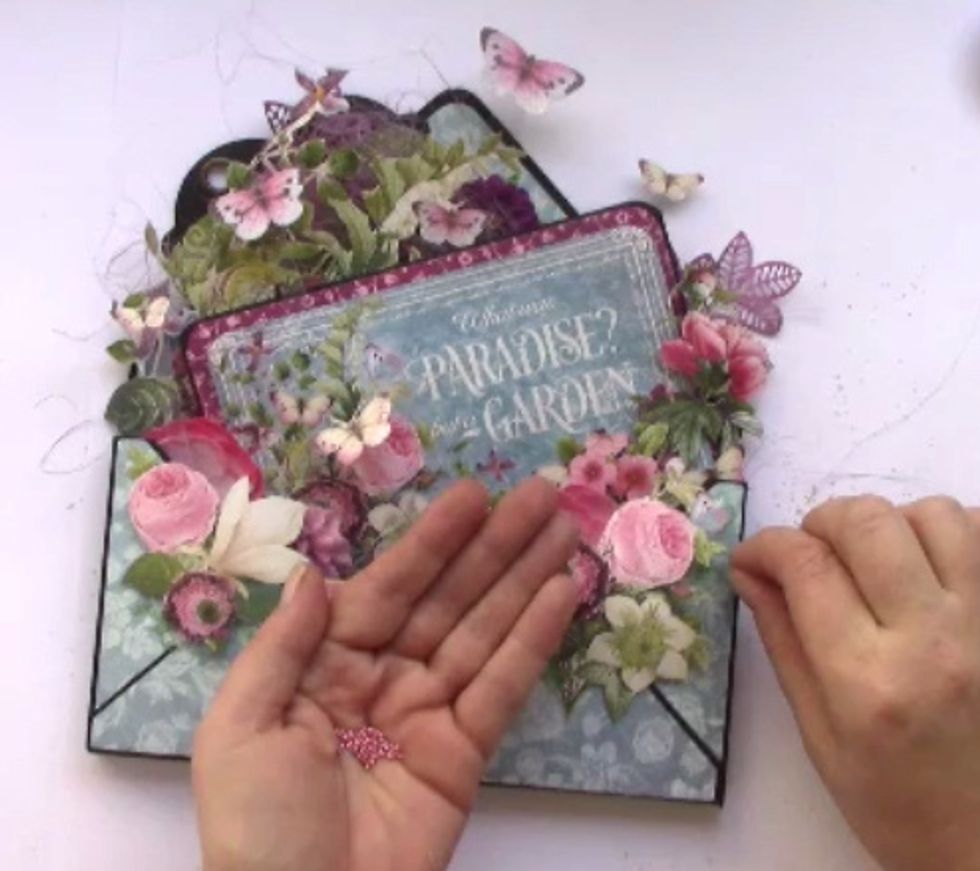
Use Soft Gloss Gel to Adhere Micro beads
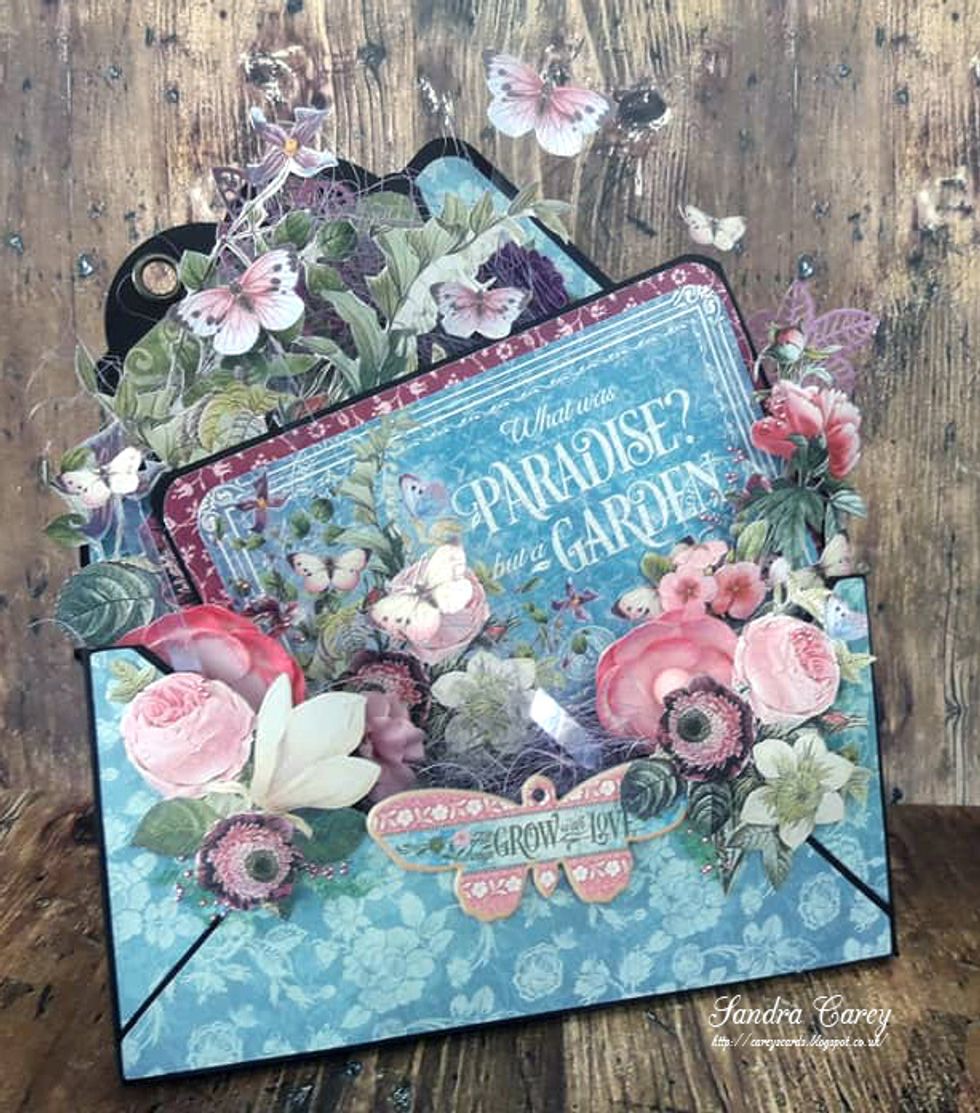
Finished Loaded Envelope