The Conversation (0)
Sign Up
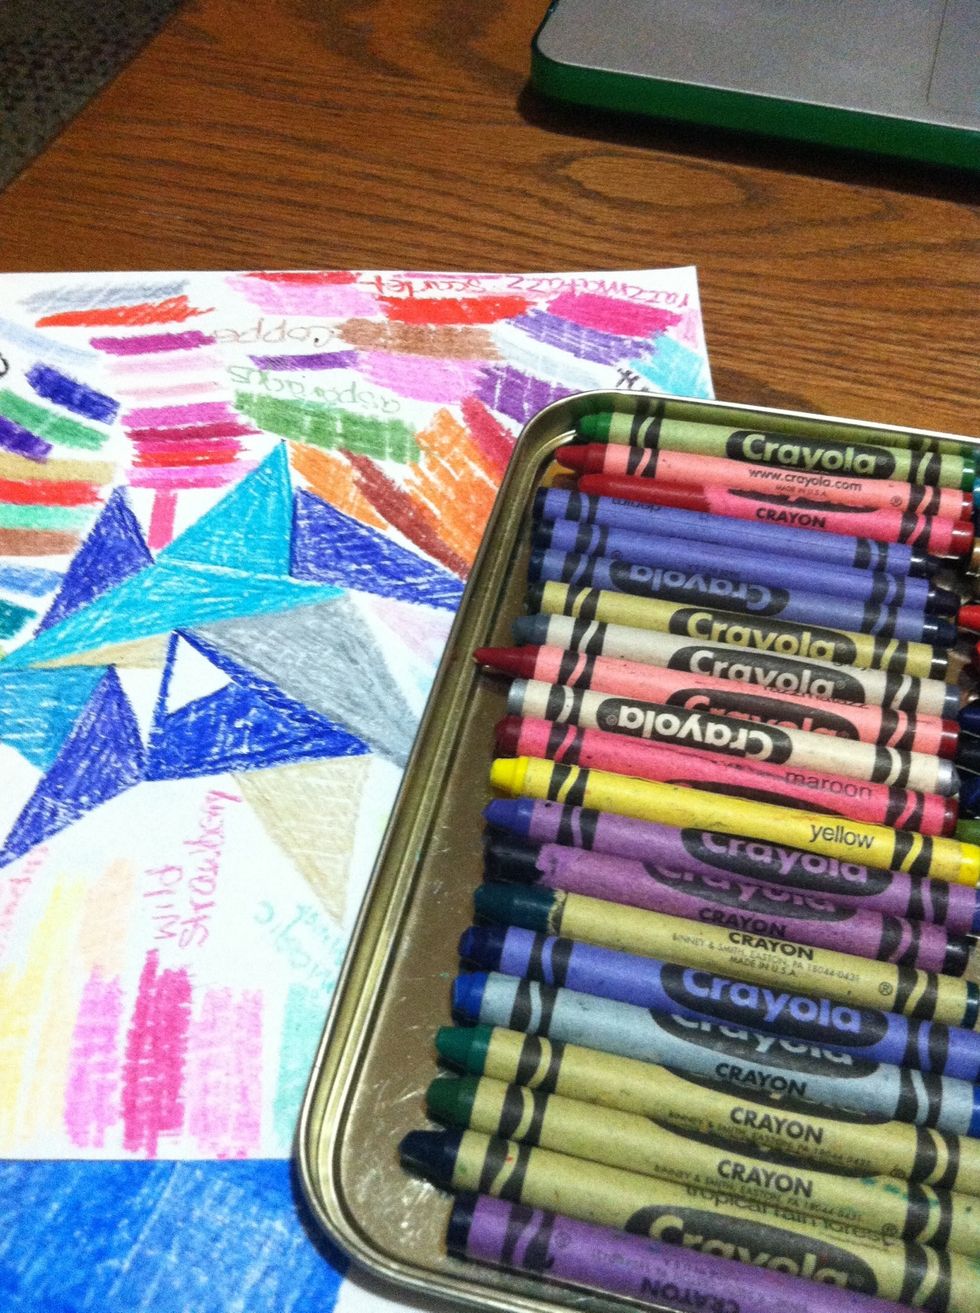
Go through your crayons and find colors you like. Darker more vibrant colors are going to transfer better.

I found these wax pastels in the attic. They didn't fade as much when I washed my t shirt. If you already have them you can use them but I wouldn't spend $ on them for this because they're expensive.
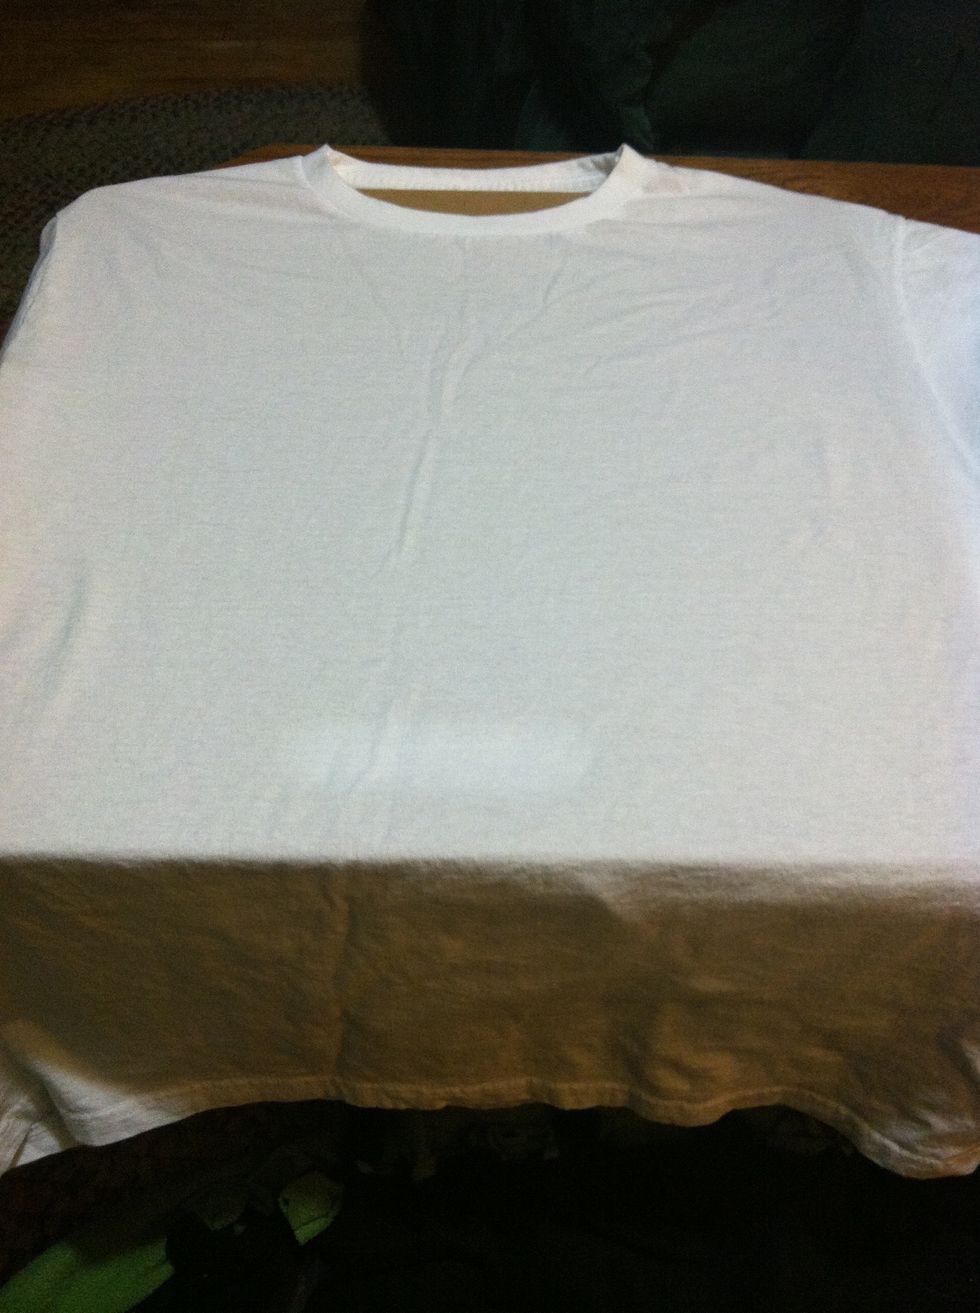
Wash and dry your shirt. I got mine at the goodwill for $1. It's good to do this in case it shrinks.
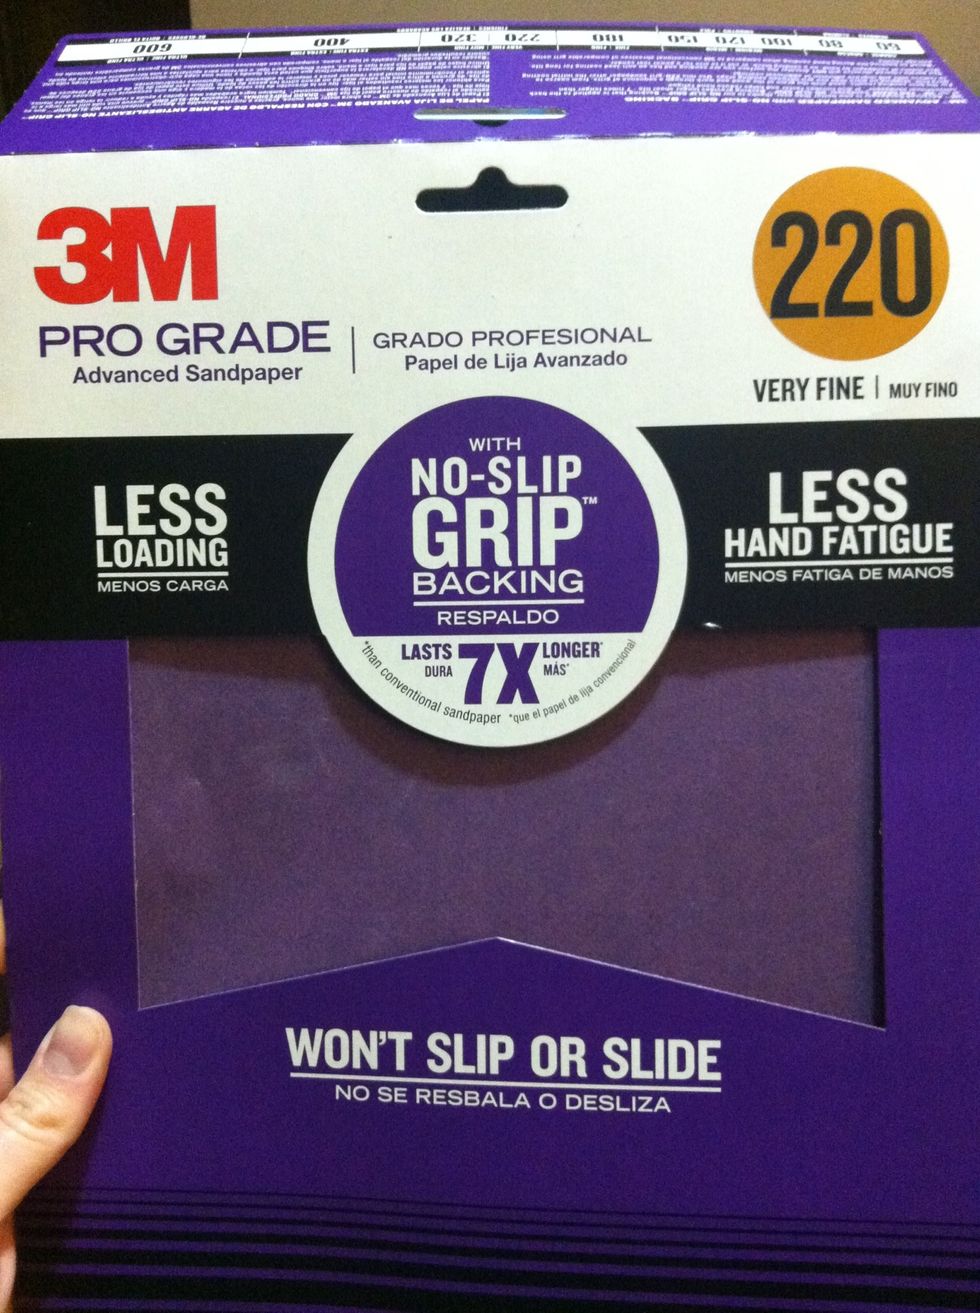
This is the sandpaper I got. It came with 3 sheets. The finer the grit the more detail will be preserved. If you want more of a speckled look, go with a grittier sandpaper.

Draw your design on your sandpaper. I chose a Totoro. You can draw anything you want just keep it kind of simple. Some of the detail will be lost because of the texture of the sandpaper.
When coloring your picture, make sure you really press hard on your crayon. The more color the better the transfer.
If you're going to put words in your design just remember to write backwards.
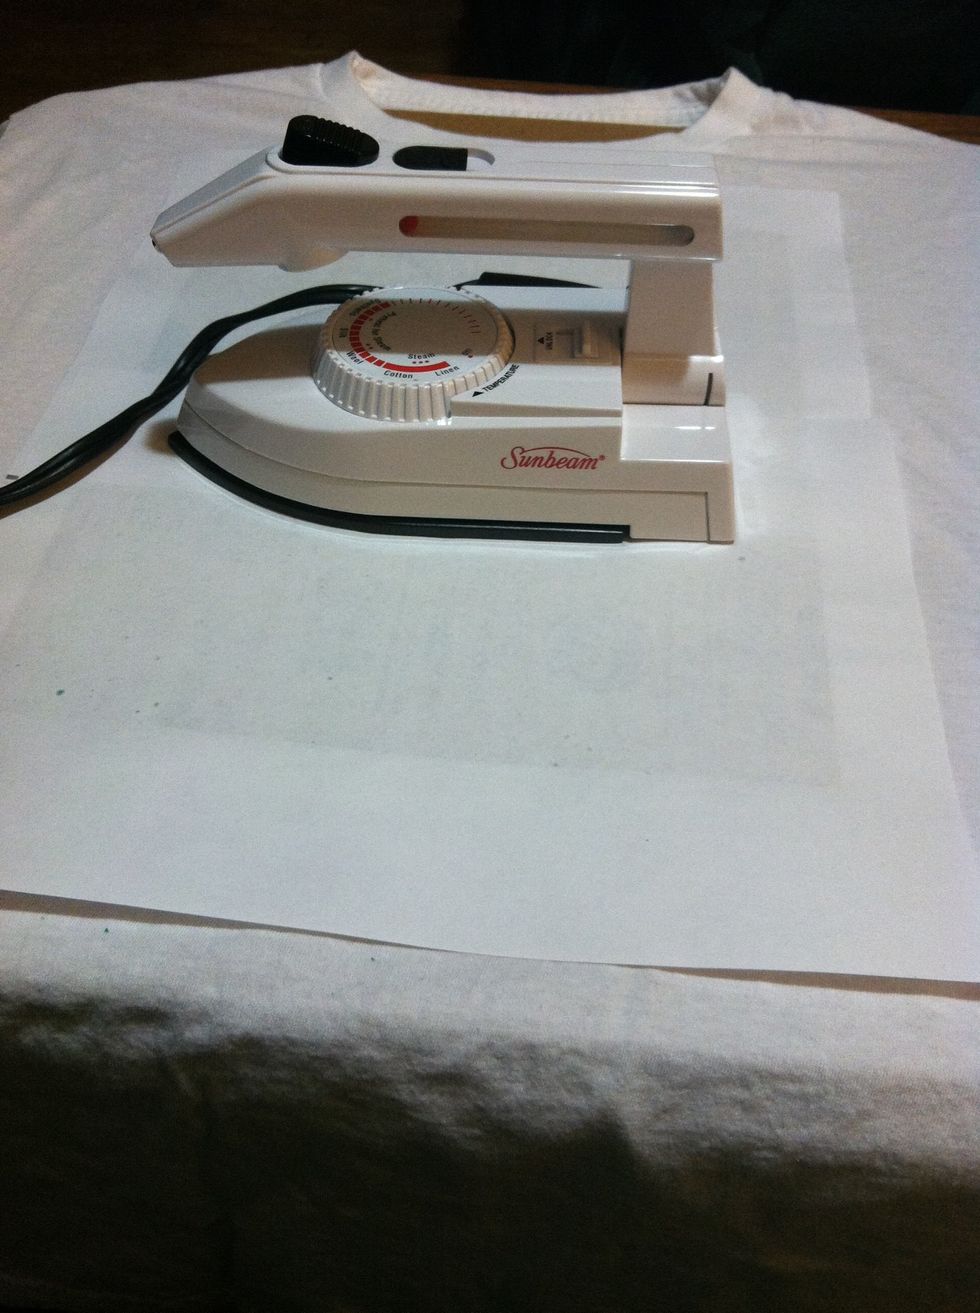
Put something (that won't melt) inside your shirt. I used my big drawing board but a wooden cutting board or a towel works really well too. If you have an ironing board use that.
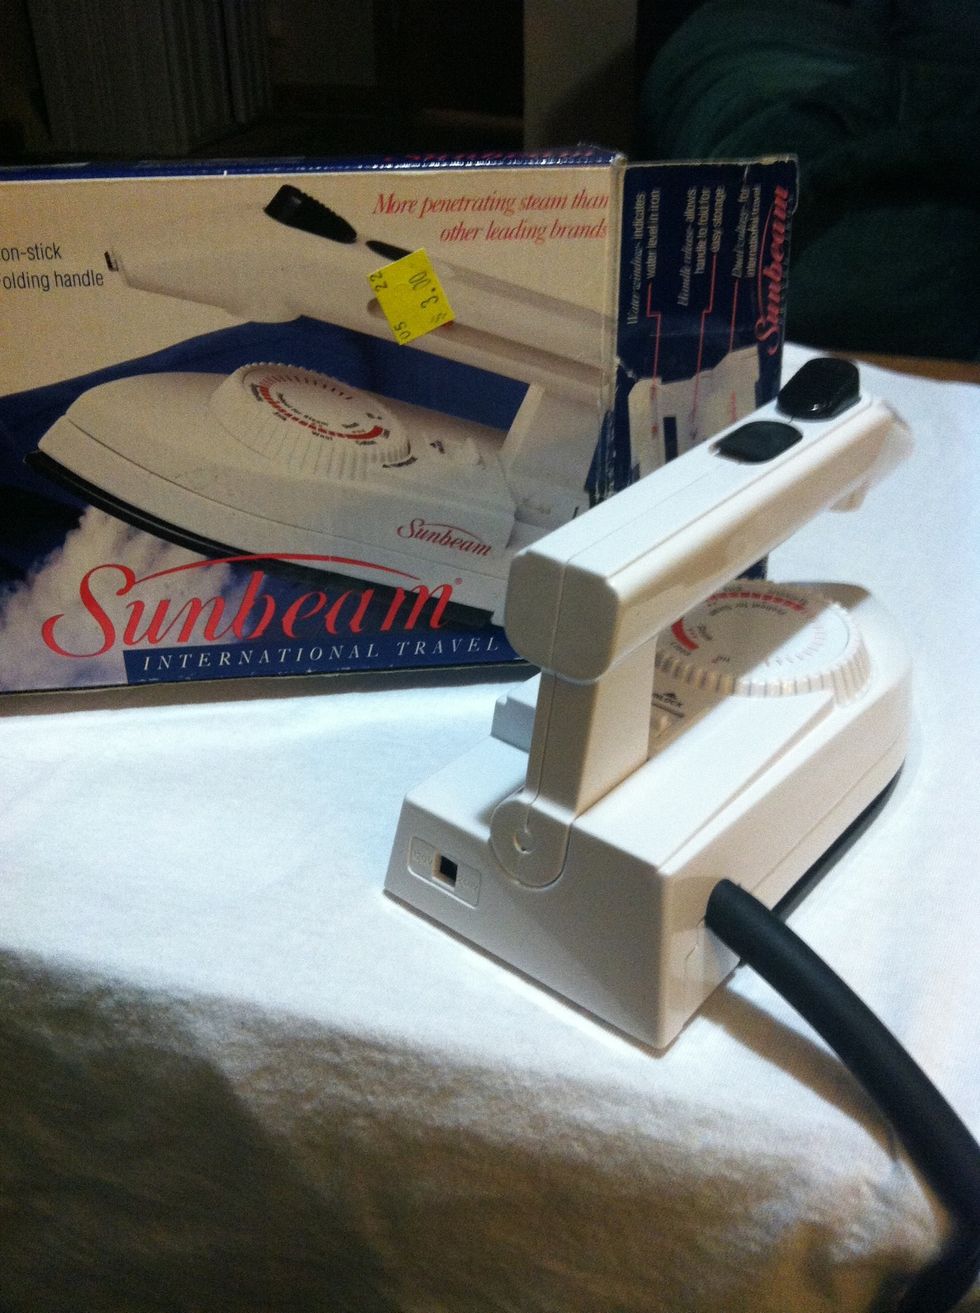
If you don't have an iron, there's usually some at goodwill. I got this little travel one for $3. Set your iron to the cotton temperature setting. Make sure there's no water in it.
I ironed the front of my shirt before I put the sandpaper down just to get all the wrinkles out.
I tried this step with a towel on top and the heat wasn't getting through so I put paper over the sandpaper and it worked.
Now just iron. You can carefully lift a corner to check progress just don't shift your paper or else it'll look weird. It's probably a good idea to apply a good amount of pressure too.
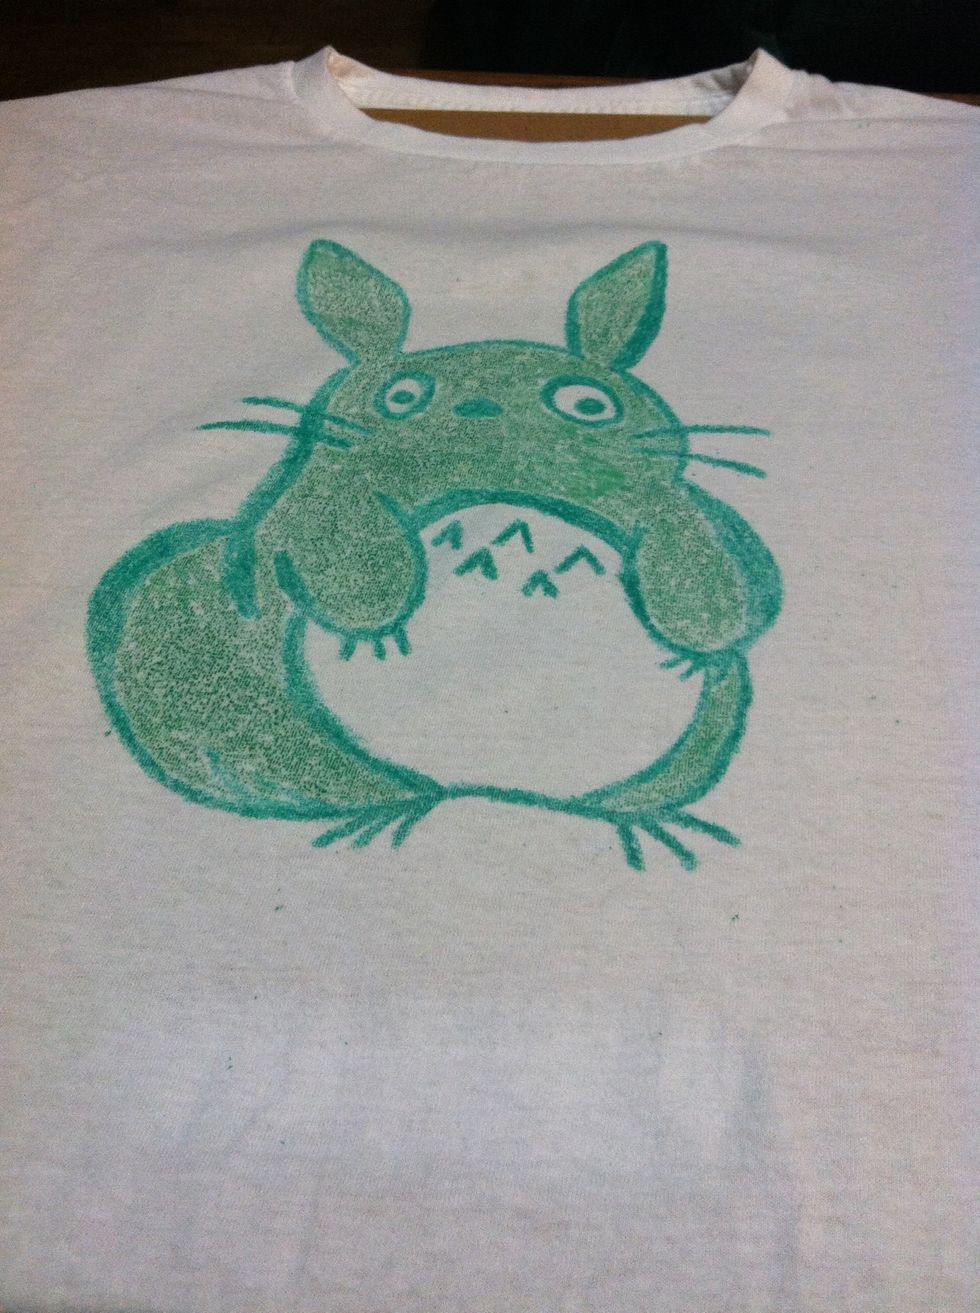
Peel back your paper and ta-dah.
Now cover your design with some clean paper and iron over it again to set it into the fabric. This is what makes it permanent.
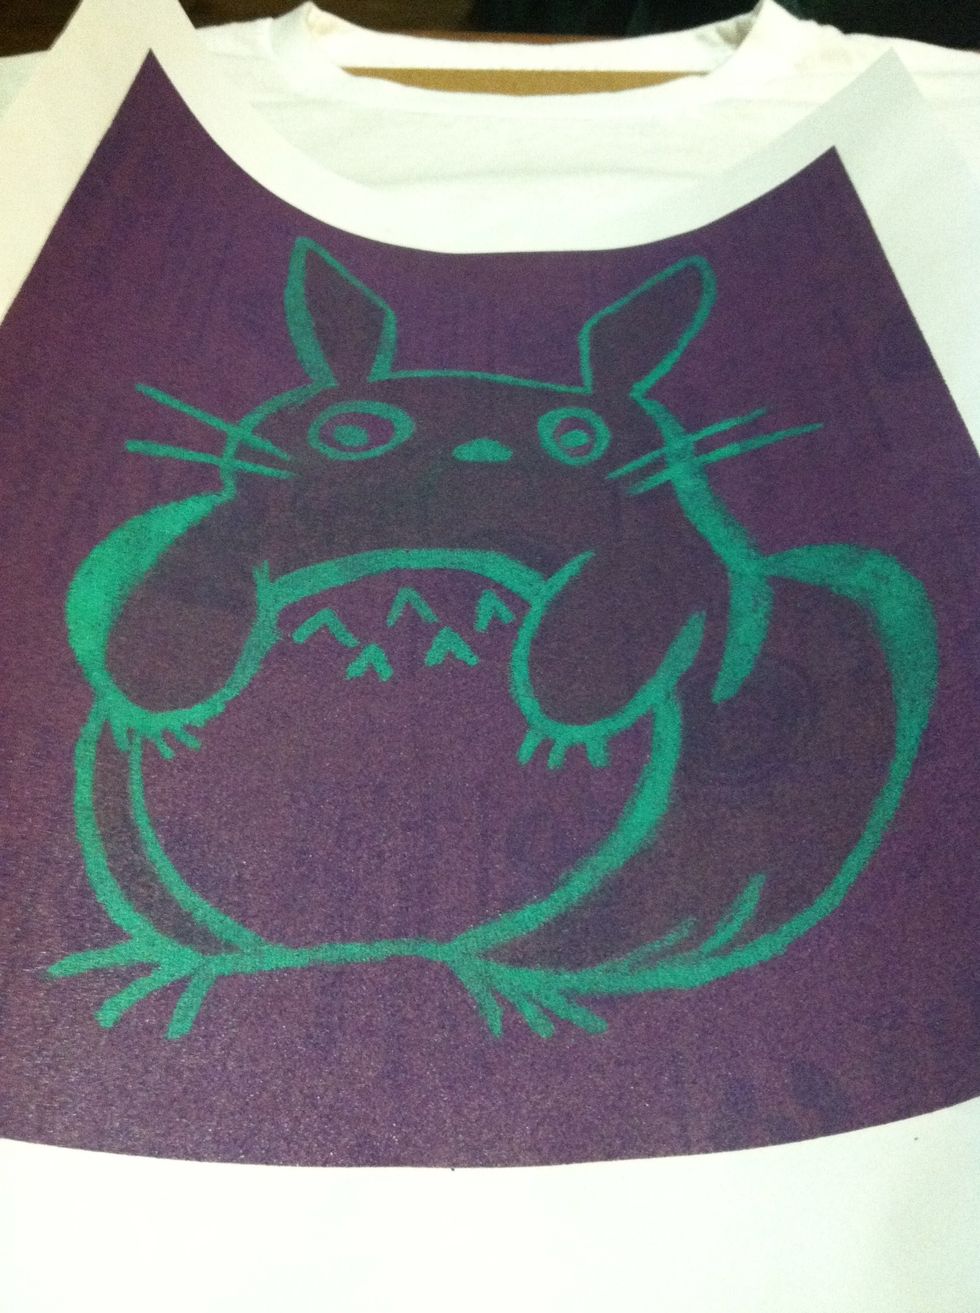
The drawing stays on the sandpaper really well so if you want to make multiple shirts with the same design, you can reuse your drawing and just trace over and fill in color for each shirt.
Your shirt should probably get washed by itself the first couple times just so you don't go ruining any other clothes. This project is fun and kids would like it too.
Thanks for looking. Hope you have fun with this project too. 😺