The Conversation (0)
Sign Up
First you need to get onto the Internet. Google 'circle of crafters'.

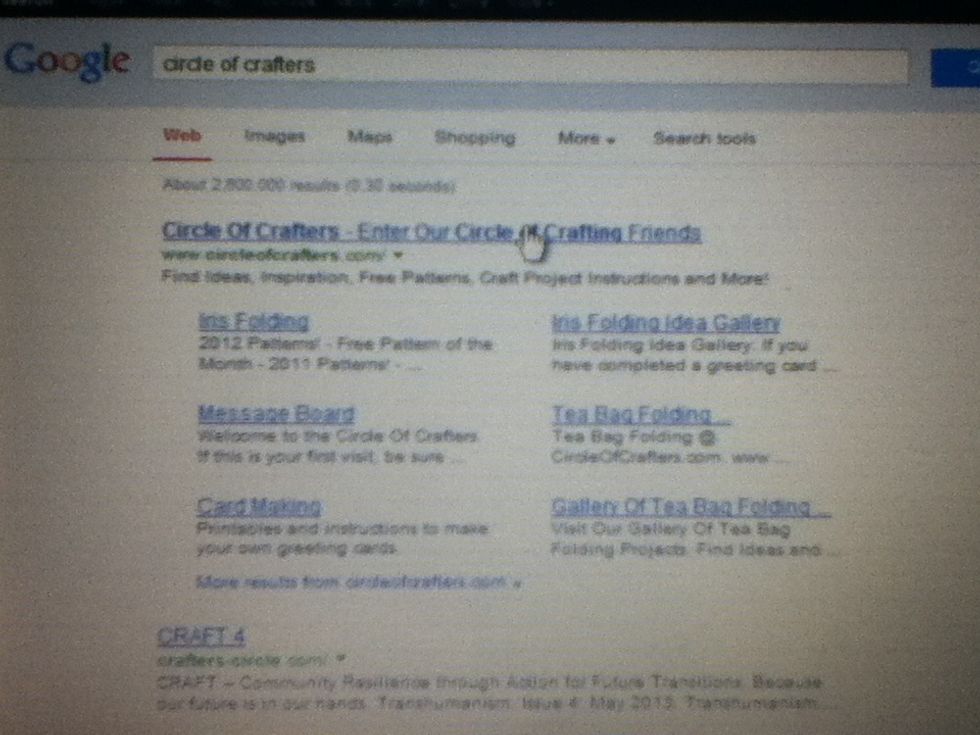
Click on the first link
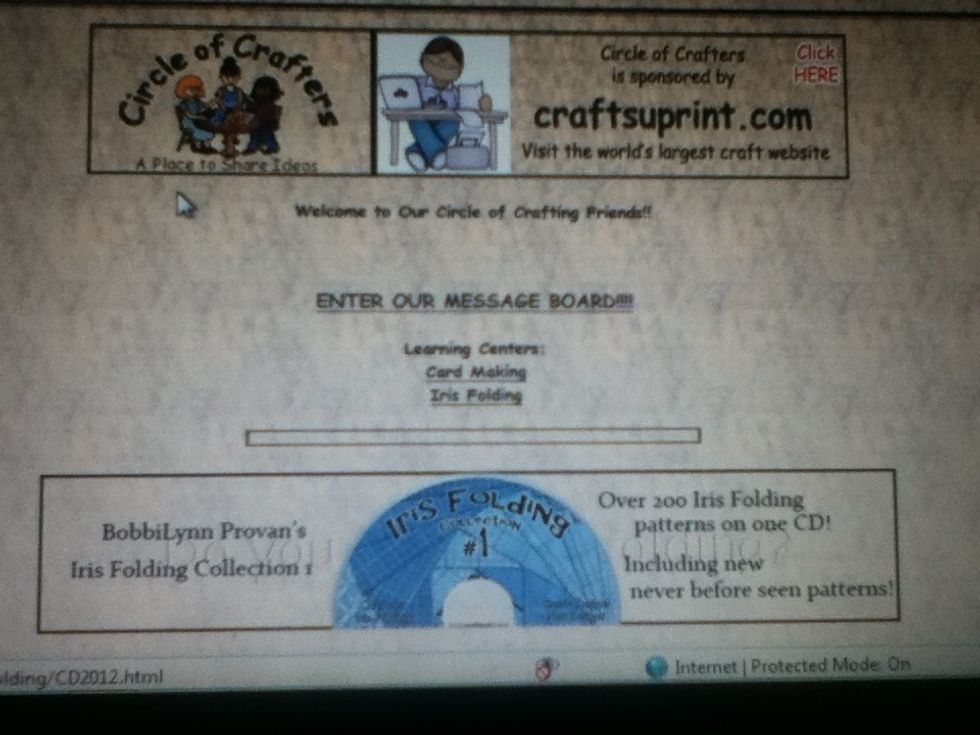
It should come up with this
I'm sorry bout the fuzziness, but it says iris folding
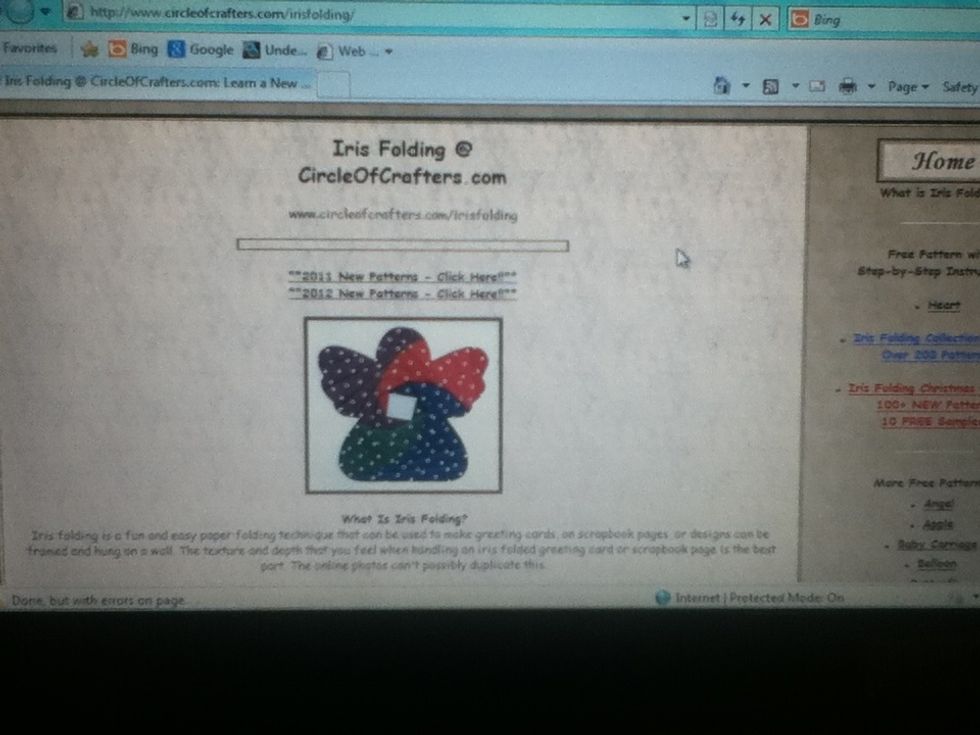
Then it takes you here
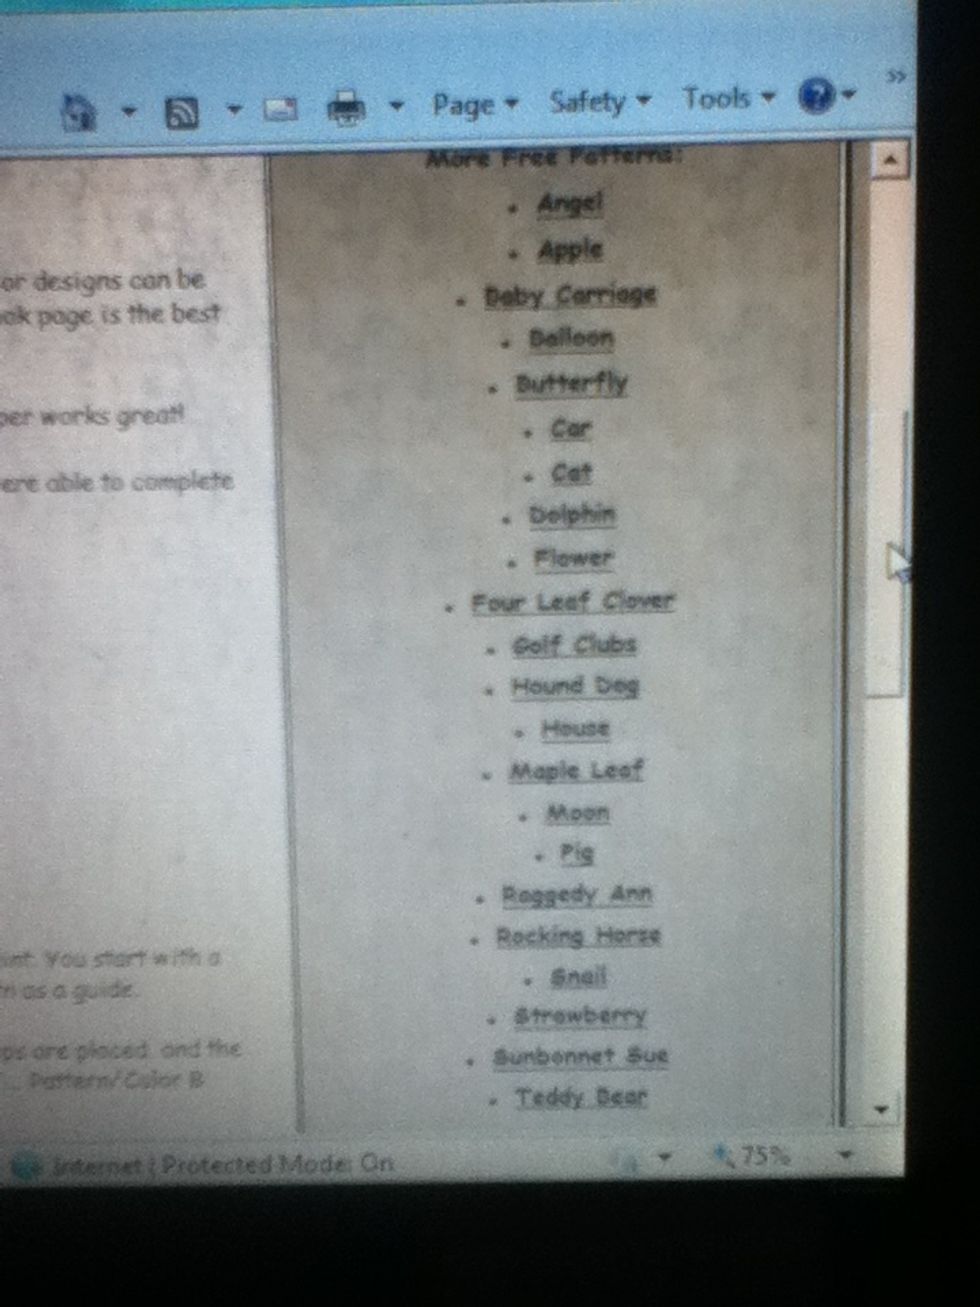
On the right there is a list of iris folding patterns, they are all free
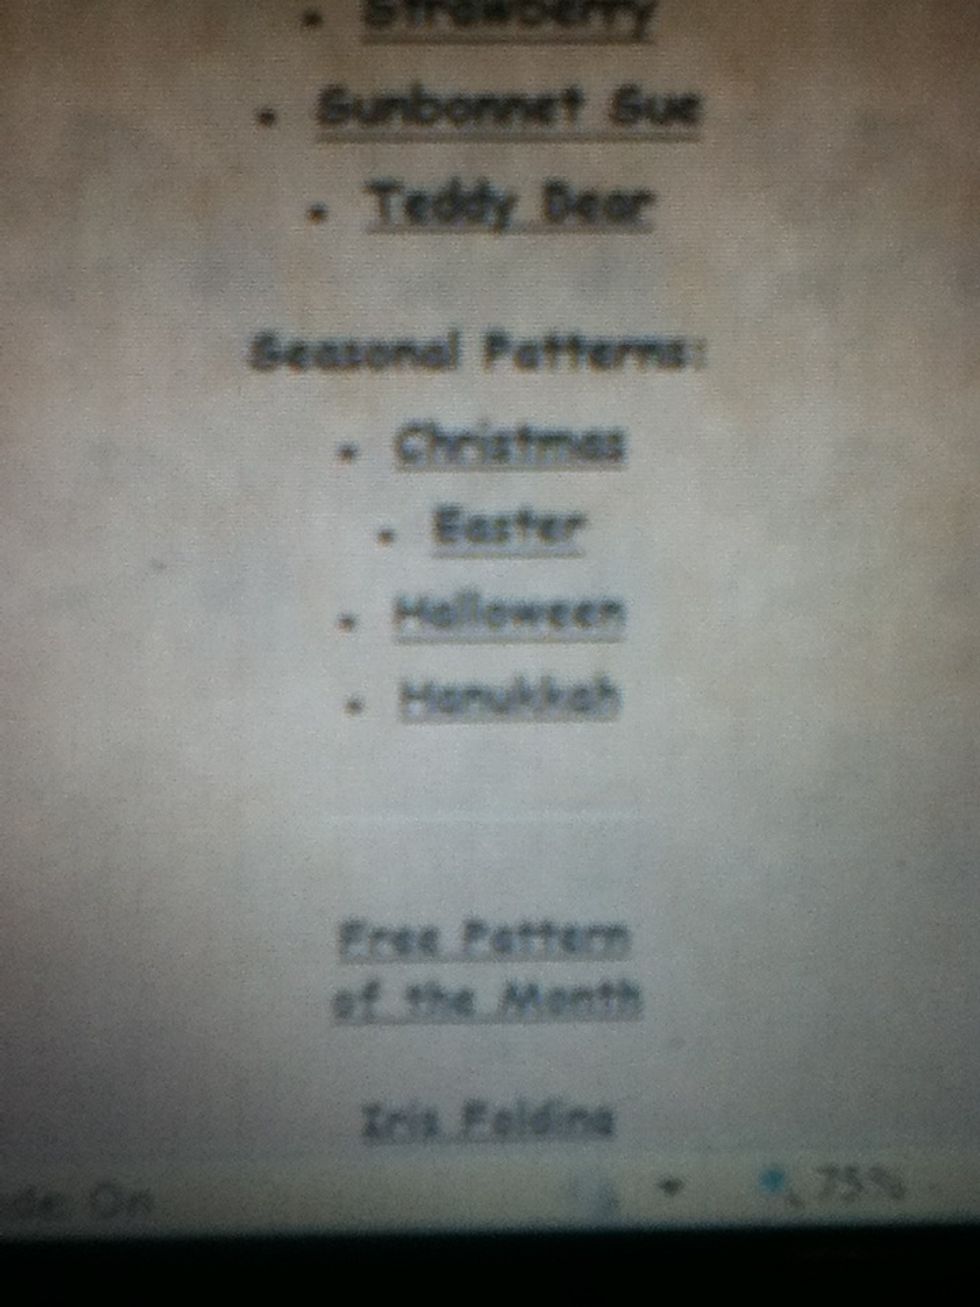
And there is seasonal patterns and free patterns of the month
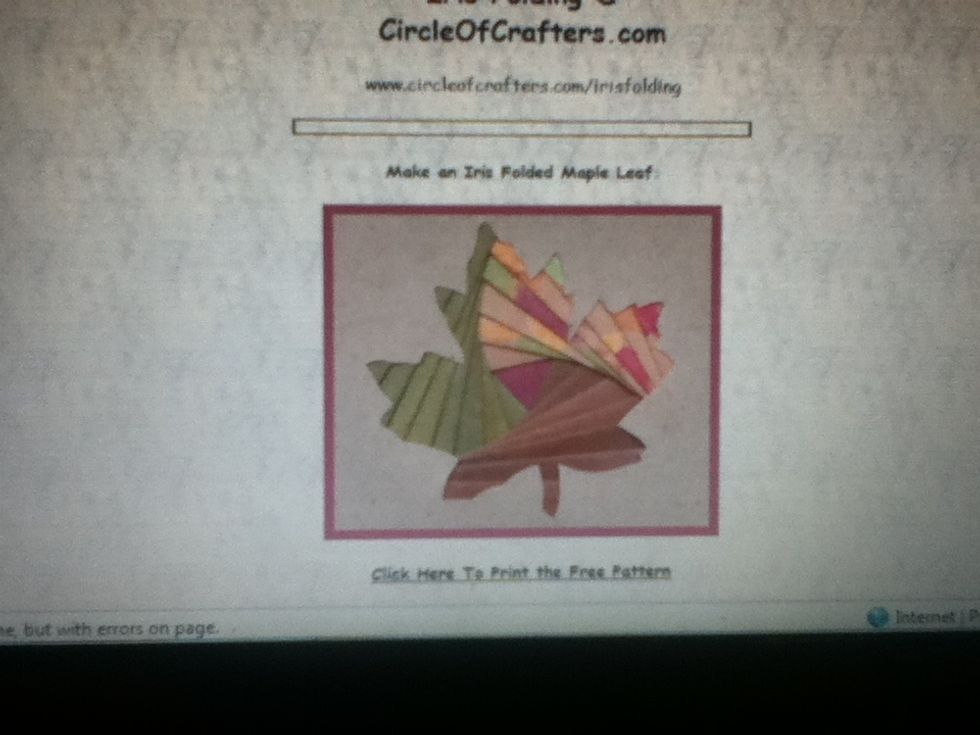
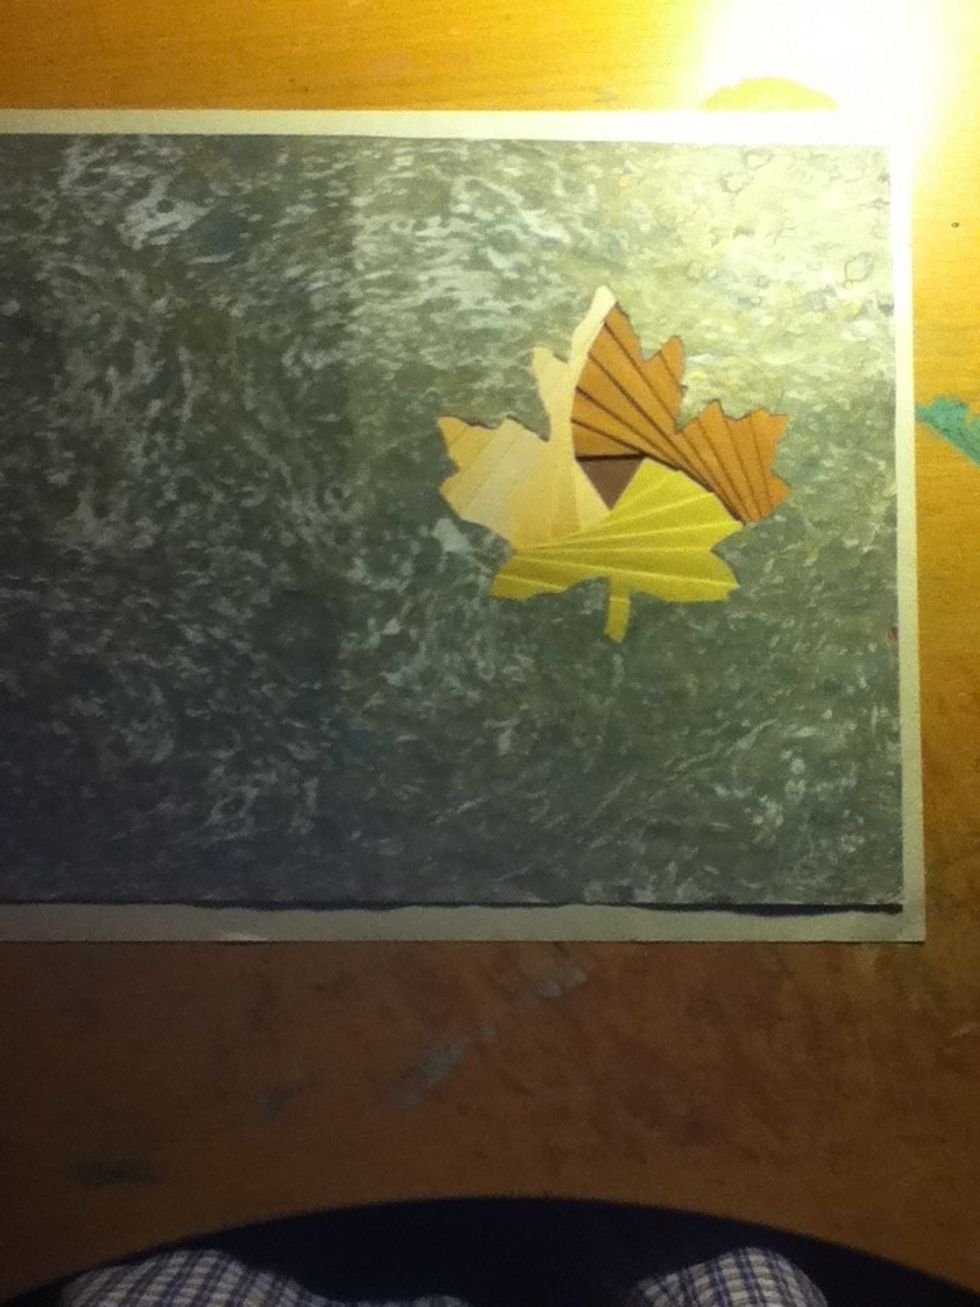
Choose the one that sounds the most interesting, for this guide I chose the maple leaf
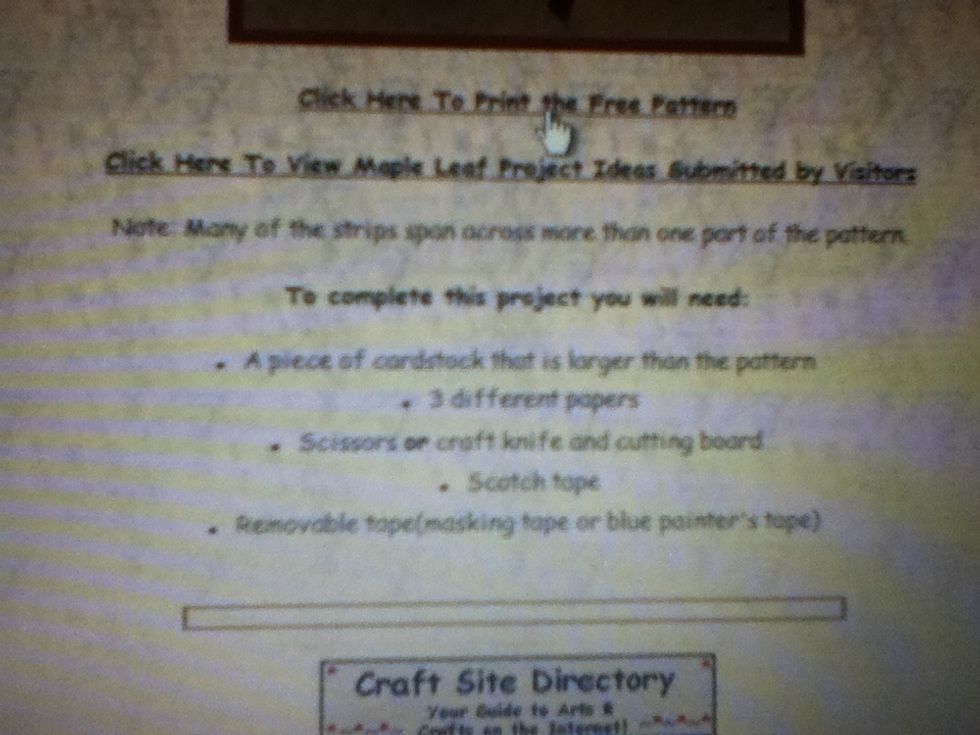
Under the picture it shows supplies and there is a link that says click here to print the free pattern
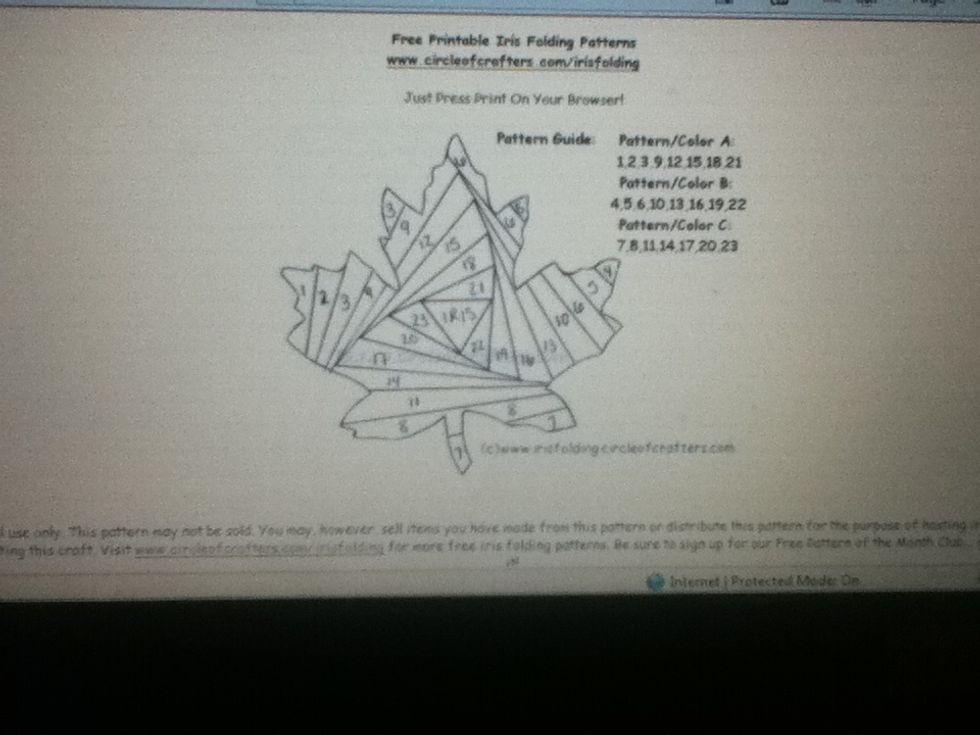
Click on that link and it will take you here.
Press control (ctrl)

And the letter 'P' at the same time
Like this
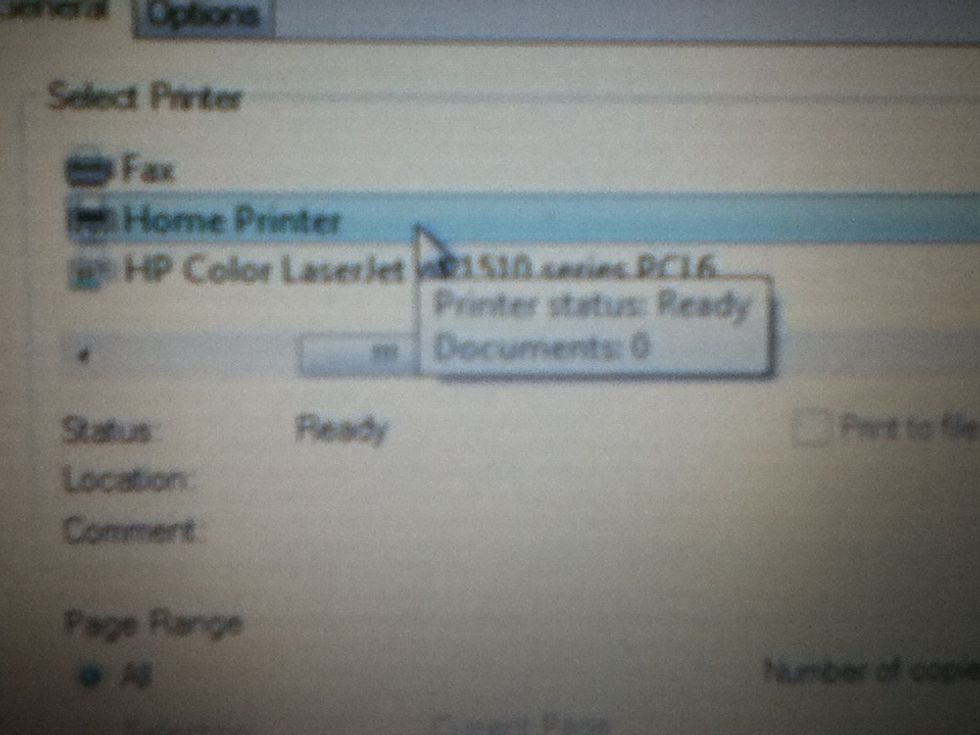
A window will come up and select the printer you wish to print it to
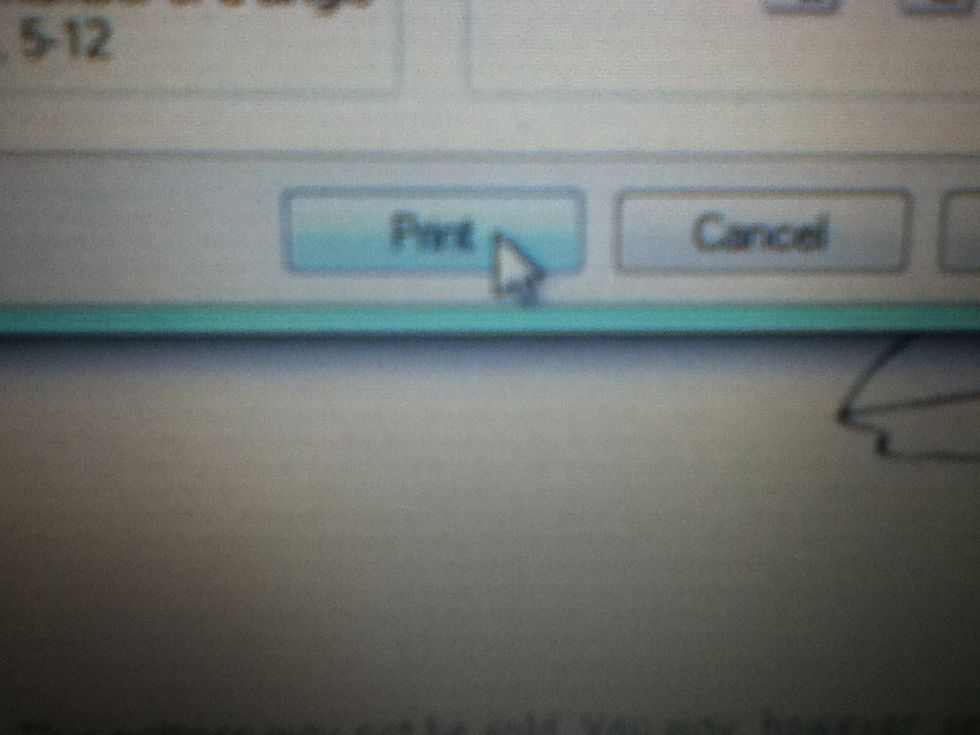
Then click print
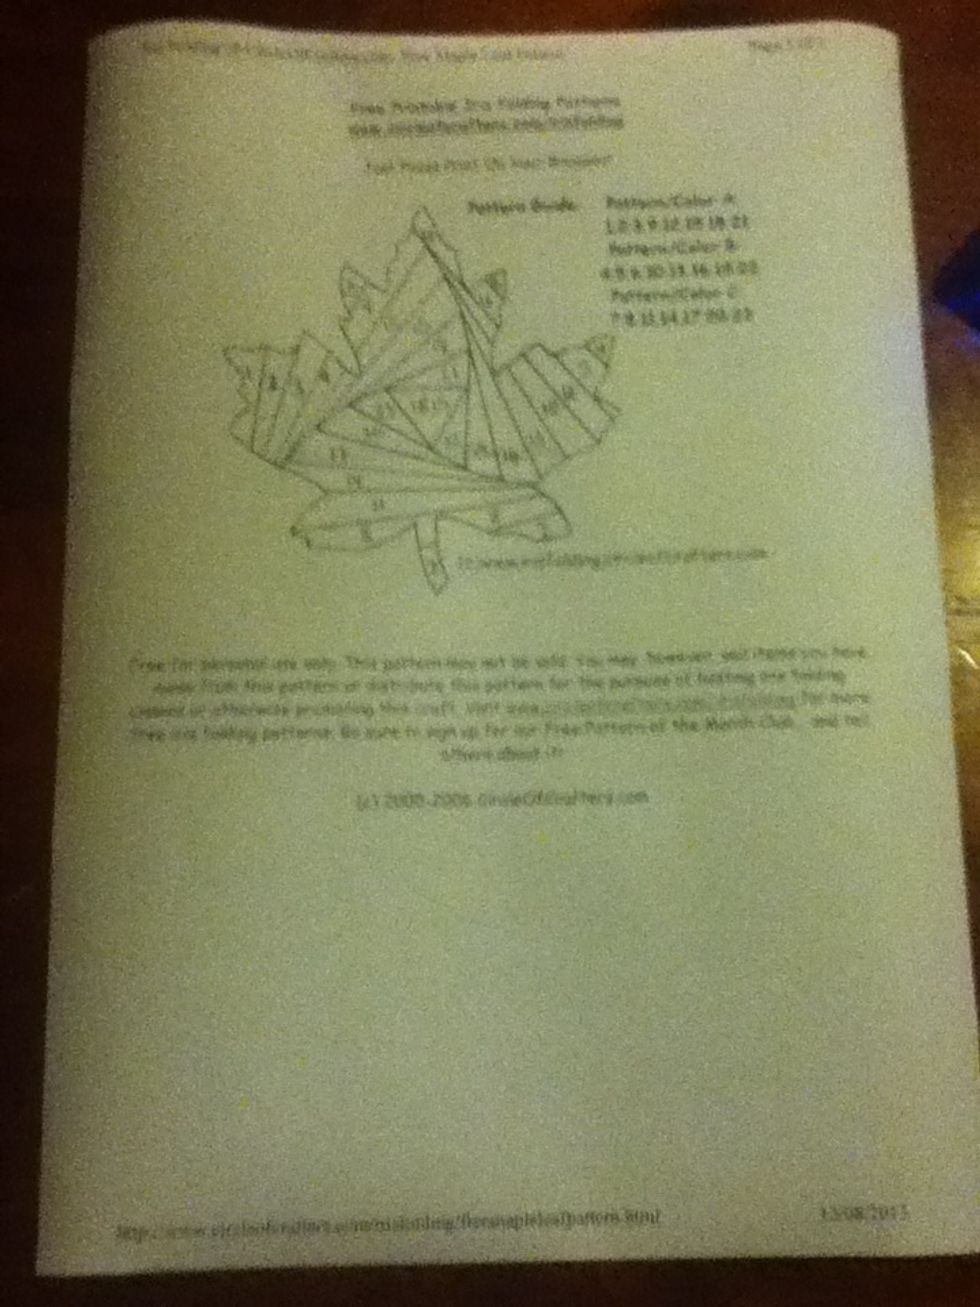
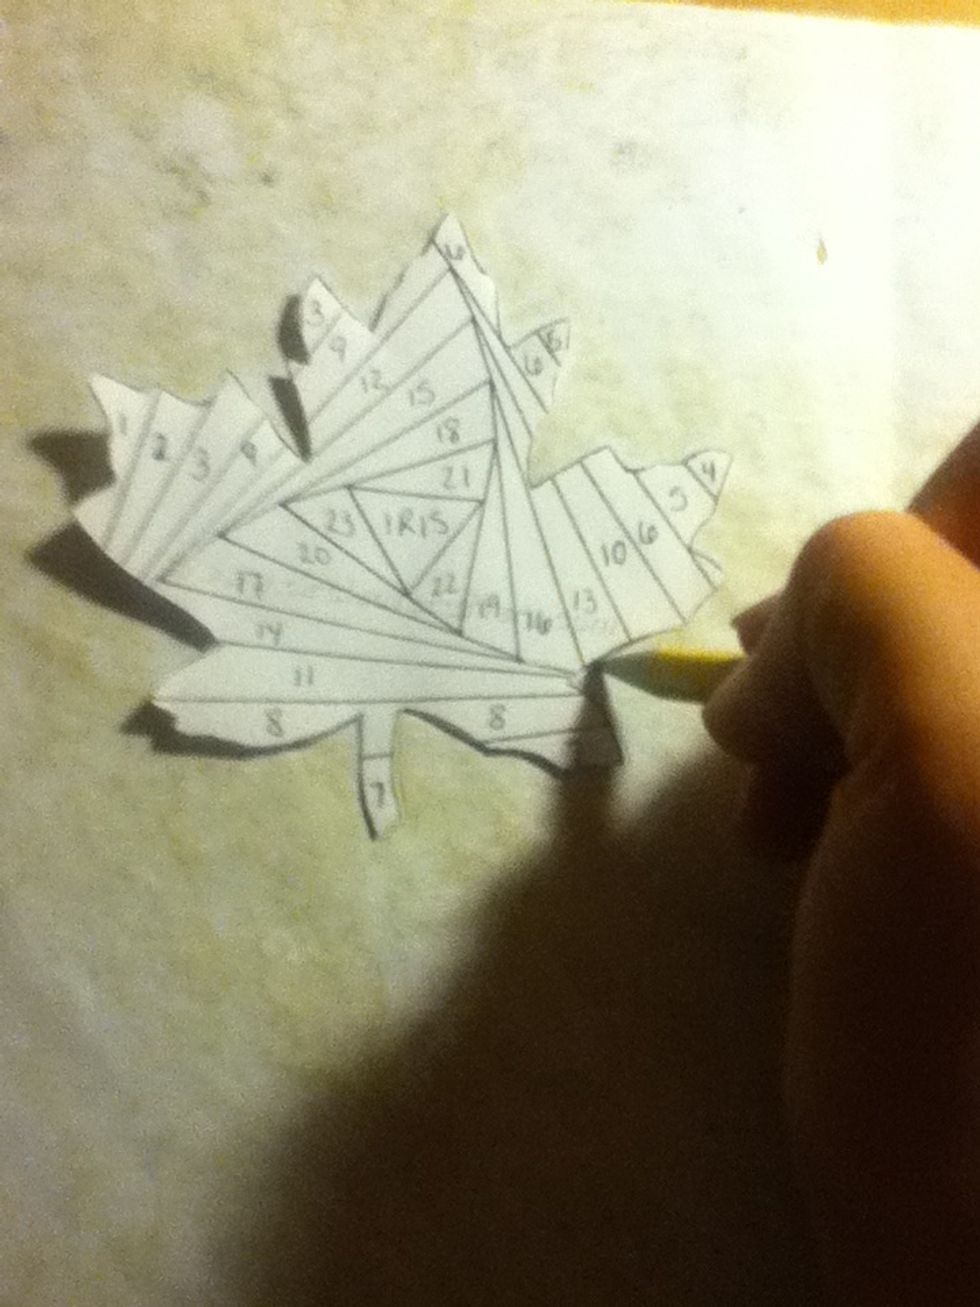
When it comes out of the printer is should look like this
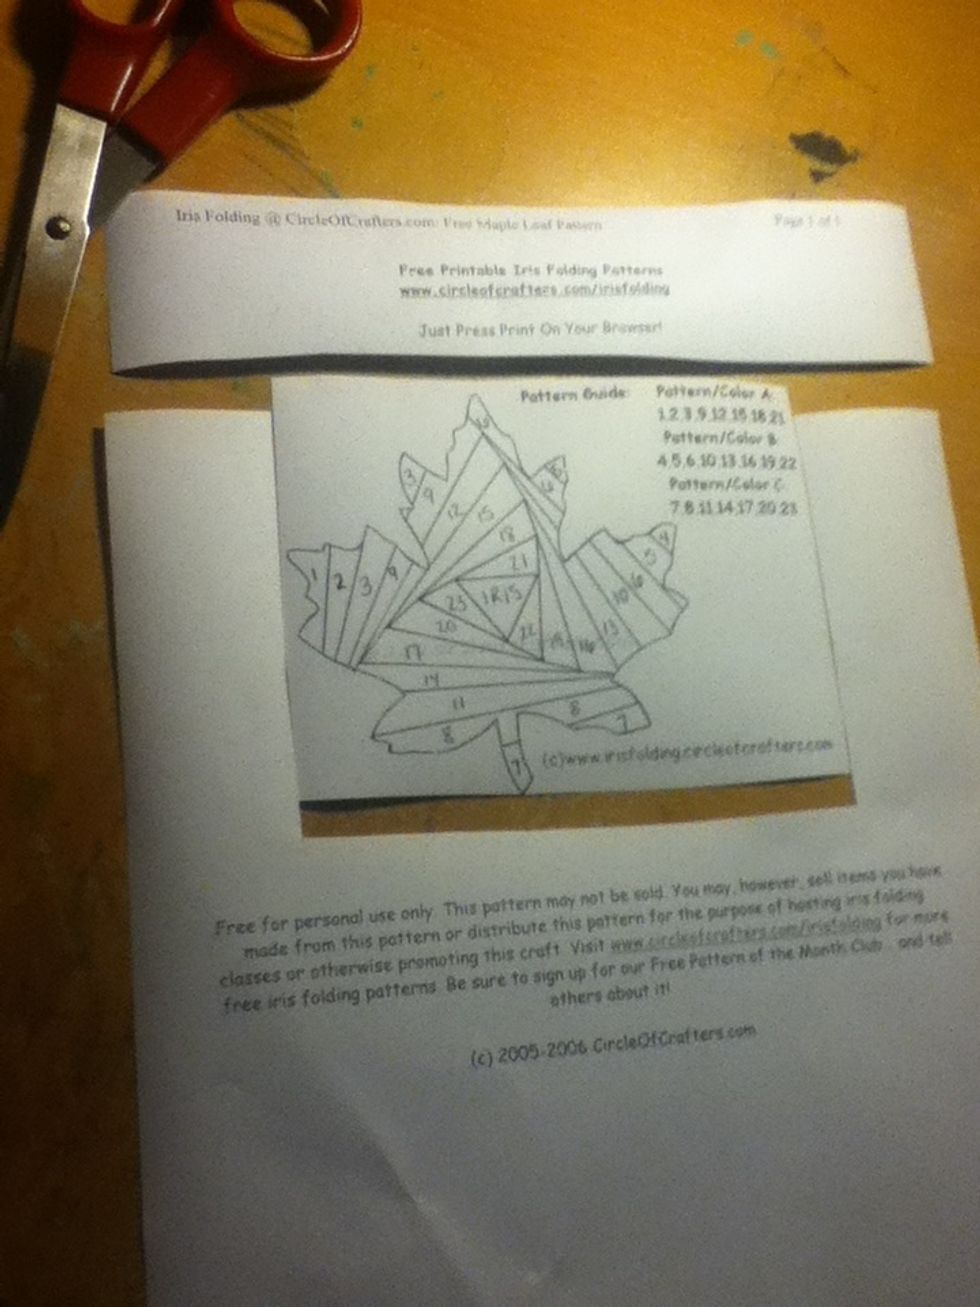
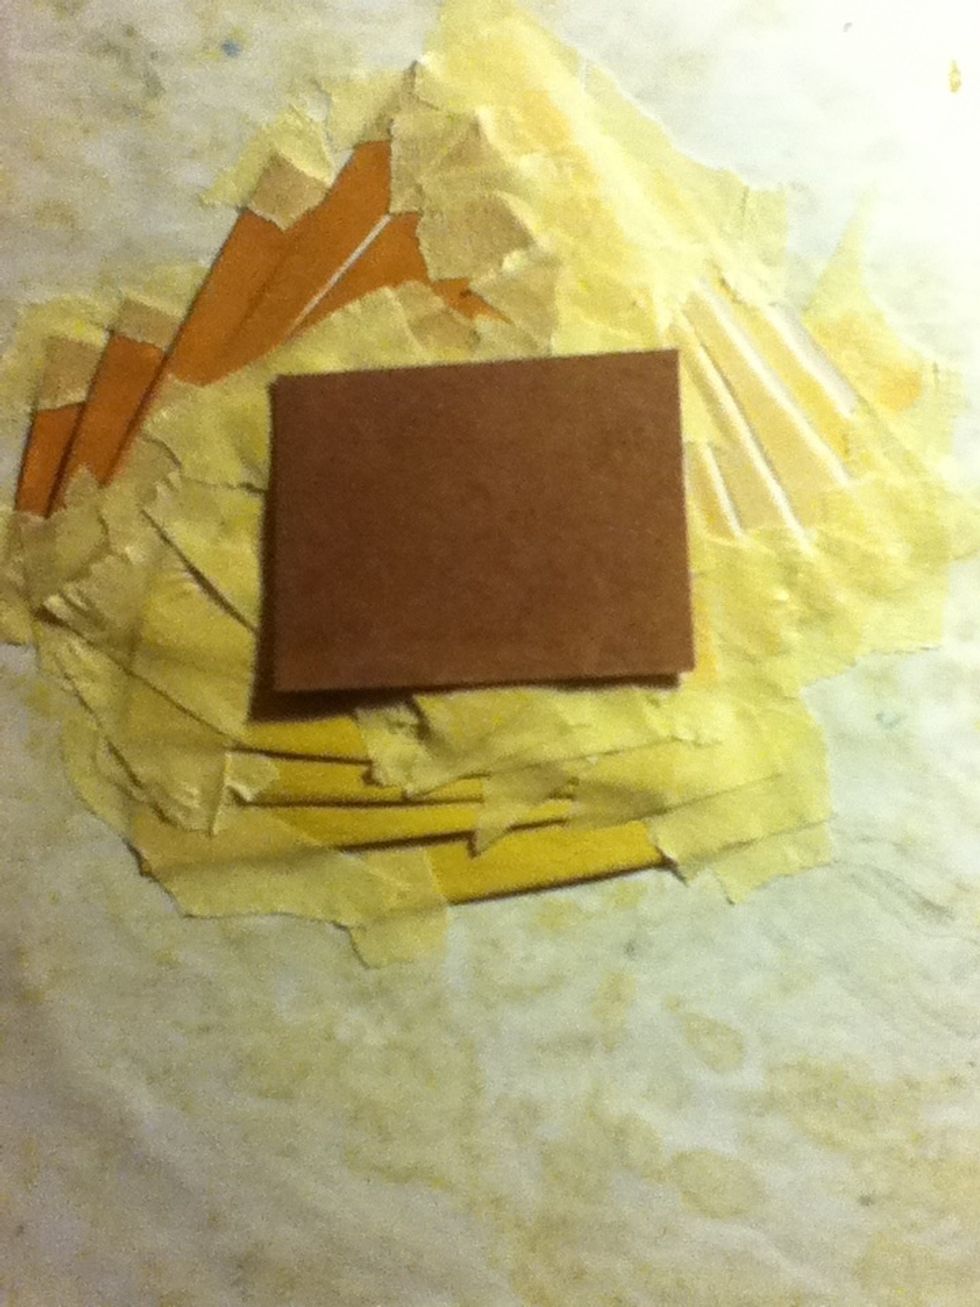
Cut it up
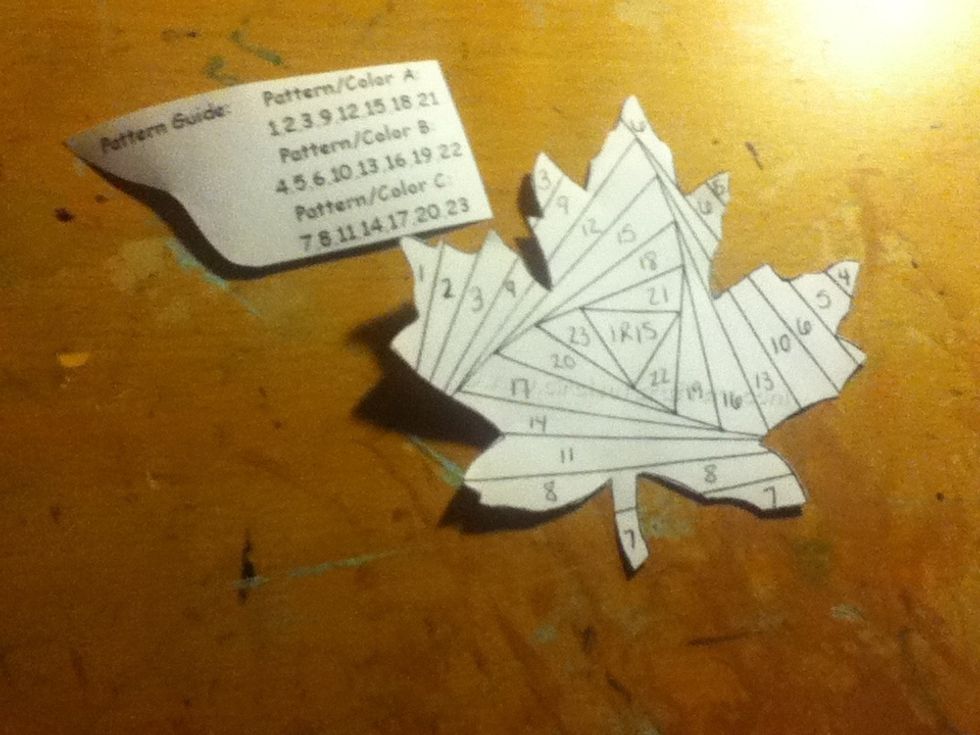
Then cut these to bits out, these are the only things you're going to need

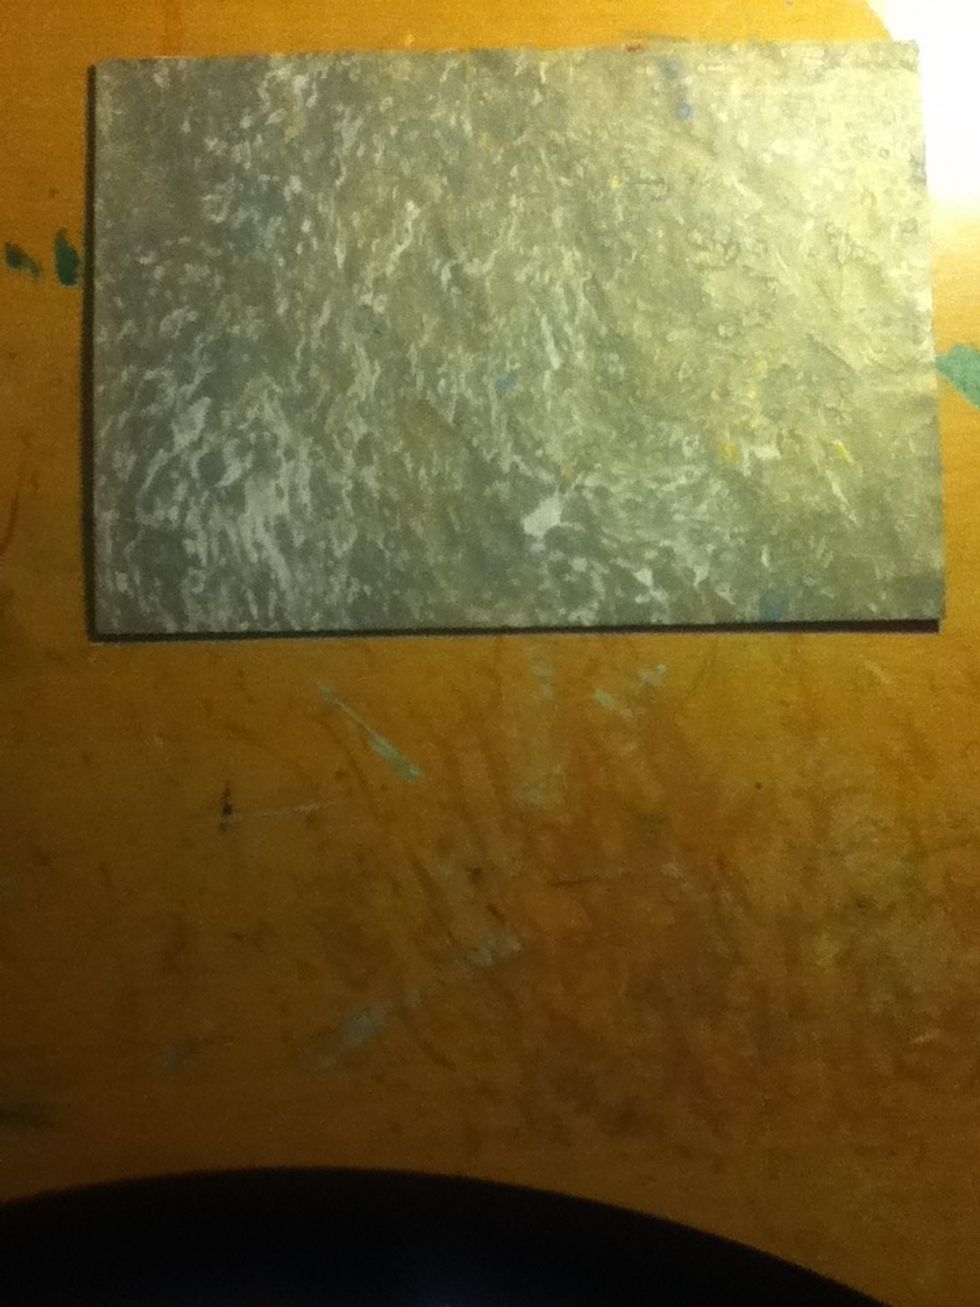
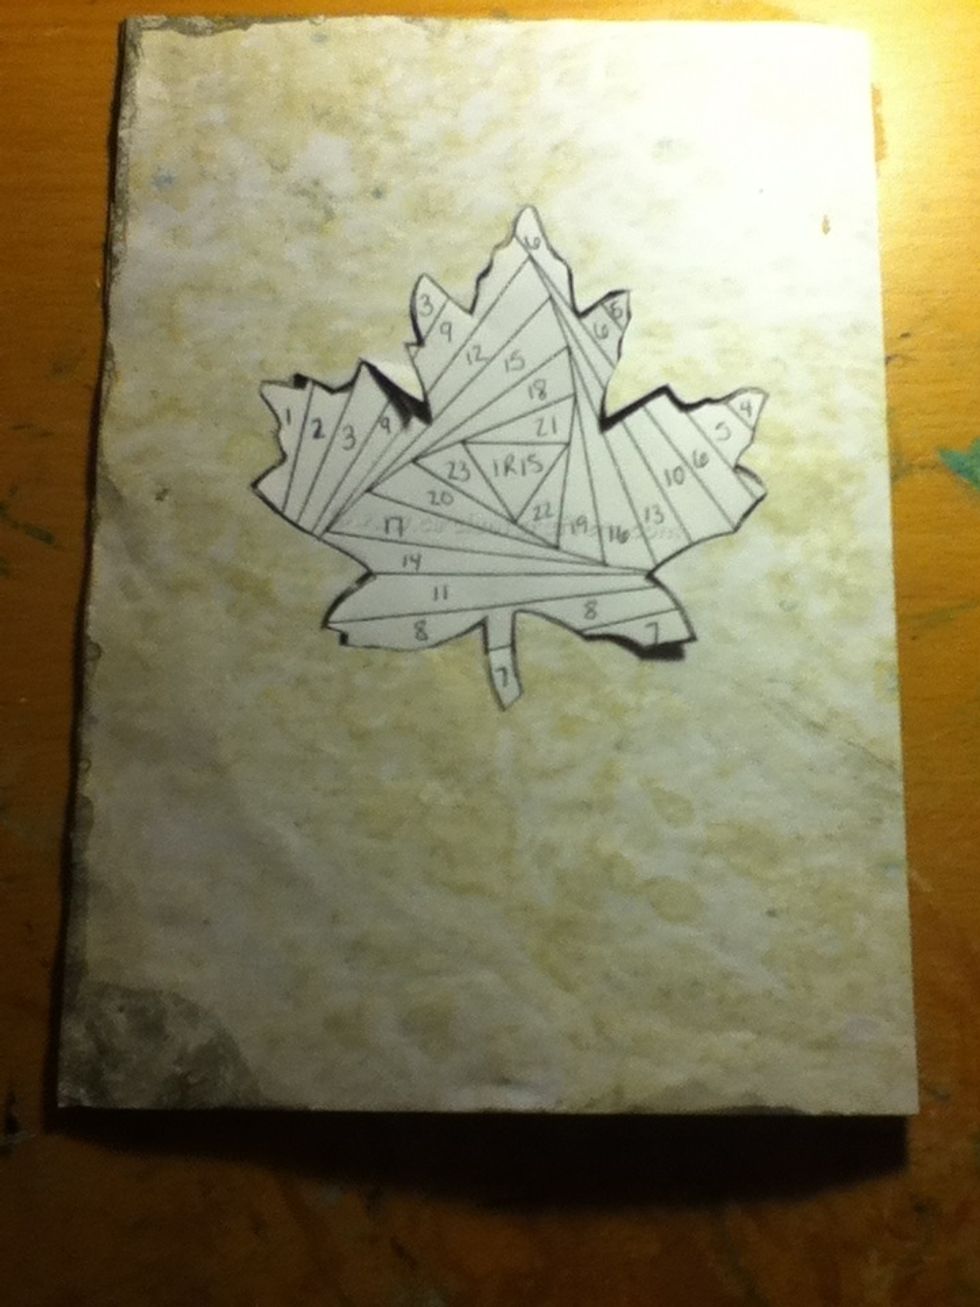
Take you patterned paper, mine is homemade marbled paper, you can choose what ever colour you like

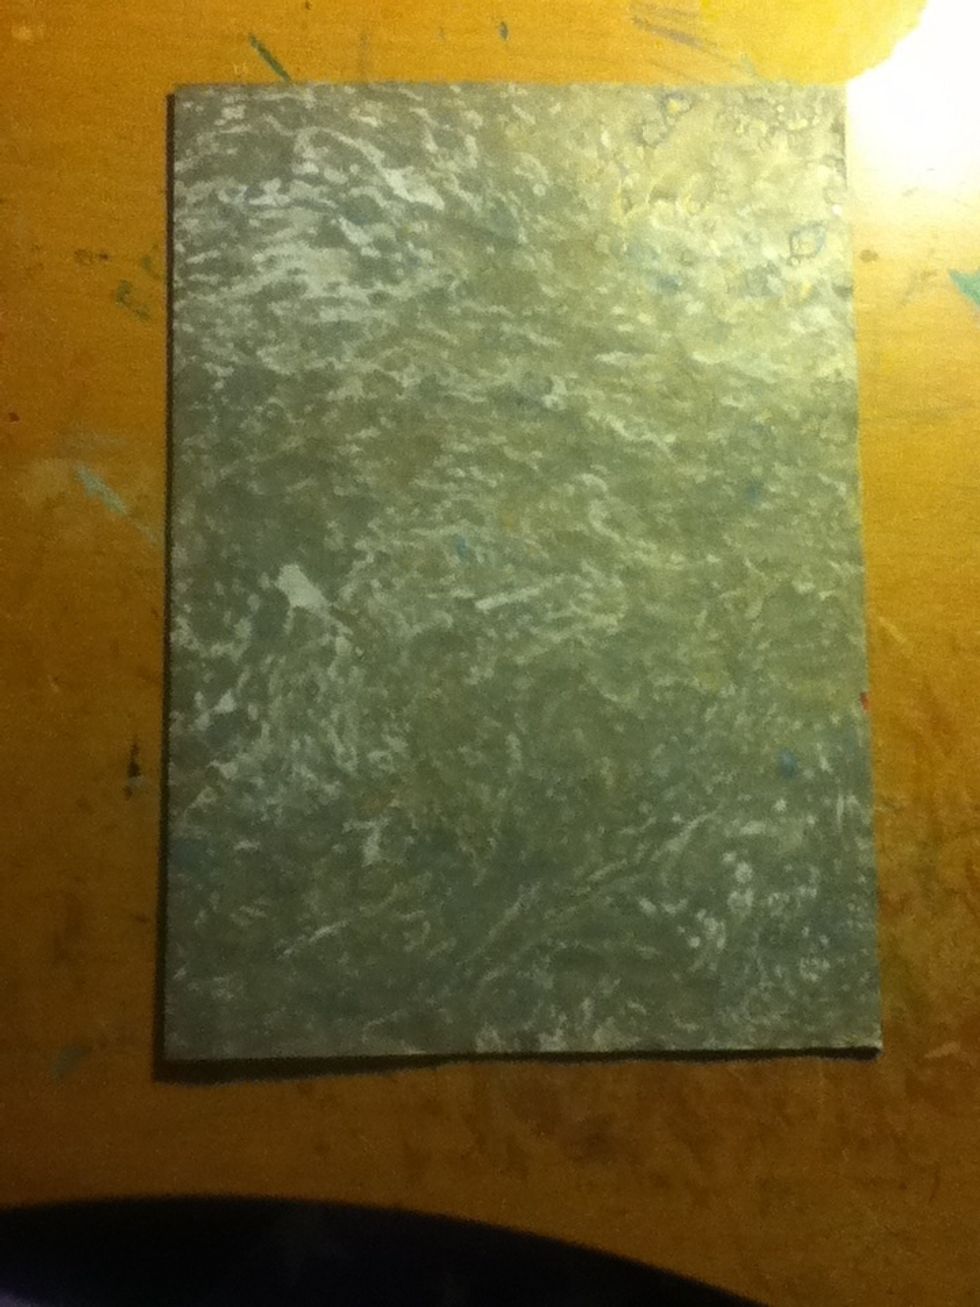
Turn you paper over to the white side or the 'back'
Fold the short edge to the other short edge and crease nicely
Unfold
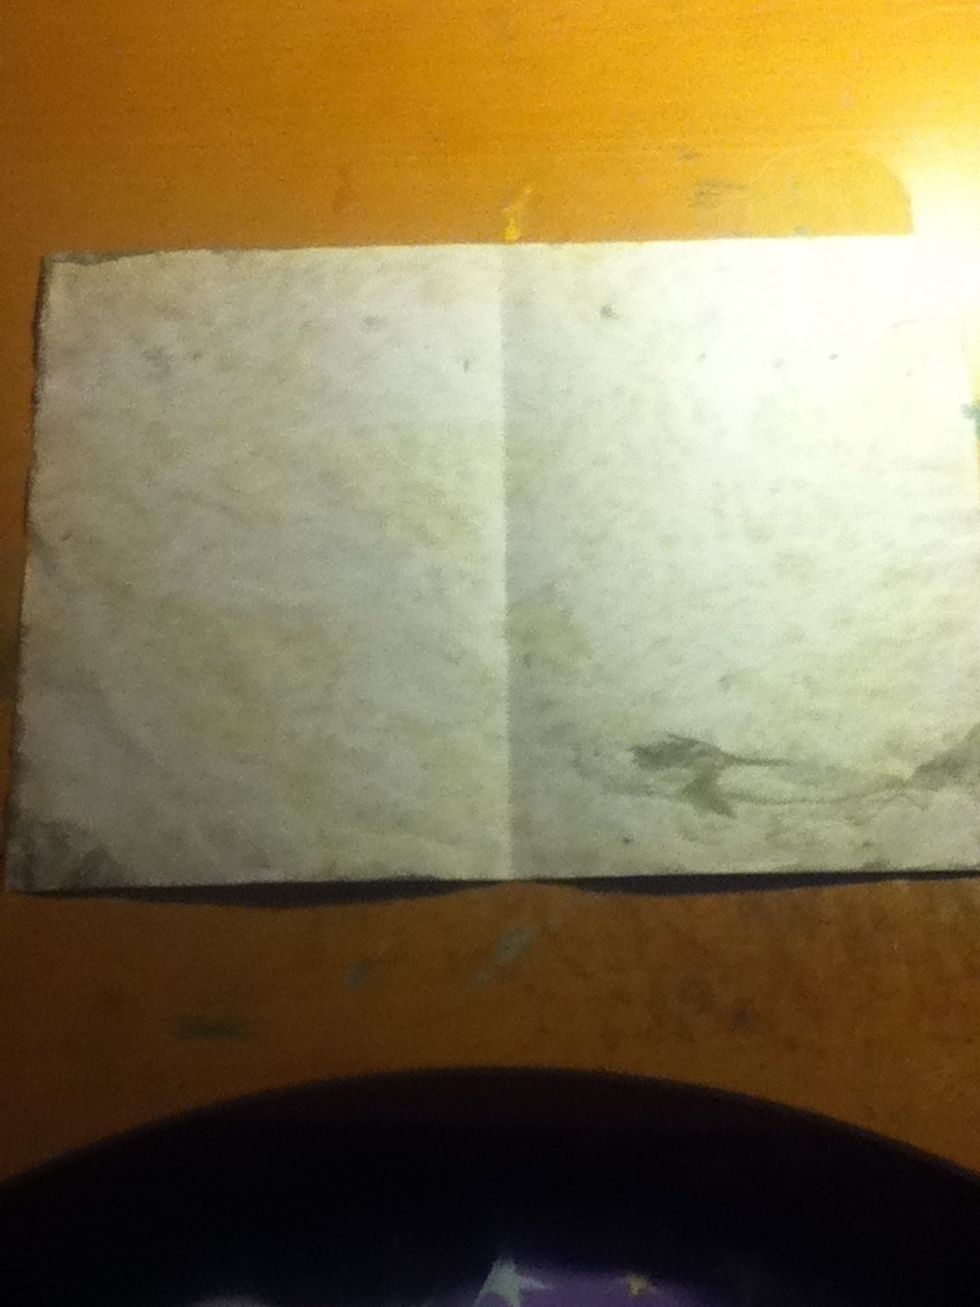
Turn landscape and turn over
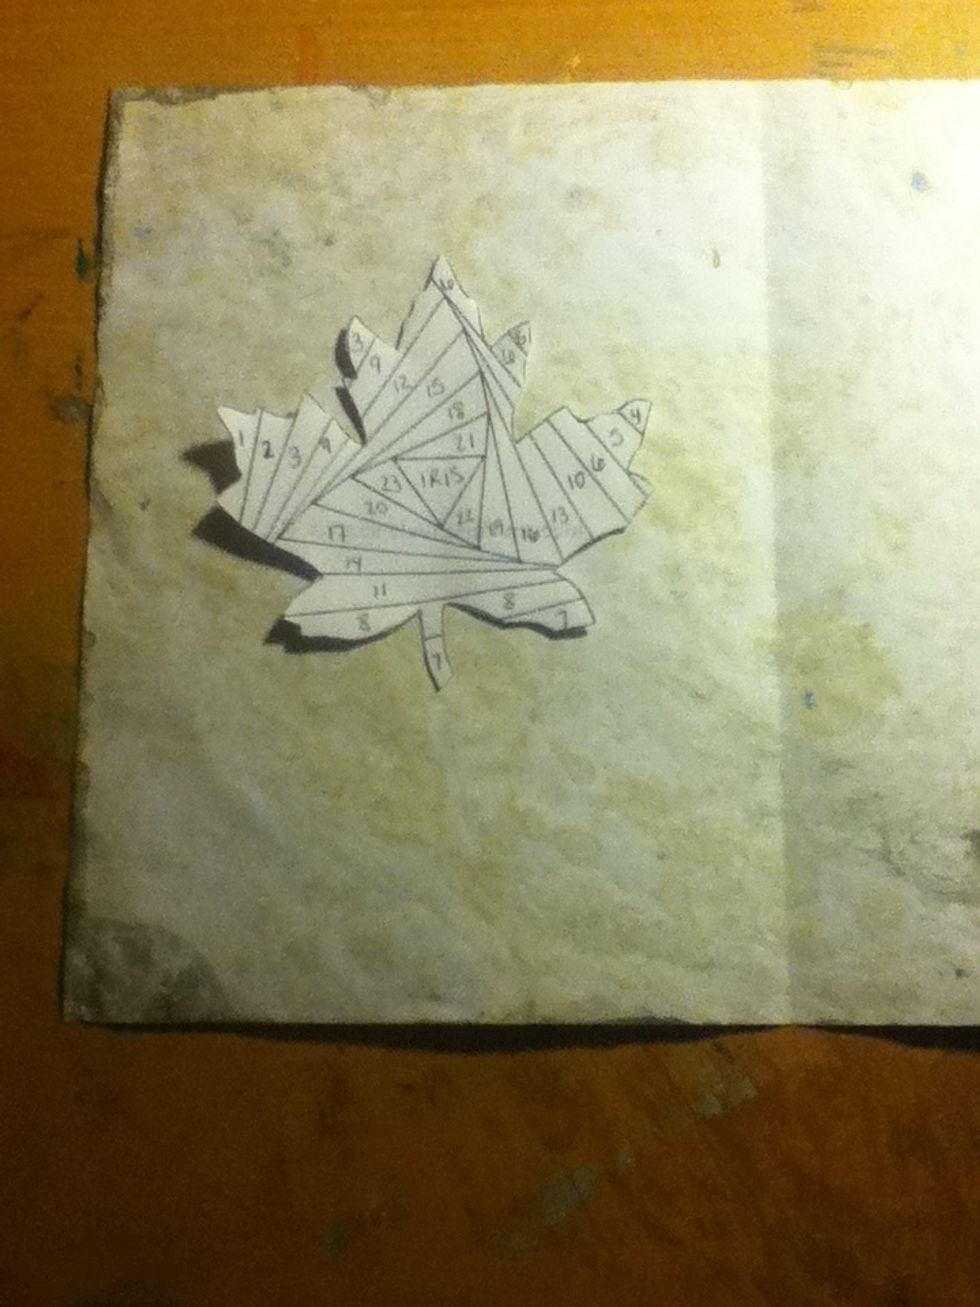
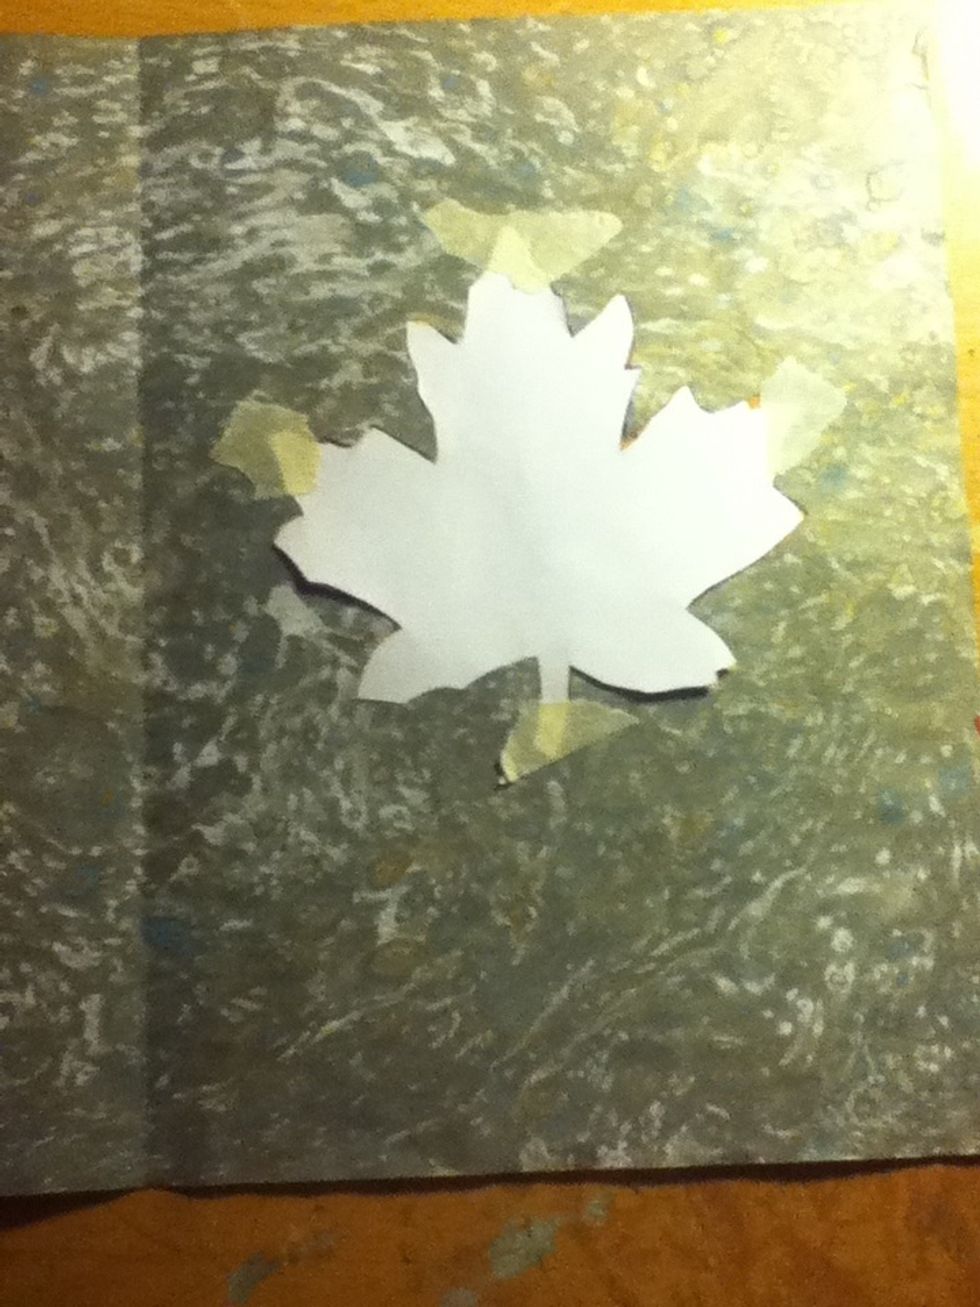
Lay your pattern where you want it to be. In my opinion I find it best if you put it in the centre
Now trace around the outline
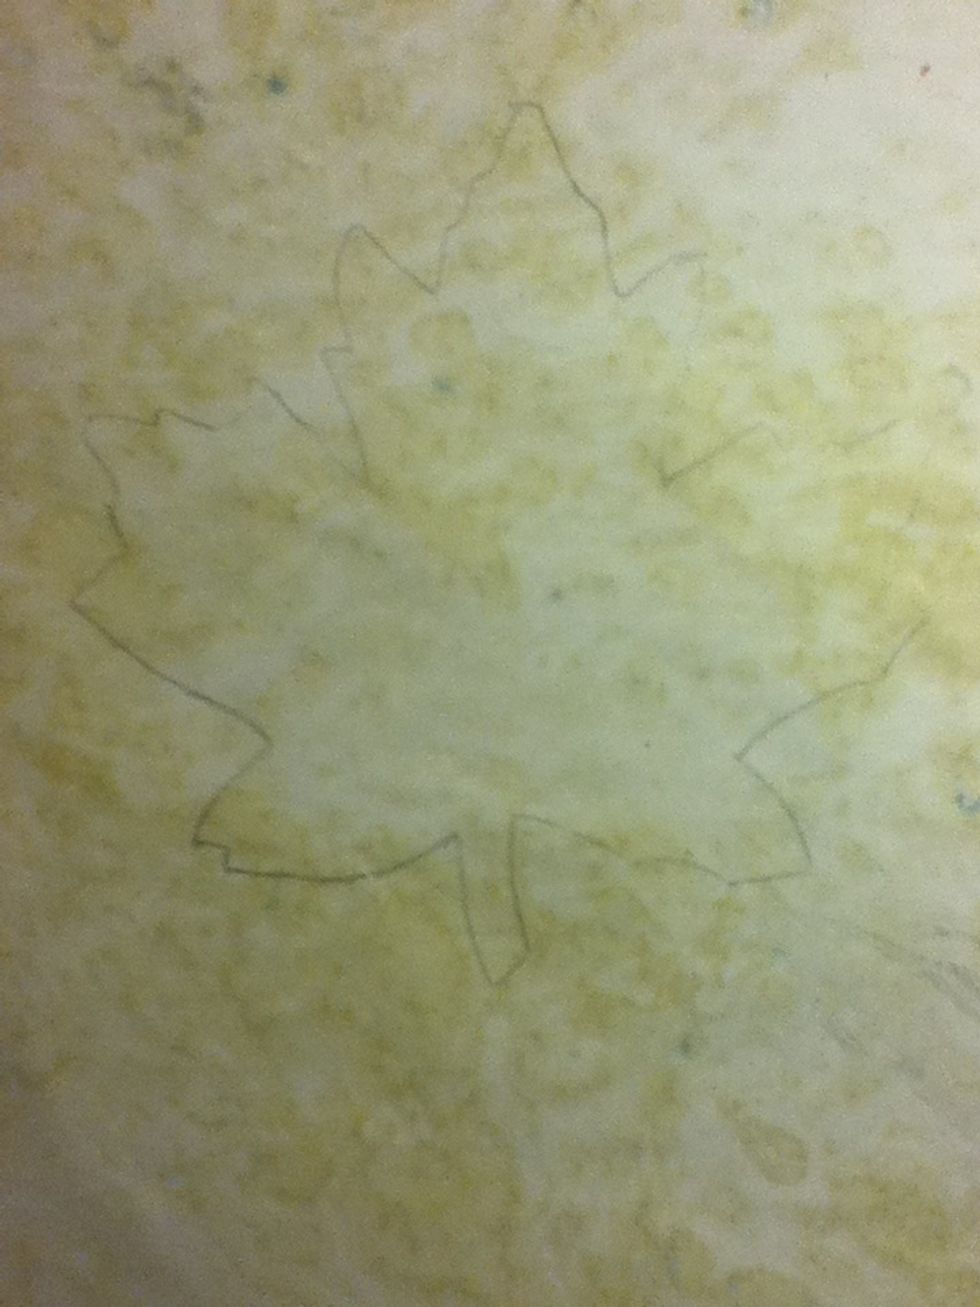
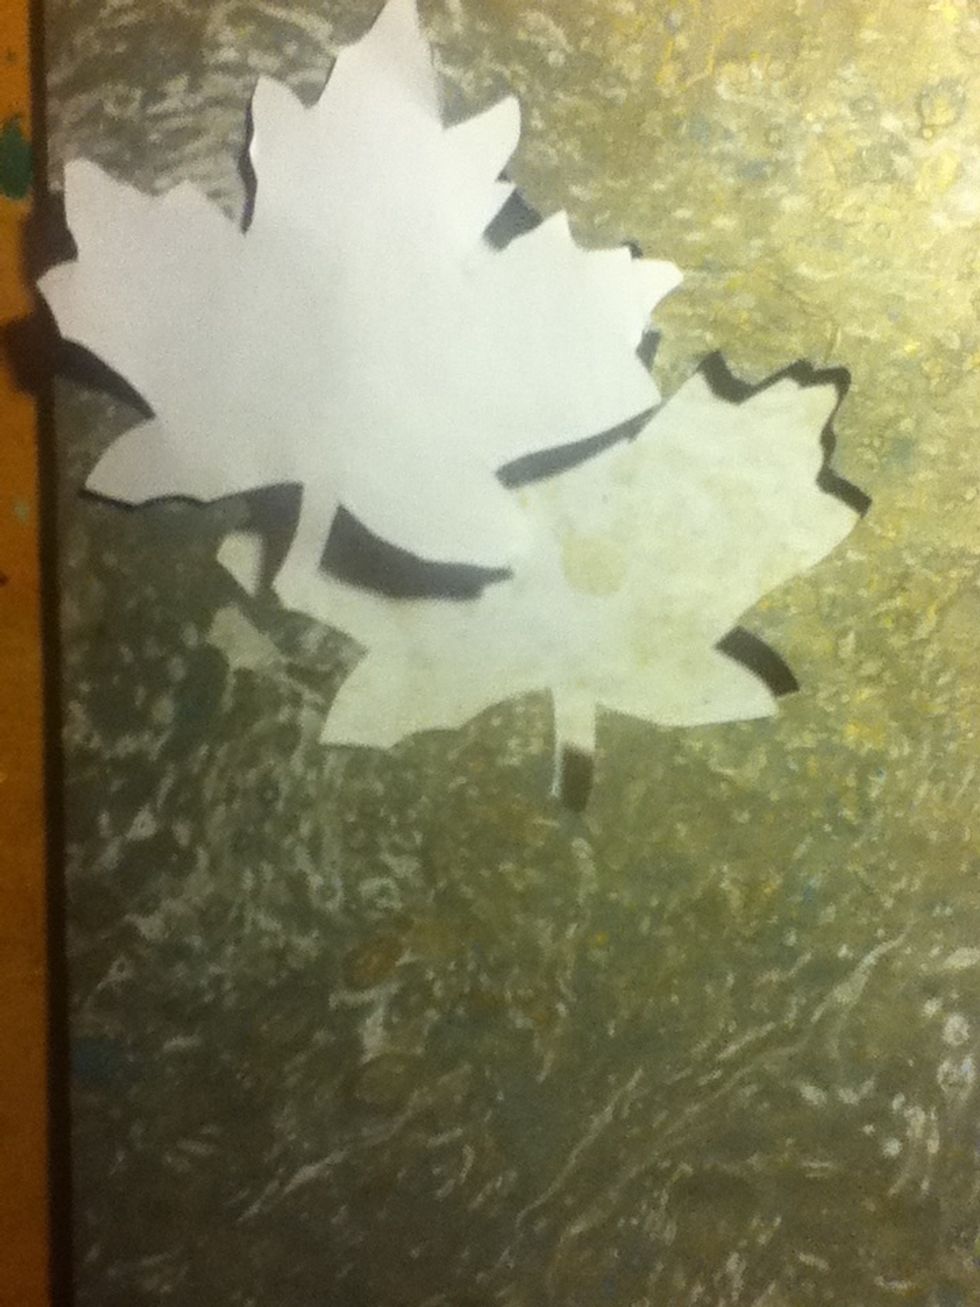
You should get something like that
Cut it out all the way around
Fold back over
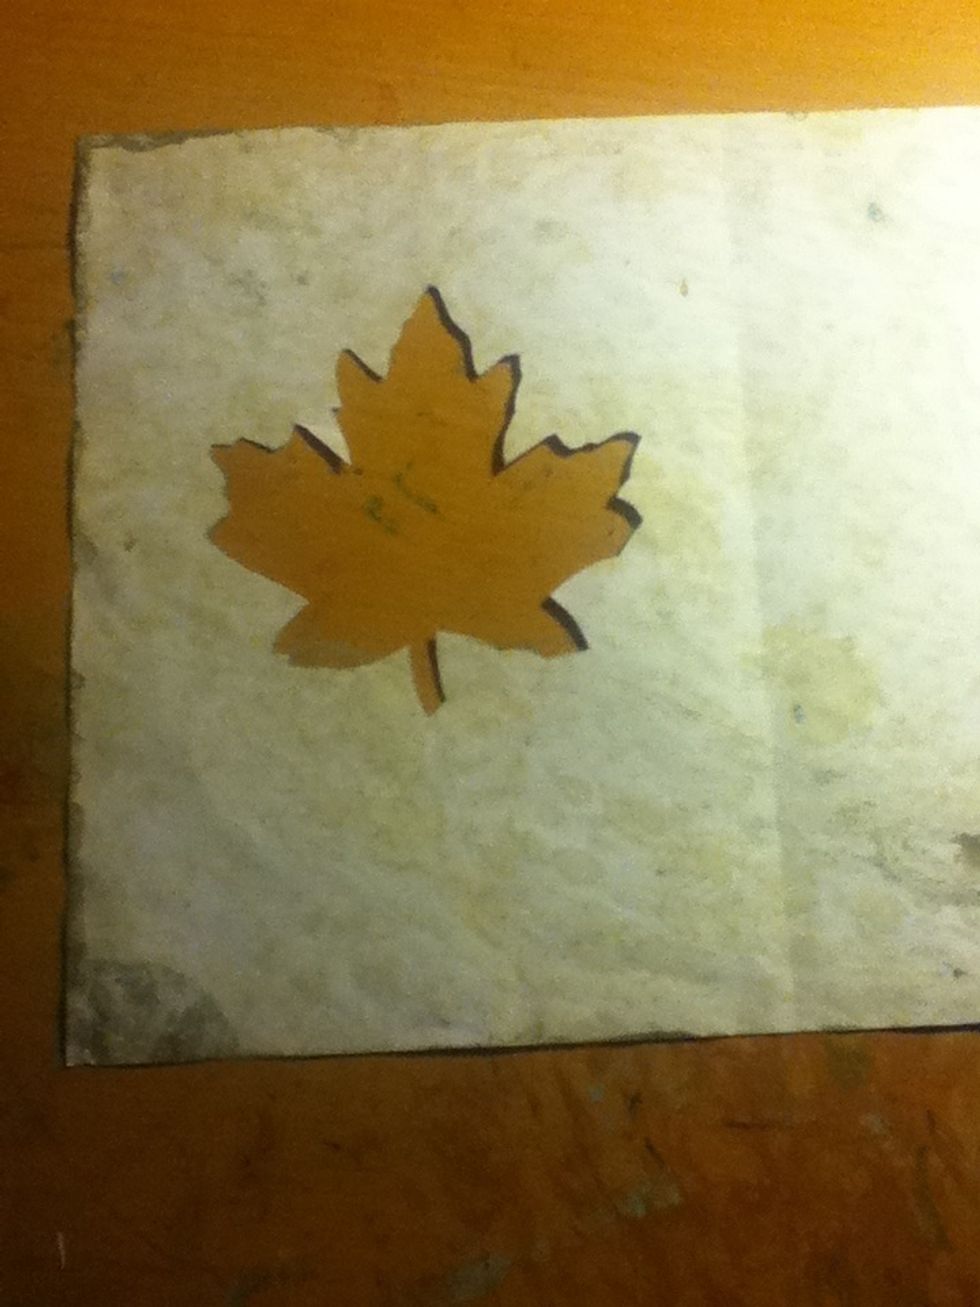
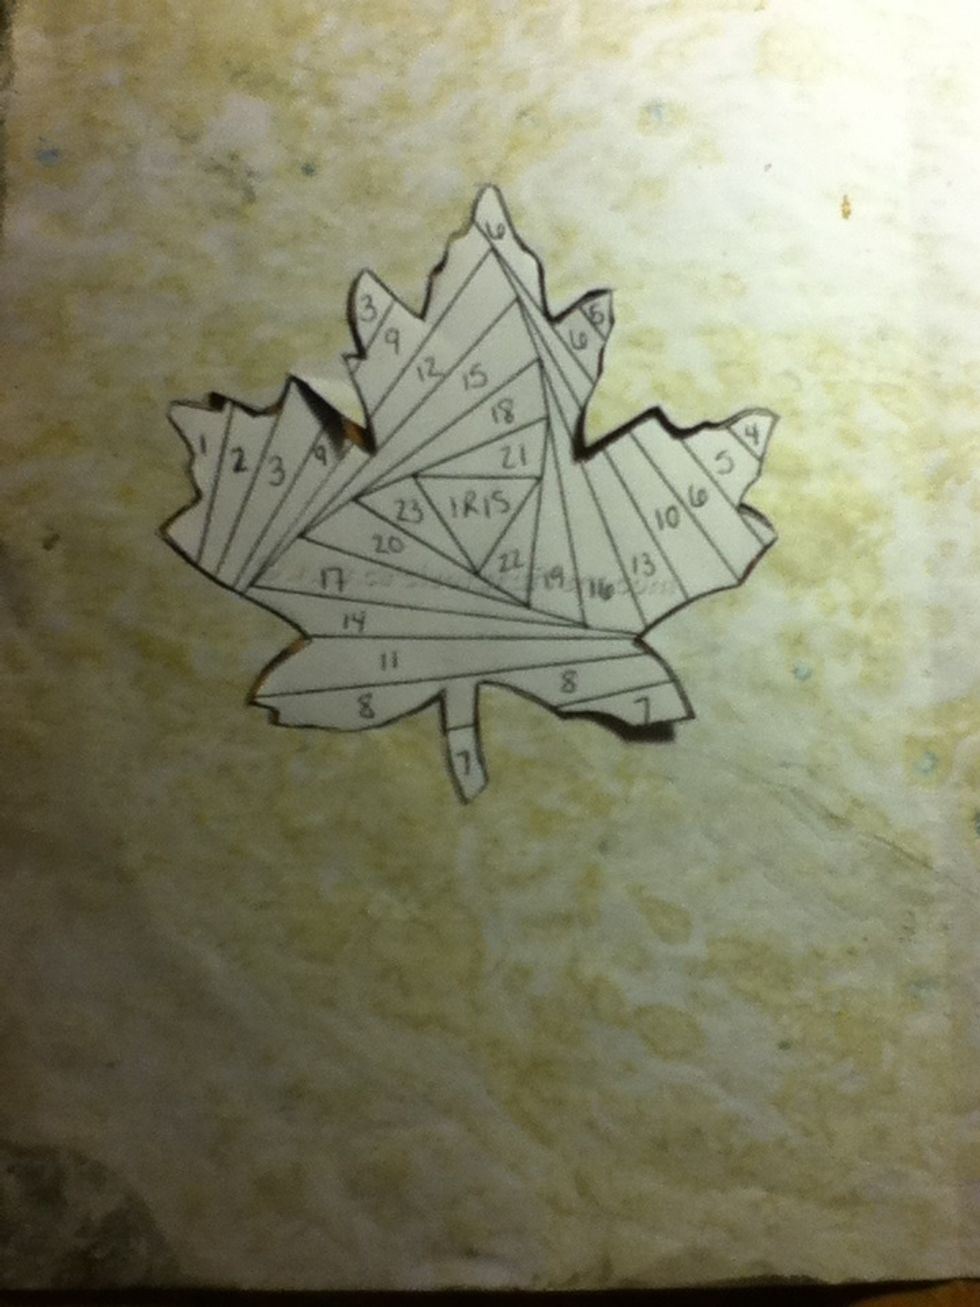
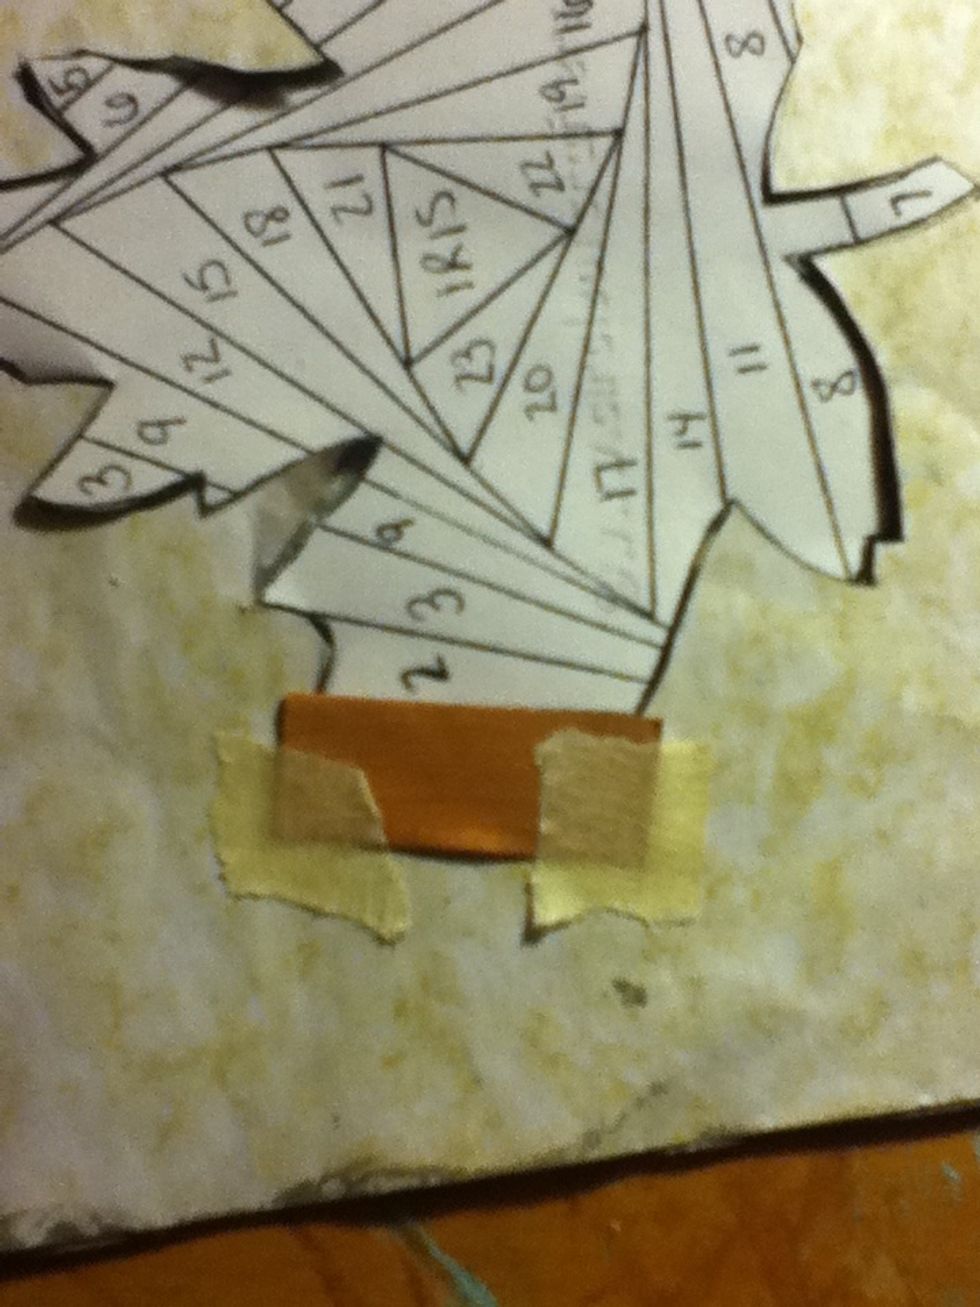
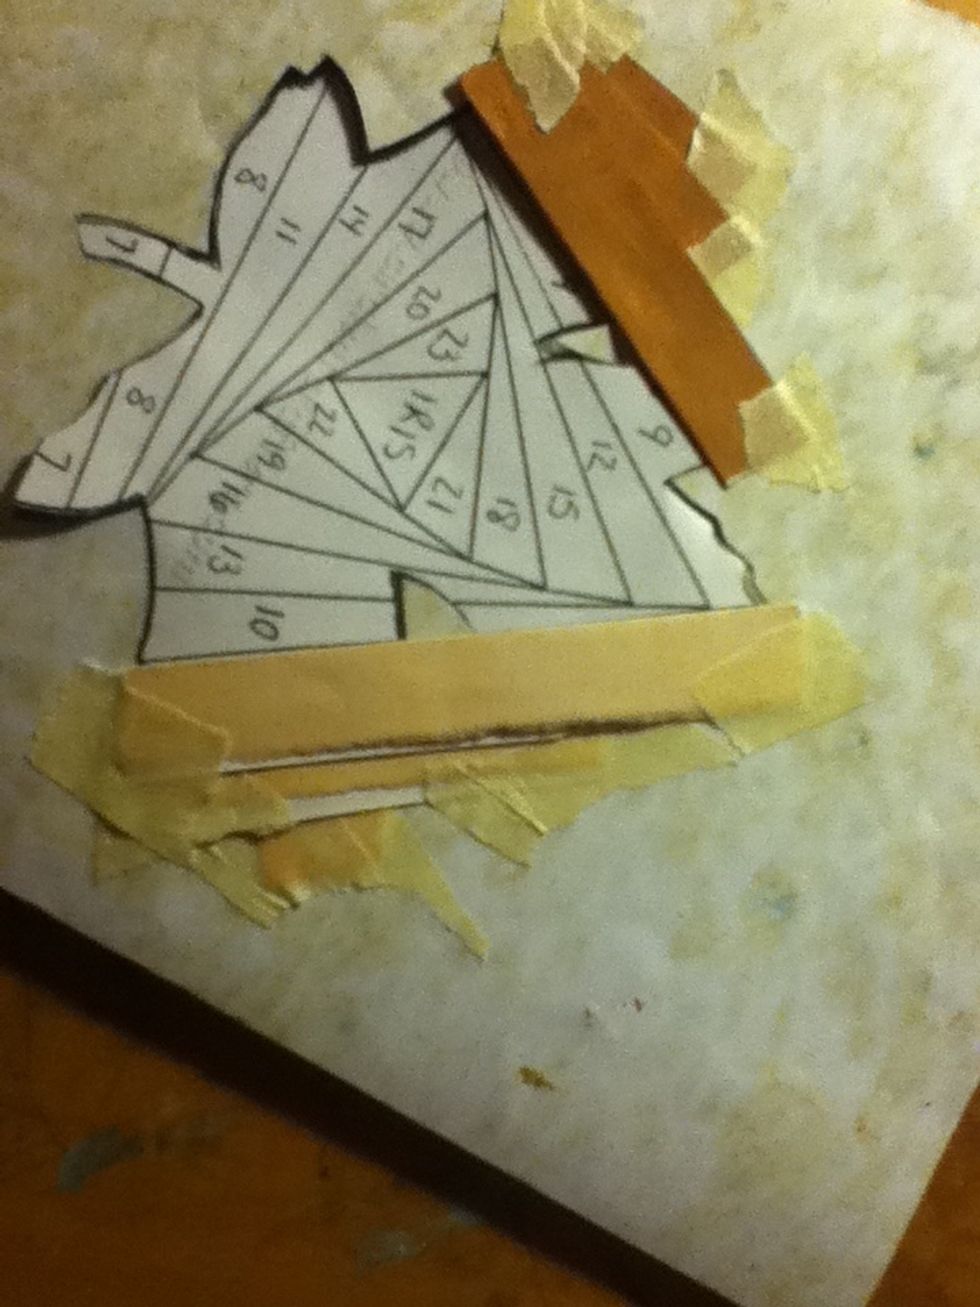
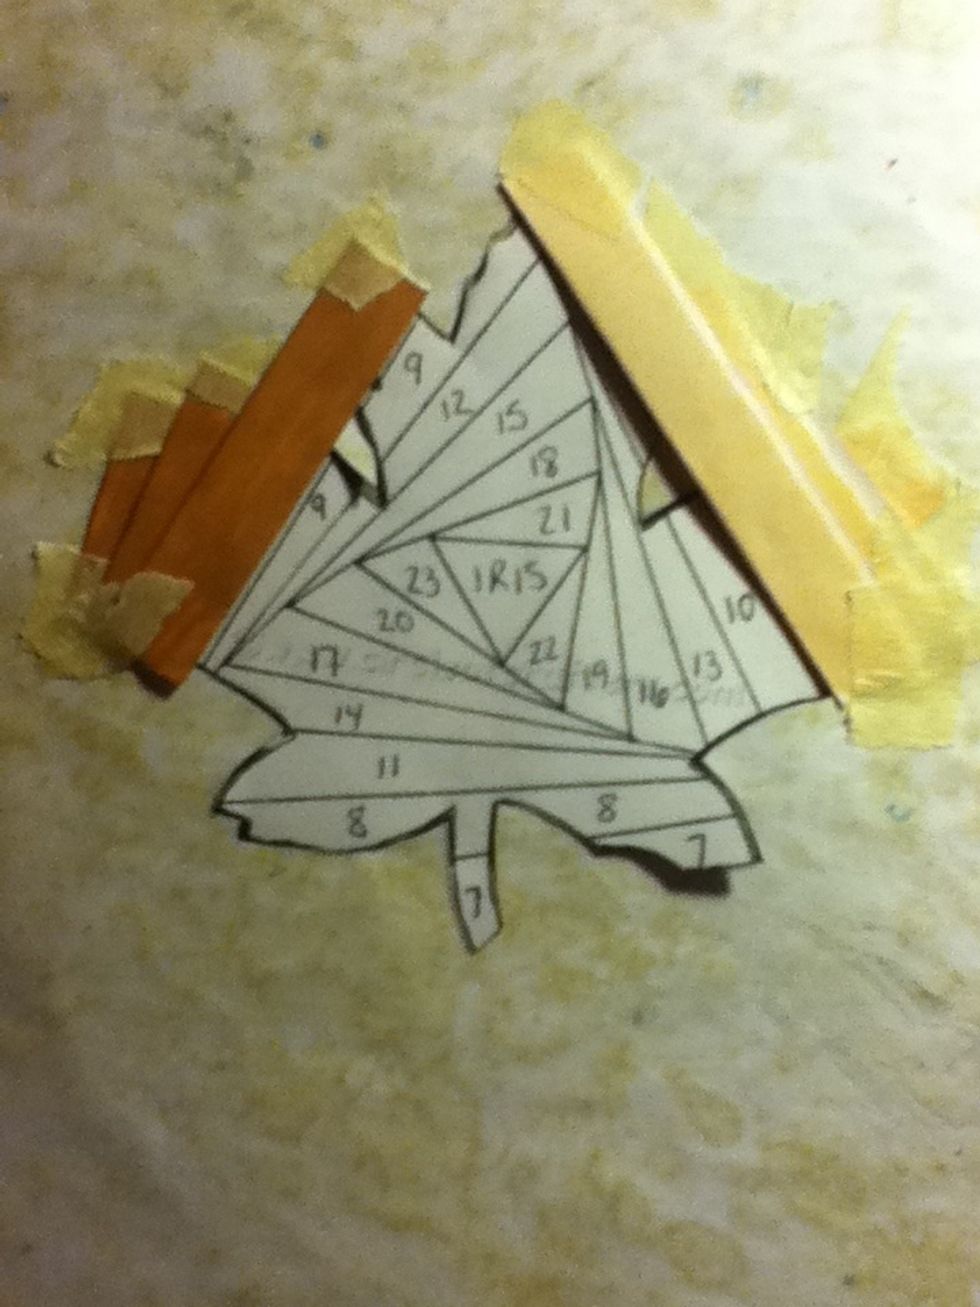
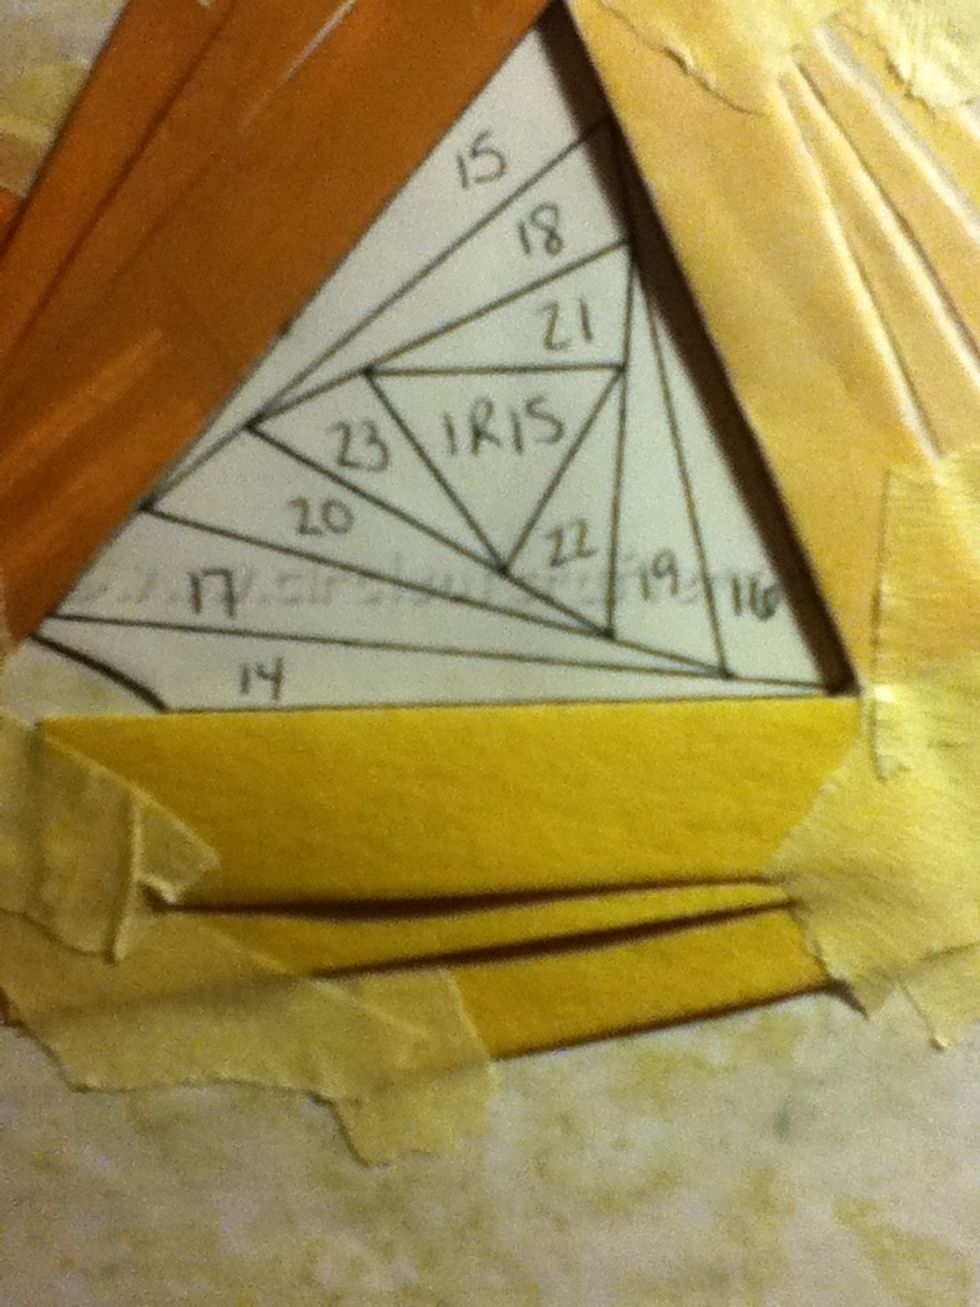
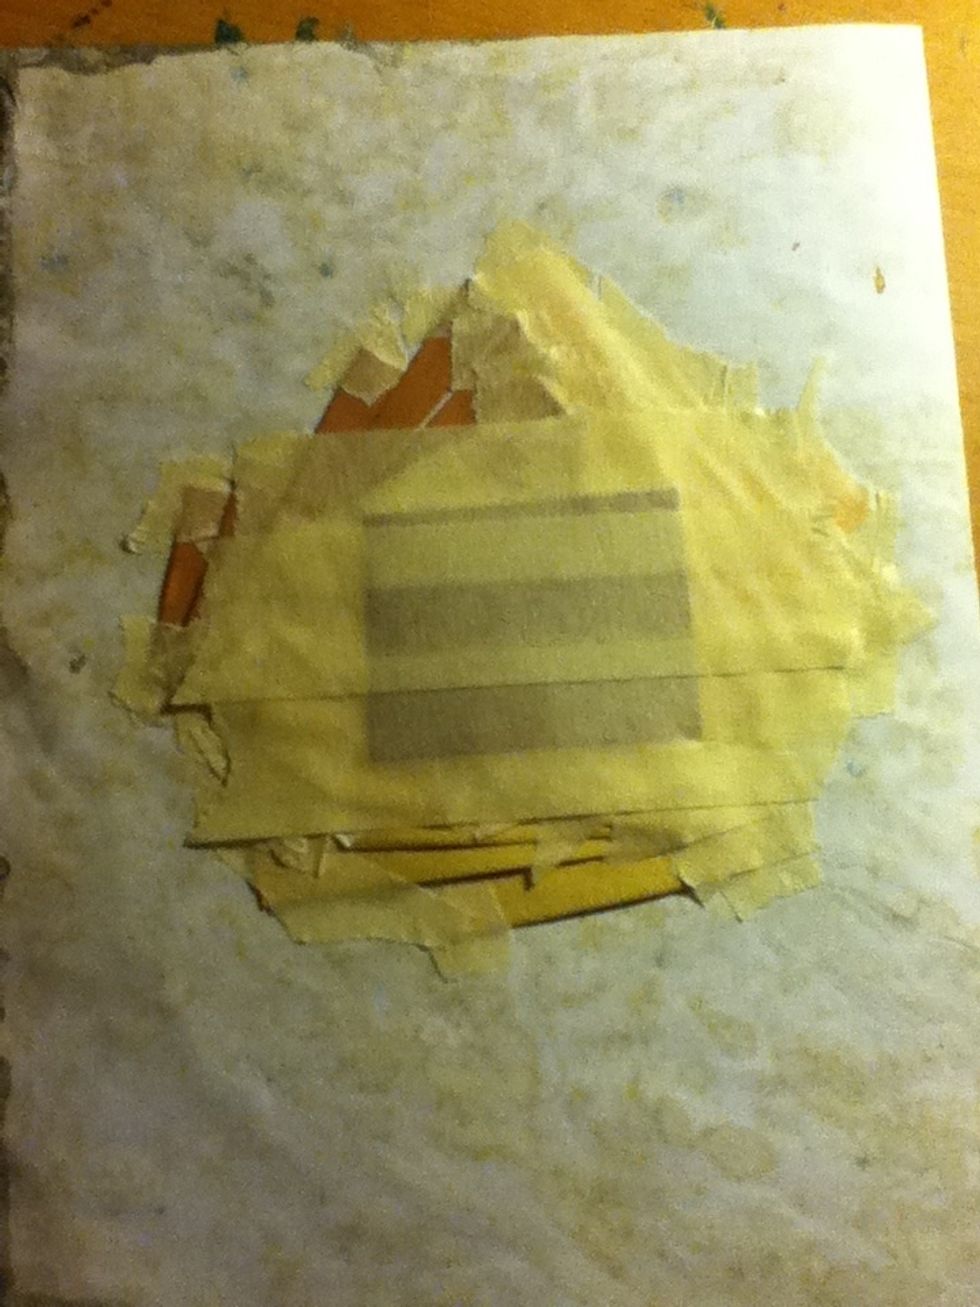
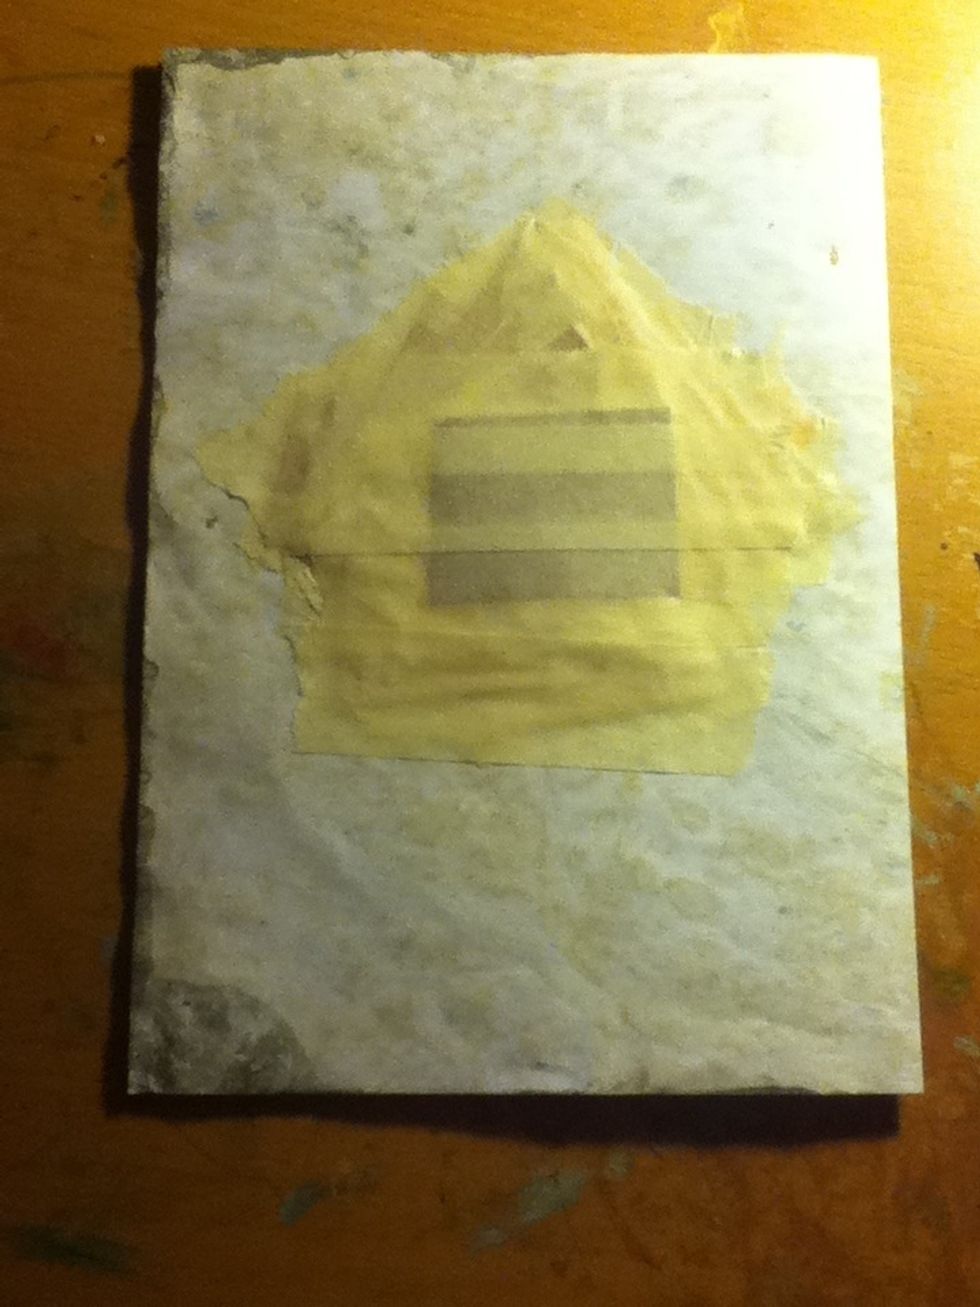
Get your template
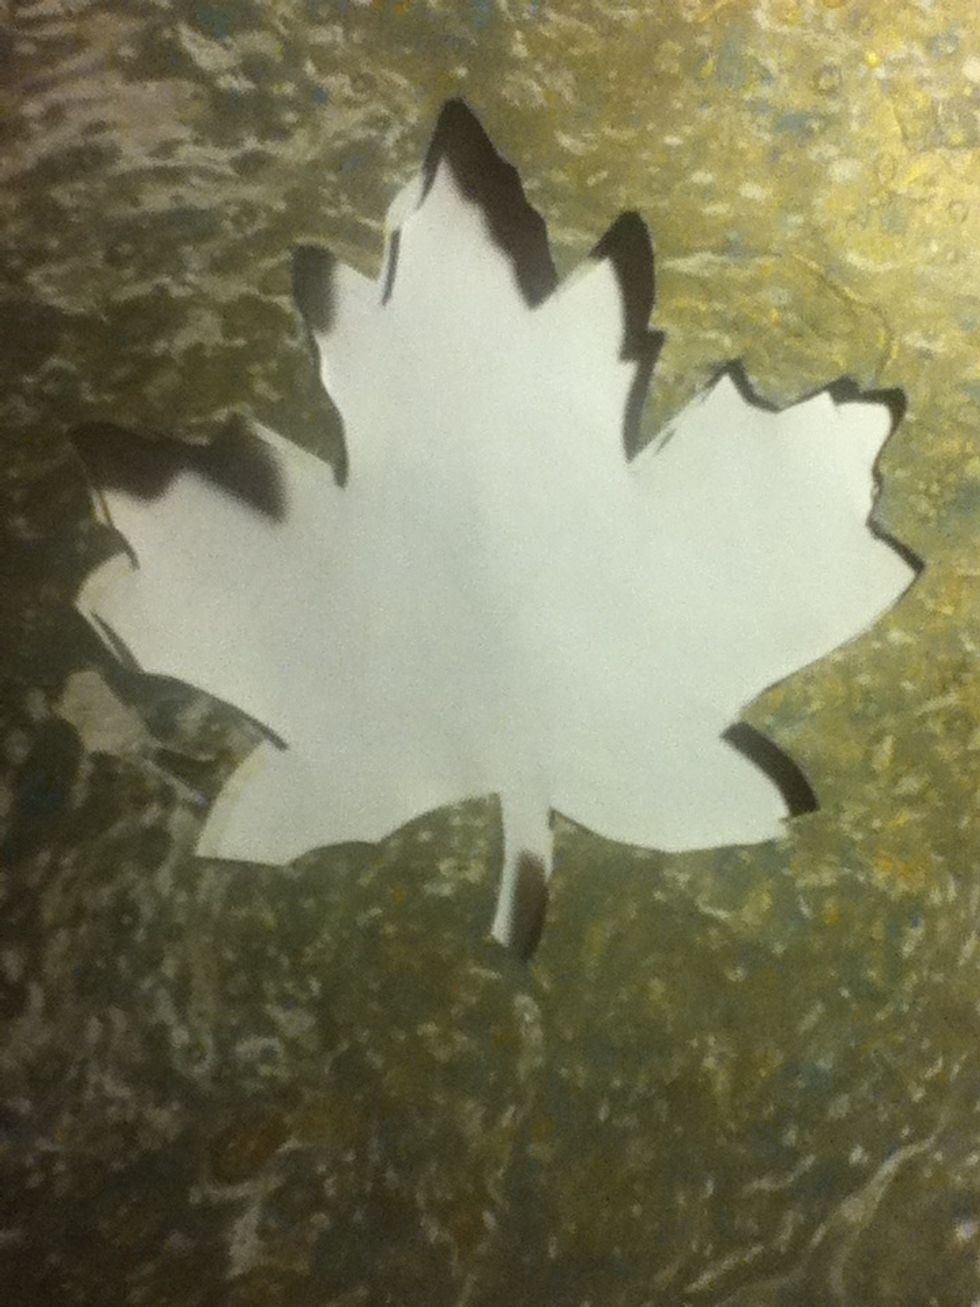
And lay it in the cut out shape
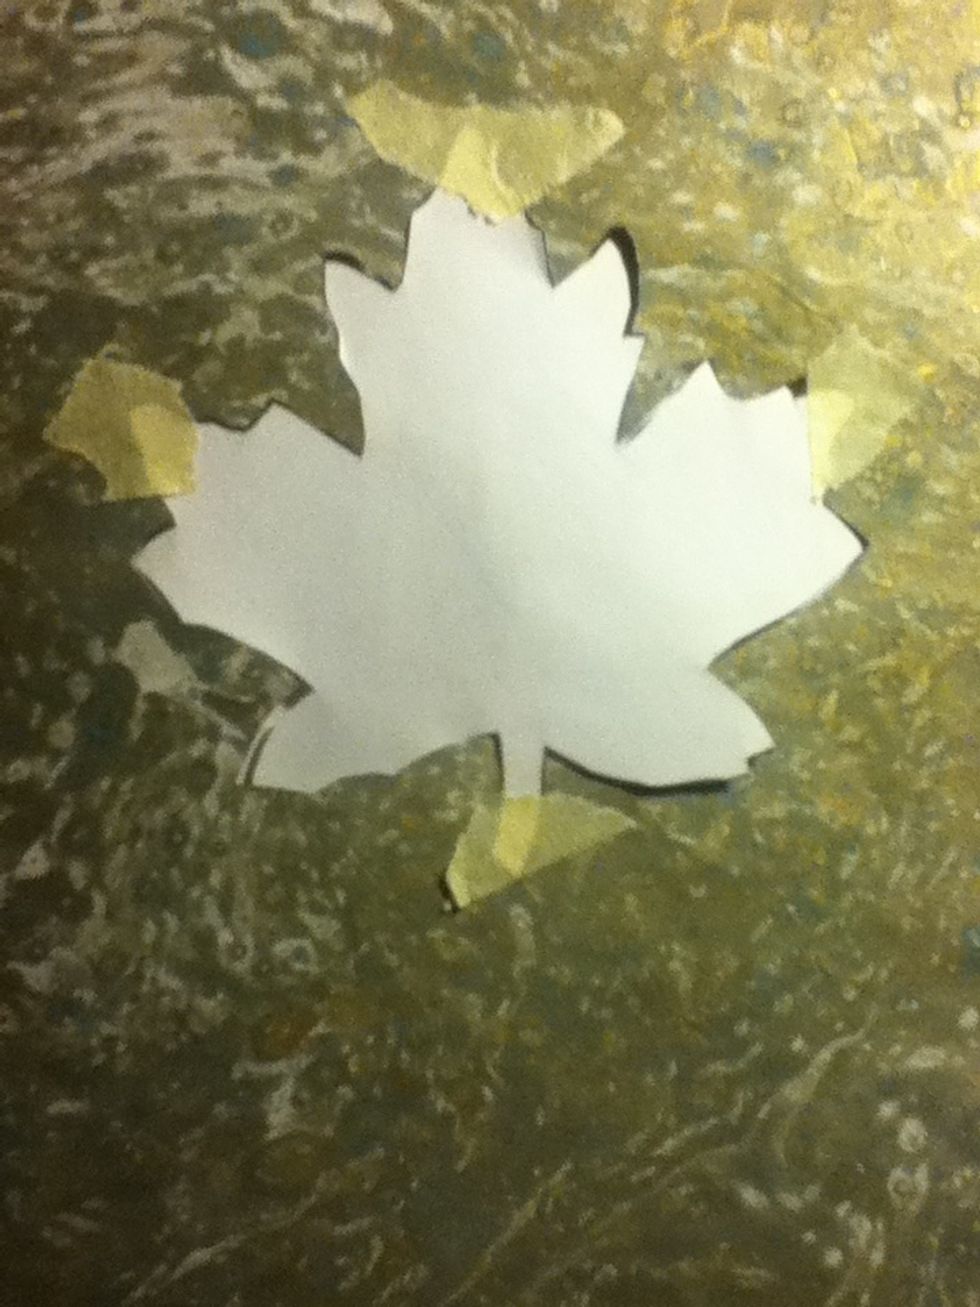
Masking tape it down, it's best if you don't use sticky tape, because masking tape won't tear when you take it off
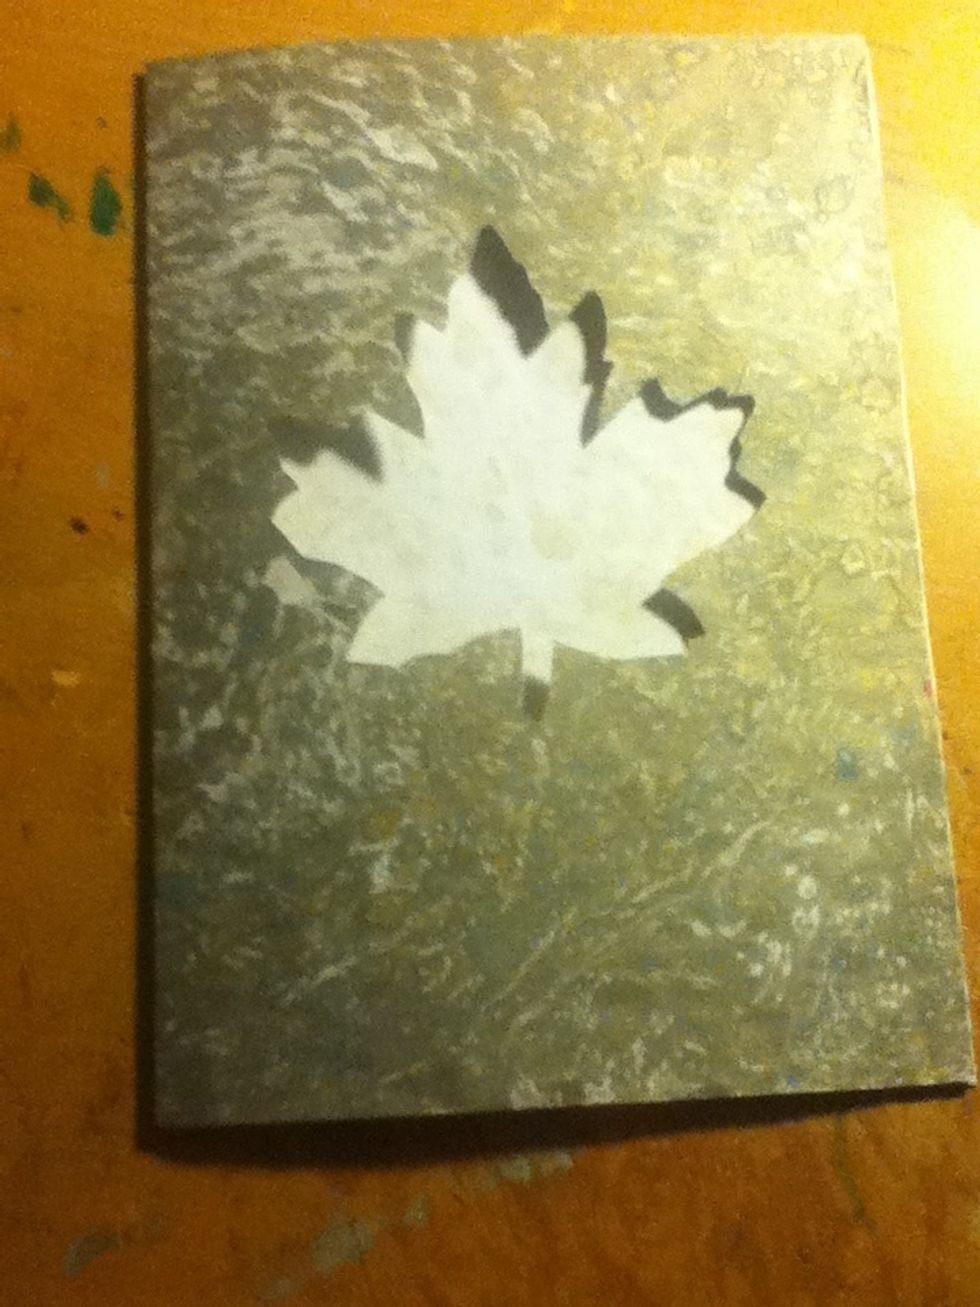
Open up and your ready to start!
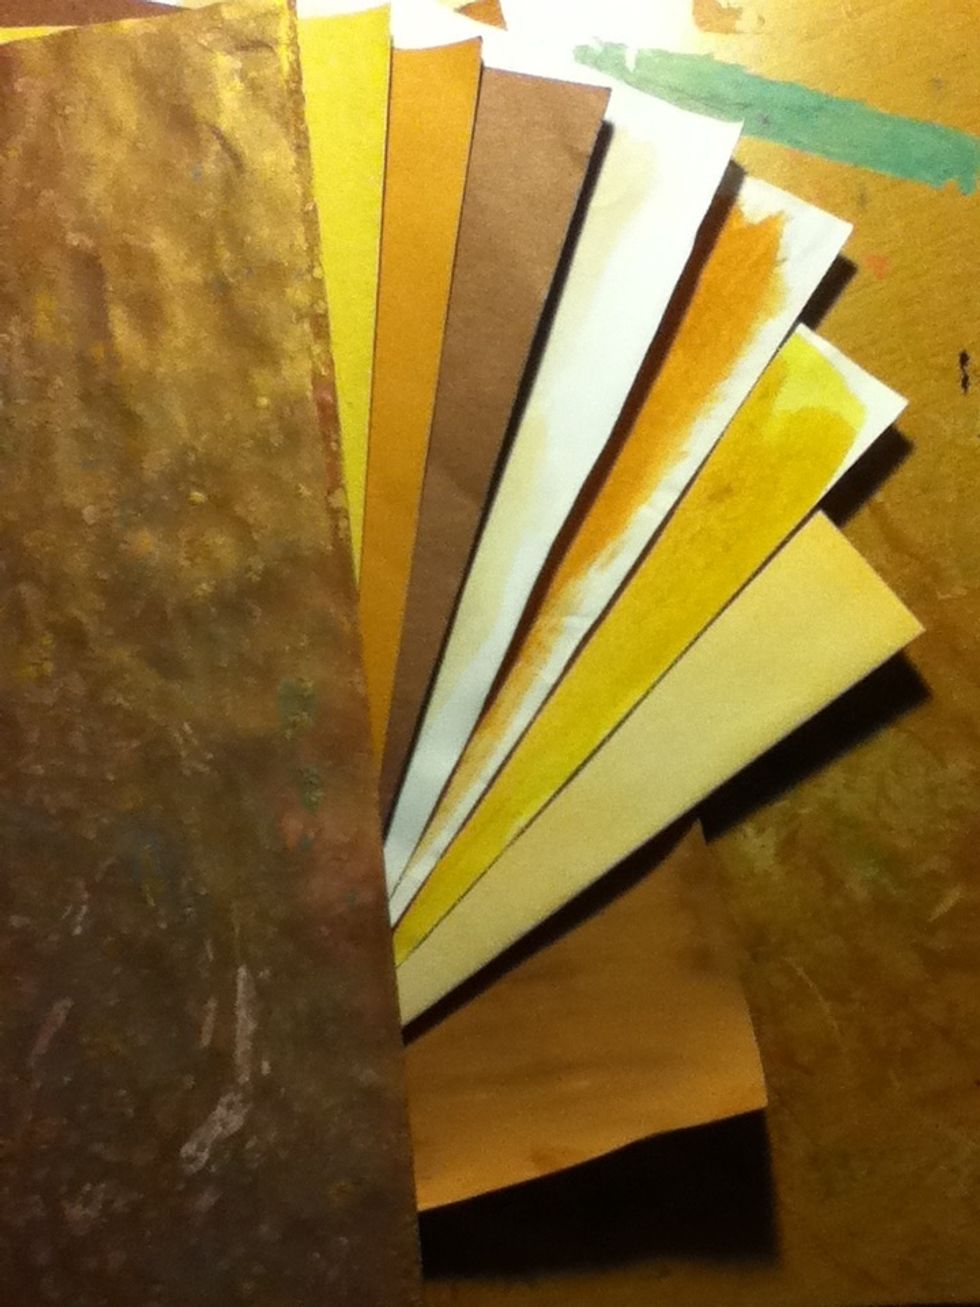
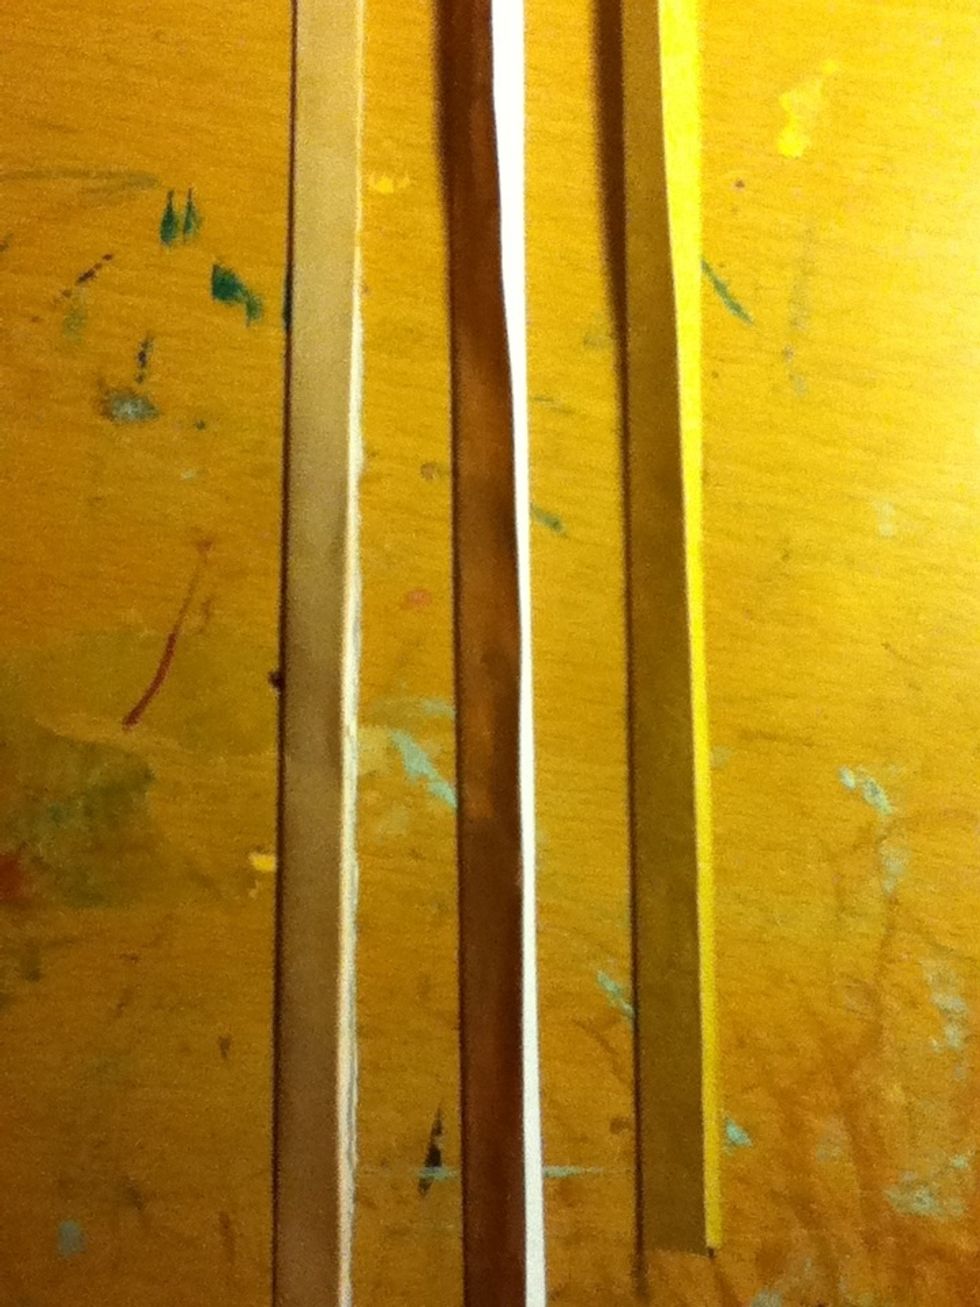
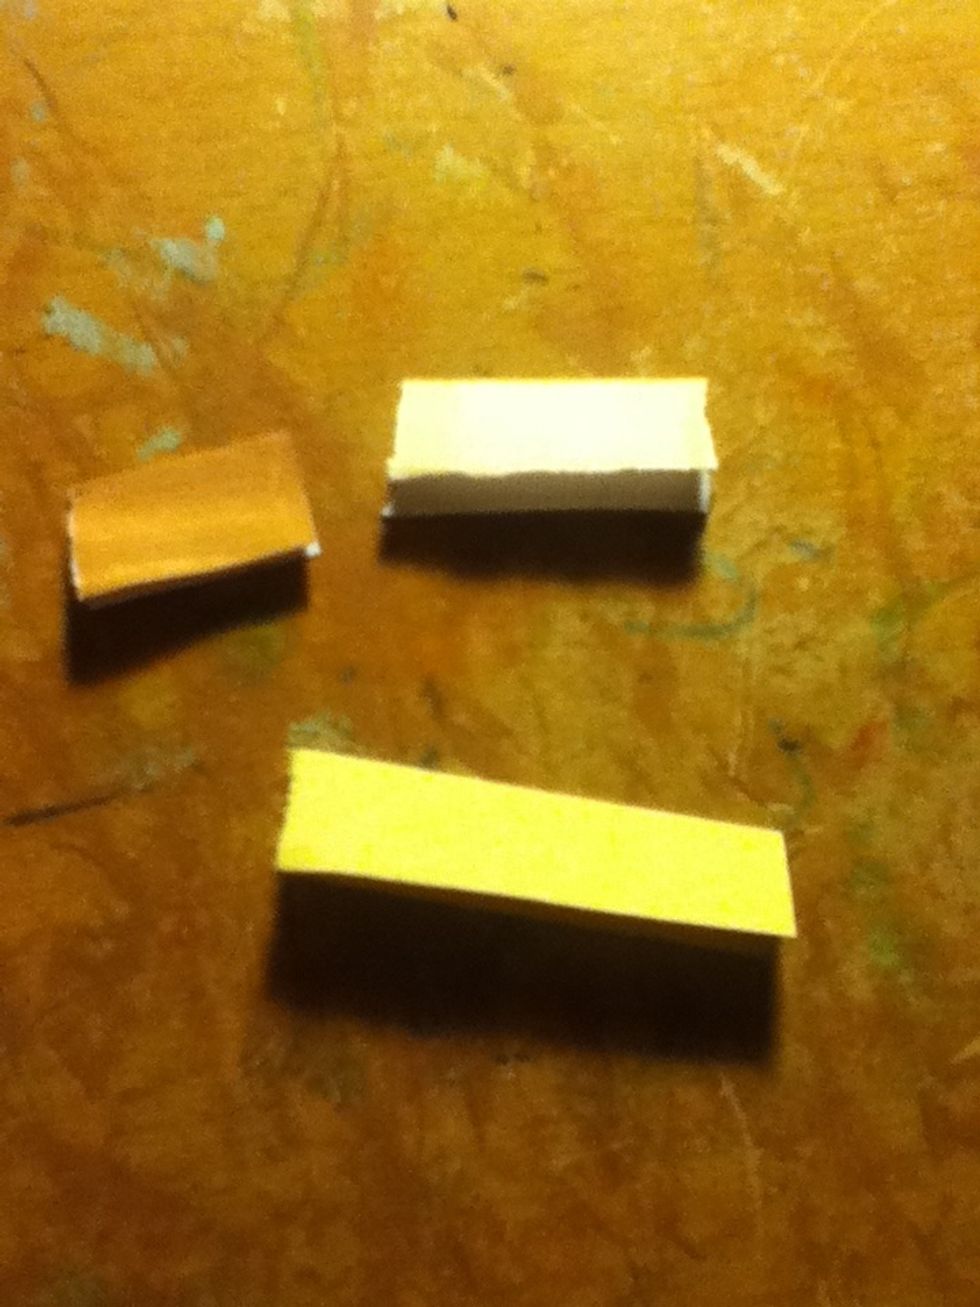
Take some paper that you think would be good to use. I chose a variety of browns and yellows, autumn colours
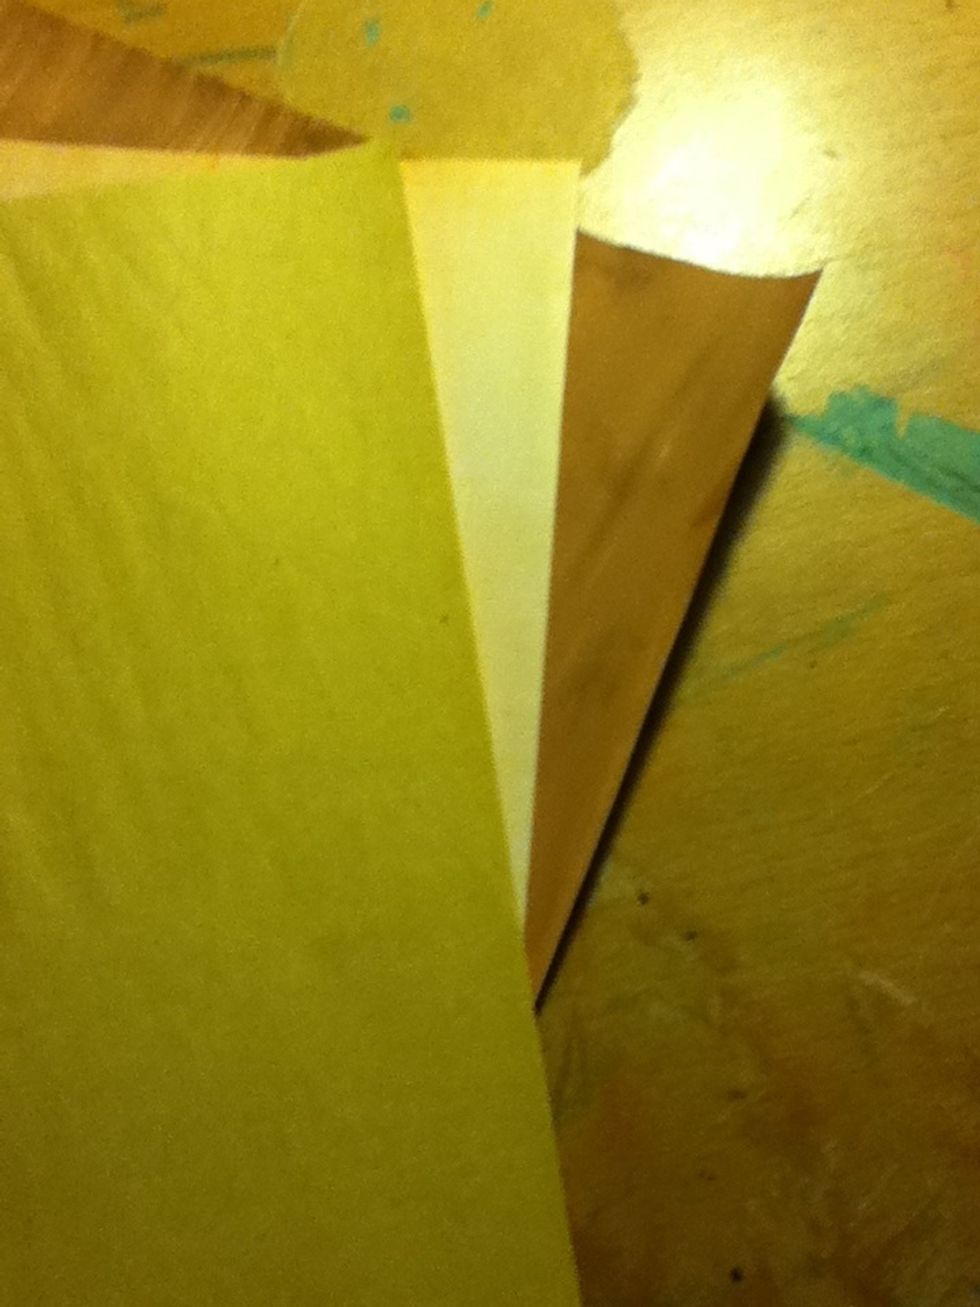
Narrow it down to three
Take the first one and turn it to the back

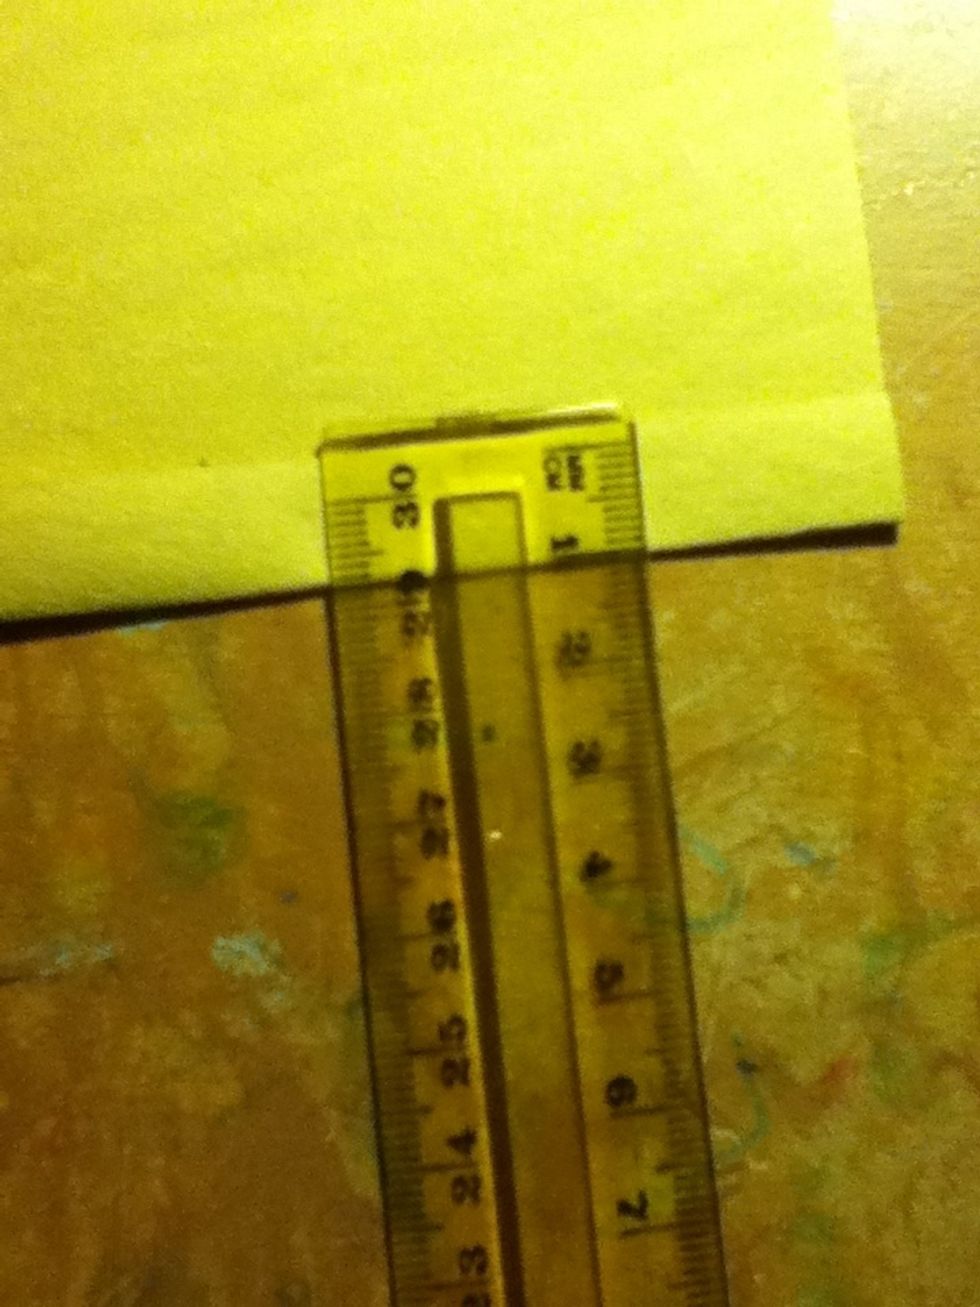
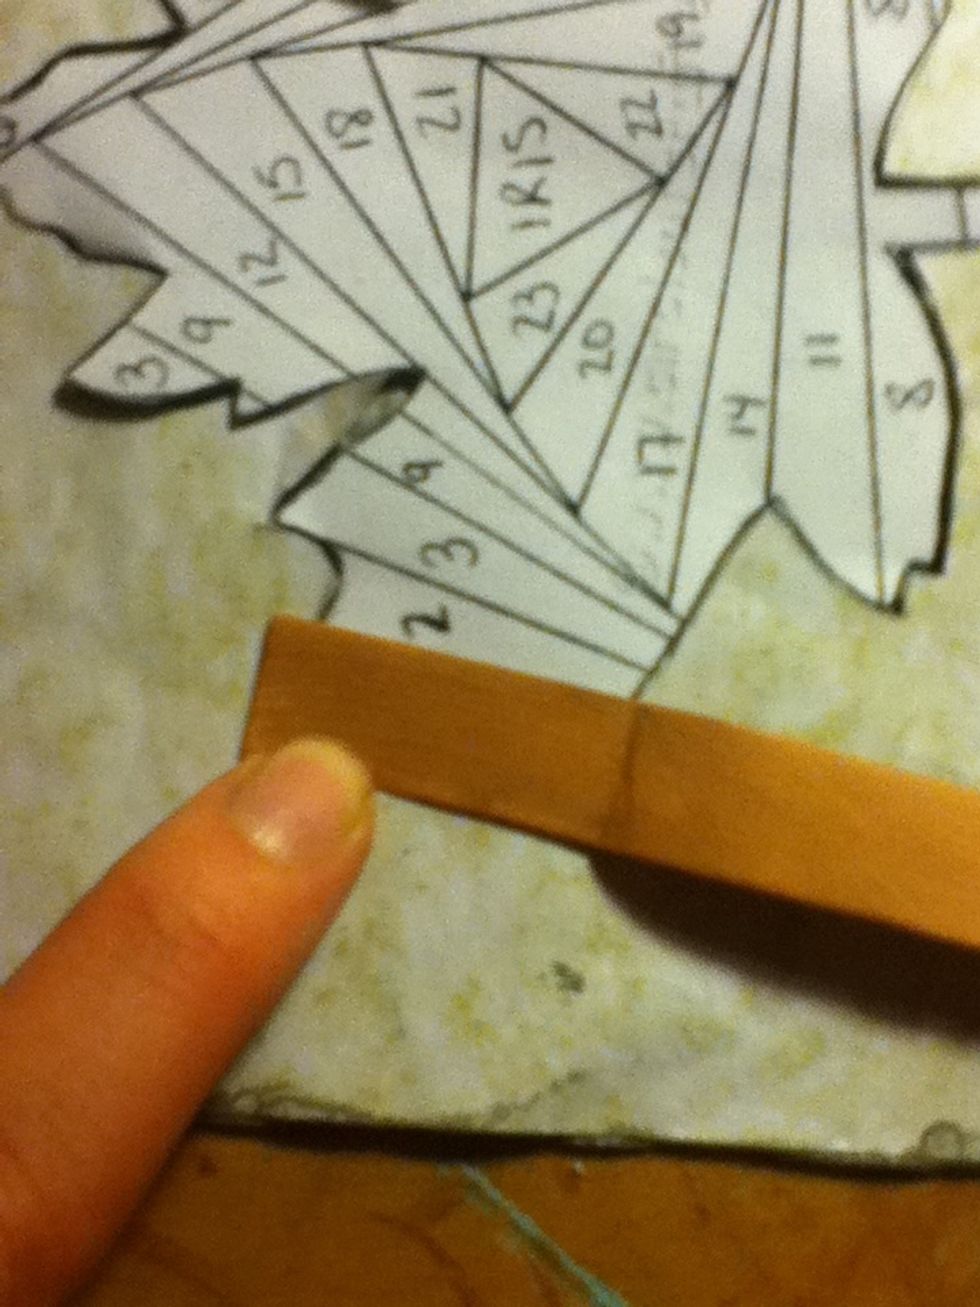
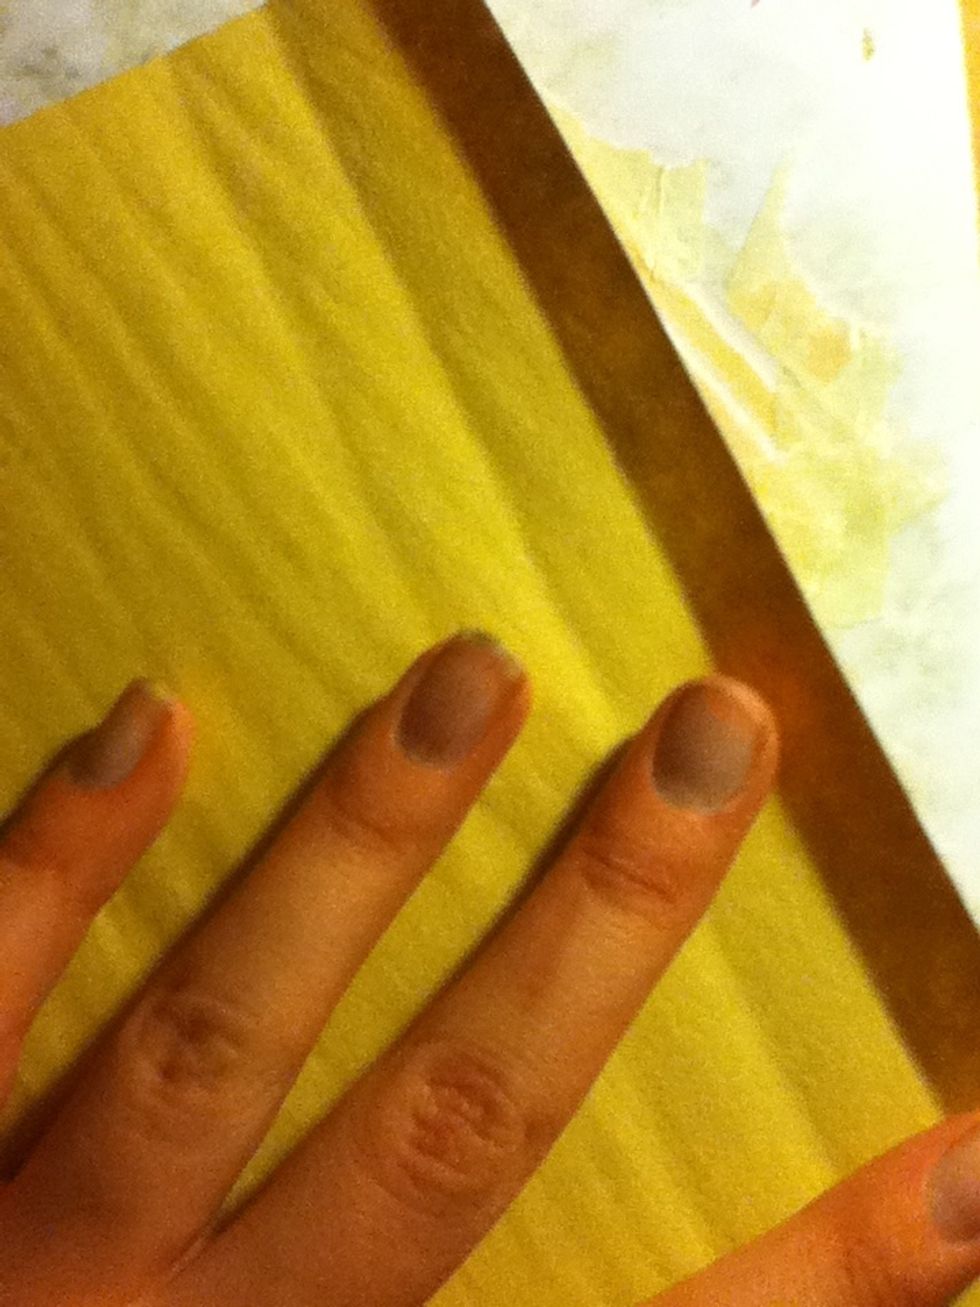
Fold up the bottom
Fold it up about one cm
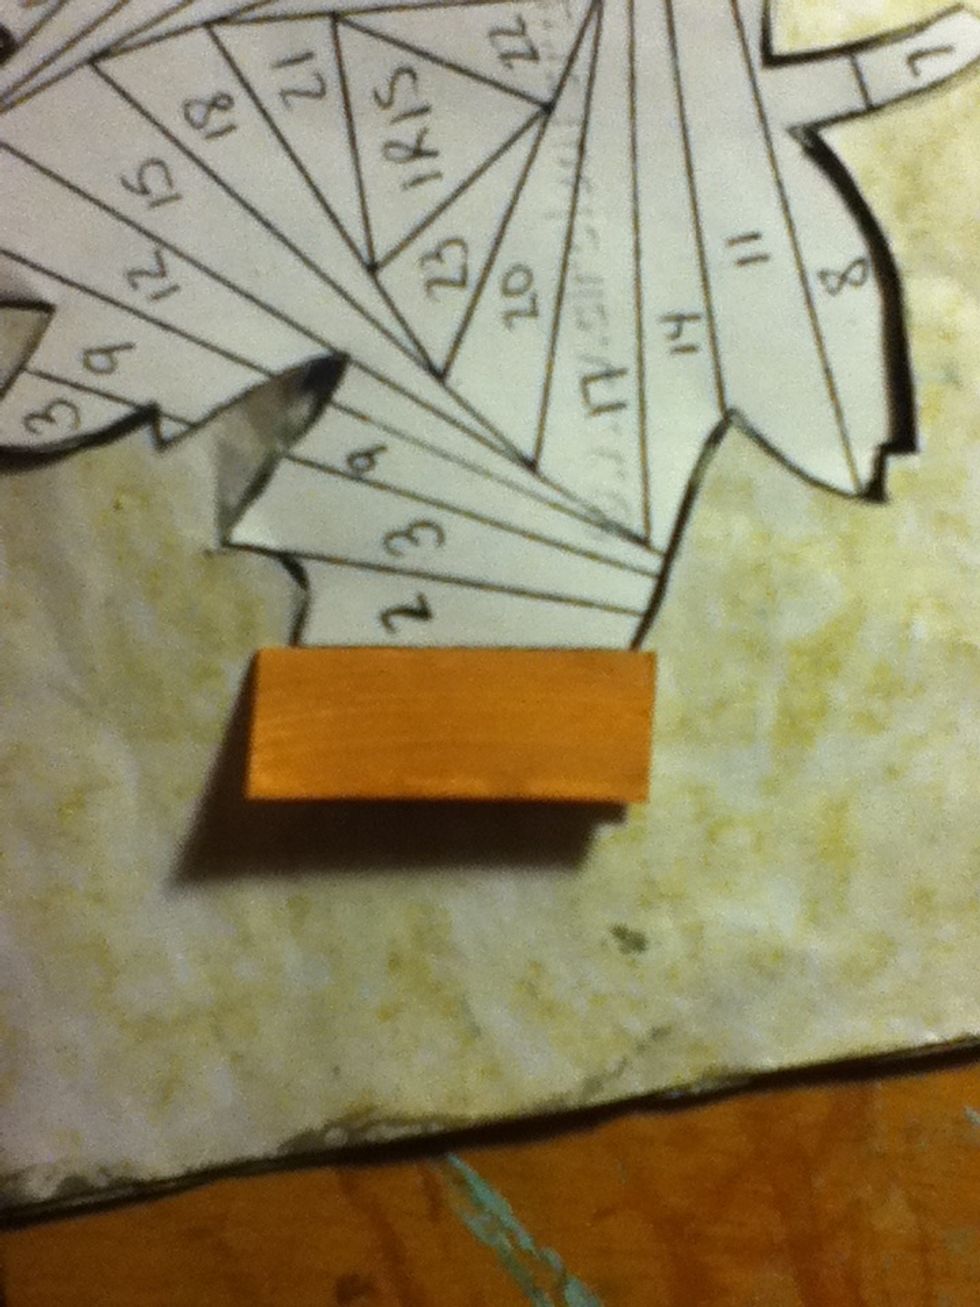
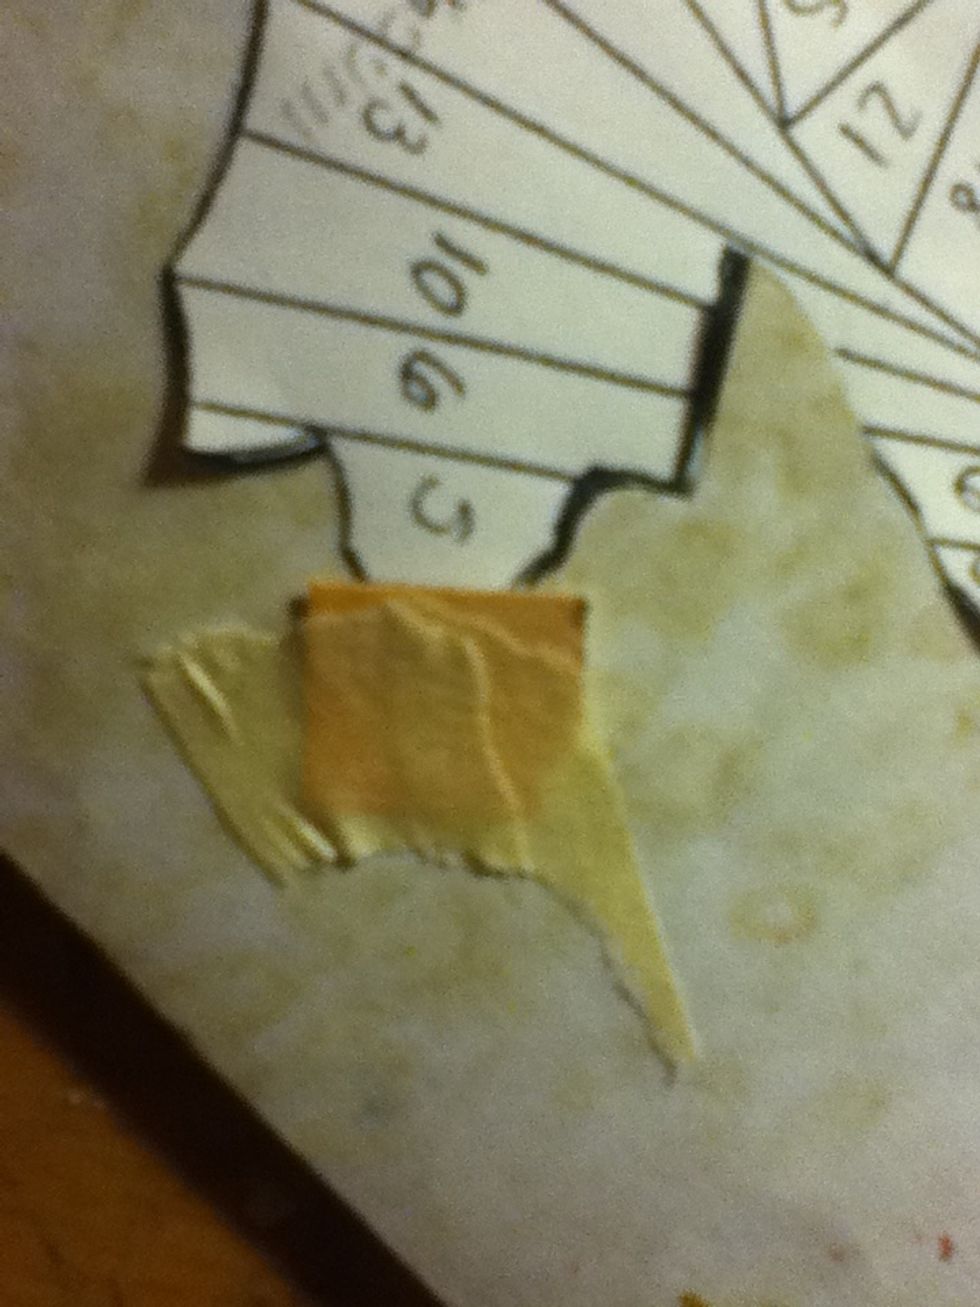
Cut after the first 2 sections, as shown
And you should get this! Put the rest of the paper aside
Fold it over
Now do the same on the next piece

Fold it
1 cm
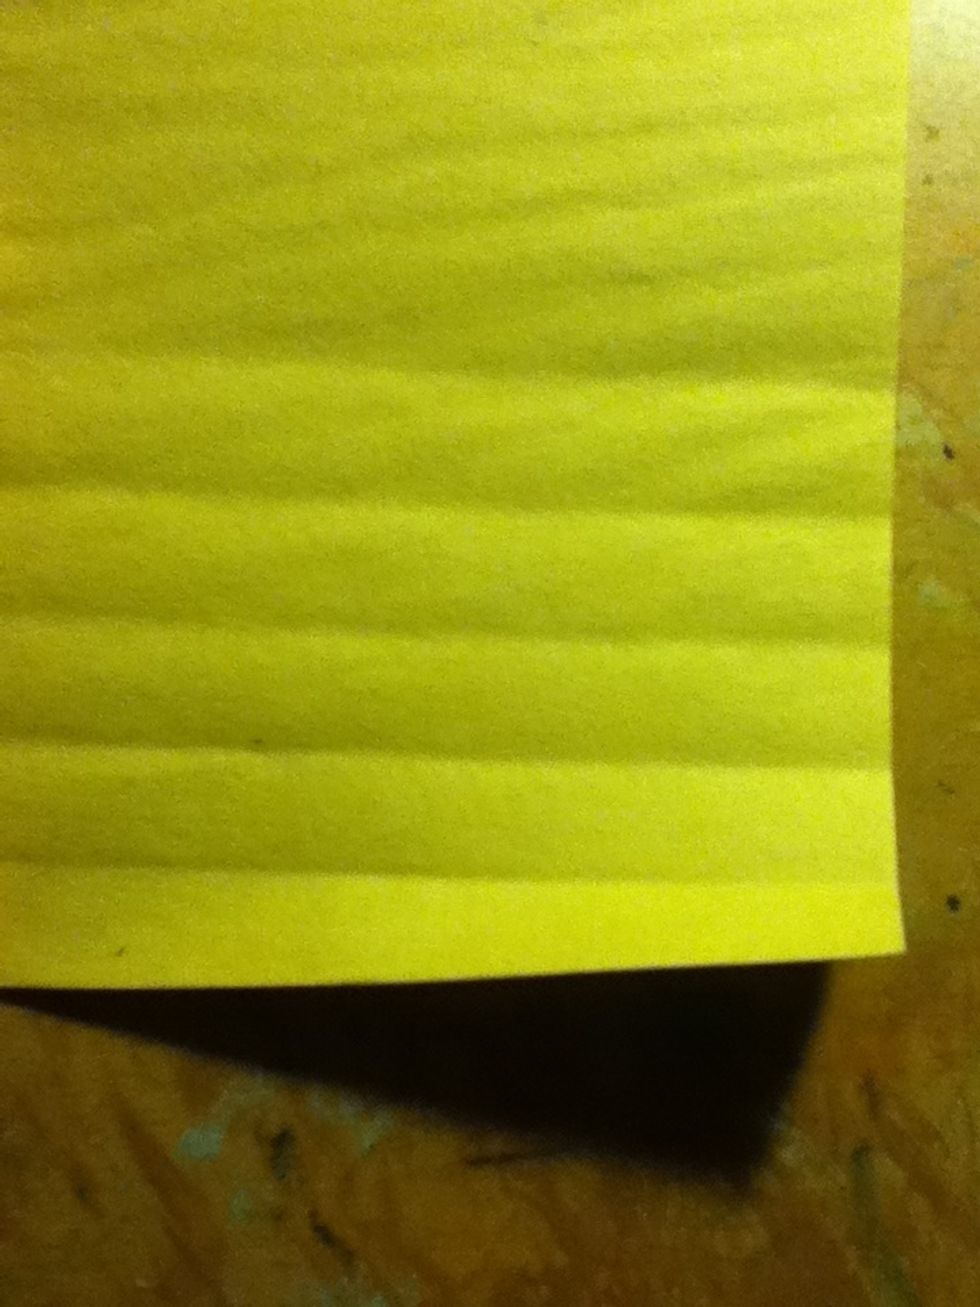
Fold it a few times
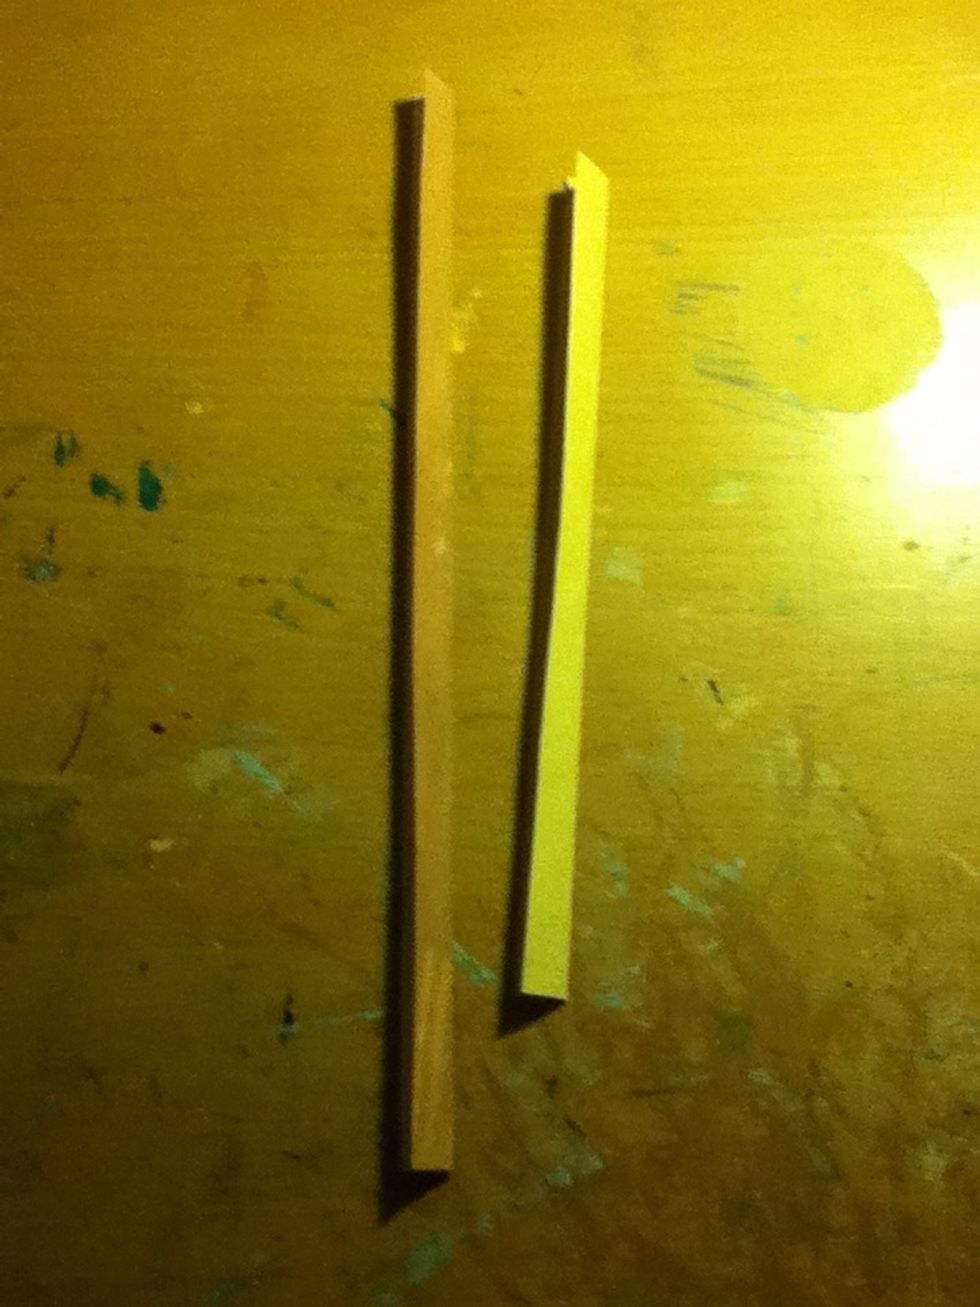
Now you should have these two
And do the same with the other
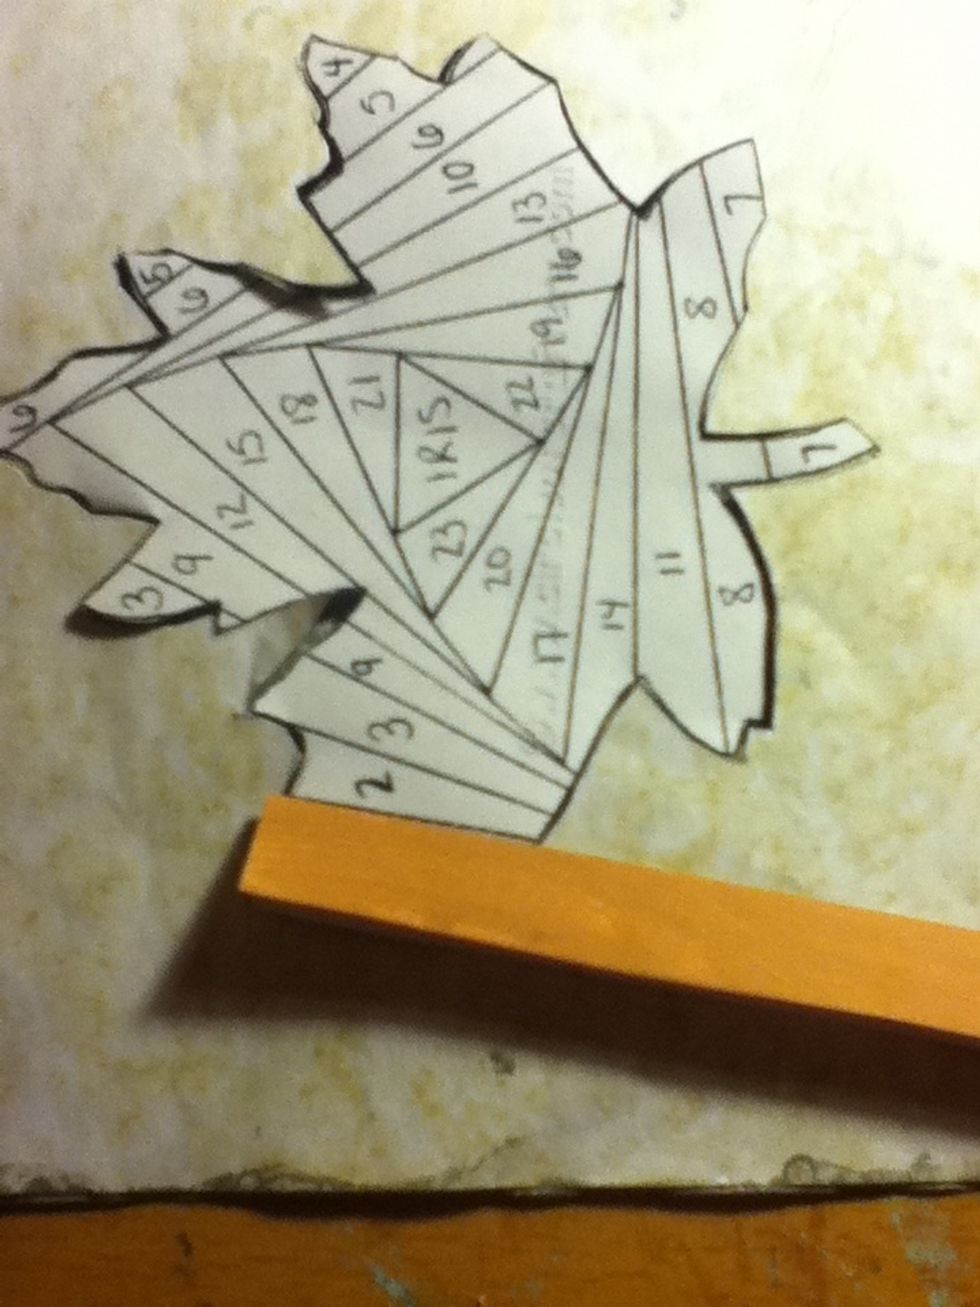
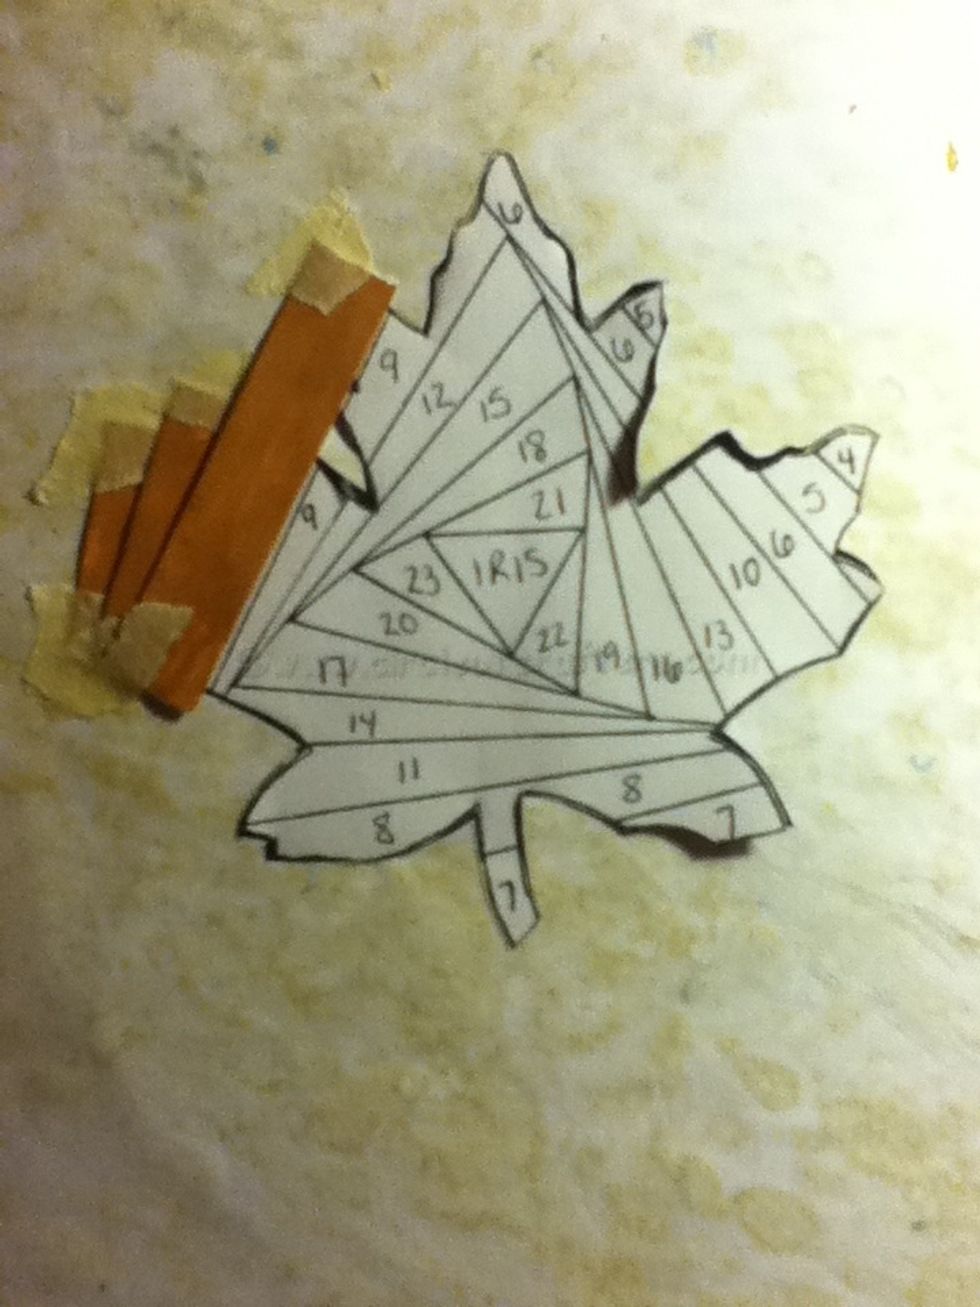
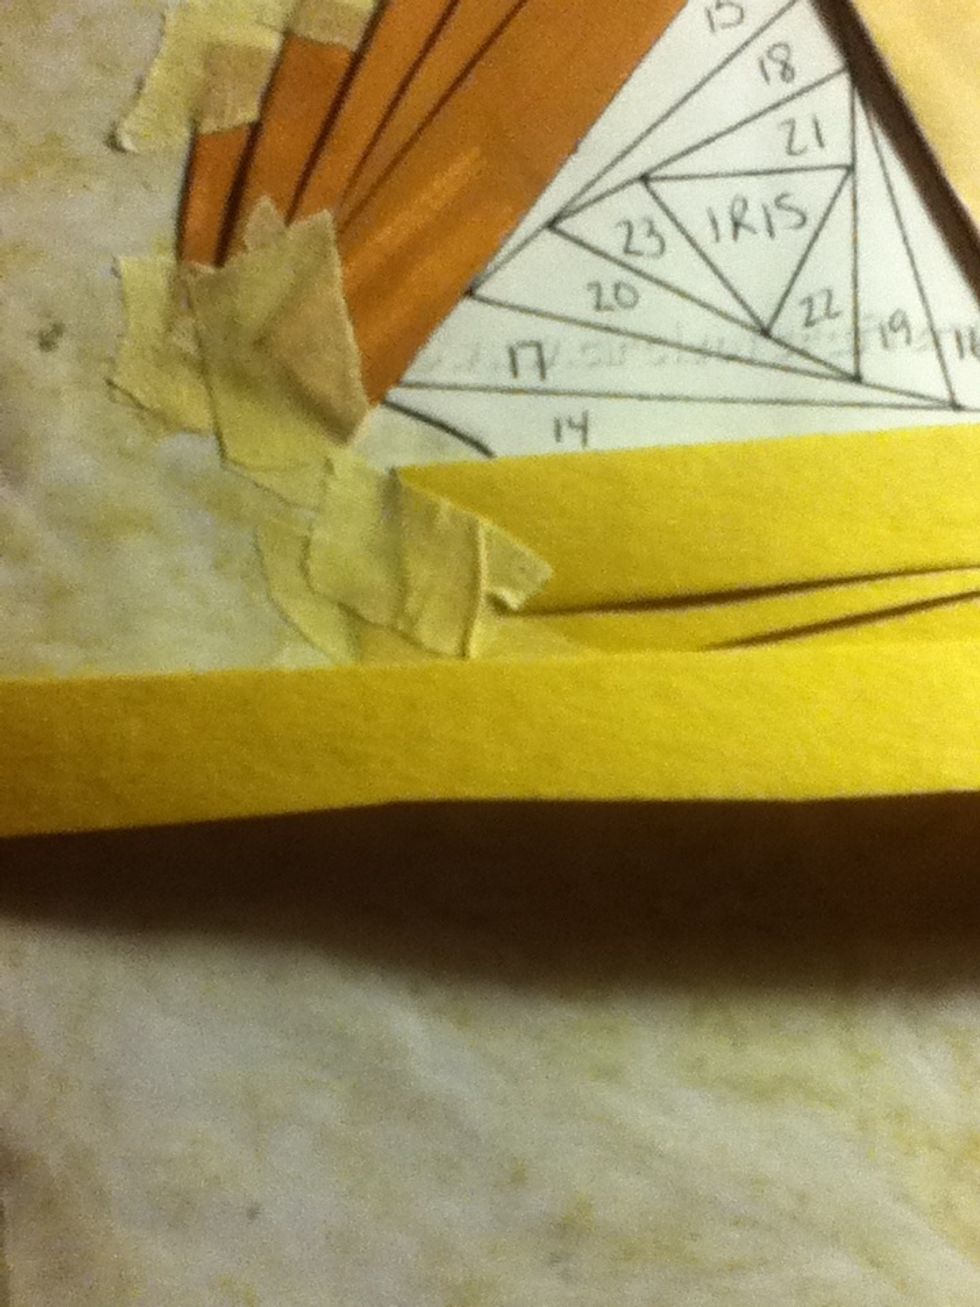
Get the template/card
Fold the the right hand side behind
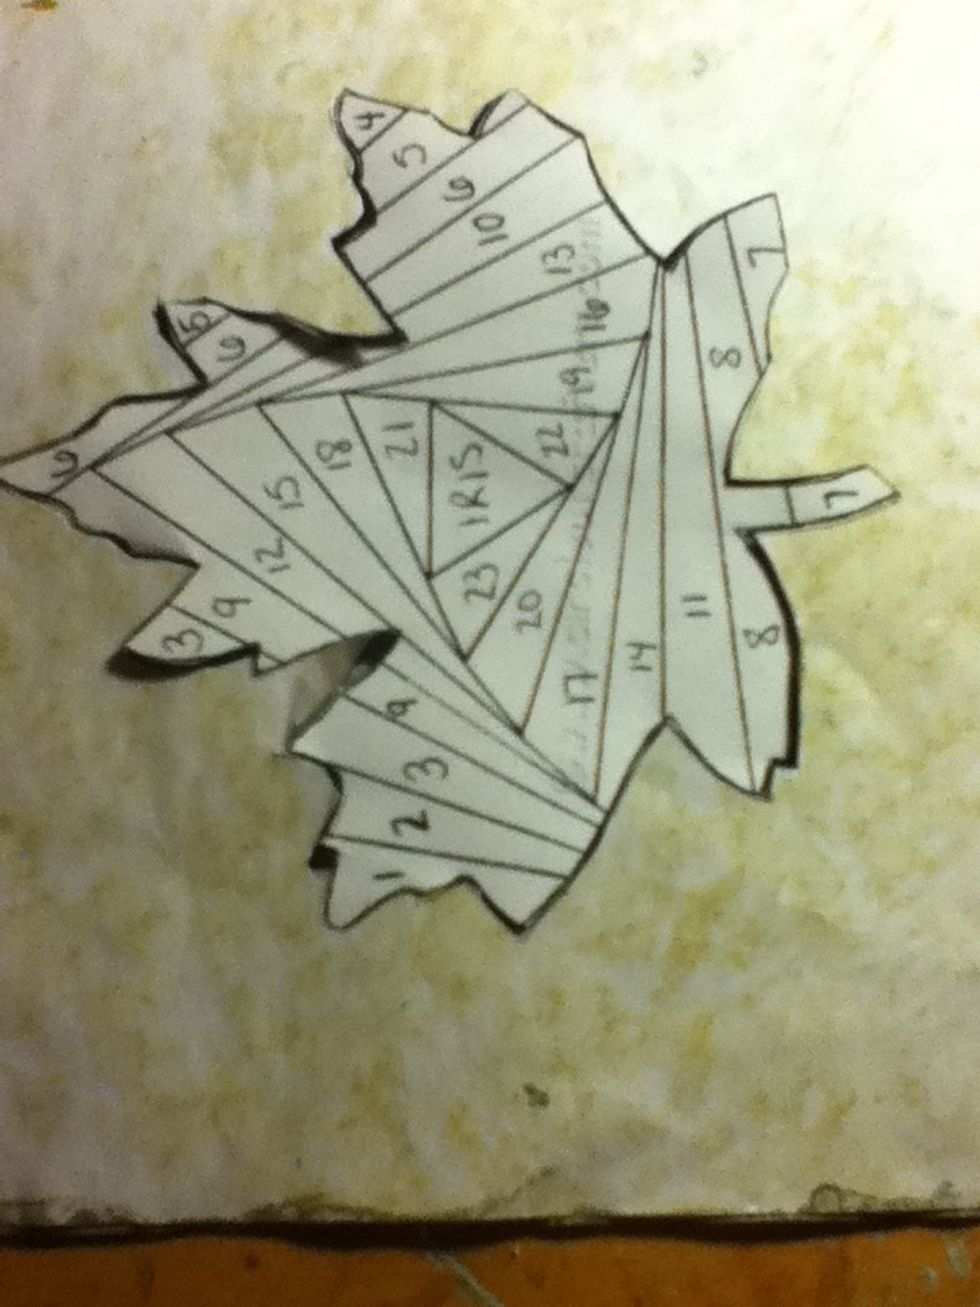
Turn it so that the number one faces you
Get your first colour
Fold it so it just is a little bigger than the thing on the template
Cut it
Make sure that the folded edge is always facing the 'Iris'
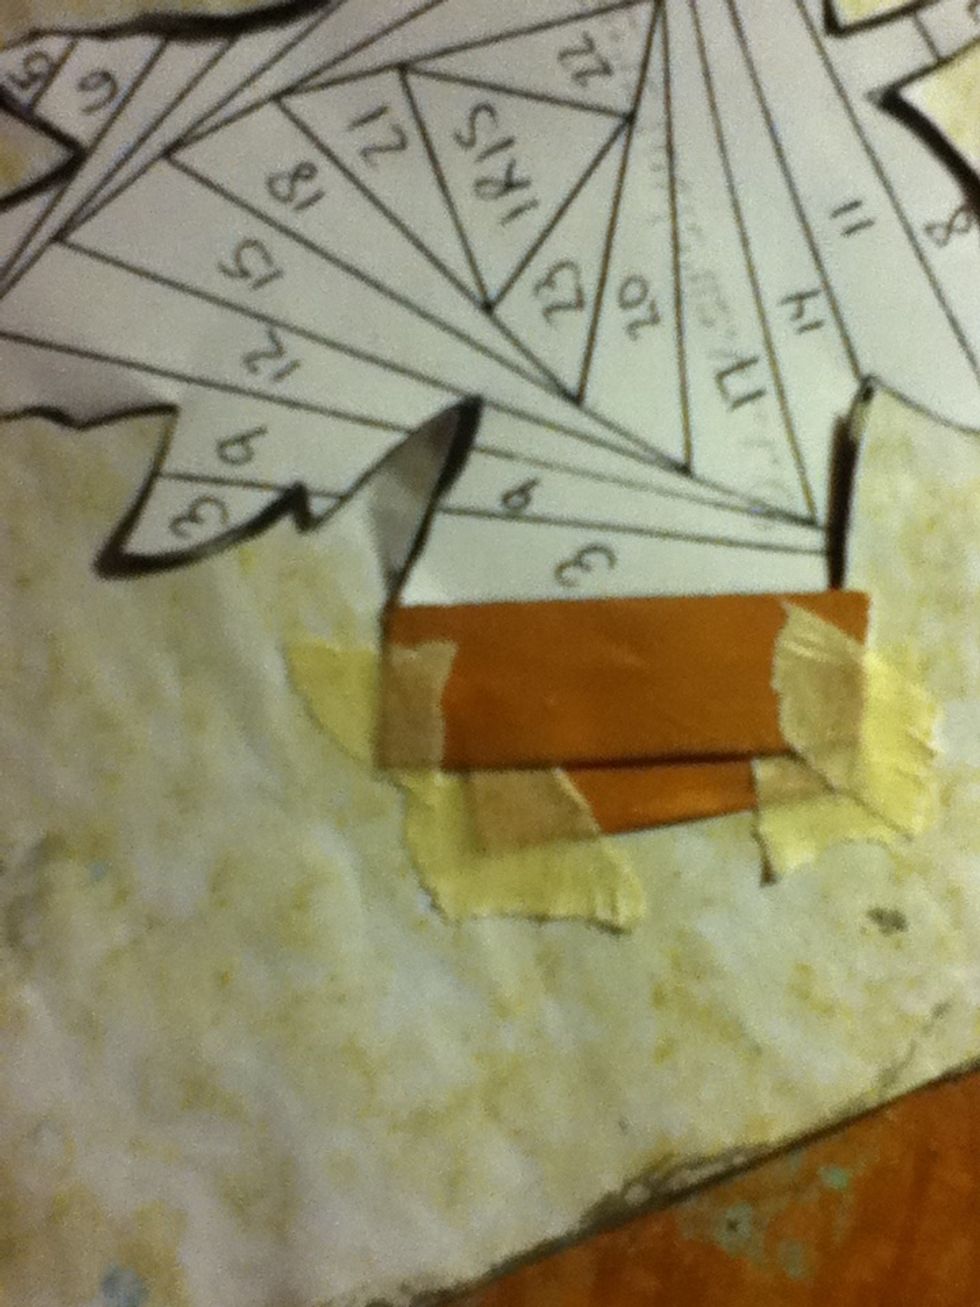
And tape that down with masking tape
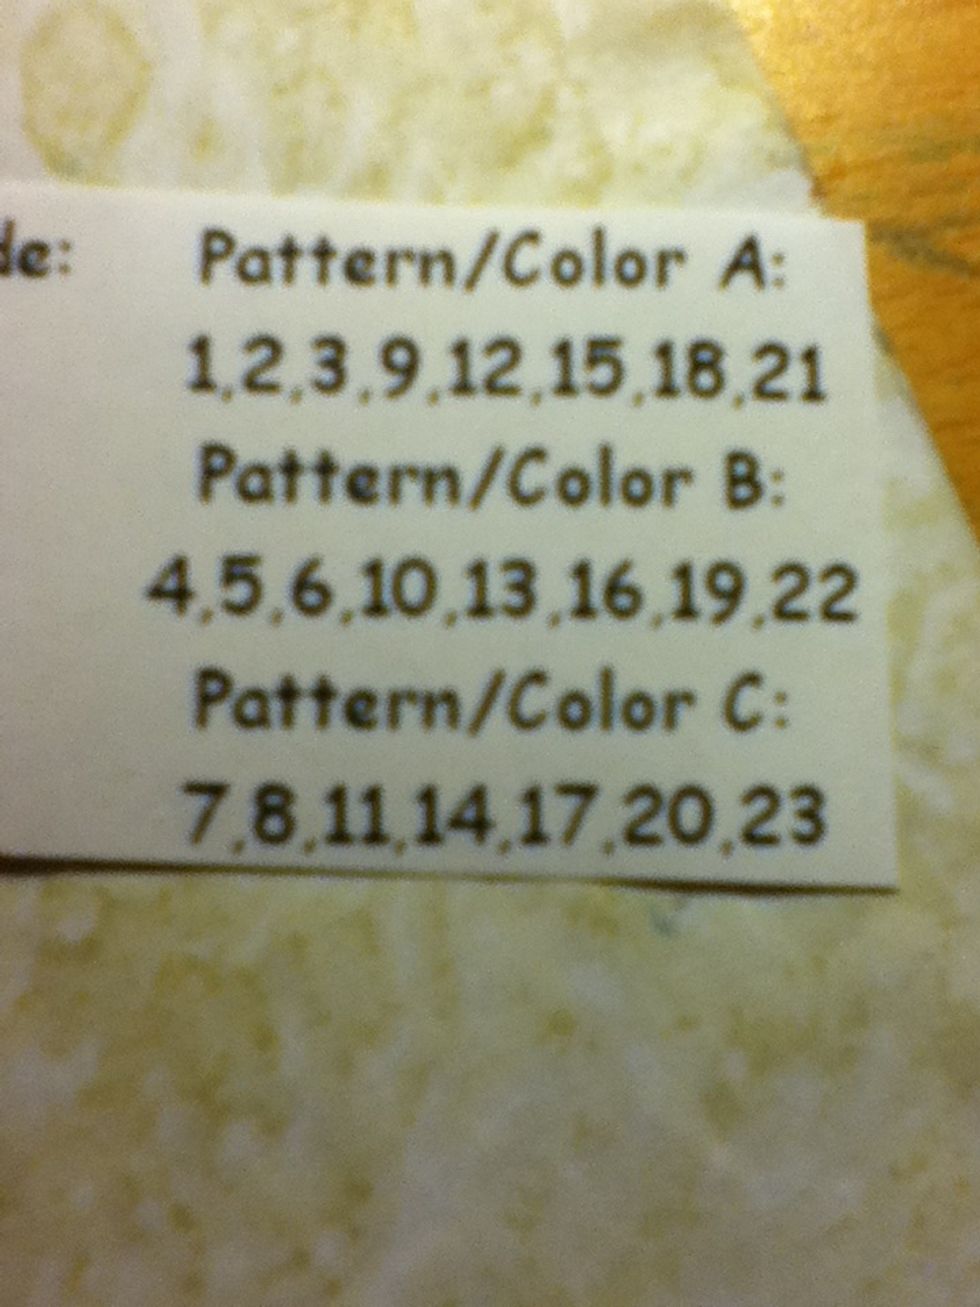
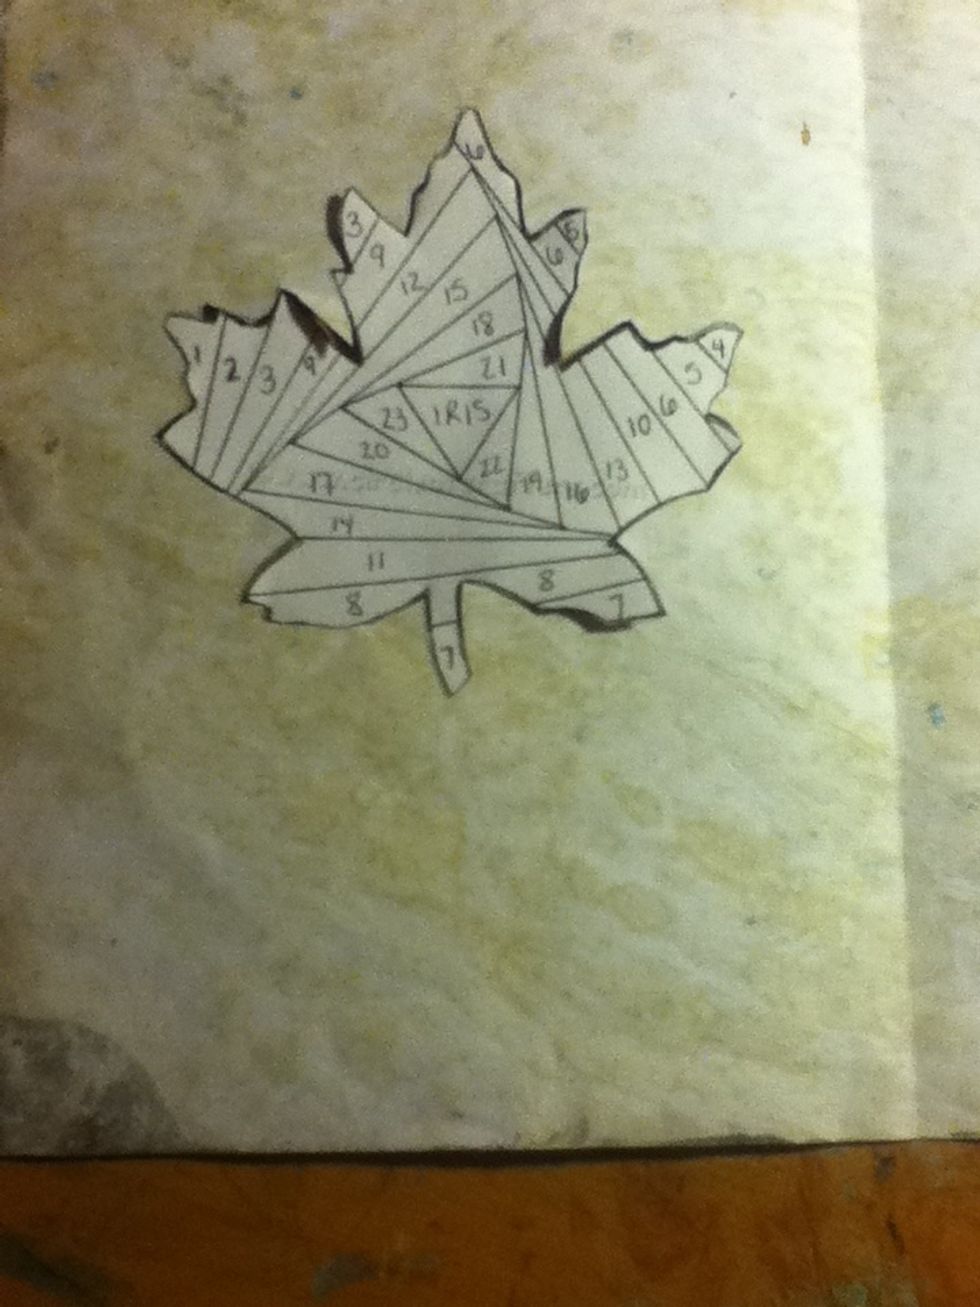
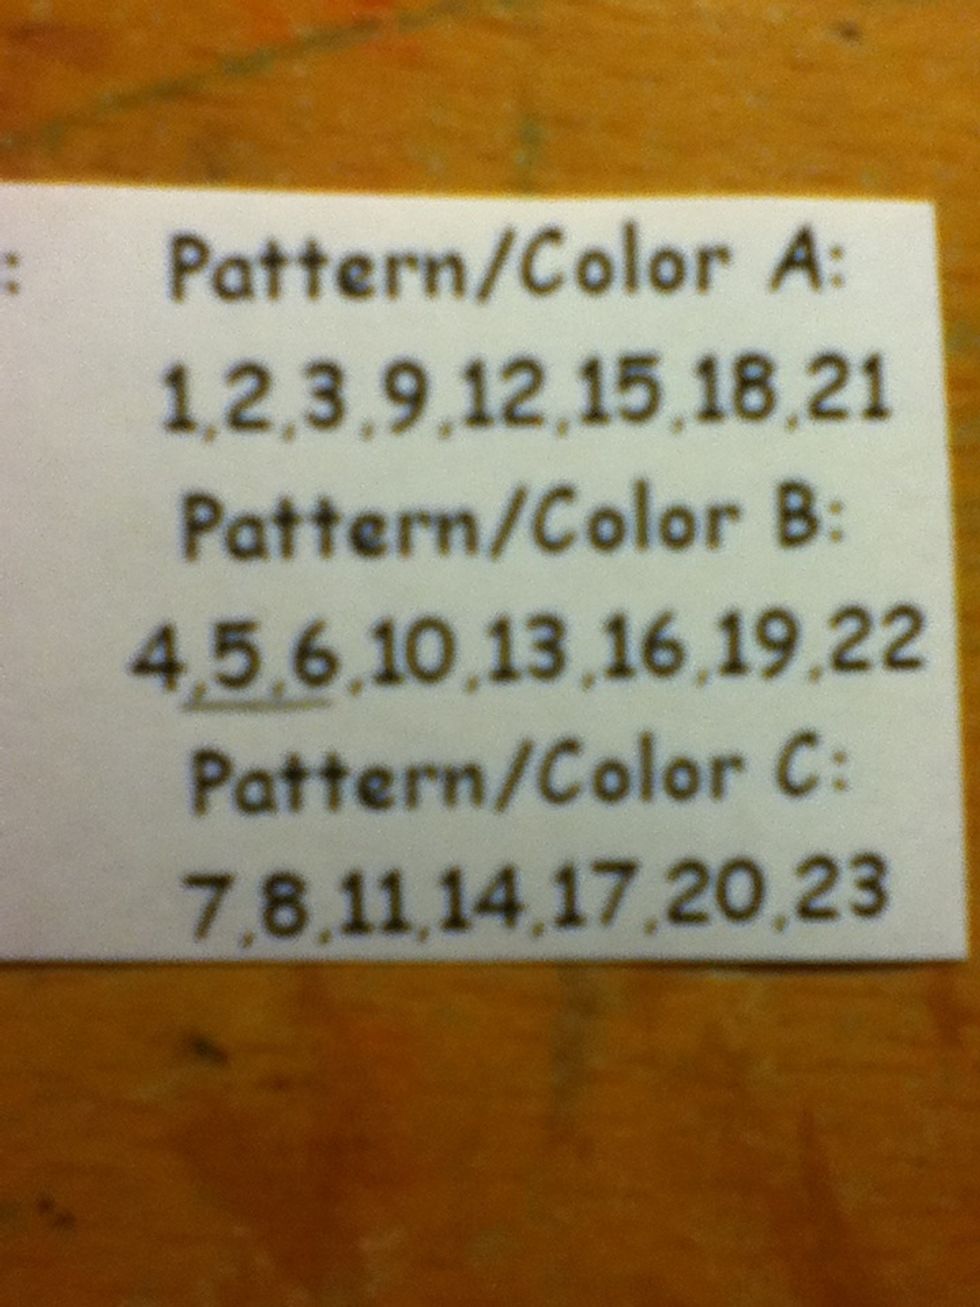
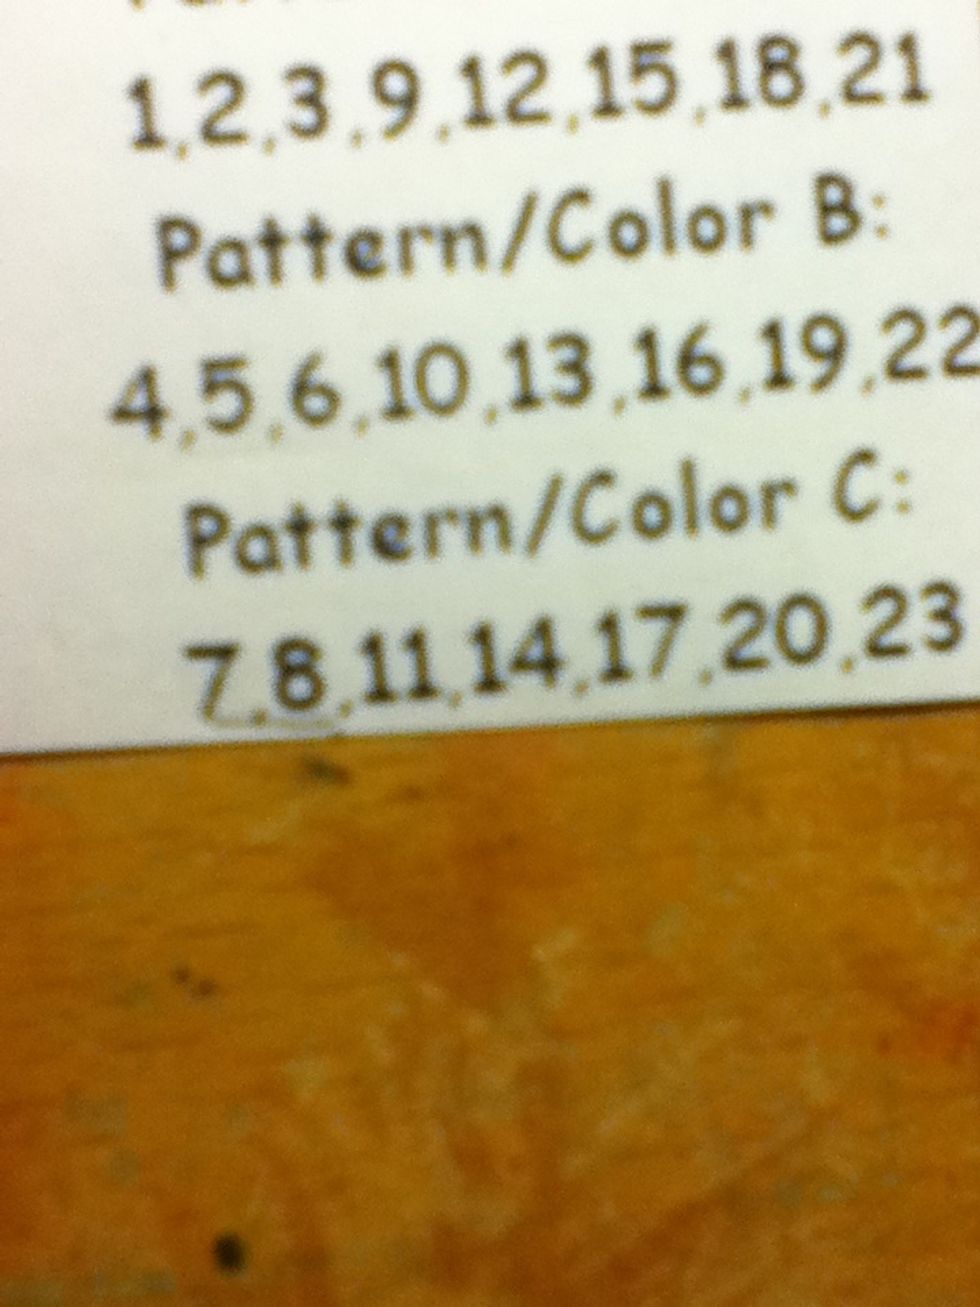
Use this as your guide to what colour goes where
Do the same as before
And again
Now time to do pattern/colour b

Rotate the card so that the number four is closest to you
Stick down the next colour on number four, don't forget to have the folded edge facing the 'Iris'

Do the same
And again
That's what it should look like
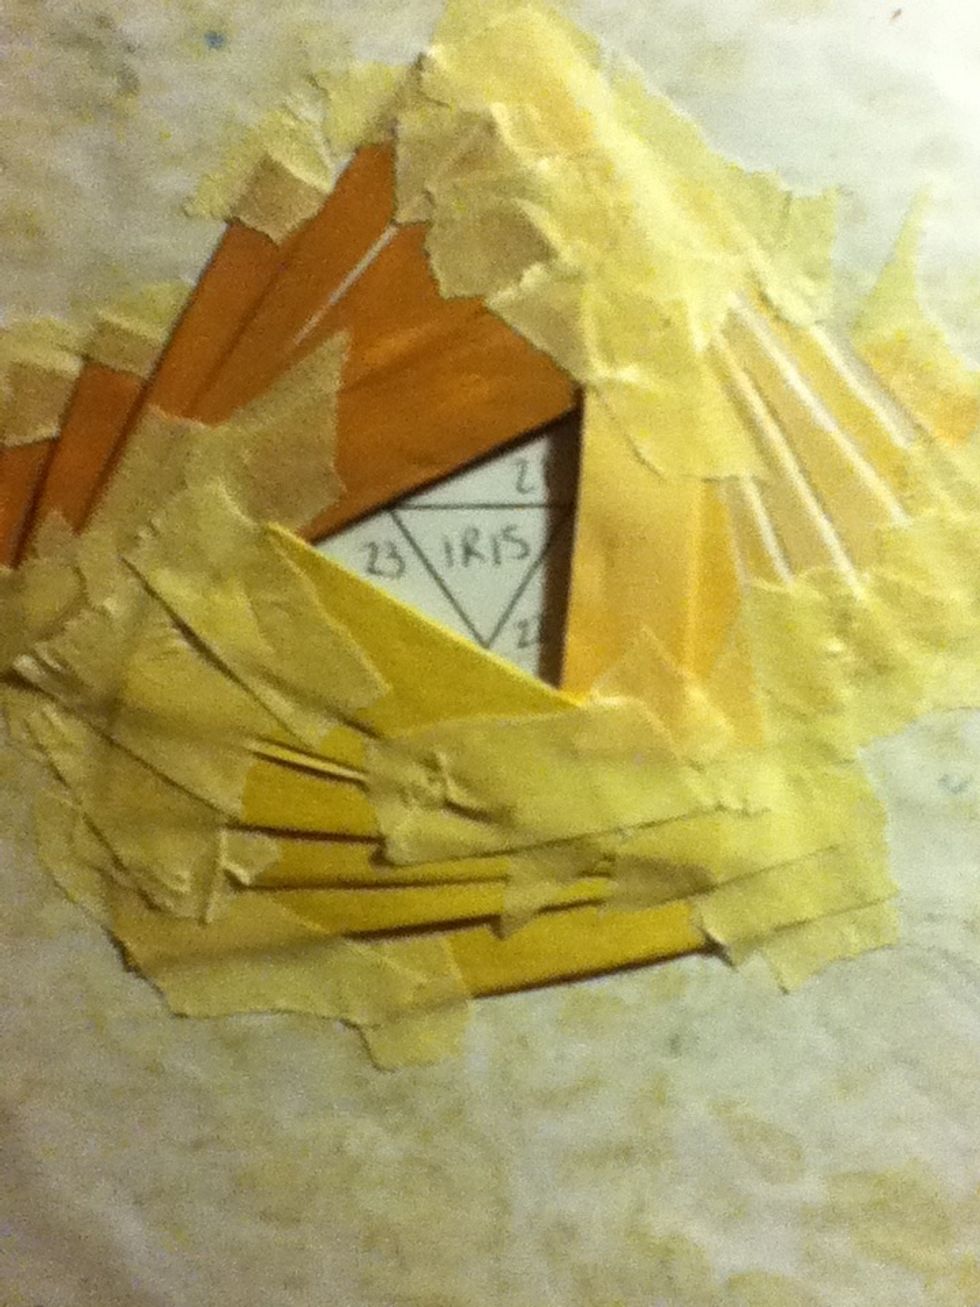
Now for pattern/colour c
After a while you should get a few small ones that won't fit the next number space, but DON'T throw them out, they will come in handy later
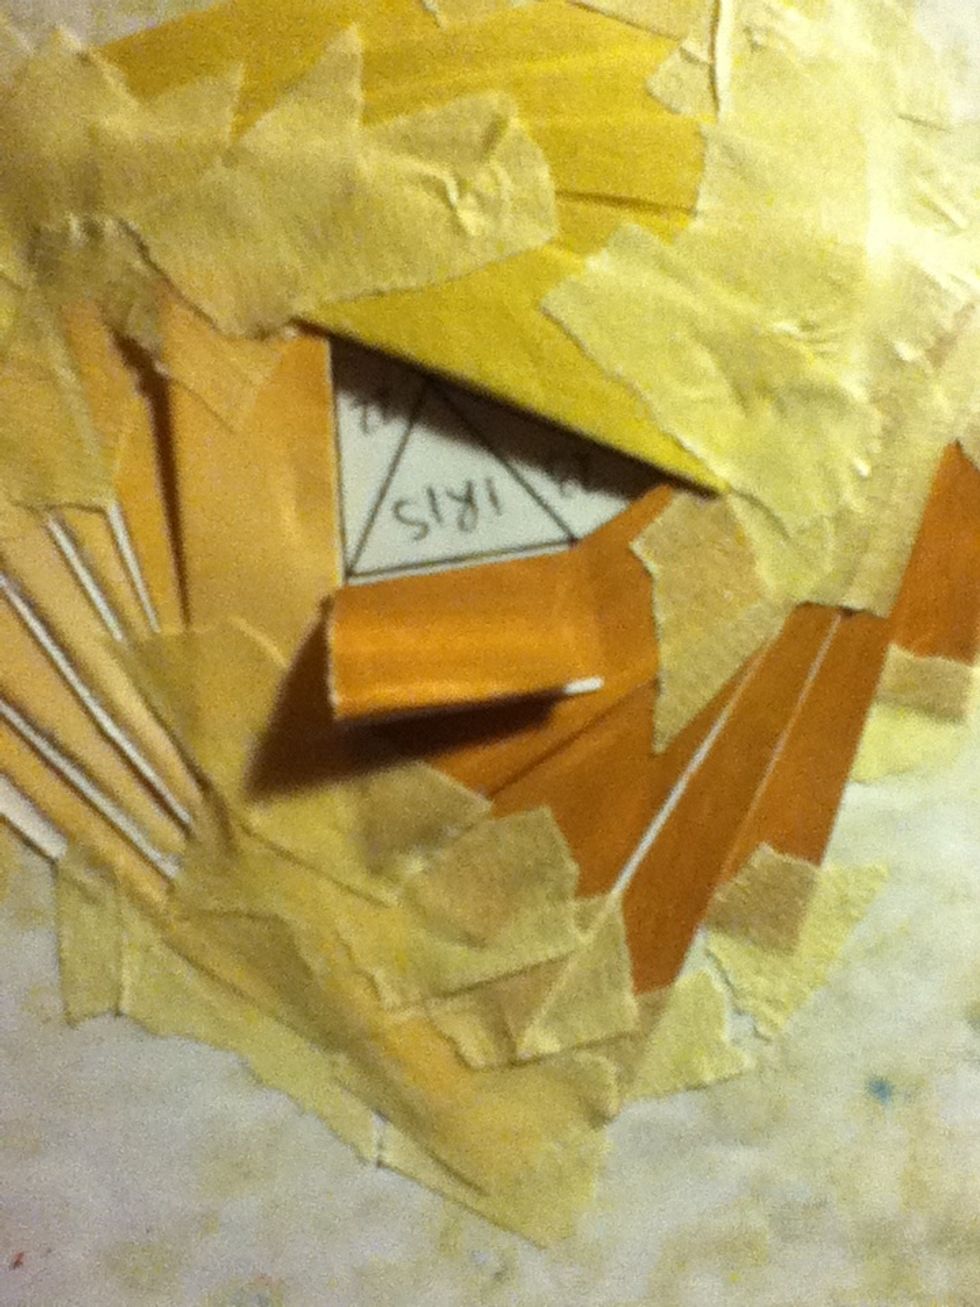
See, the bottom one in step 70 won't fit number fourteen.
So get this back out
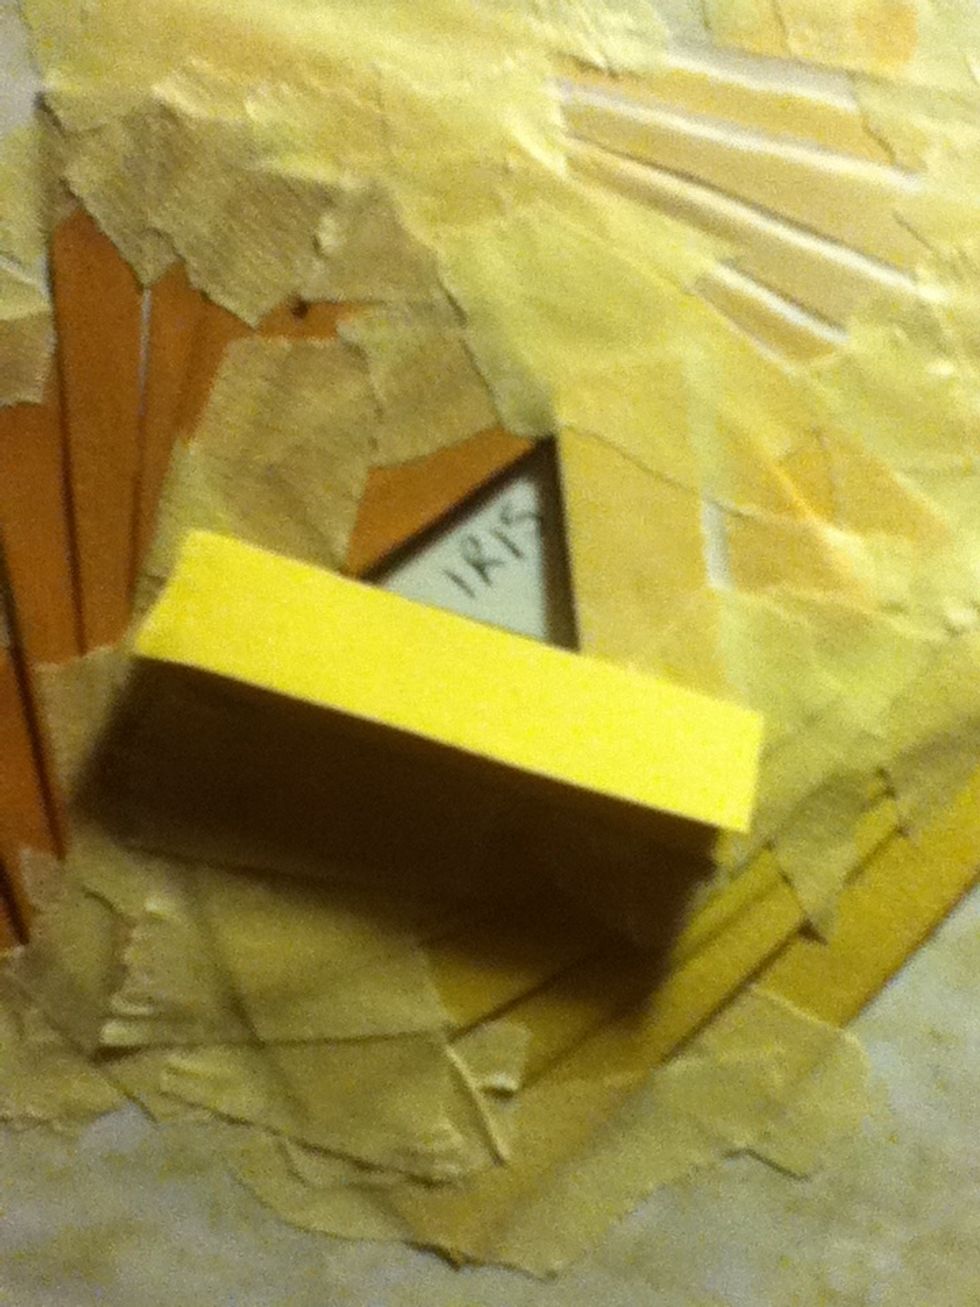
And do what you did earlier
Now you can keep going! Until you reach here where those small bits come in handy

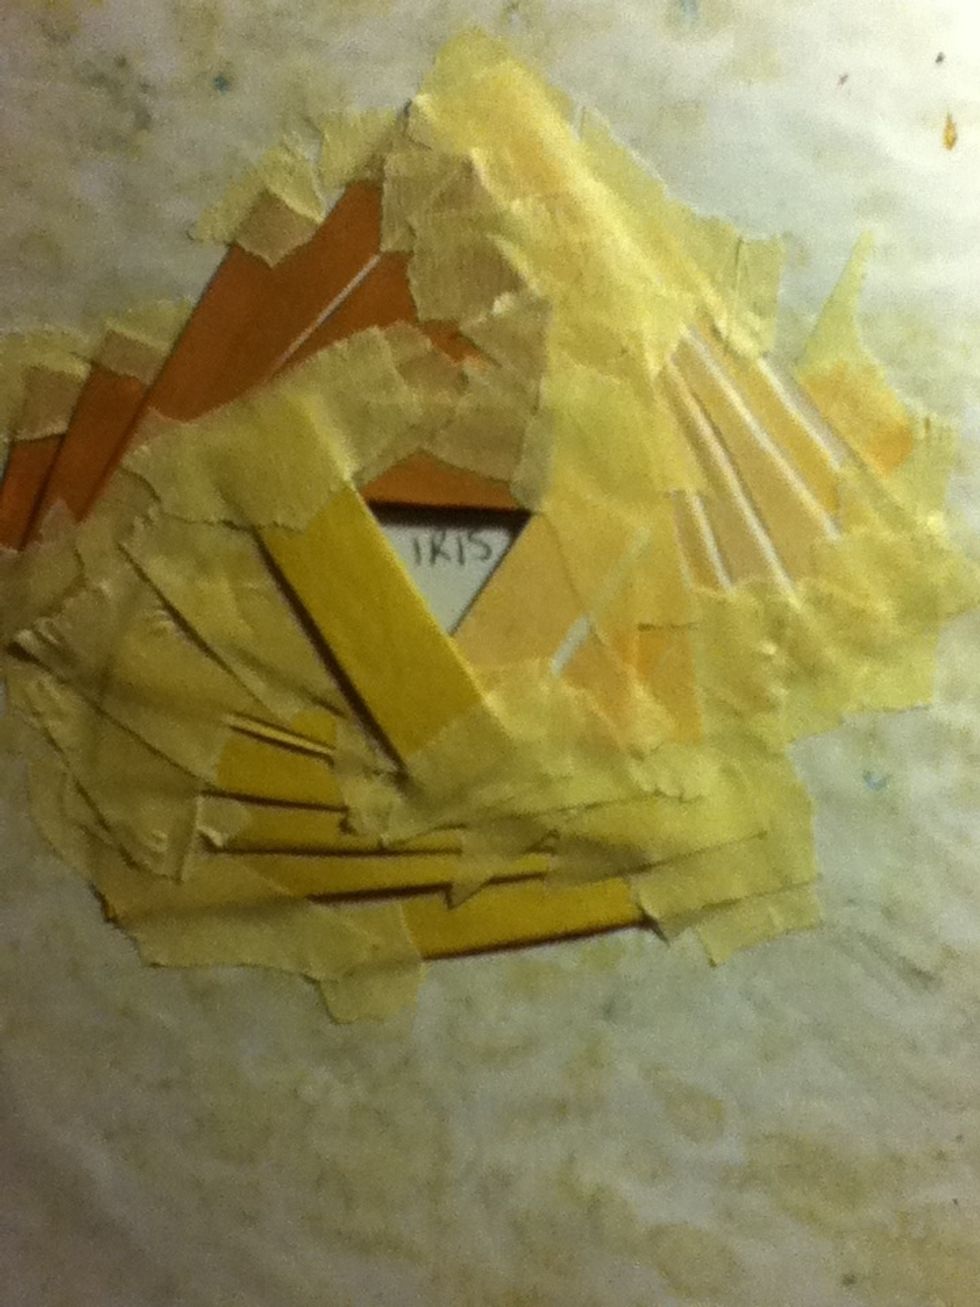
Grab the small bits
And fit it to the number your up to, if it doesn't fit, don't stress, you can just go back to using the big ones again
Even if its a bit big, don't worry, it's good to use these up, so that you don't have to pick up all those tiny bits when you're done!
Now time for the iris
Take a different coloured sheet, I would suggest you use a darker colour to the rest of the ones your already using, sorry about this photo, it's actually brown, the lights weren't being helpful...
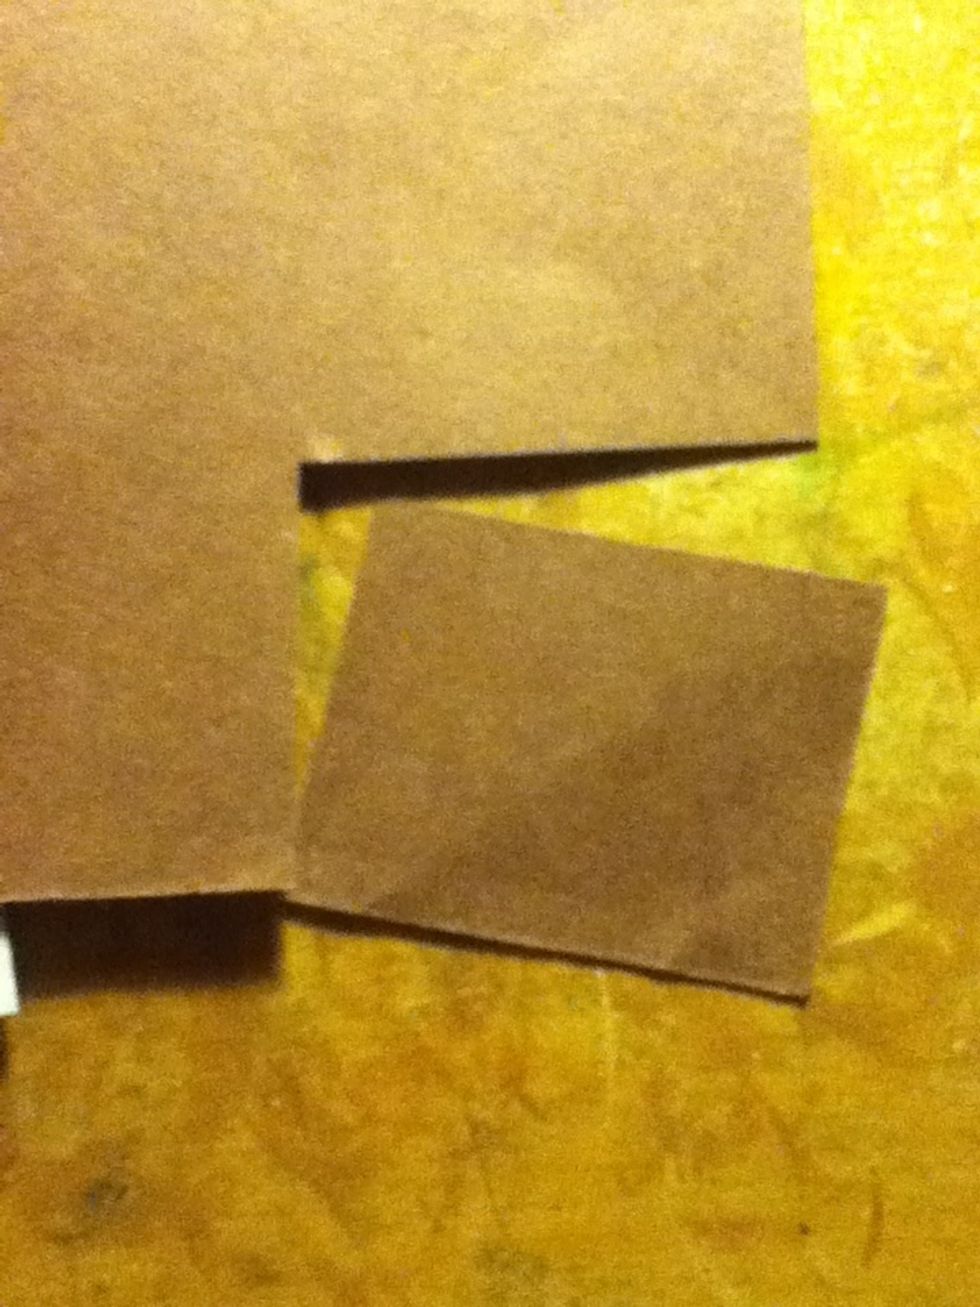
Cut out a corner
Cover the iris
Tape it down, make sure it's secure
And if you like you can tape up the rest too!
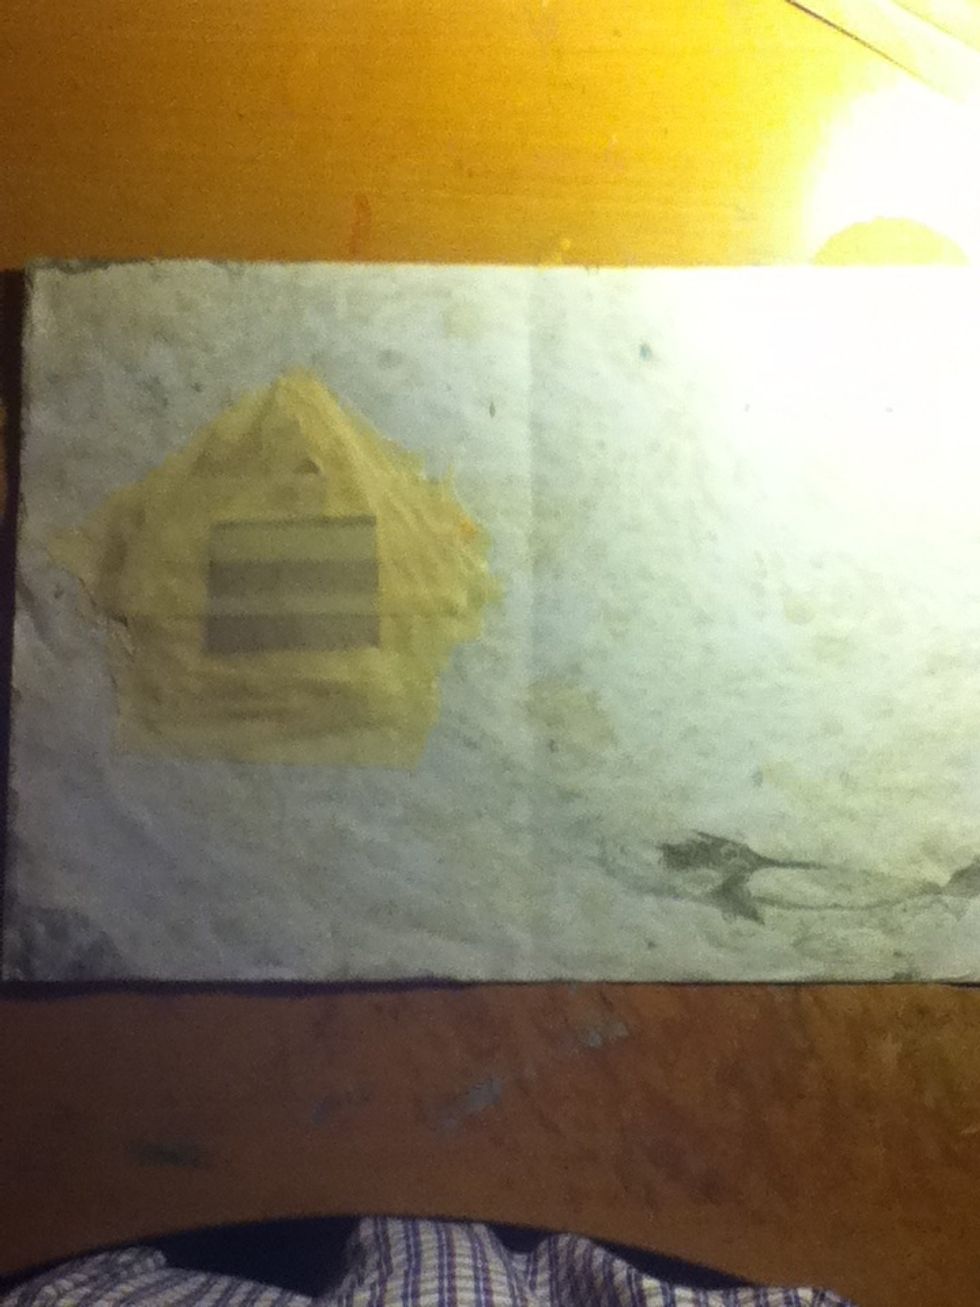
Don't forget to take off the template!!

Start to unstick it, be careful to not tear the paper

Take it off all the way
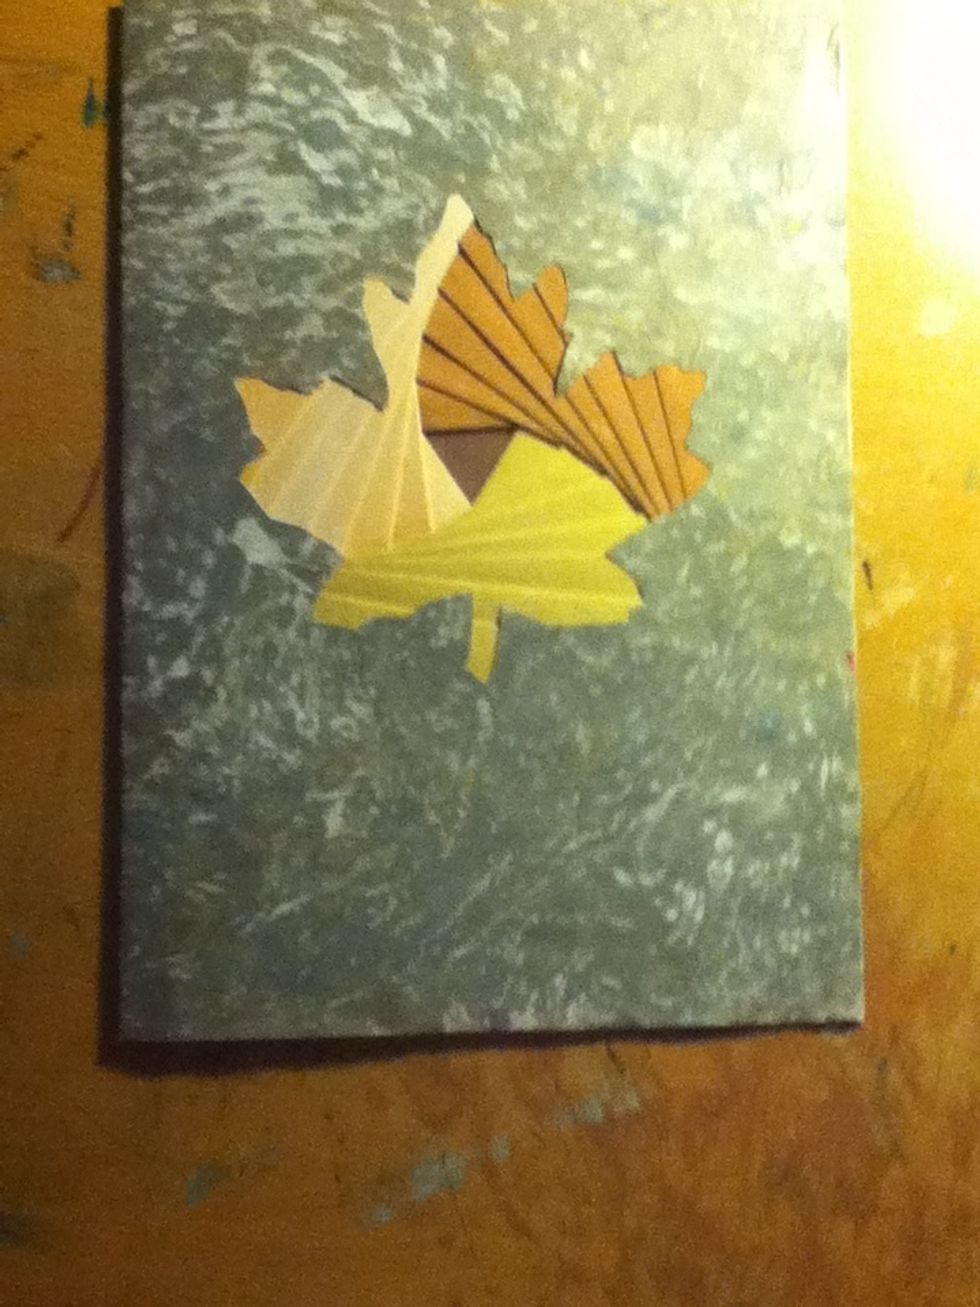
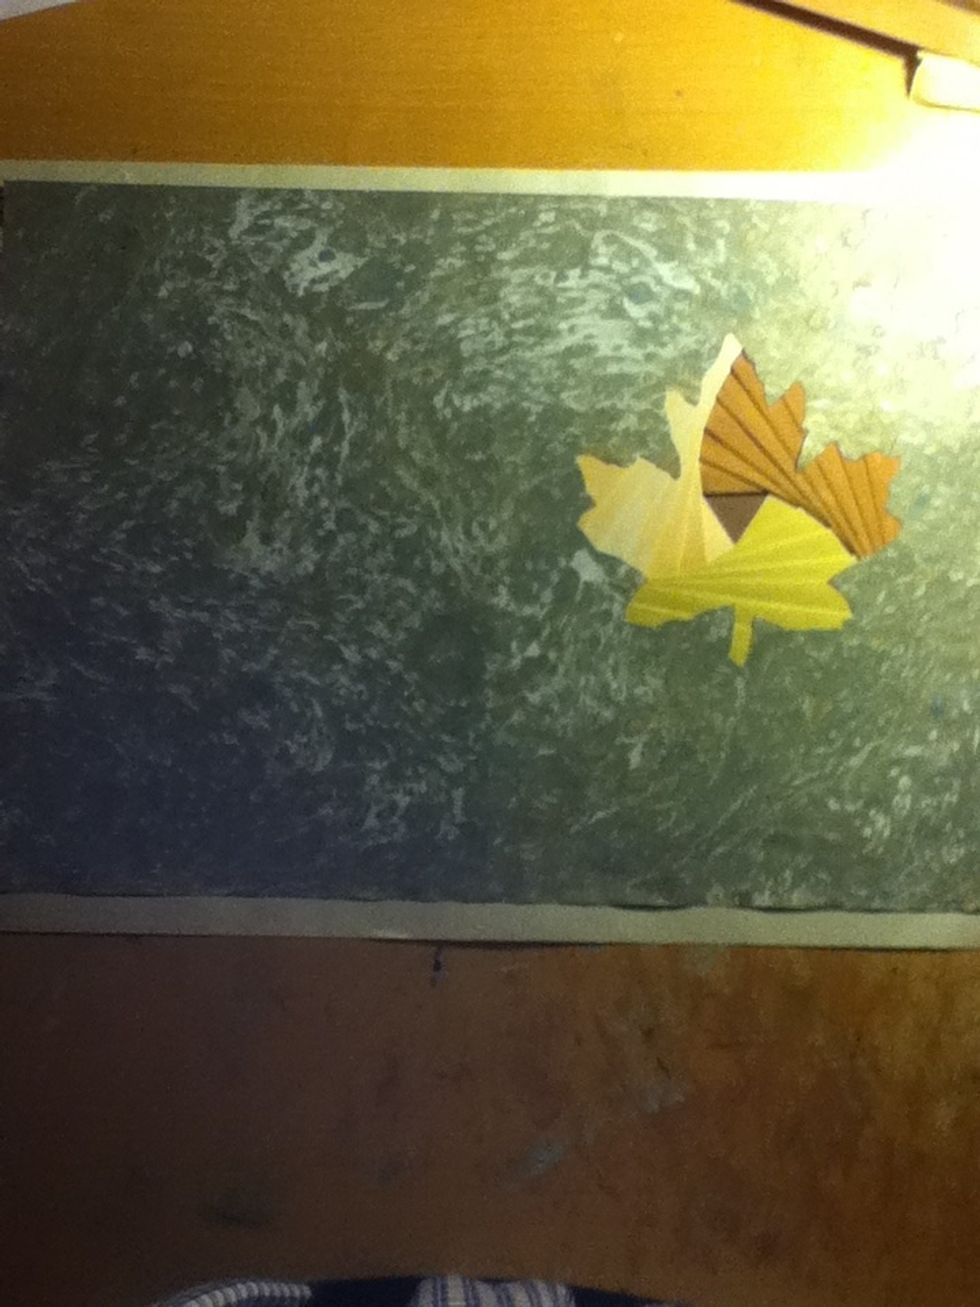
And there you have it! An almost finished iris folded card!!
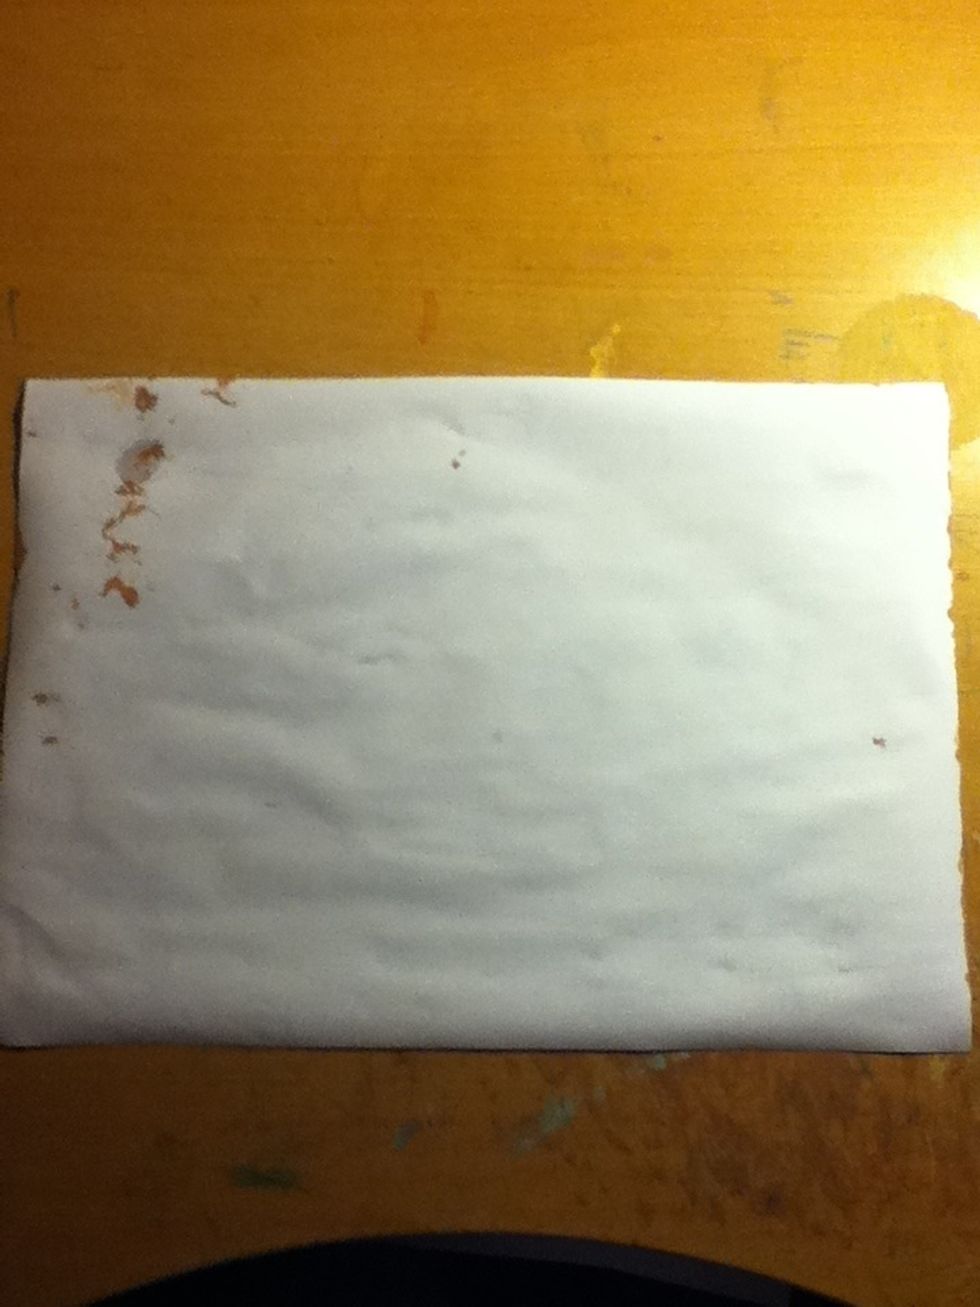
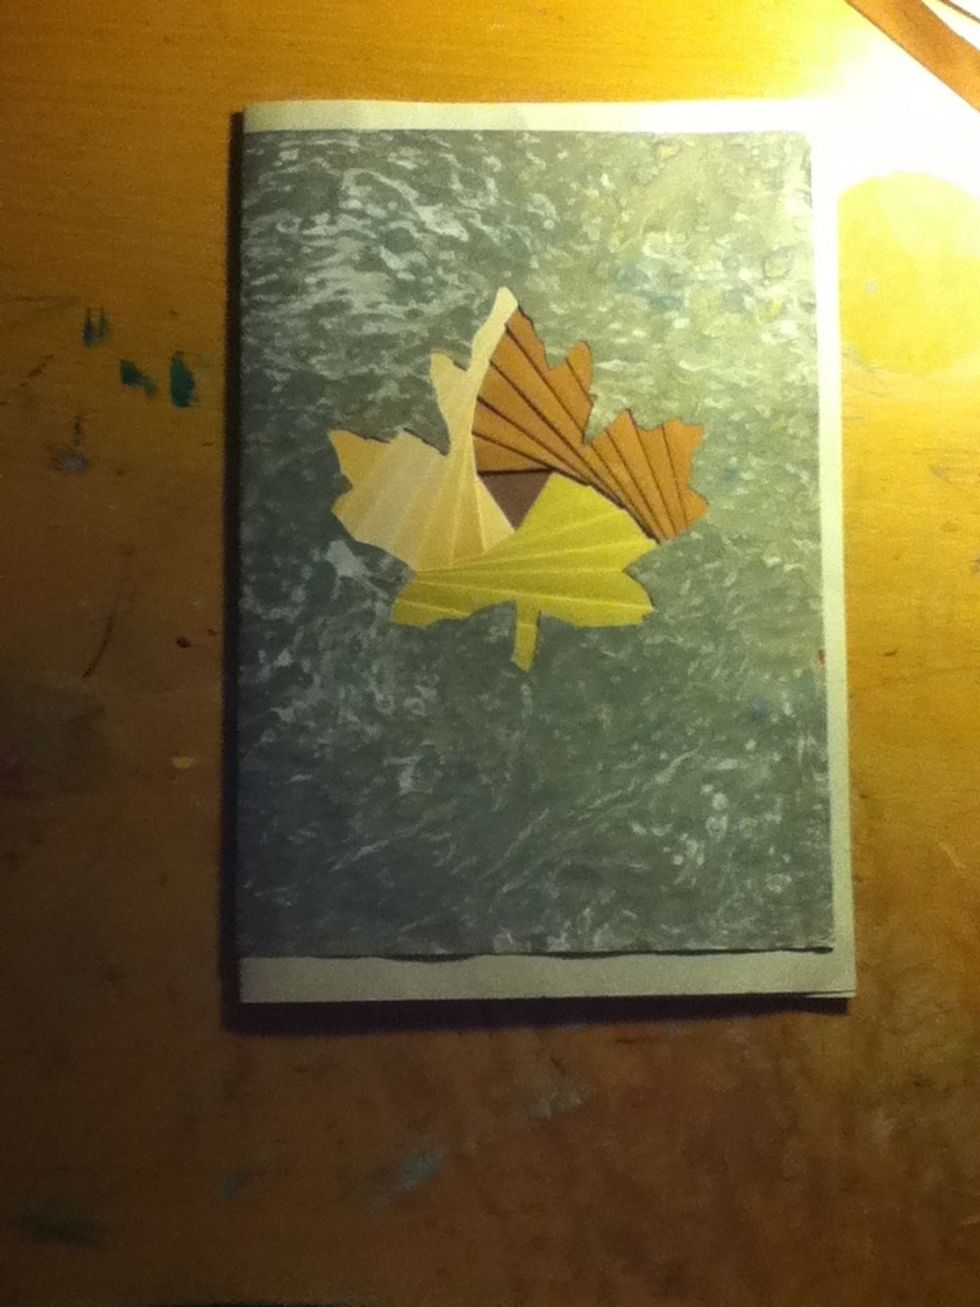
Don't forget about the inside,
Just get some paper larger than the card
And get some glue
Glue the paper
And stick it down!
There you go!
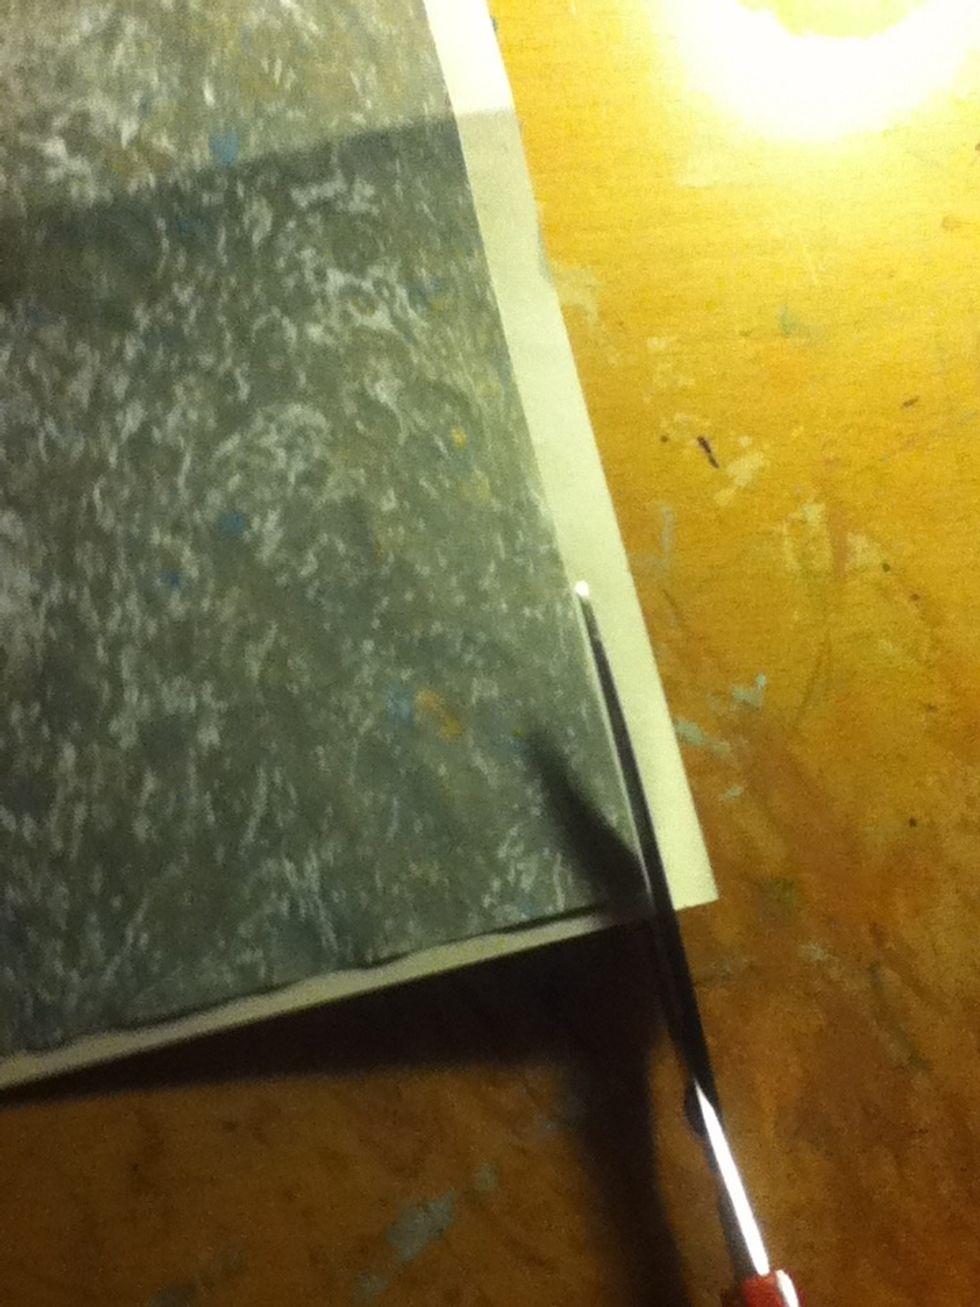
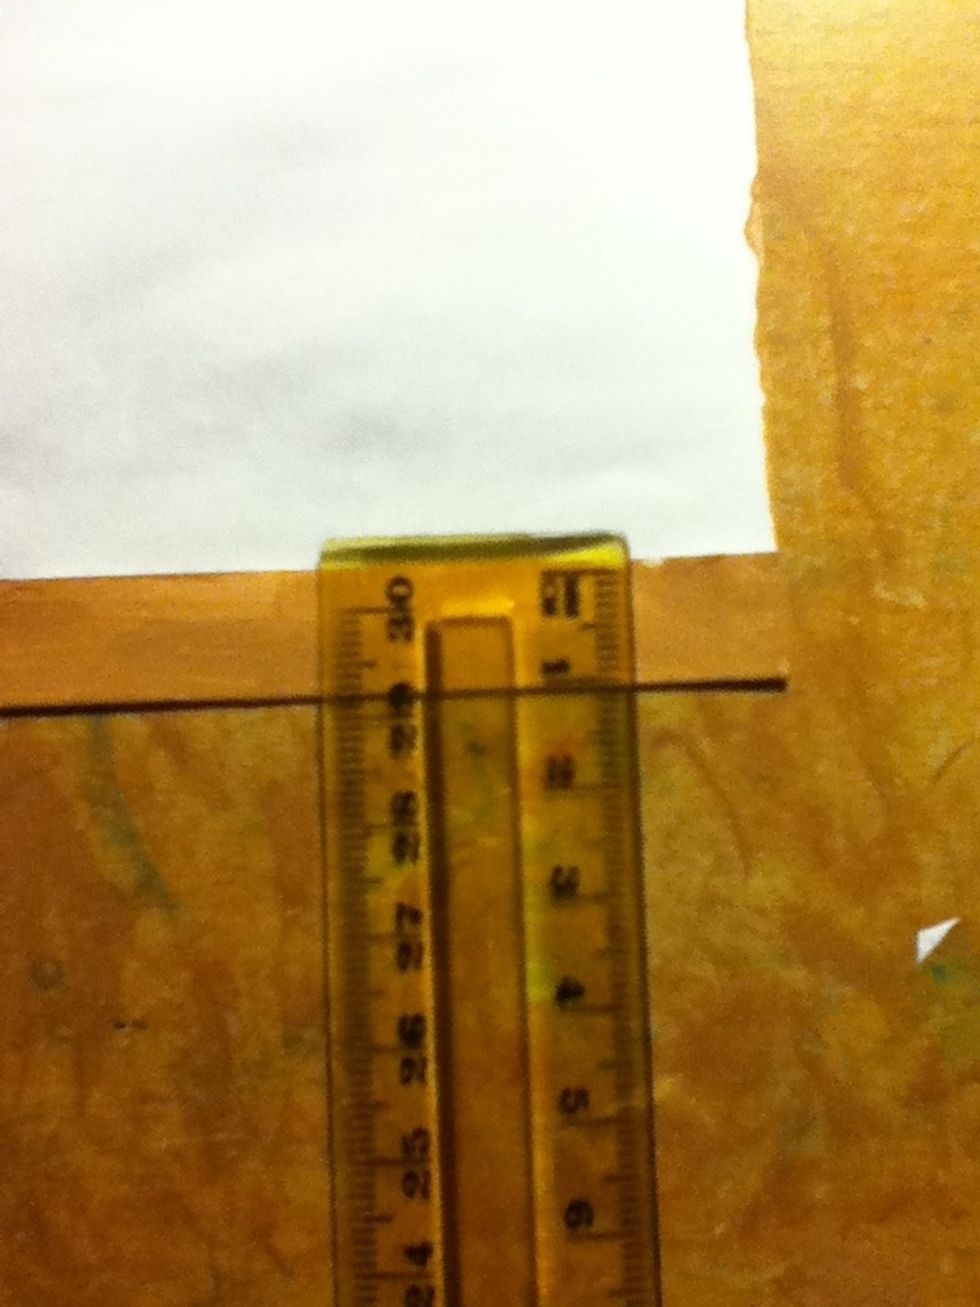
(This is optional) you can cut off the excess white
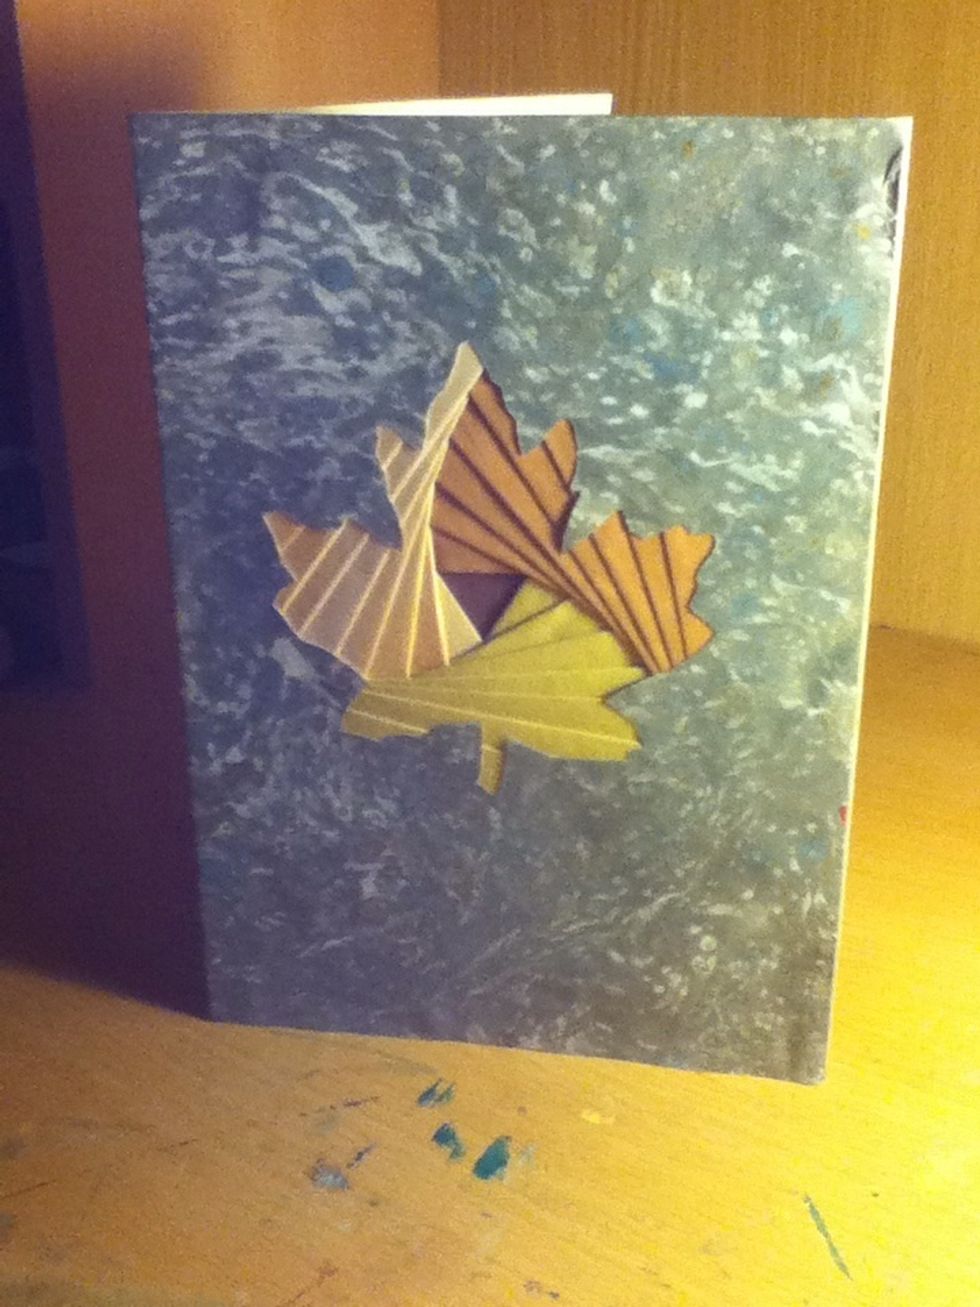
Tada!!!!! A finished card!