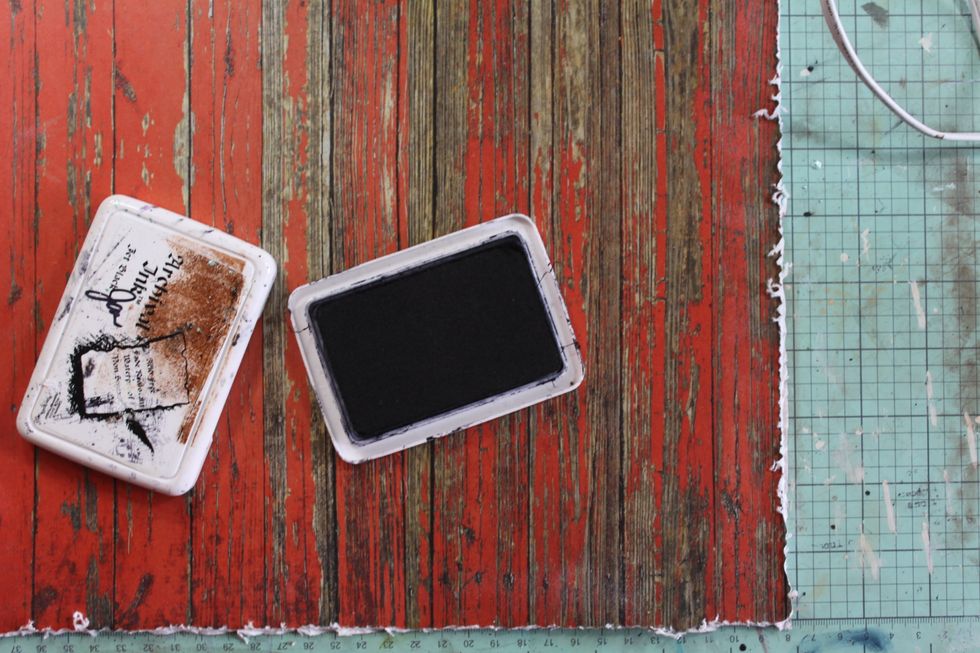
I used black Archival ink on the edges after I distressed them
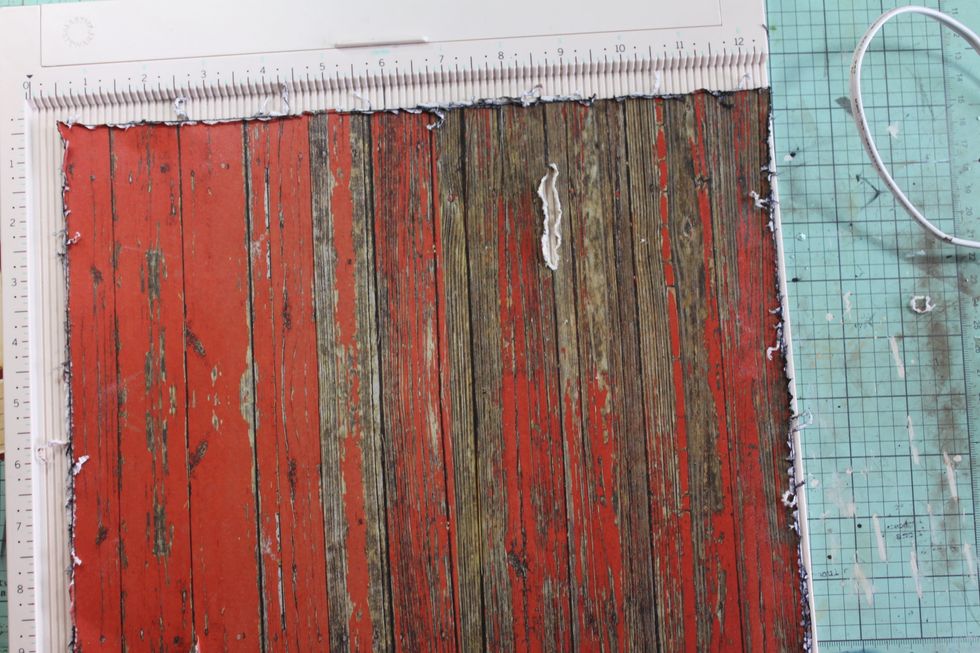
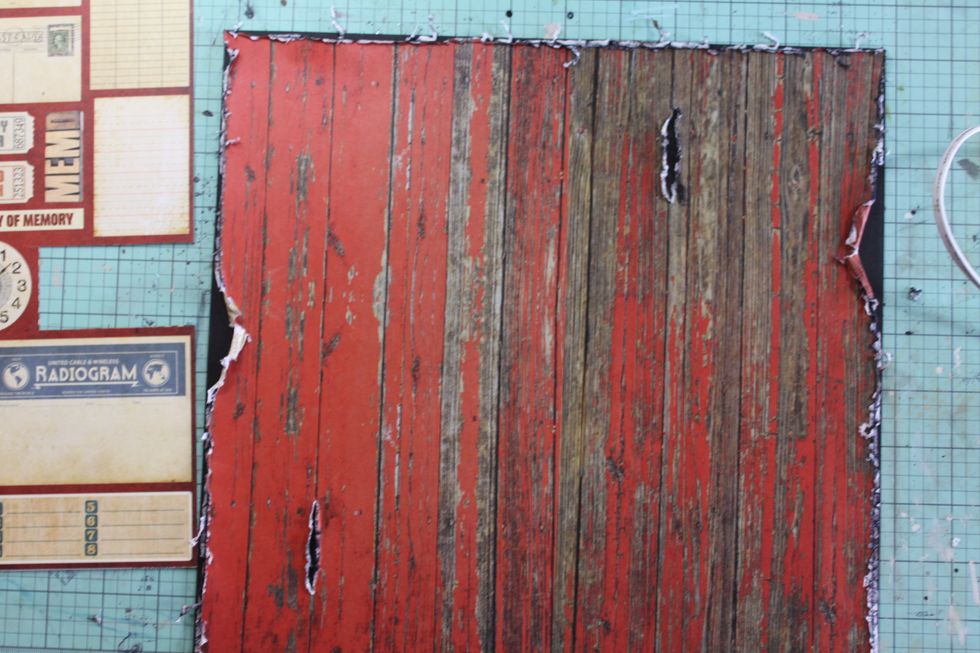
Next, I used a bone folder and scoring board to create some "tears" in the middle of the page.
Also, randomly deep distress around the edges for more interest.
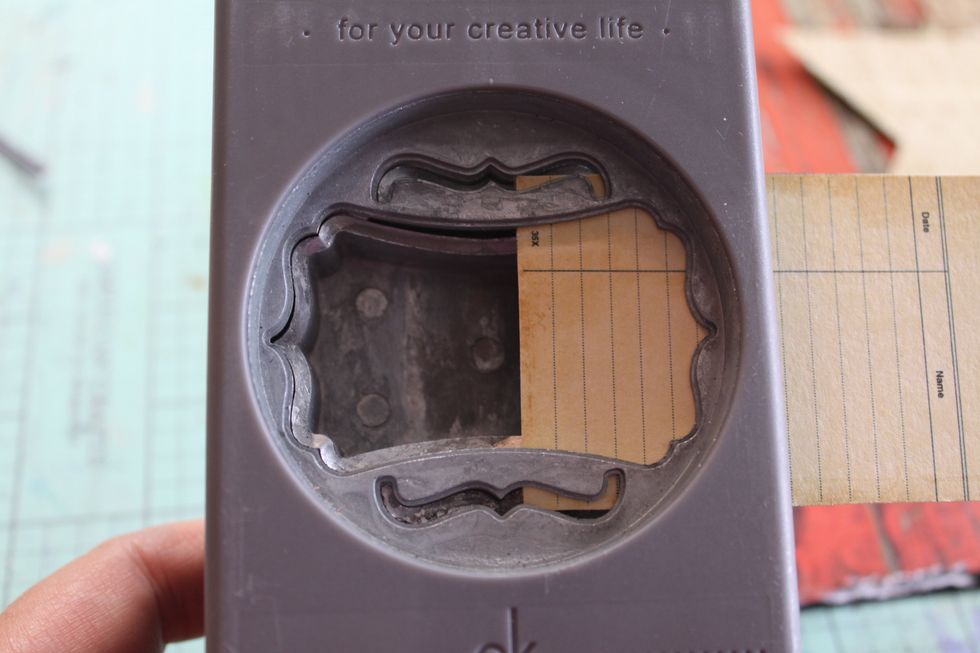
I used one of the ephemera cards cut from the patterned paper, only punched half of it to create a fancy tab.
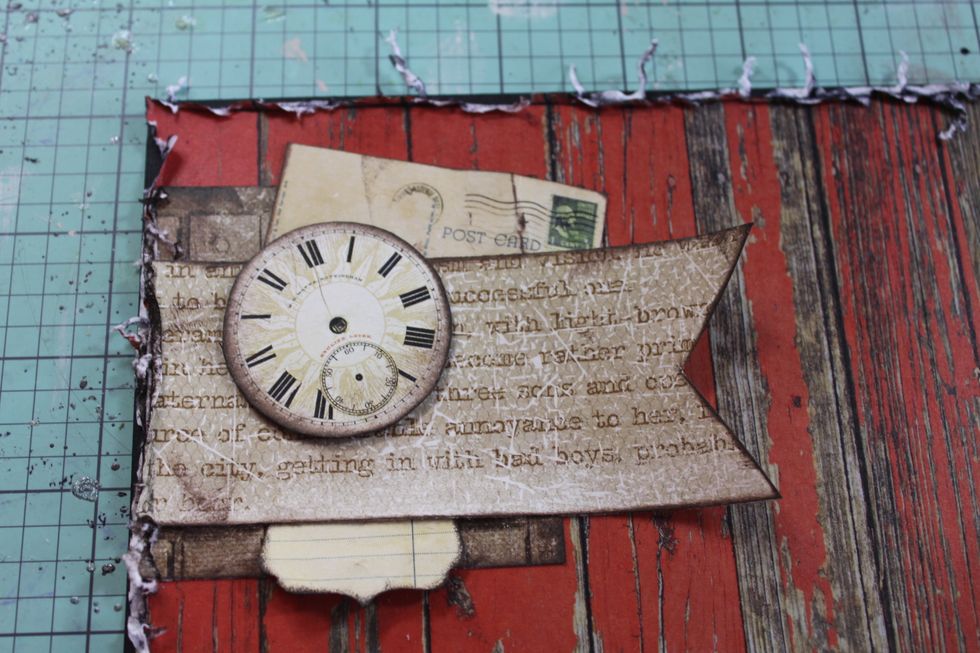
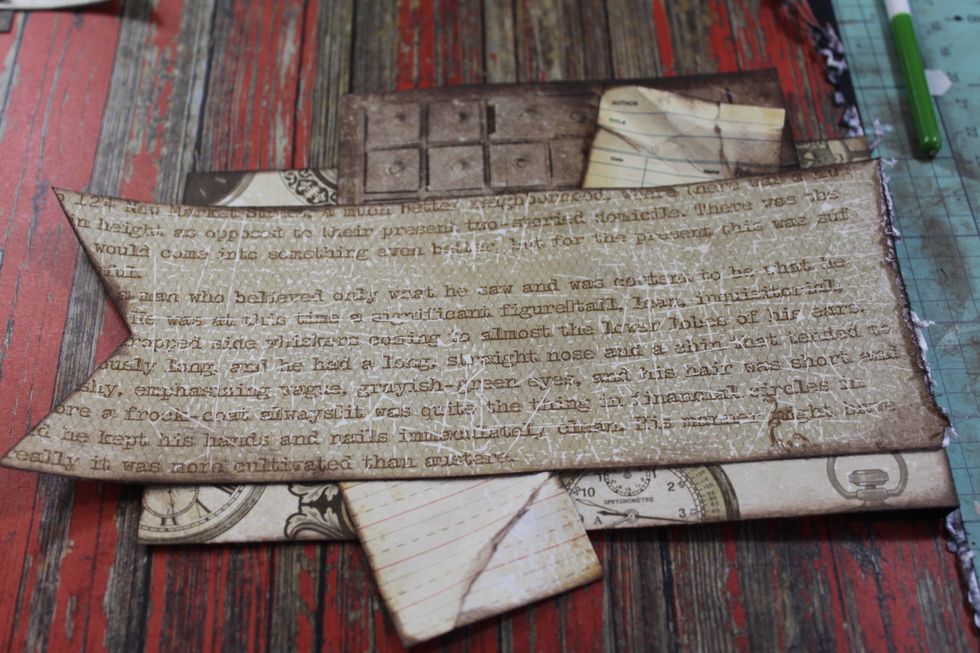
Here's what I have put together to start the layering.
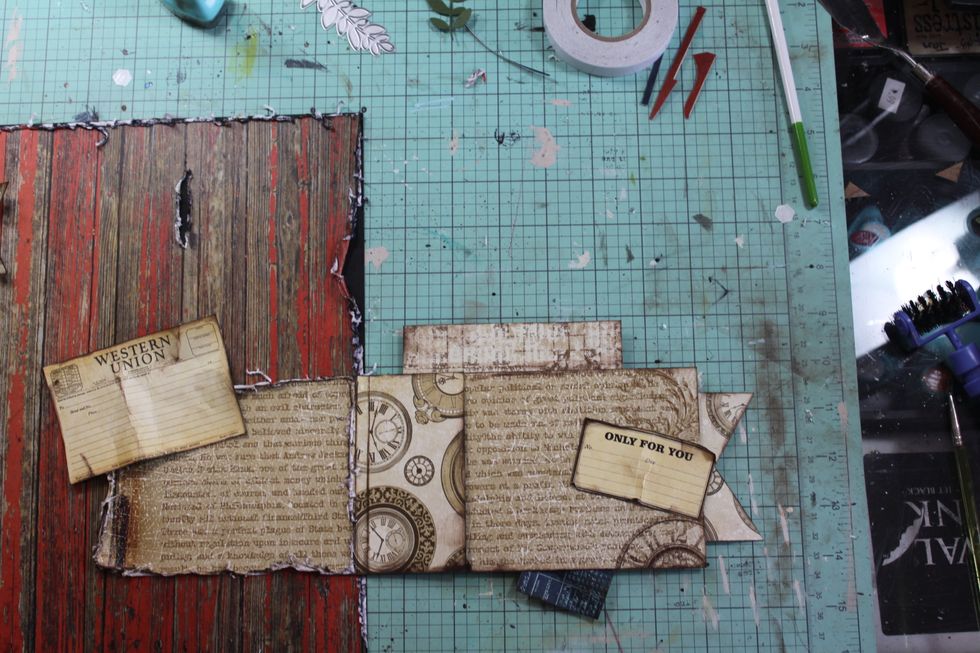
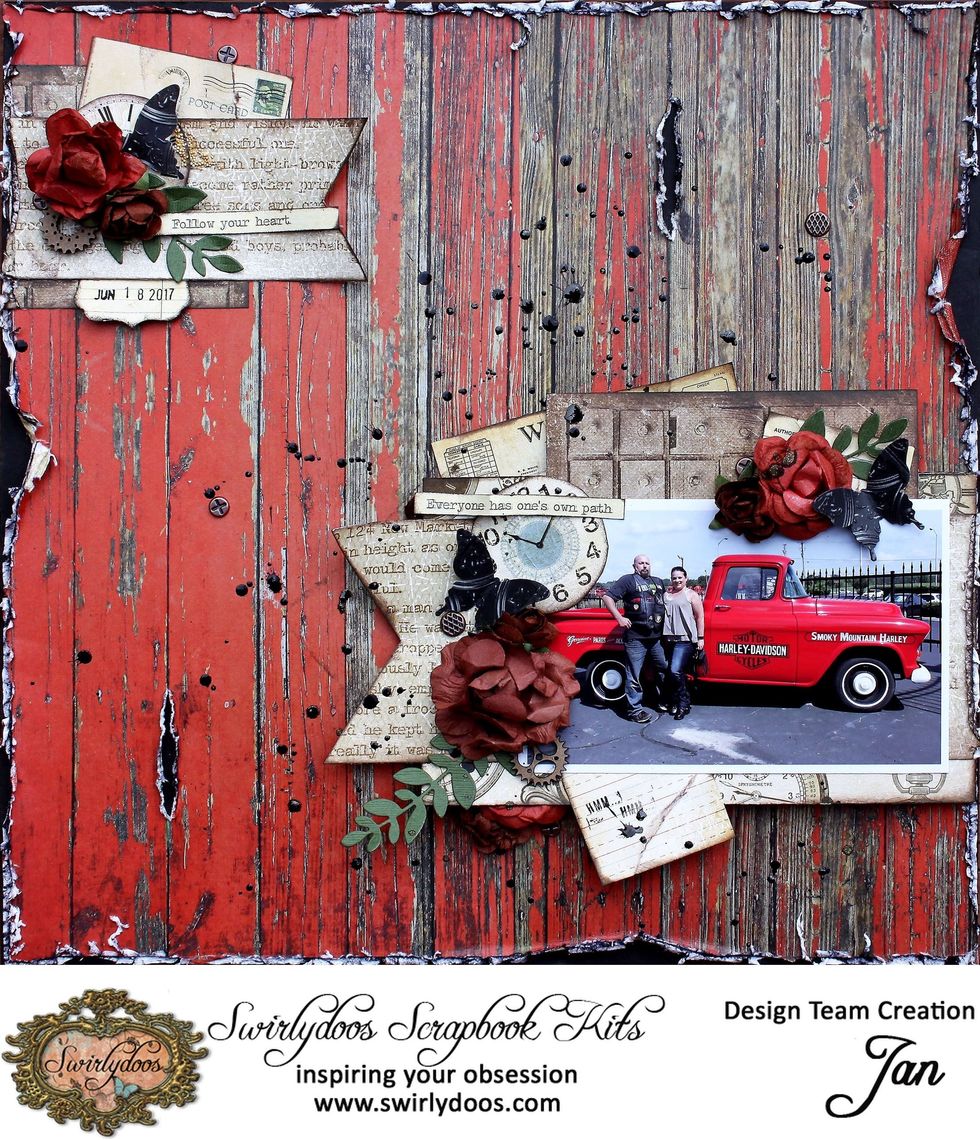
This is what the top left corner looks like with the paper layers only.
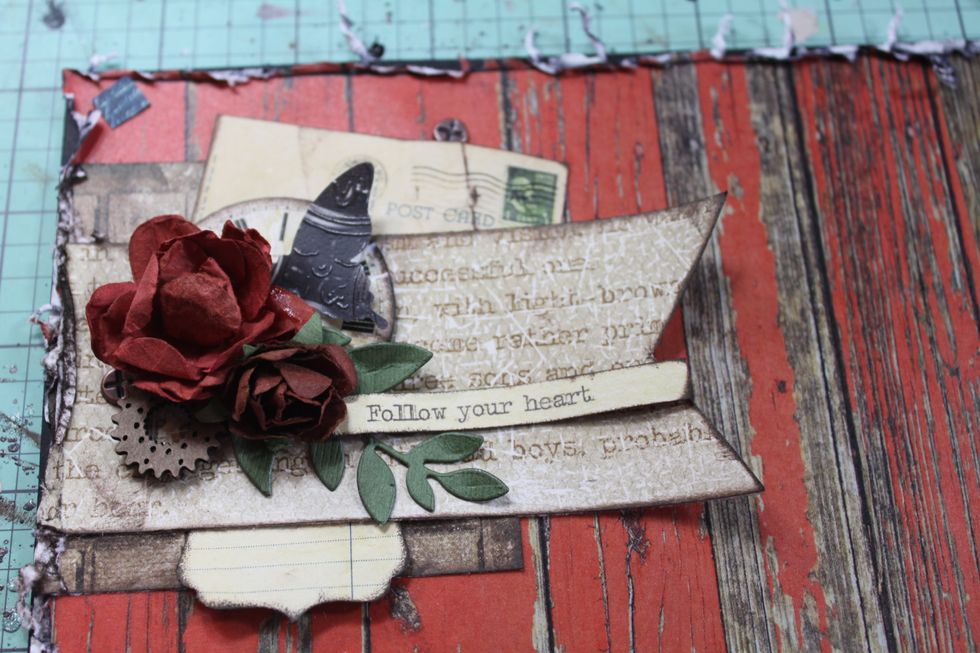
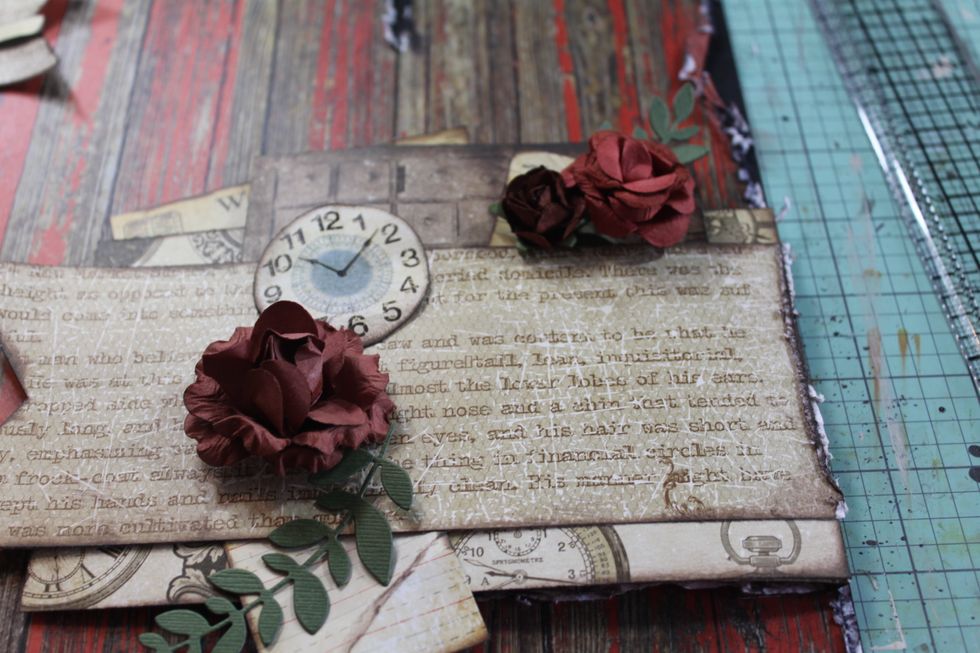
Add, a few flowers, diecut leaves, diecut butterfly and some brads and a chipboard gear.
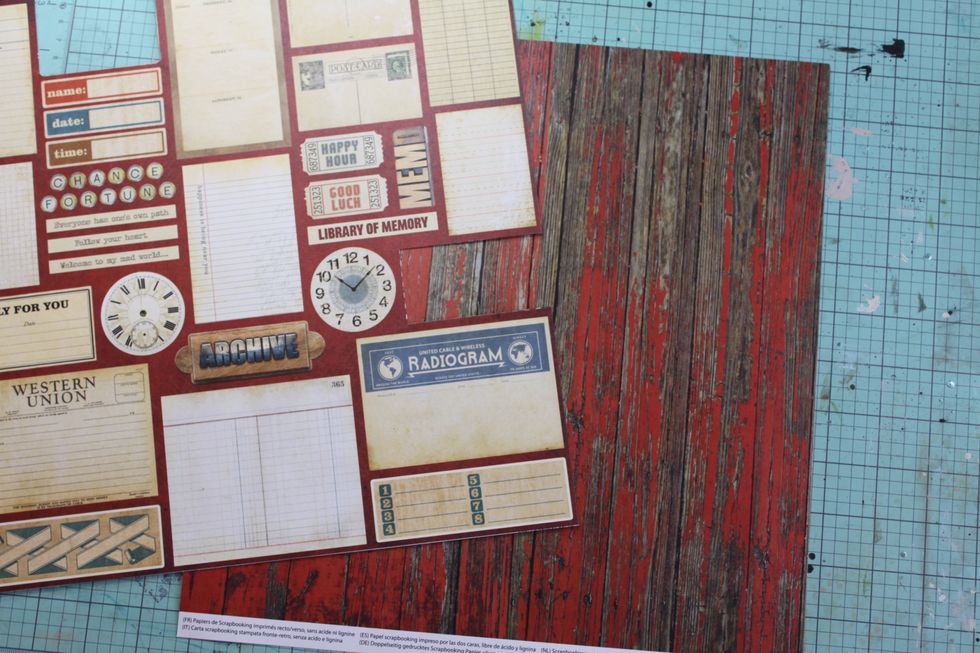
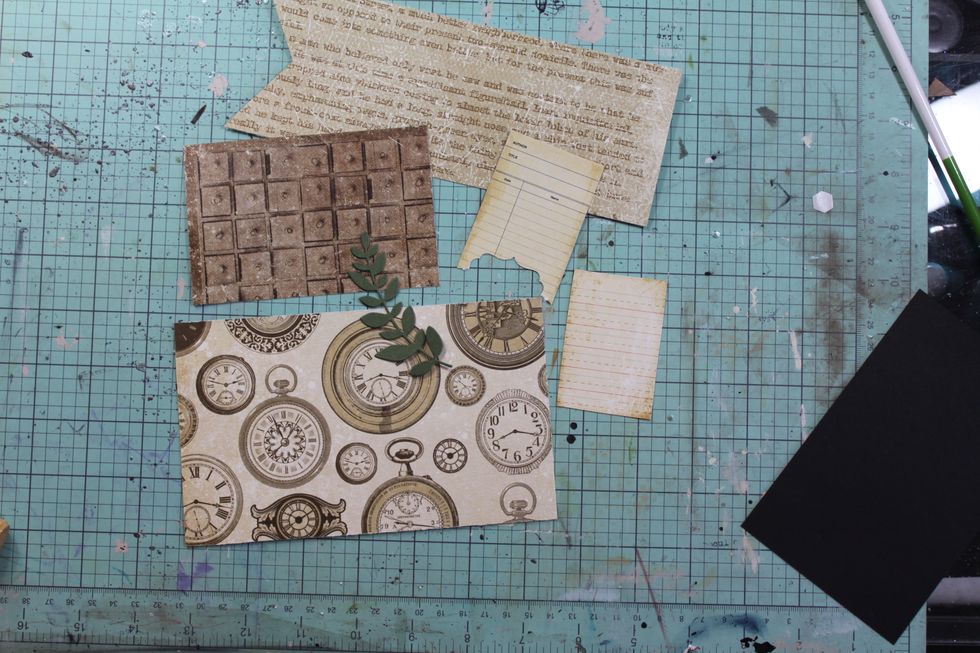
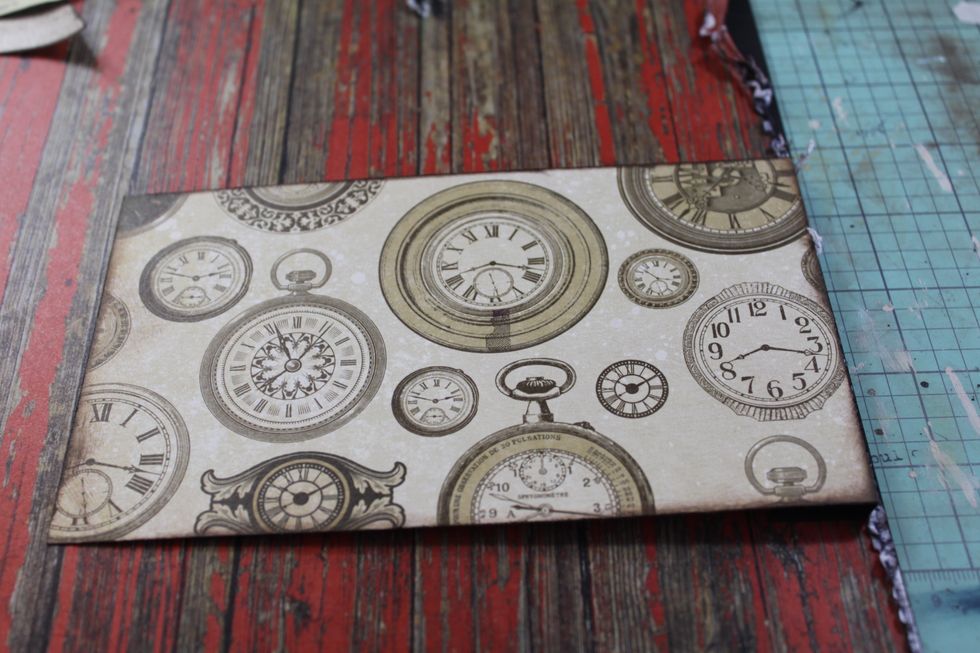
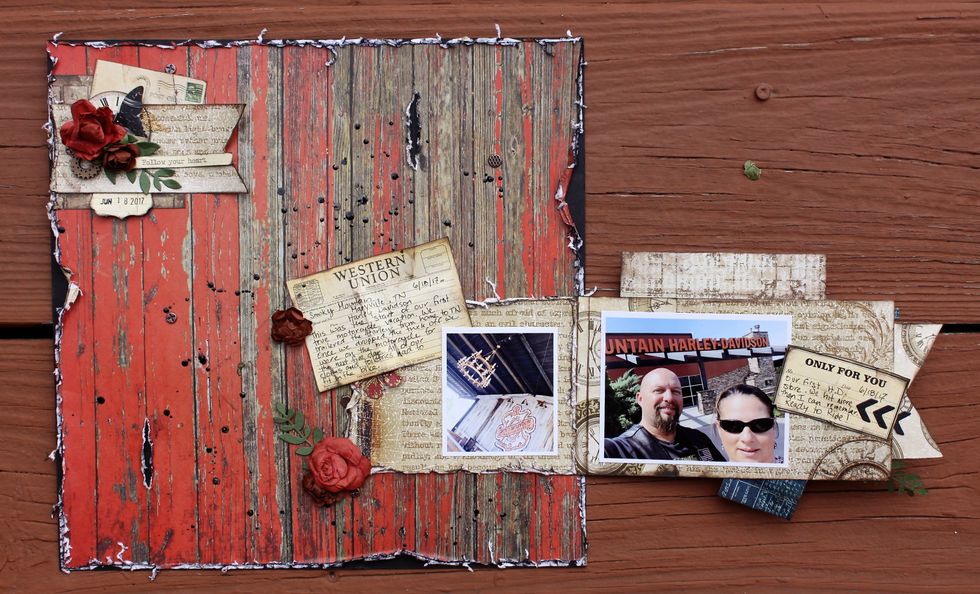
Here's the papers used to build up the layers for the photo interactive piece.
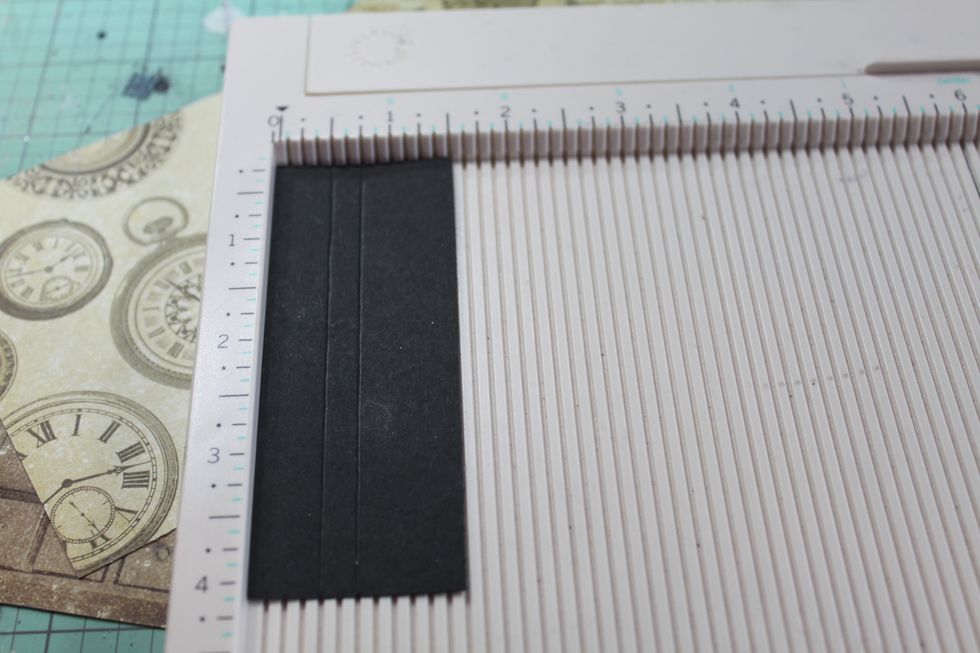
Cut a strip of cardstock 4" x1 1/2" and score at 1/2" and 3/4".
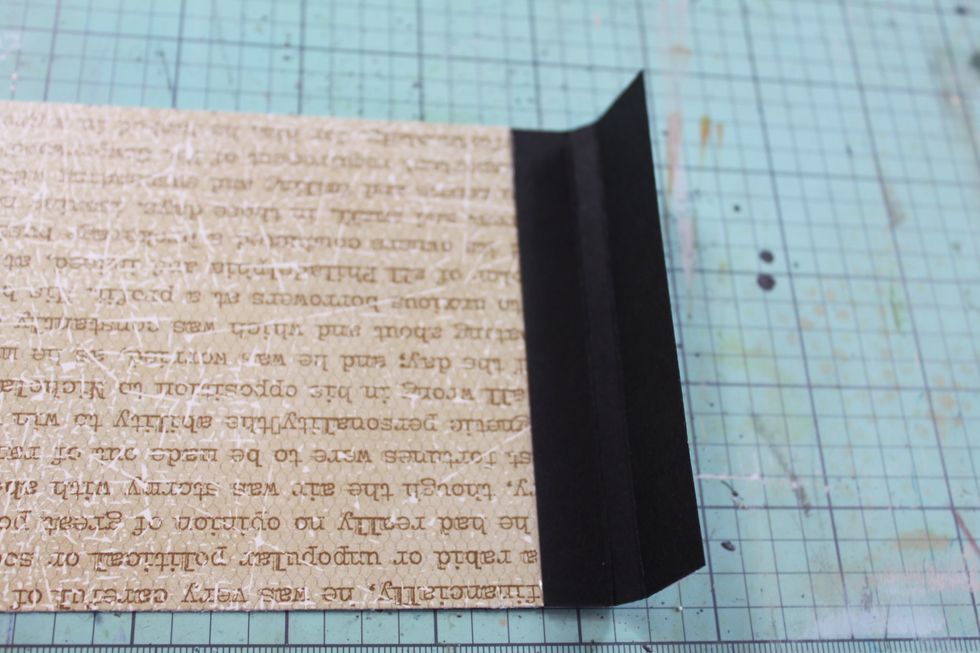
Now add the 1/2' double sided tape to the edges.
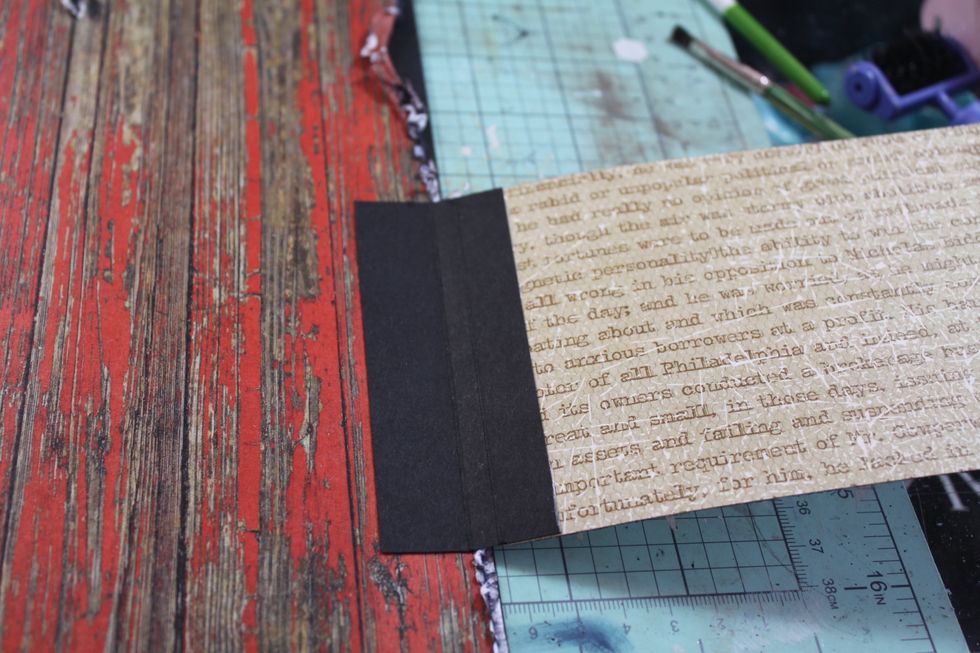
Adhere the cardstock spine to the banner.
Here's the banner attached to the lower right of the 12x12 page now.
Now you can see what it looks like opened up. You may want to place your magnets under the background paper and under the edge of banner so it closes nicely.
Start the layers with the banner folded out. Here's what mine looked like after layering and folding the banner back onto the page.
Decorate the right inside of the banner as it is folded out. I added the "only for you" tag to cover up the tiny magnet on the banner.
Now add some flowers.
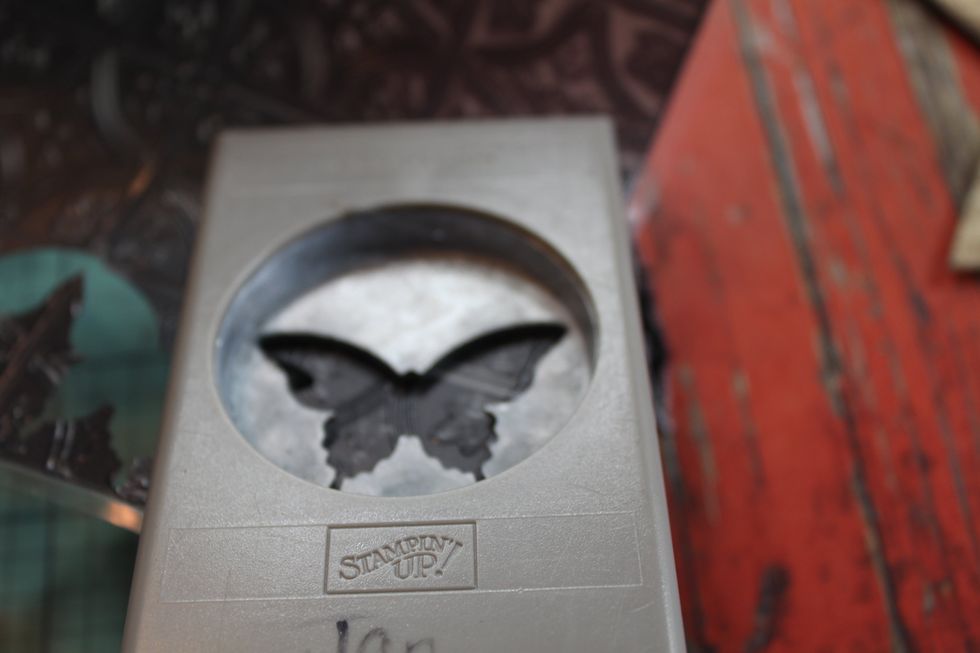
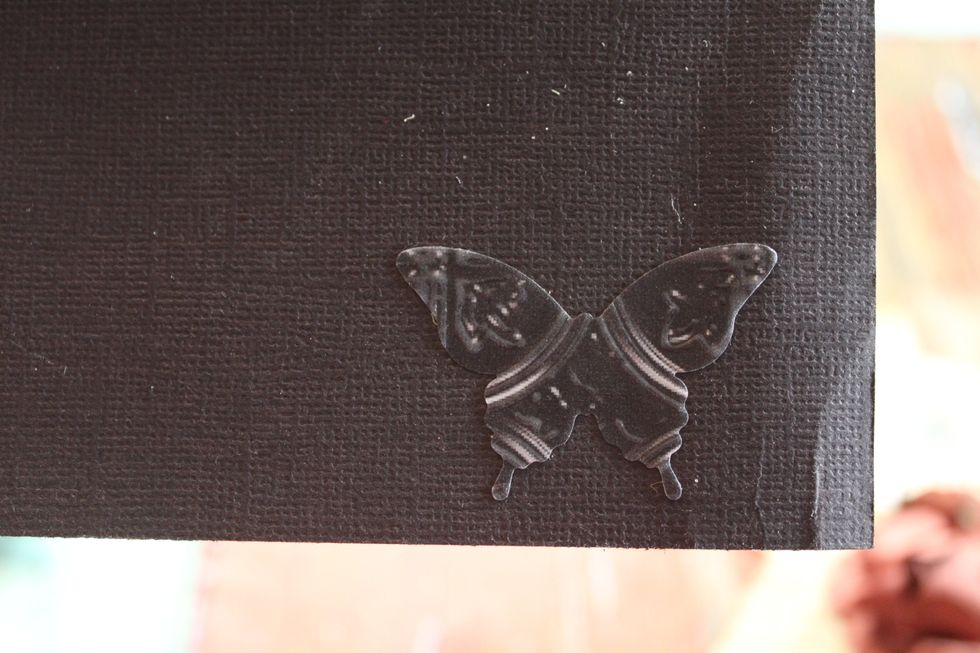
Another butterfly or two! I used one of the adhesive sheets to punch the butterflies.
Then adhered the punched piece to some black card stock for support.
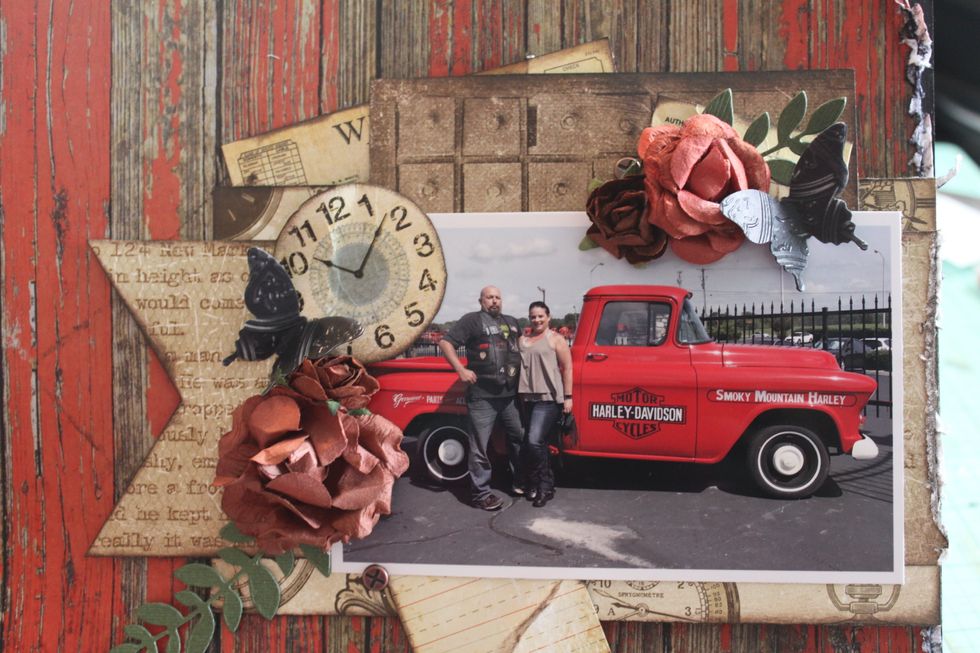
Add your photo and arrange the flowers and butterflies to frame it.
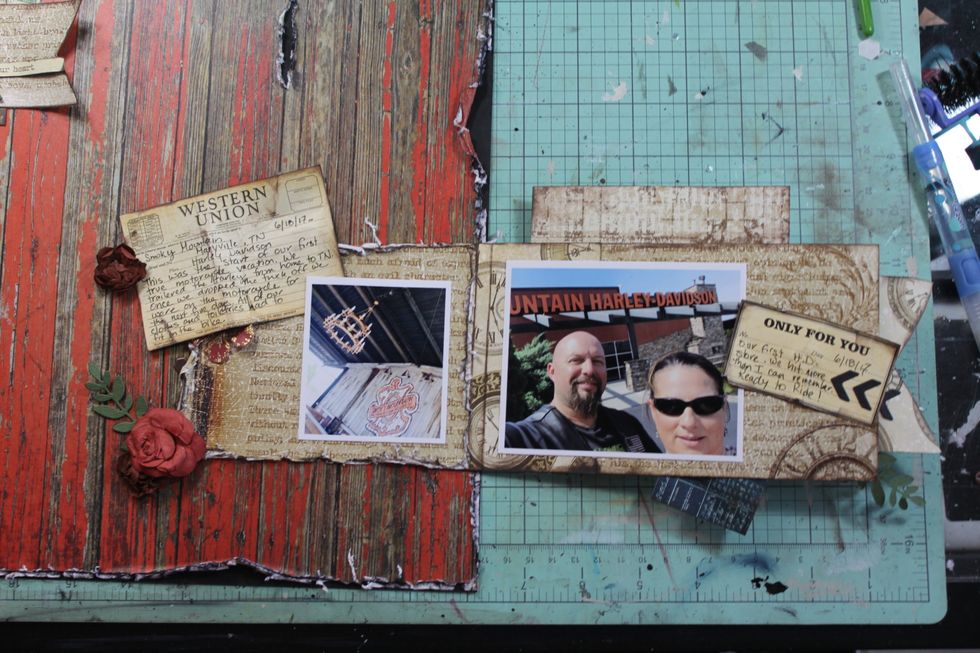
Now, add some photos to the inside of the banner along with some ephemera.
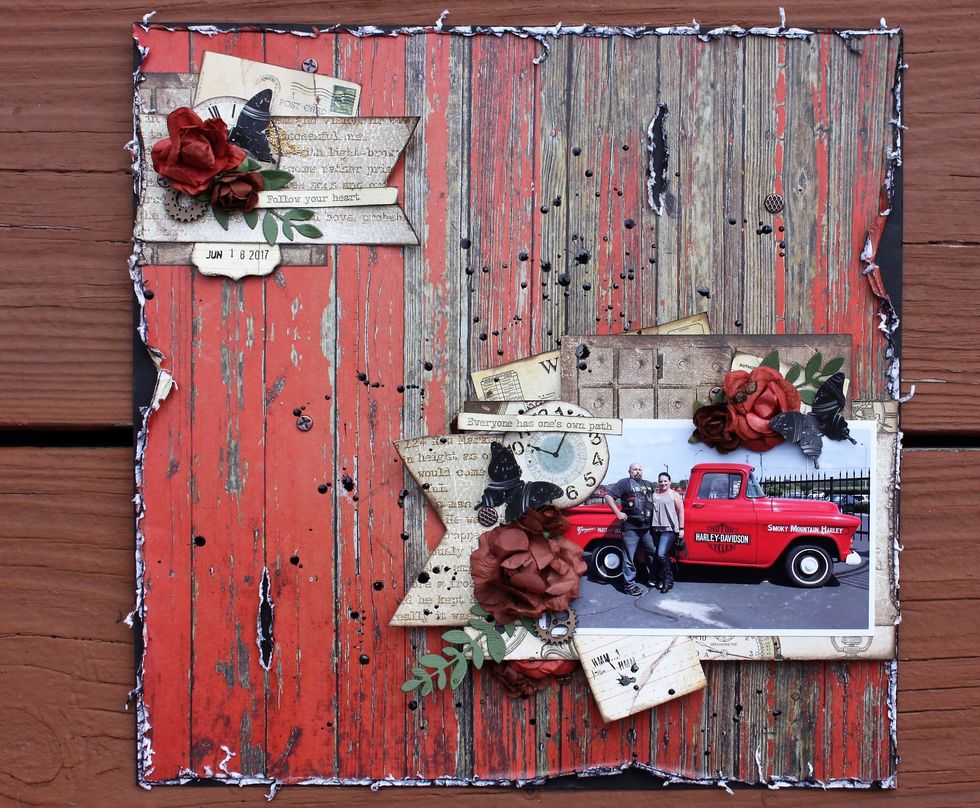
I added a few Tim Holtz brads then splattered the page with Smooch.