How to make an instax photo display for your walls
Make an Instax Photo Display for Your Walls
200
STEPS
TOOLS
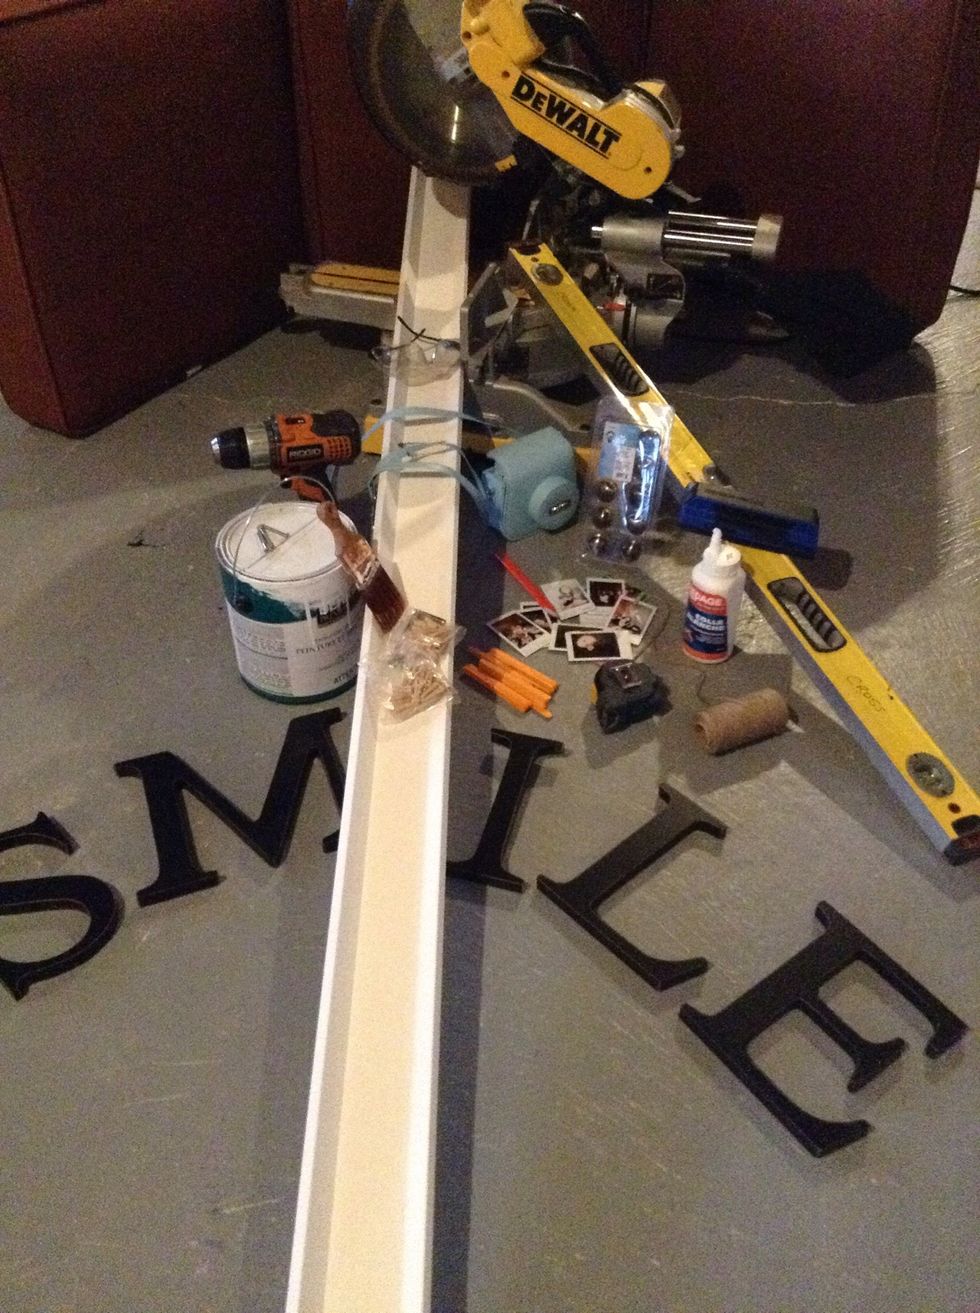
Gather all your supplies
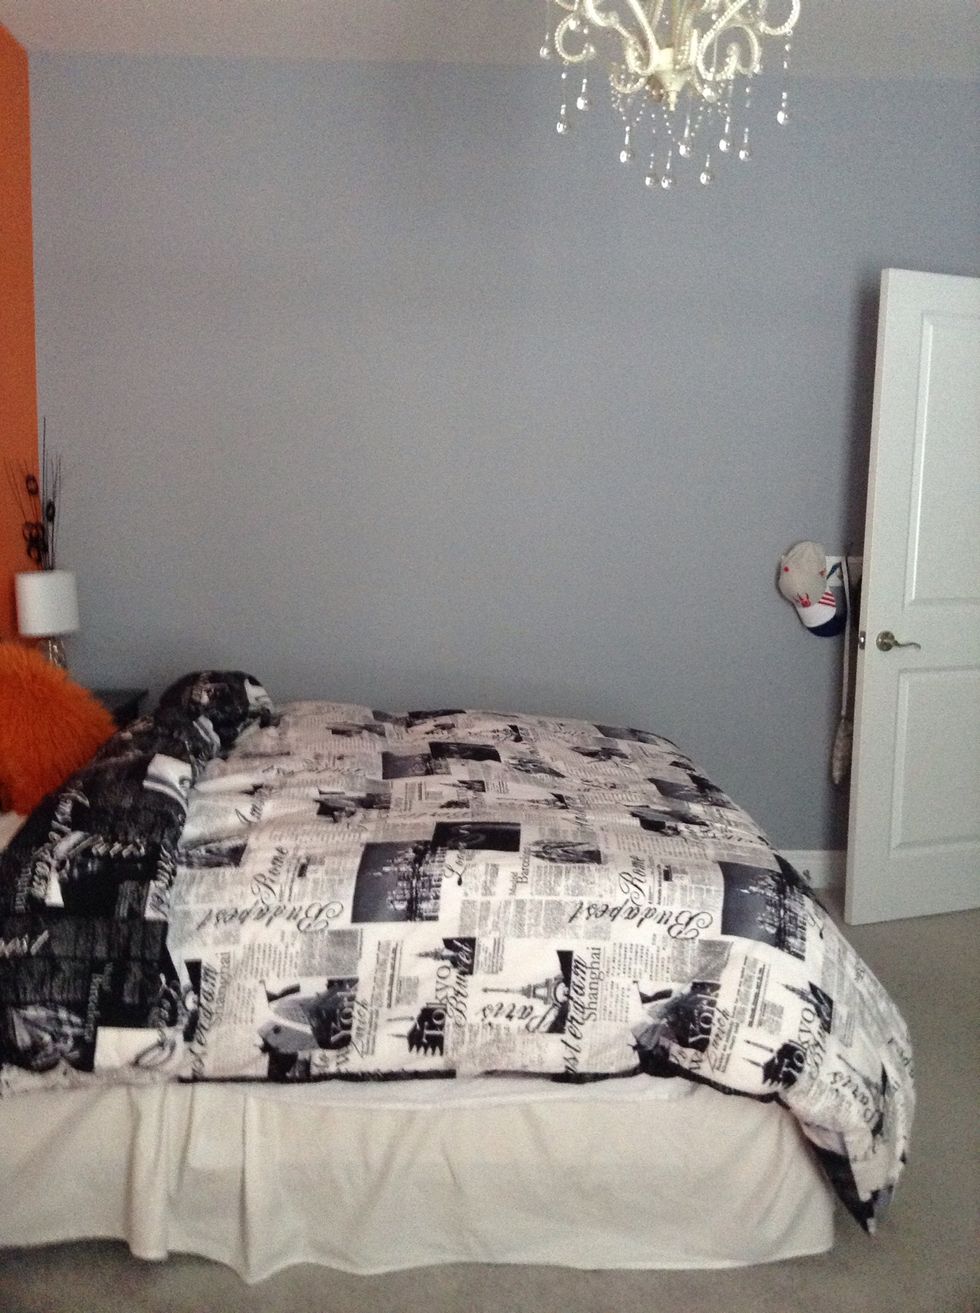
Pick a spot on your wall where you want to hang your display
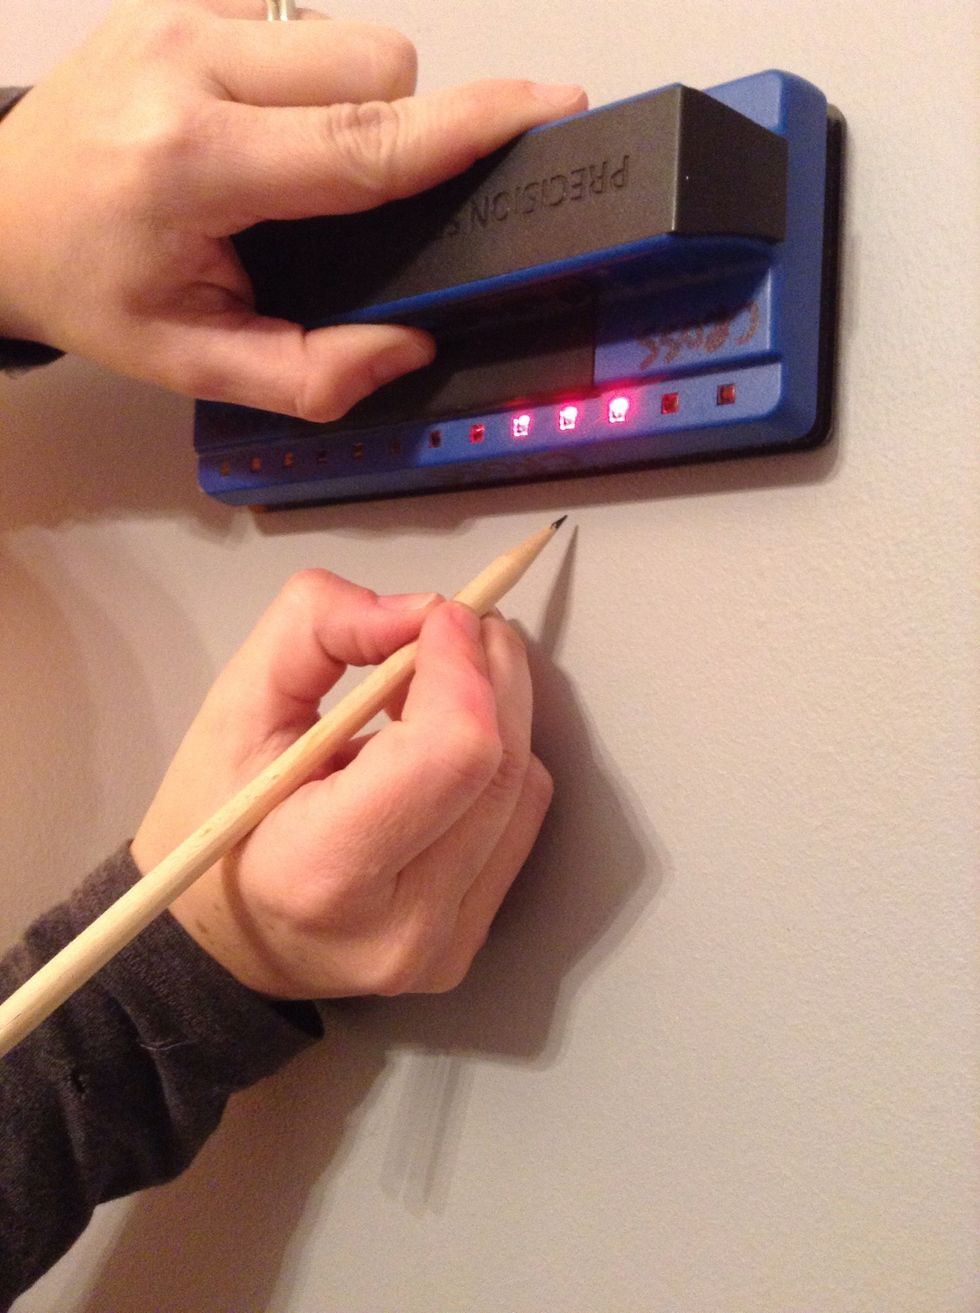
Mark a line where your studs are
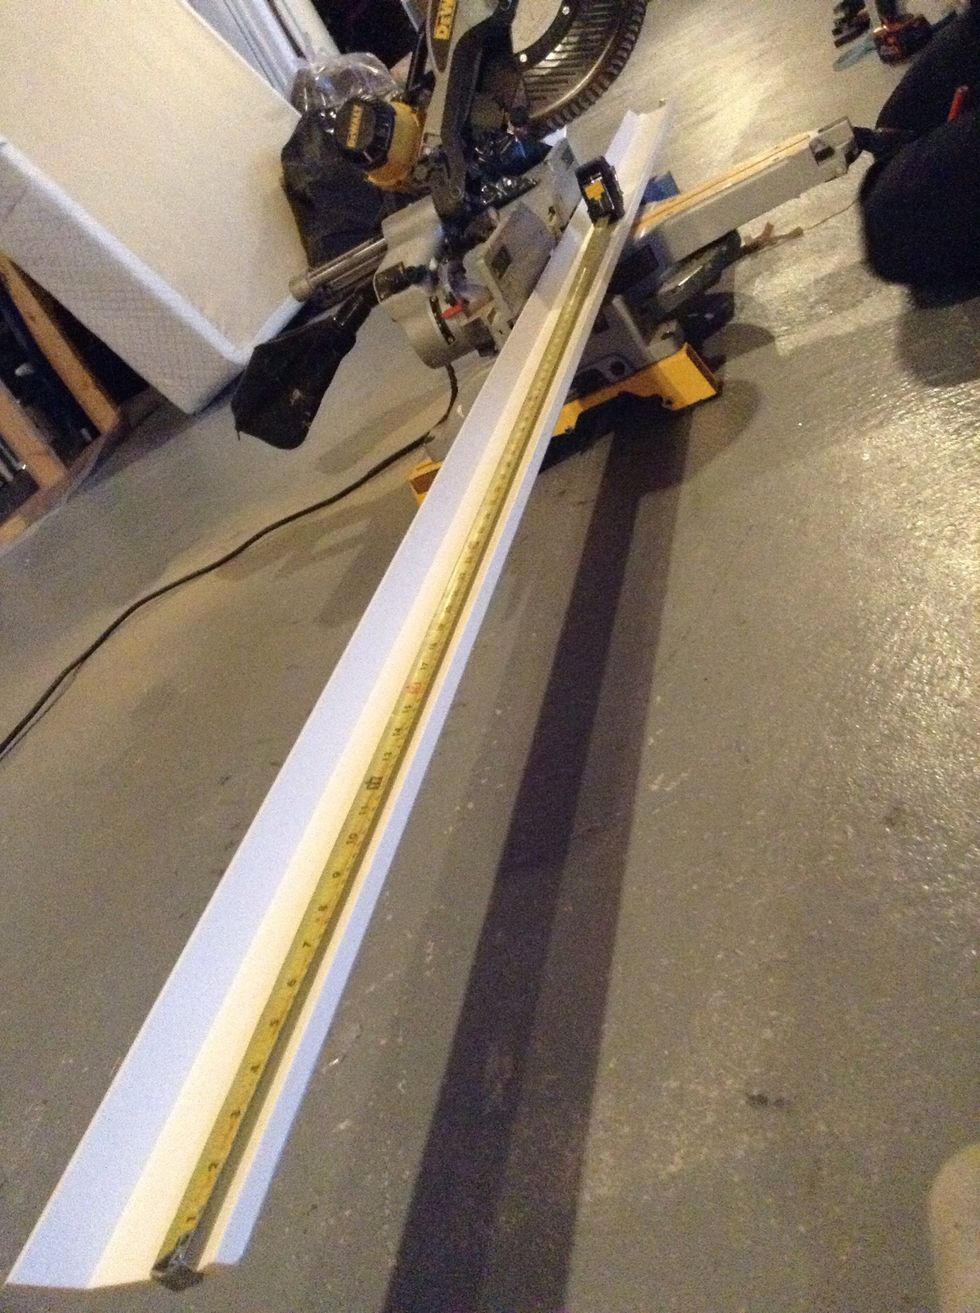
Measure your trim. I measured mine to about 4 and a half feet
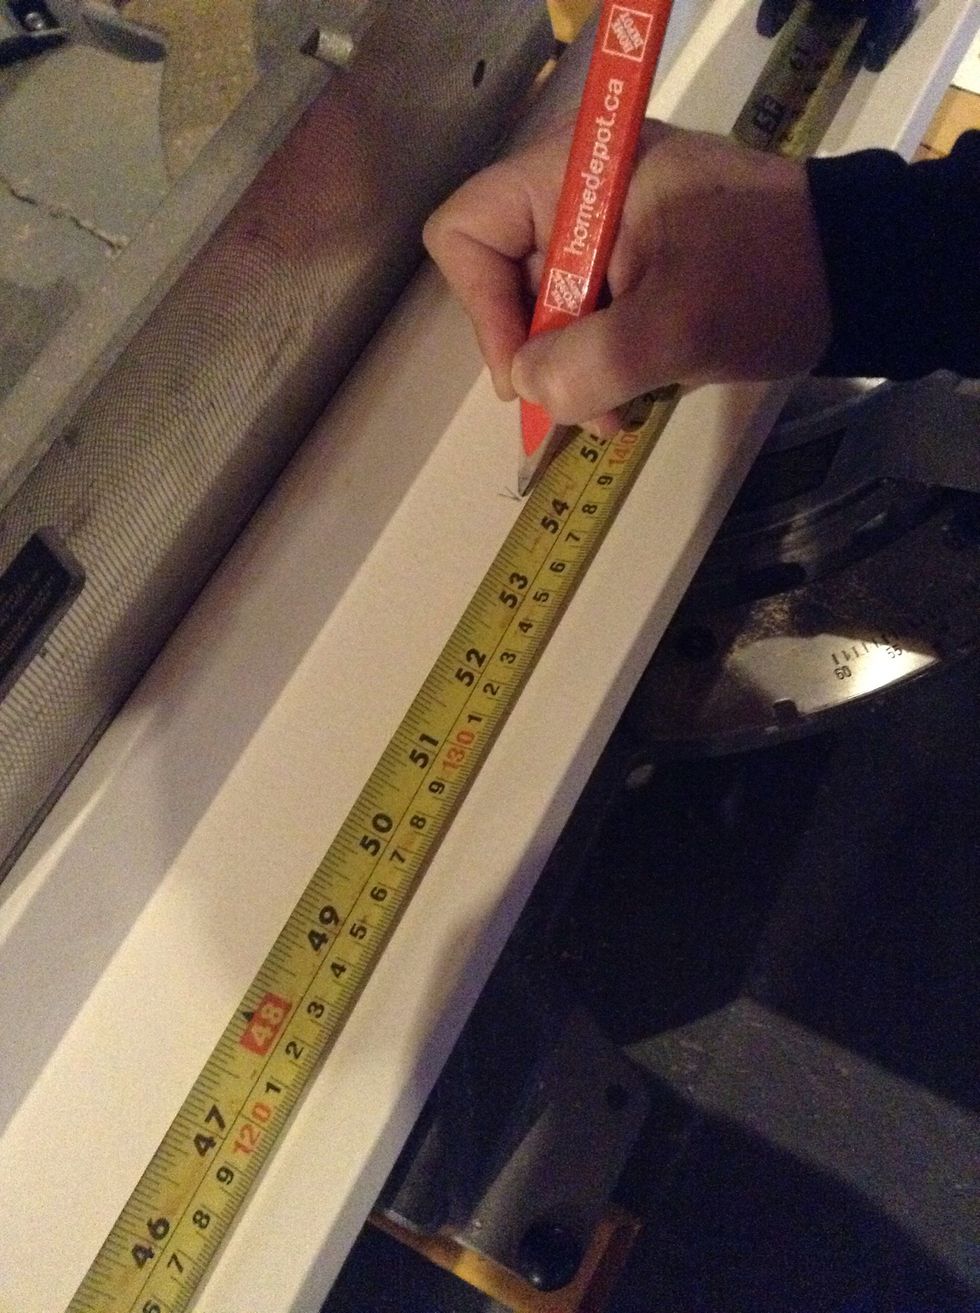
Make a "V" mark where the 4 and a half-foot measurement is.

Line your saw with the mark and cut through
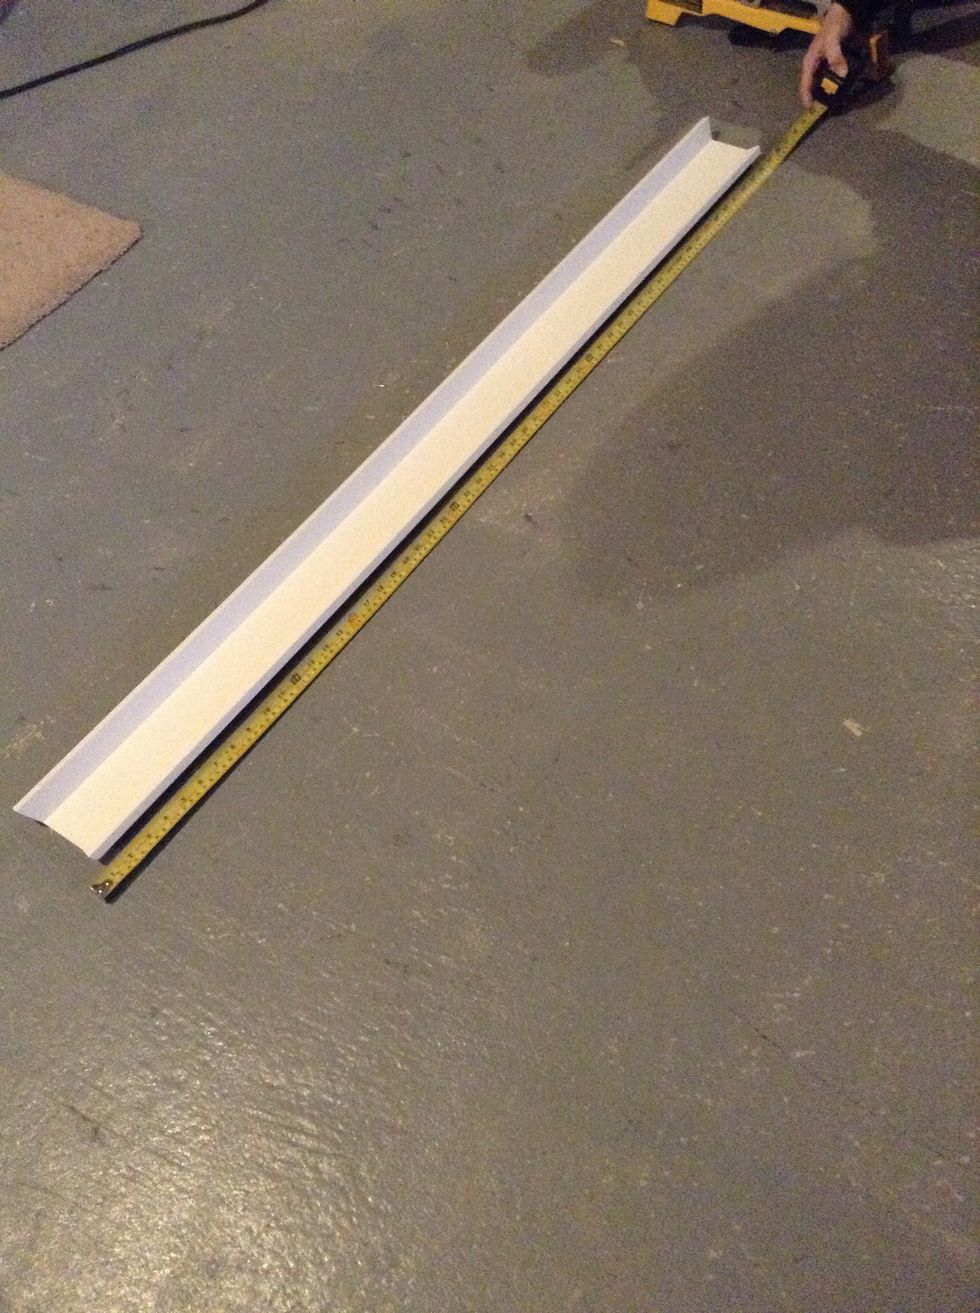
...my 4 and a half foot trim...

Scatter the door nobs randomly around the trim and trace around them using your pencil
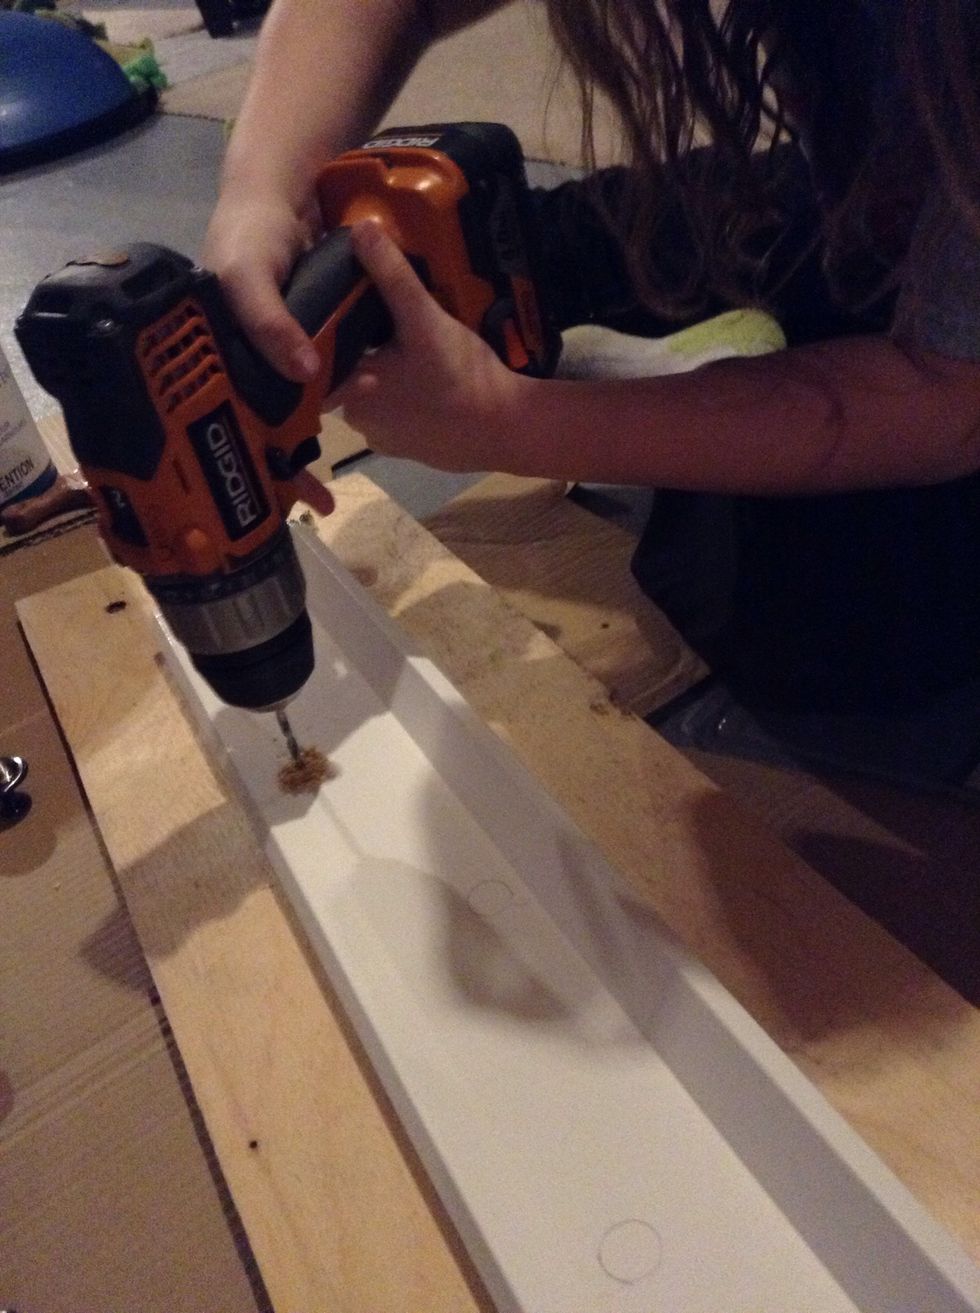
In every circle you will drill a hole all the way through the trim. Try to get it centred!

...the hole...
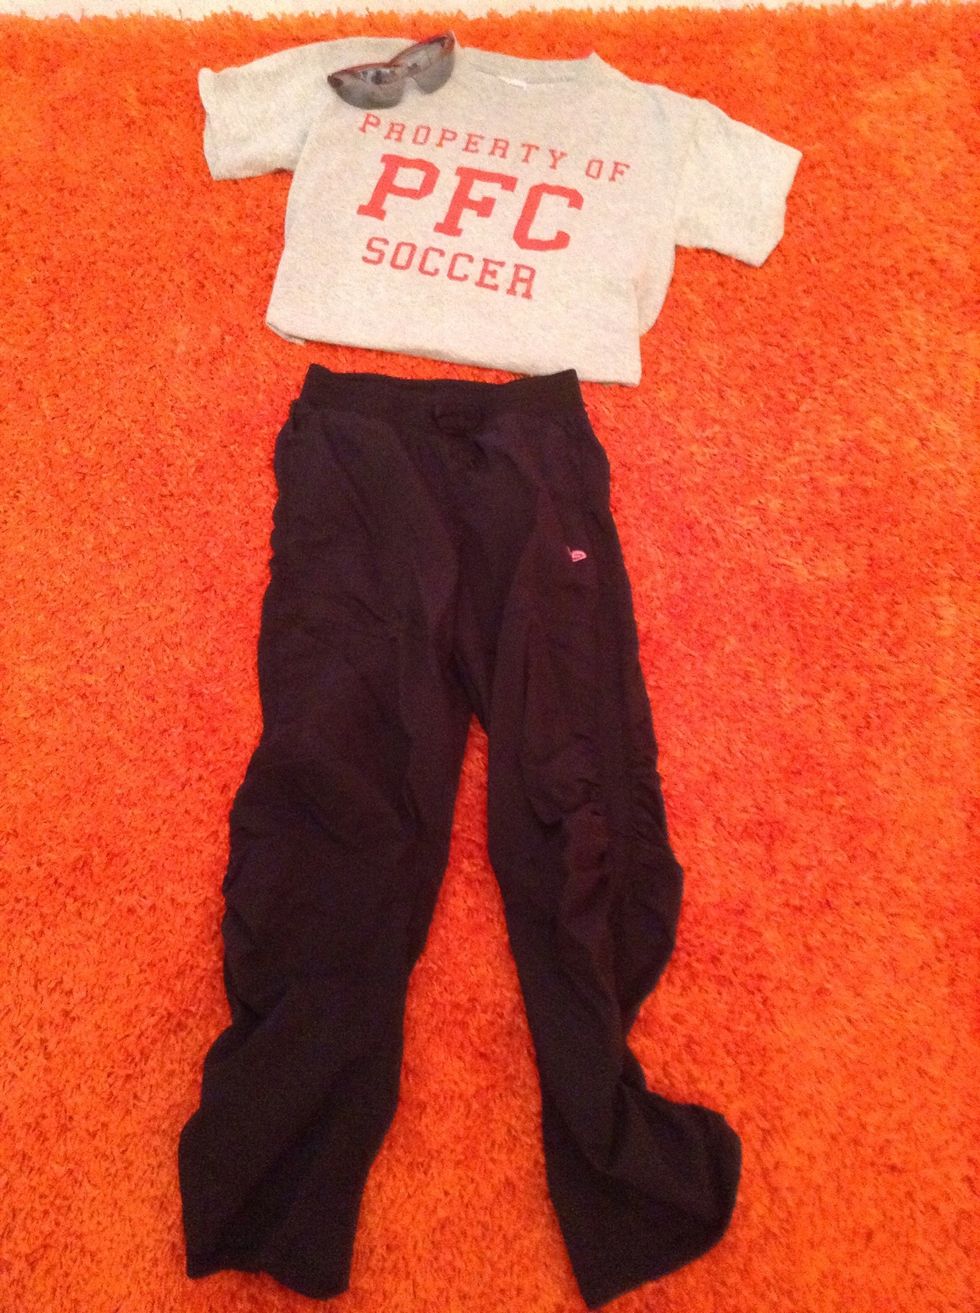
Get your painting clothes on!!!!
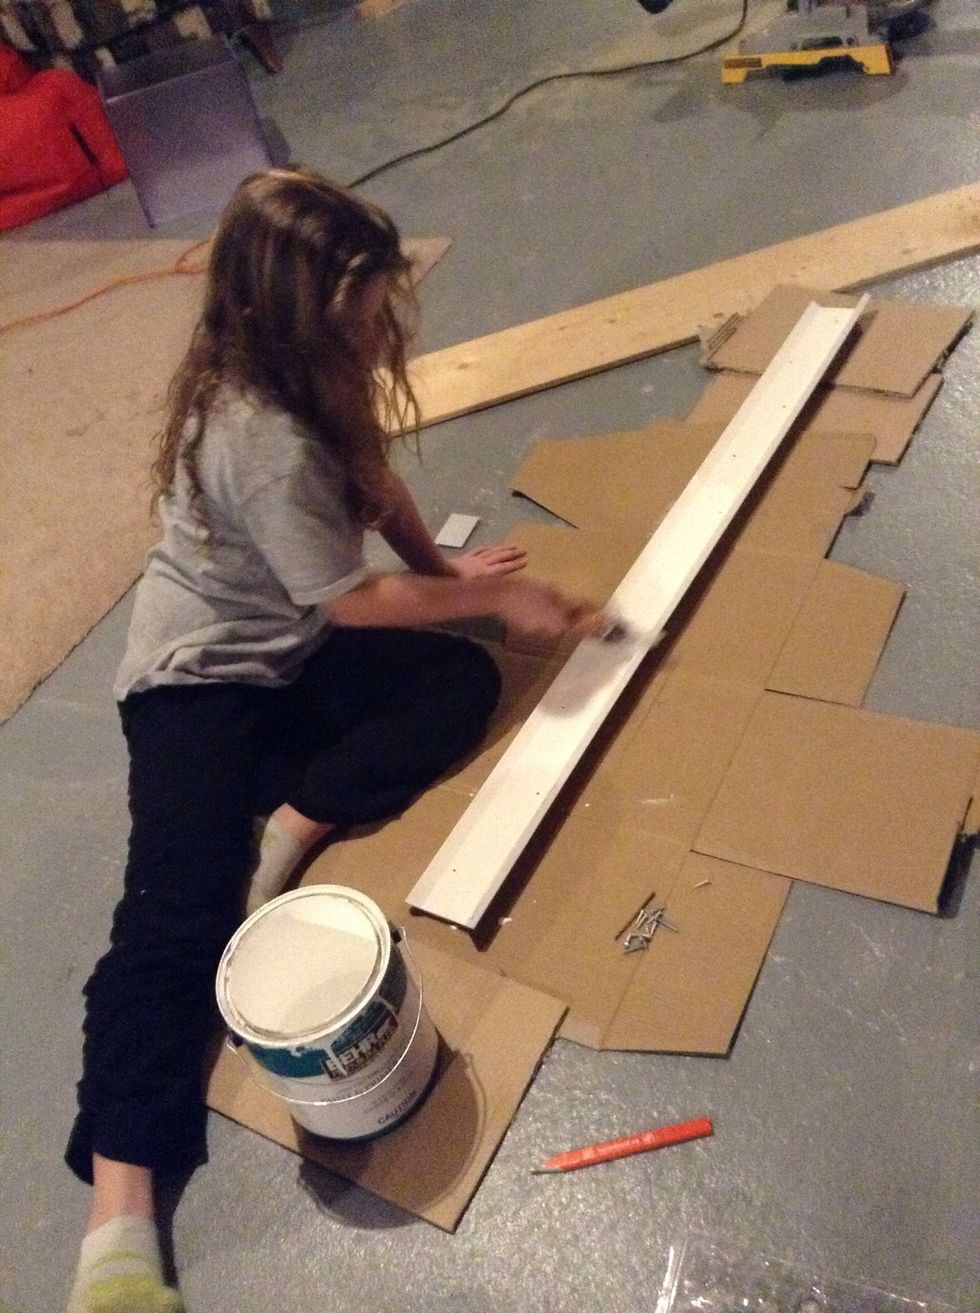
Start to paint. You can choose any colour
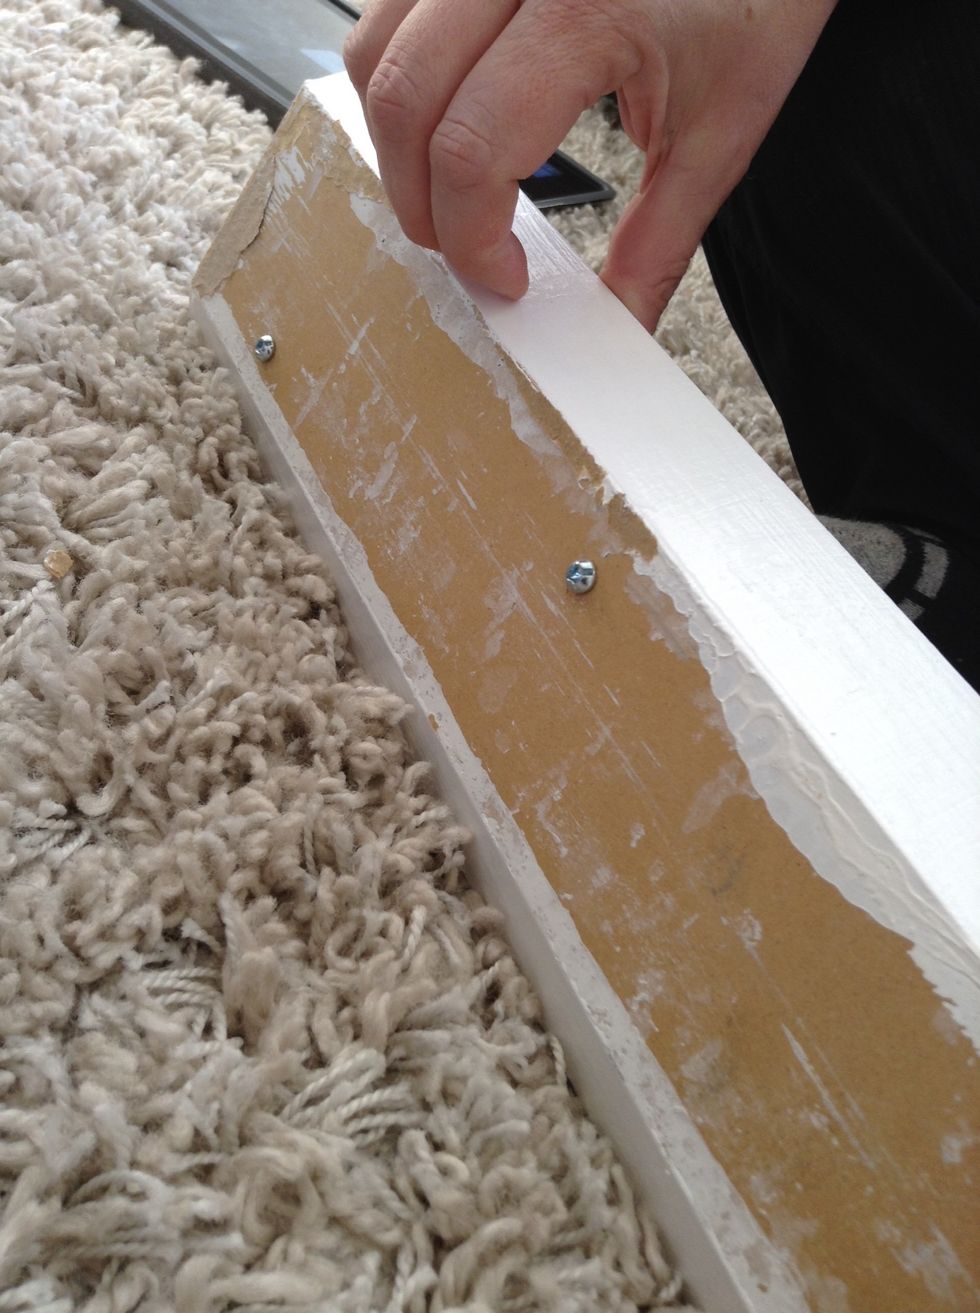
Once your paint has dried, put the screws in from the back
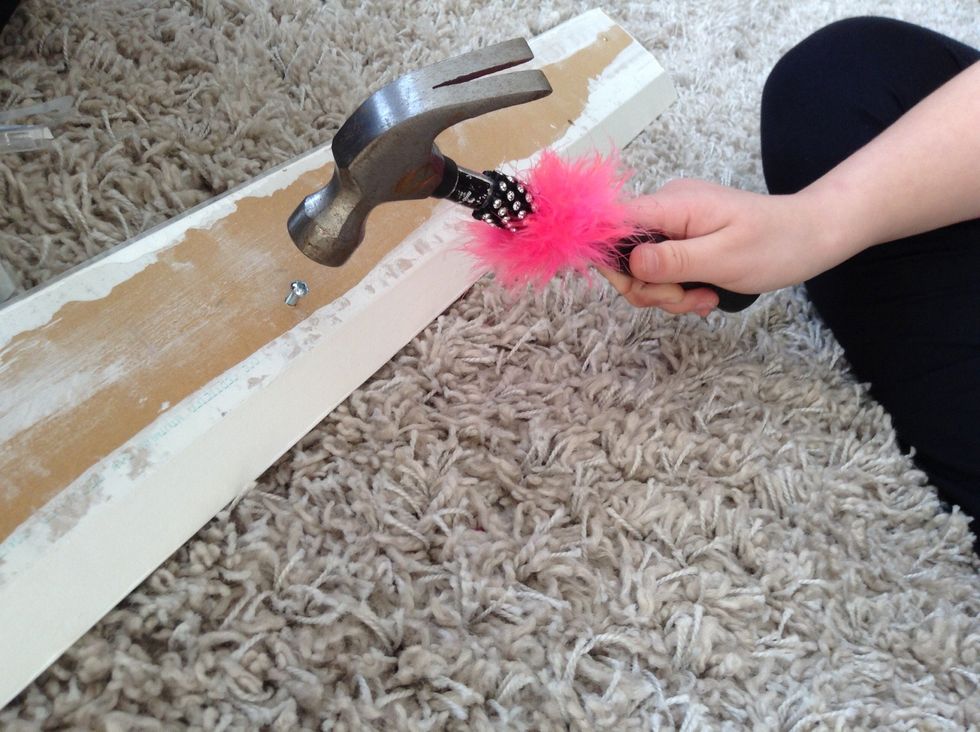
You may need to hammer them in
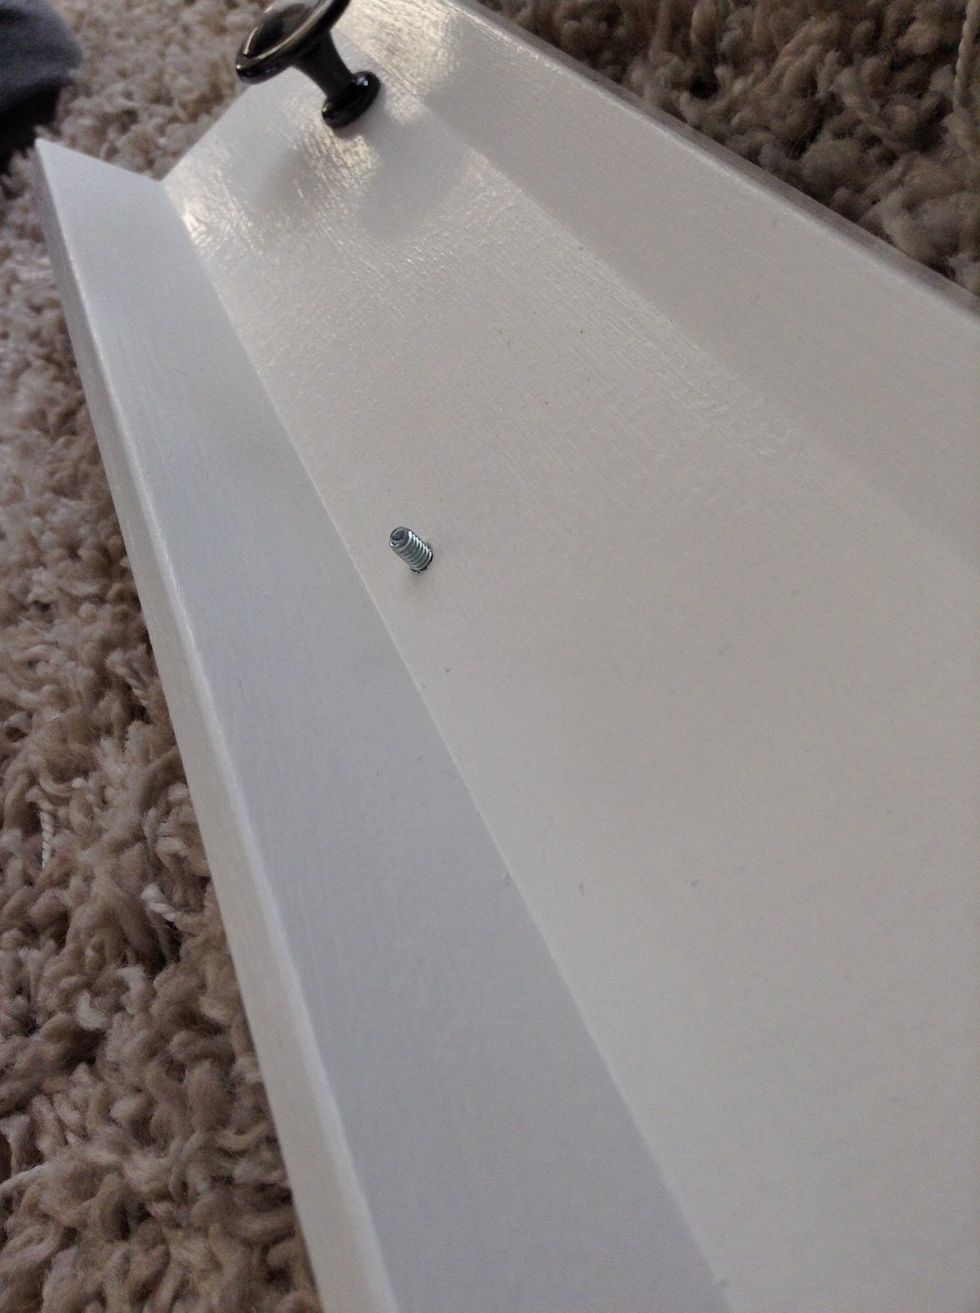
You want a little bit of your screw sticking up for the nob to go on
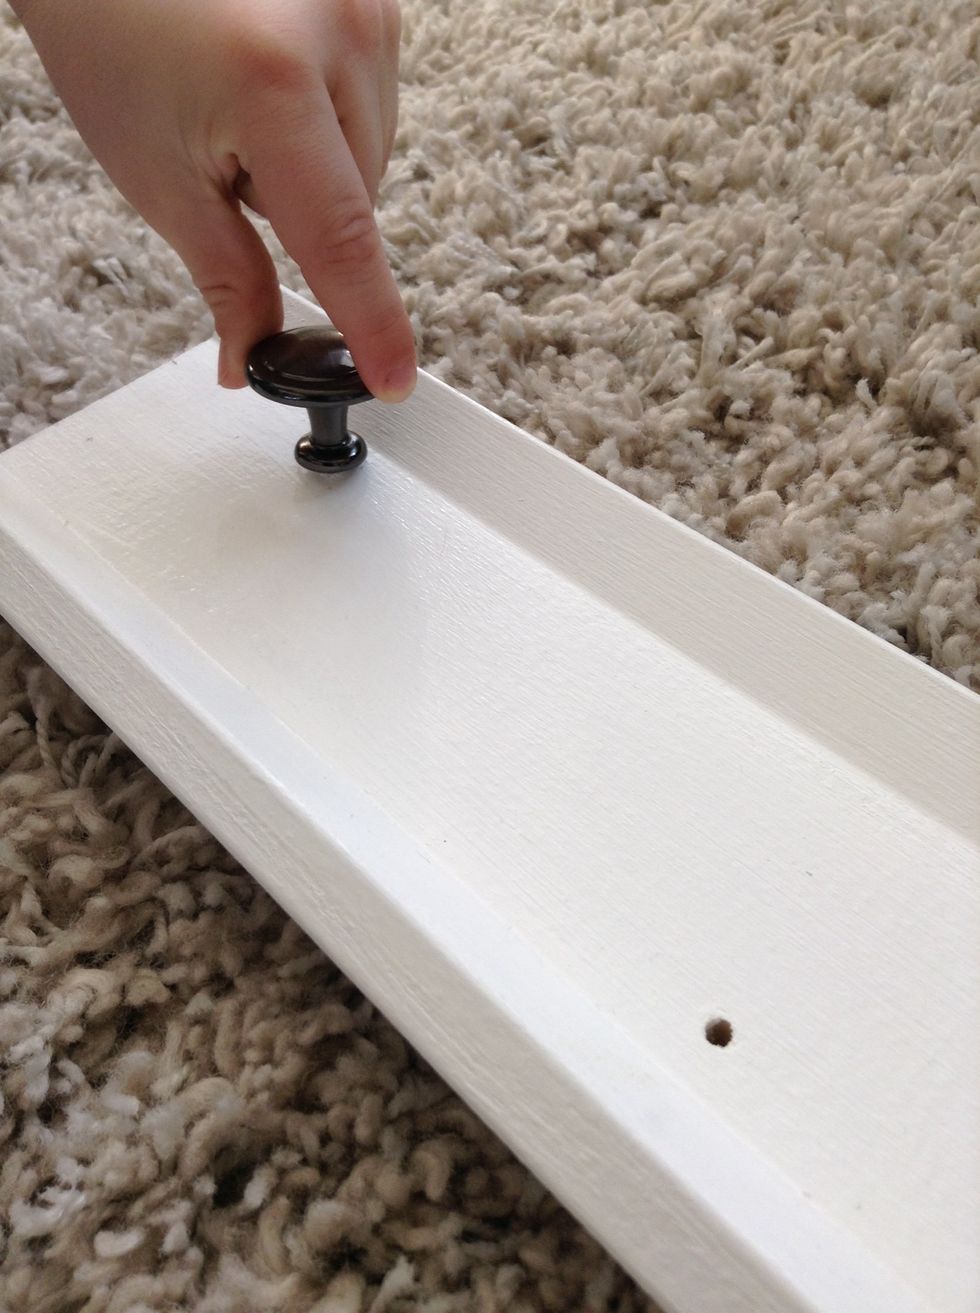
Now it is time to twist the nob on
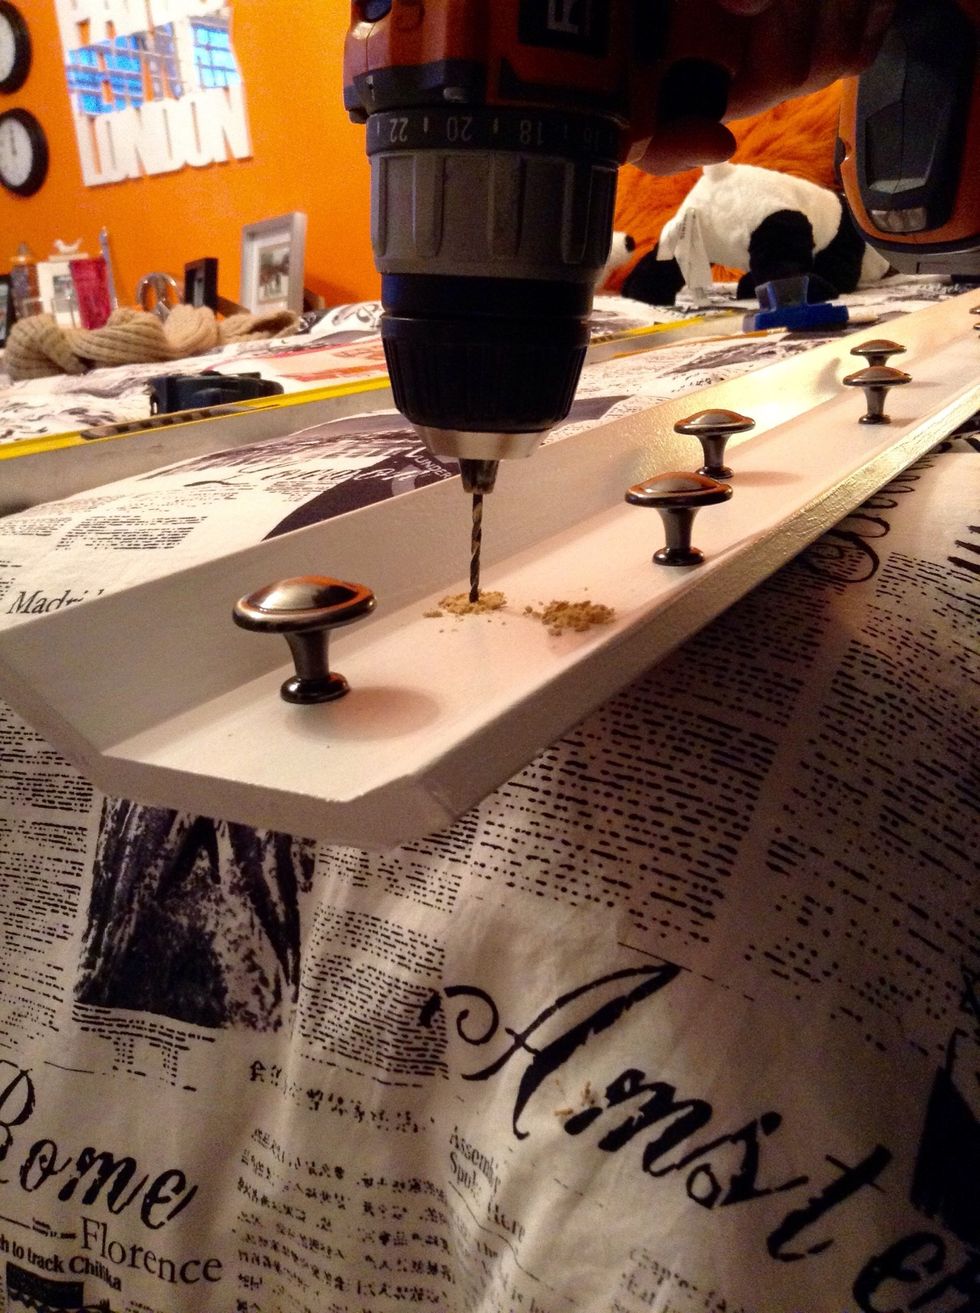
Once your board is done you will then drill a whole through the trim where your studs are
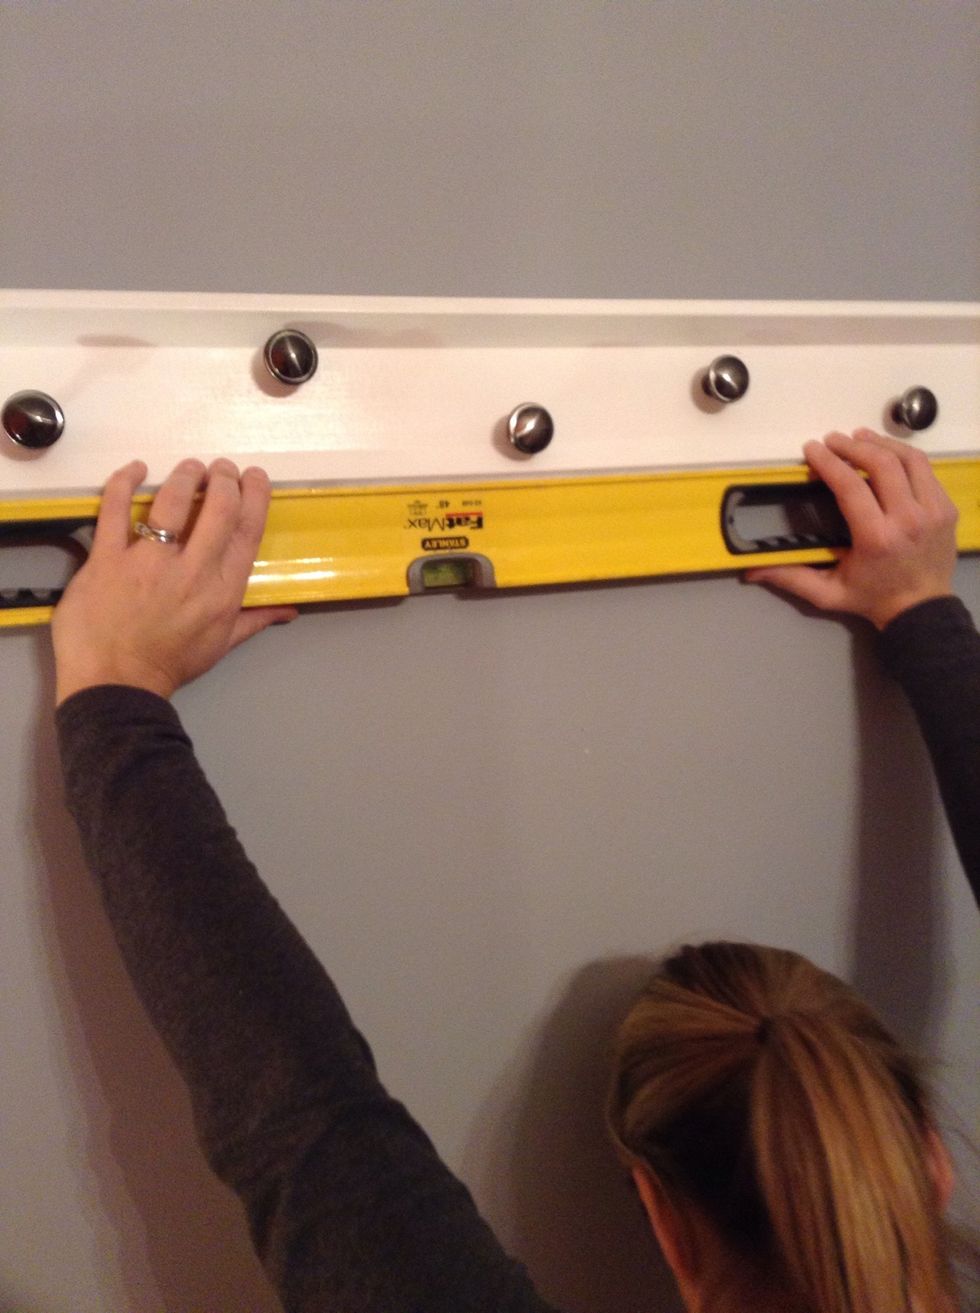
Make sure it's level
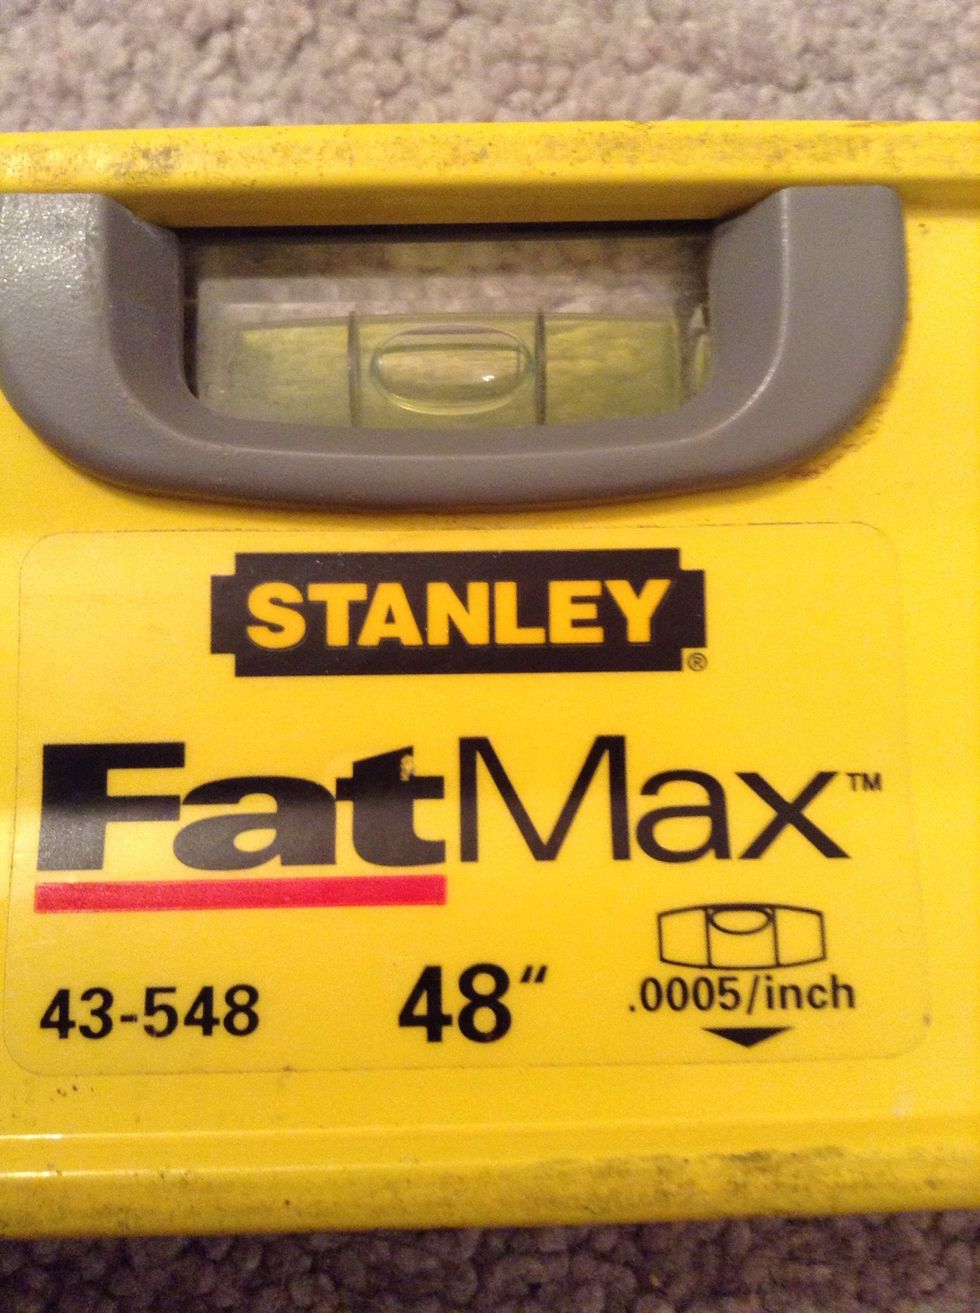
Right in the center!!
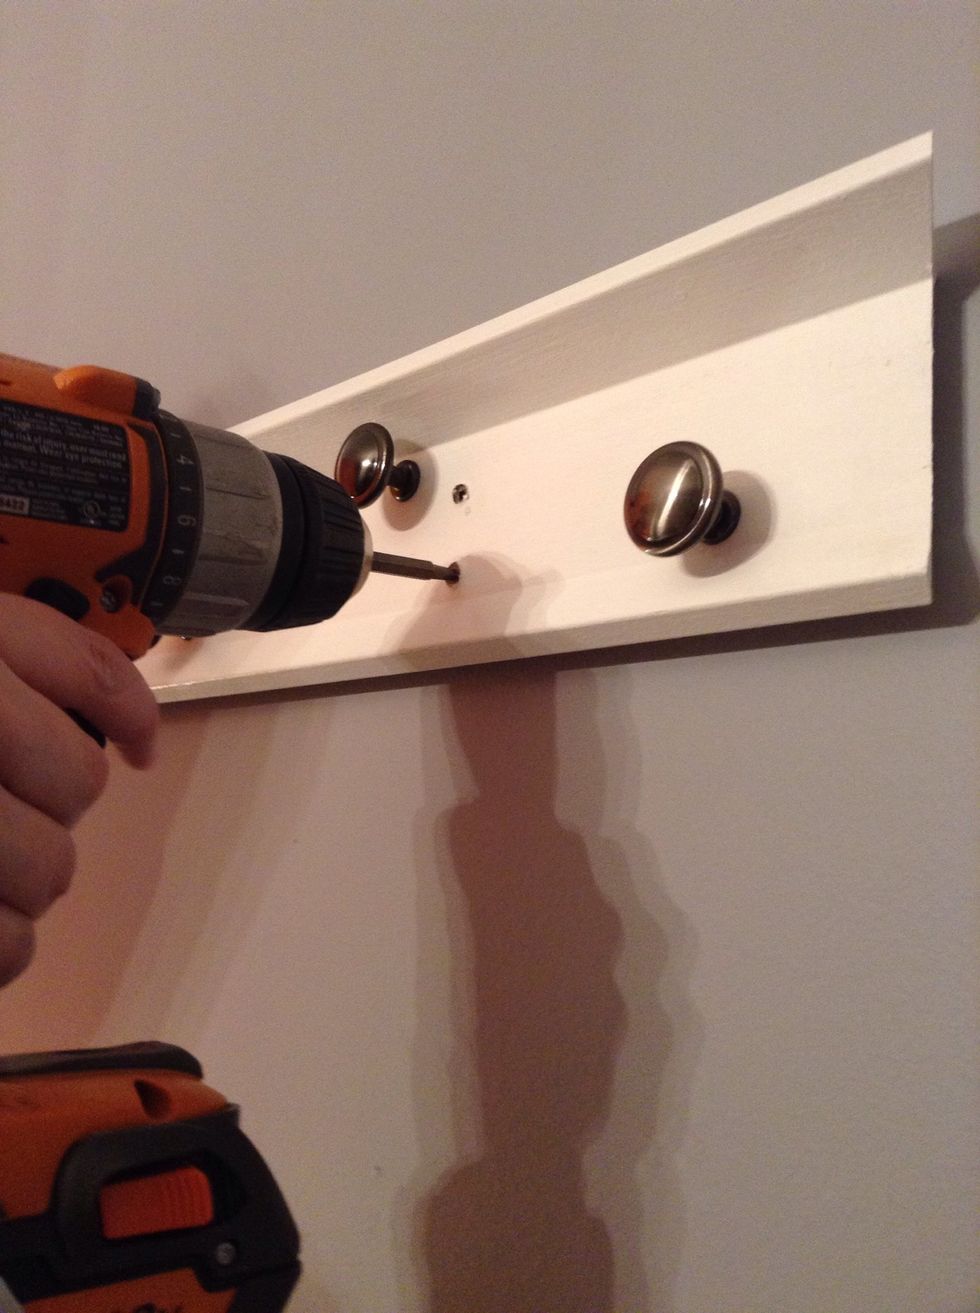
Drill the screws through the board, into the studs
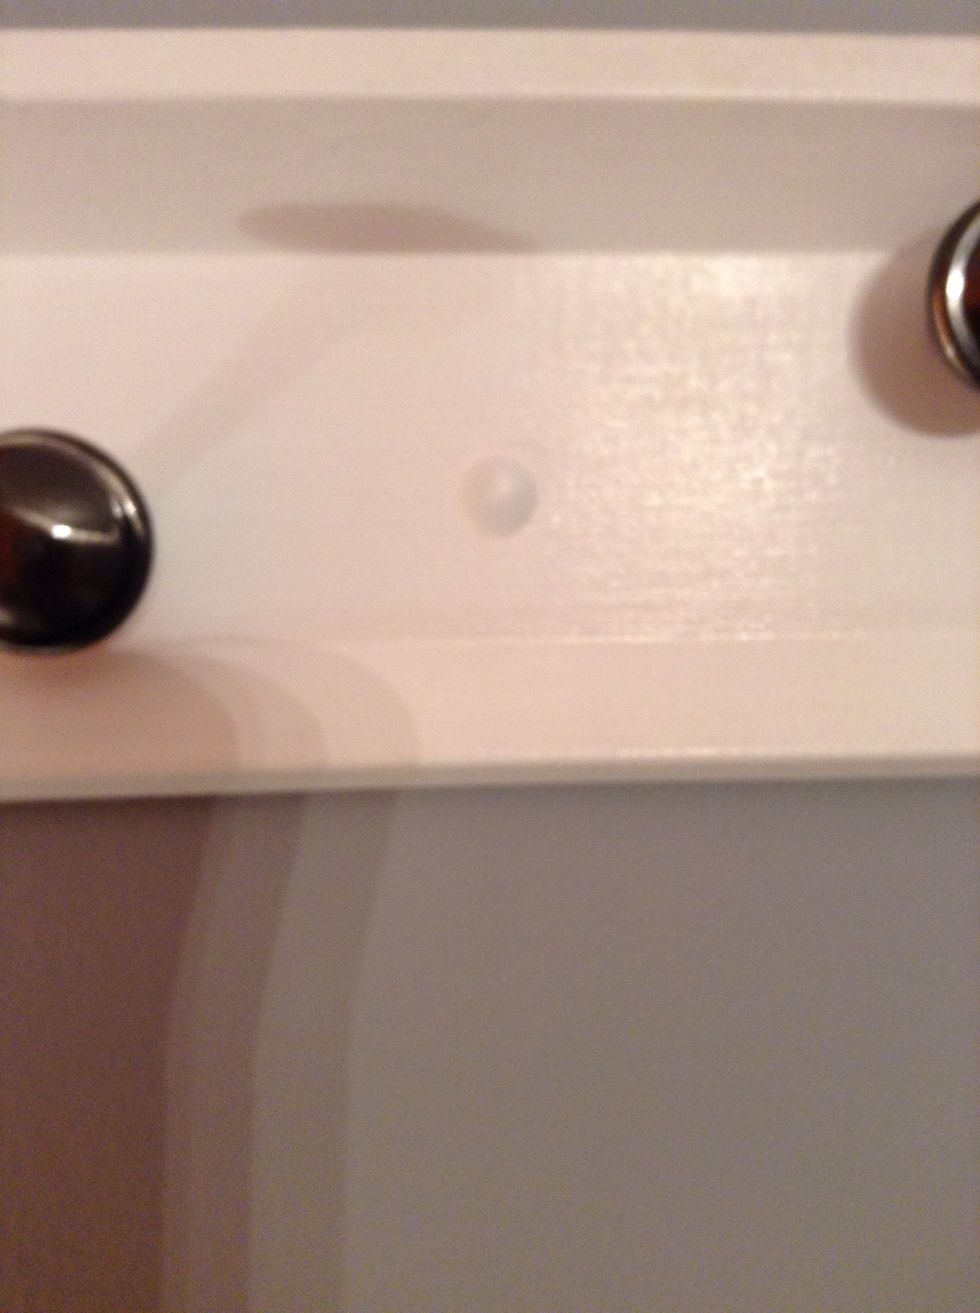
I put white caps over my screws, but that is up to you
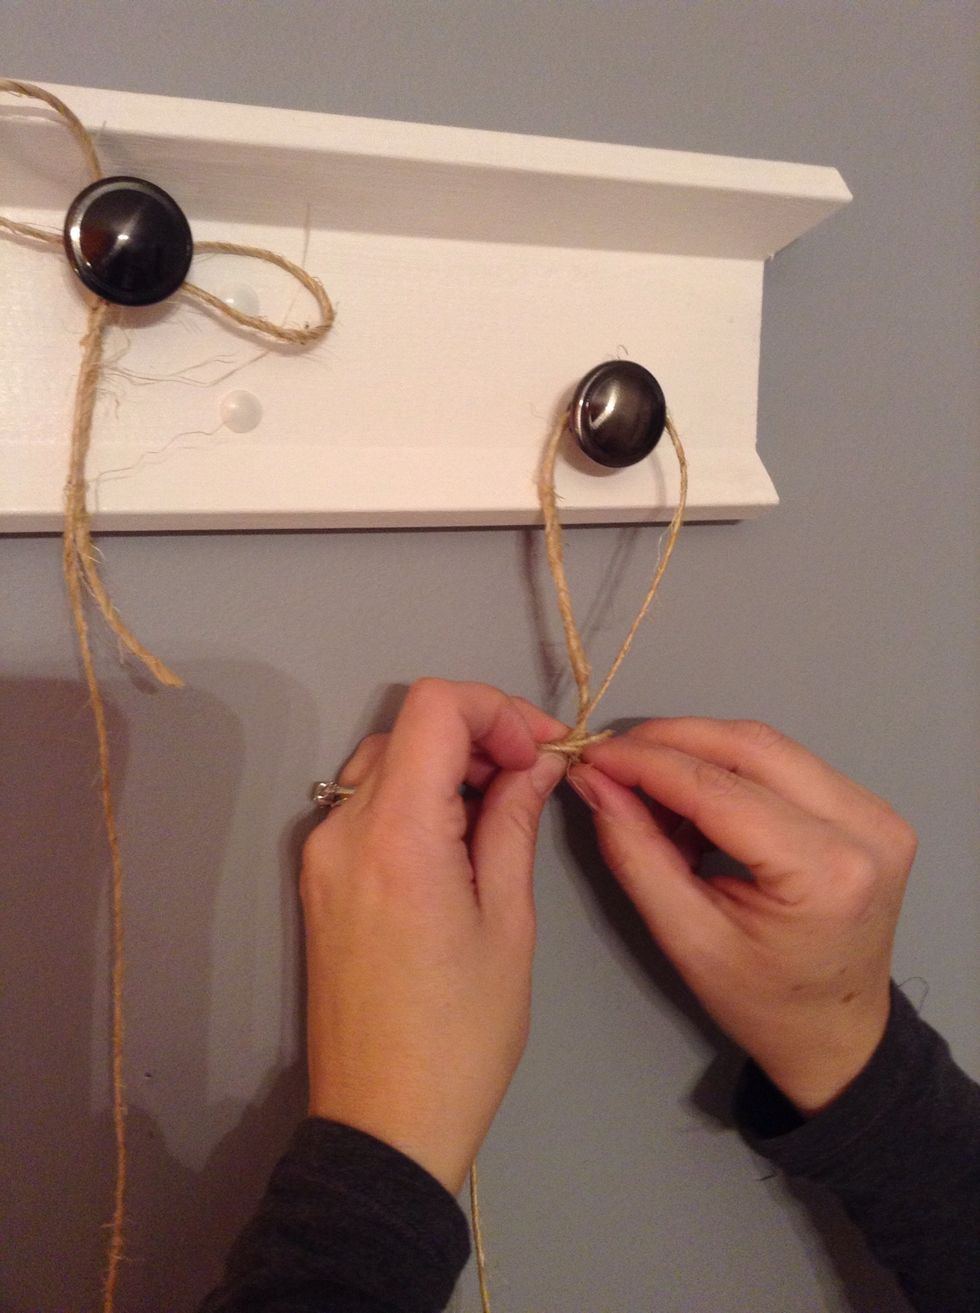
Tie different knots on each nob
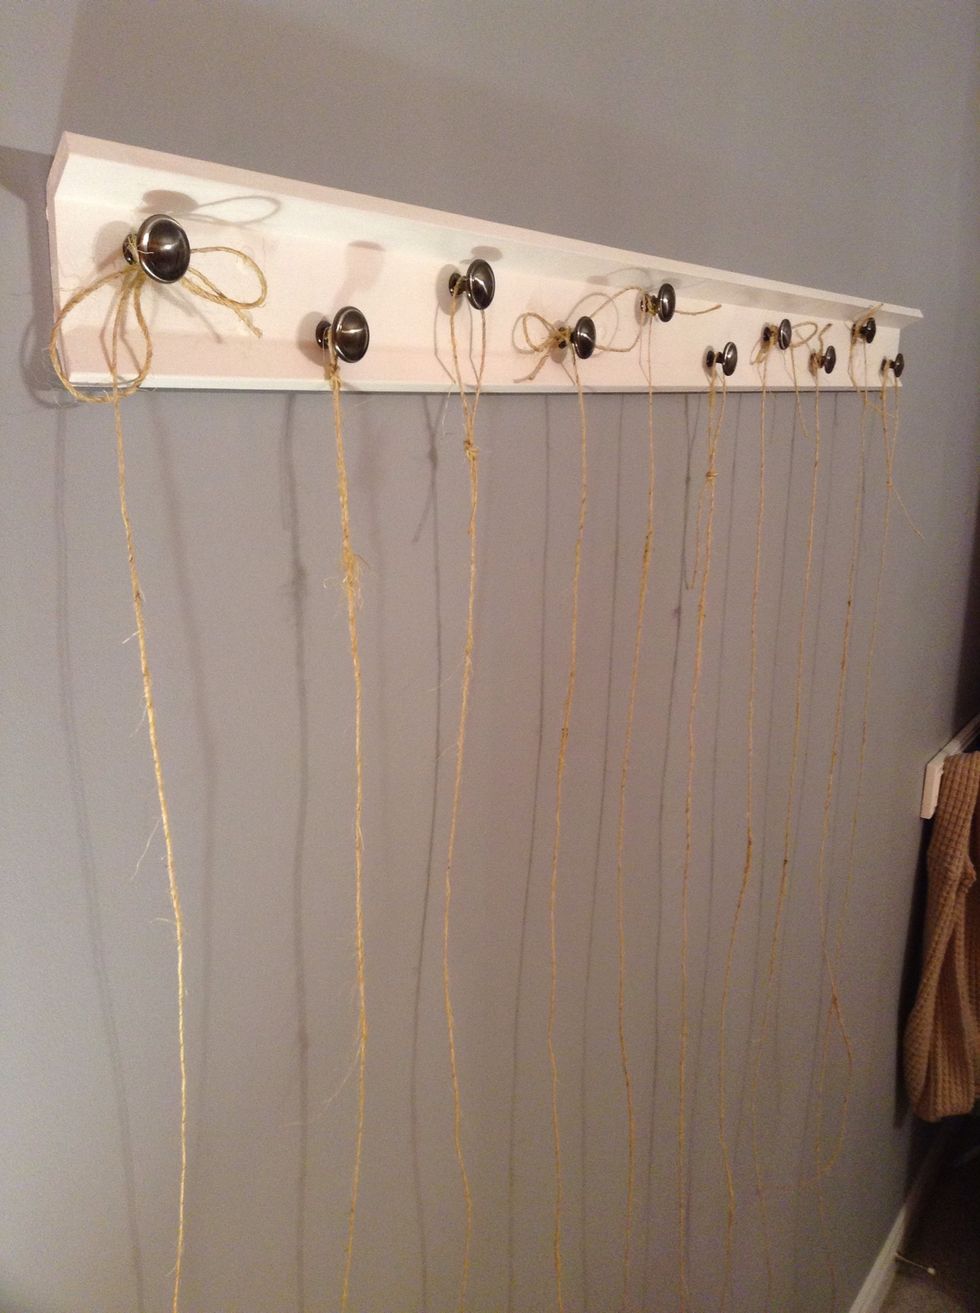
...like this...
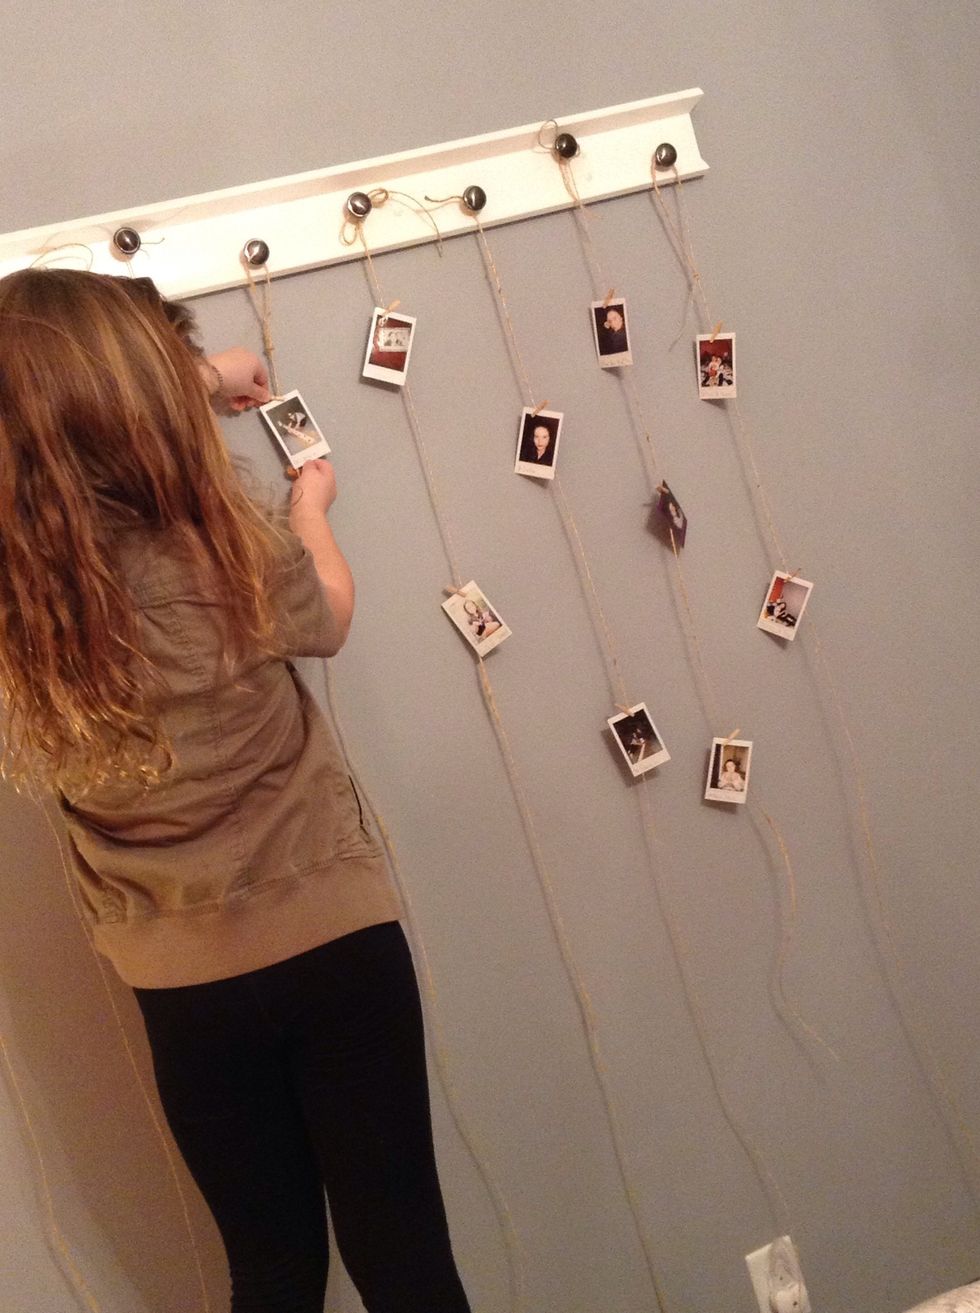
Clip the Instax film on
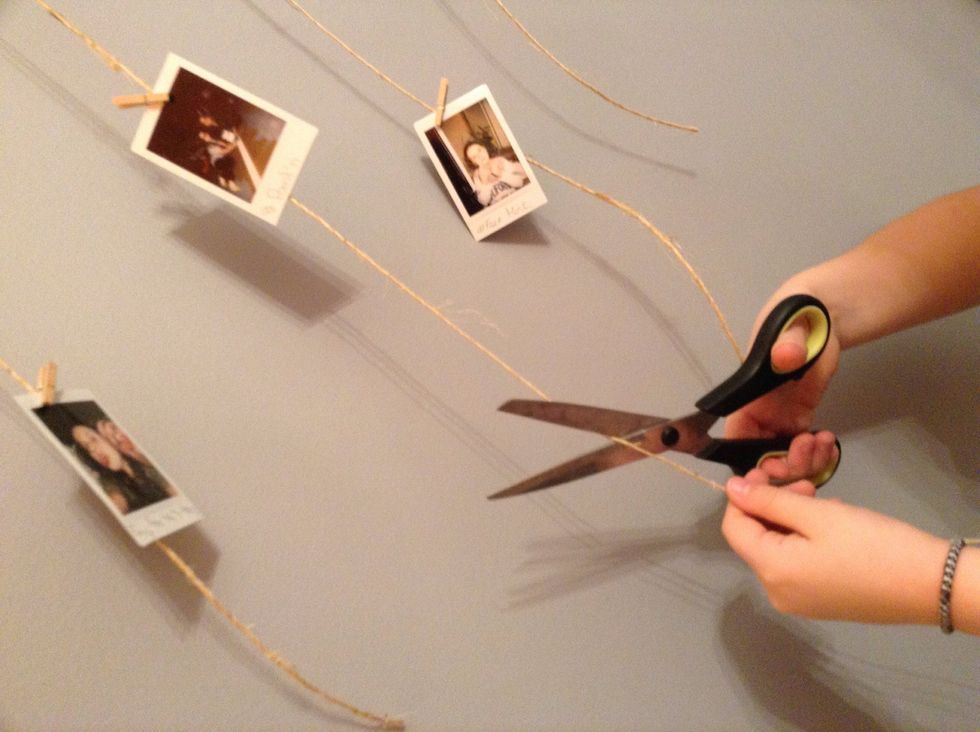
Now, cut the strings at different lengths
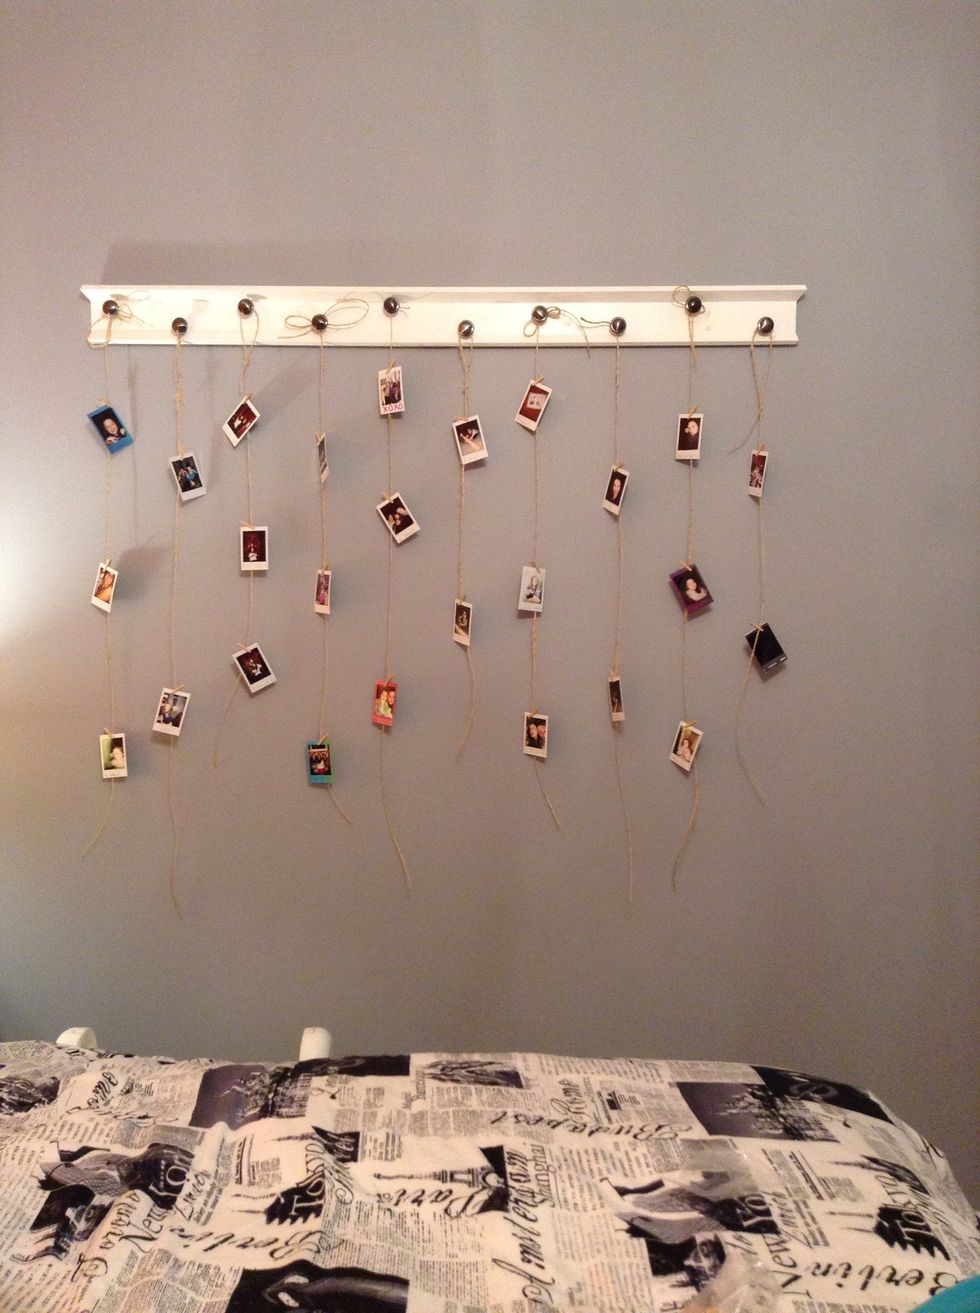
It will look like this once your done
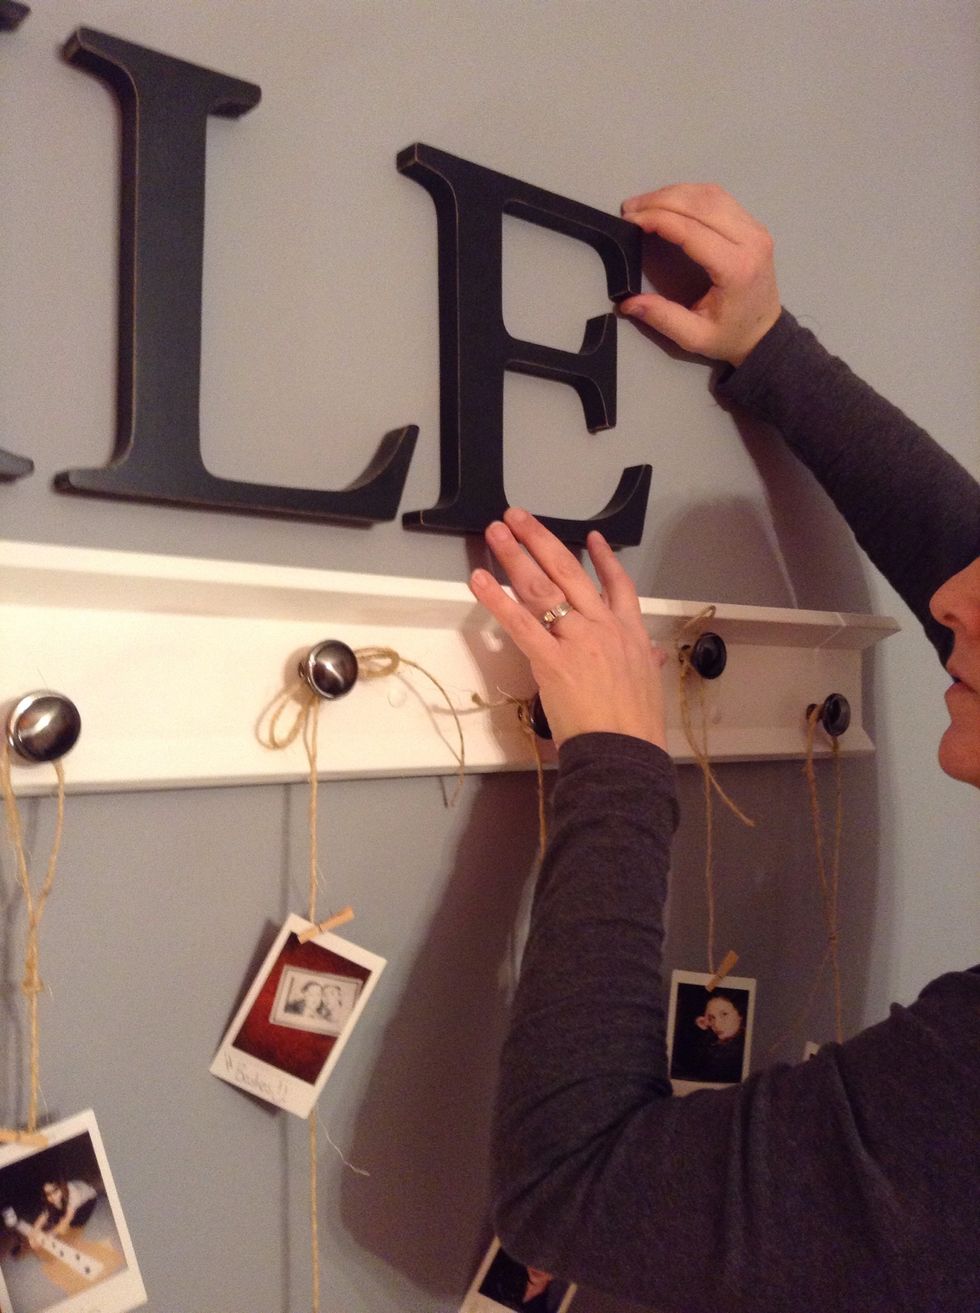
For a bonus feature, add a word(s) above it
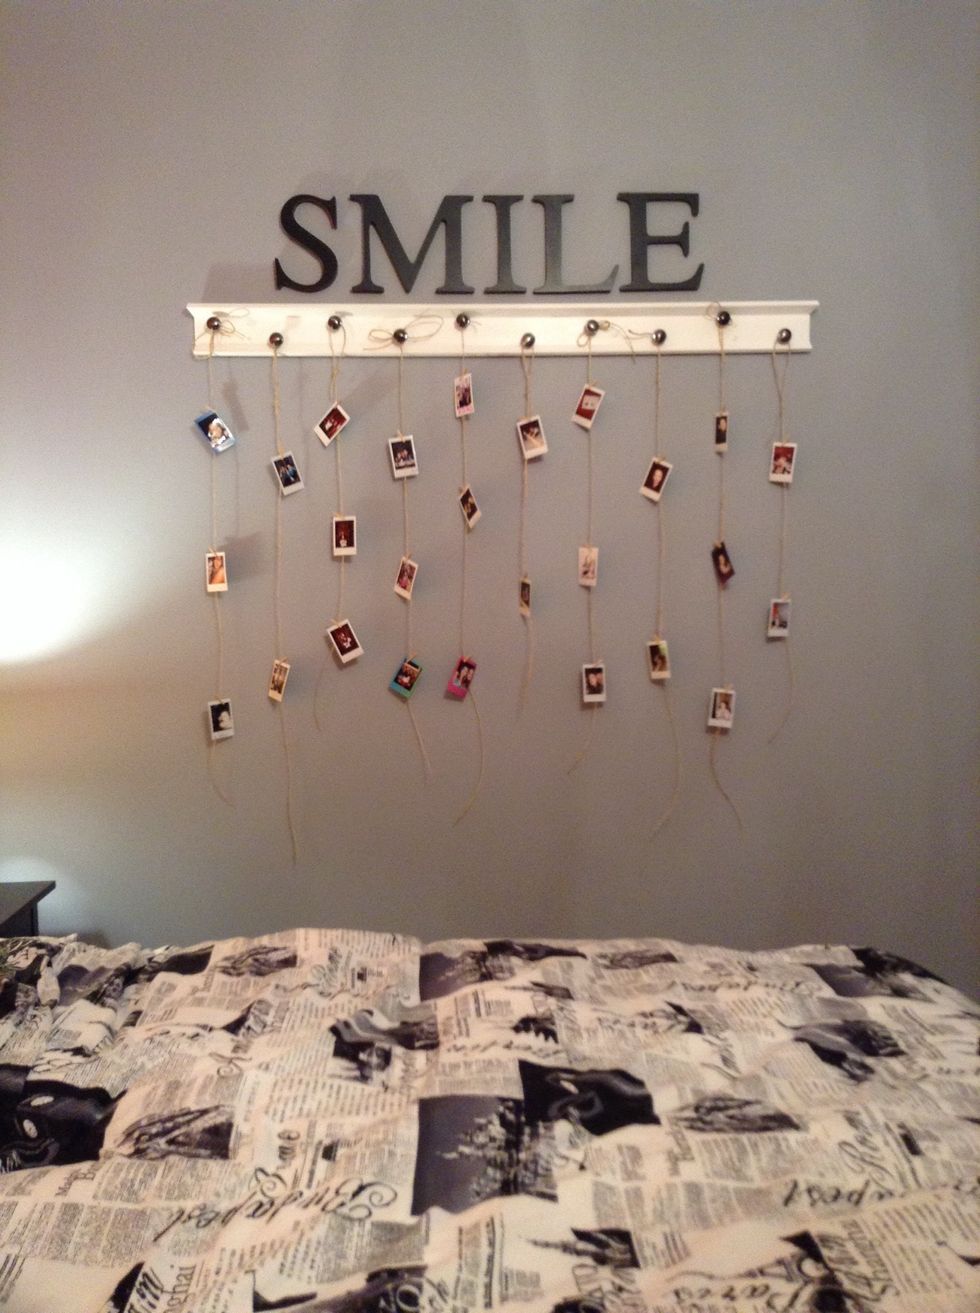
...your final product!...
- Letters (SMILE)
- Stud finder
- Level
- Instax mini
- Instax mini film
- Drill
- String
- 10.0 Door nobs
- Paint (white)
- Paintbrush
- White screw caps (optinal)
- Screws
- Drill bits
- Screw bits
- Safety goggles
- Painting clothes
- Mitre saw
- Pencil
- Scissors
- Small clothes-pins
- Hammer
Alliston ON
The Conversation (0)
Sign Up