The Conversation (0)
Sign Up
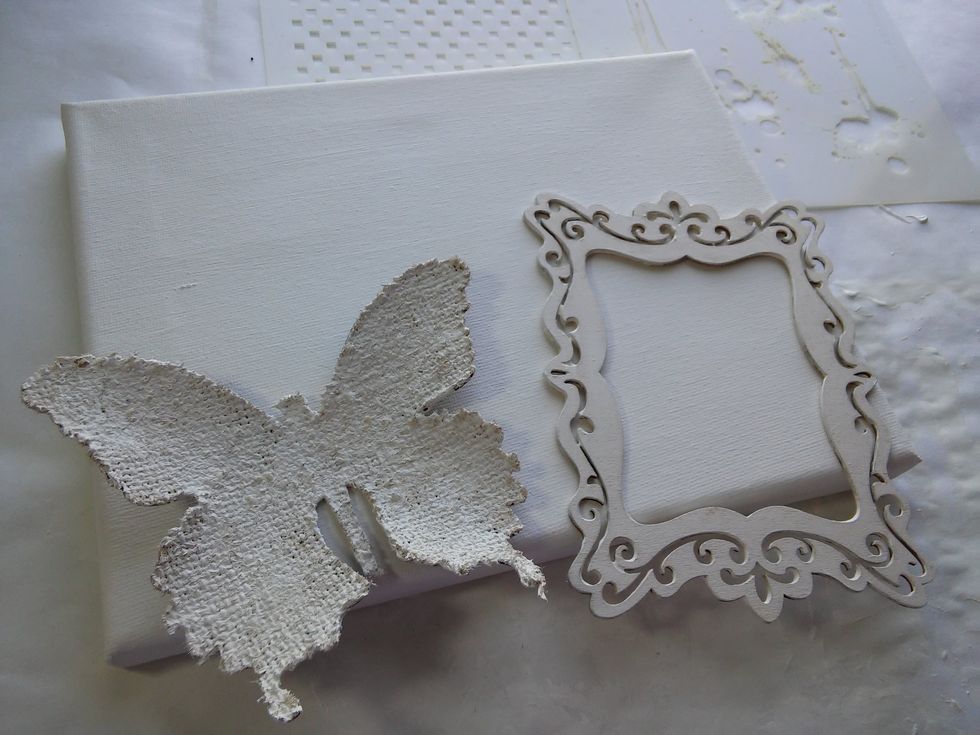
First I give my canvas and my two focal objects a good coat of gesso.
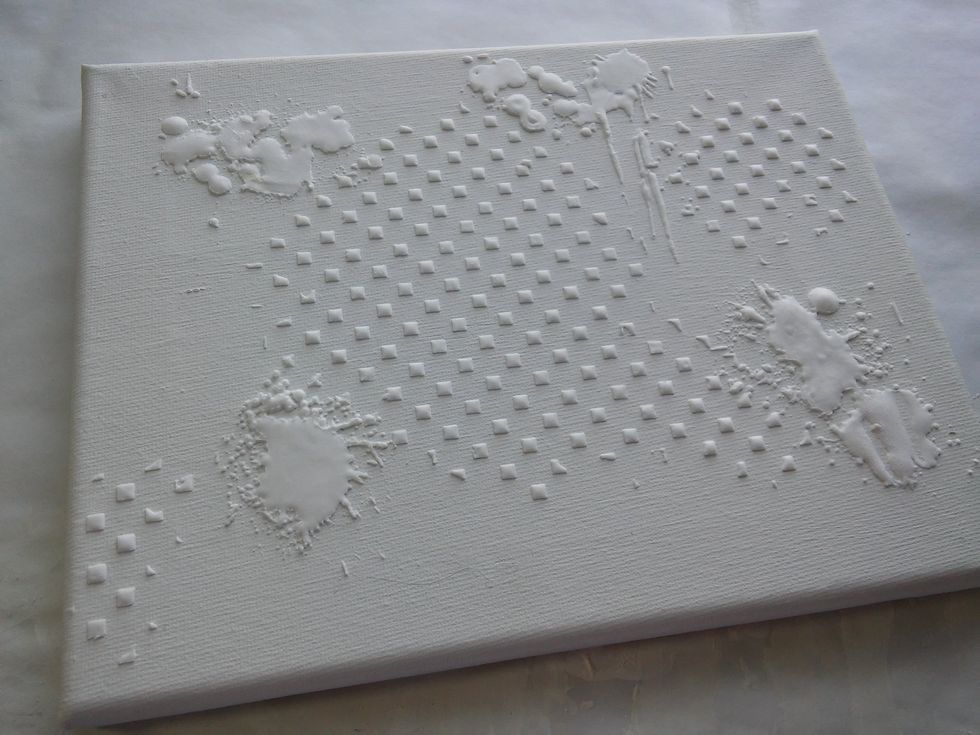
For texture I have chosen my Blocked and Such a Drip Stencils with some texture paste. Dry completely.
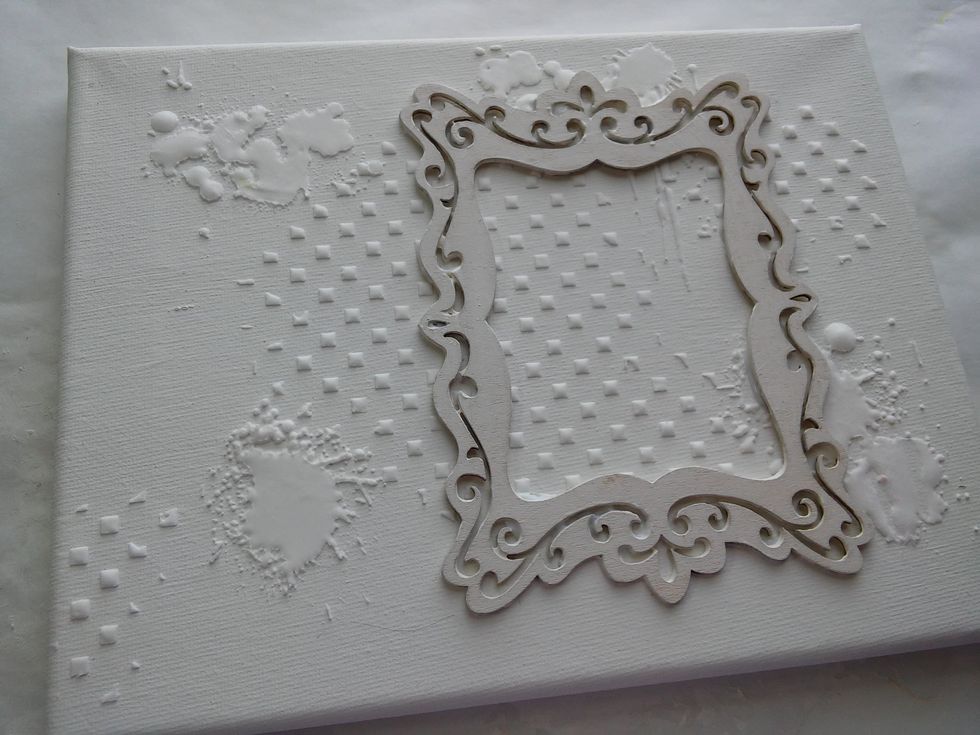
Next I choose a spot and glue down my chipboard frame.
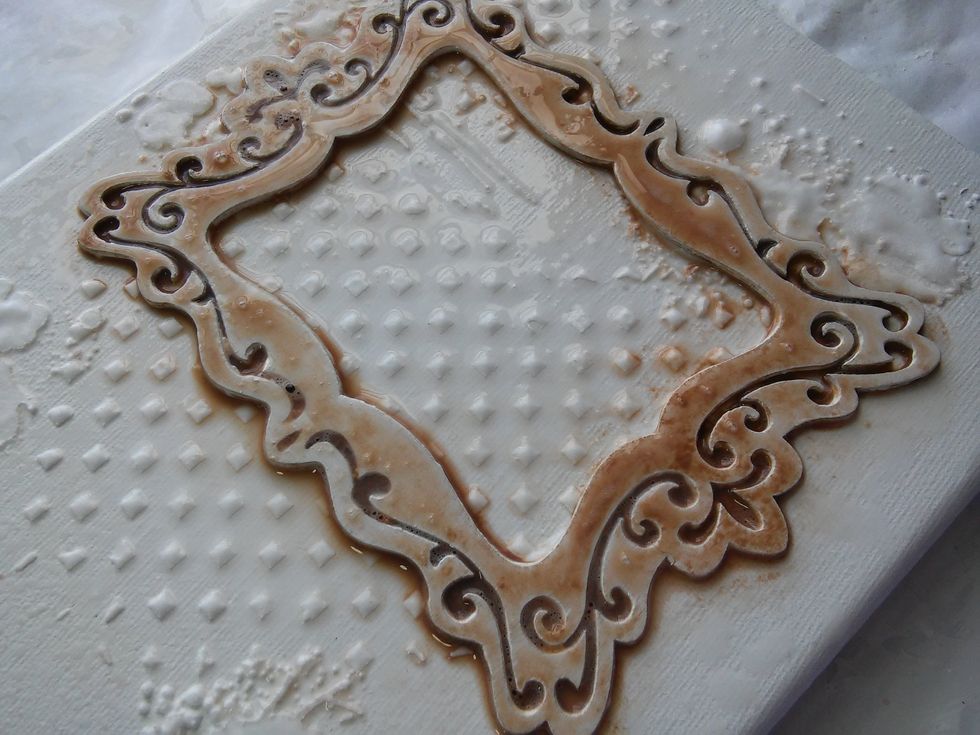
Using my finger a dabbed Kona Velvet paint all over the piece, and then quickly mist it with some water. Love how some ofthe paint pools in the cracks.
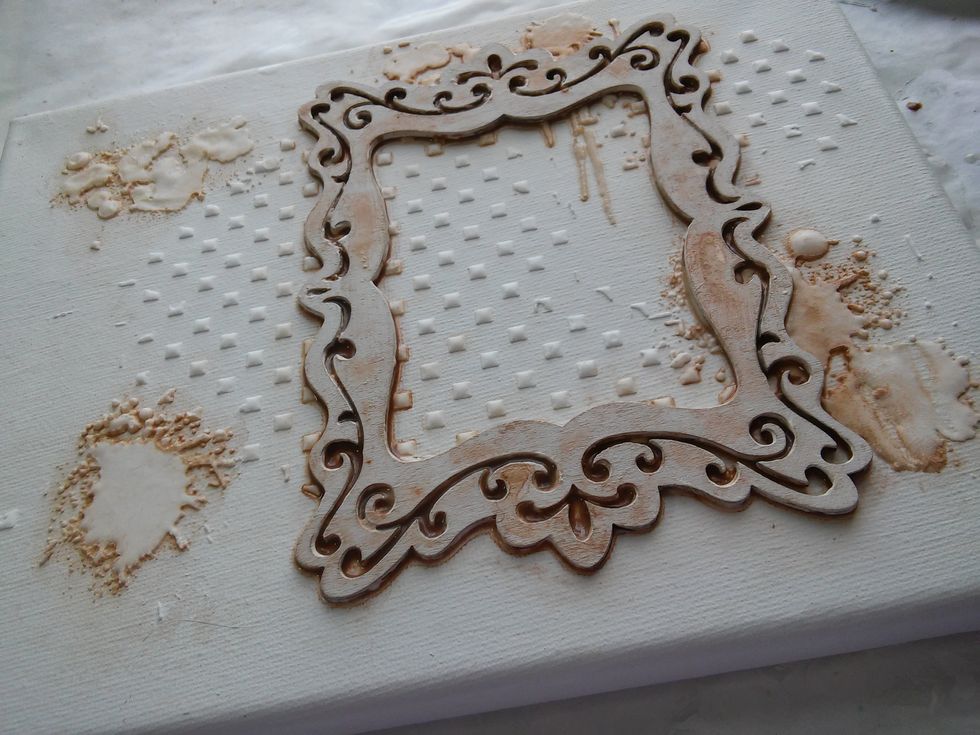
I added paint the same way to the drip textures, and dabbed off the excess.
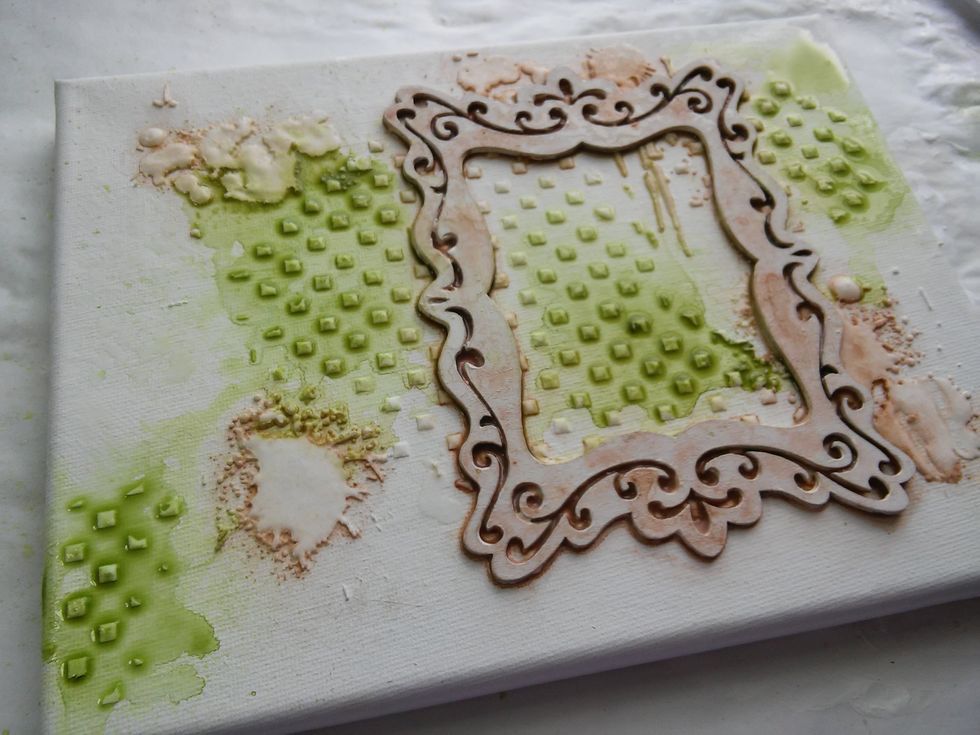
Now for some Avocado Colorations mist! I LOVE this color. :) Just a few sprays over my blocked textures, then I dry with my heat tool.
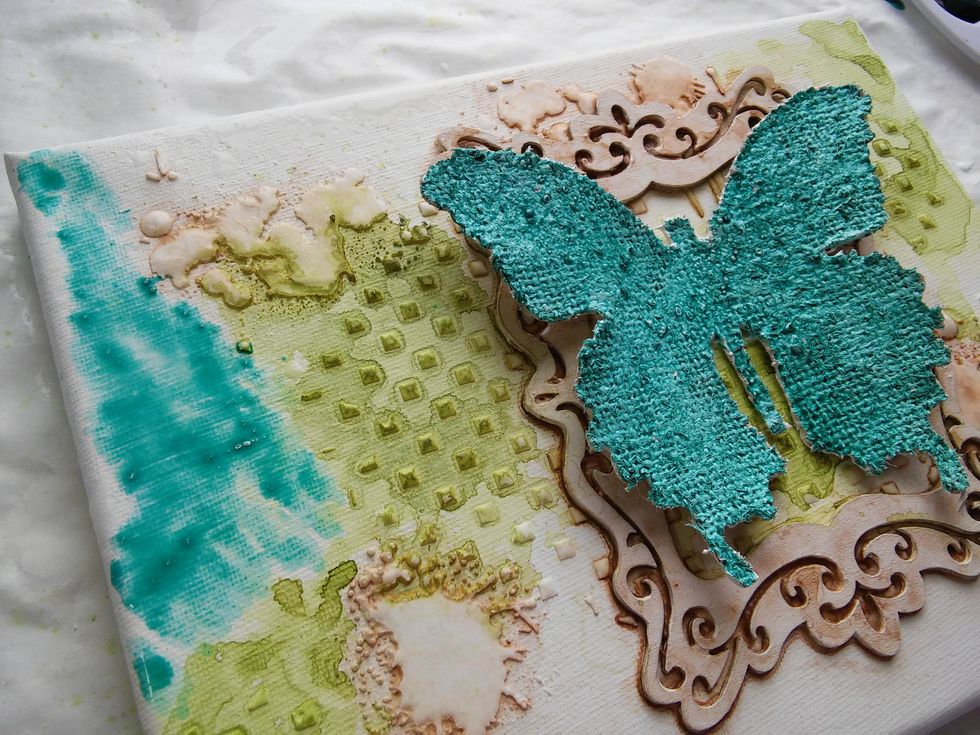
After using Panache Shimmering Minx Ink to paint my butterfly I water some down and add it to the empty spots on my canvas, still using the paint brush. Dry.

I play around with the gorgeous color of the minx by adding sprays of water and drying with my heat tool. The water makes it settle in spots adding so much interest. :)
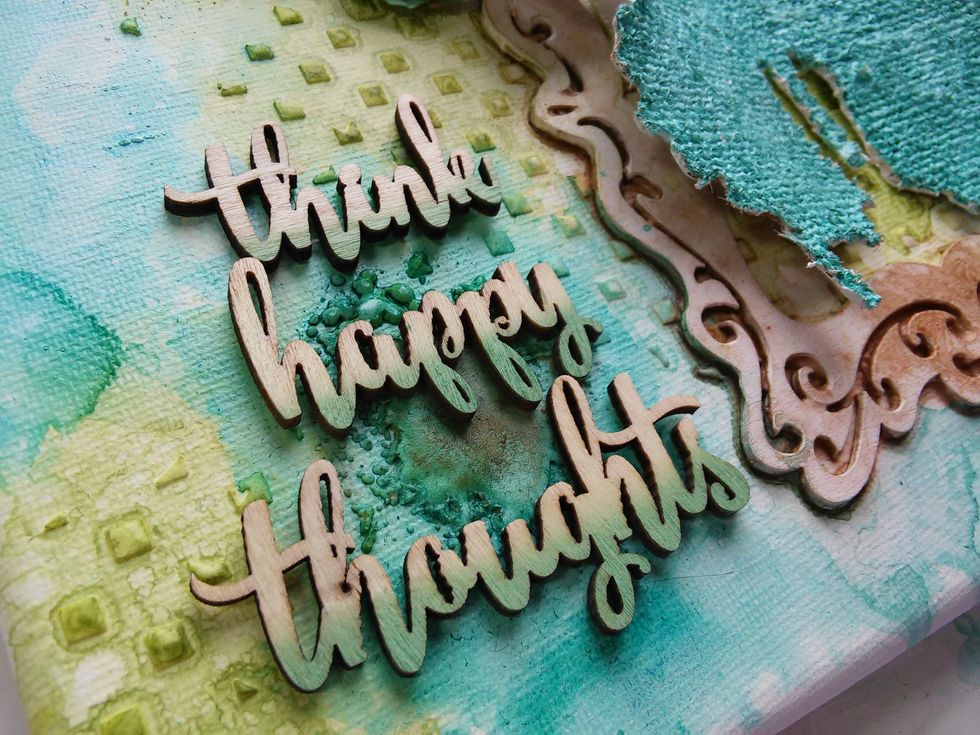
Before adding the words here I brushed on more Panache Minx to help the letters stand out better.

Playing with some flower placement before gluing them down.
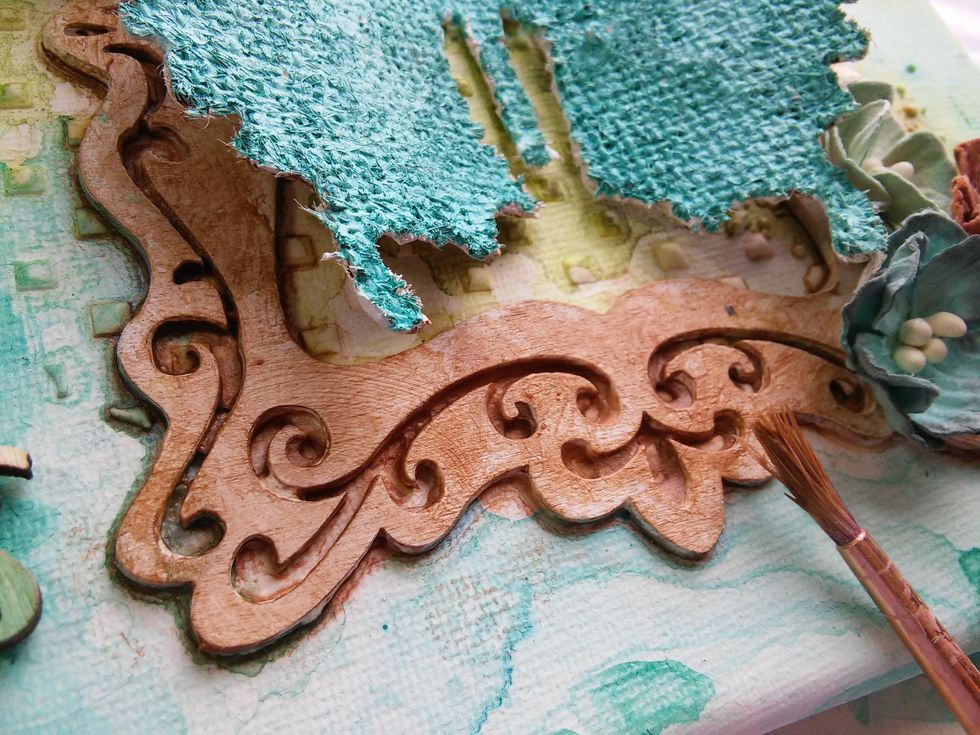
With more Kona, I dry brushed a little more color to the frame.
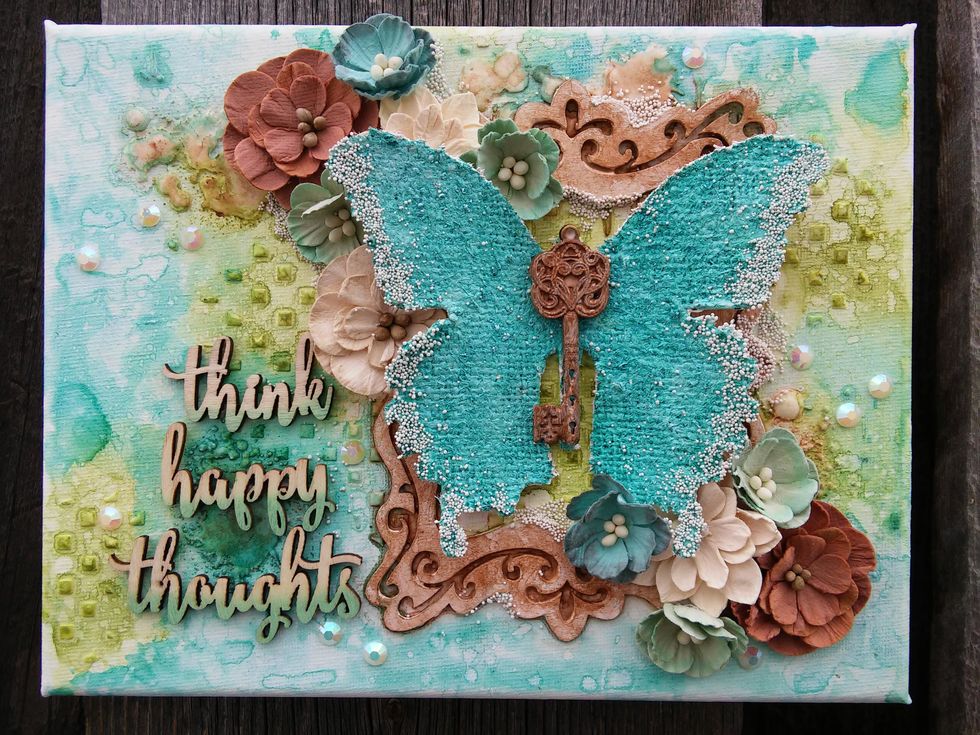
For a nice finished look, I applied 3D gel medium to a few accent spots and added mini art stones.

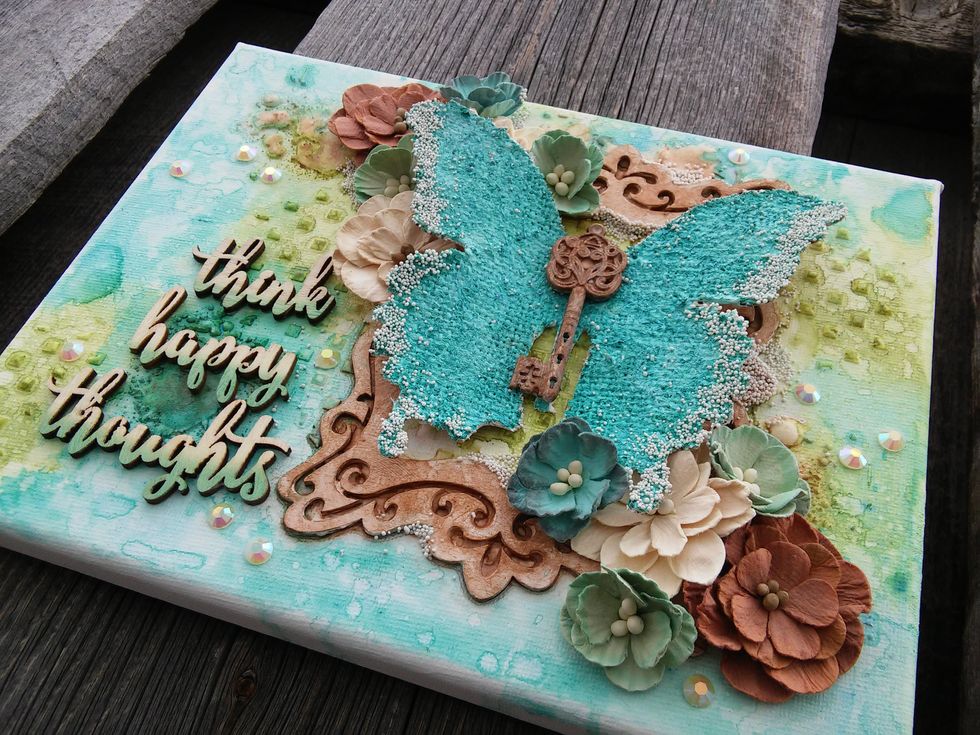
A few plastic gemstones and a metal key I painted with Kona later, my project is all done!
I hope you enjoyed this tutorial! If it has inspired you to create something yourself, share it with us on our Art Anthology Adventures in Art page on Facebook!