The Conversation (0)
Sign Up
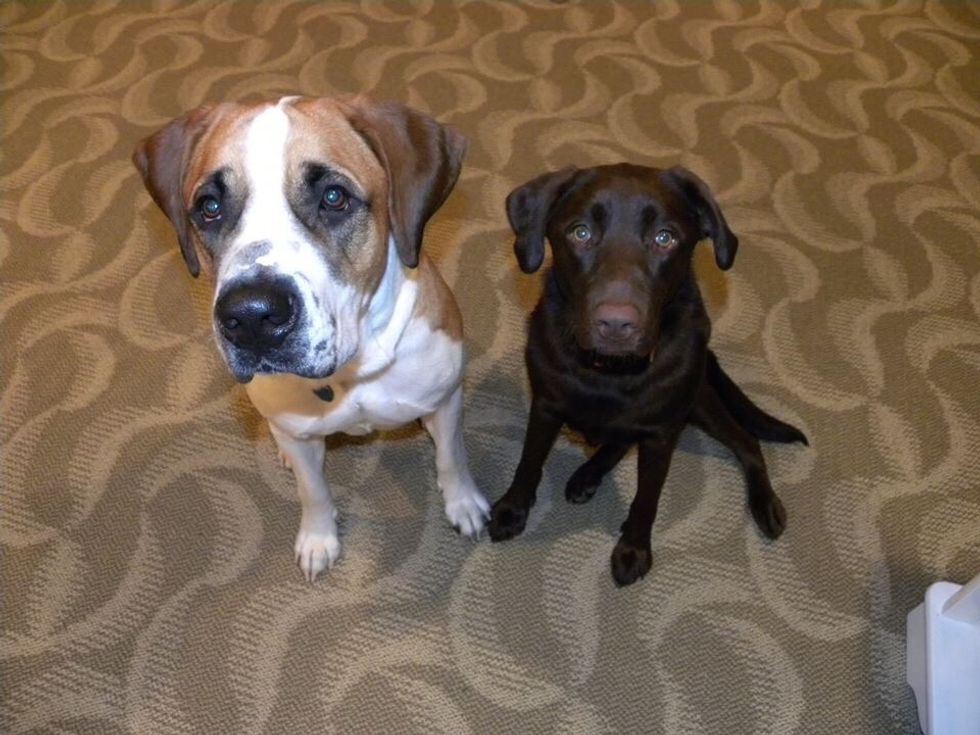
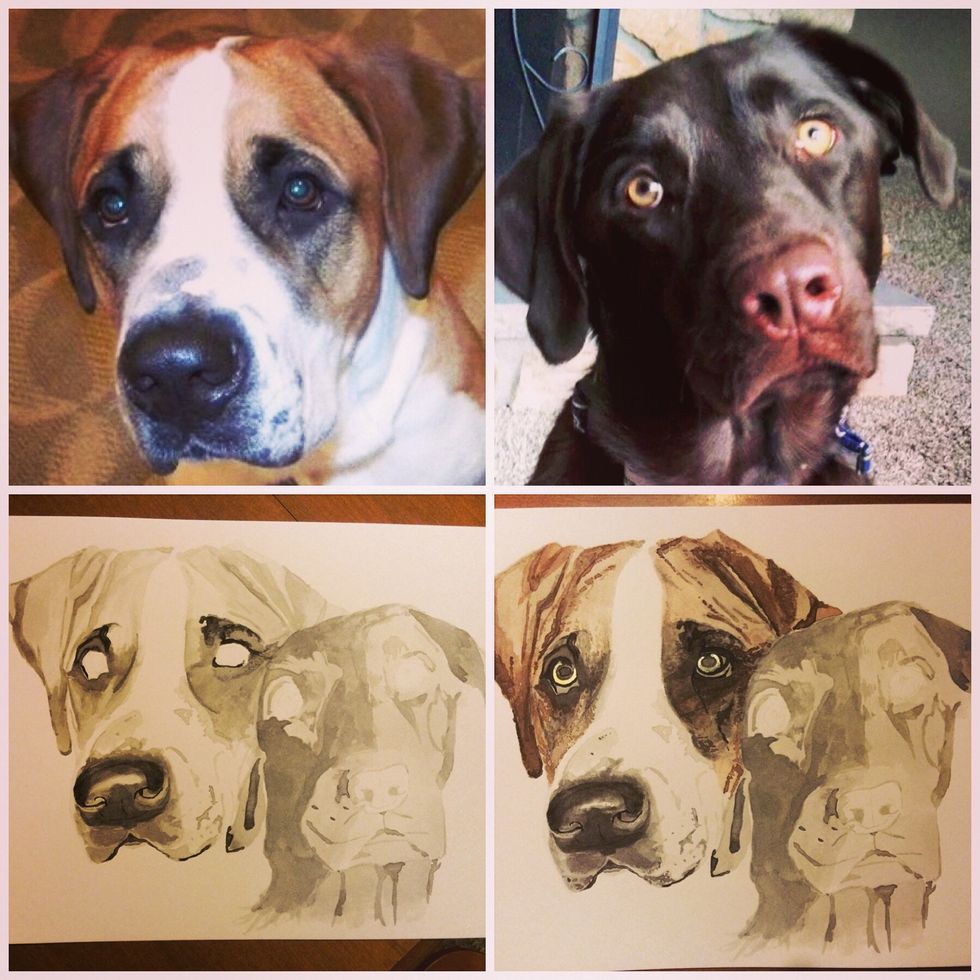
First, you need your reference pictures or model of what you'd like to draw. You can do this with almost anything.
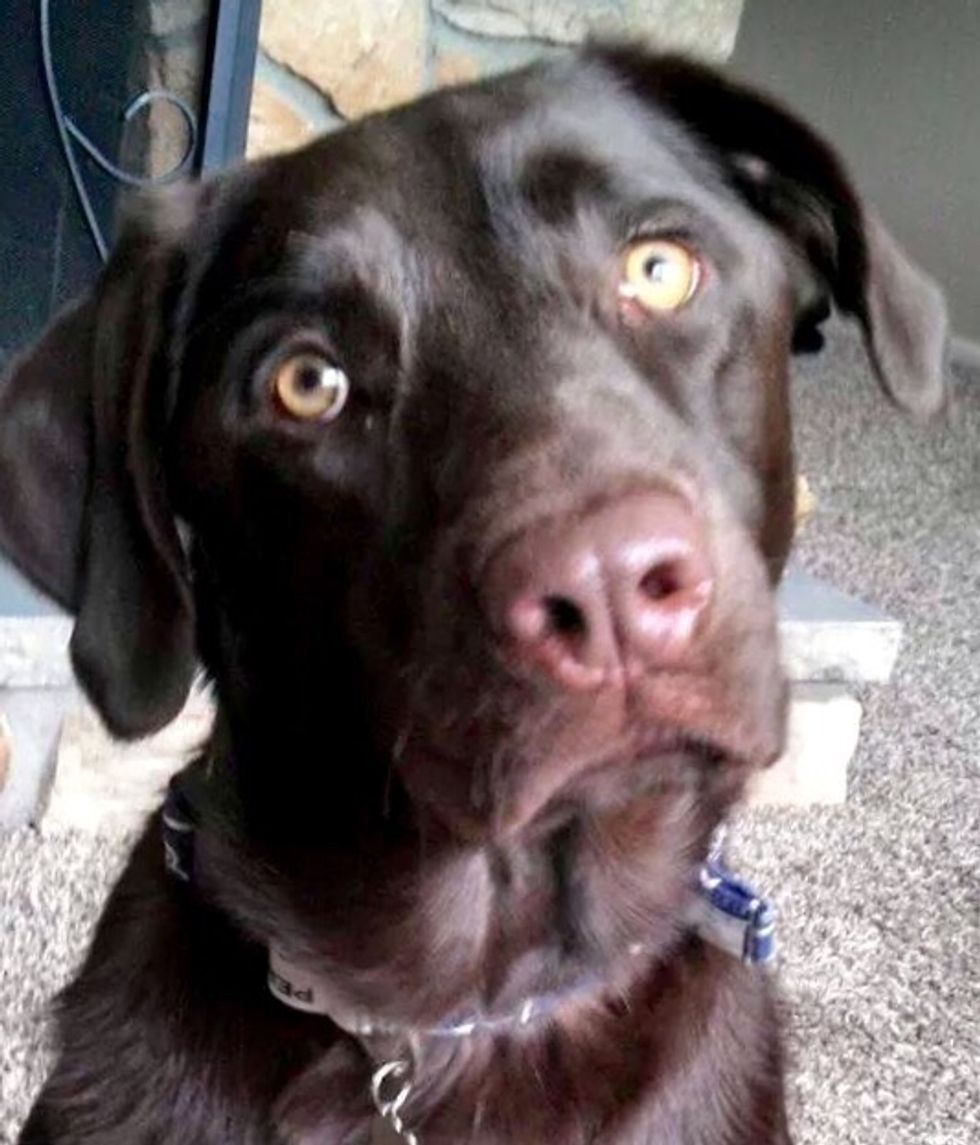
I was going to use the face of the chocolate lab in the other pic but it didn't work with what I was trying to do. I had my customer send me various pictures of their lab, and this pic worked best.
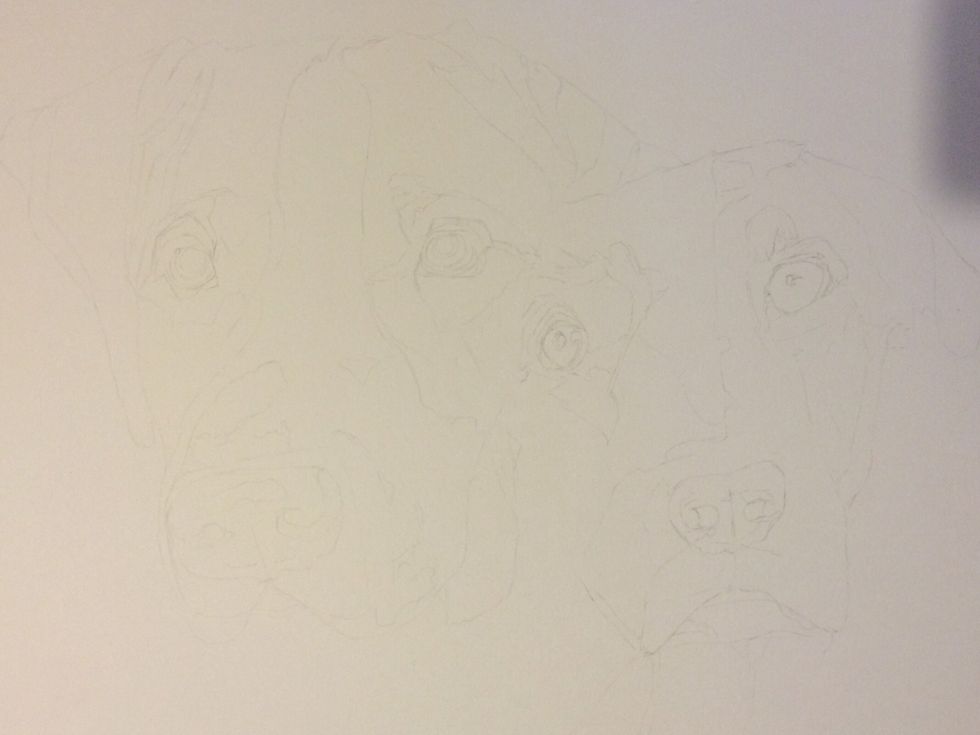
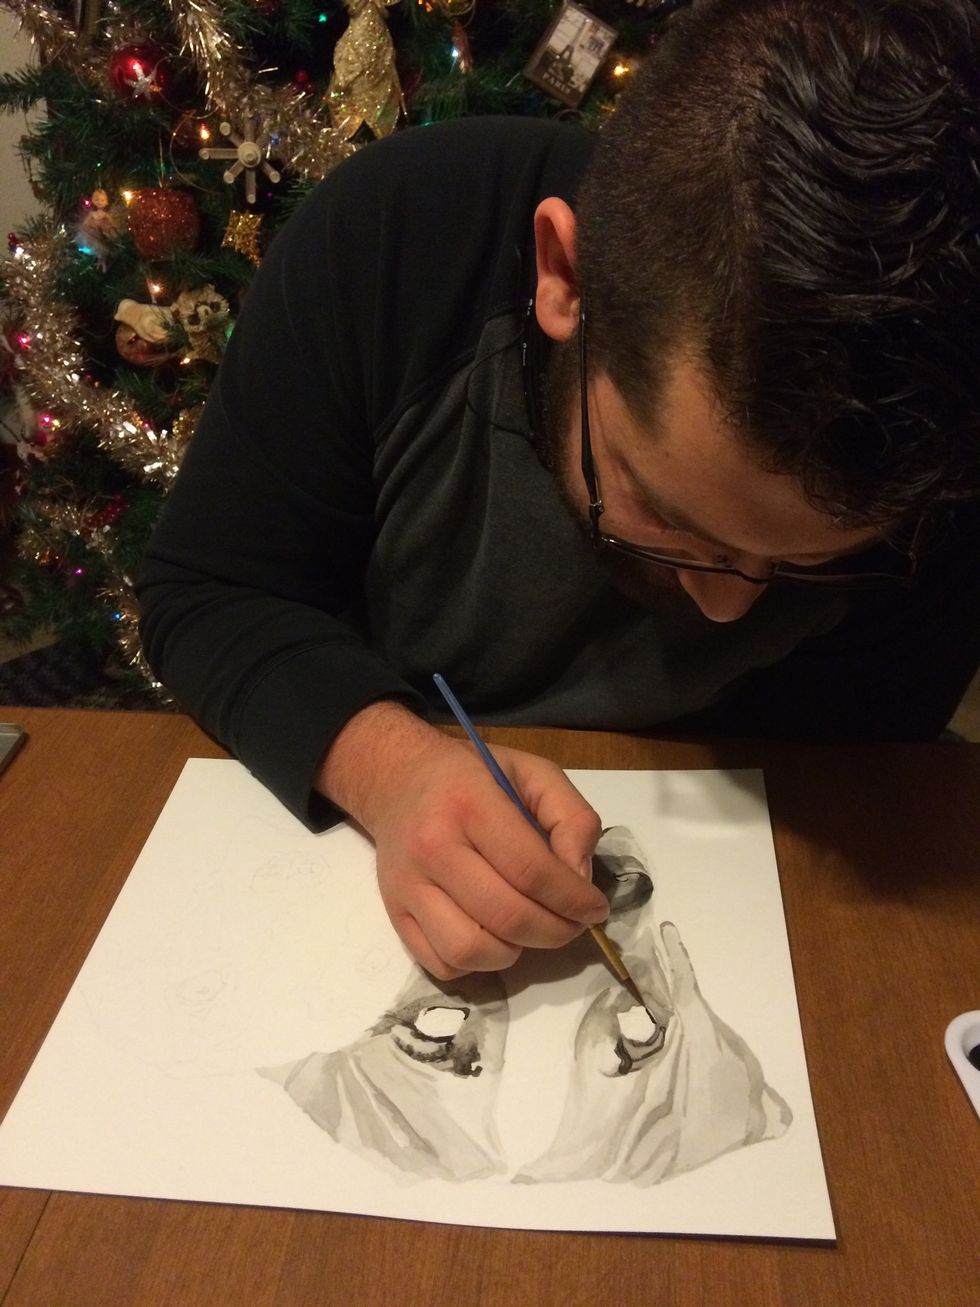
VERY lightly start drawing your picture. Work on one face or object at a time. Slowly and precisely check between your drawing and the reference for size details.
Artist Tip: Remember to draw the shapes you see, and not the "images" you see. When you start to look at the picture and see eyes or a nose then you will automatically draw an eye how you "think"
...it should look like, rather than what it should actually look like when you draw the various shapes and shading to form an eye. (This is my go-to tip as an artist)
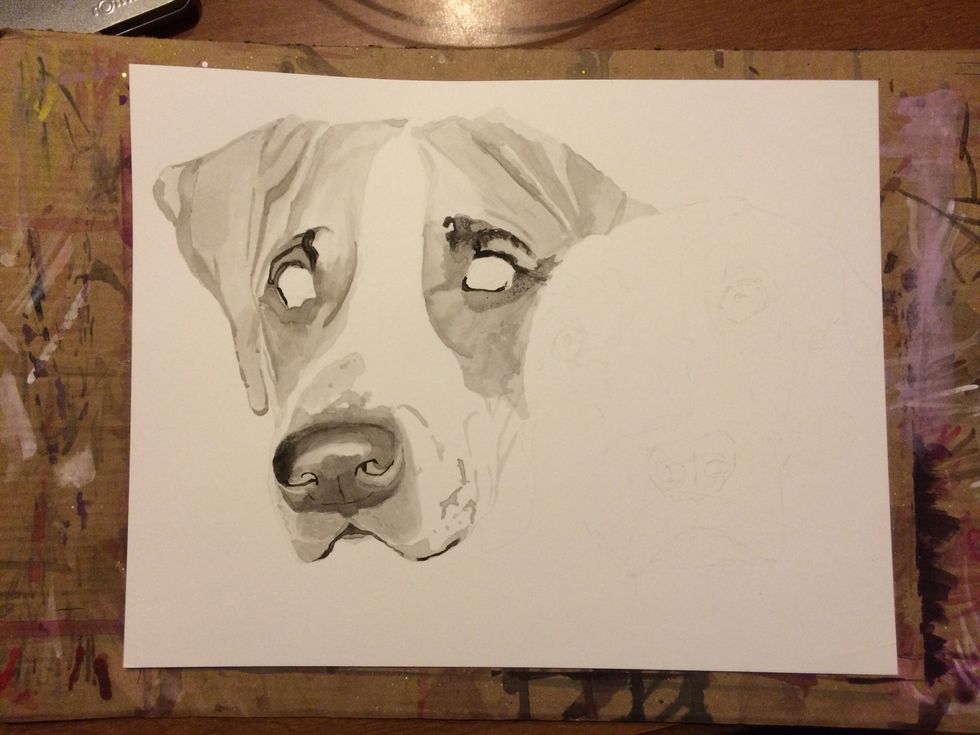
Start with a few drops of black ink inside your paint tray bowl. Then use your brush or dropper to drop some water in a separate bowl. Dip your brush into the black ink and then place into the water.
Mix the water and diluted ink. Very carefully follow the shades to your reference picture. Artist tip: Turn your picture into a black and white photo to help aid your shading if you have problems.
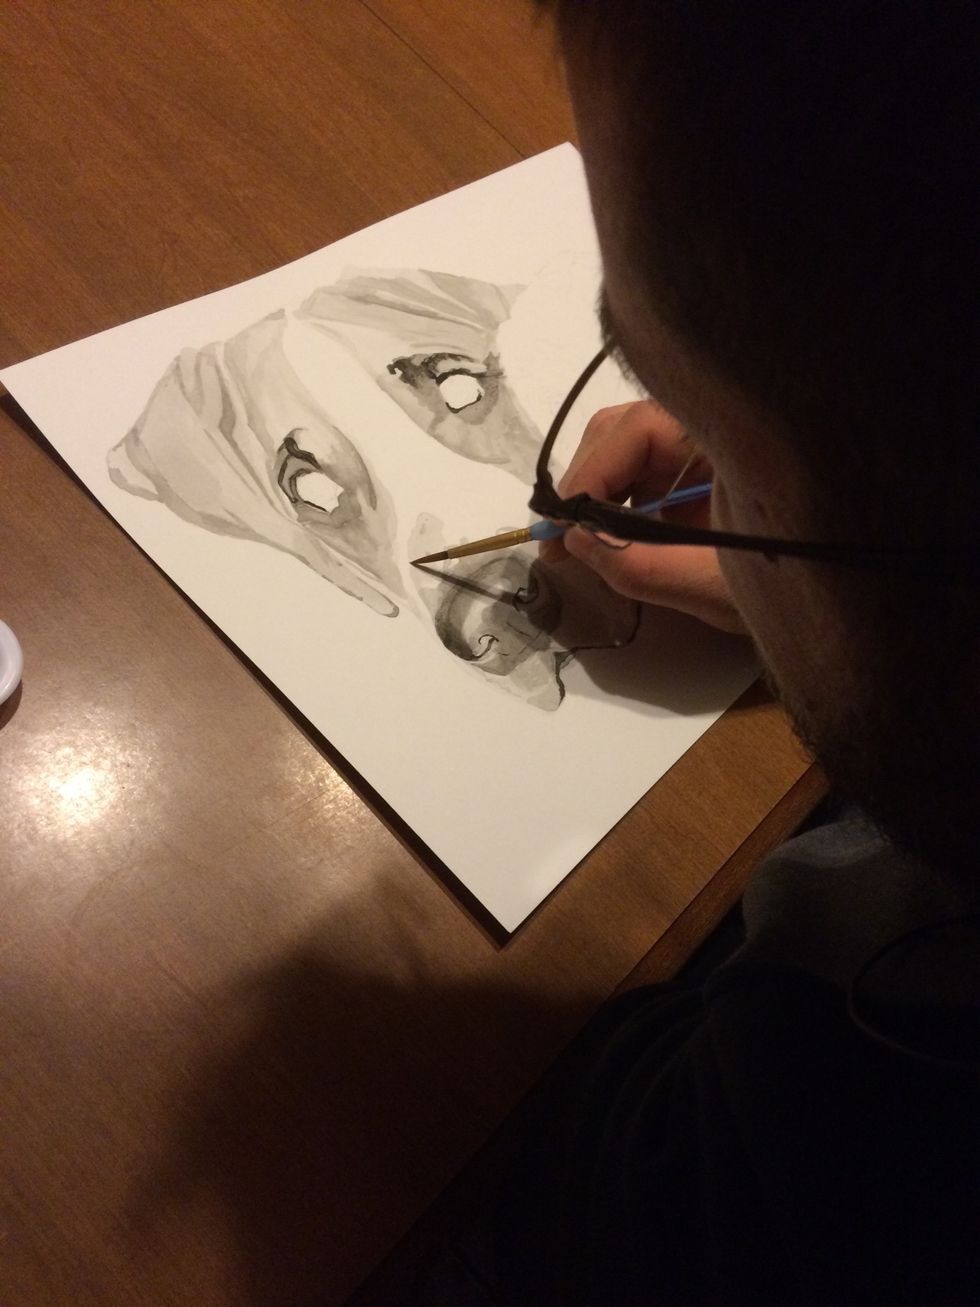
With an ink wash you work in layers. You start out with a very light wash. Each layer over top of that will cause the same area to get darker and darker. Working with light color prevents mistakes.
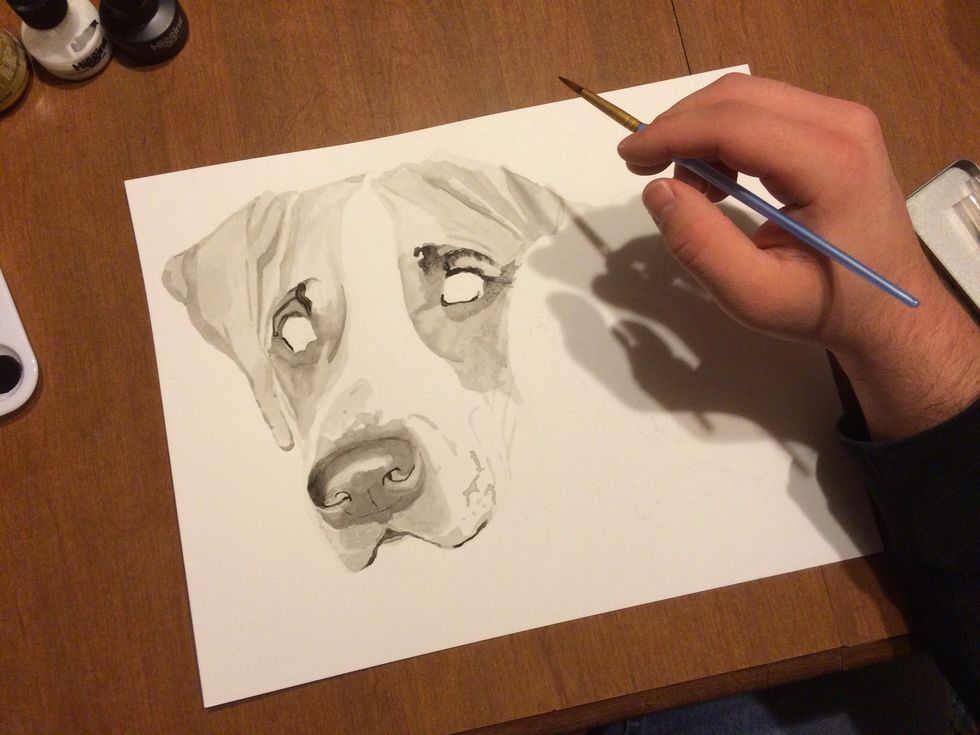
Don't worry about imperfections. You will be able to go back and kind of fix if you have any problems. Practice is key!
Once you have your basic outline and shading done for your first object, go ahead and start your second...third...fourth and so on. All with the same technique of working in layers.
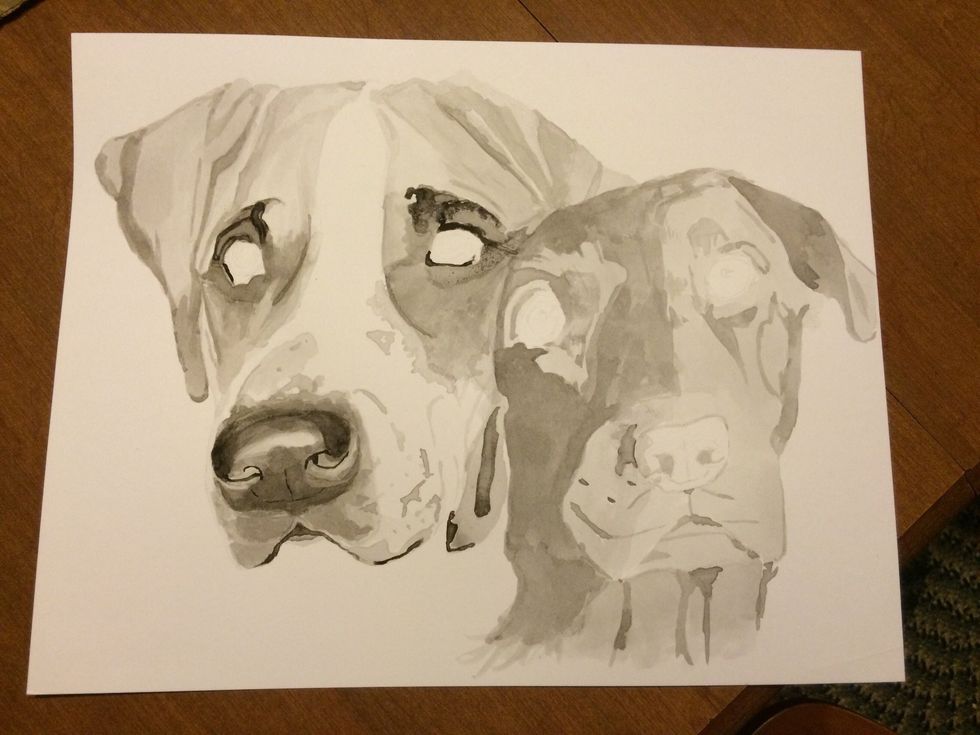
At this point you begin to work with the colors. To me it is easier to wash after shading because I work my colors extremely translucent (very watered down and almost clear). Layer after layer.
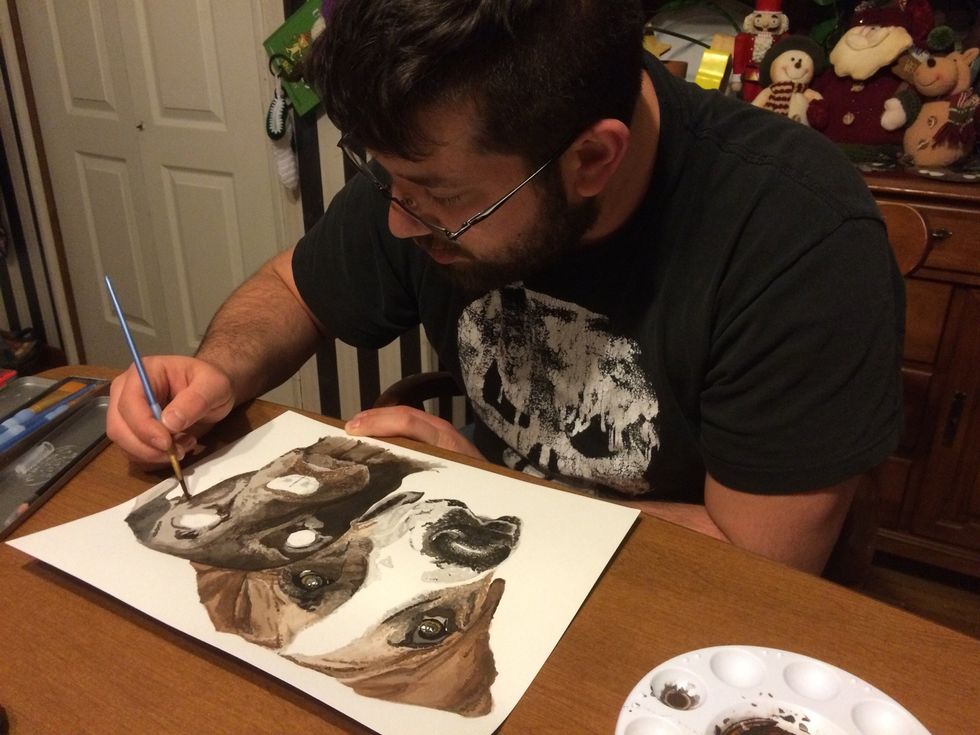
Here I am starting my layers working on the chocolate Labrador. You mix the inks just as you would mix paint. Take your time and get it right. I love mixing colors, because I find it challenging.
Sometimes you really need to take a step back and check your work. After sitting the same way for hours on end, your view to the artwork may not be the view you want others to see.
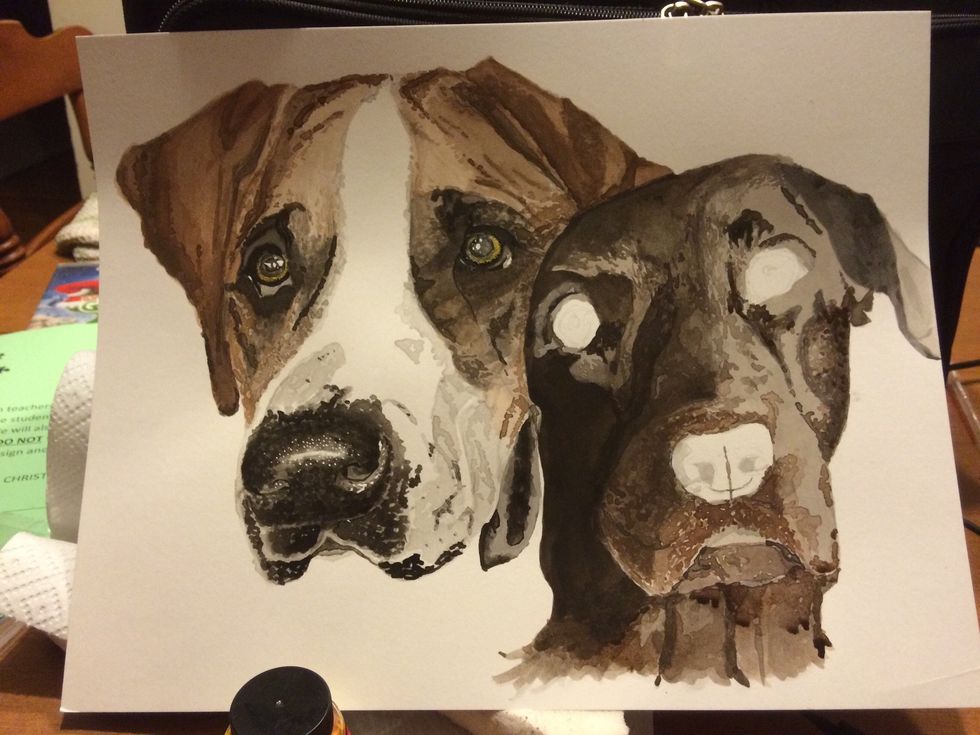
I had to fix the right eye. Something just didn't seem right with it. If you take a look at my other pics you will see it was just too small. Use a magic eraser sponge to gently rub off bad ink.
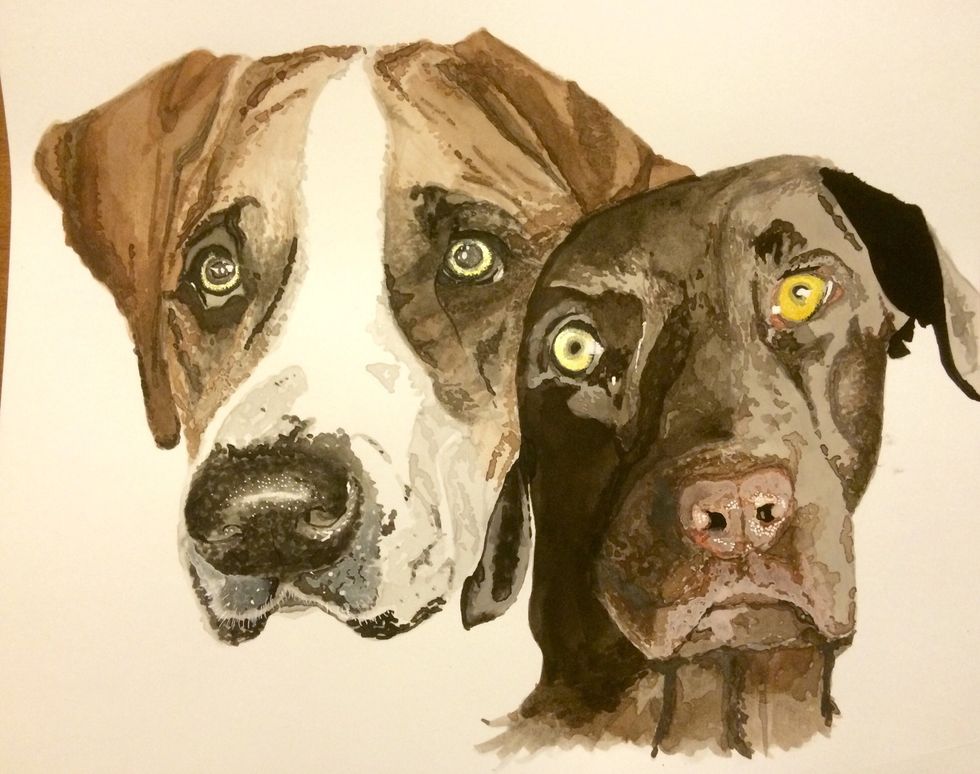
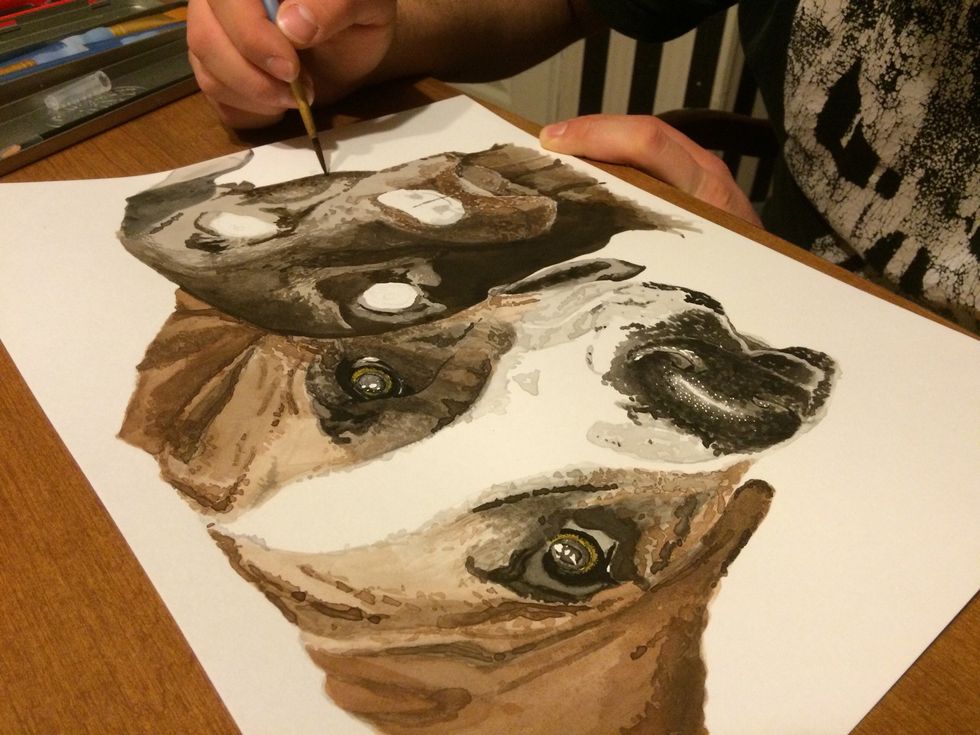
I always...always save the eyes for last! I try to spend as much detail with them I can. It "makes" the picture. Eyes are the soul of the picture when it comes to portraits.
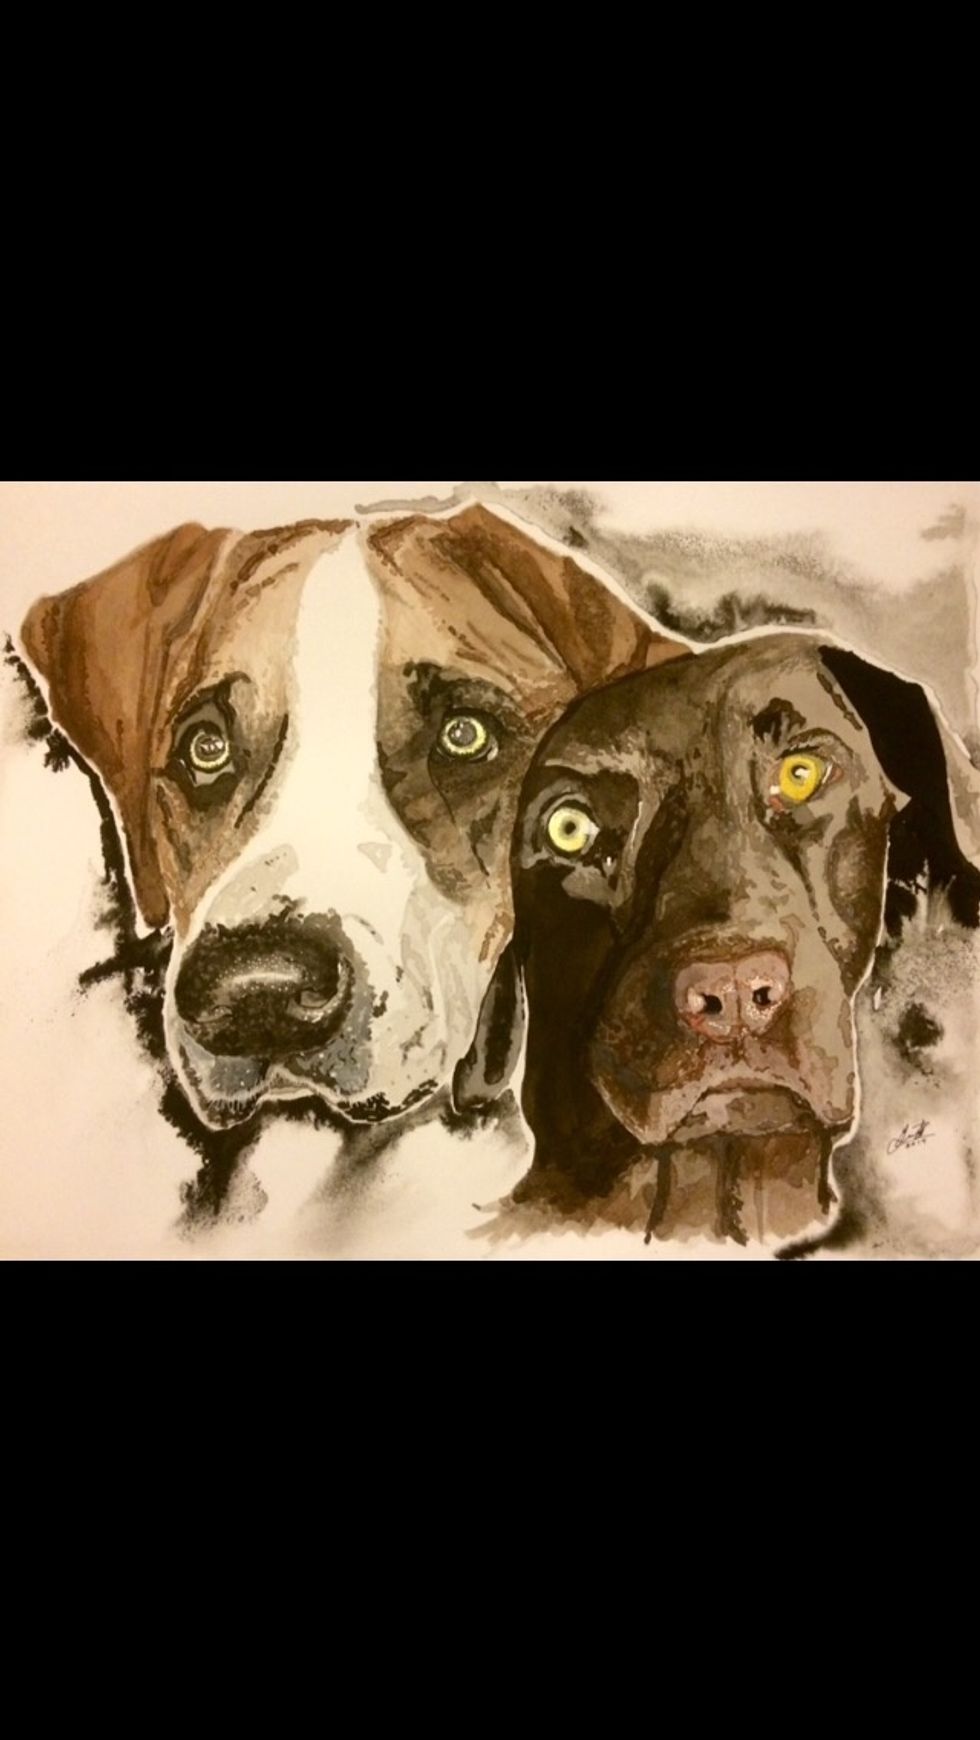
I used a special Gold ink for the eyes. It sparkles and shines just as a dogs eye would. The picture doesn't do justice for the feeling you get from it. If you have any questions, please comment!
The black ink around the dogs is a separate ink and water technique. I brushed water onto the paper until it was saturated. As the water puddled I dropped ink in calculated places for the look it has

To follow more of my art or to ask about commissions please visit... https://www.facebook.com/GuyRuff3art Twitter: @Guy_Ruff_Art Instagram: GuyRuffArt Thanks for viewing my guide, Guy