The Conversation (0)
Sign Up
Before purchasing your supplies, first decide the dimensions of your purse. For this tutorial, the dimensions of this bag are 8"w x 4"h with the interior split into two pockets 3"h, finished size.
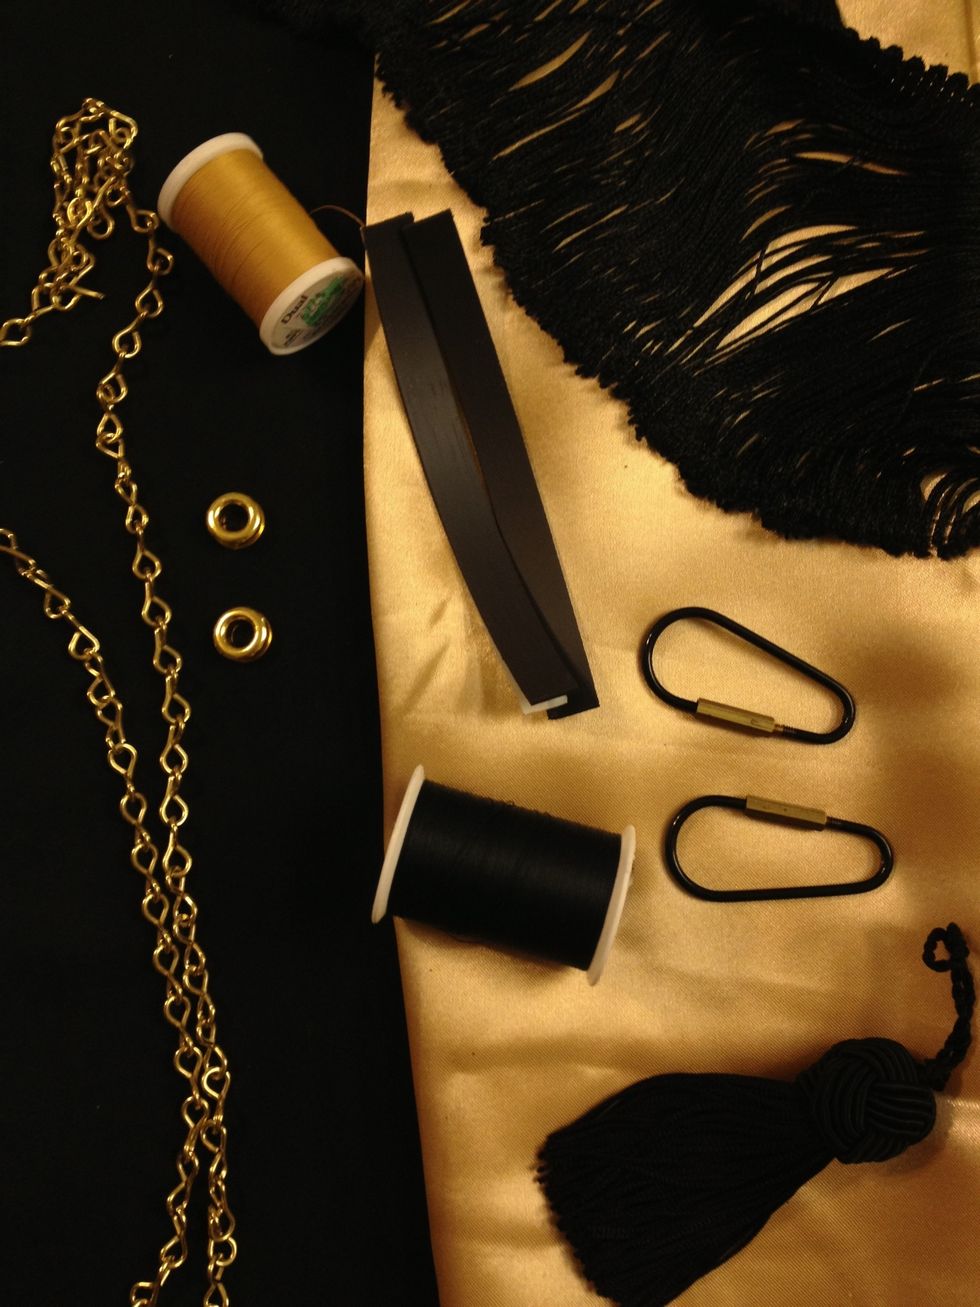
Gather all your supplies.

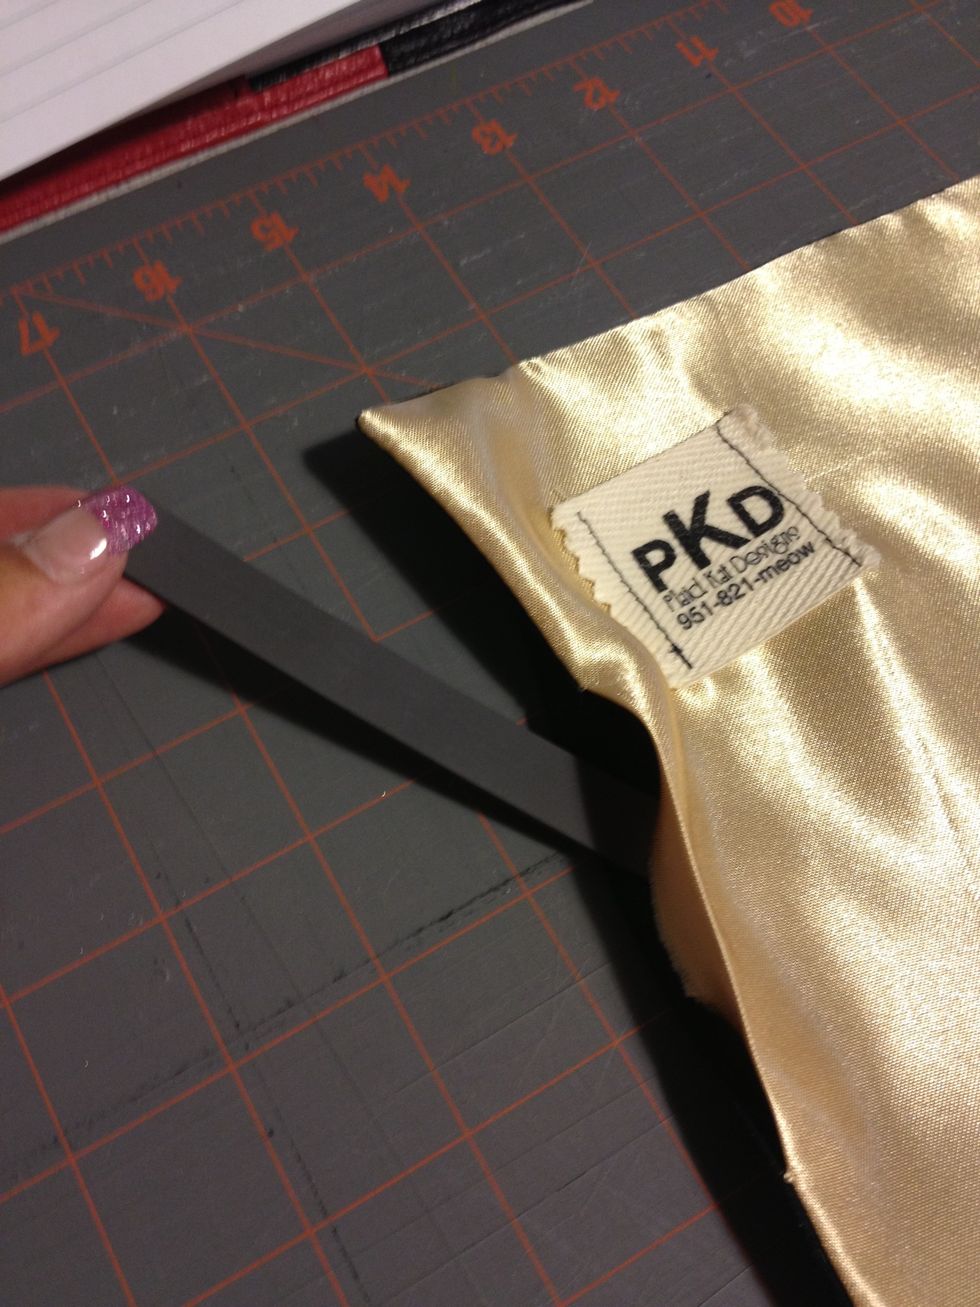
Cut your black outer fabric 15" x 9". Cut your gold liner fabric 15" x 9".

Pin outer fabric and liner fabric together. Right (top) sides facing each other. Leave a 2-3" opening so that you can turn it inside out after sewing.
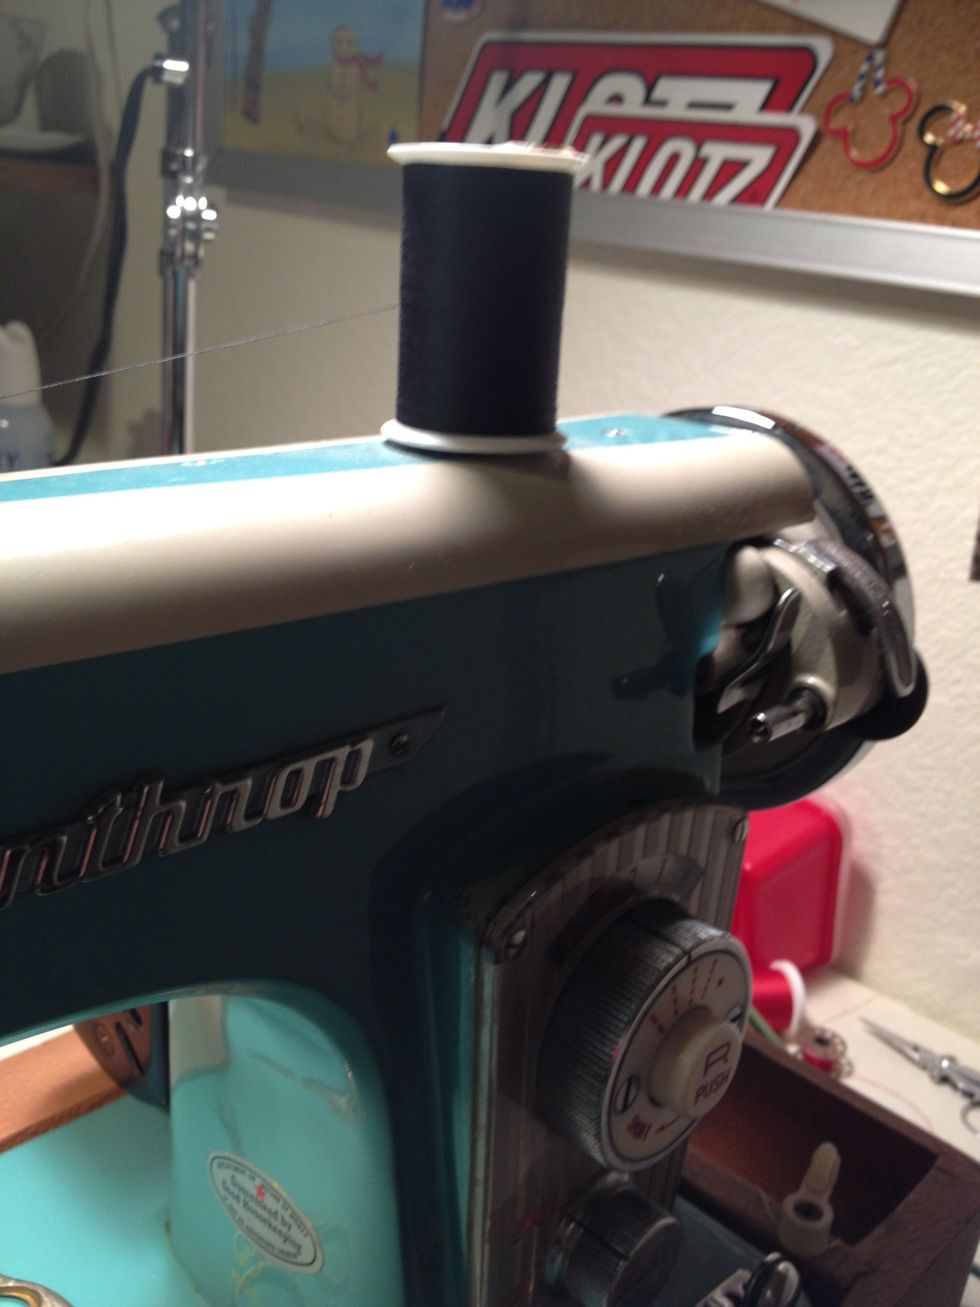
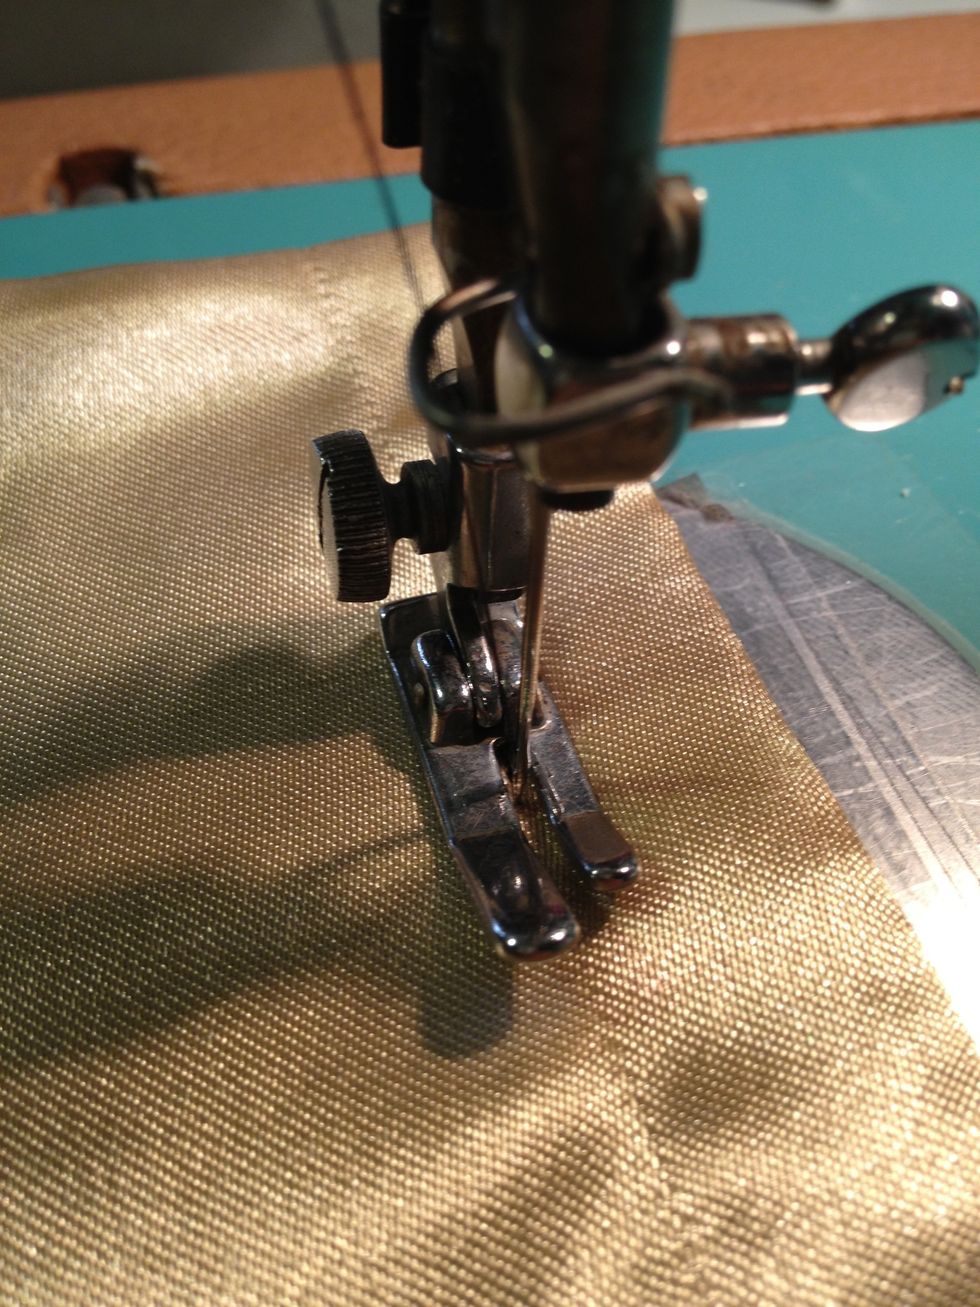
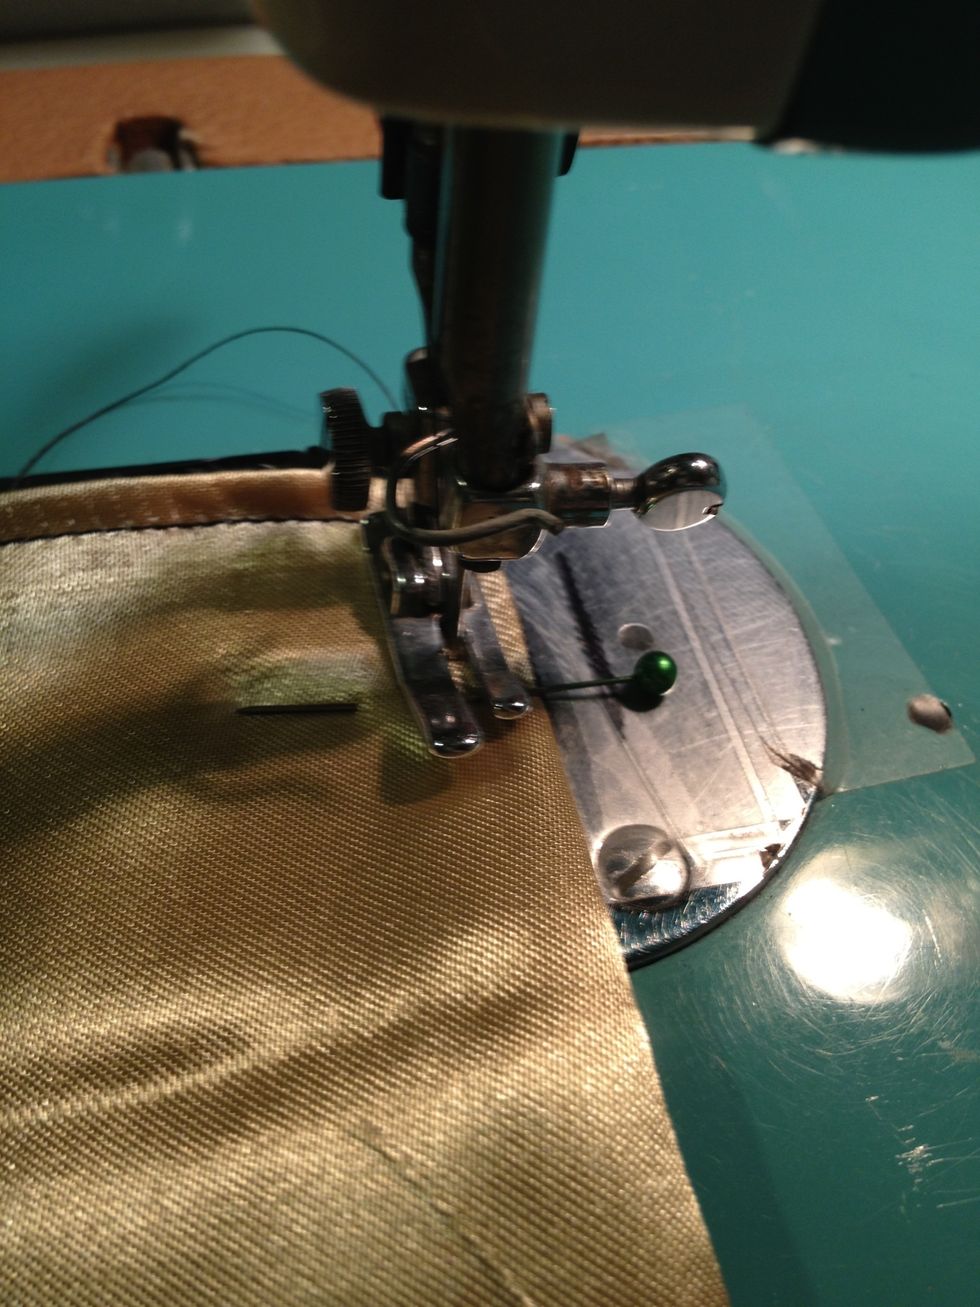
Thread your sewing machine with black thread.

Sew around outside edge using a 1/2" seam allowance. Remove the pins as you go. Do not try to sew over them. It can pull your stitches out of tension or break your needle. Or worse, do both!
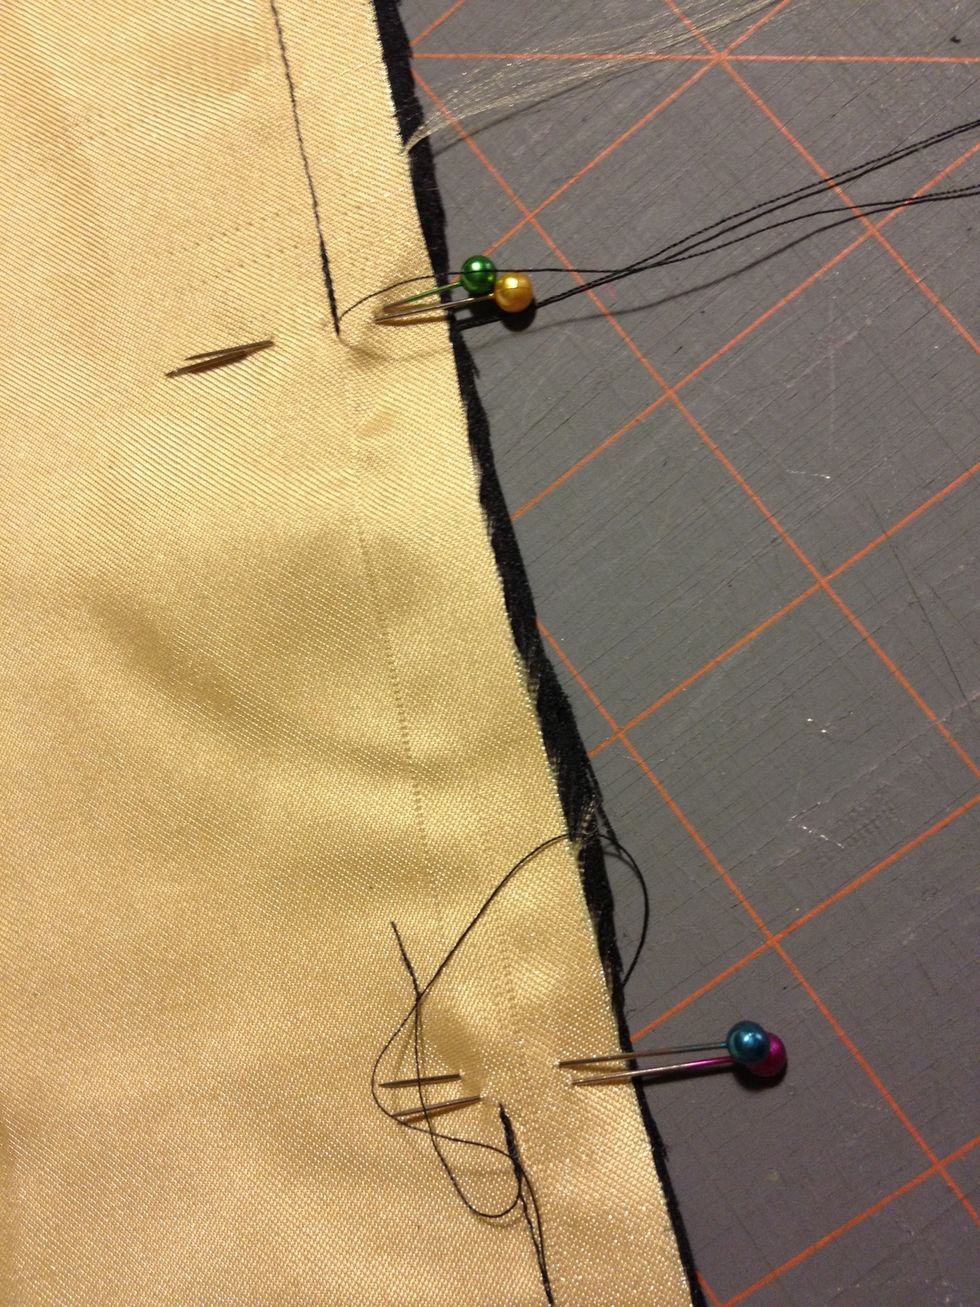
Here's a little tip I learned a long time ago... I put double pins at my starting and stopping points so that I don't accidentally sew my opening closed. It's not fun to take those stitches back out.
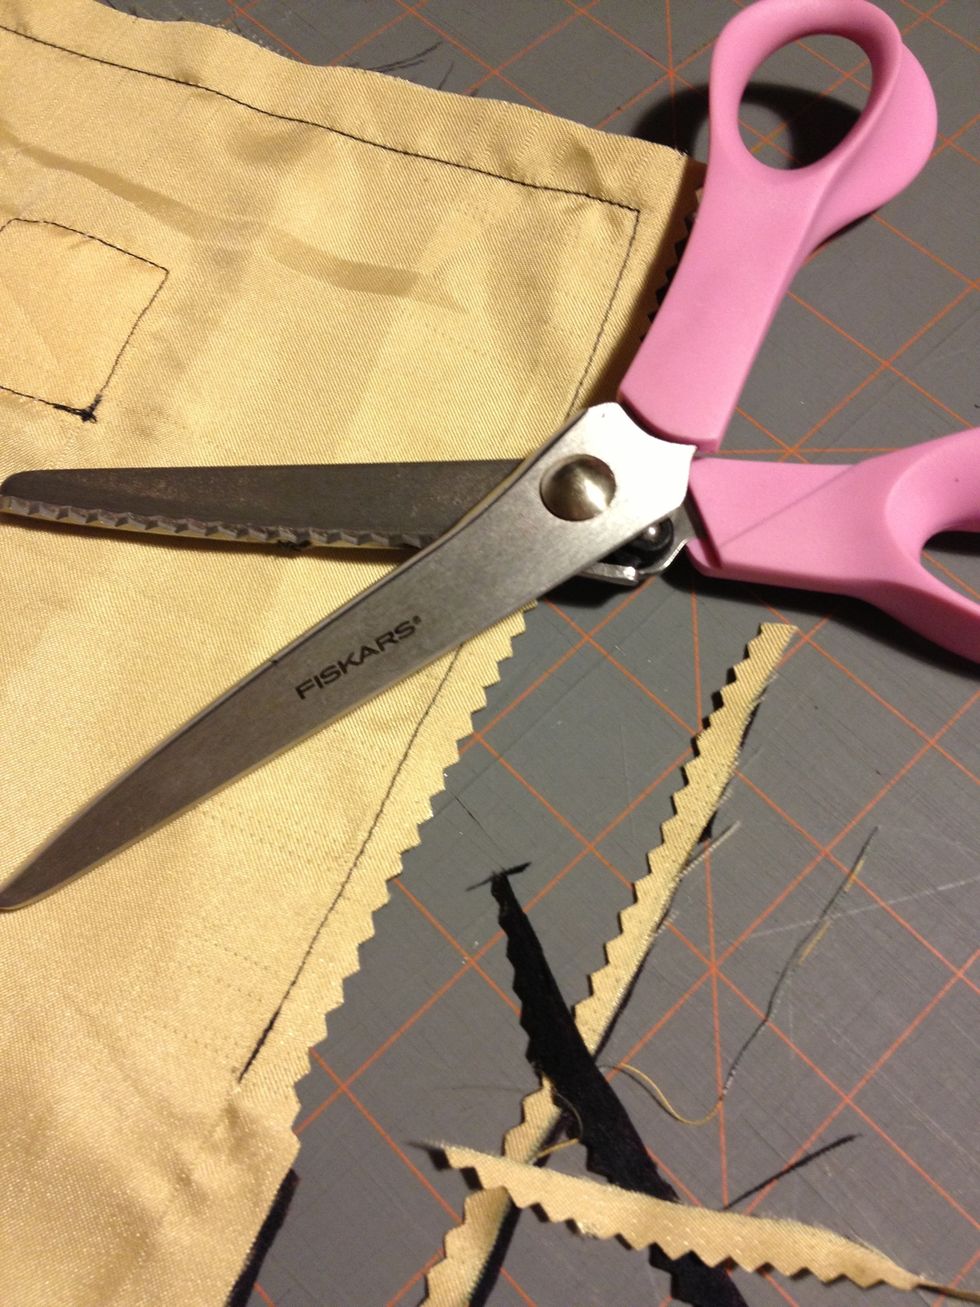
Take your pinking shears and trim your seam allowance to 1/4" around the entire bag except where the opening is. This keeps your fabric from un-raveling.
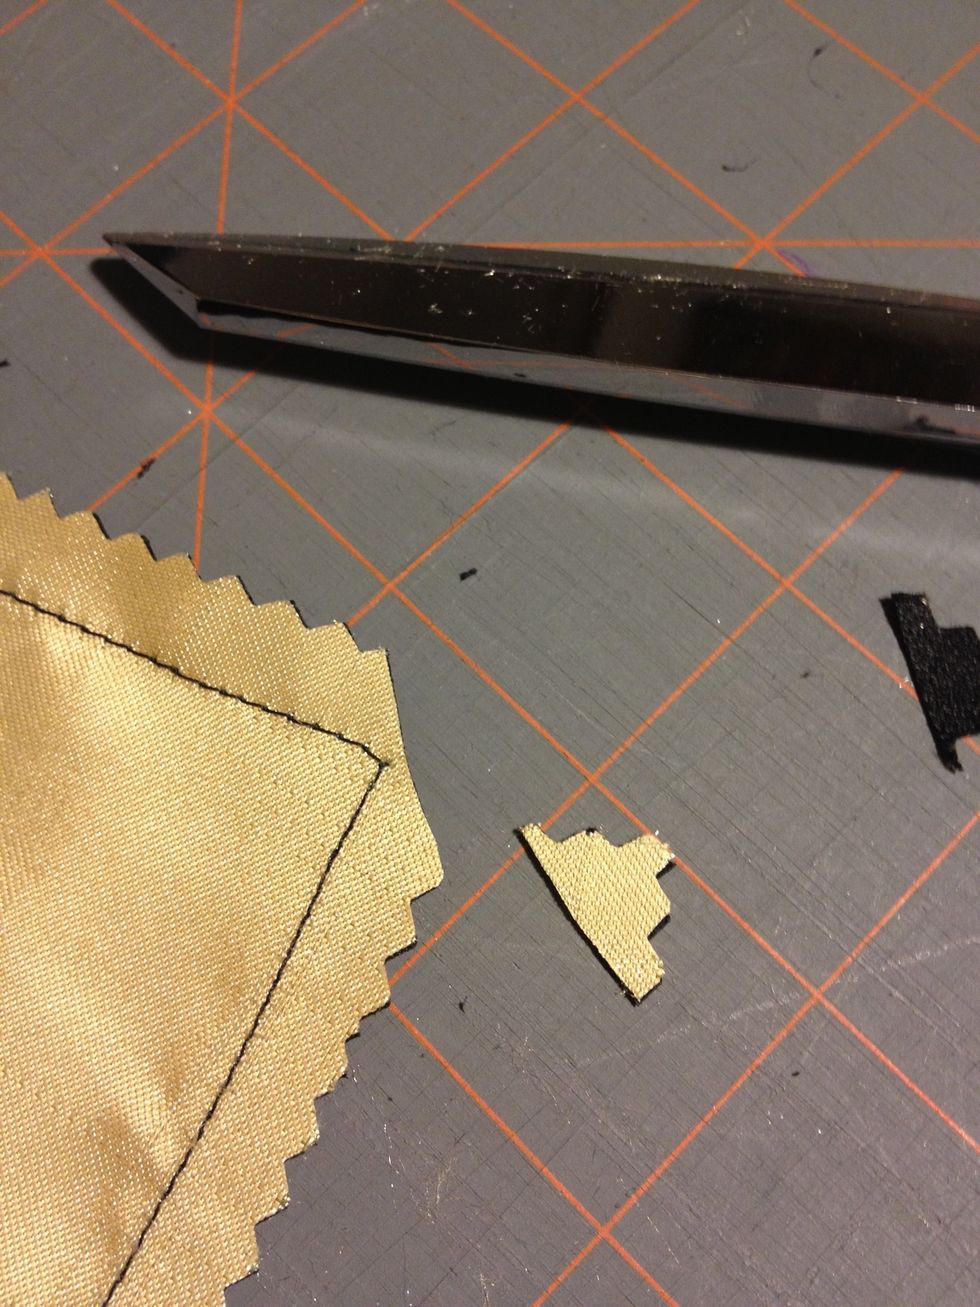
Cut all four corners diagonally. Be careful not you cut your seam! This allows your corners to be nice and square when you turn your bag inside out.
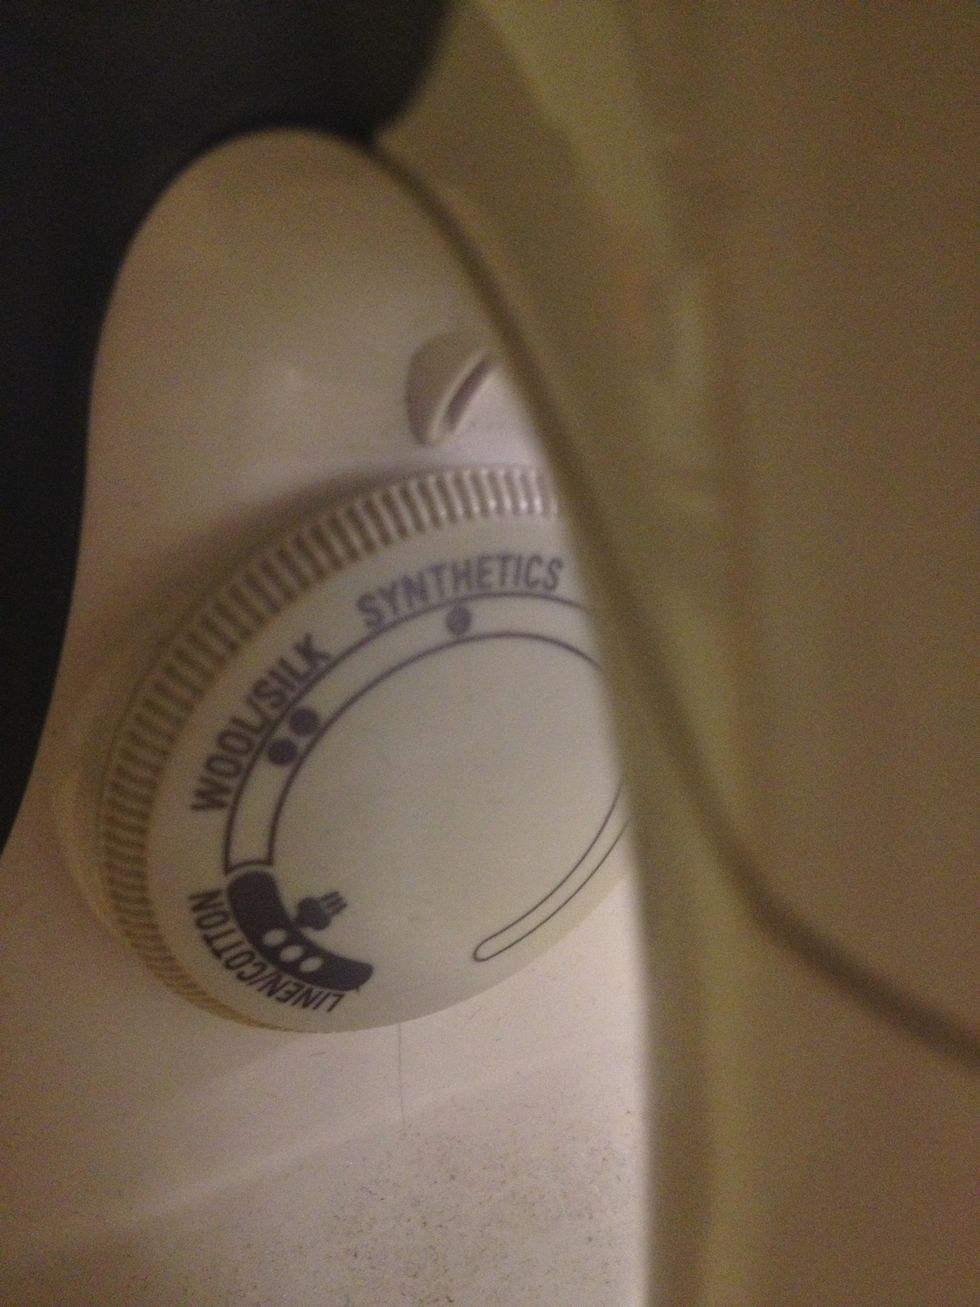
Put your iron on a low (I use the synthetics) setting. You don't want to burn your fabric.
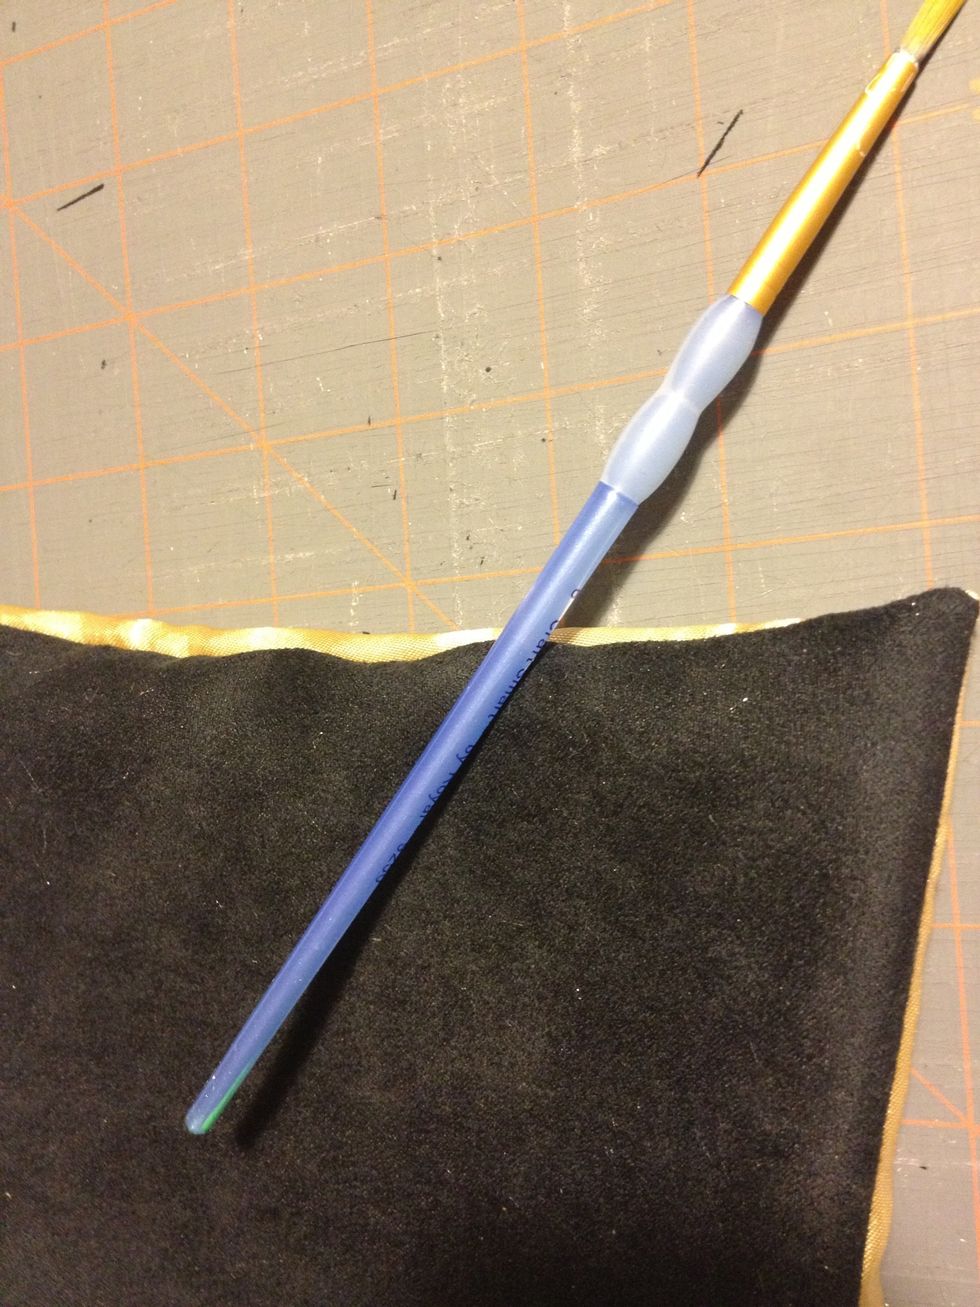
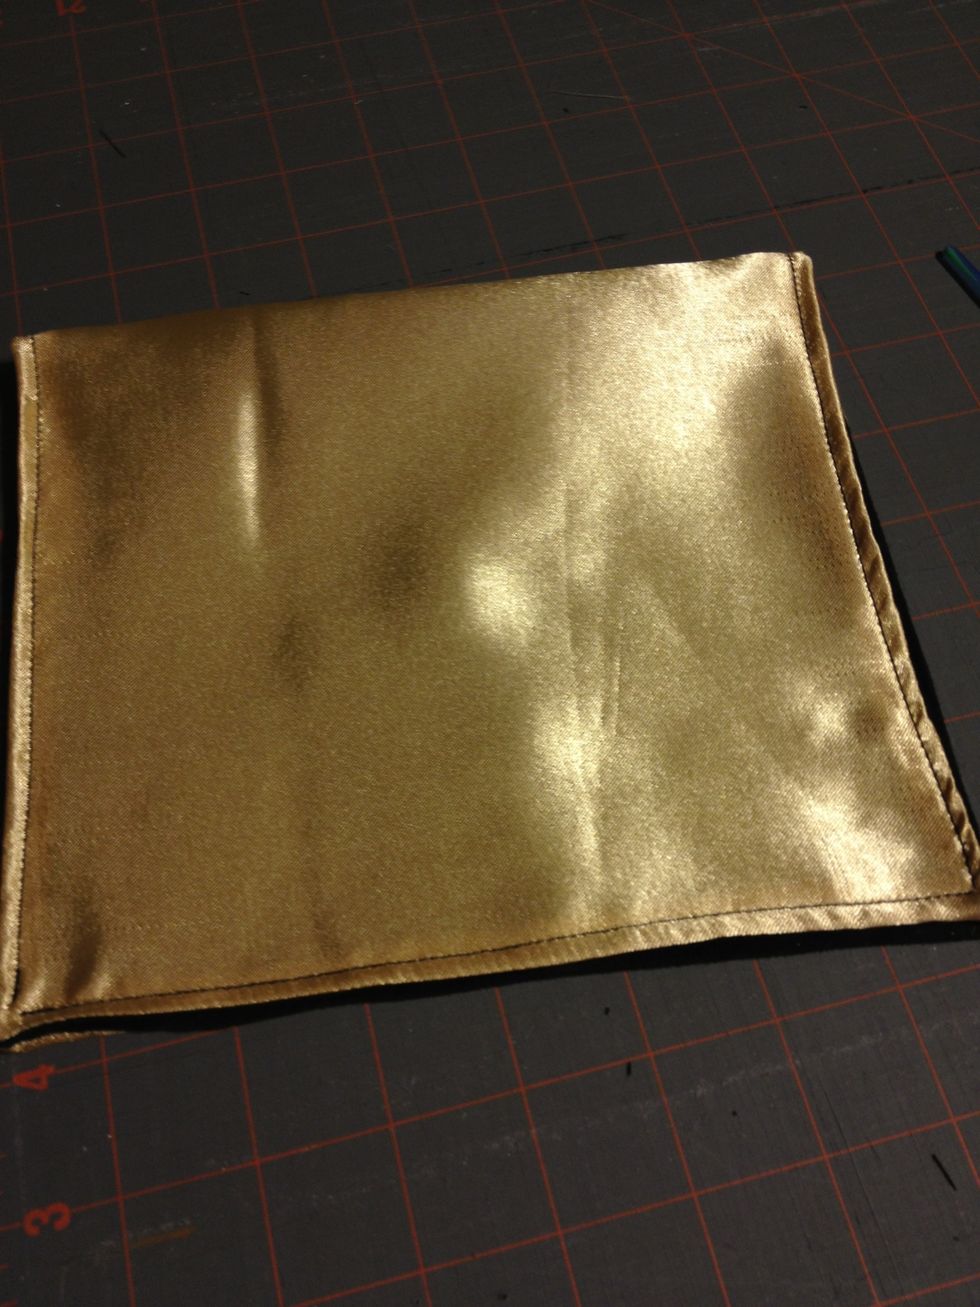
Turn your bag inside out. Making sure you get your corners square. I use the end of a paint brush to make sure I have the corners pushed out.
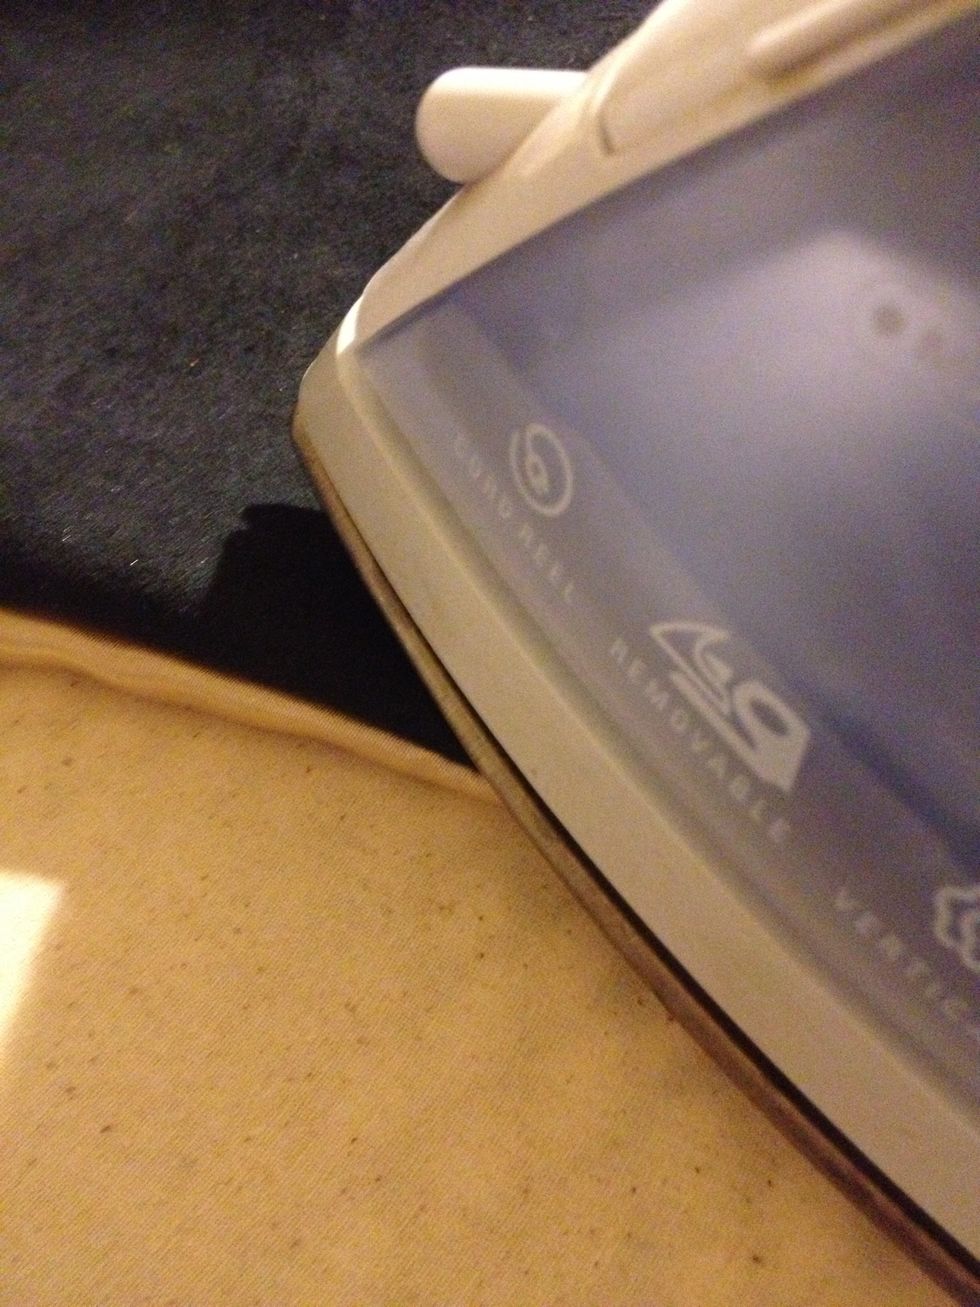
Iron all your seams flat. Making sure to turn in the fabric at the opening on the side of your bag.
Place magnetic strip inside bag at the opening you left on the side.
Center magnets in the each end on the short sides. This will keep your bag closed when you are using it. Using the magnet as your guide, stitch along side of it to keep it in place.
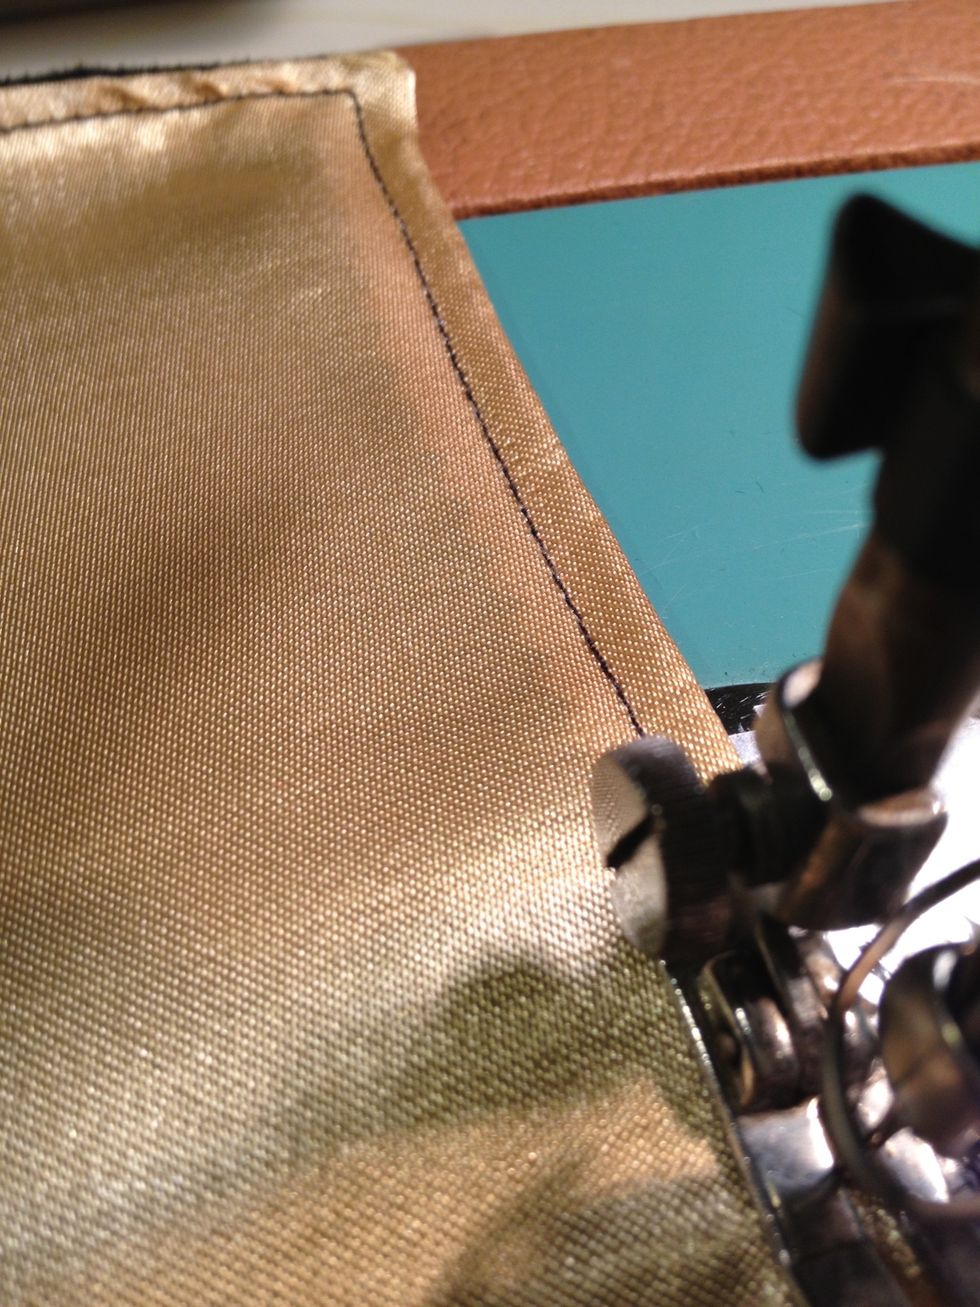
Sew a 1/8" top stitch around the entire bag. This will close up the opening used to turn the bag inside out. It also helps stabilize the entire bag so the lining doesn't slip around as much.
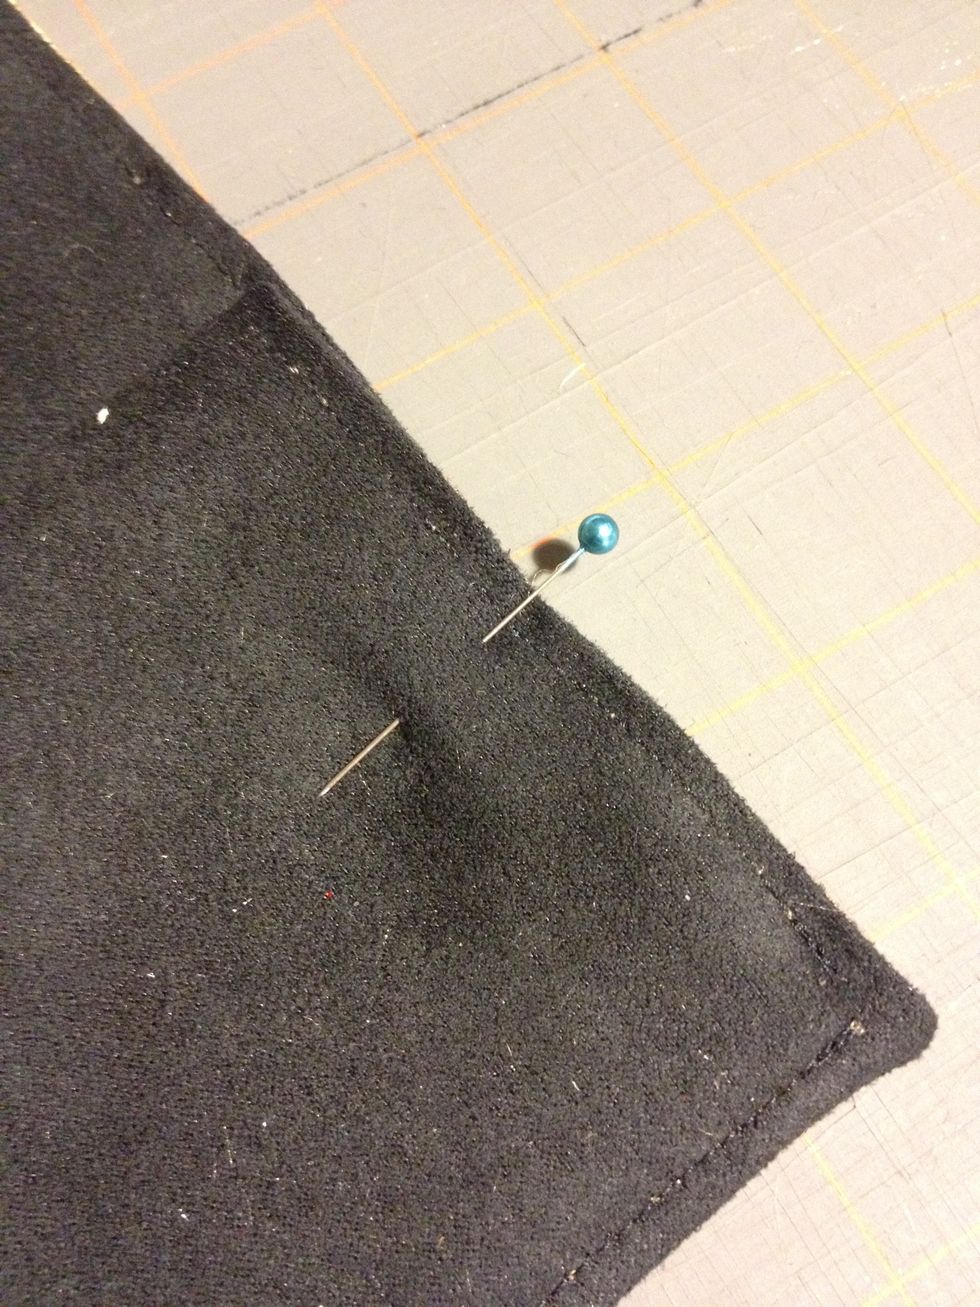
Fold bag in half with the lining on the outside. Match up the short ends. Pin along the fold.
Sew along the fold with a 1/4" seam allowance. Once again, remove the pins as you go so you don't break a needle or drop a stitch.
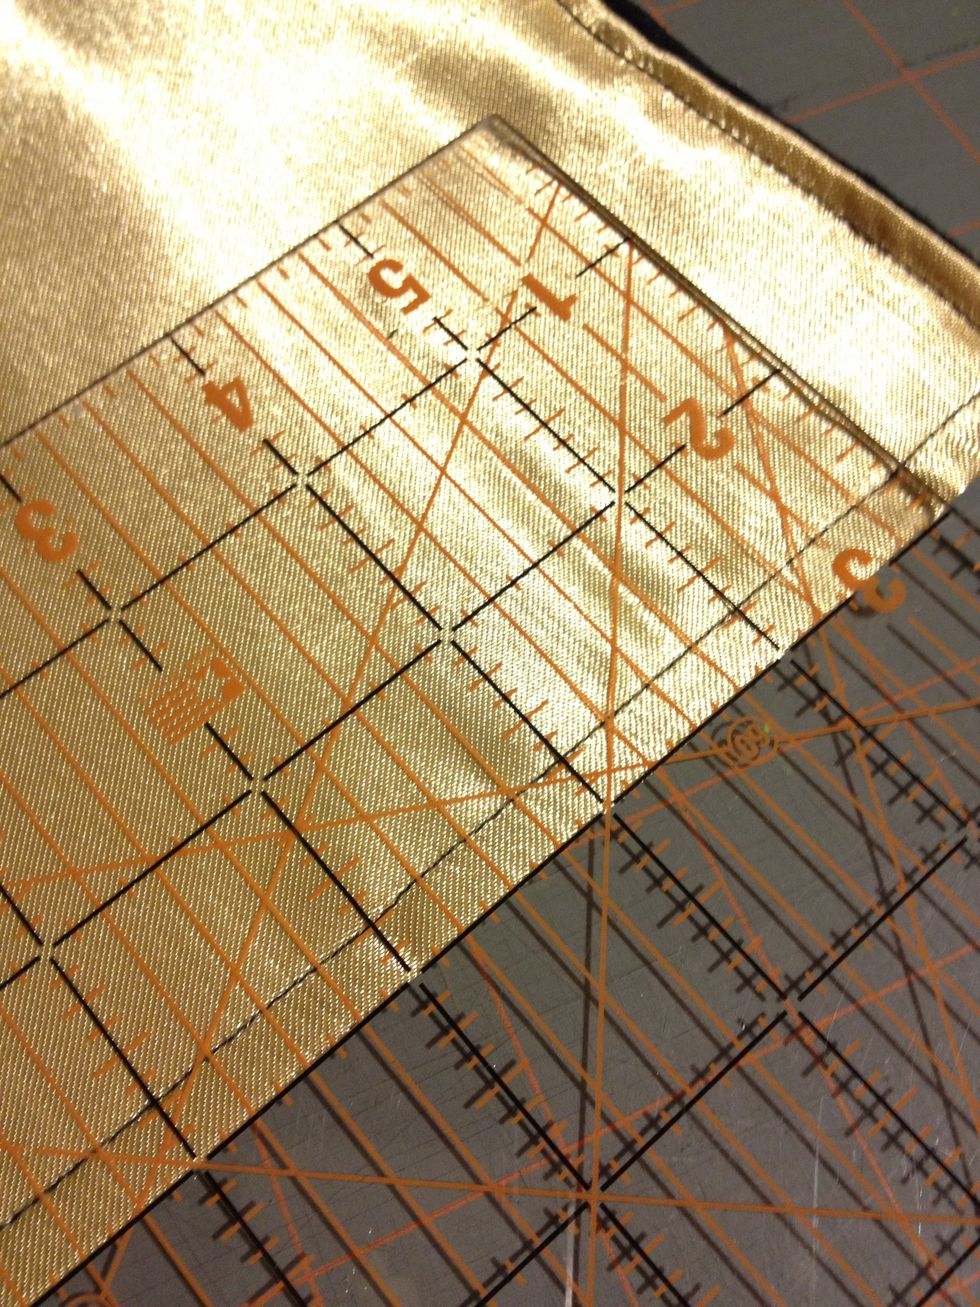
From the edge of your fold, measure down 3".

Fold fabric up with the the lining on the inside.
Pin each side to hold fabric in place. Turn over and repeat with the other side.
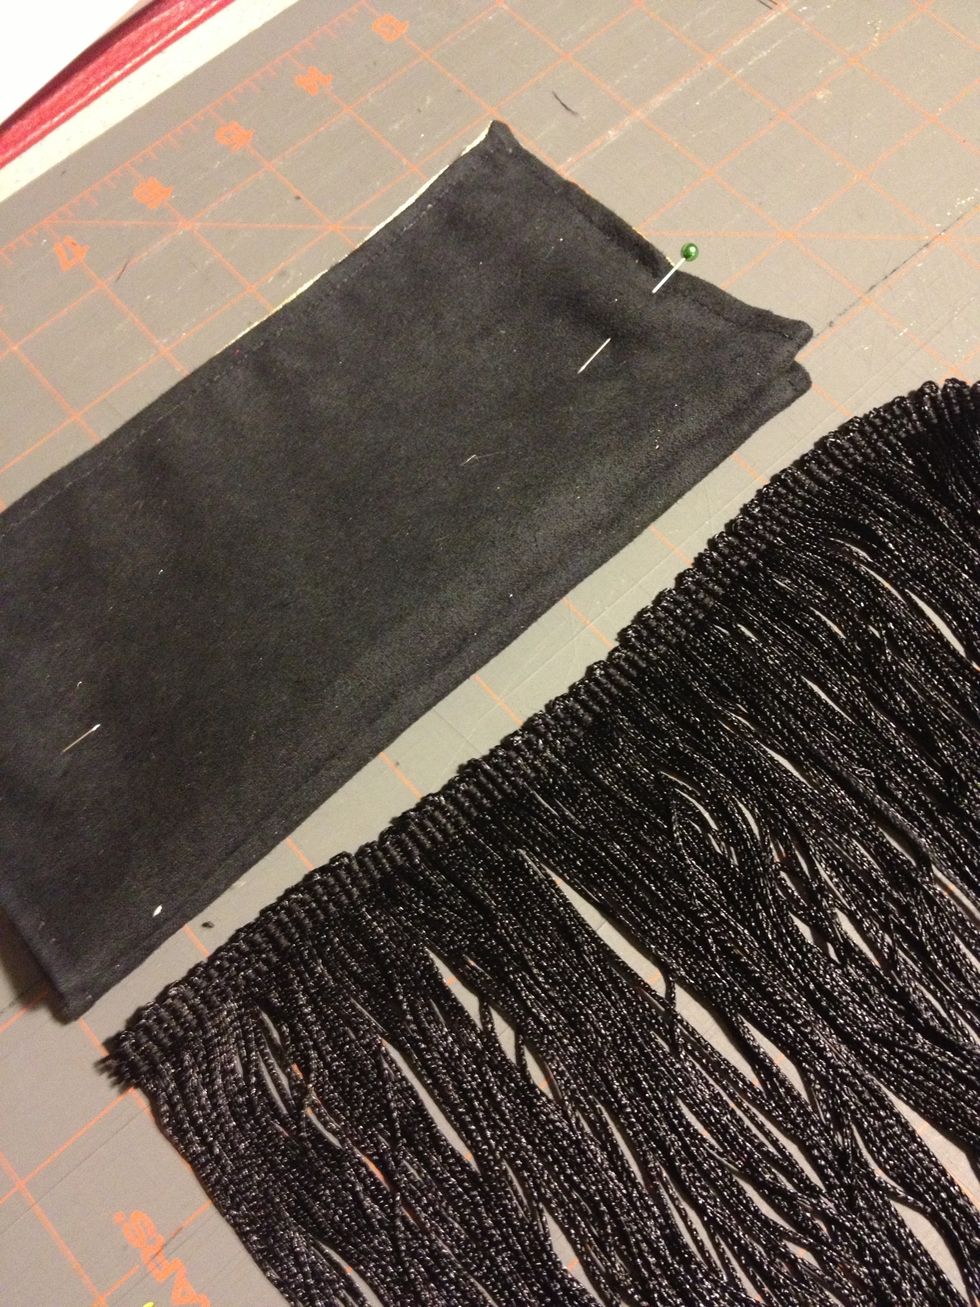
Cut fringe to the length of your bag. In this case, 8 inches.
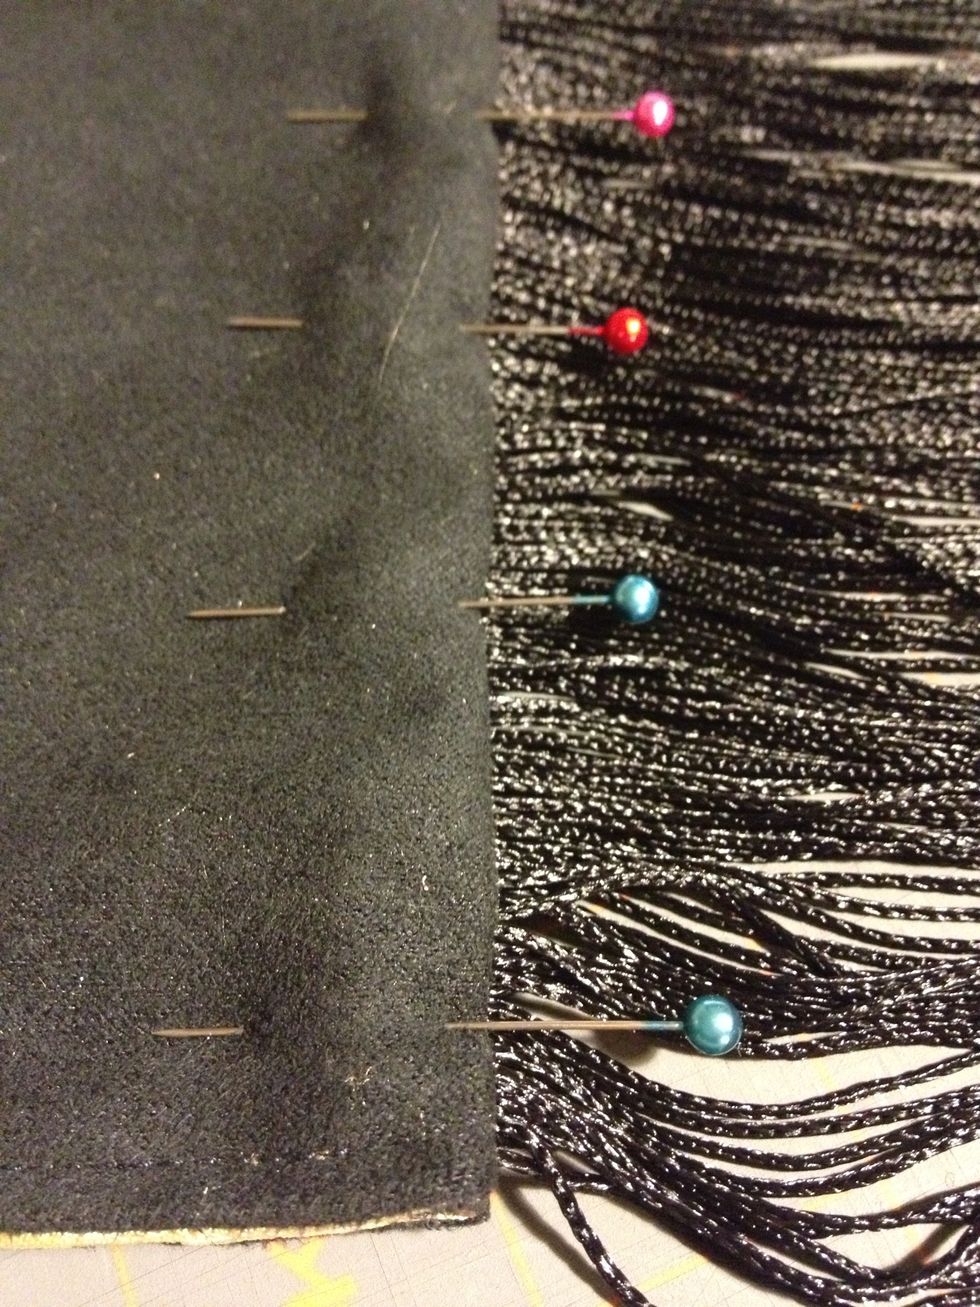
Insert fringe in between bottom folds and pin.
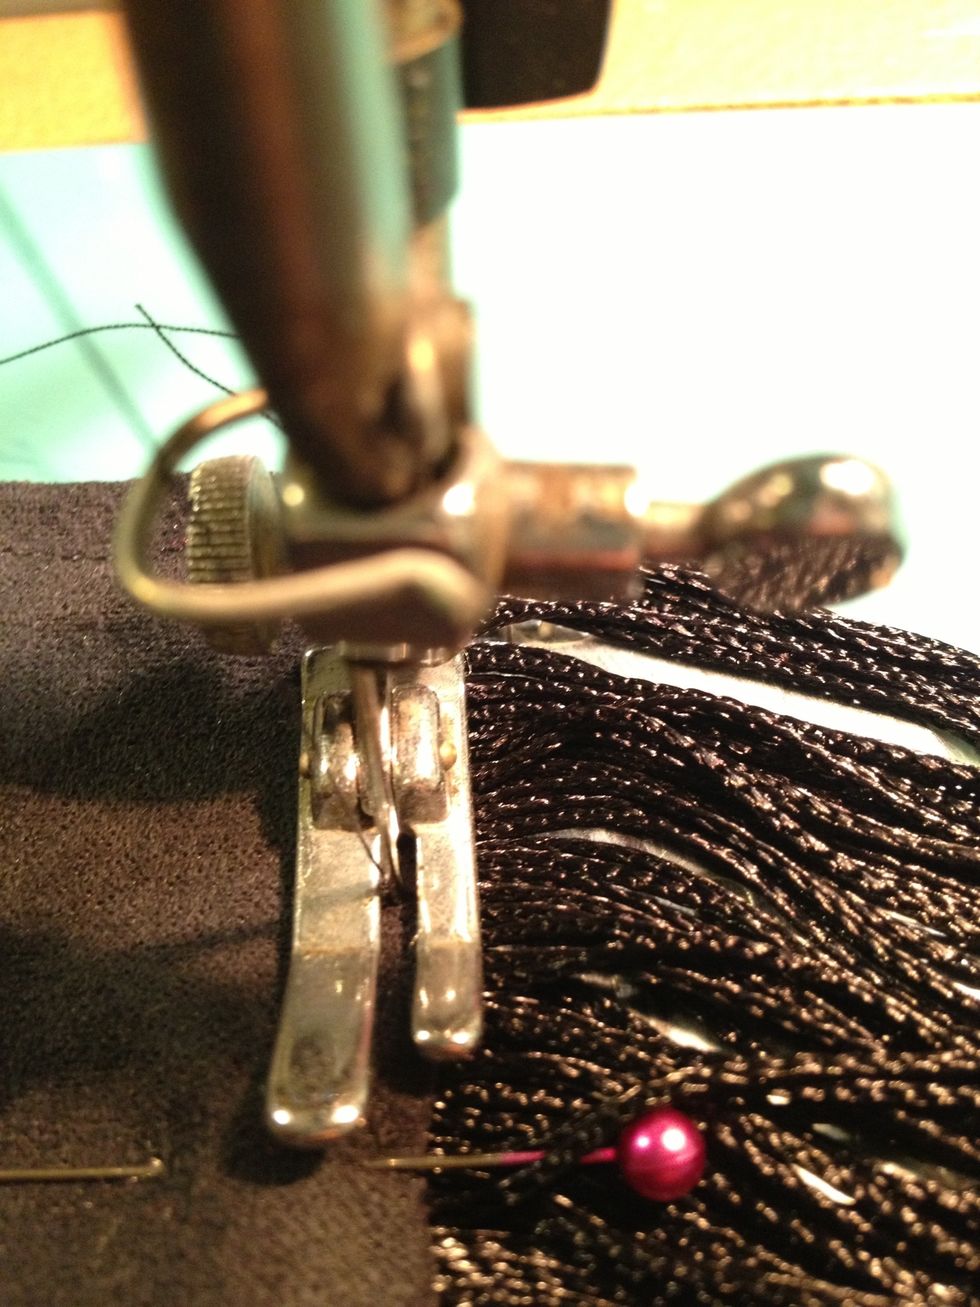
Sew along folds as close to the edge as possible. Removing puns as you go. Be careful not to catch your fringe in the seam. It's worth it to take your time on this step.
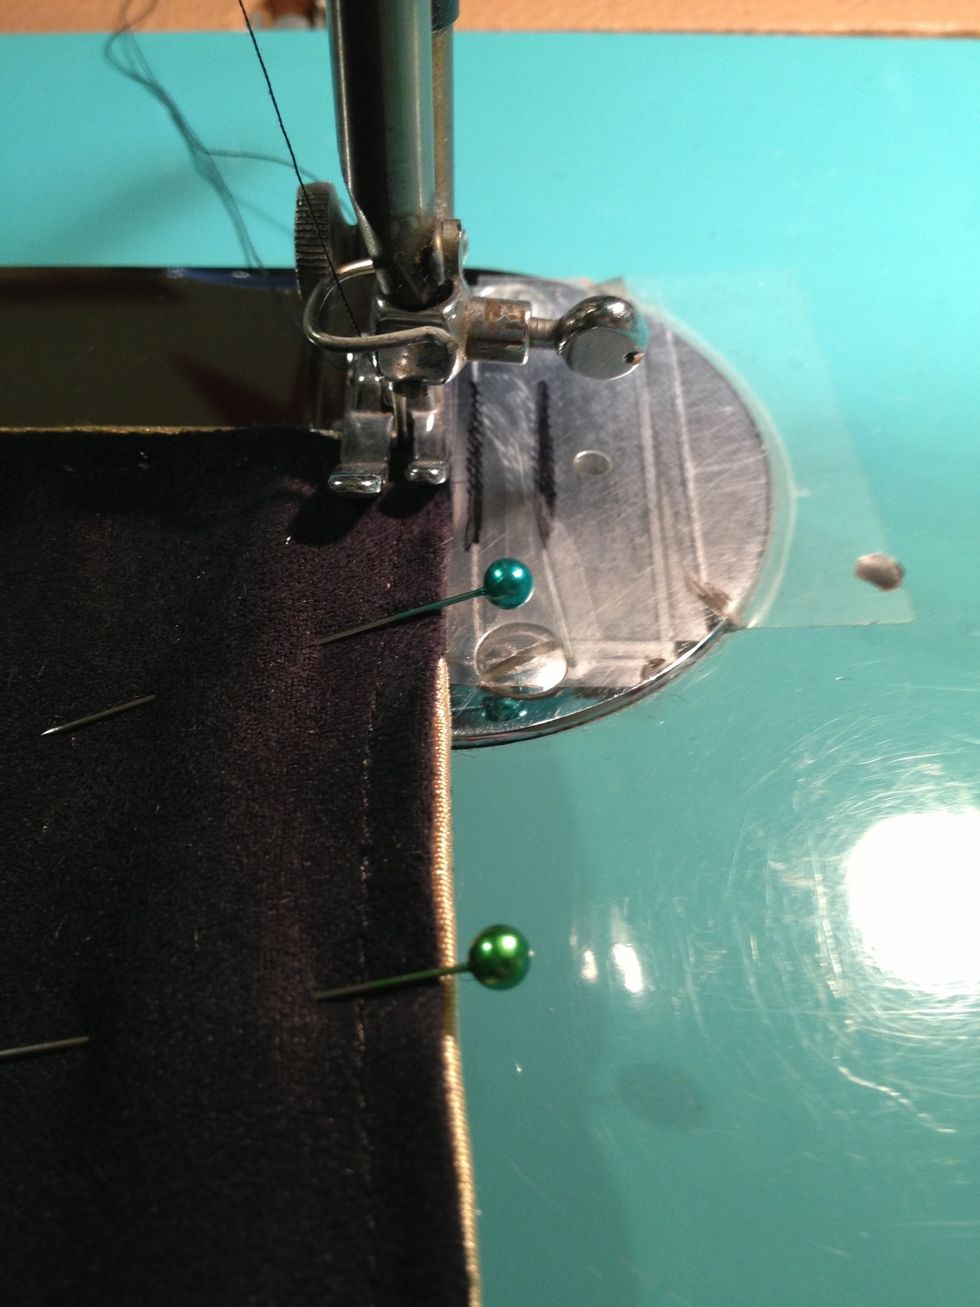
Pin both sides together with lining on the inside. Sew a 1/8" seam allowance down each side. Removing pins as you go.
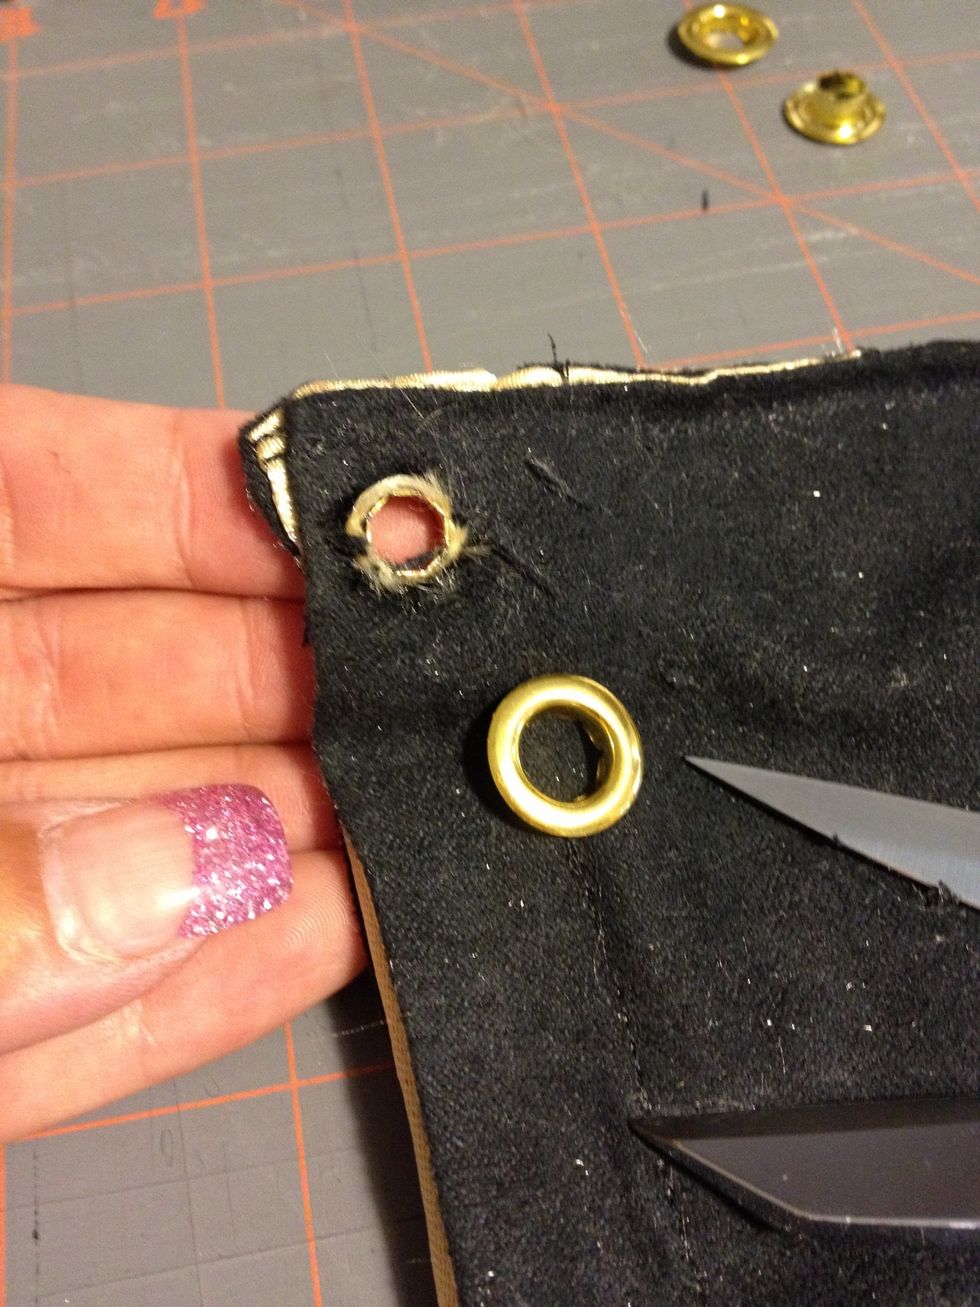
Cut small slits in each corner next to magnets. Insert grommet into each slit.
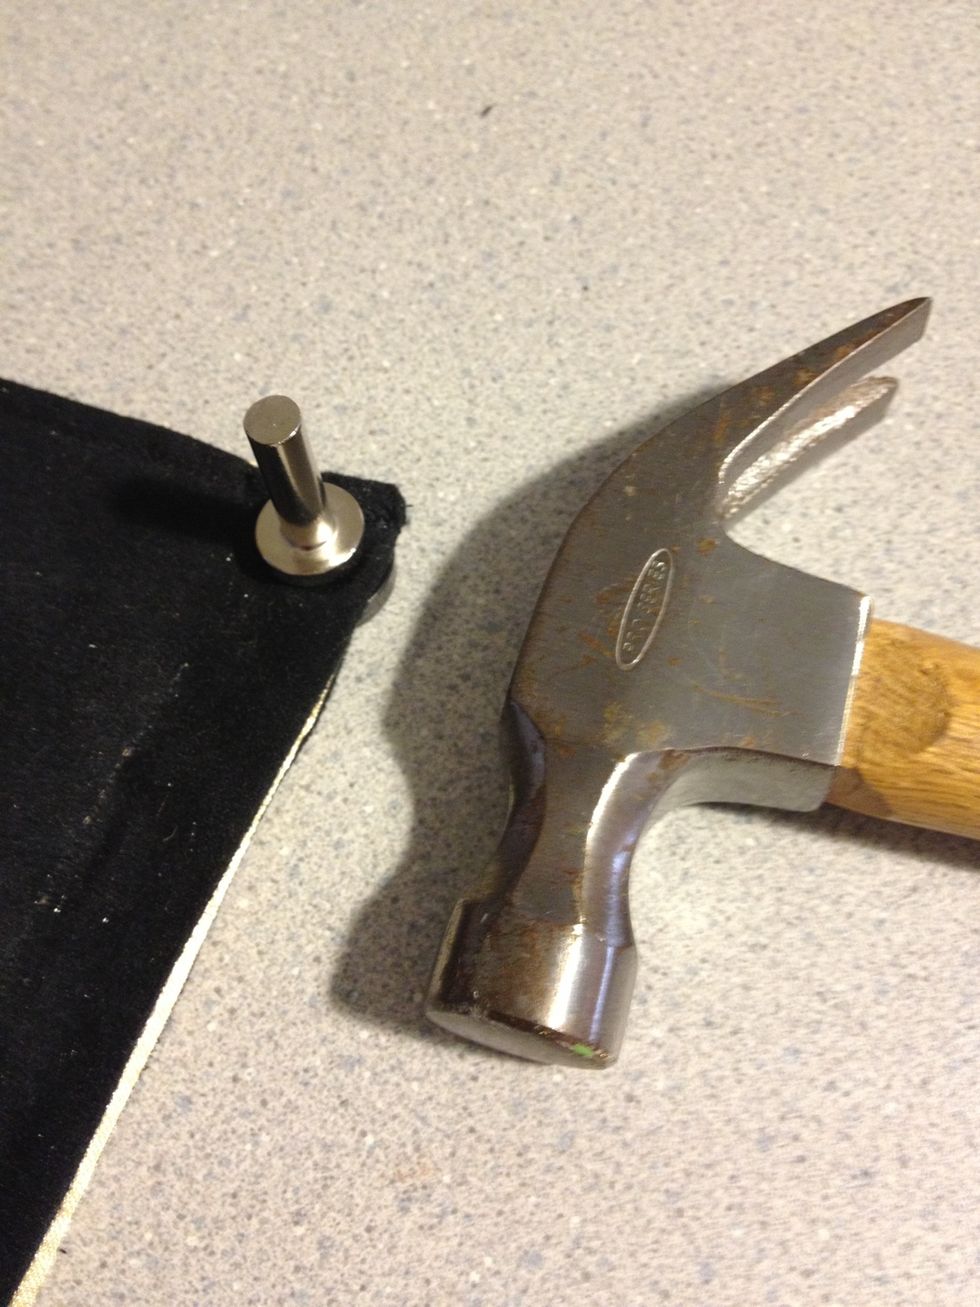
Put other half of grommet on. Seal grommets with grommet tool and hammer.

Take quick link and insert through the grommet. Repeat on other grommet.
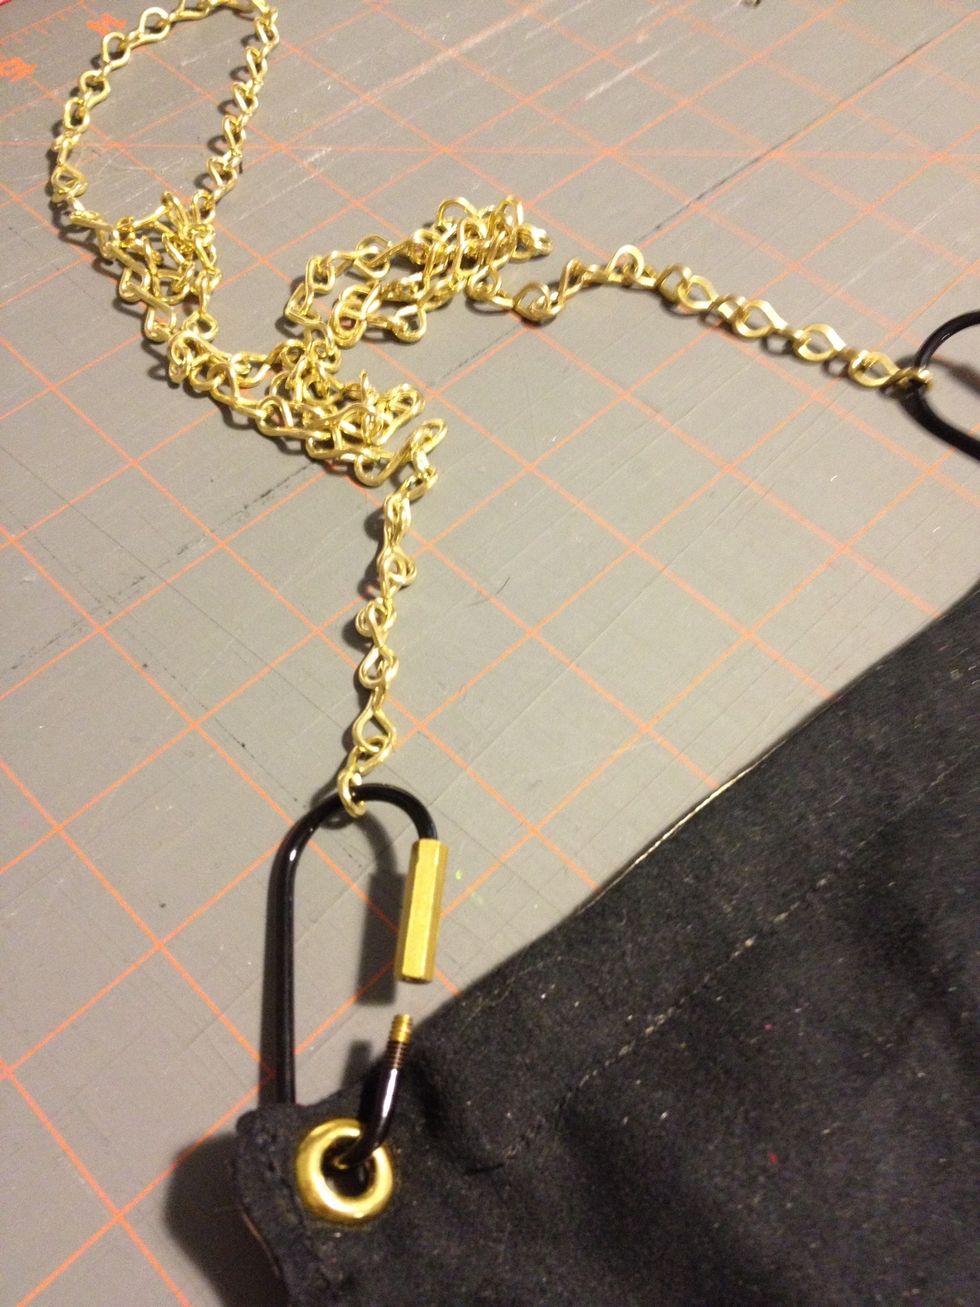
Attach each end of brass chain to a quick link.
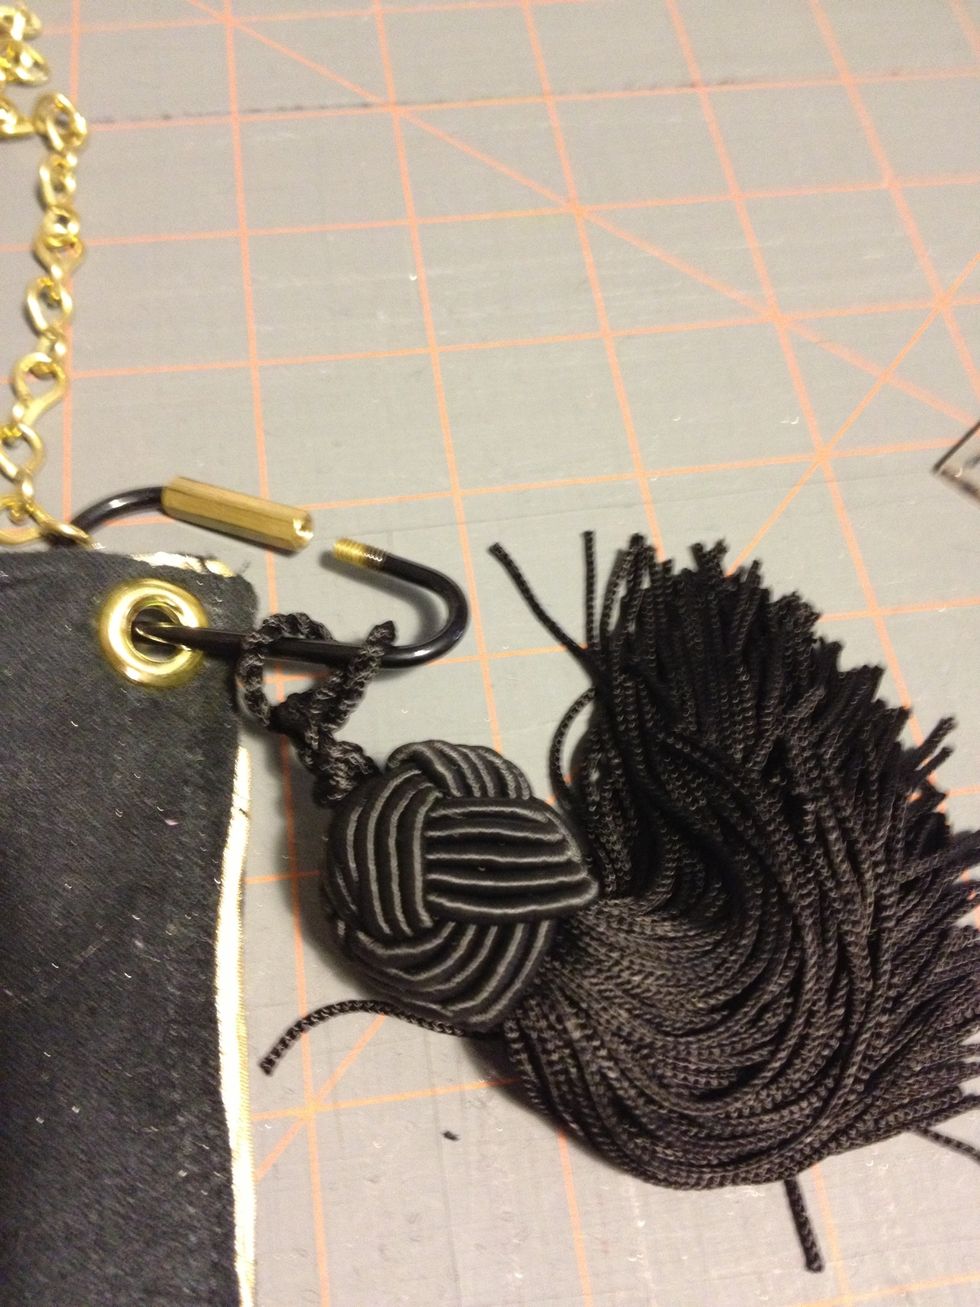
Attach tassel to one of the quick links. (This step is not necessary. I just did this to add interest to my bag). Fasten each quick link so that you chain and tassel do not come off.

Remove string that is securing the bottom of your fringe. This allows the fringe to swing freely.
Close the magnets at the top of your bag.
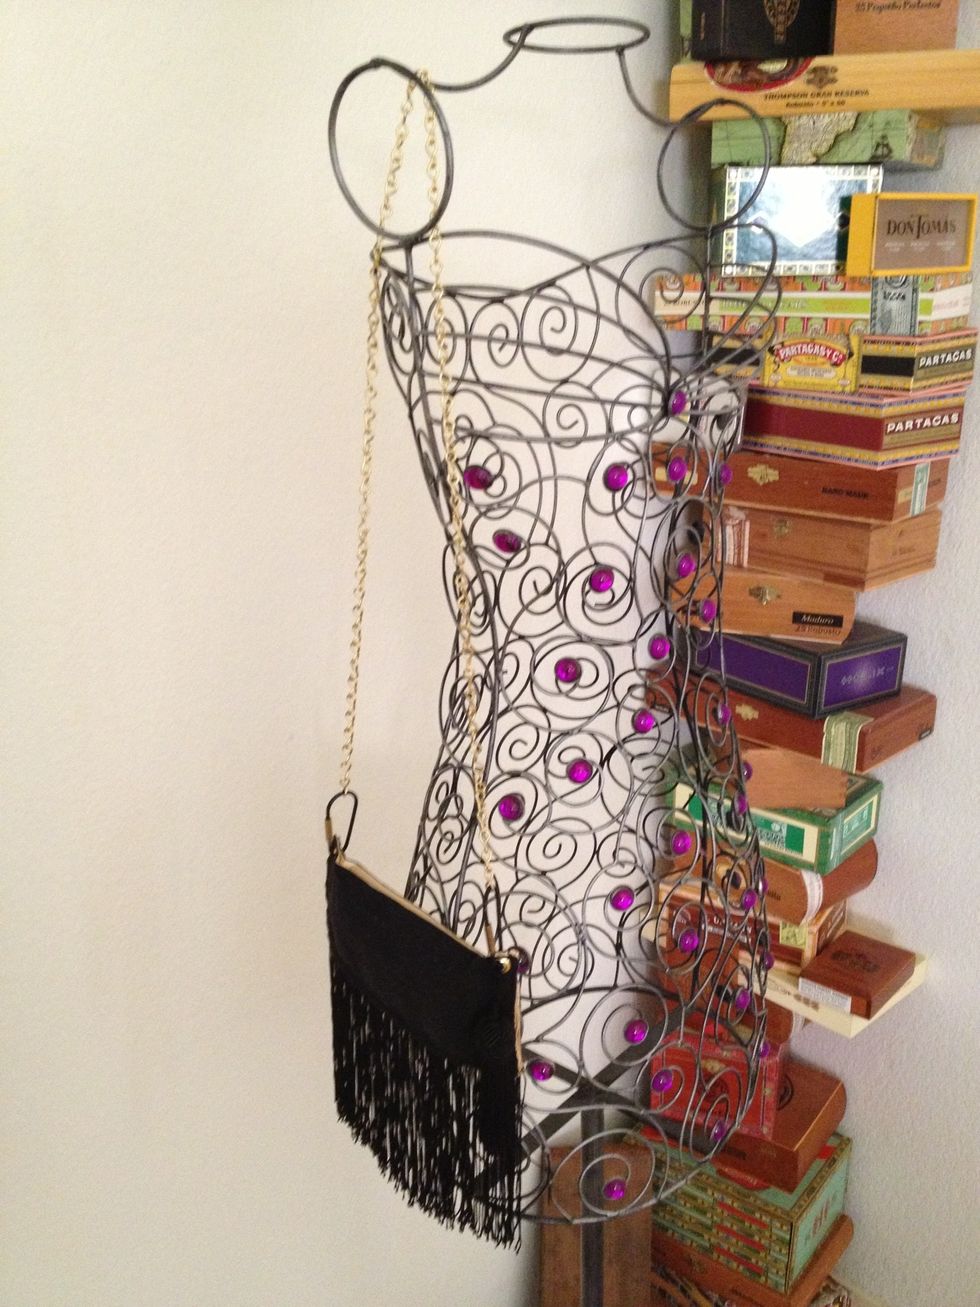
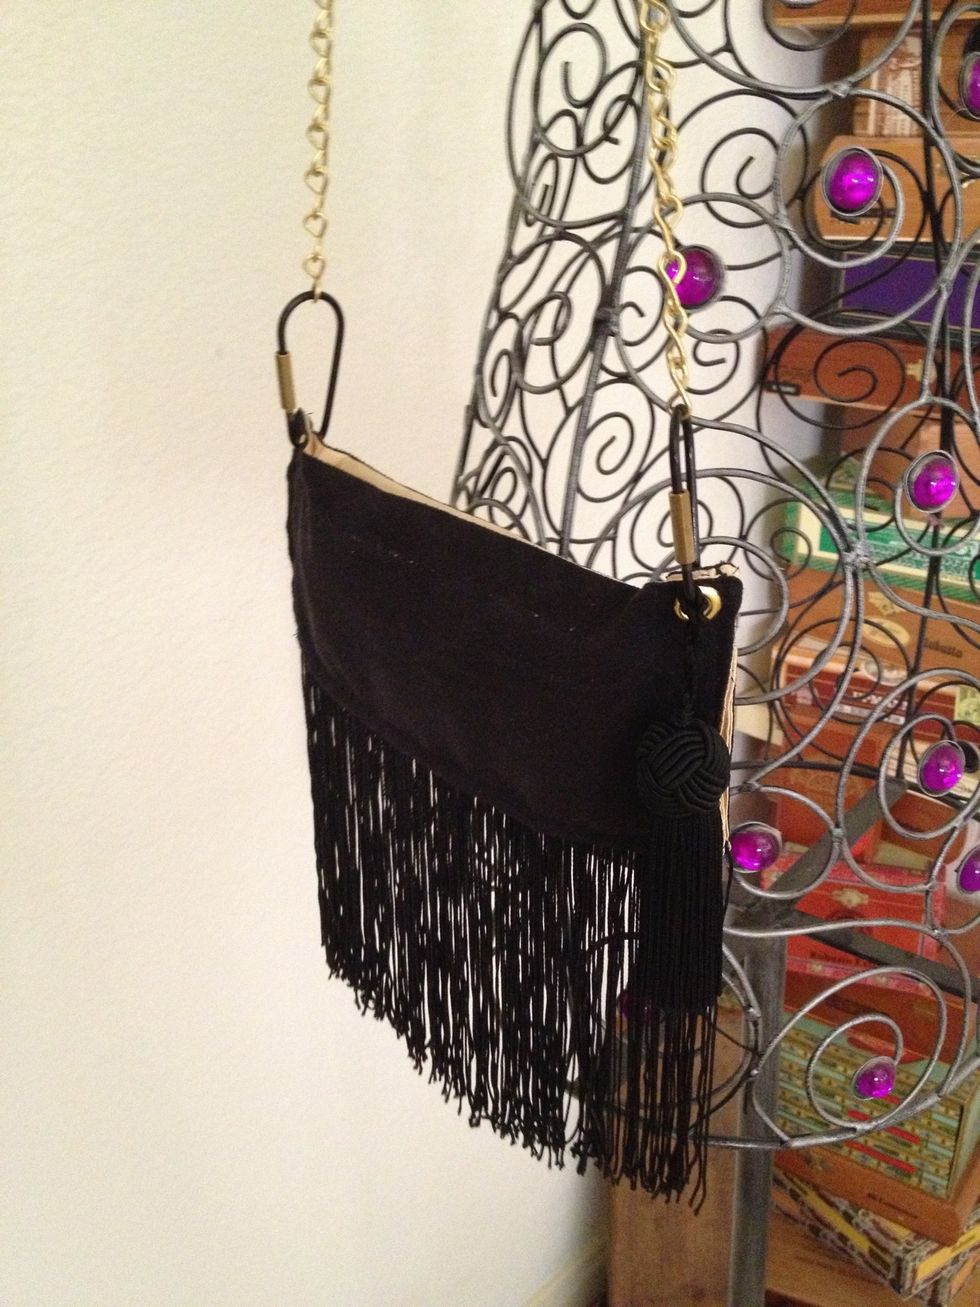
Now your bag is done and you are ready for a night out on the town.