How to make an enchanted rose + teacups centerpiece
Make an Enchanted Rose + Teacups Centerpiece
3065
STEPS
TOOLS
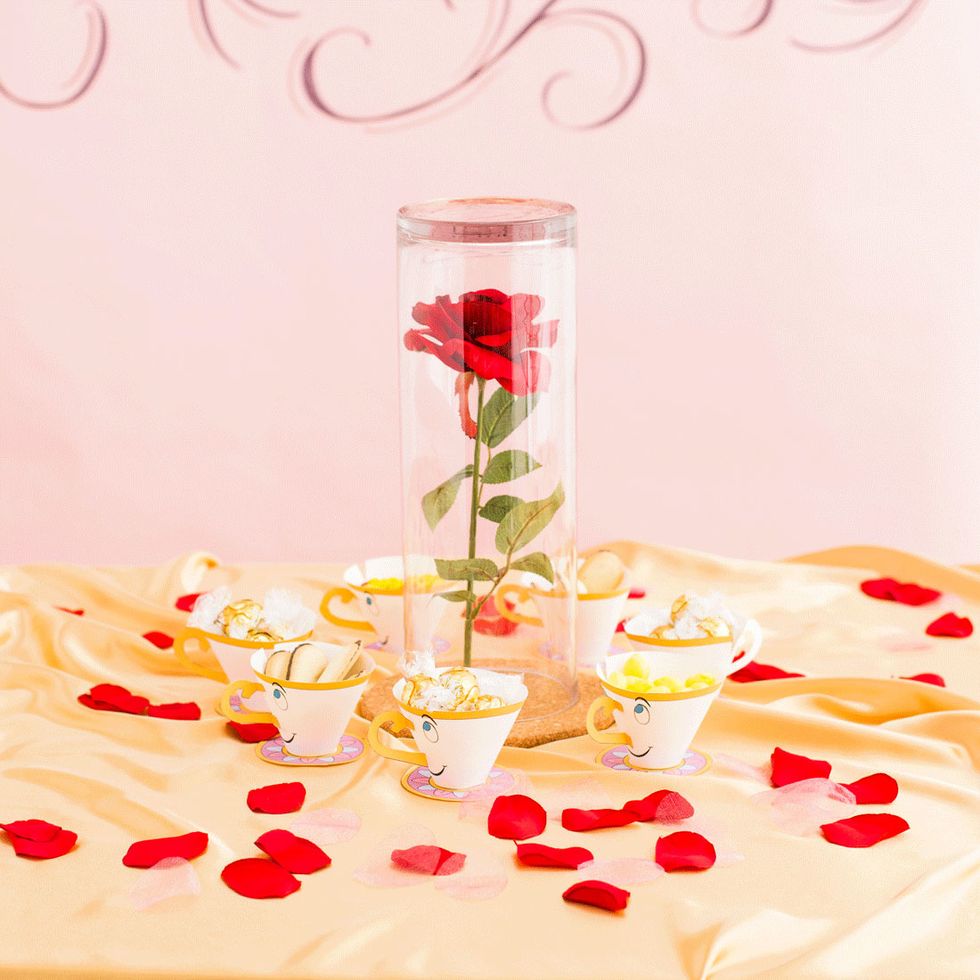
We've partnered with Disney to jazz up the normal weekend family dinner-and-movie + make it Beauty and the Beast-themed to celebrate the film's 25th Anniversary -complete with a red rose centerpiece.

Gather your supplies and get your printout here: http://bit.ly/2d2OXSC
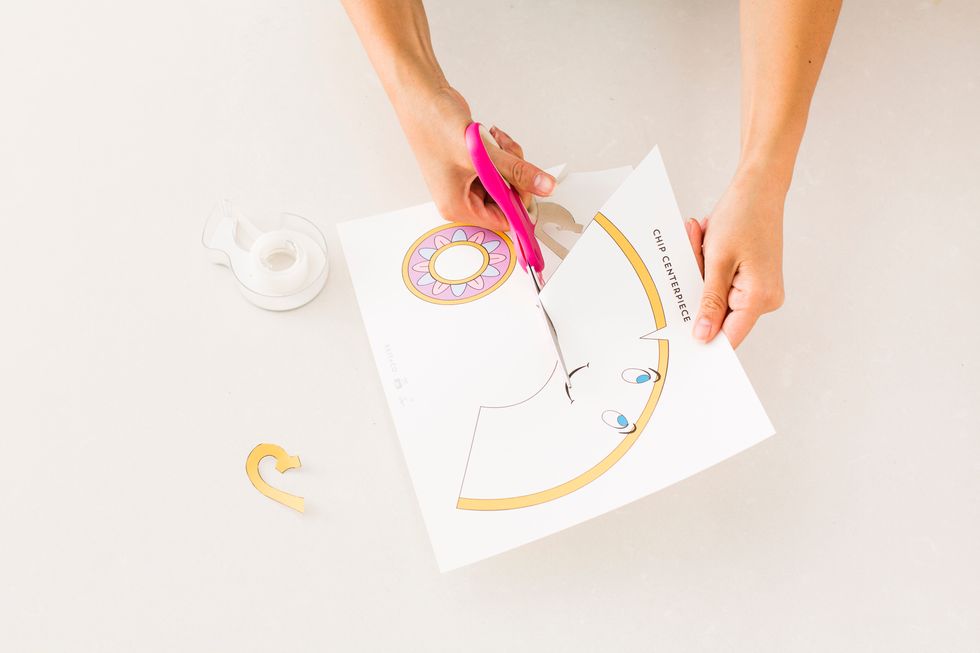
Cut out the shapes in the printable.
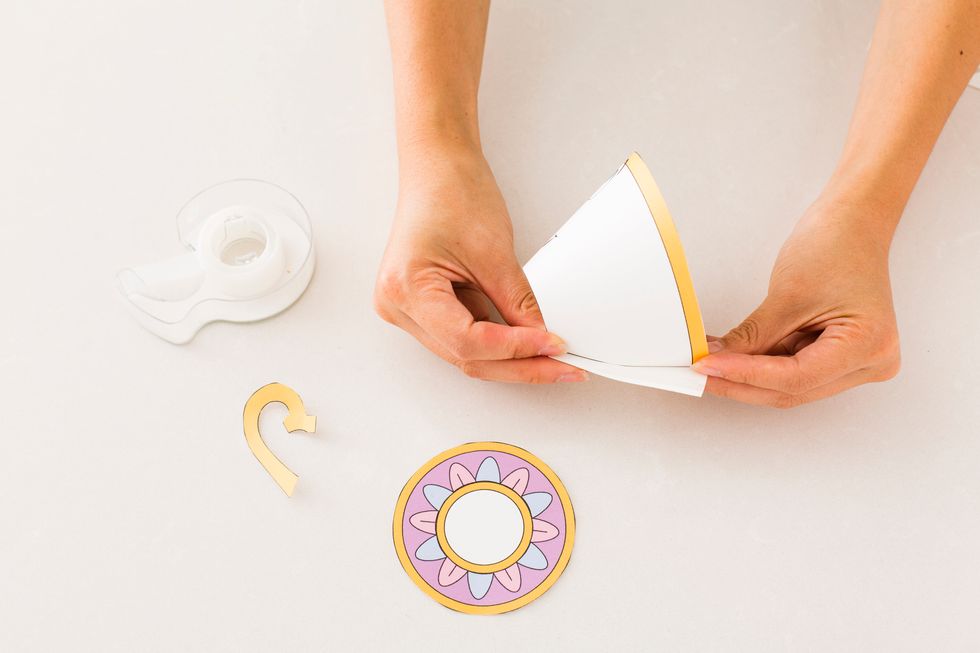
Tape the teacup together and tape the bottom of the cup to the circle.
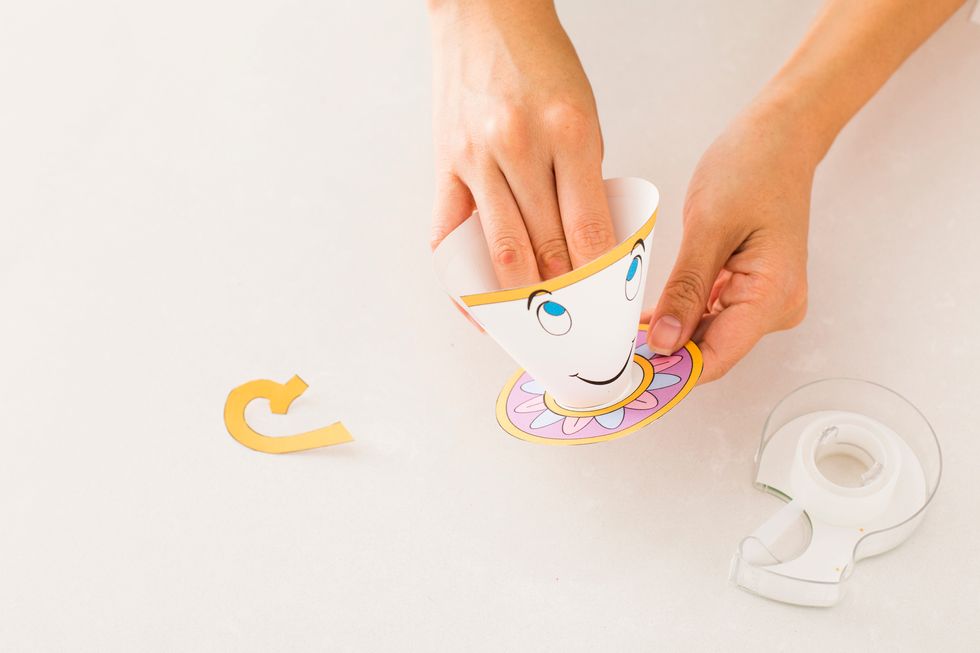
Tape the bottom of the cup to the circle.
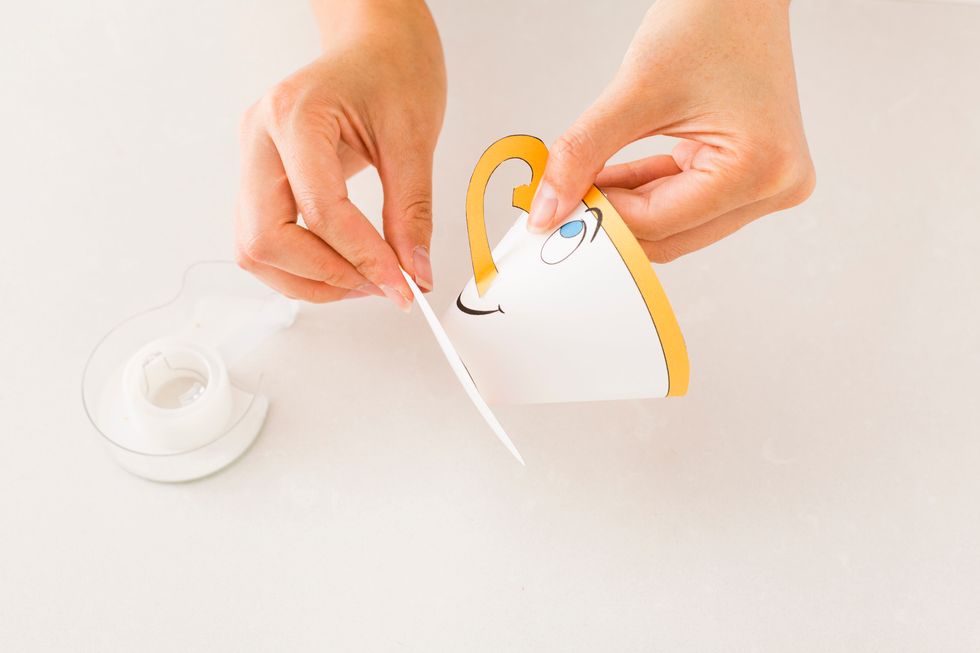
Fold the handle at the dotted line and tape to Chip’s face.
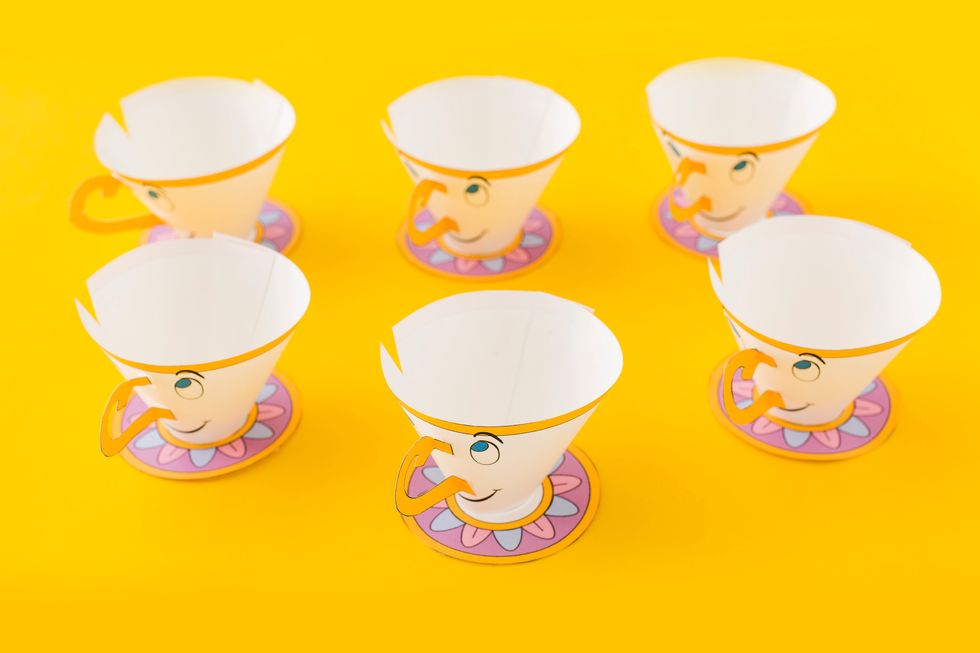
Doesn’t Chip look adorable?
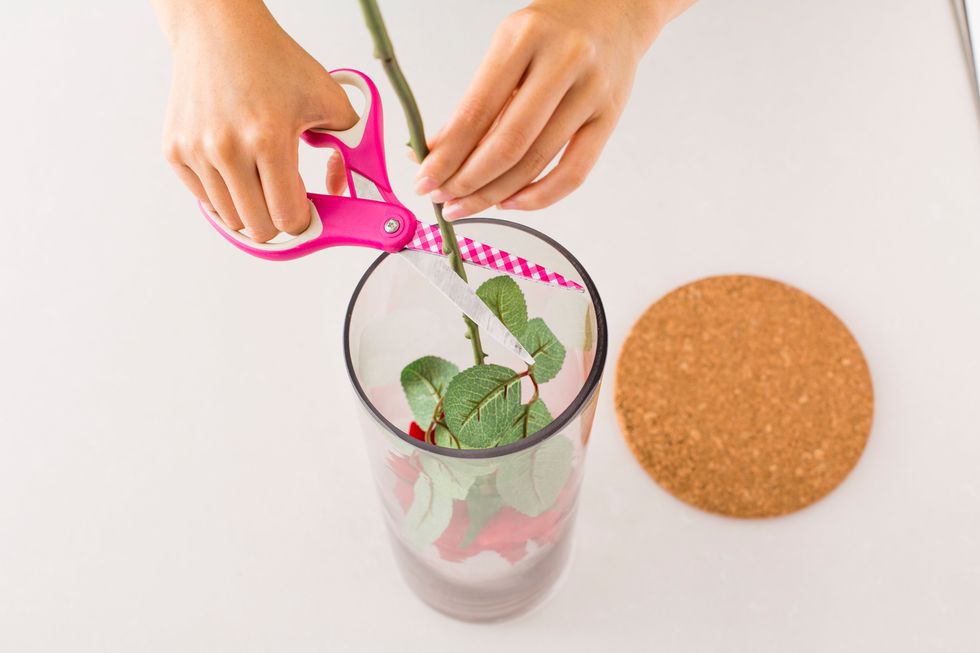
Cut the rose stem so that it fits in the vase. Place the rose in the vase and place the vase upside down in the middle of the cork.
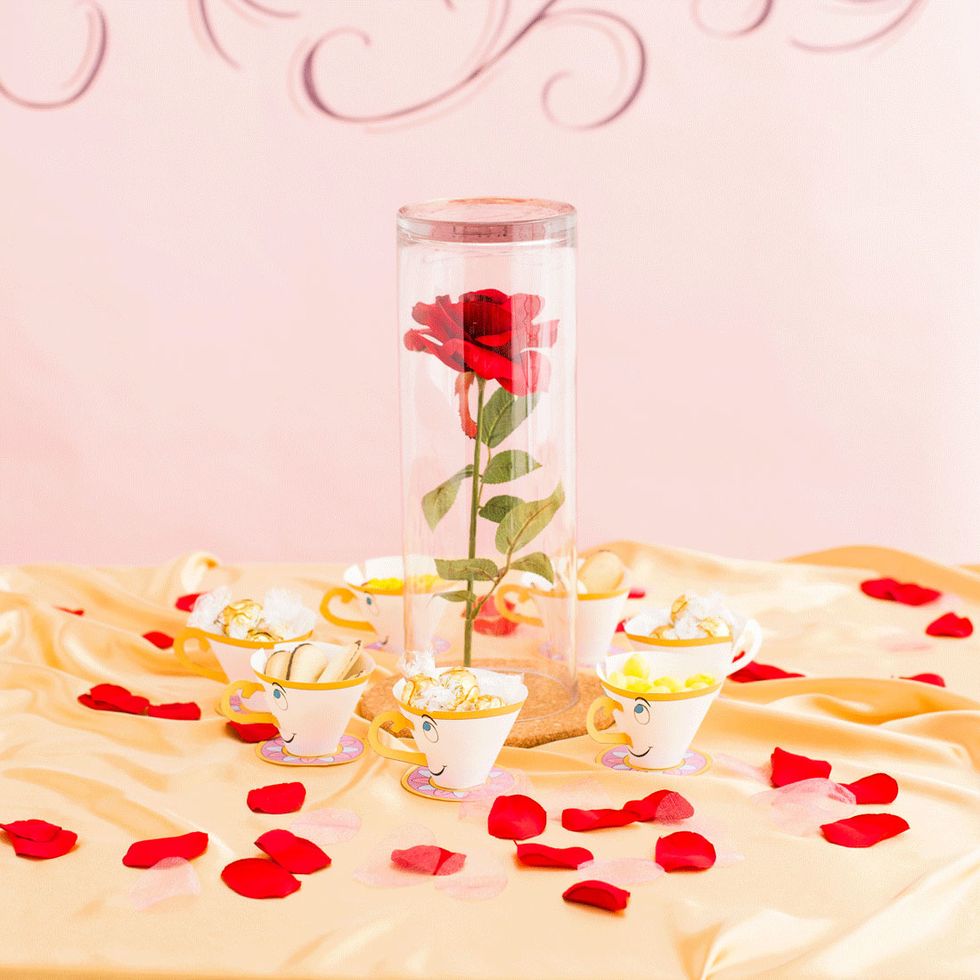
Arrange the Chip teacups around the rose.
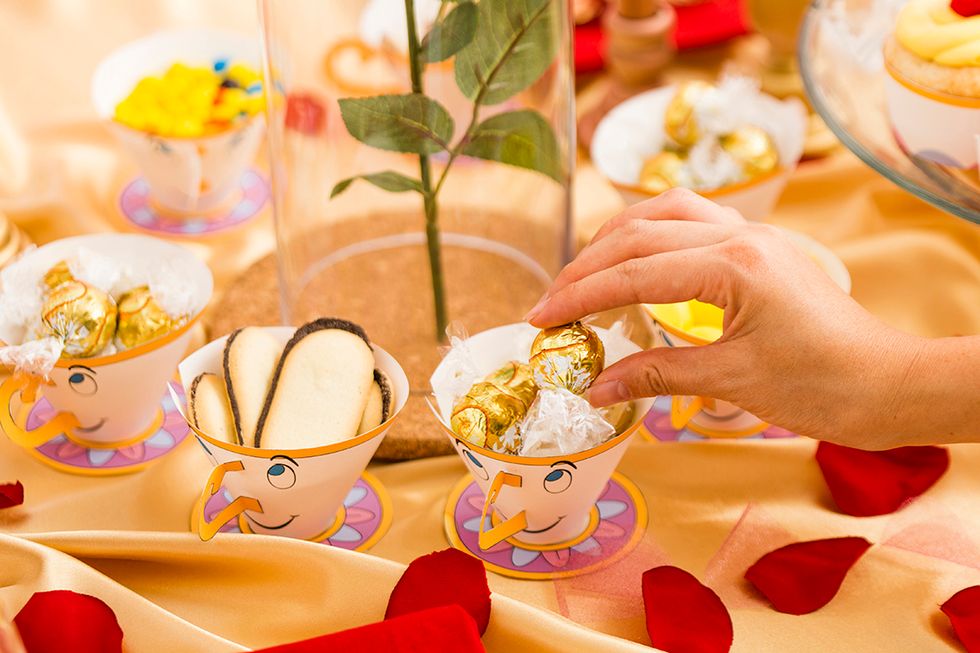
Fill the cups with snacks if you and your kids want to munch between courses.

Chip, Chip, Hooray!
- several copies of the printable
- scissors
- tape
- plastic rose
- glass vase
- cork circle
B+C
We are the team behind B+C Guides. Feel free to message us if you have any questions or see something that could be improved!
San Francisco
The Conversation (0)
Sign Up