The Conversation (0)
Sign Up
The purpose of step 1 was not to get a crease in your paper, it was to divide your paper into two equal pieces. You will draw your puppet on one side and and your puppets emotions on the other.
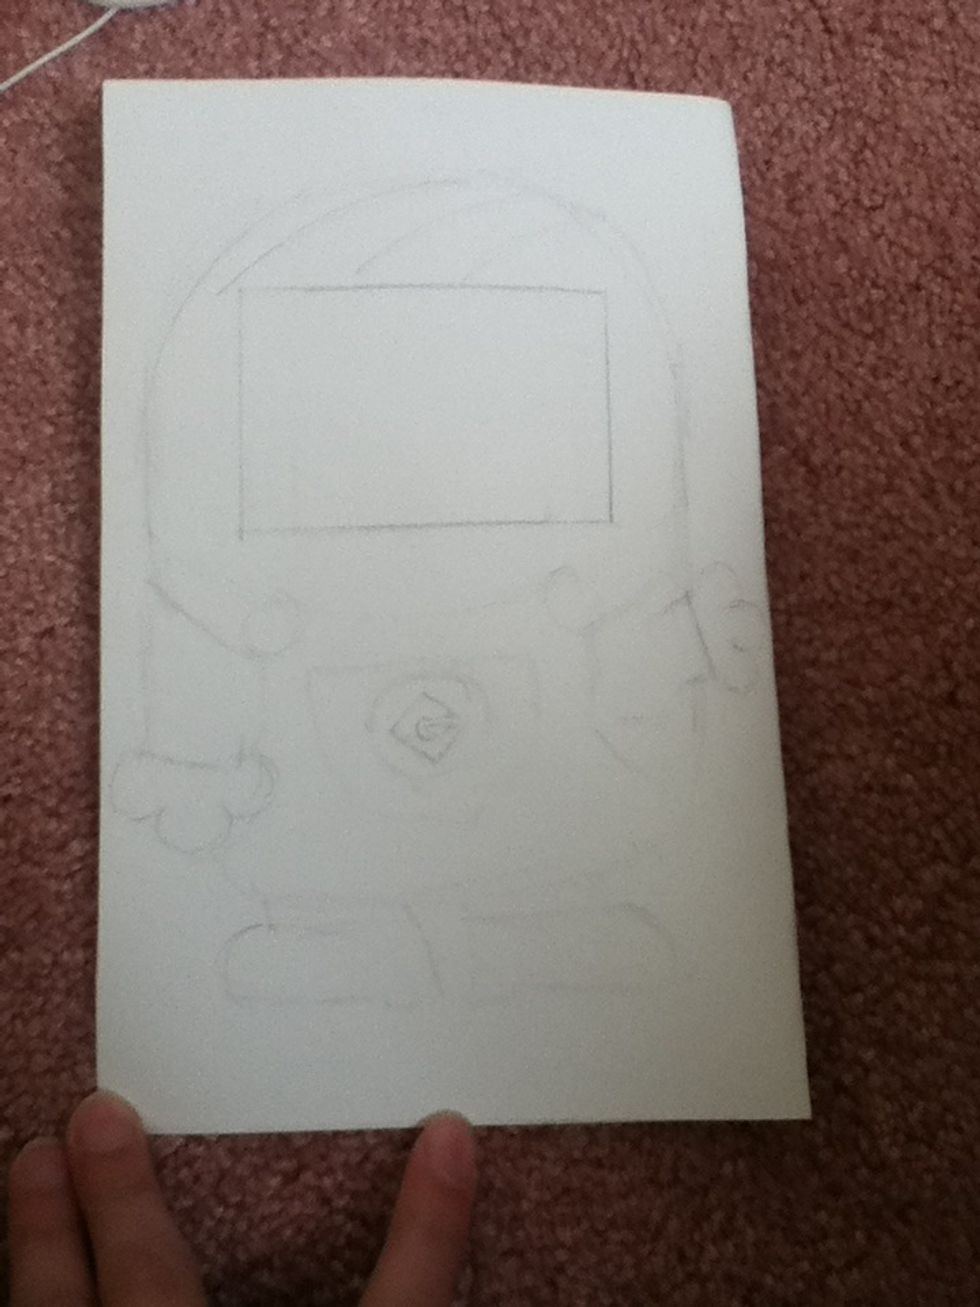
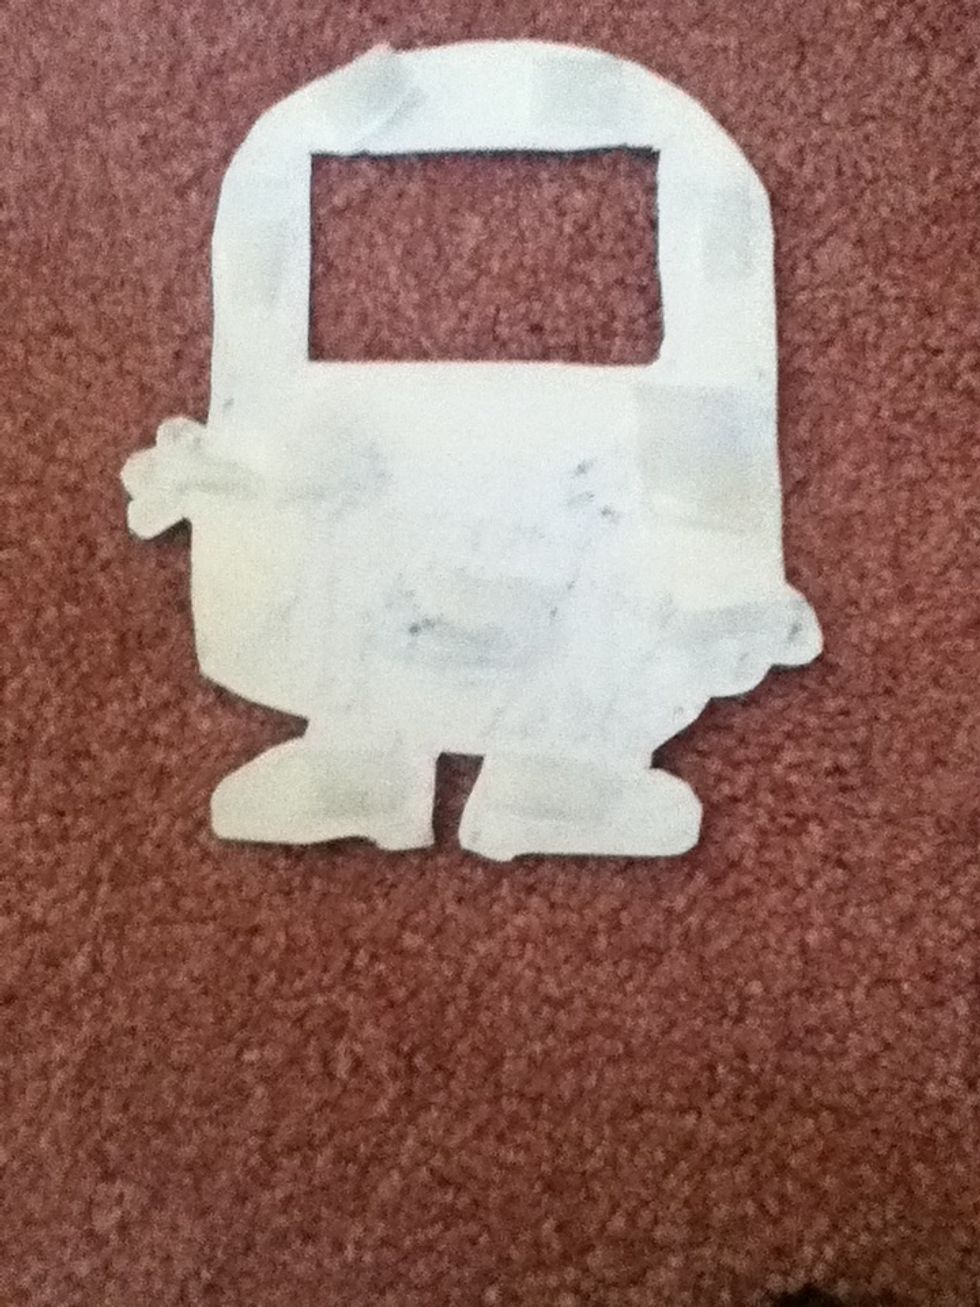
Sketch out your puppet in pencil. I'm doing a minion! You can do whatever you want, I just suggest you don't do something with thin pieces sticking out. Leave an empty box where the face would be!!!
Take the measurements of the length and width of your face box. Mine was 2" tall and 3" wide. Decide how many different emotions you want your puppet to have. I'm doing three.
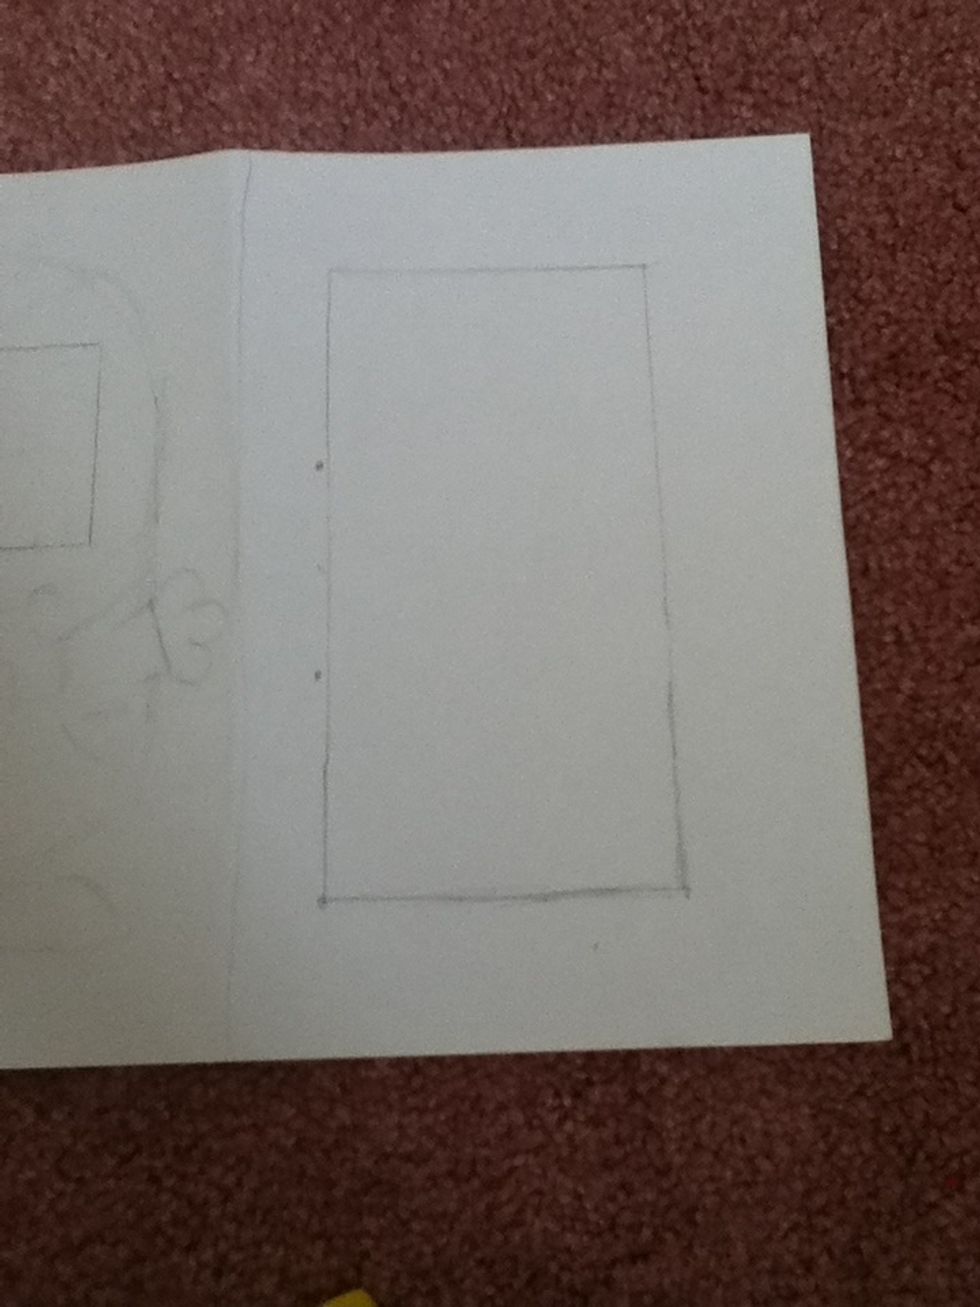
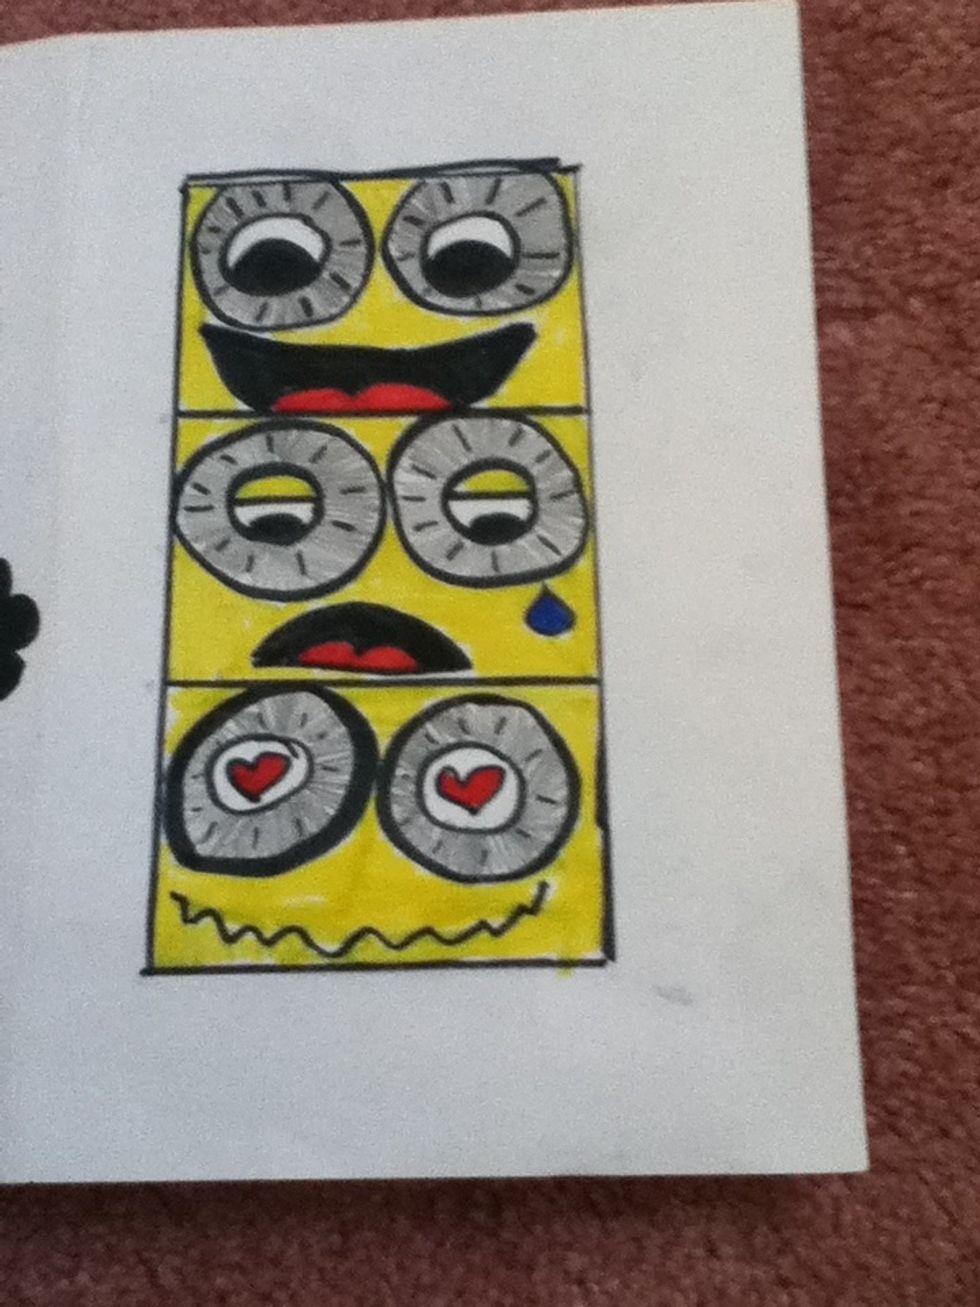
This is what your rectangle should somewhat look like. Of course, the more emotions you have the longer it will be and the less the shorter. The width depends on the width of ur face box on ur puppet
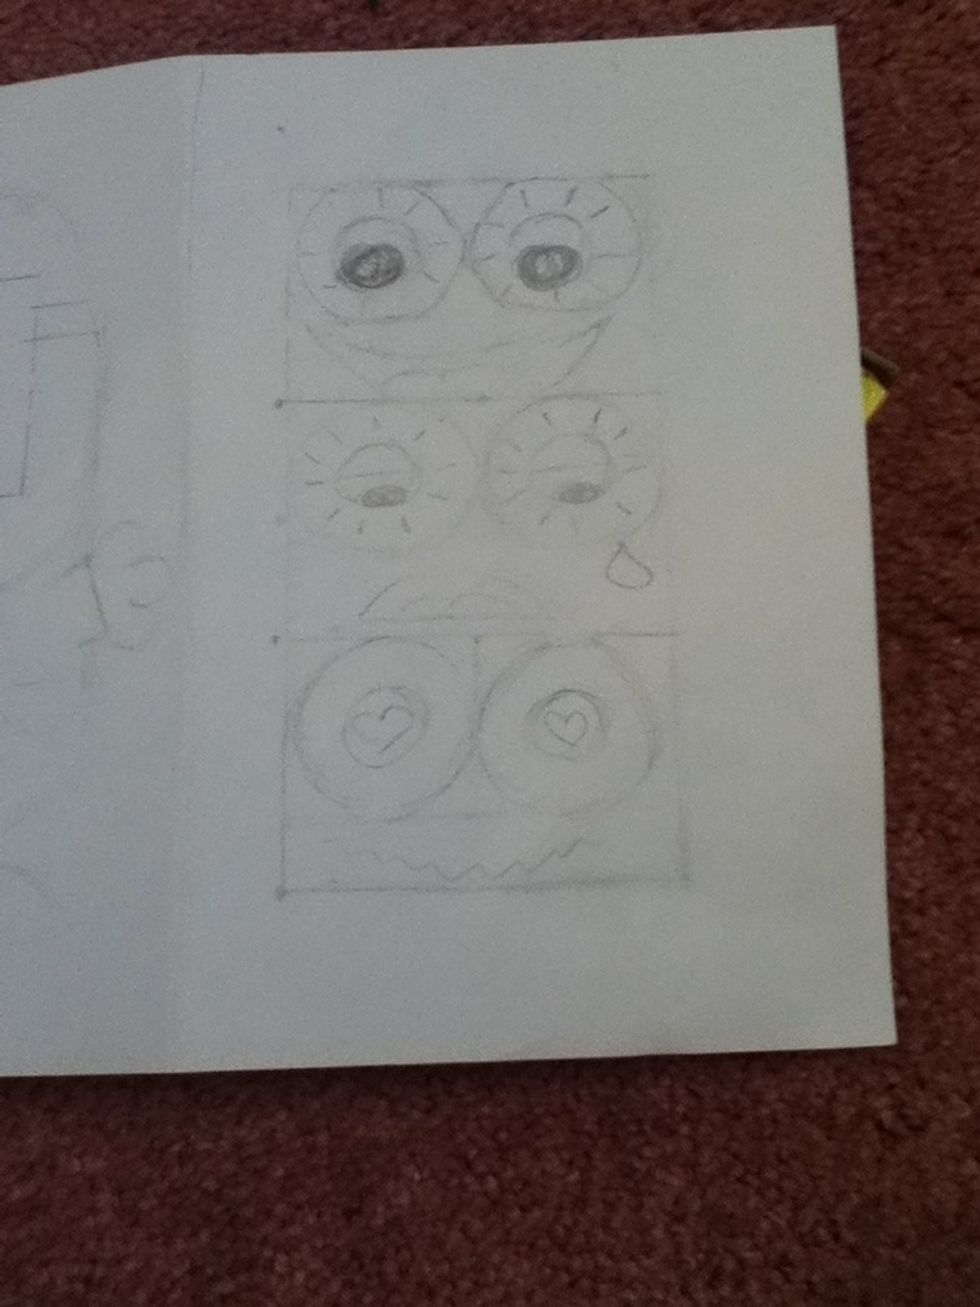
Sketch in ur different emotions. I'm doing happy, sad, and in love. You can do whatever you want. Make sure they fill up their whole box. Remember, it doesn't have to be perfect!

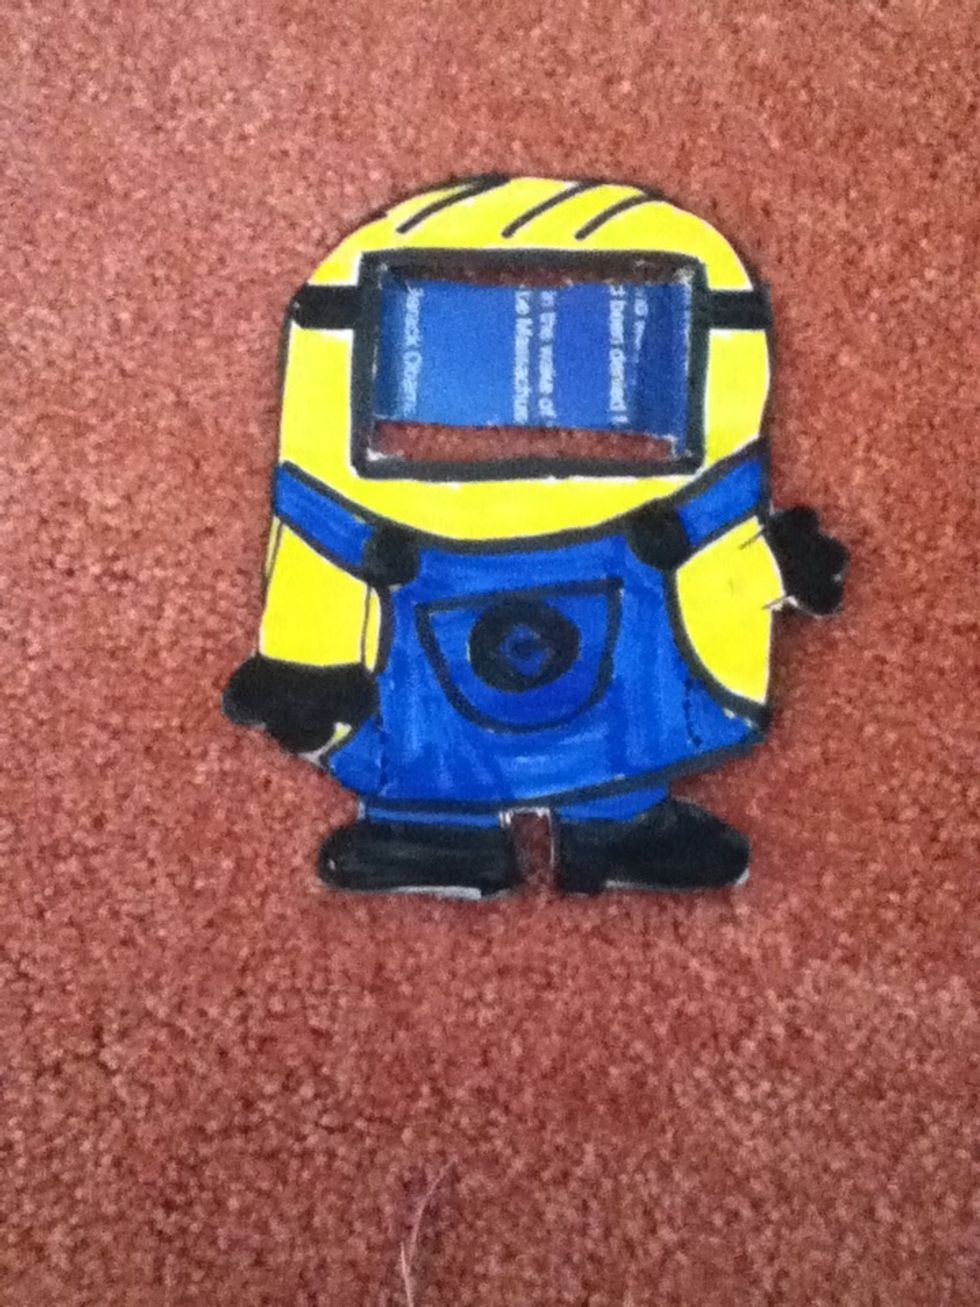
Now, outline all the key points in your puppet with black marker. Make the line around your face box thick. Also trace the outline of your rectangle and the lines that separate your emotions.
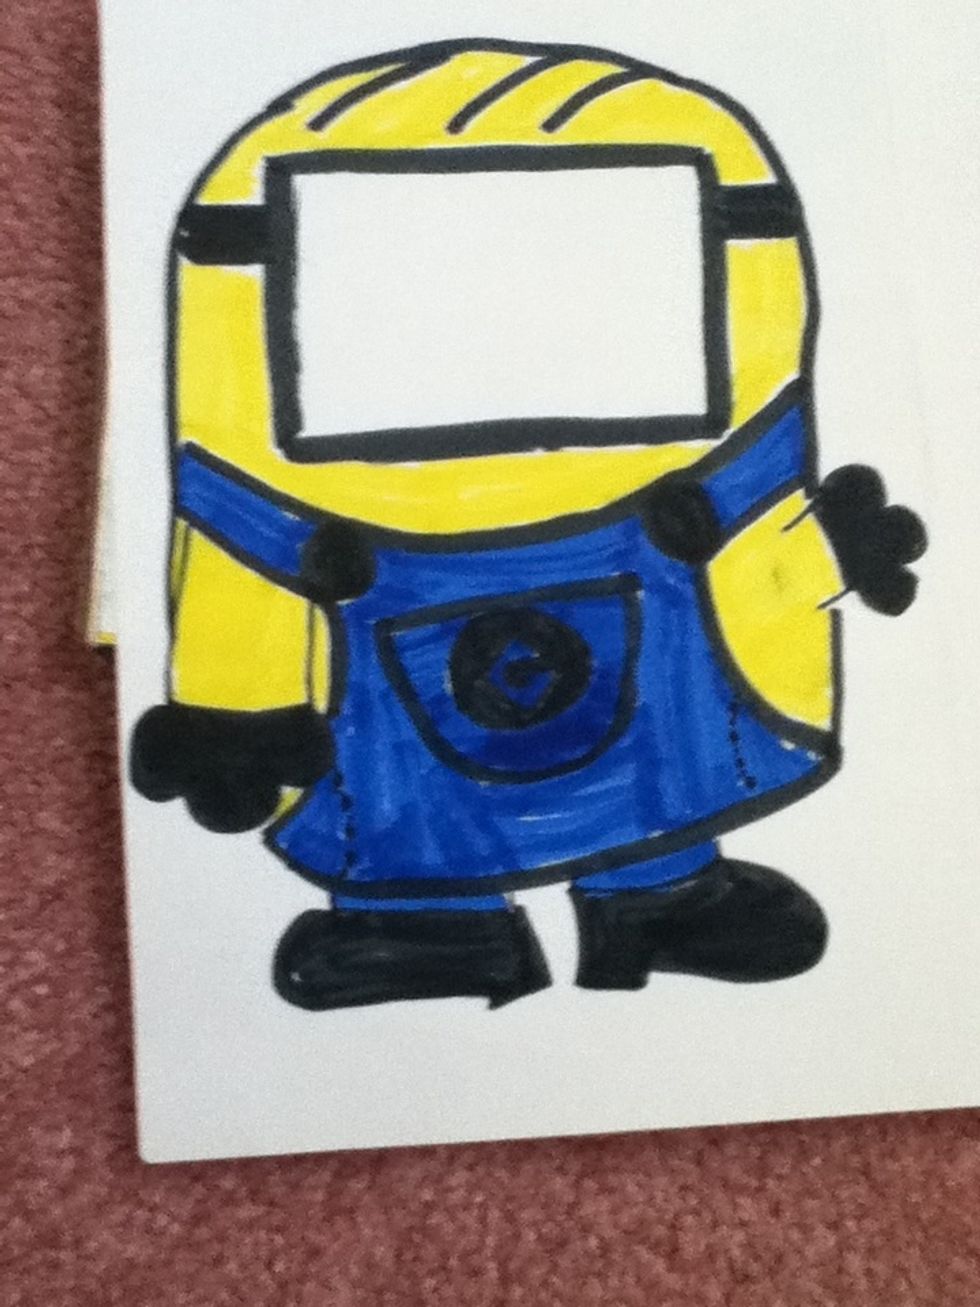
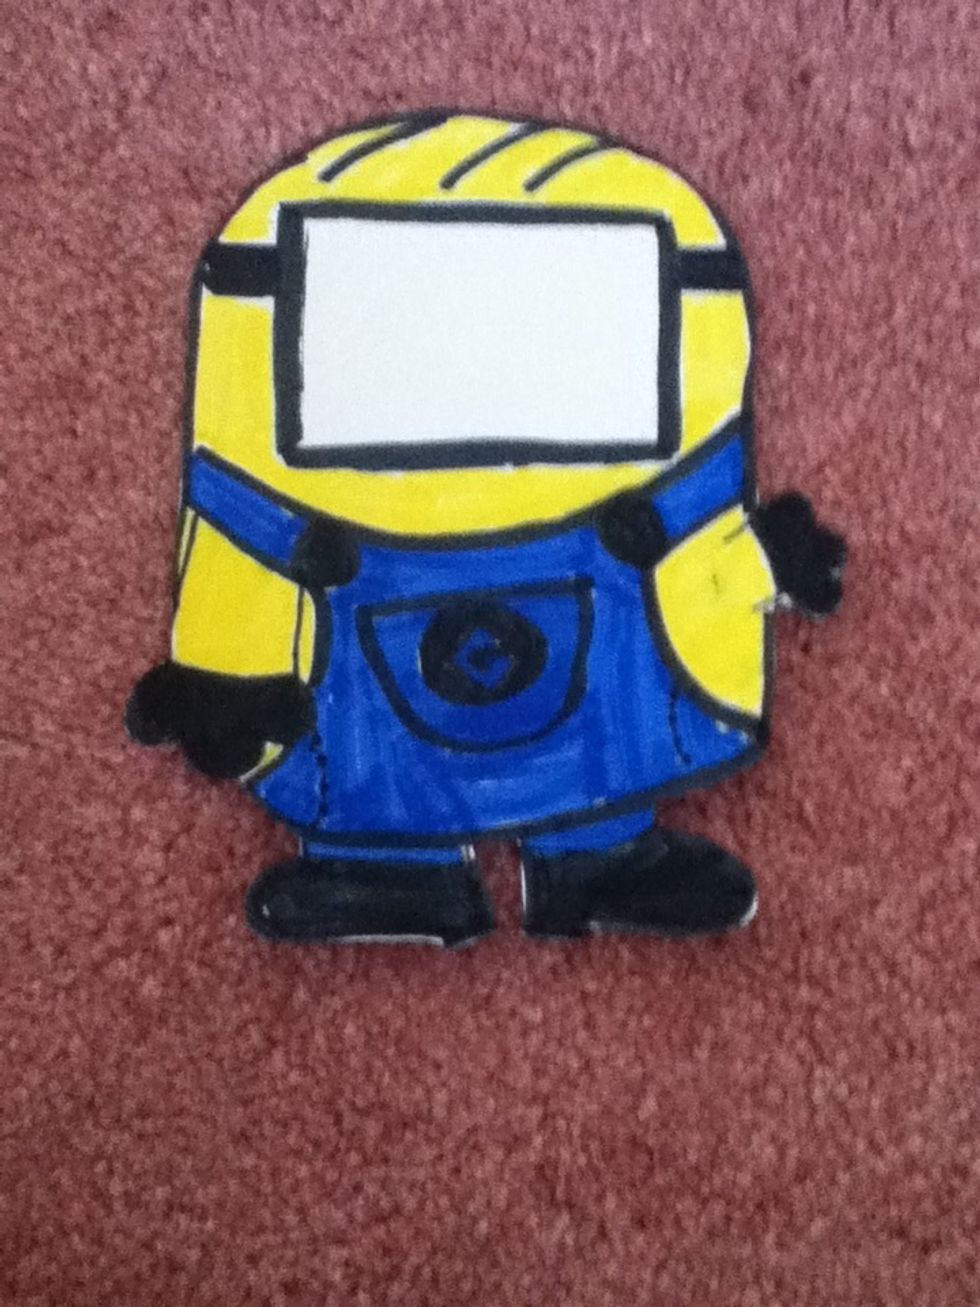
Now, color in your puppet. I recommend you only use markers on simple, cartoony characters like minions, but otherwise, you can do whatever you want for this step.
Next, color in your faces. Make sure that the colors correspond to your puppet. For example, don't give the emotion blue skin to your emotion and yellow skin to your puppet!
Cut out your puppet.
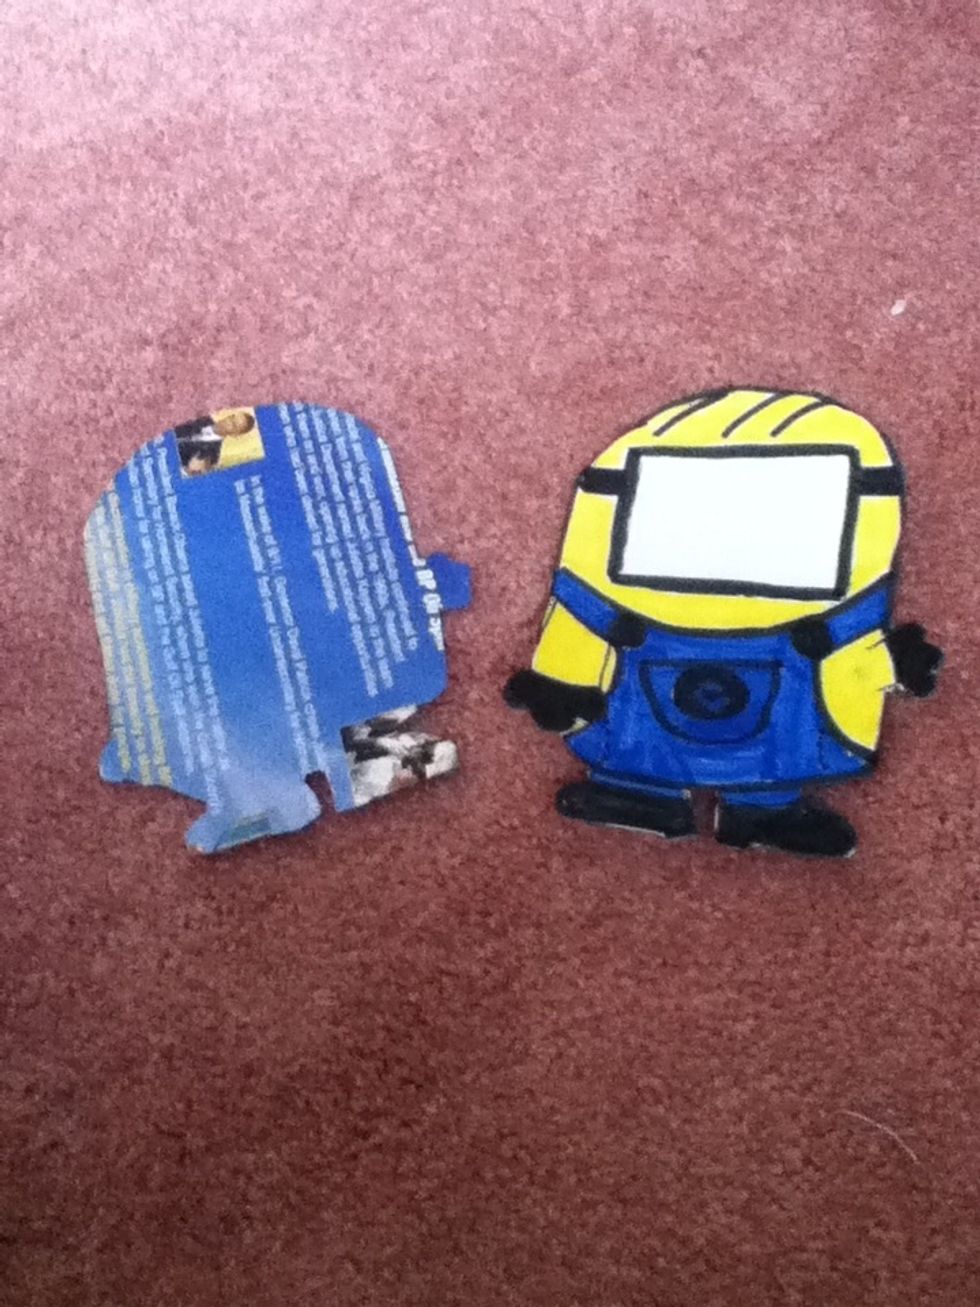
Now, find something sturdy but cuttable such as cardstock, thin cardboard, a paper plate, etc. Tape your puppet to this and cut around it so that the material looks exactly like ur puppet. Detach it.
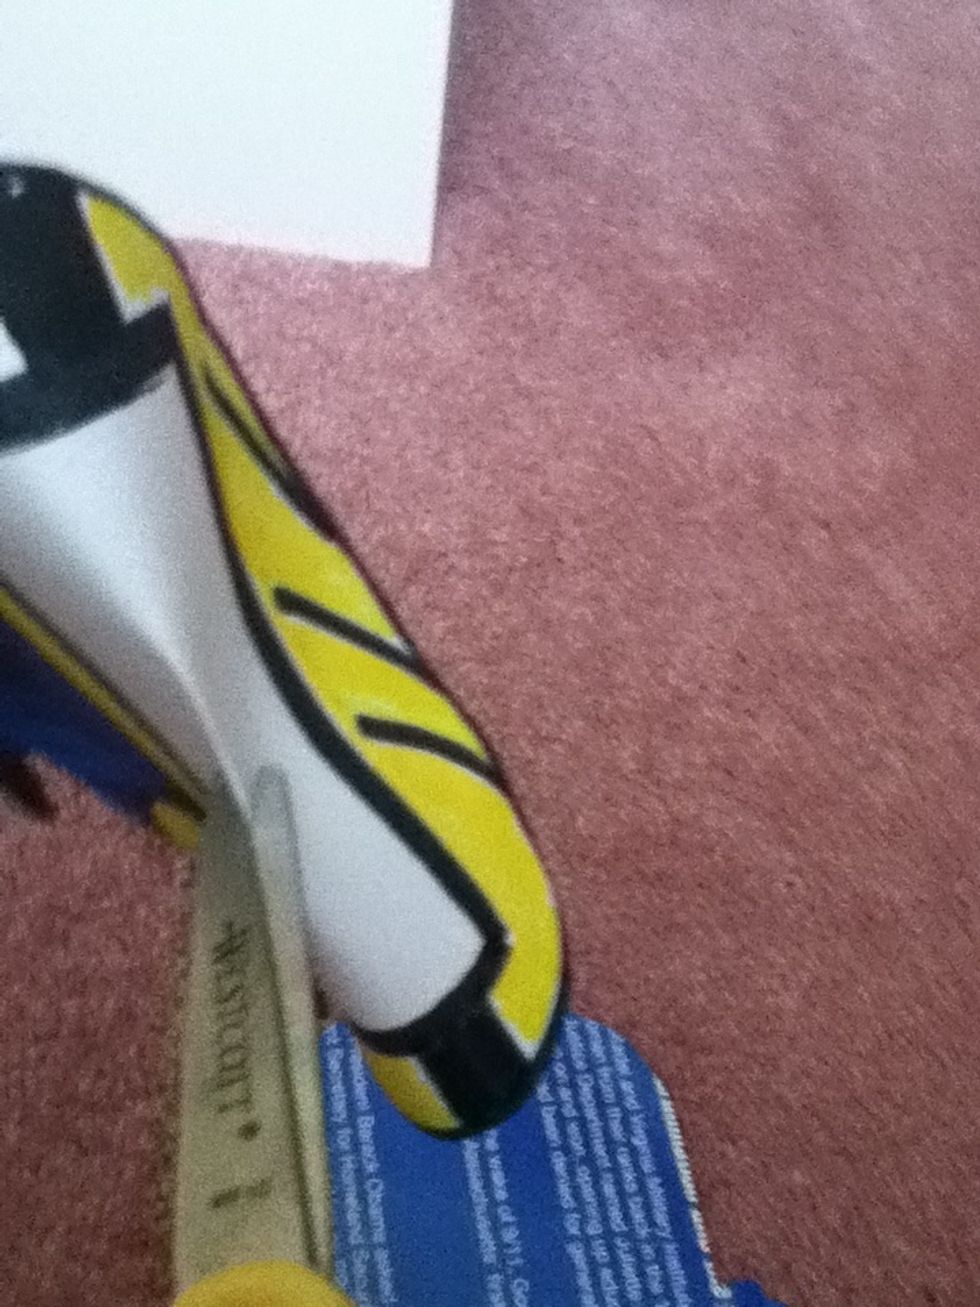
Now, we are going to cut out the facebox. Fold your facebox a bit and cut a tiny slot into it
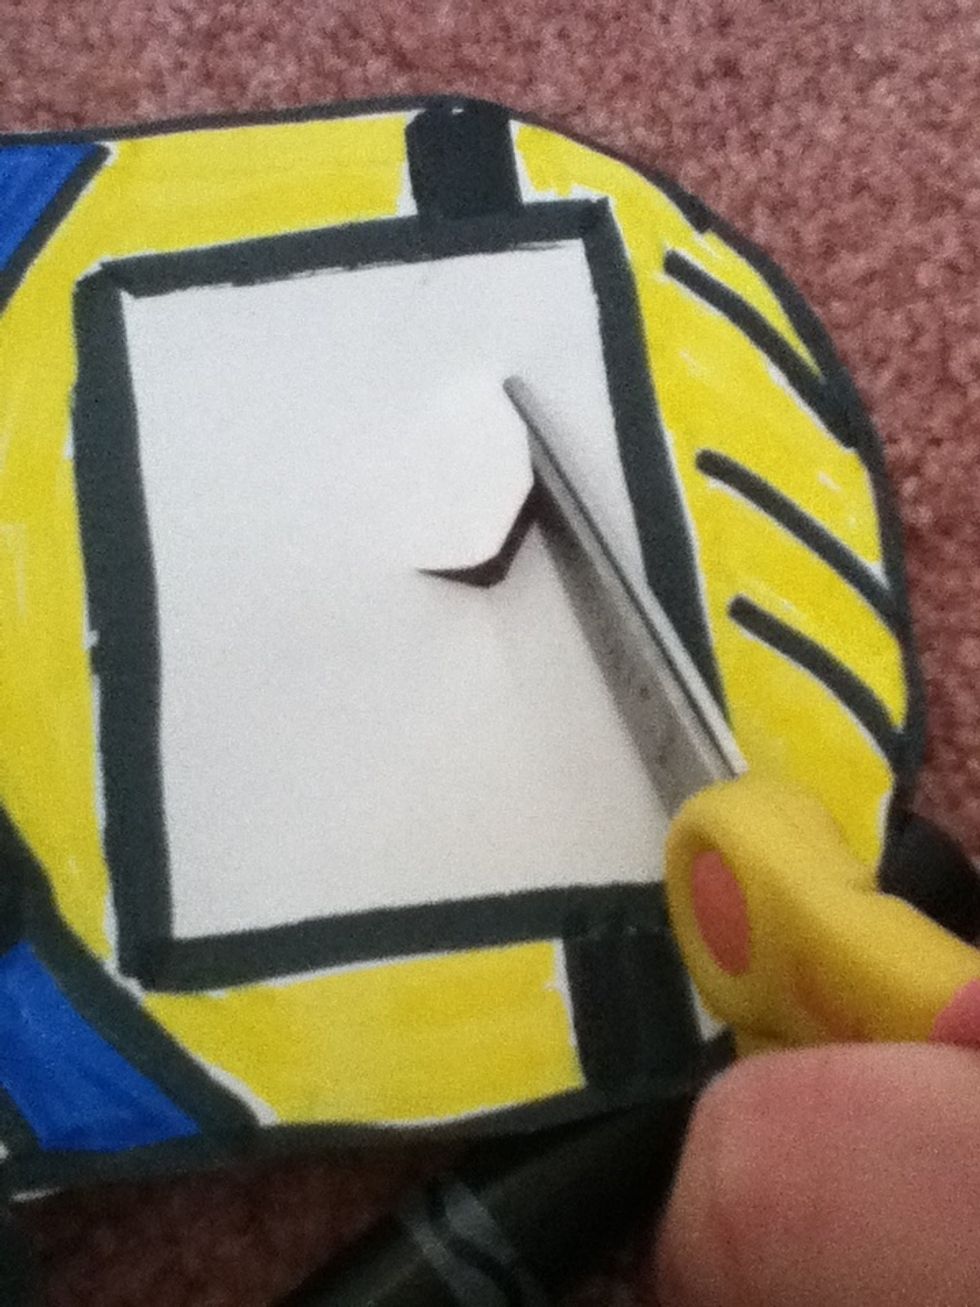
Stick your scissors into the slot and cut through the box till you get to the edges. Cut all the way around.

This is what it should look like when your done.
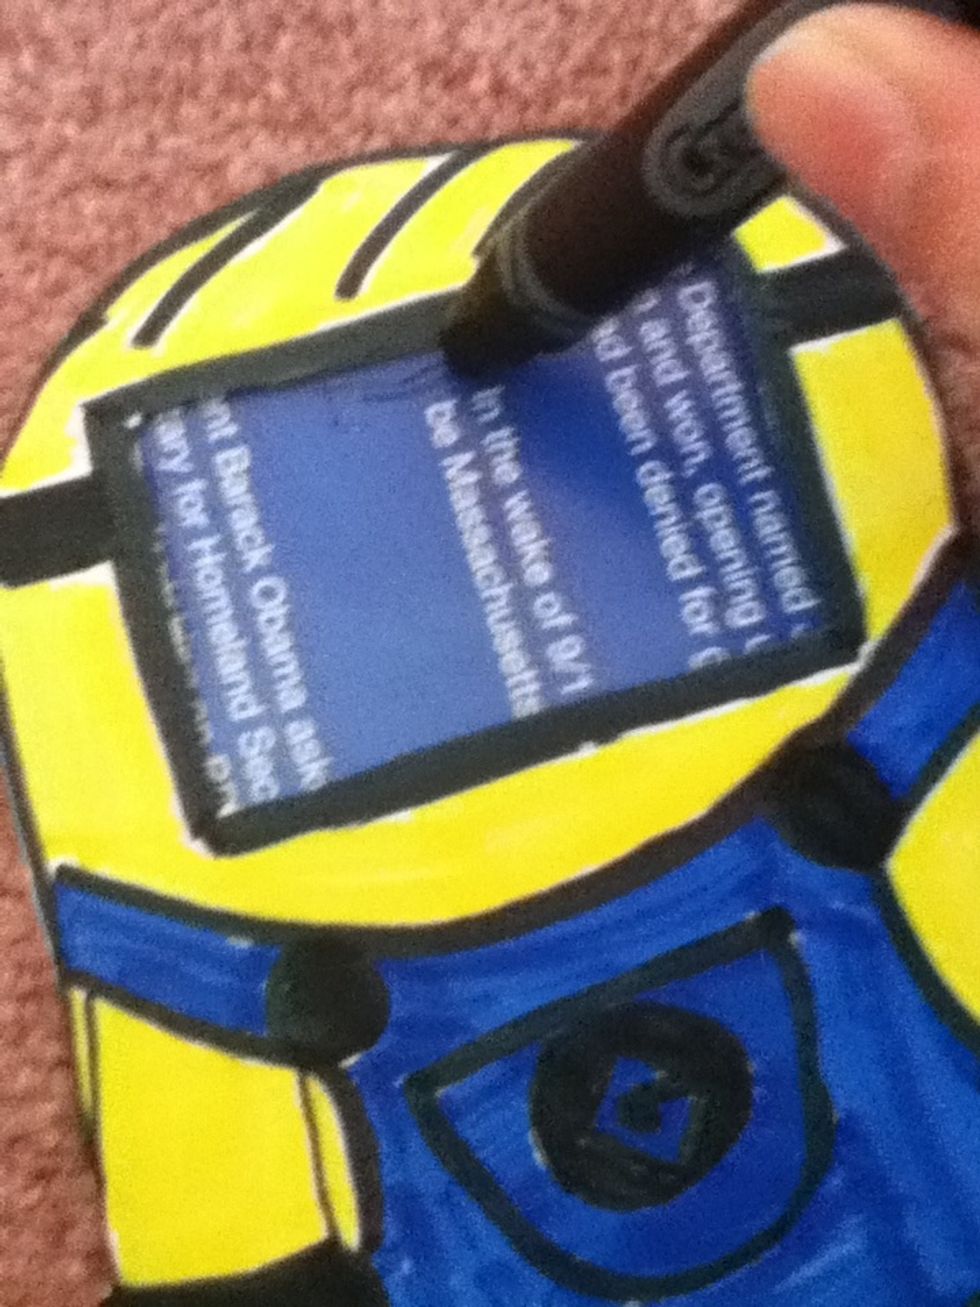
Place your paper onto your thick material and make a line against the top and bottom of your face box, NOT THE SIDES!!!

This is what it should look like. If you accidently draw lines at the sides, smudge them out or try to ignore them.
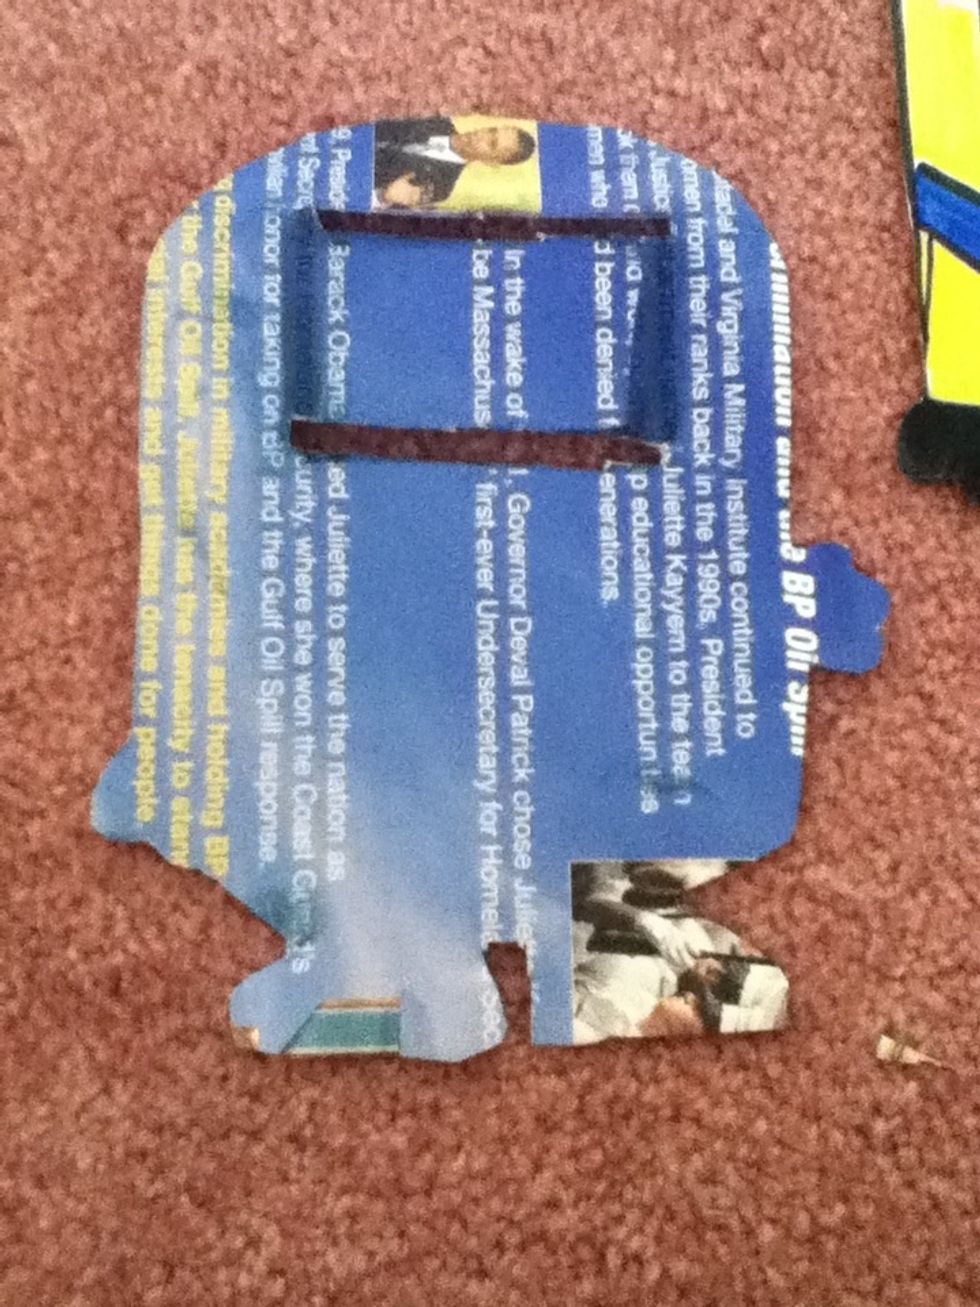
Using the same method you used to cut out the face box, cut out two thin slits along the lines you made.
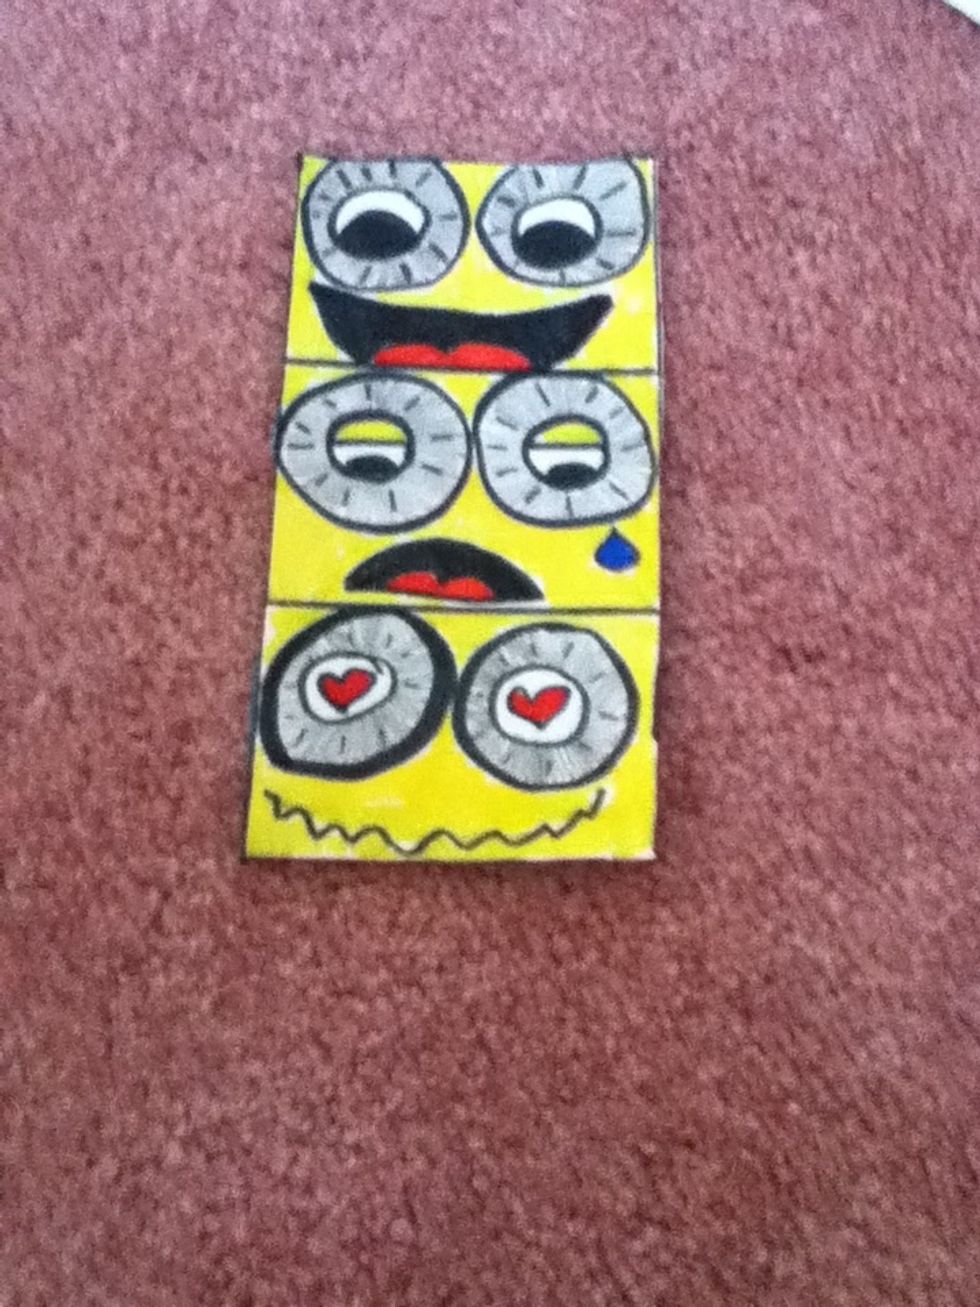
Cut out your rectangle with all the emotions in it.
It's hard to see, but I put tape all over the key points of my puppet on the back. Do this to your puppet, making sure you put tape on parts that stick out such as arms and feet.
Tape your paper puppet to your sturdy material. It should look like this. The reason for this is that paper is really flimsy and can rip, tear, and crease easily. This material gives it sturdiness.
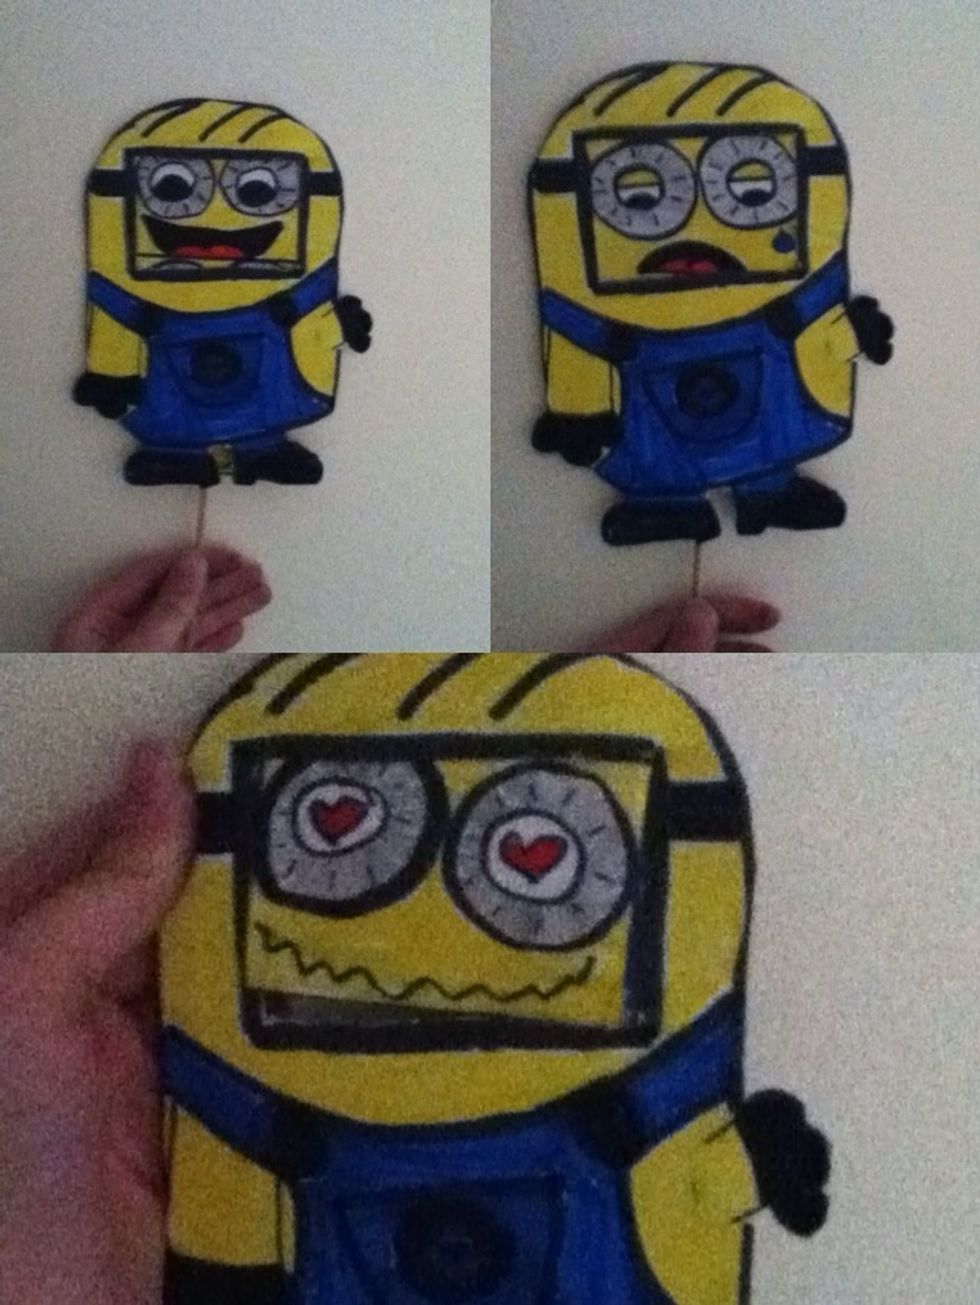
Enjoy your new, handmade, emotional puppet!!! It's really creative, and makes a great gift or decoration!!!
Don't forget to like, comment, and follow!!!