The Conversation (0)
Sign Up
Imagine a situation where you have no electricity. No way to get to anyone for help (maybe extreme weather). You need to call for help but your phone has a dead battery.
This guide will show you how you can use objects commonly found around a home to make an emergency charger/generator.
I like to give credit where it's due. I learned about this from a video by Grant Thompson. But I had to make some changes because of differences in my supplies. I suggest you also watch his video.
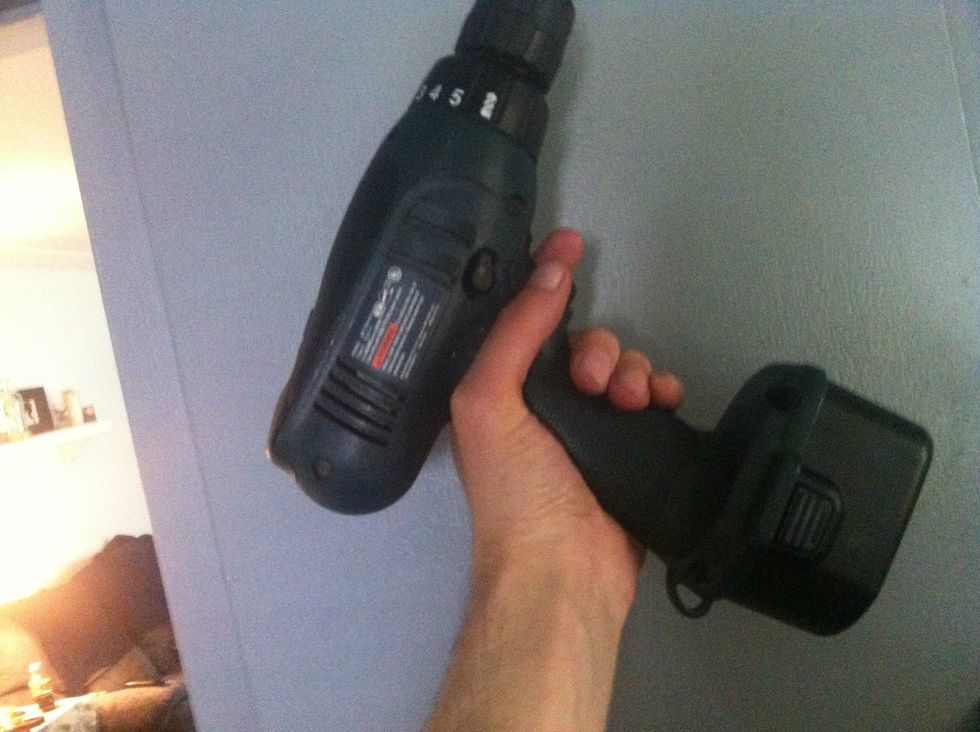
We'll be using a cordless drill as a generator. So step one is to remove the battery from the drill.
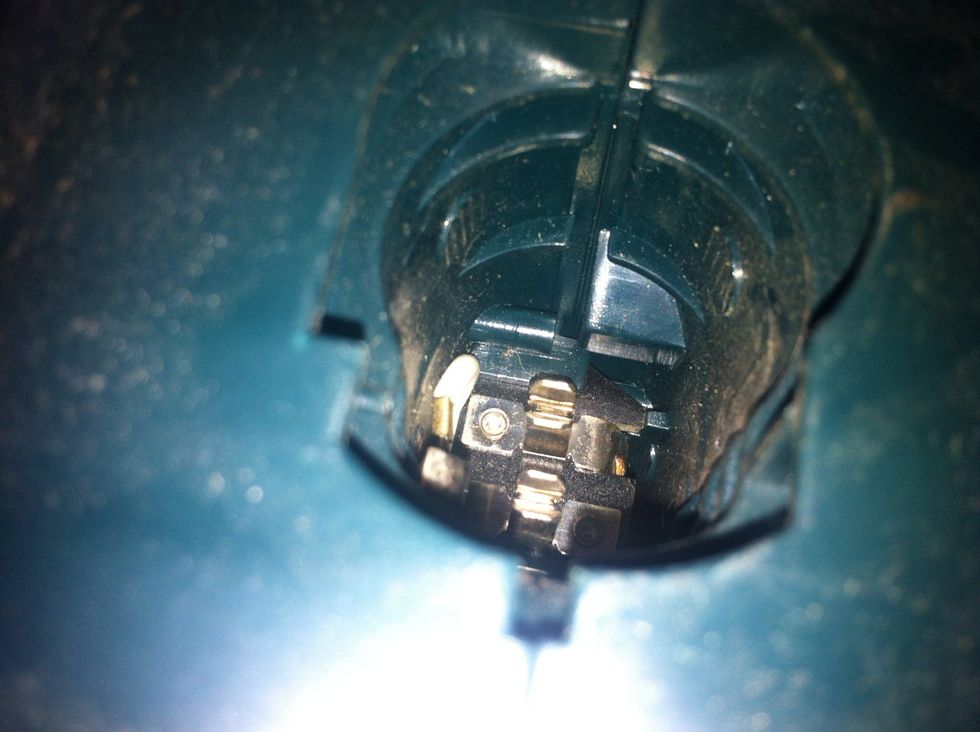
Look in the hole where the battery is inserted. You'll find two metal connectors that make contact with the battery. Mine has two clips. If yours is different then watch Grant Thompson's video (step2)
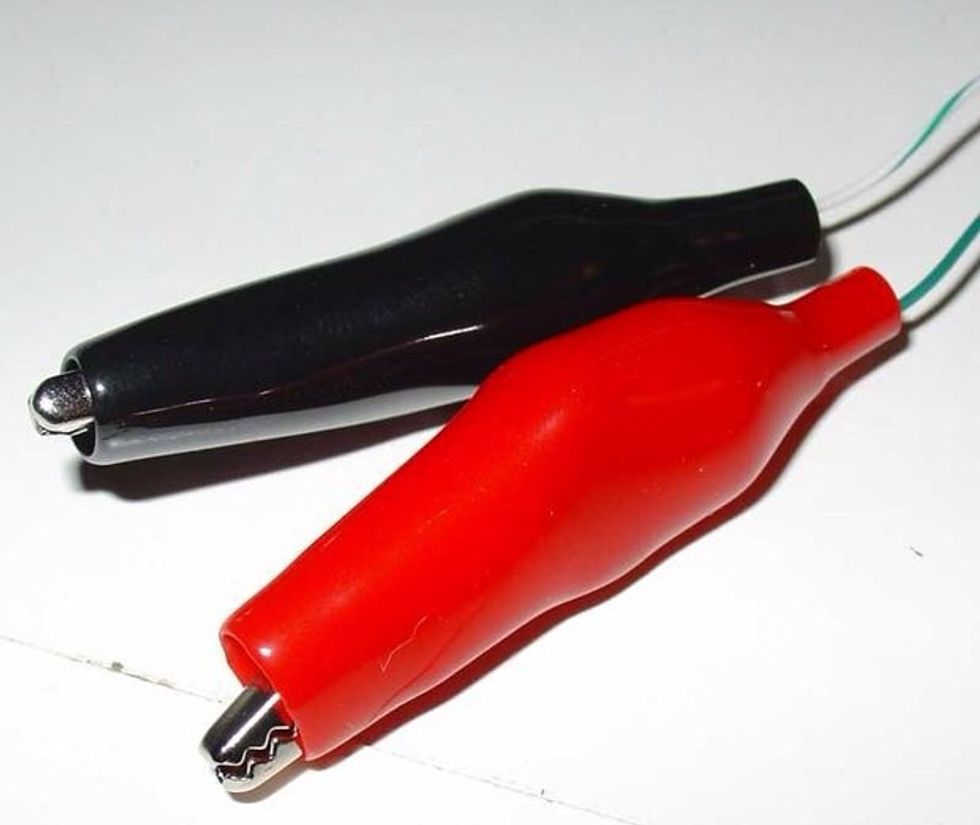
We're obviously going to have to connect wire to the drill. If you have wire and alligator clips then by all means use them. But for this guide I'm assuming you don't have wire. So we'll make some.
Get two straws and some aluminum foil. Roll up some foil and insert the foil through the straws so the foil sticks out of both ends of the straw at least as much as you see in this image.
Fold the ends of the foil down as you see in this image on one end. This is the end that'll connect to the prongs in the drill where the battery normally connects.
Insert one of the straw/foil wires and slide it onto one of the prongs making sure the foil is making contact with the metal clip.
Do the same with the other straw/foil.
For demonstration purposes we're going to use this drill/generator to light this LED. So connect the negative and positive of the LED to the foil protruding from the ends of the straws.
Be sure the foil on the ends don't touch each other.
Make sure your drill is set to reverse.

Reverse means the drill will spin counter clockwise. It's the direction you'd set the drill to remove a screw (rather than screw it into something).
We're using the drill as a manual generator. So you'll have to crank it by hand. So add some kind of lever to aid in the cranking. In this case I used an Allen wrench.
Because different electronics require different volts to charge properly and safely. I'd recommend you use a multimeter to learn how fast to crank to produce different volts.

Chargers usually print the output voltage they need. Most phone chargers use about 5 volts. If you don't generate enough power they won't charge. To much can damage the battery.
It's also recommended to use a multimeter to find out which wire/straw is negative and which is positive.
Obviously this generator can be used to power or charge lots of things such as charging rechargeable batteries and lighting small light bulbs. But let's assume we're charging a phone.
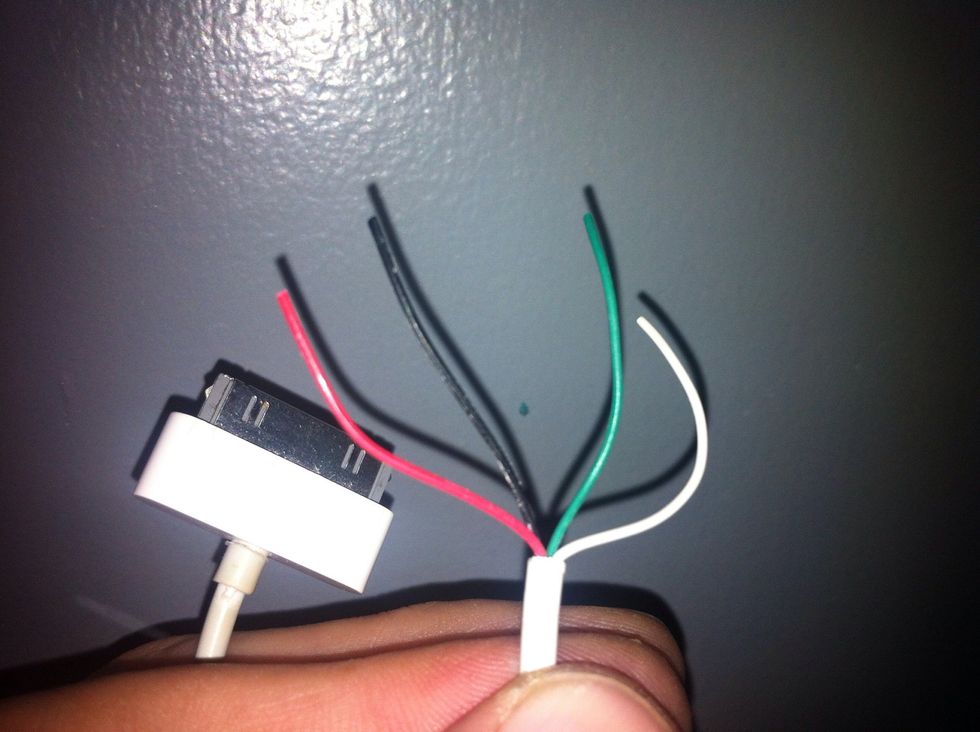
Take your charger cable and cut off the USB end. Then strip the outer covering off to find the 4 wires inside.
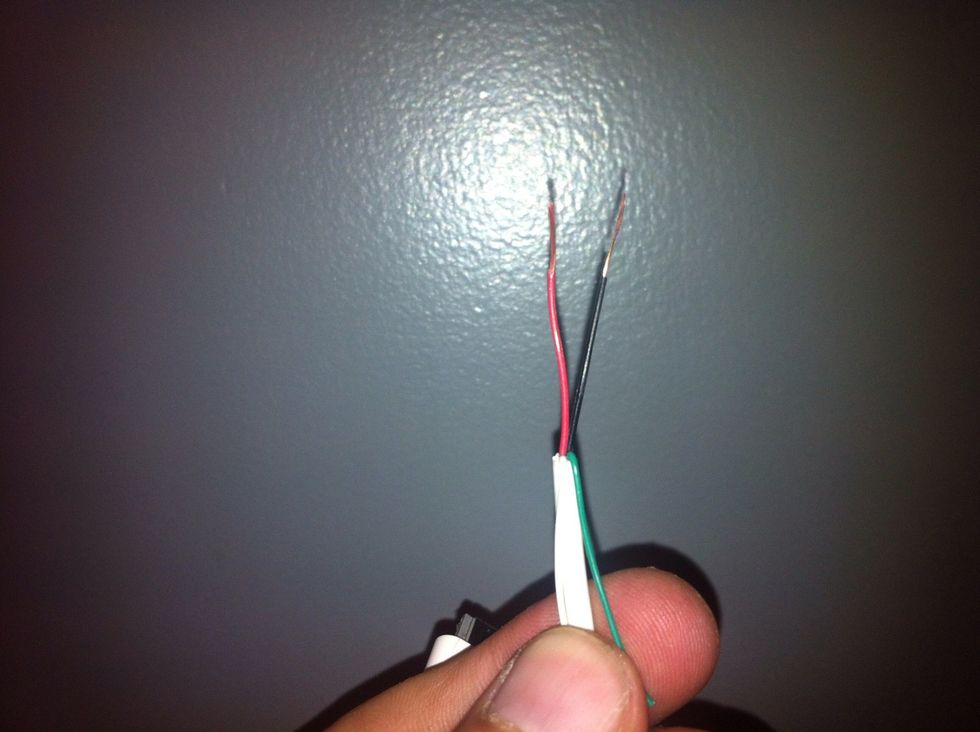
In this case we'll only need the red and black (negative and positive) wires. So cut or fold away the other two wires. Strip the casing off the red and black wires.
Connect the red and black wires to the ends of the straws coming from the drill. Plug the other end into the phone and start cranking to the required speed to charge the phone.
As to the original video by Grant Thompson. You can use string to tie around the drill and hold the trigger down. And also tie the drill to something to hold it in place as you crank.

If you don't have a multimeter and it is an emergency. Start cranking slowly and when the phone tells you it's charging. Crank a little slower until it stops charging.
By doing this you'll be able to calculate the proper speed to crank the drill/generator. Be warned though. This will take as long to charge as it does when you have a wall to plug into.
Well that's all there is to it. Grant Thompson's video goes into more details so I suggest you watch it. My drill is different than his so that's why I made this guide for an alternate way to connect.
Though I hope you never find yourself in the situation I described in step one. I hope you found this guide helpful or interesting.