The Conversation (0)
Sign Up

A glance at the supplies used in this DIY.
Untighten the screw on the embroidery hoop so that you can take out the smaller of the two hoops. Cut out the burlap to cover over the size of the smaller hoop.
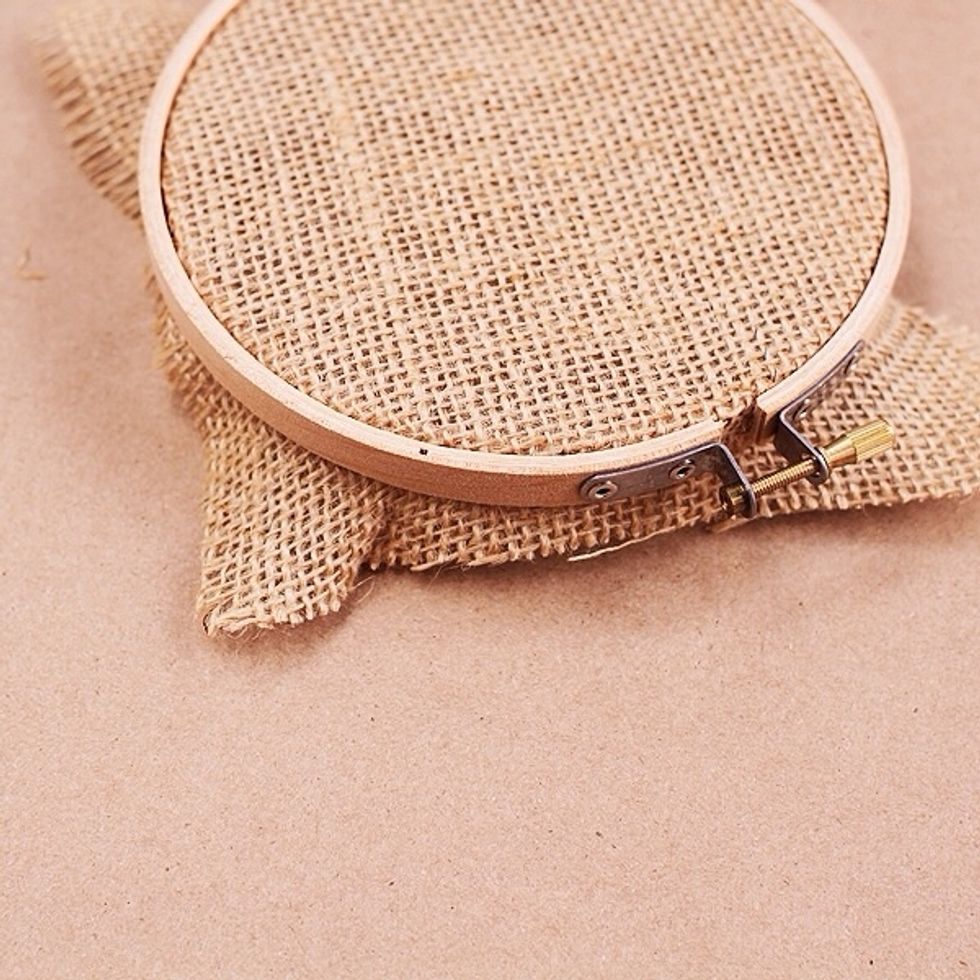
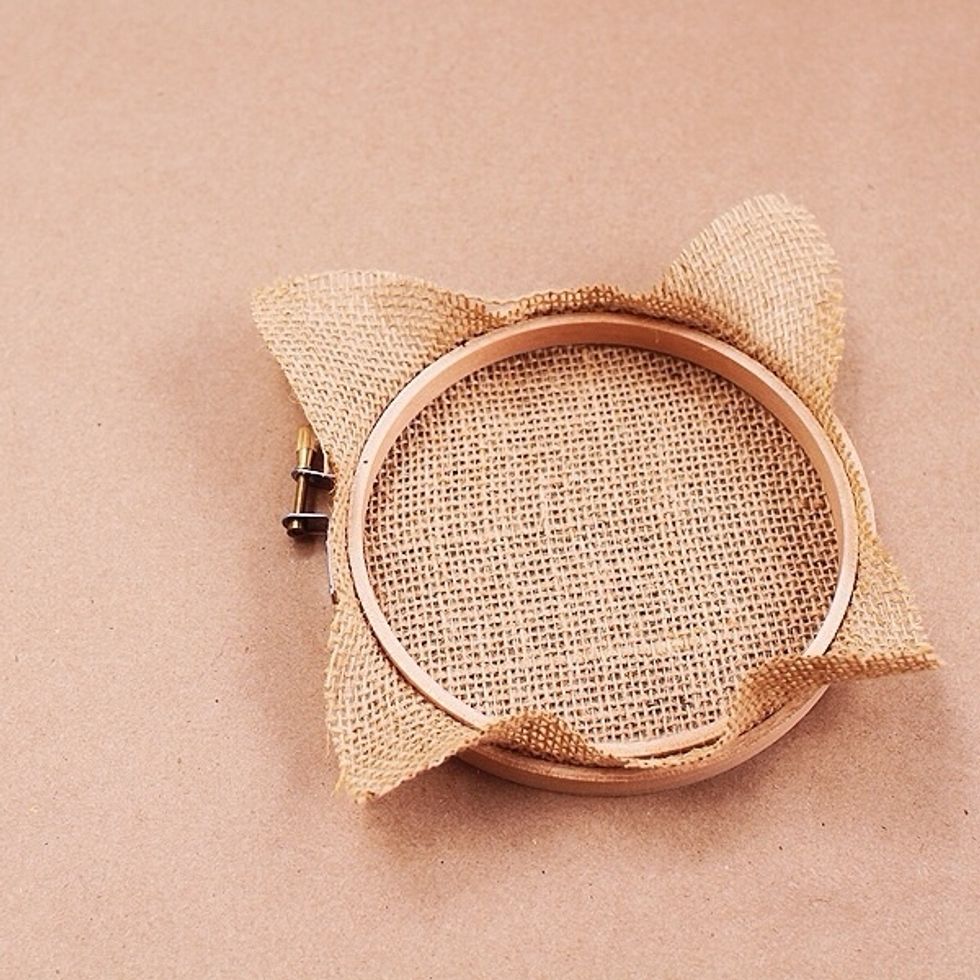
Take both pieces (the smaller hoop and burlap) and place it over the larger hoop. Tighten the burlap into place by pulling out the excess outside the hoop. Tighten the screw.
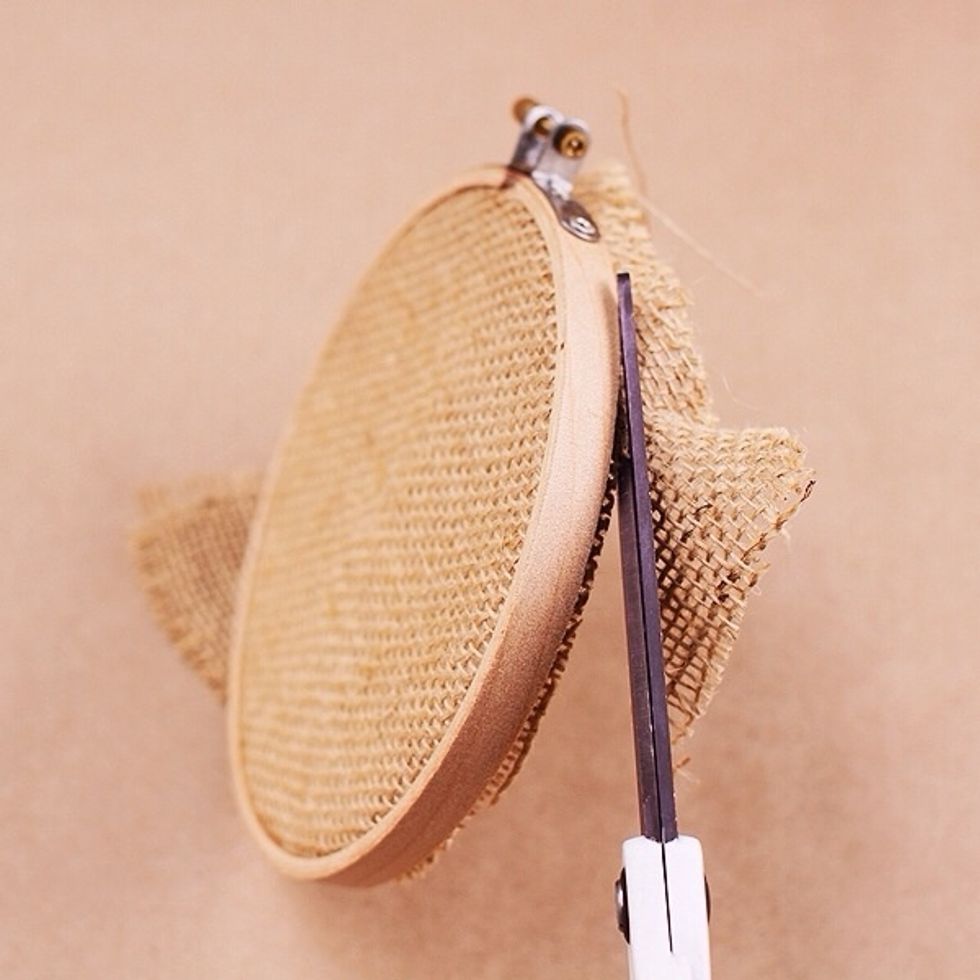
Use scissors to cut the excess burlap. (This step is best done outdoors or you’ll have burlap dust everywhere!)
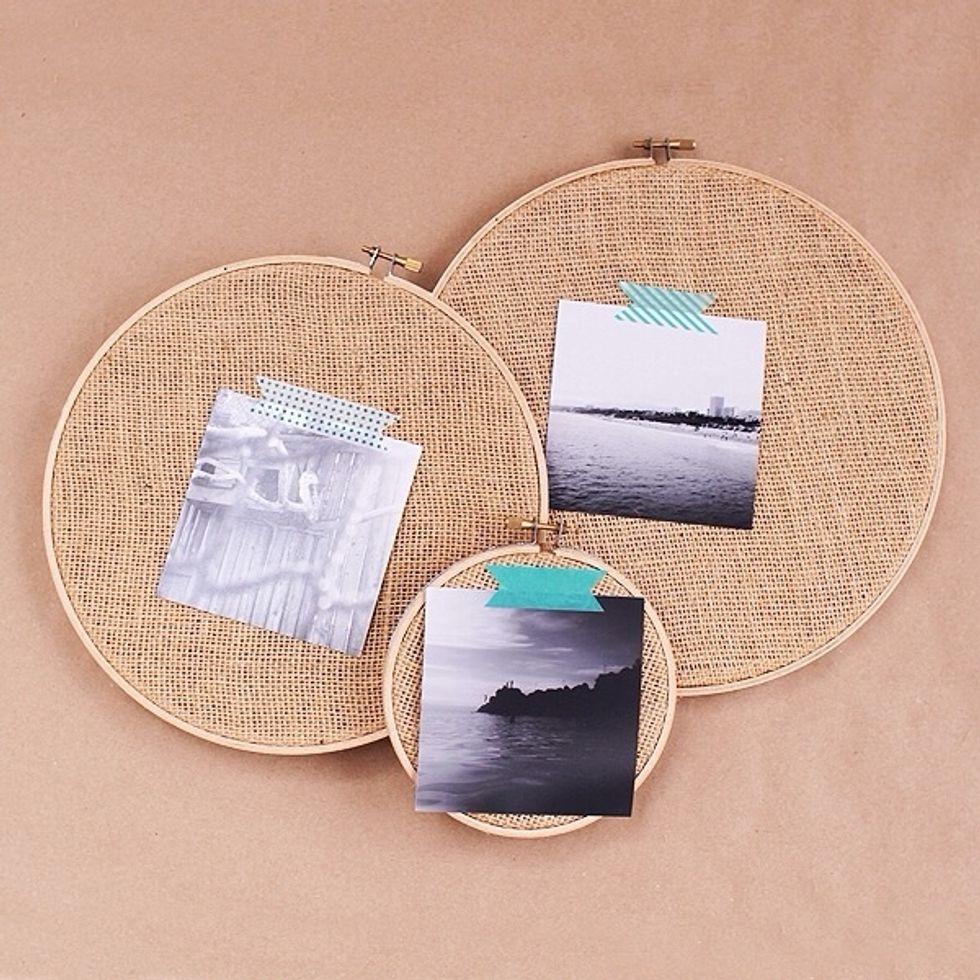
Adhere your photo prints with the washi tape to give it a pop of color.