The Conversation (0)
Sign Up

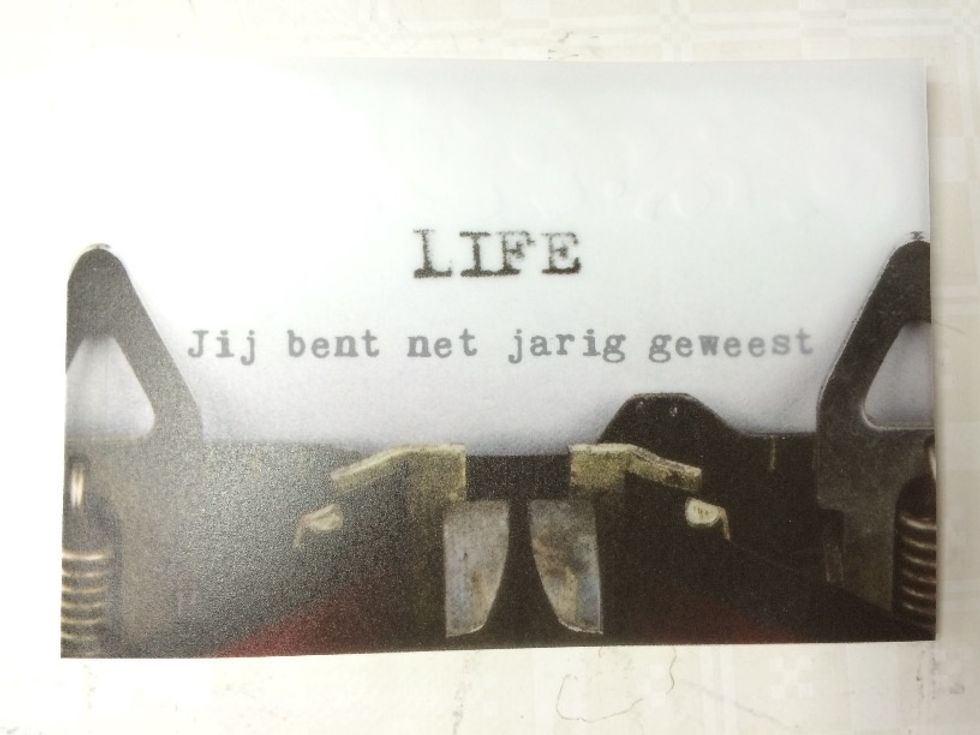
I used patterned vellum from the Nest collection, by Webster's Pages.

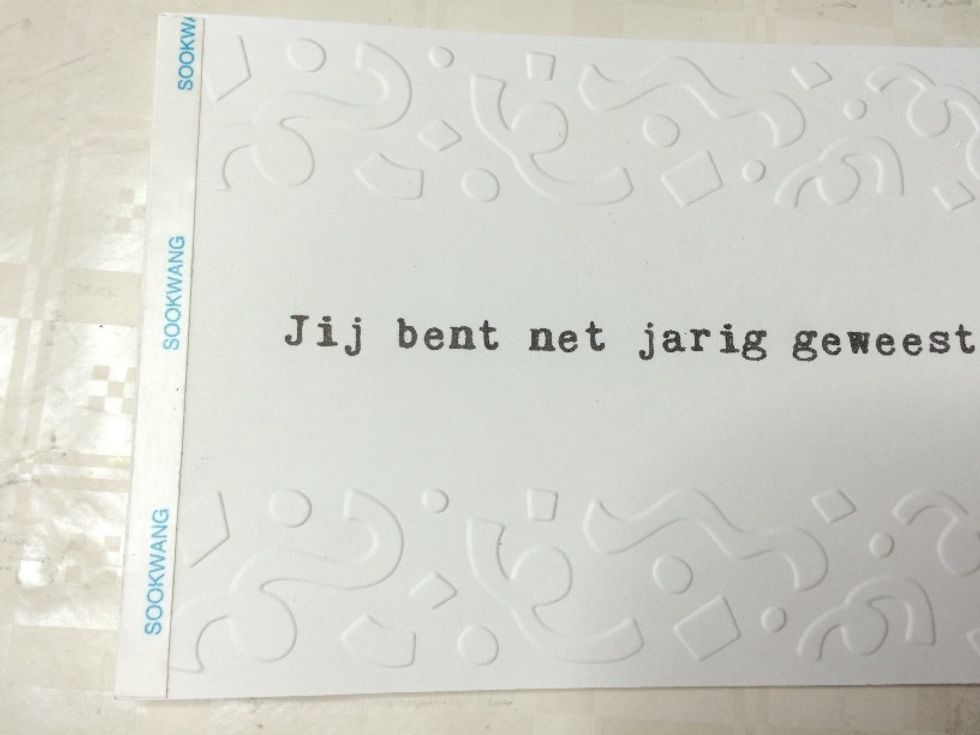
Print the text for the front of your card on the lower right quadrant of an A4-sized (8.3 x 11.7″) cardstock, at 5.25 cm (2″) from the right edge. As for vertical placement... (see next step)
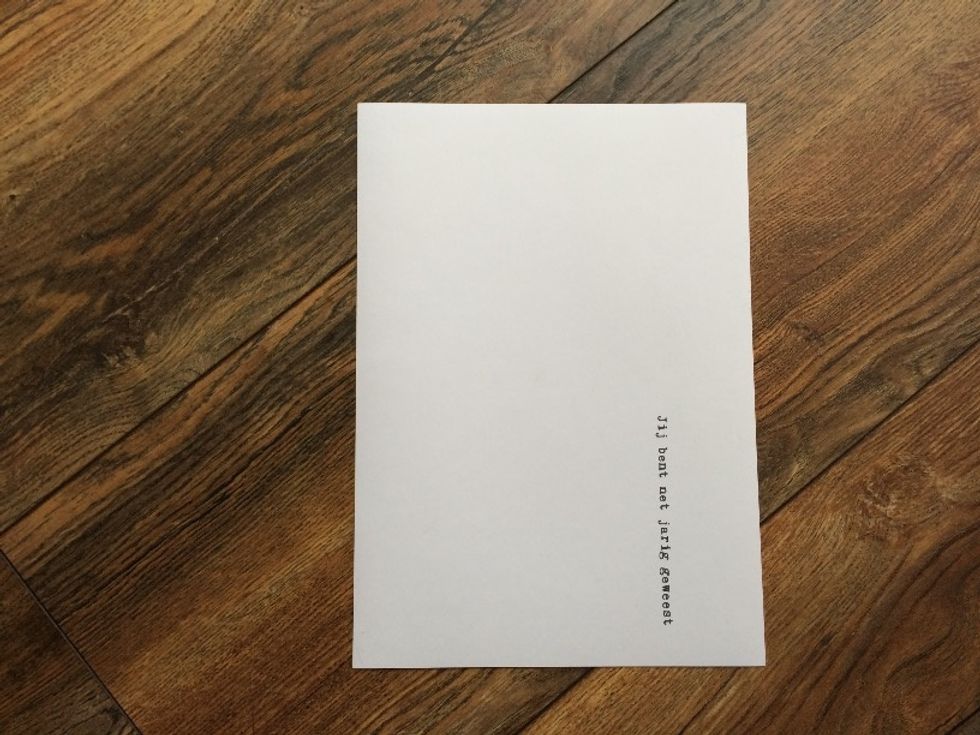
... your text needs to be centered between the bottom edge and the center of your paper. Do some try out prints first to figure out the most satisfying text placement.

Turn your printed cardstock over so its back is facing you, and print the text for the inside of your card in the same spot as you did the first text. Mind you... (see next step!)
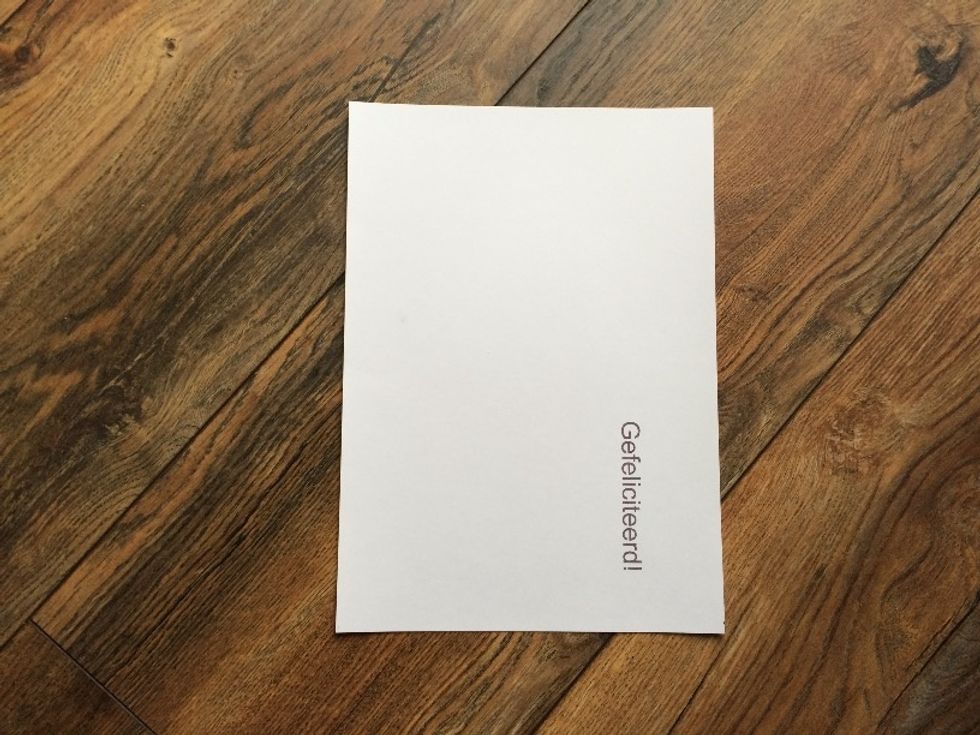
...since this will be a different text you’ll first have to experiment with plain printer paper again for placement, before ‘doing it for realz’!
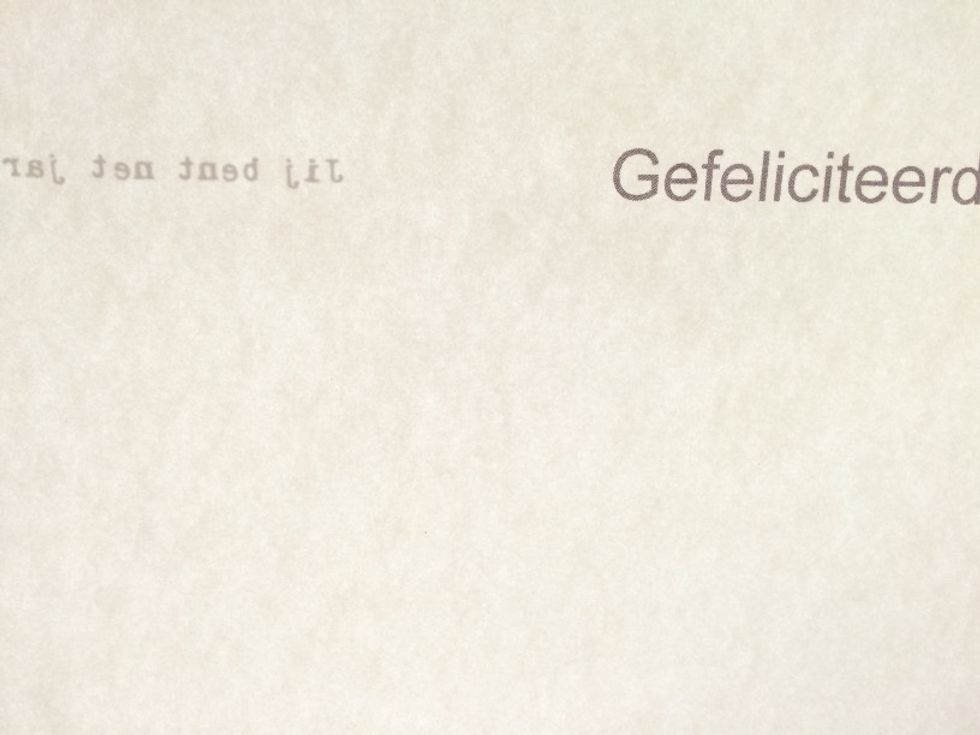
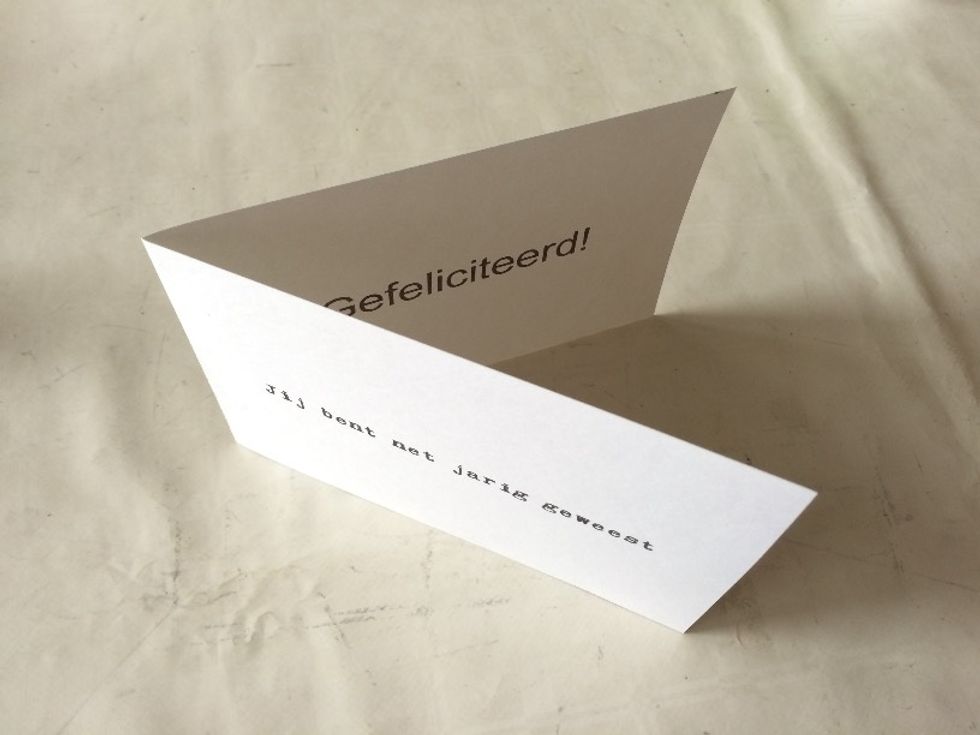
Now when you hold your cardstock up to the light, you’ll see both texts, one is facing you while the other is on the other side of the paper
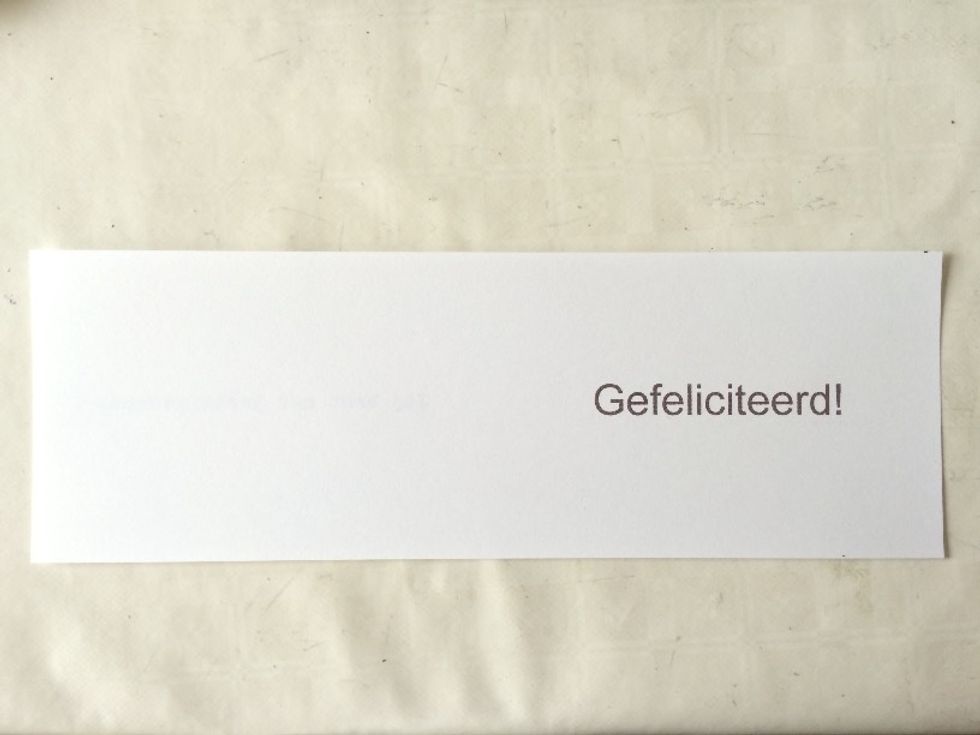
Cut your A4-sized cardstock in half, lengthwise. So you’ll cut on the 21 cm (8.3″) side, as shown.
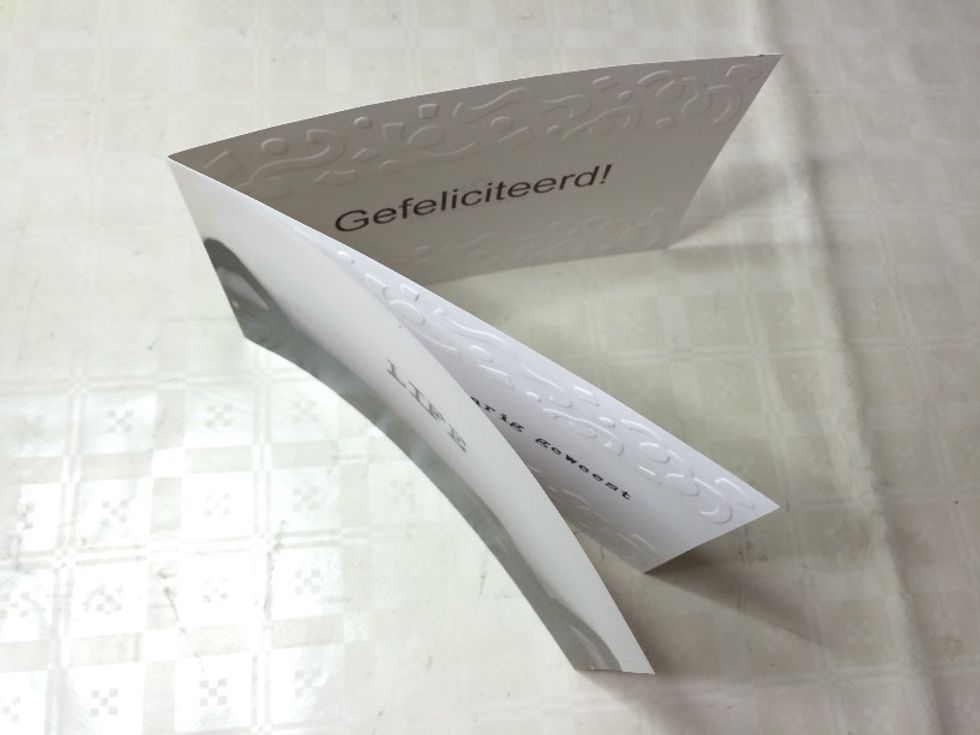
Fold in half on the 29.7 cm (11.7″) side. Make sure your front-side text actually ends up on the front when you fold.
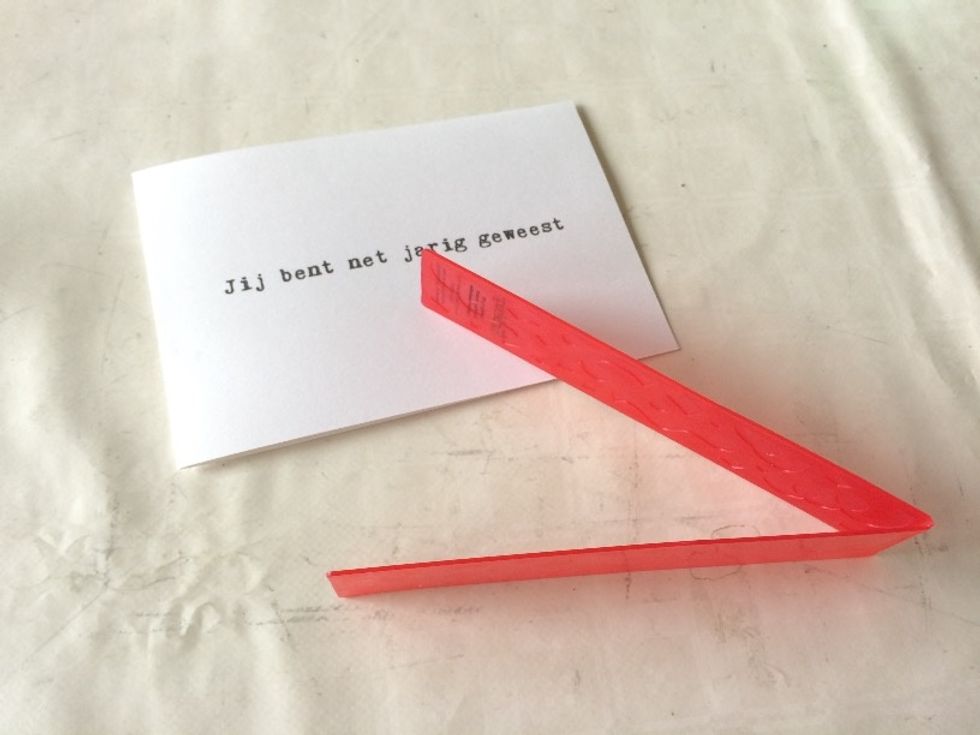
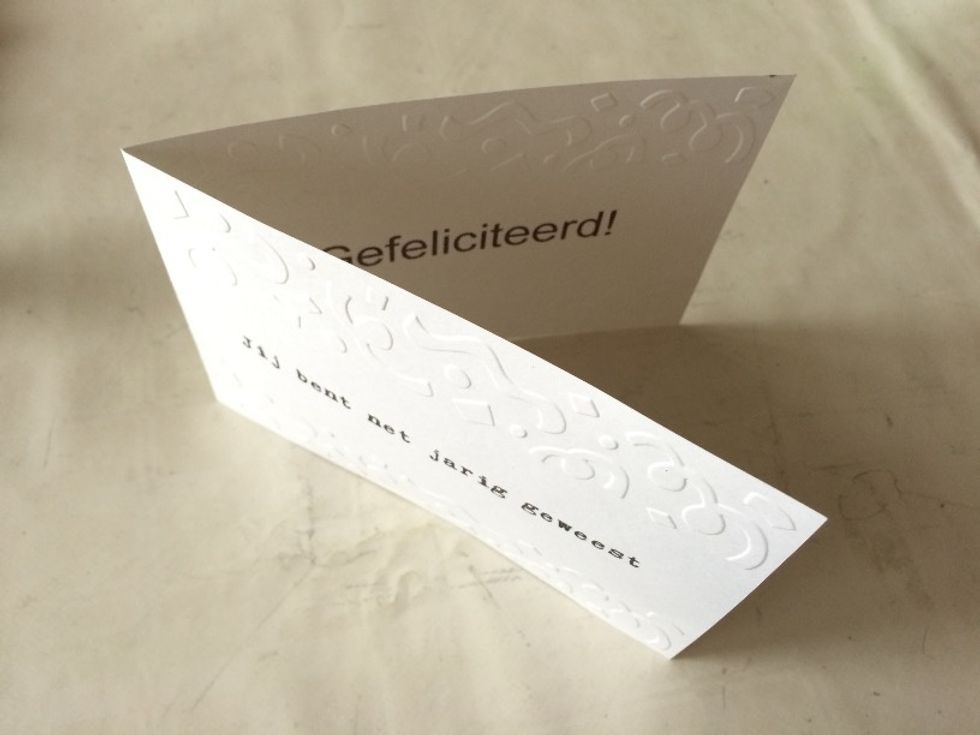
Optional: Emboss the sides of your card.
Apply some double-sided tape to the folded edge on the front of your card.
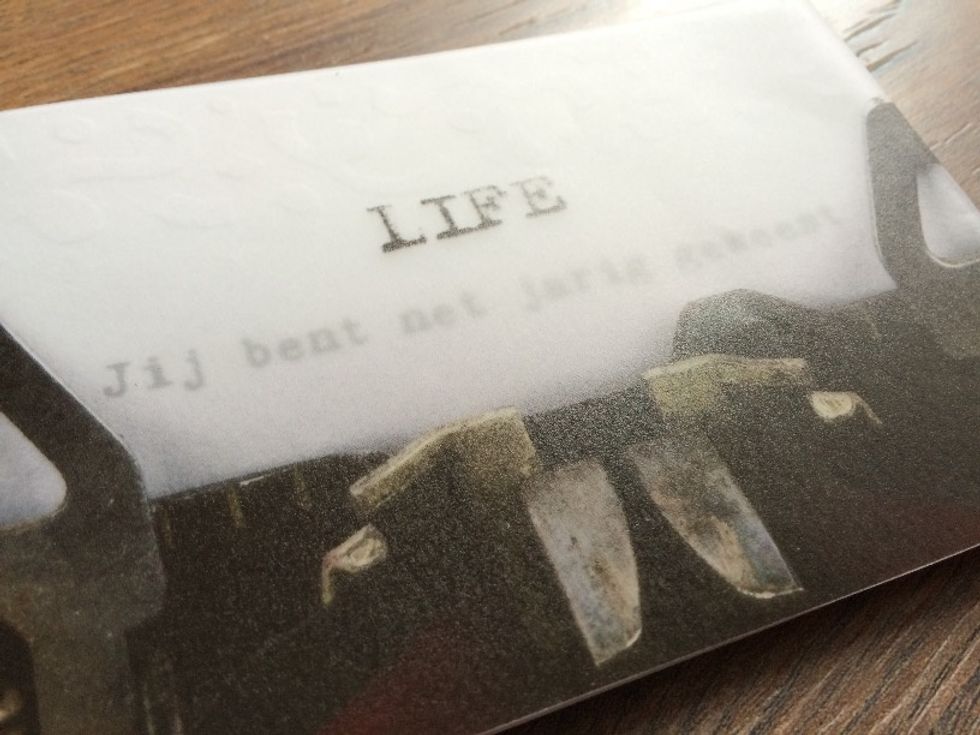
Cut a piece of patterned vellum to size and adhere it to the front of your card. Make sure to cut it in such a way that your text will be visible.
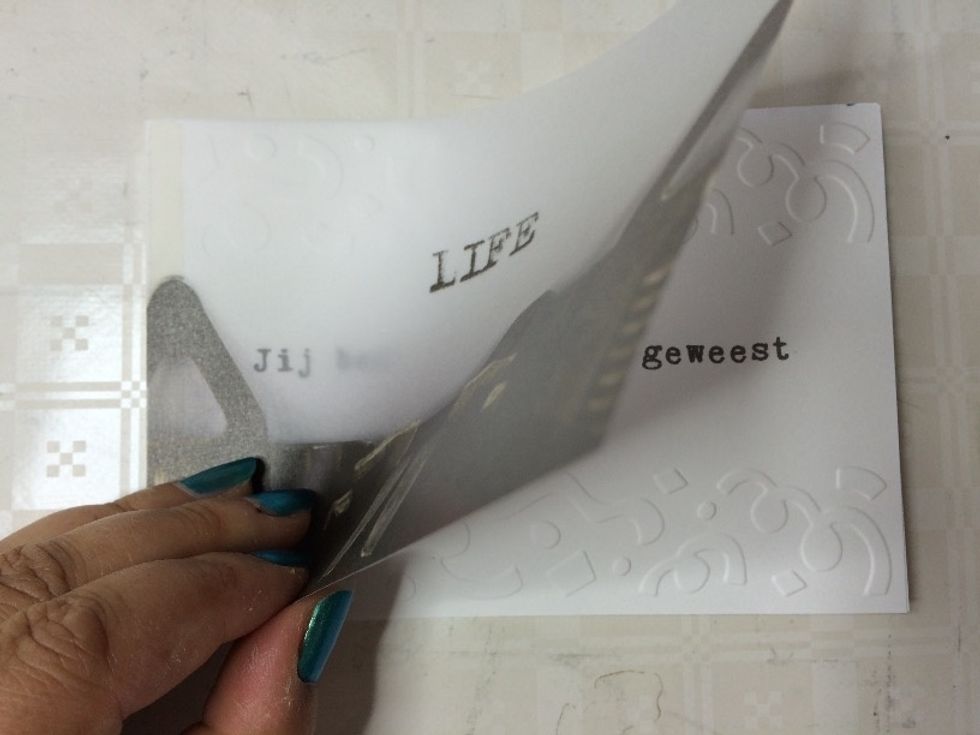
"Make sure to cut it in such a way that your text will be visible"
"Make sure to cut it in such a way that your text will be visible"
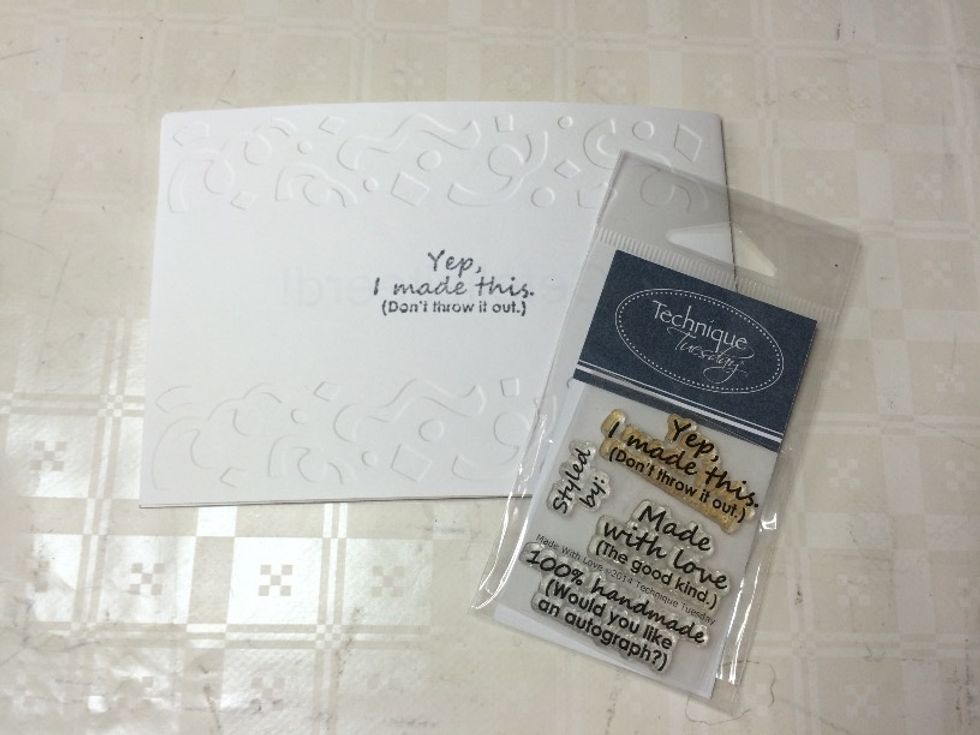
Optional: Stamp a Handmade by, or some variation thereof, on the back of your card.
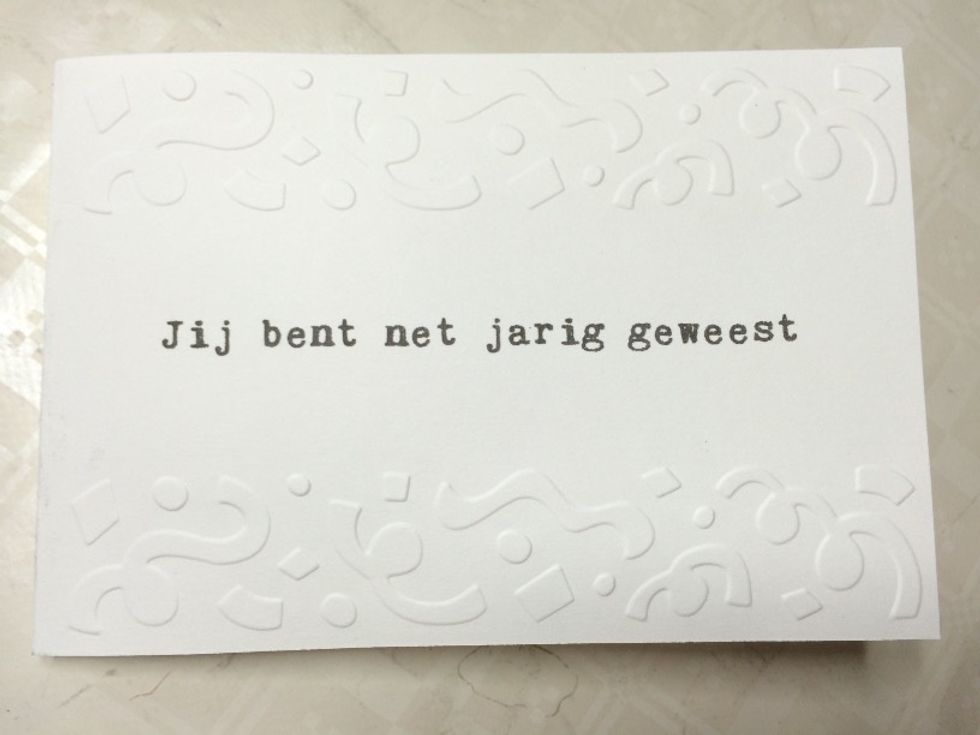
Congratulations, your card is done!

If you have any questions, just let me know!
Check out the show & tell video of this card: https://youtu.be/WsUqh4L6MY8

www.creatorsimagestudio.com