The Conversation (0)
Sign Up
Things To Know: 1. Morsels are basically like little chocolate chips. 2. Different rock types: Sediments, Sedimentary, Metamorphic, Lava, Magma, Igneous, Extrusive igneous, and Intrusive igneous.
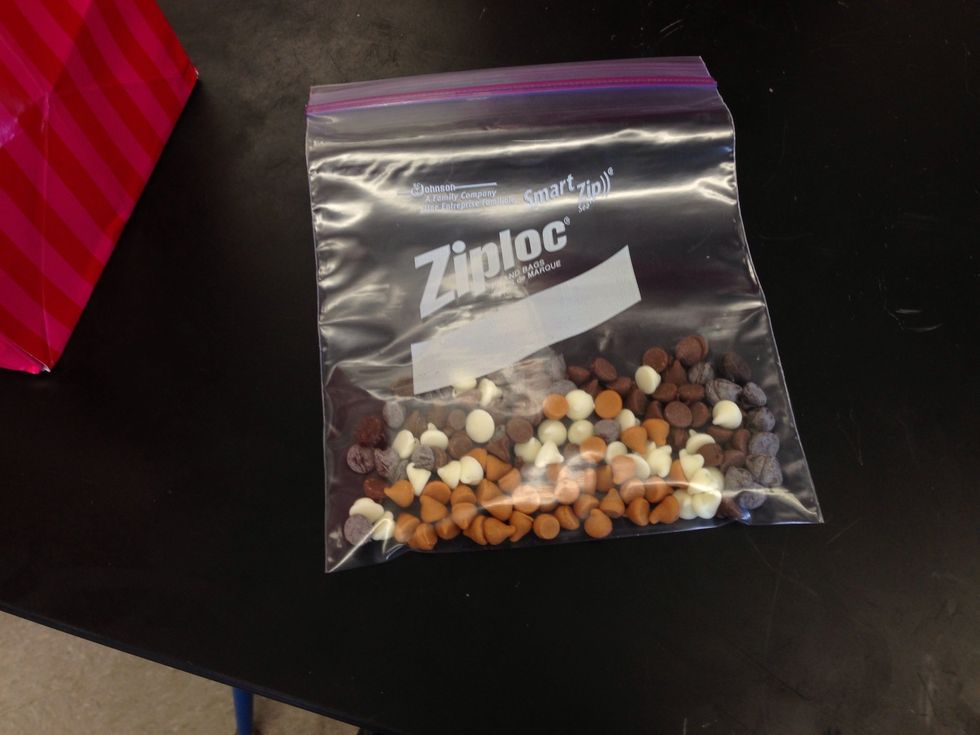
Put your little morsels (chips) into a plastic bag. Make sure you have an even amount of the three substances. You can use as many morsels as you want for the project.
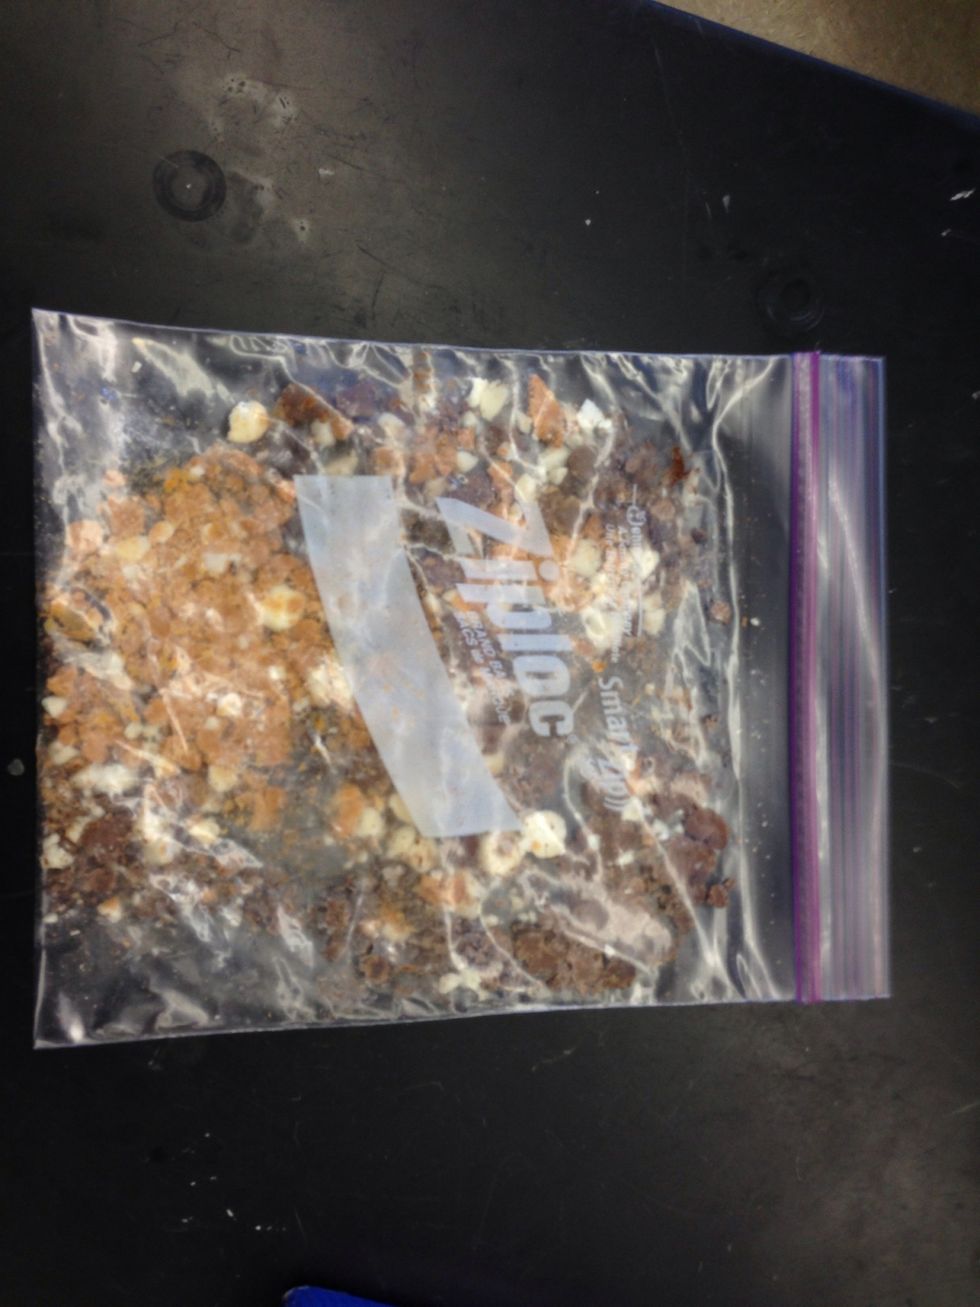
Crush the sediments using the palms of your hands or by carefully using a textbook to press down on them. Do not use a cellular device or anything else because the bag can tear.

When all the morsels are crushed, they'll resemble little sediments. If by accident you tore your plastic bag and have a little hole or something, put the torn bag inside of another plastic bag.

After crushing them, apply heat and pressure to the sediments to start forming Metamorphic Rock. To apply heat and pressure, use your hands to squish the sediments in the bag together.
Put the bag with sediments into really hot water (not sure about the temperature, sorry!) and be sure to not burn yourself. Keep it in there for about 10-20 seconds.
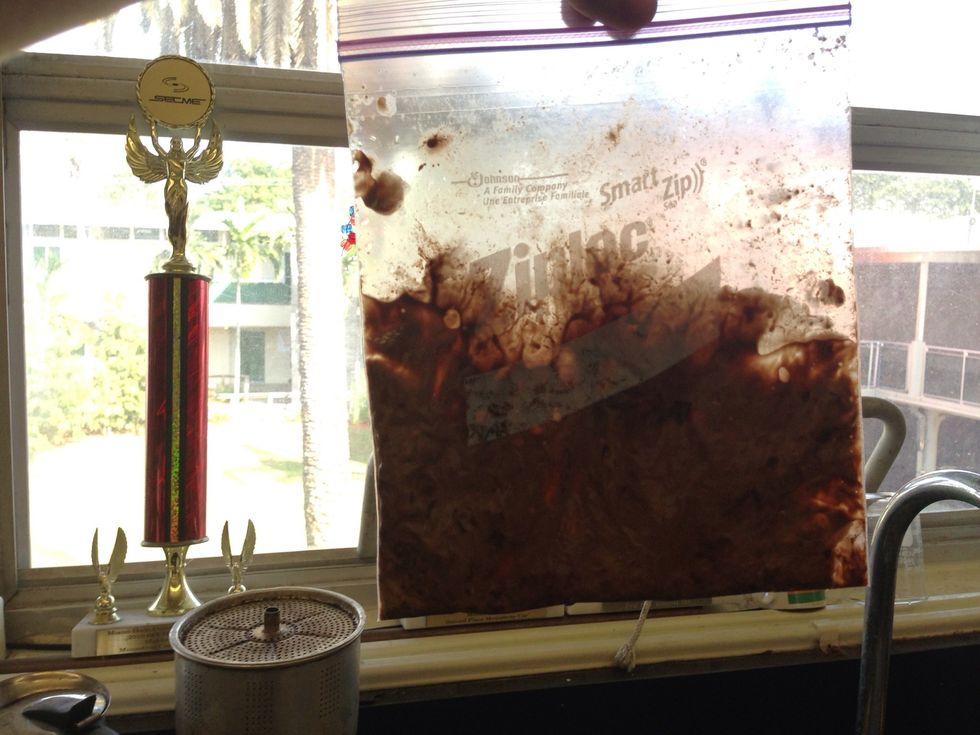
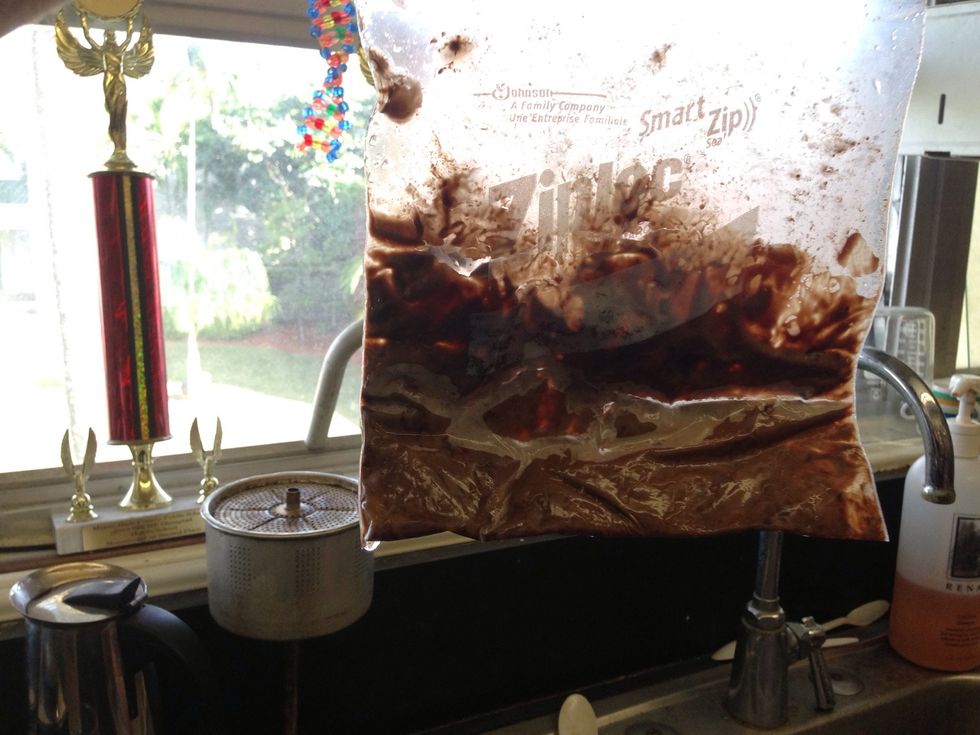
This represents magma. After it's all sticky and goopy inside the bag, then you're ready for the next step.

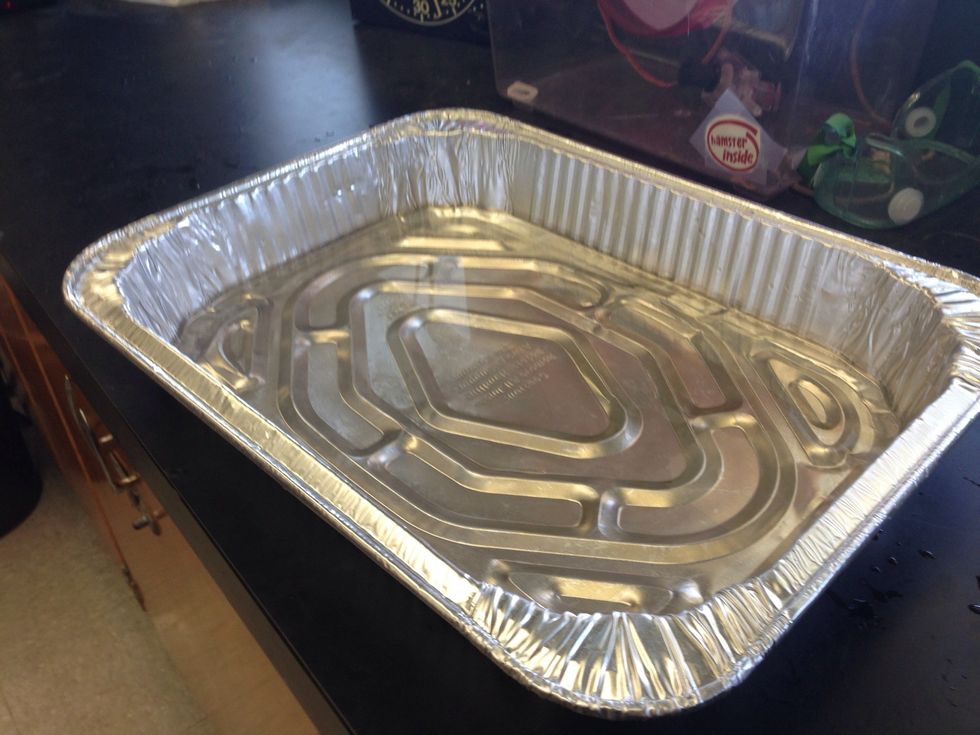
Now, stick it into a cold tub of water that has ice and let it settle for about 10-20 seconds so that the "magma/lava" cools to form new rock.

Tada! Now that the "magma/lava" has hardened, you can tell whether it's an extrusive igneous rock or intrusive igneous rock by its crystal size.
Mine (shown above) has either very microscopic crystals or none at all, making it an extrusive igneous rock.
Intrusive igneous rocks have larger crystals than those of an extrusive igneous rock due to longer cooling periods and more heat and pressure being applied underground.
After you've completed the project, the "rock" is completely edible and is said to taste delicious. I don't like chocolate so I couldn't tell you the taste, sorry. Hope you enjoyed this guide!