The Conversation (0)
Sign Up
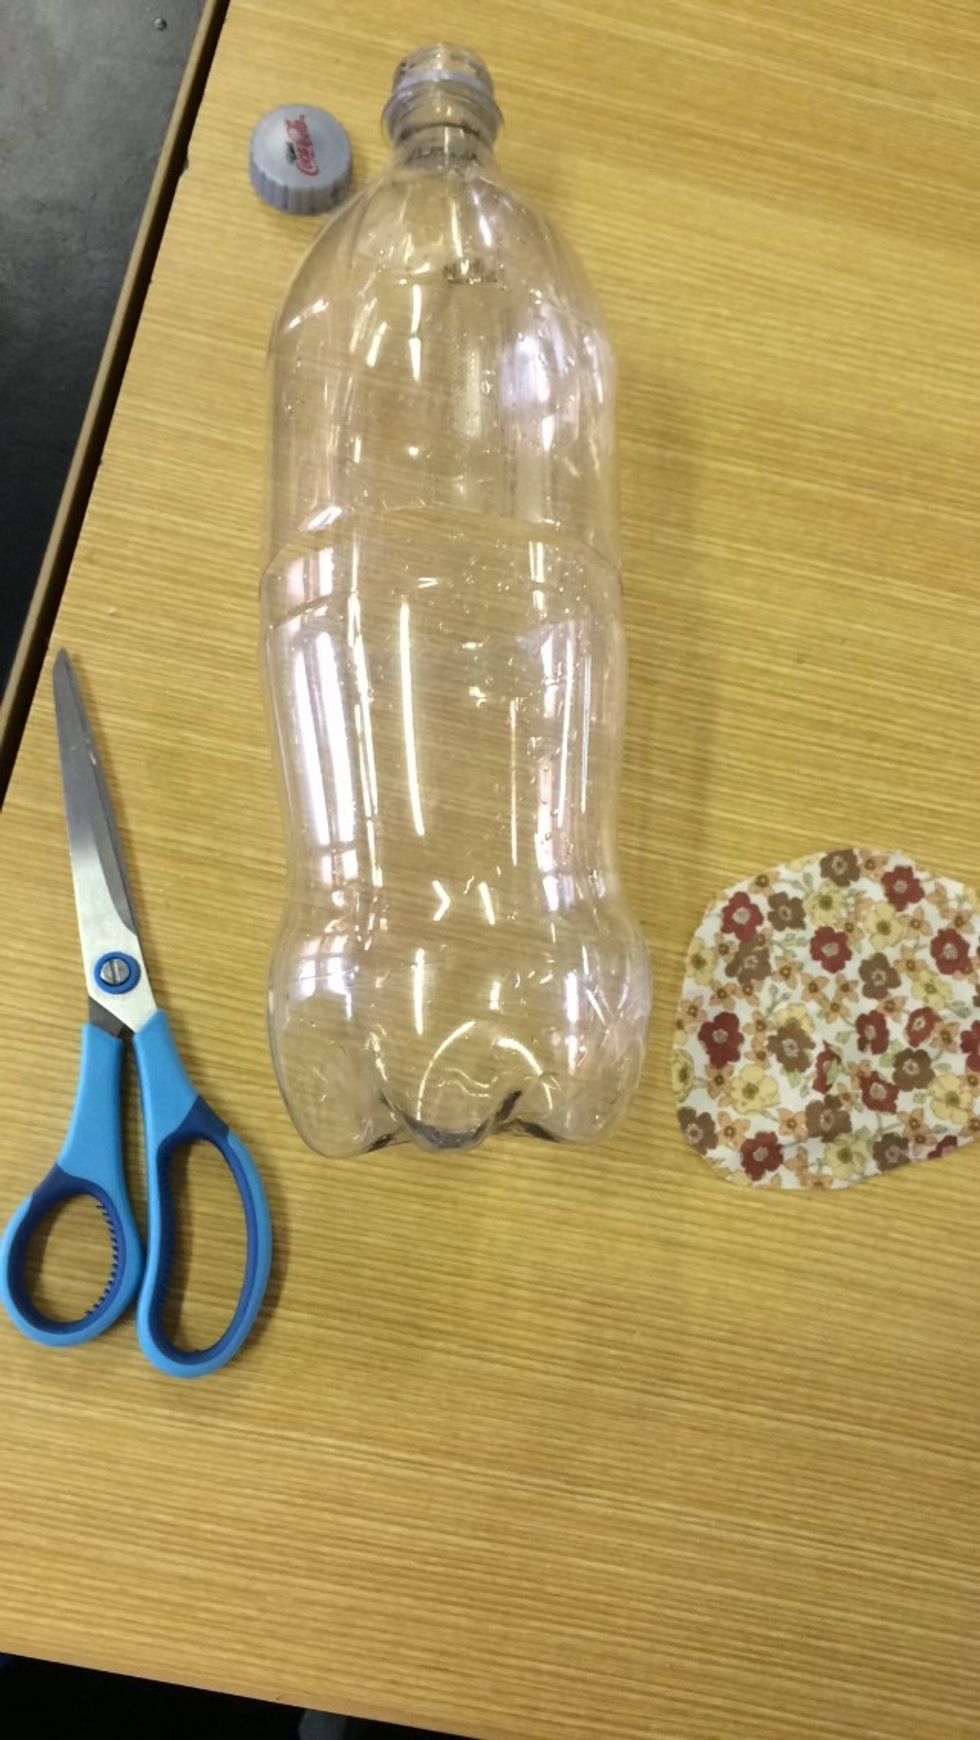
Collect your materials
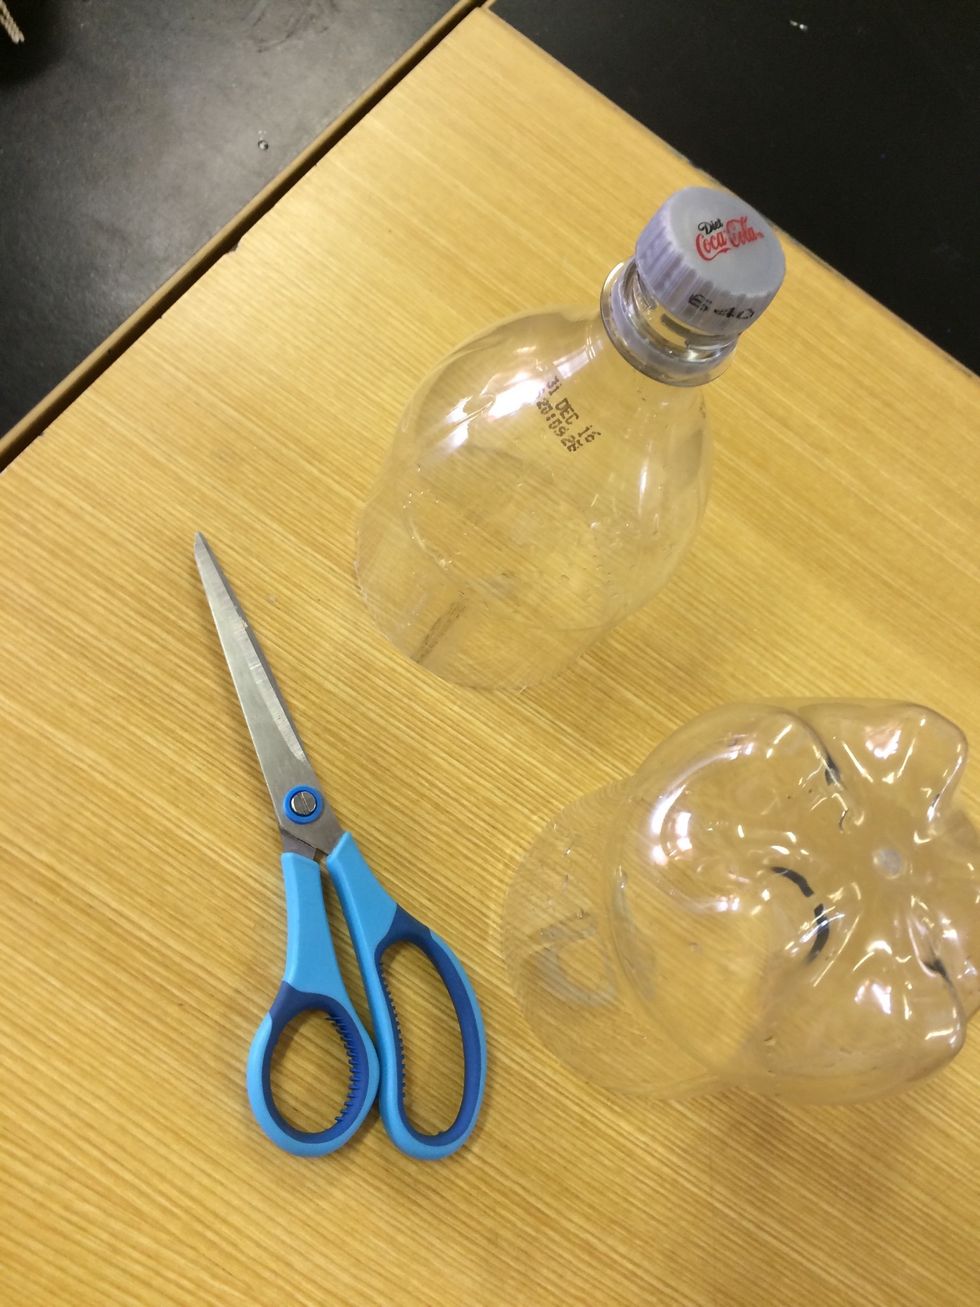
Cut the plastic bottle in half
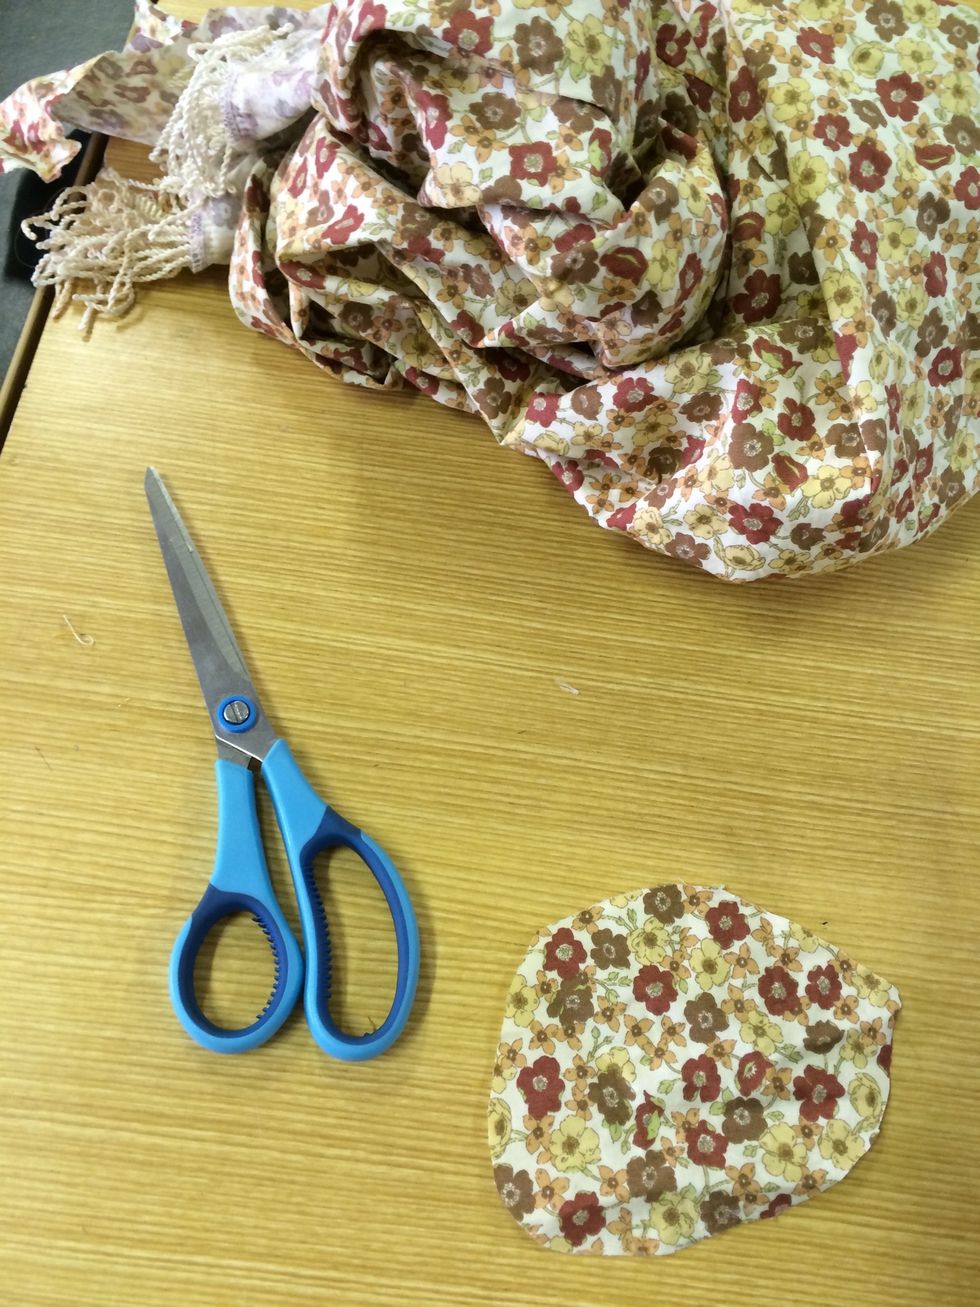
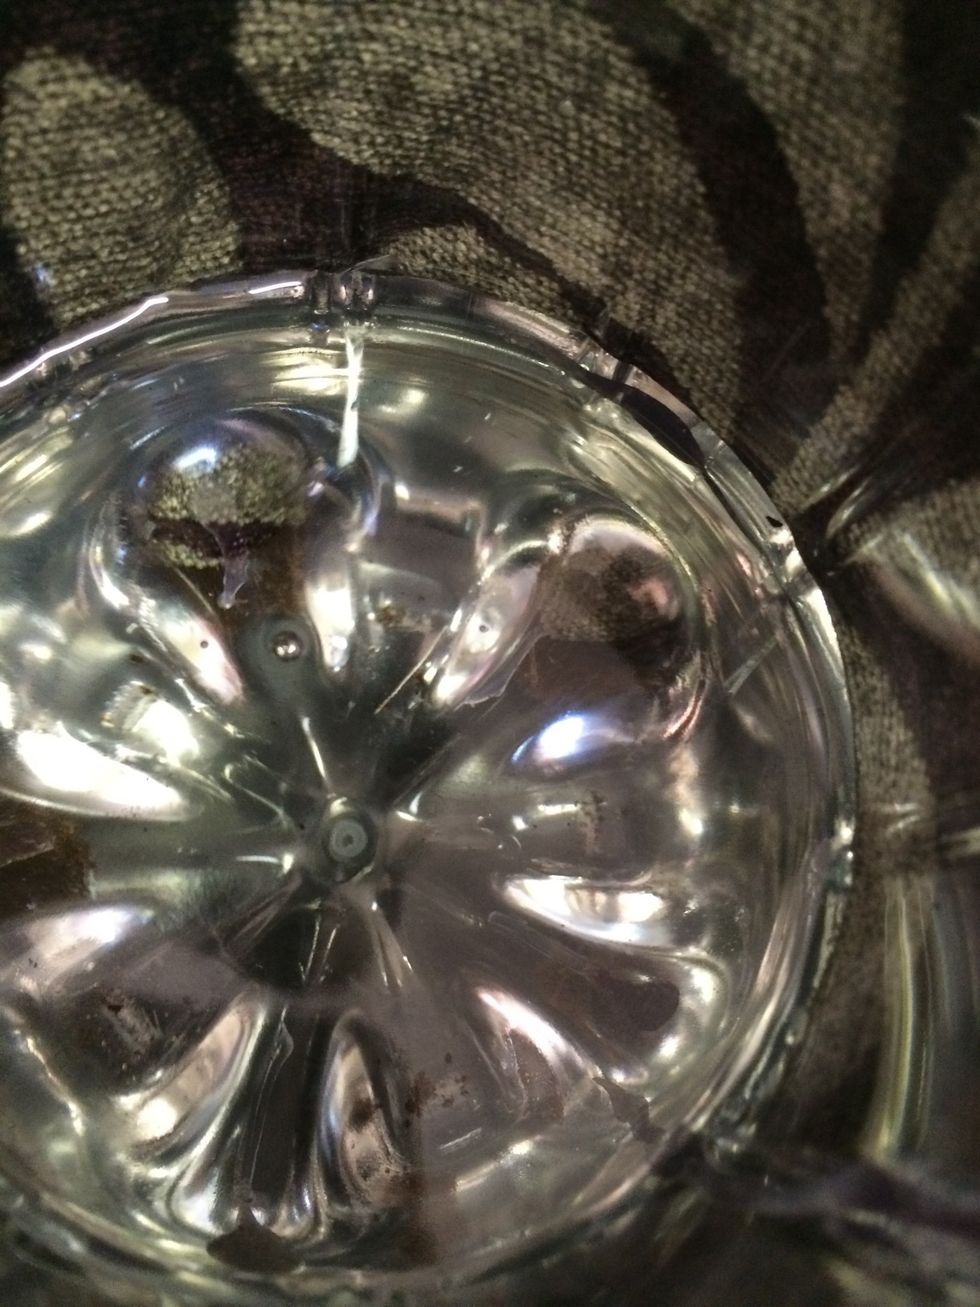
Cut out a decent size of thin material. (This will go over your bottle cap)
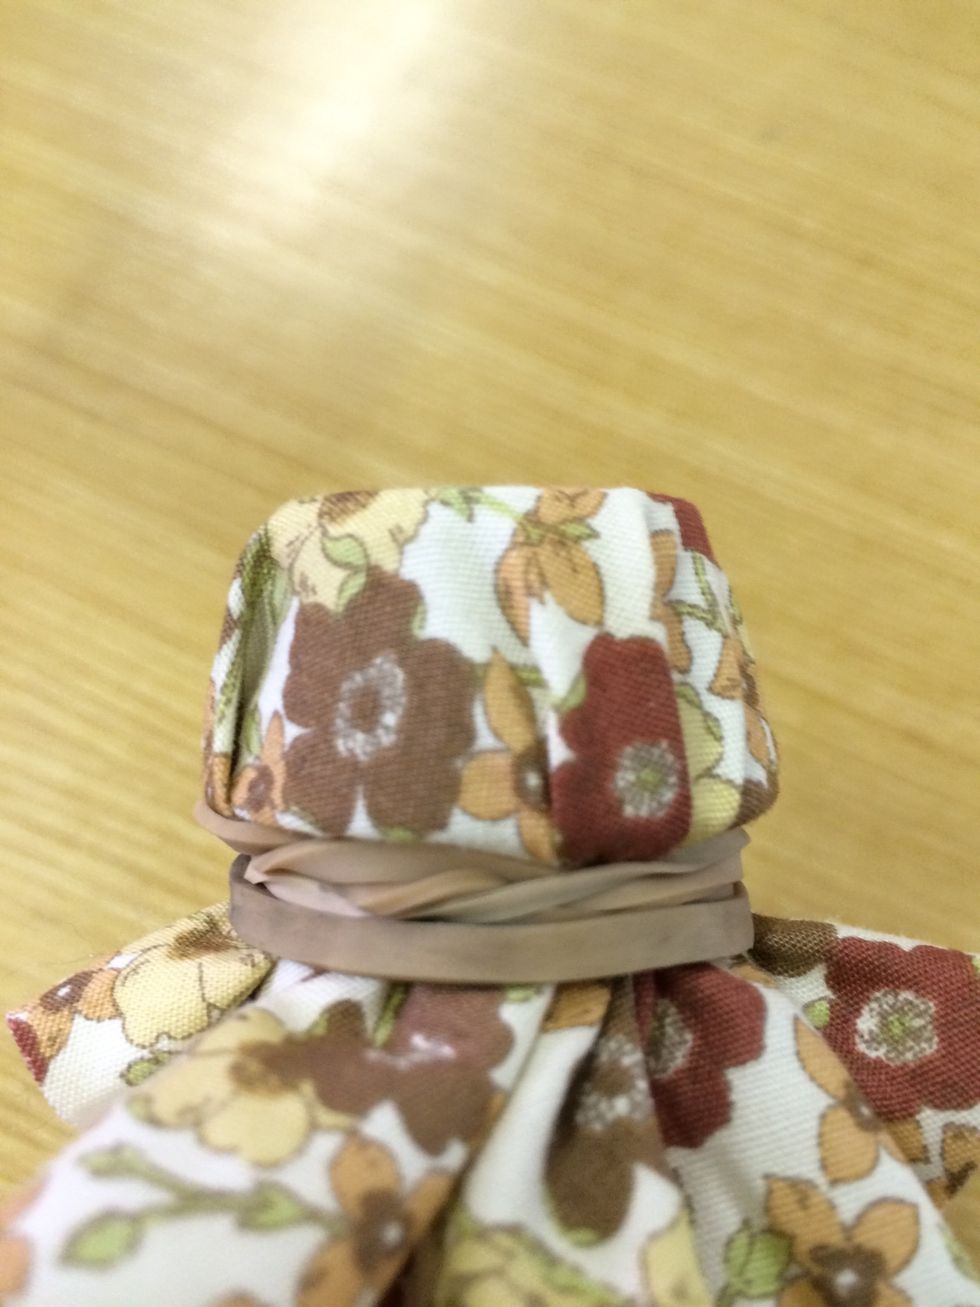
Put a rubber band over the end and make sure it's on tight
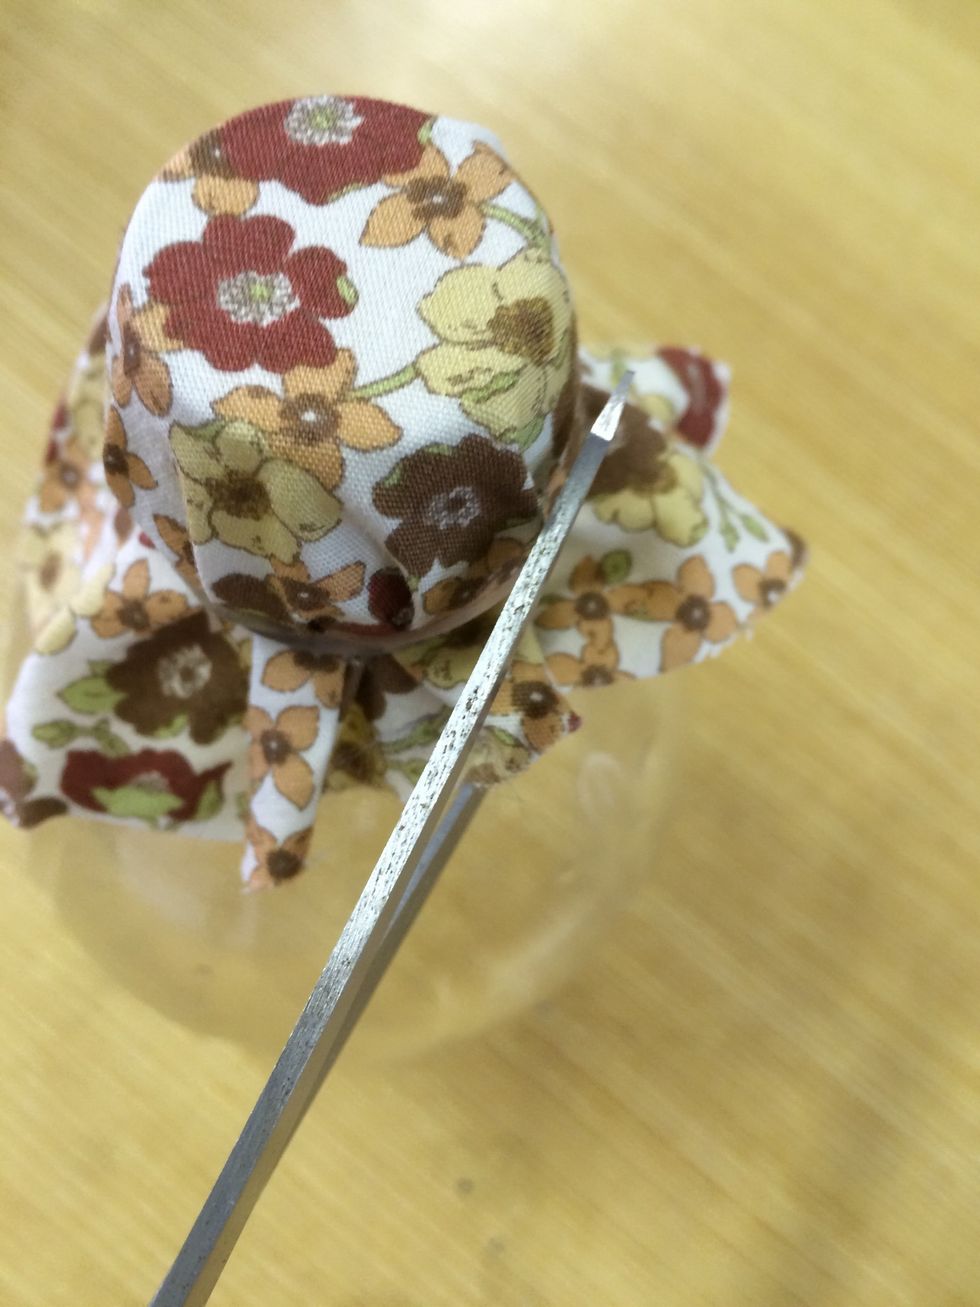
Trim off the excess material to make it look neat.
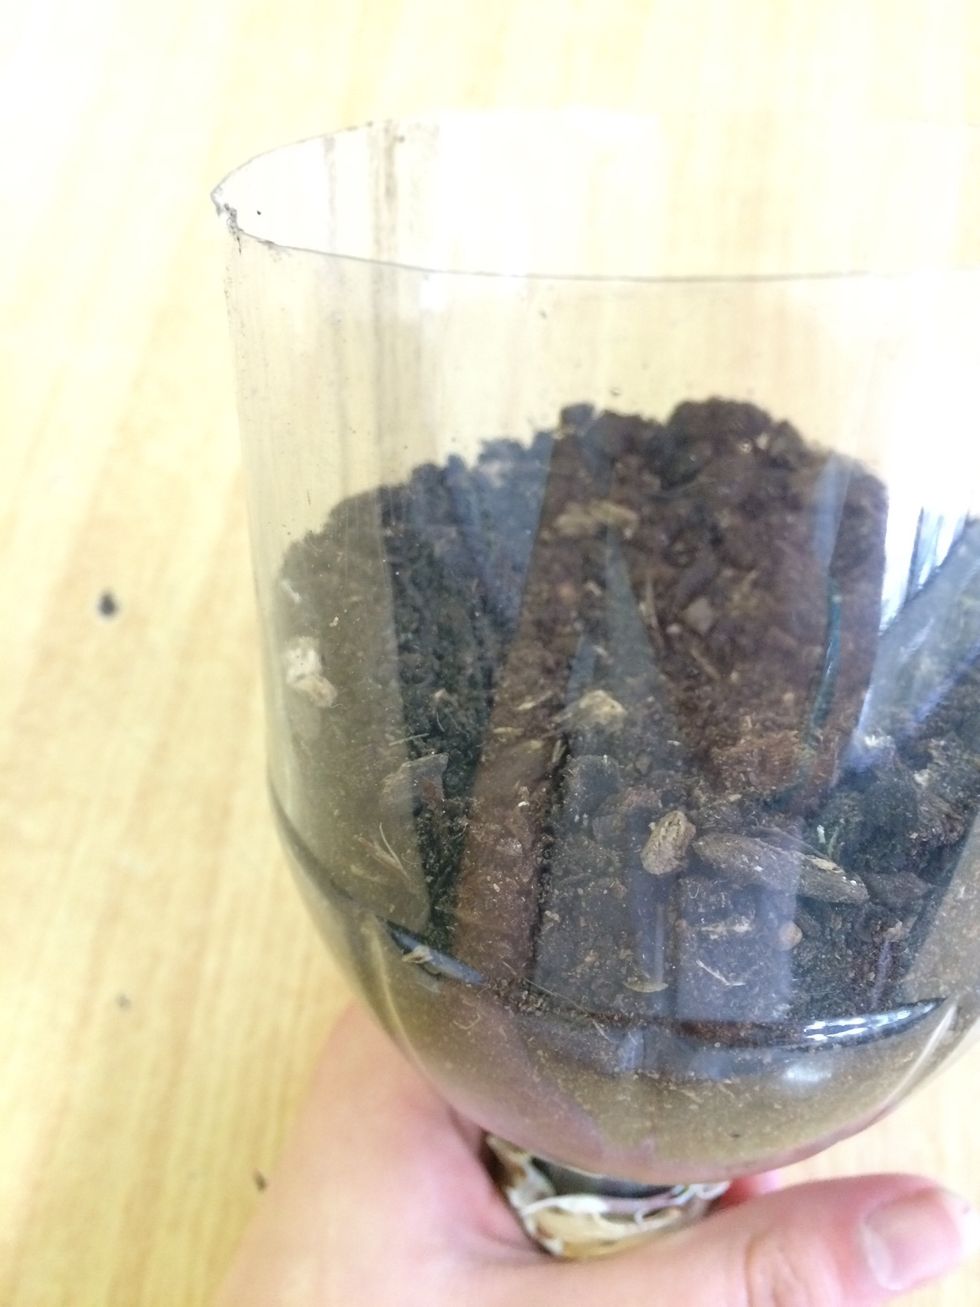
Fill the top with soil. Don't worry it won't fall through the material!
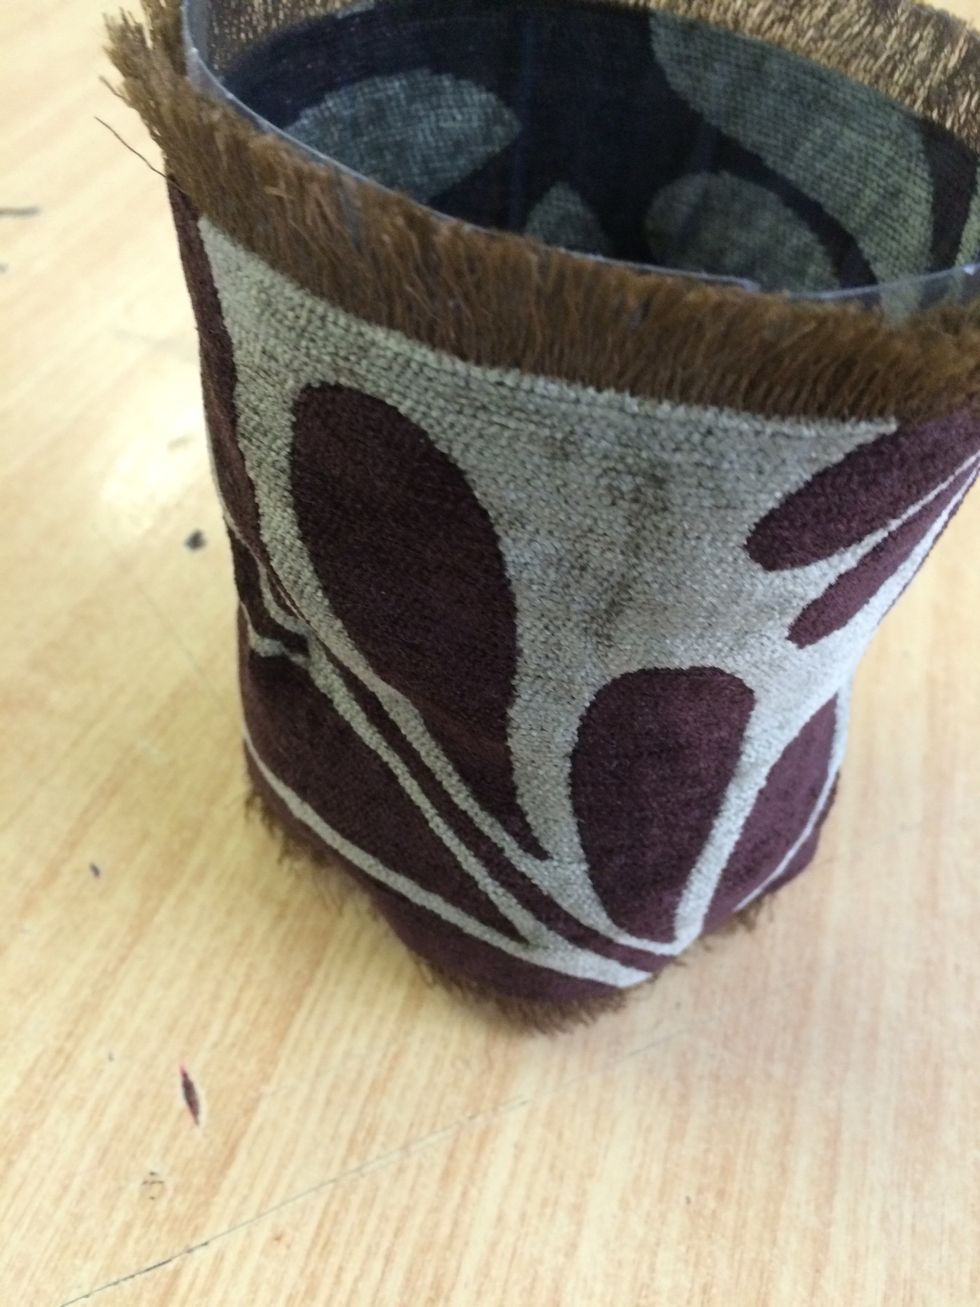
Hot-glue some material of your choice around the base to make it look nice. (This optional)
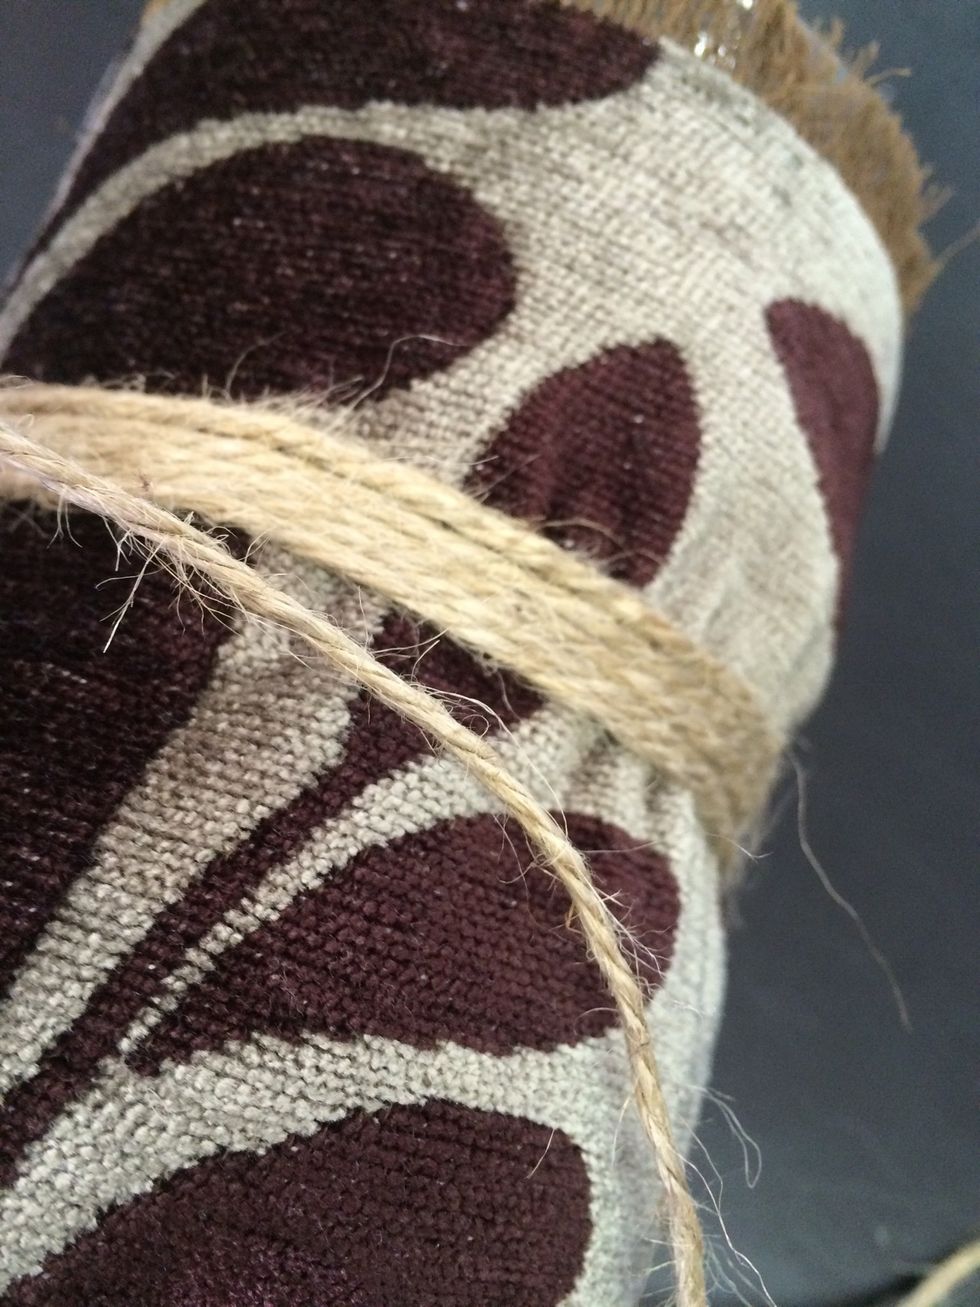
Using yarn/string, glue around the centre to create more depth. (Optional)
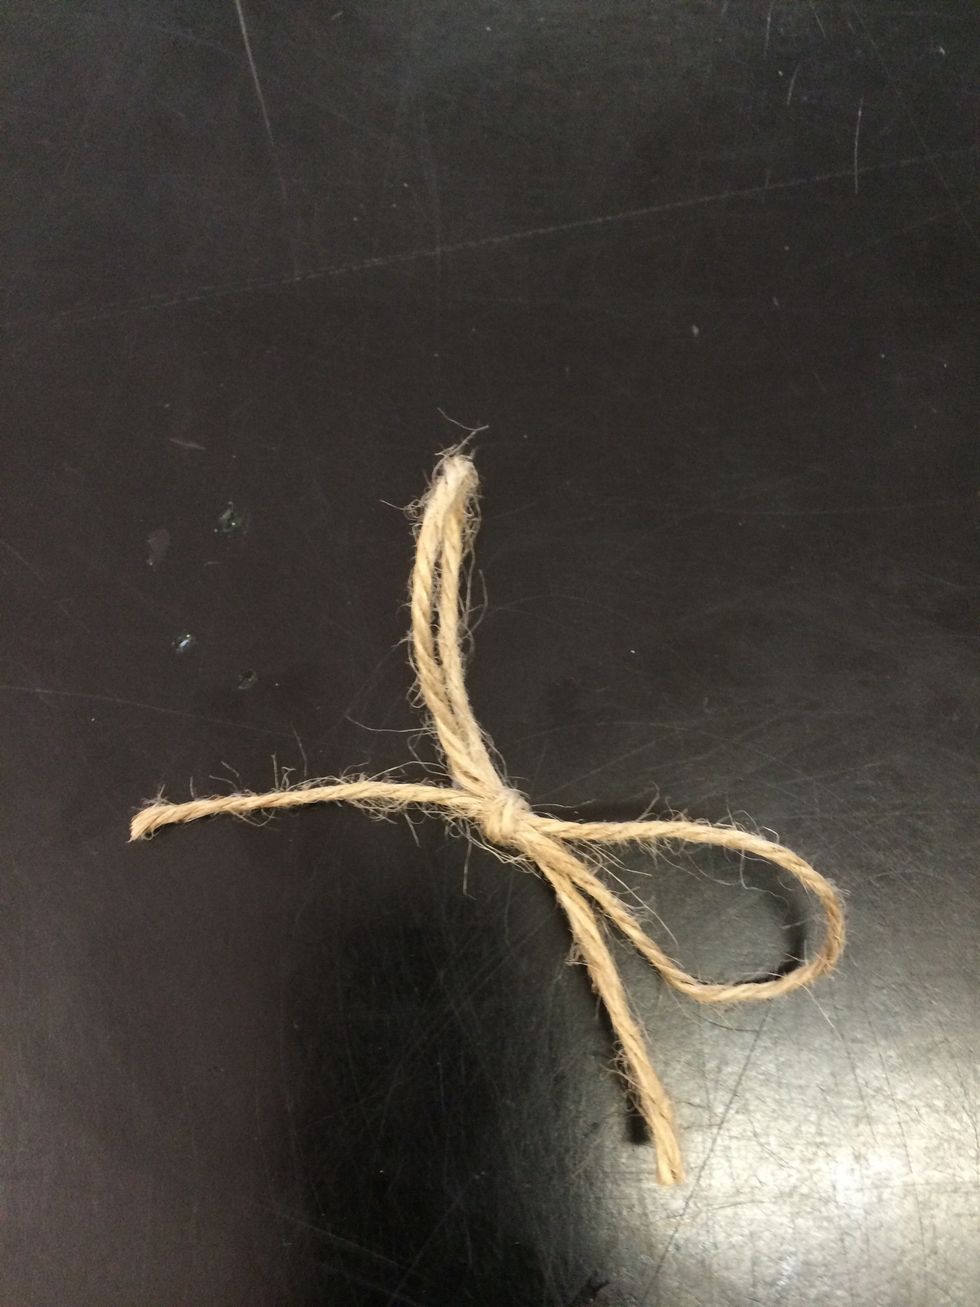
Create a bow from the yarn/string to cover where you glued the yarn/sting on.(optional)
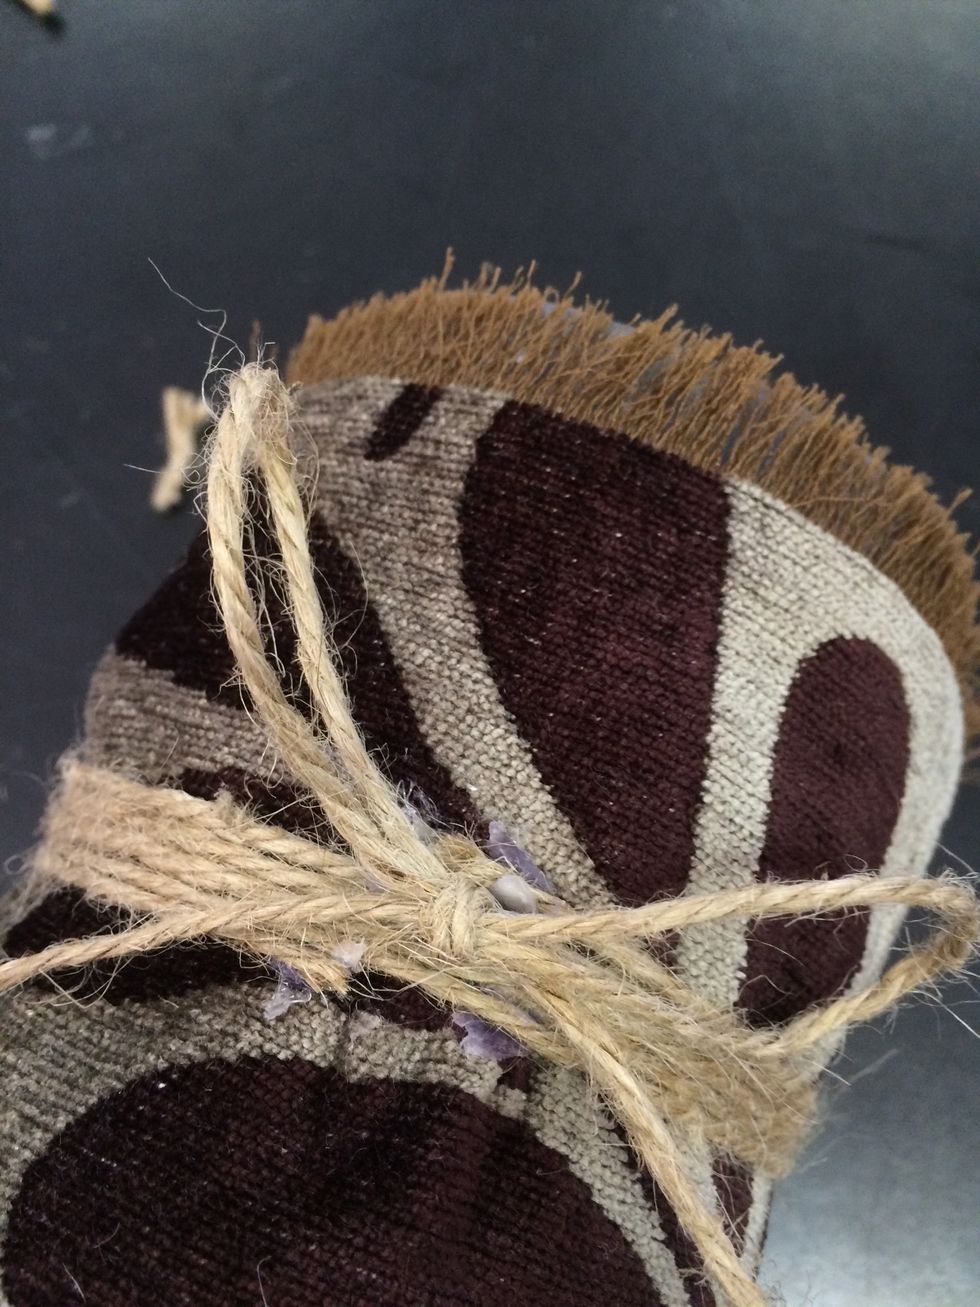
Glue the bow on.
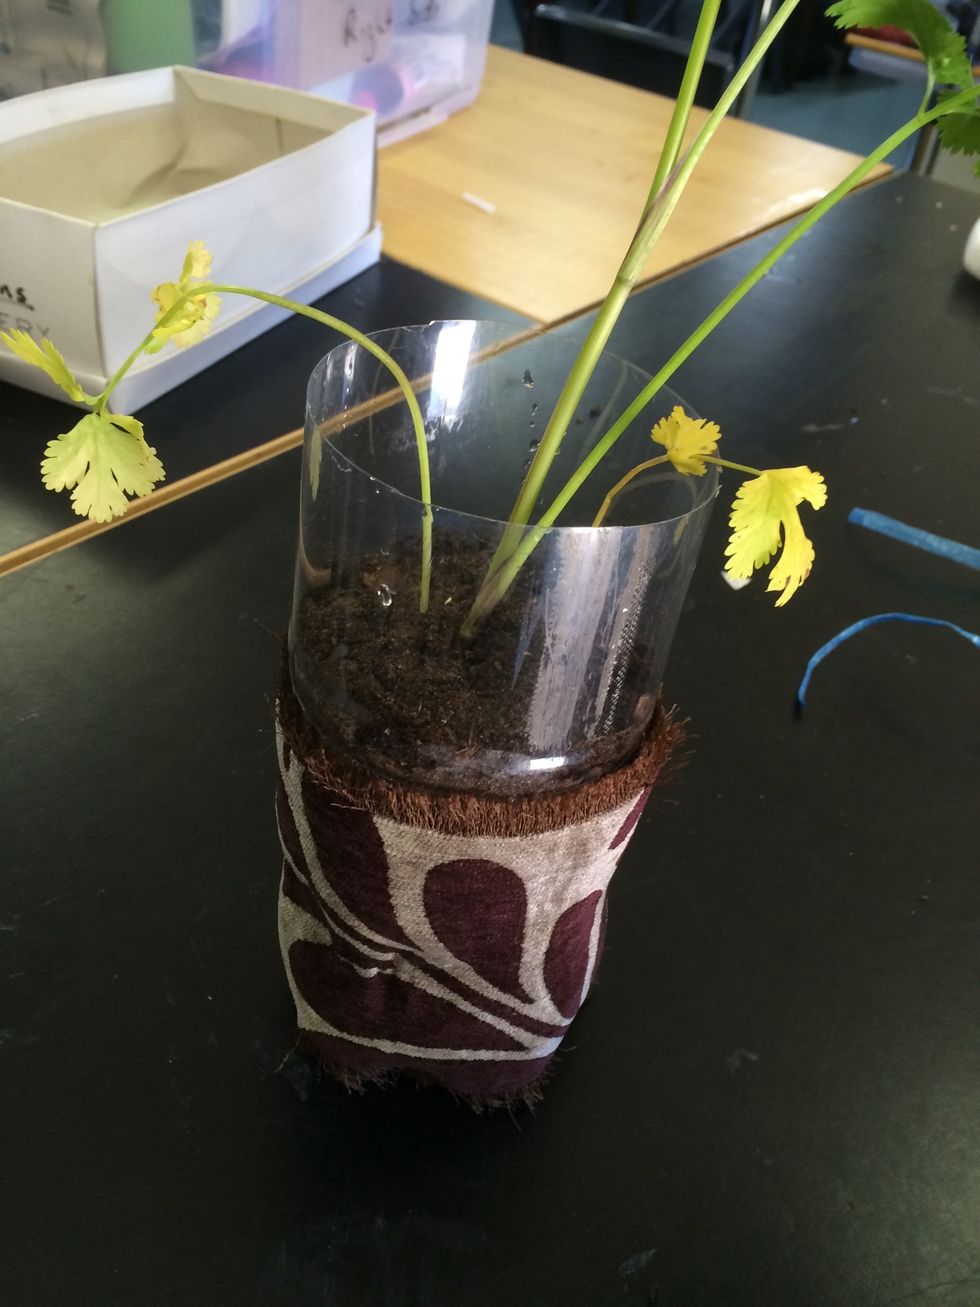
Add a plant for your plant pot!
Put water in the base of the bottle and sit the top in, larger opening to the top.

And Ta da! You have just made your own unique plant pot that waters the plant for you!