The Conversation (0)
Sign Up
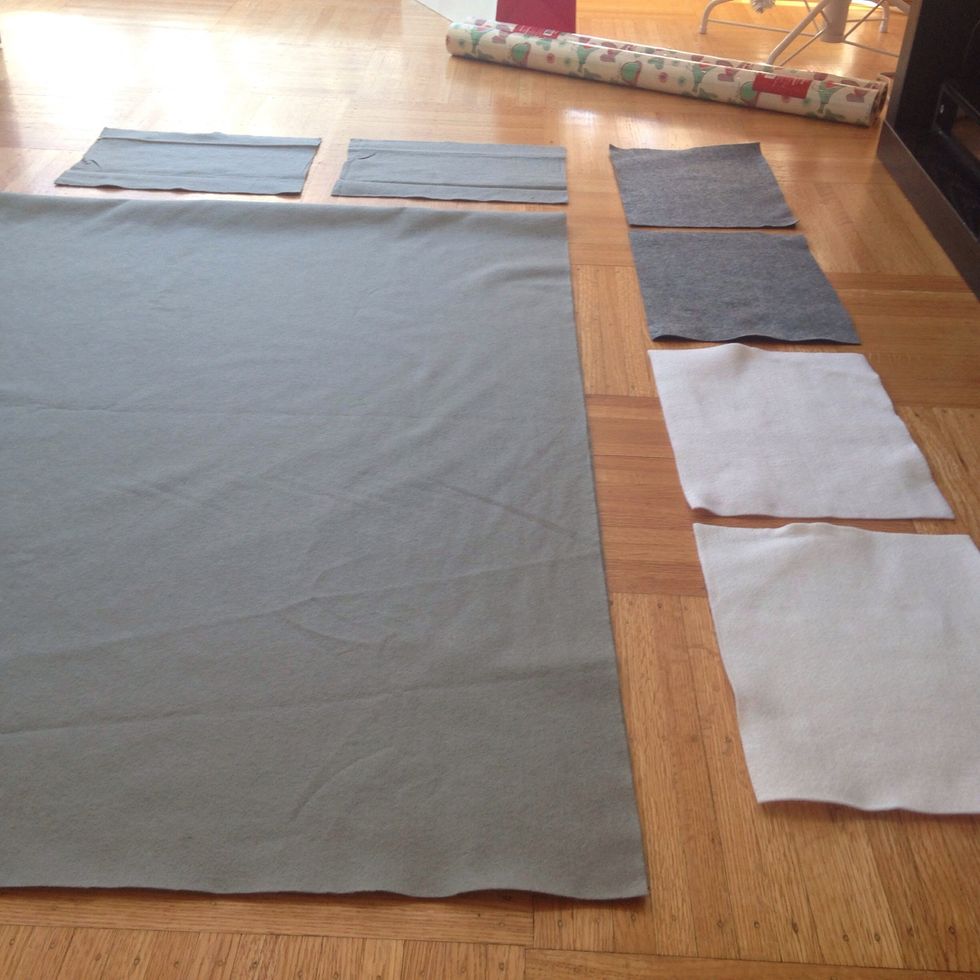
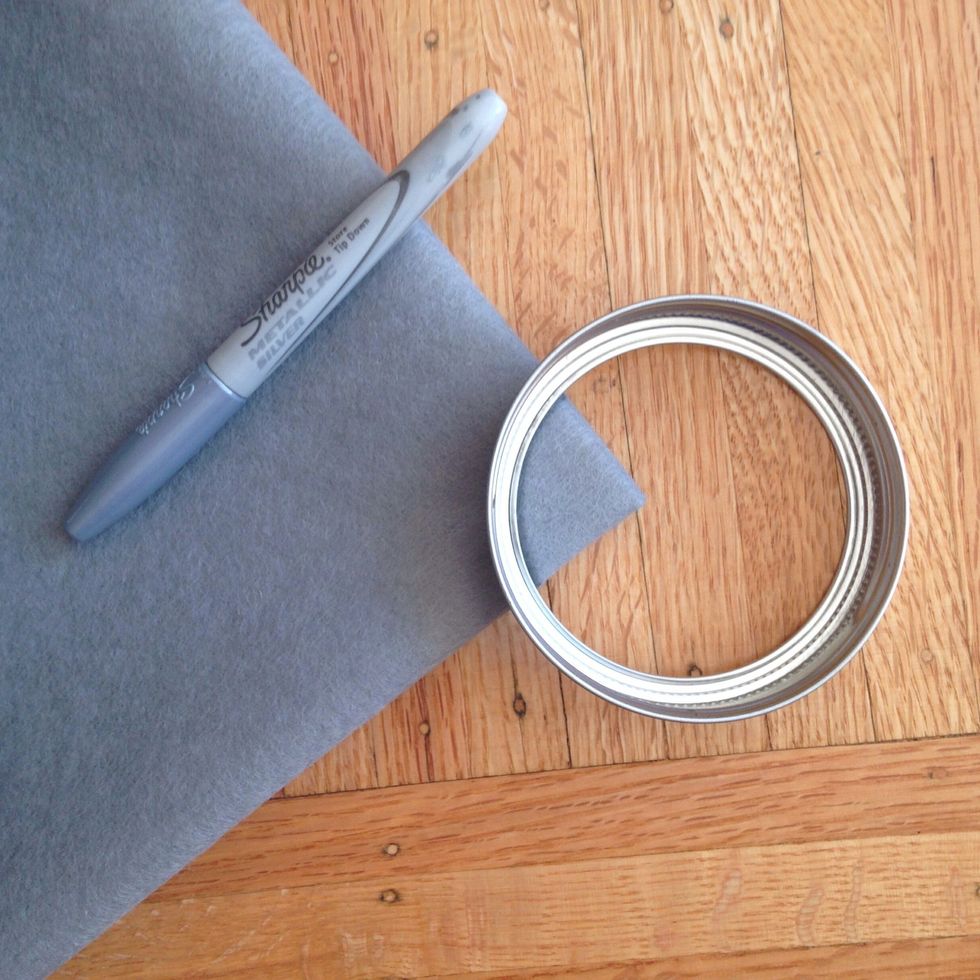
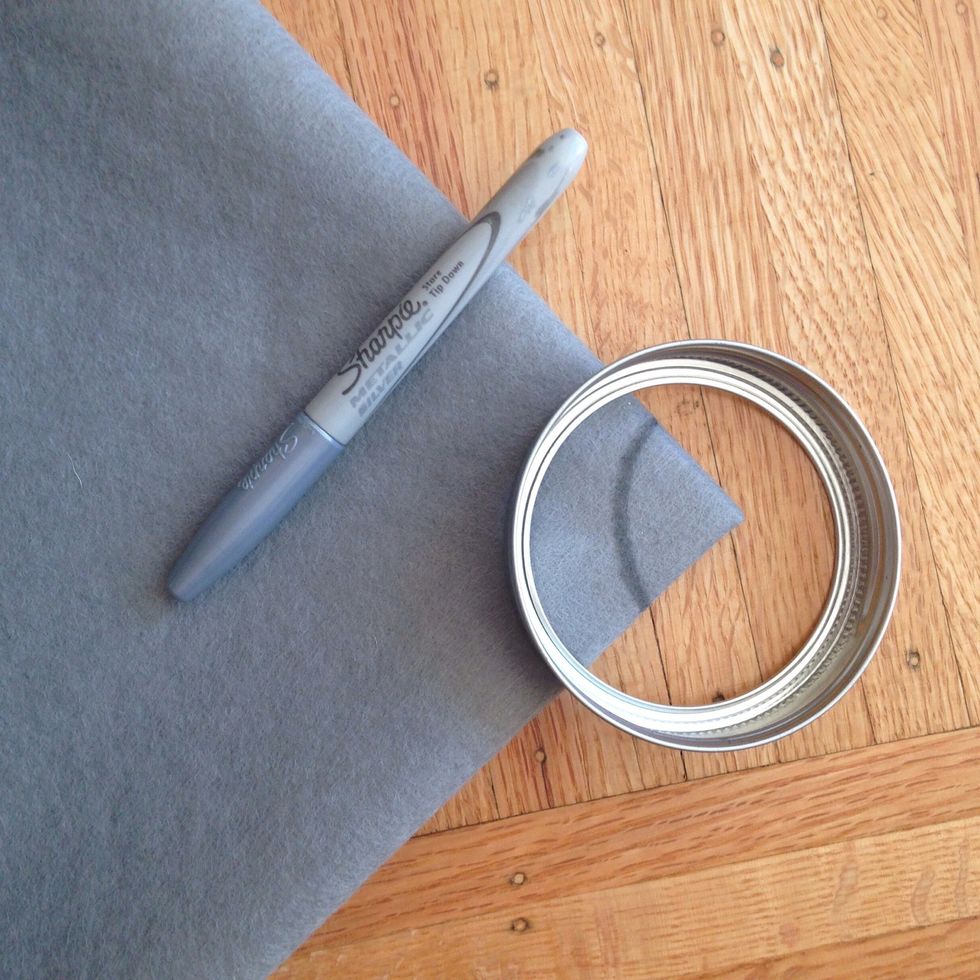
Assemble all the materials
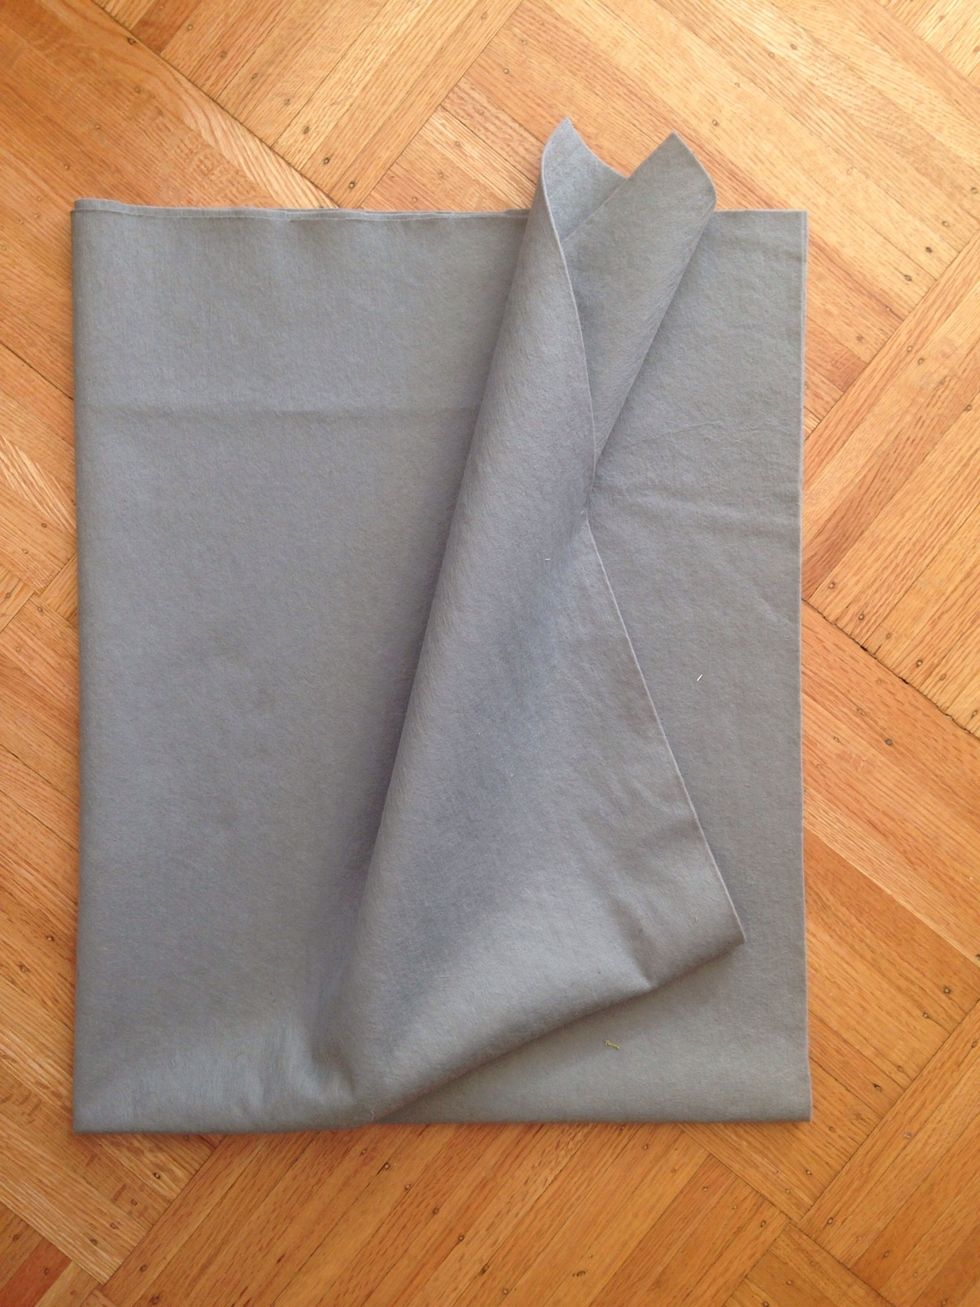
Fold into quarters and make sure the folded edges are facing you.
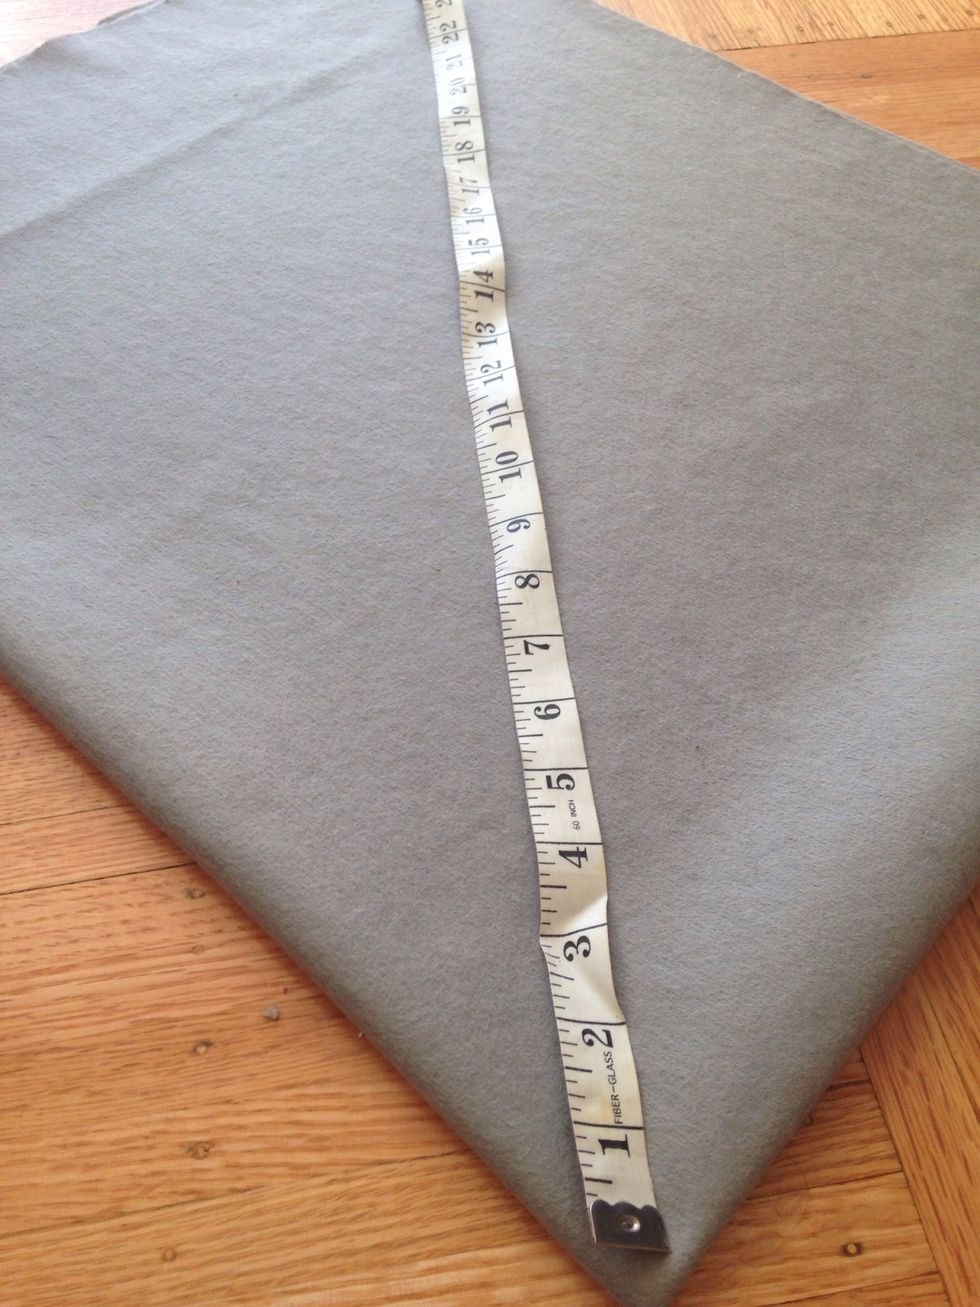
Measure the diameter you want. I suggest you make it was big as possible so take the measurement from corner to corner along the folded line. (Mine was 18")
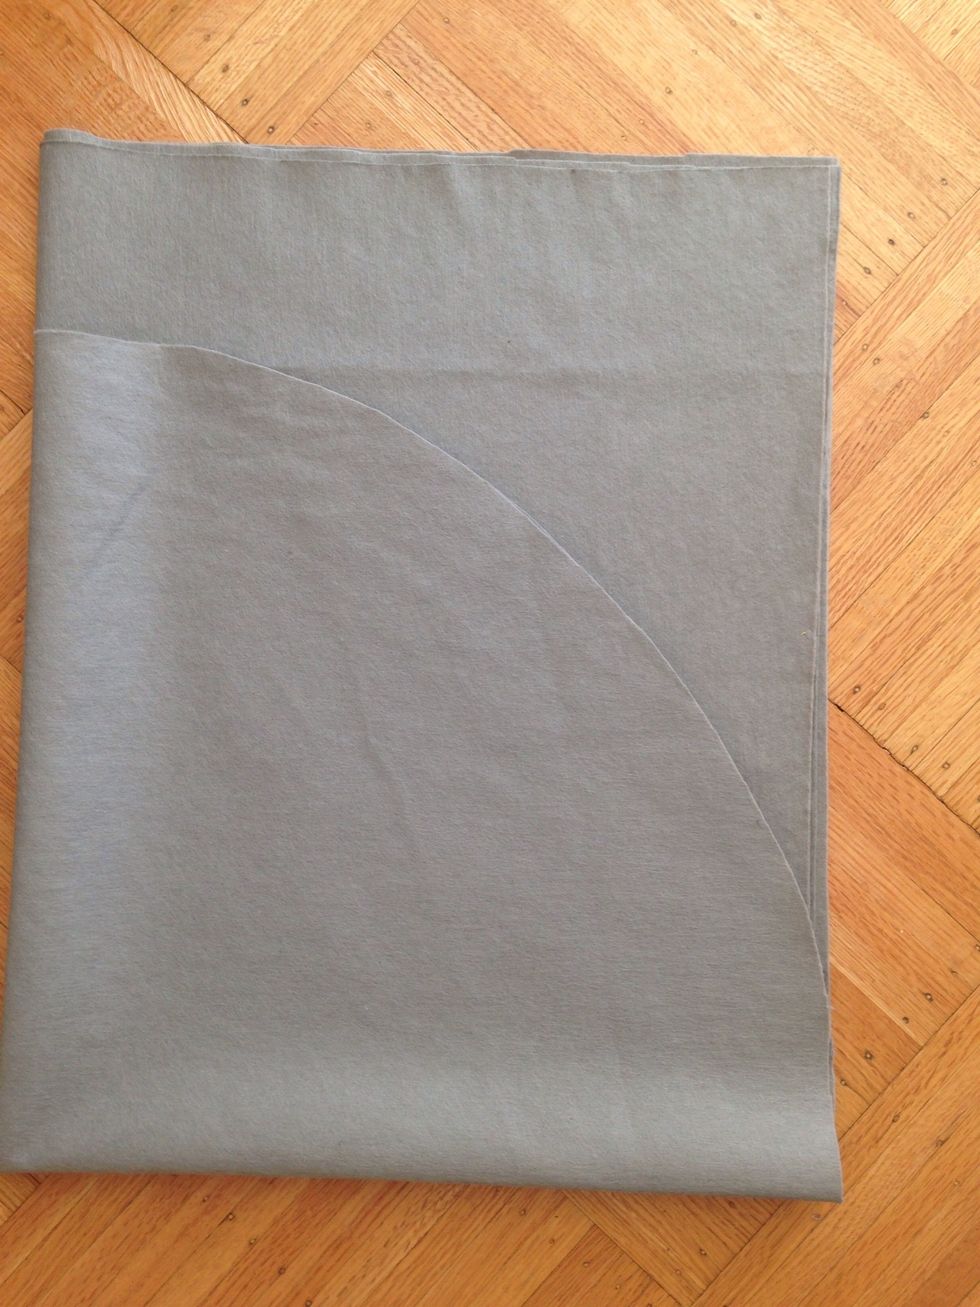
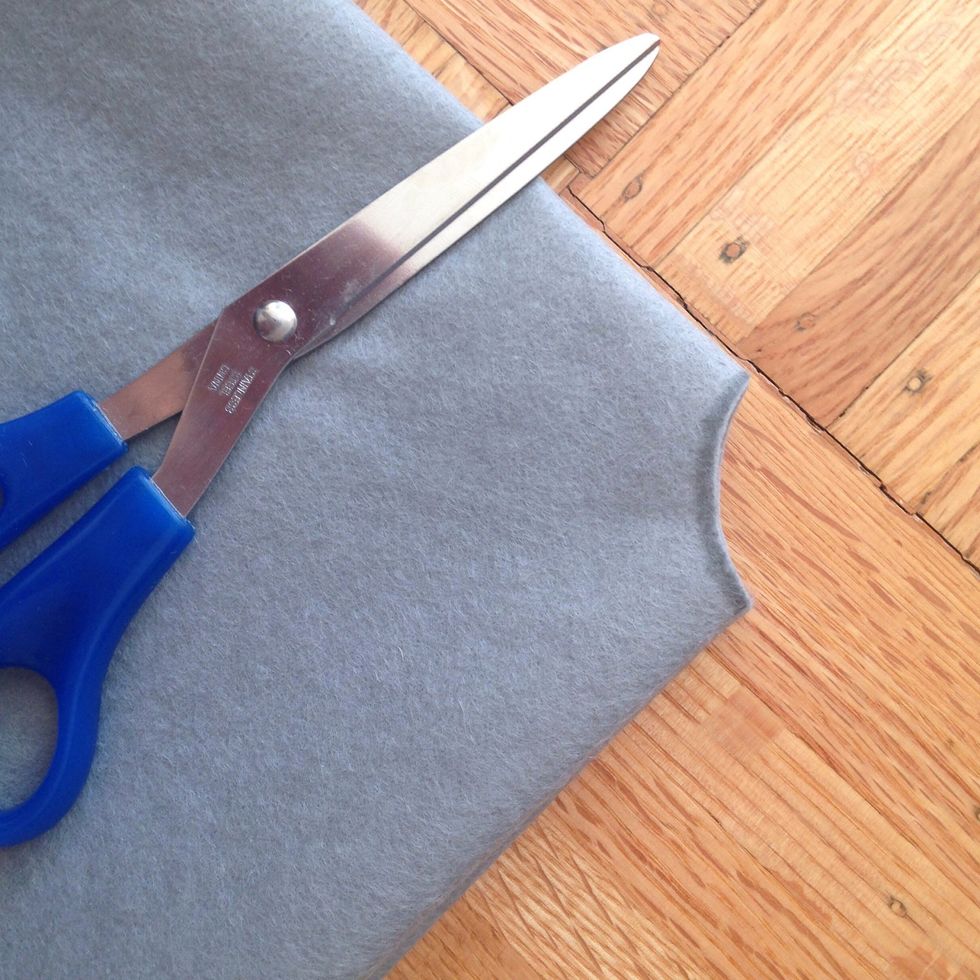
Make marks all along the 18" point creating a quarter circle and then pin it together. It's an important step to get a clean cut along your line. Now cut it along that line.
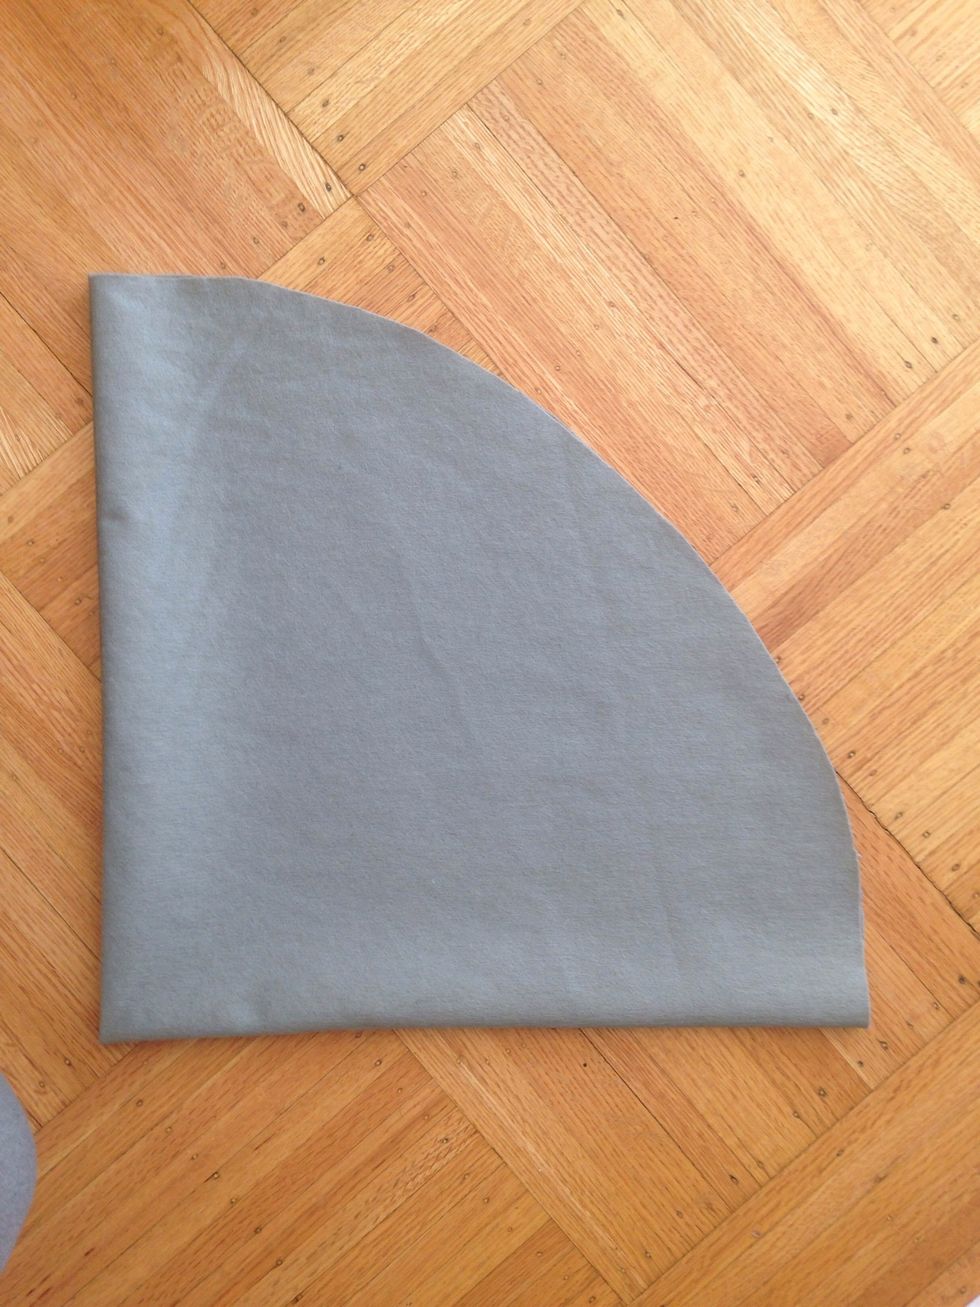
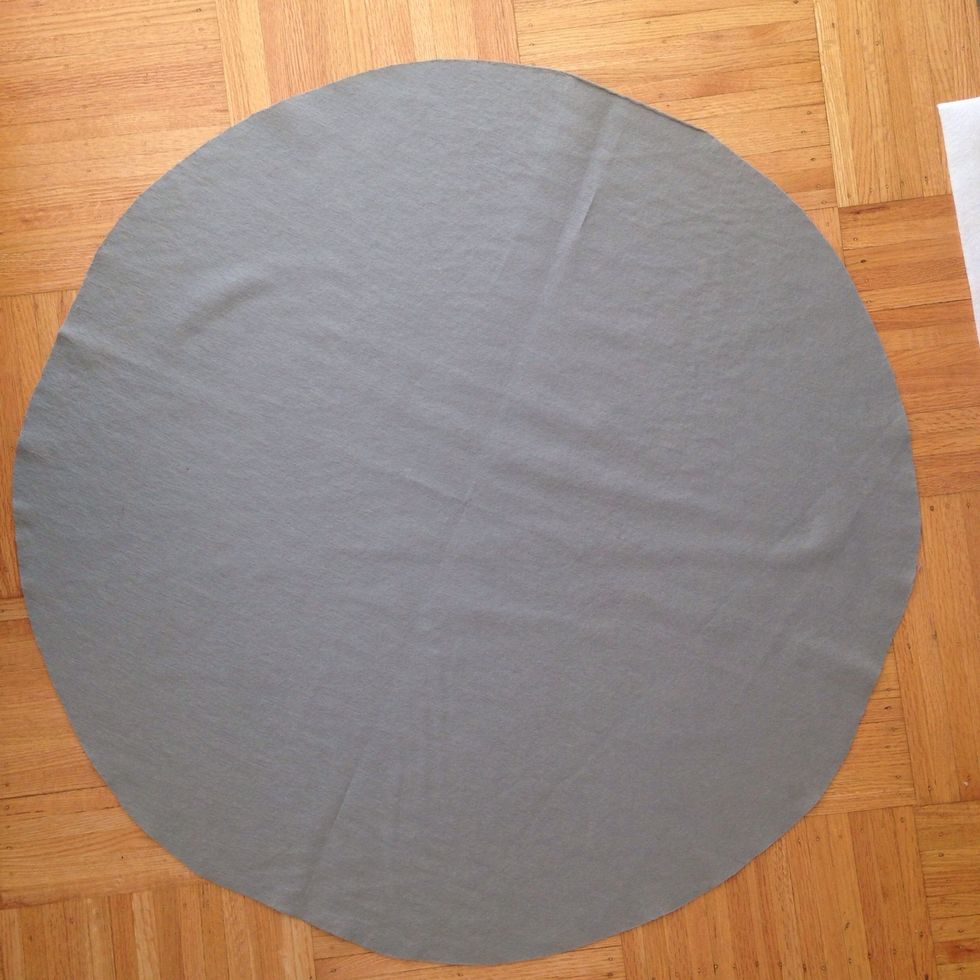
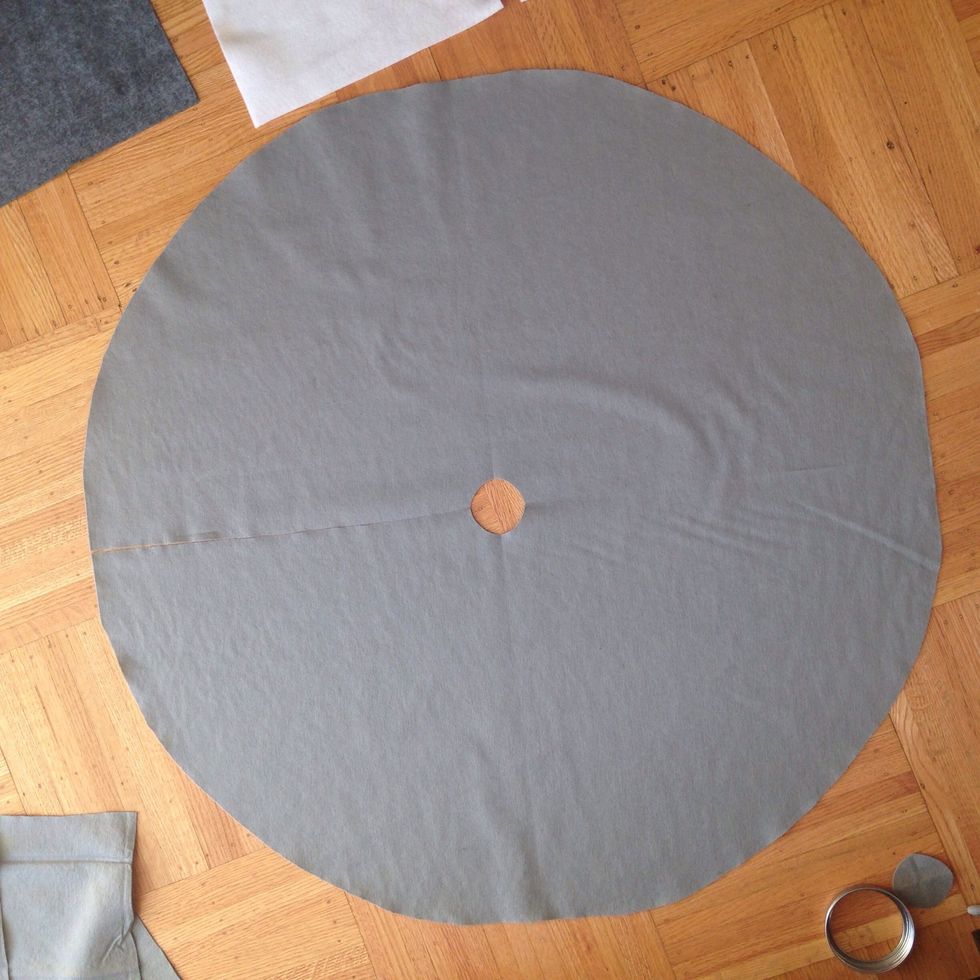
Ta Da!
On the main folded corner create a tiny circle to cut out which will be around the trunk of the tree.
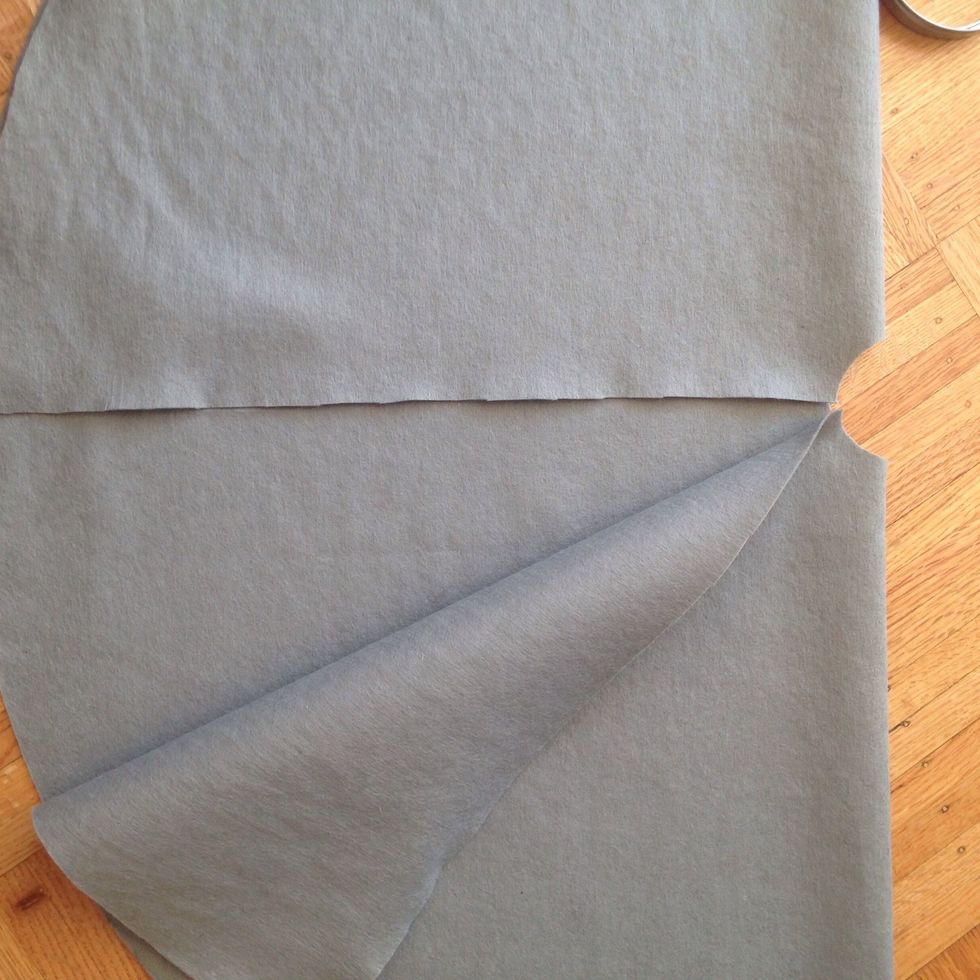
Cut in from the edge to the center circle. This will make it easier to assemble around the tree.
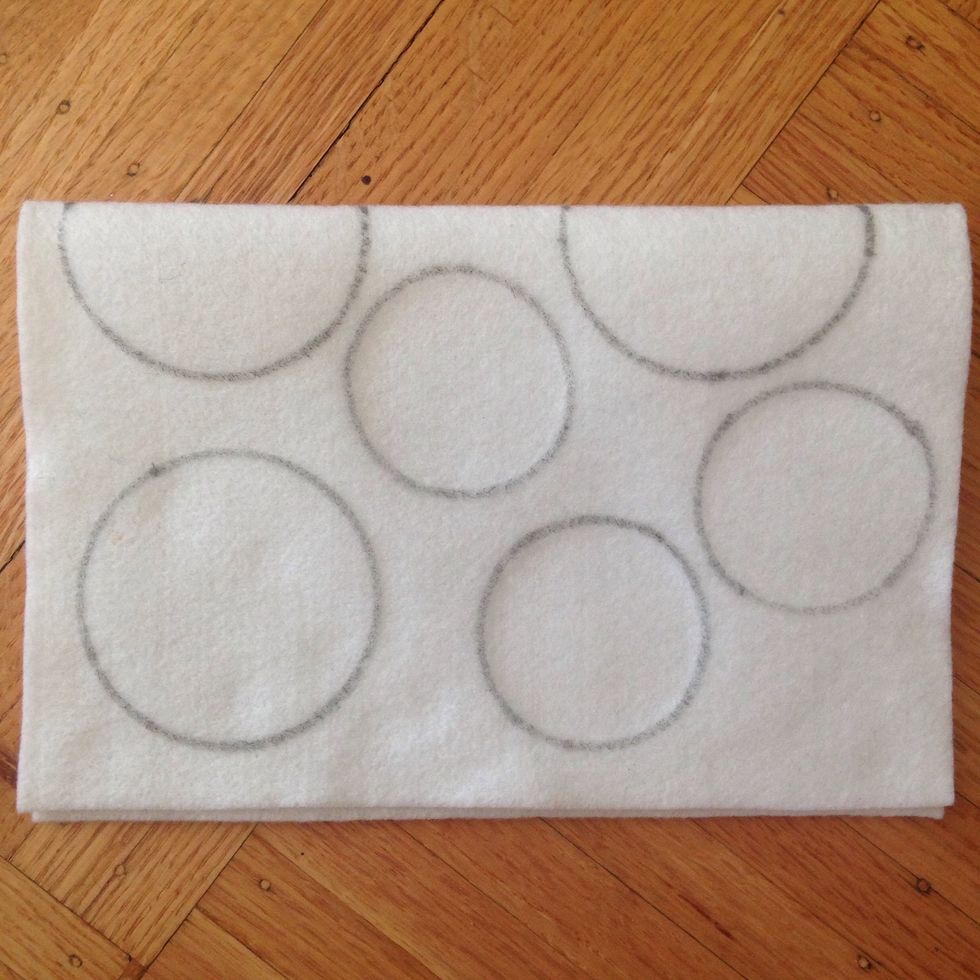
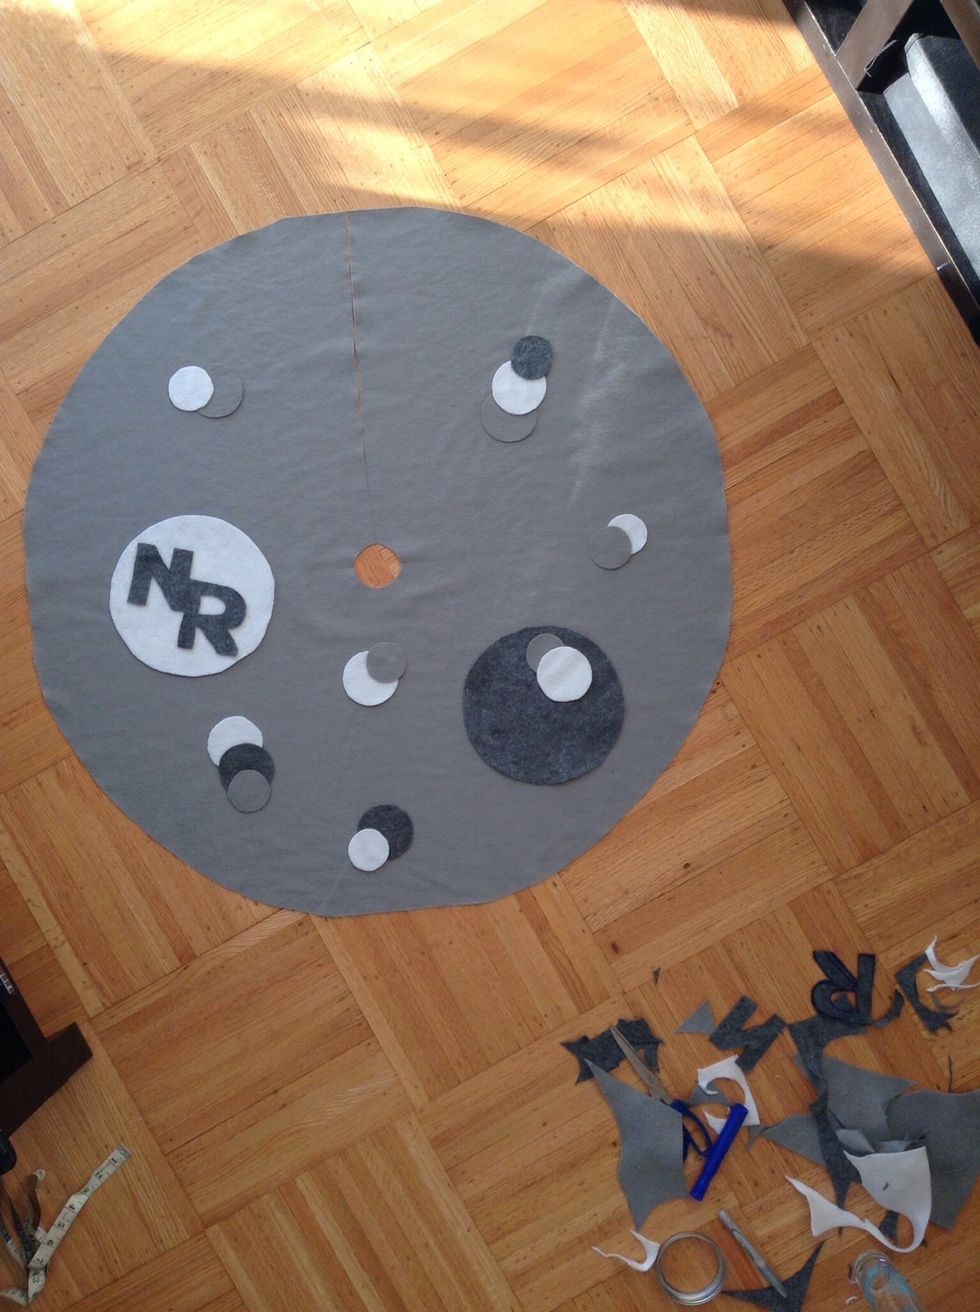
Trace out a selection of circles (or other shapes you wish to make) for decoration on the main felt canvas.
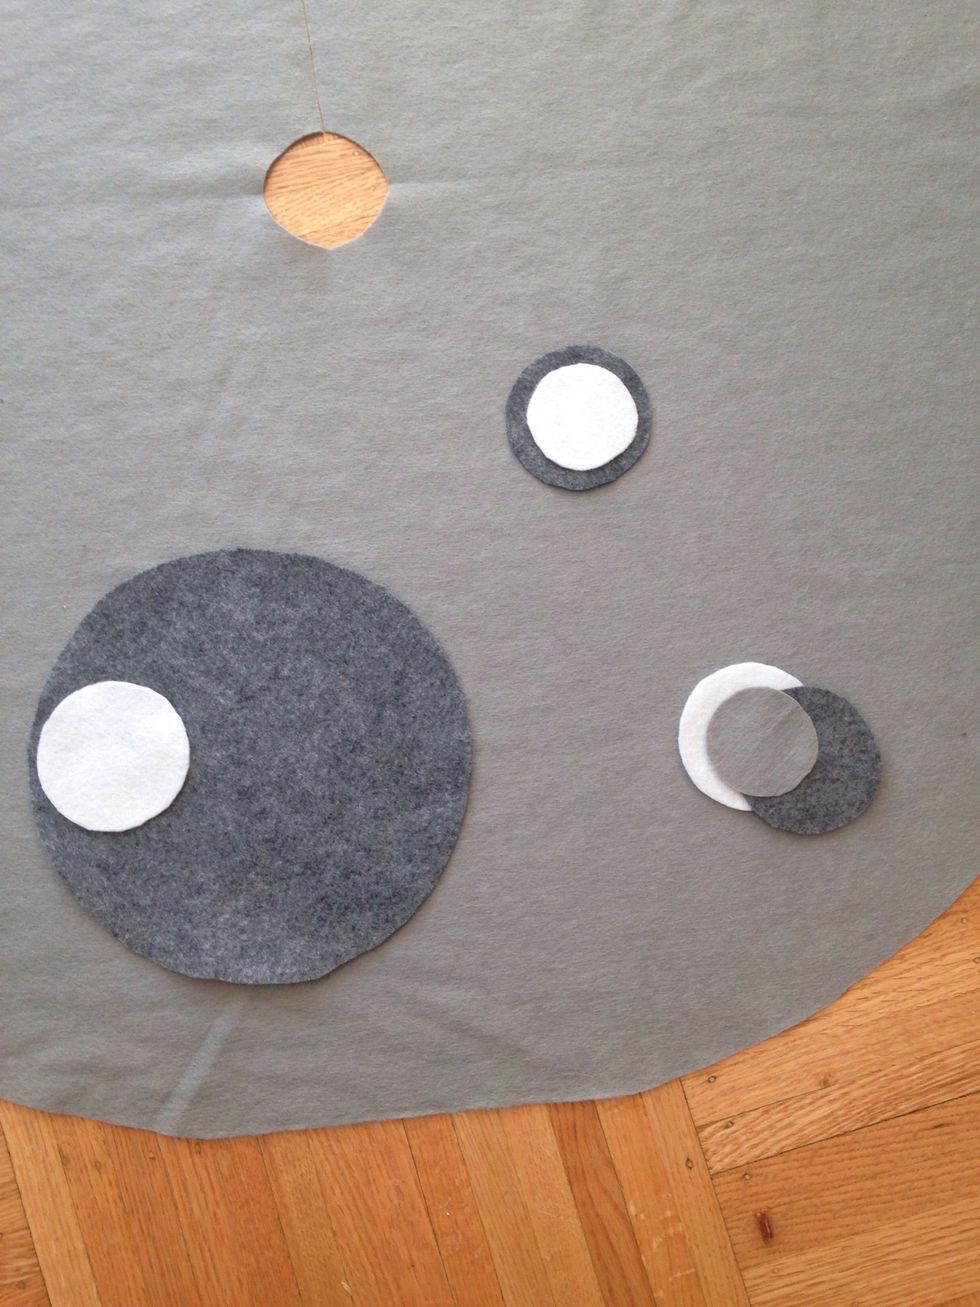
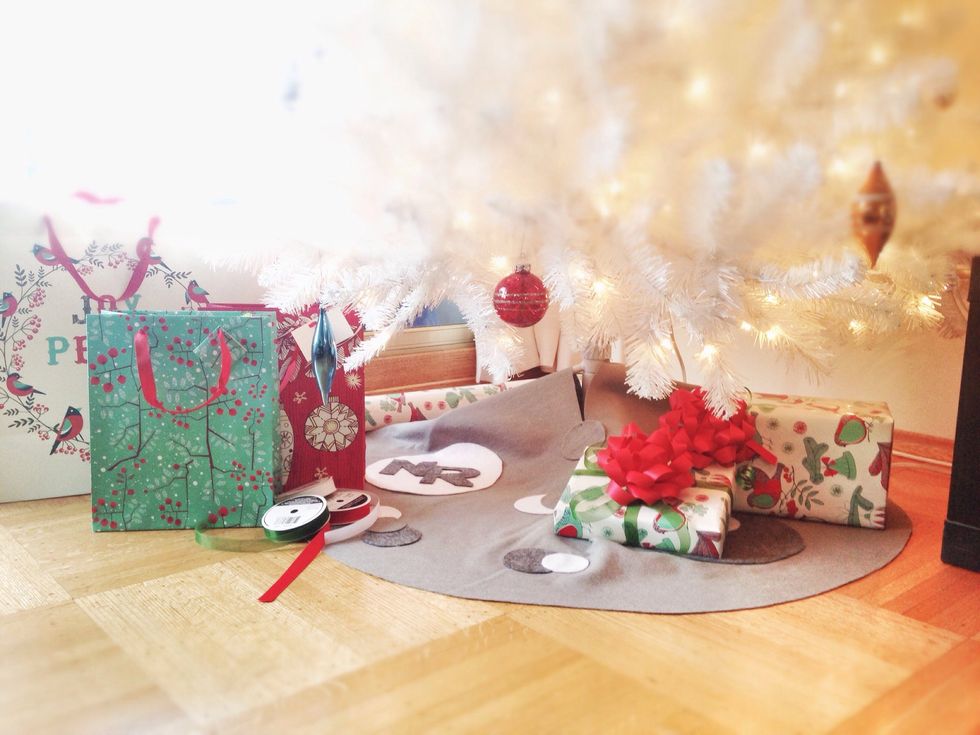
Hot glue everything down and voila! You have a tree skirt!