The Conversation (0)
Sign Up
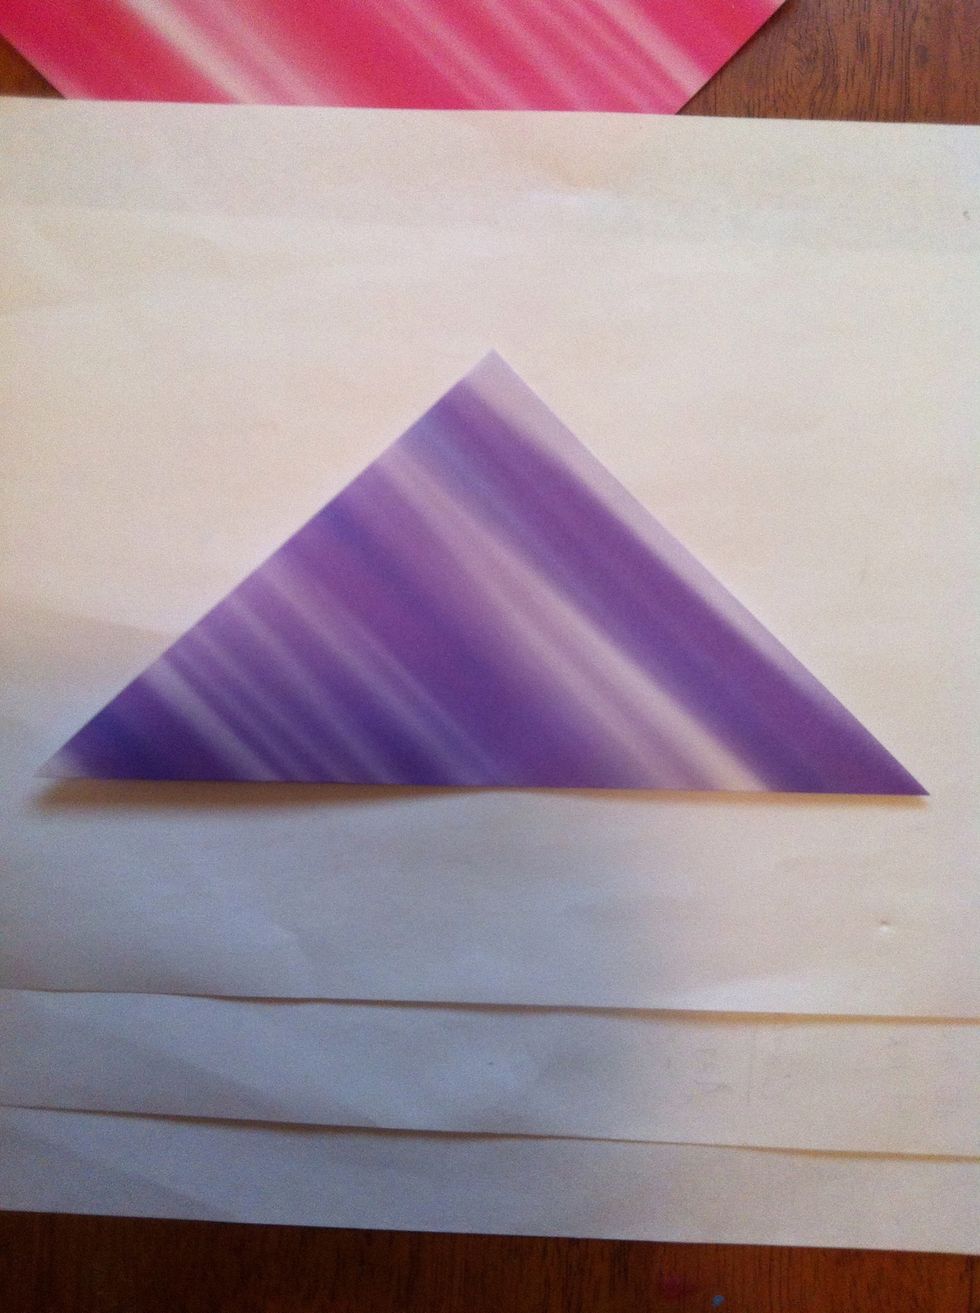
Fold square paper in half diagonally. My paper is 5-6 inches. I haven't tried smaller paper, but I would assume that with this design bigger is better.
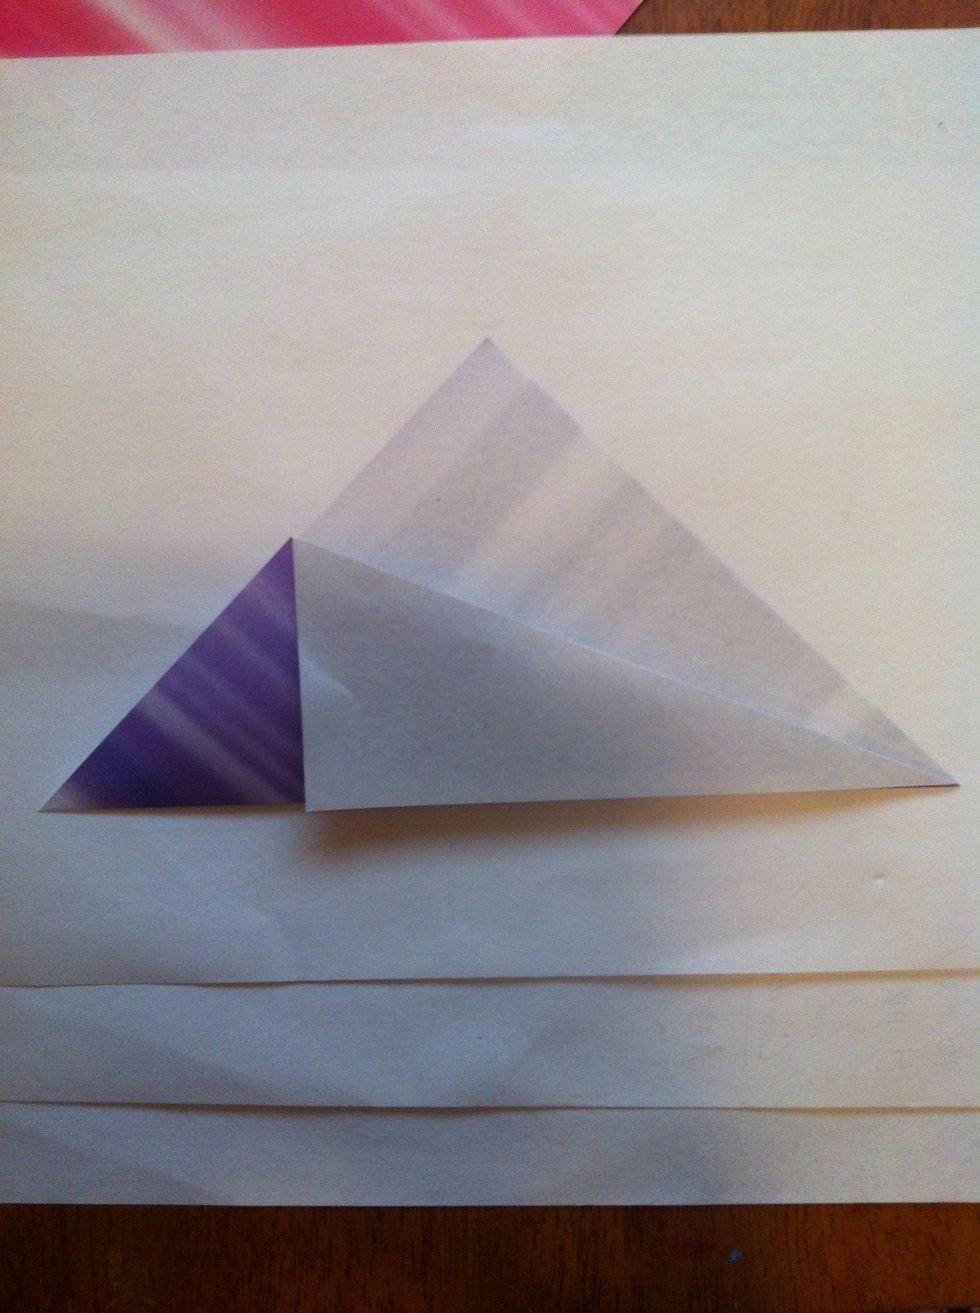
Fold top point down along bottom edge; top layer only, though it doesn't matter if you do both (that might be easier for younger kids actually).

Fold right point over to edge (where you just made that crease in previous step).
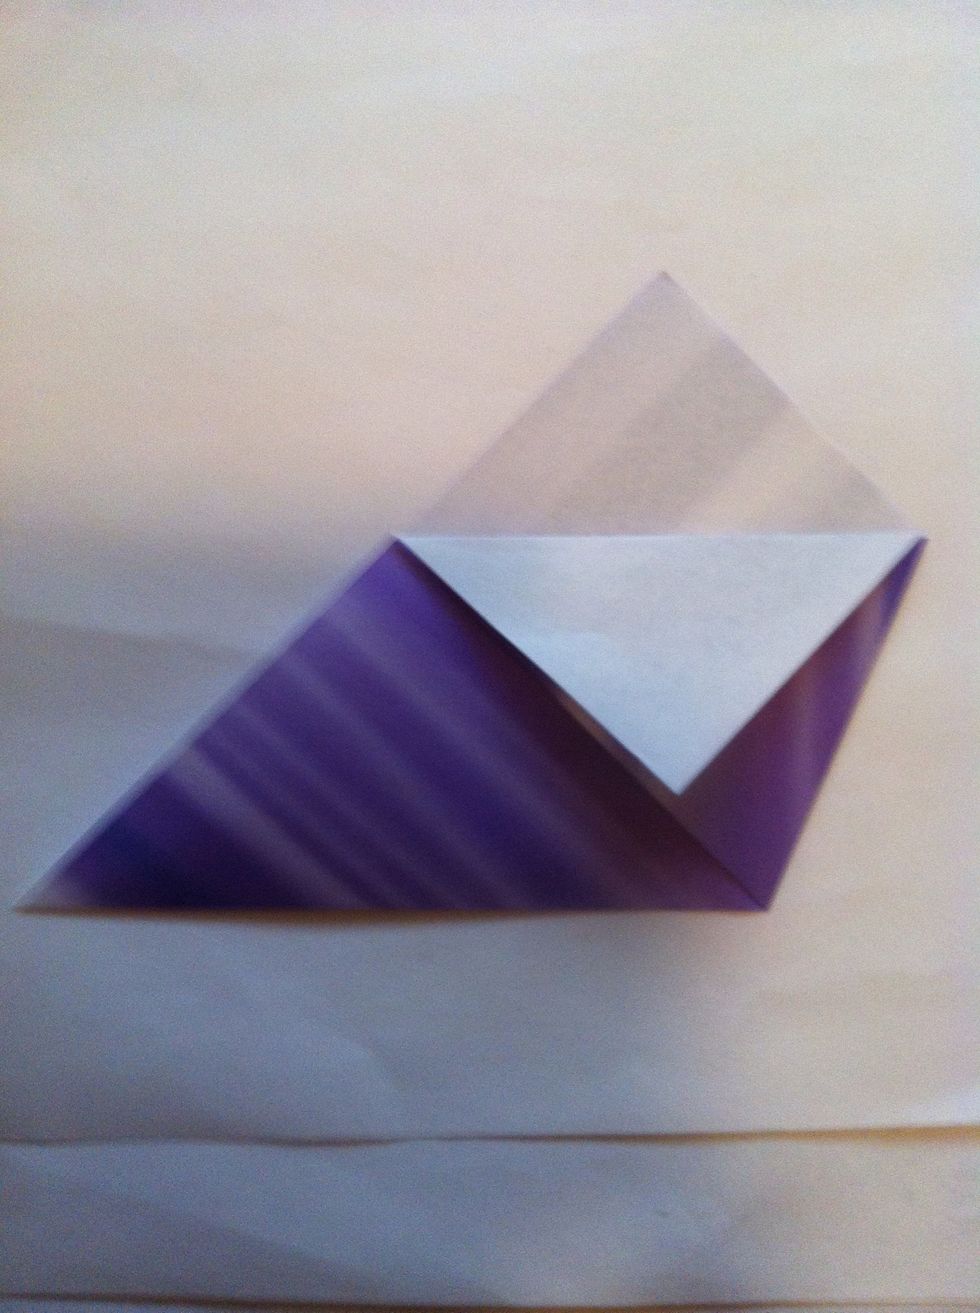
Fold top layer of point down as shown.
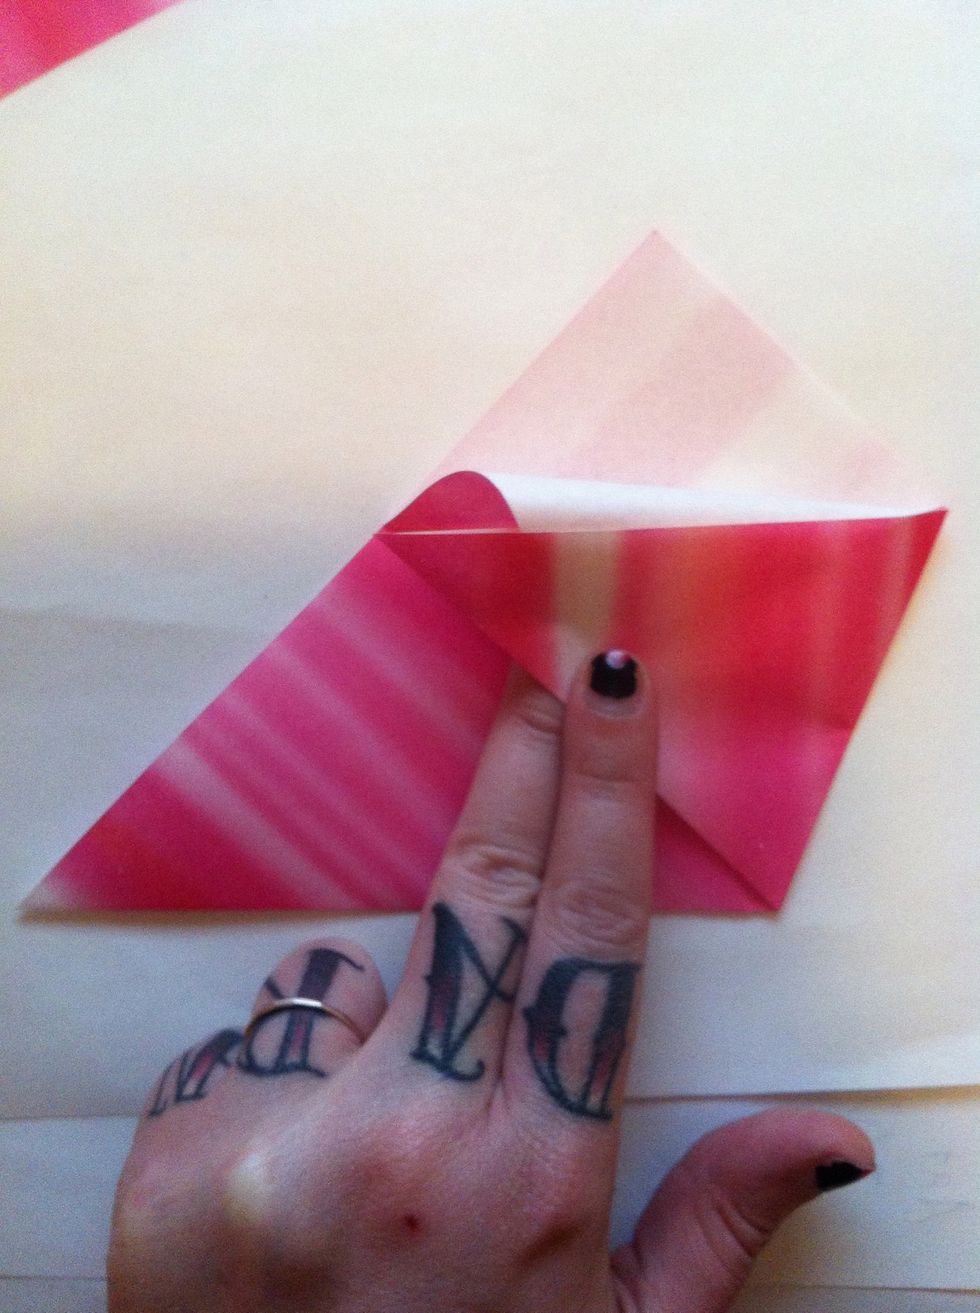
(I had no idea I switched color of paper on you; sorry.) Tuck that white triangle into pocket.

Now you'll need to make a total of 6 or 7 all the same way. 6 gives you a traditional top shape. It's an even number, so you can make a pattern. 7 is more of a disc & I like the way it spins better.
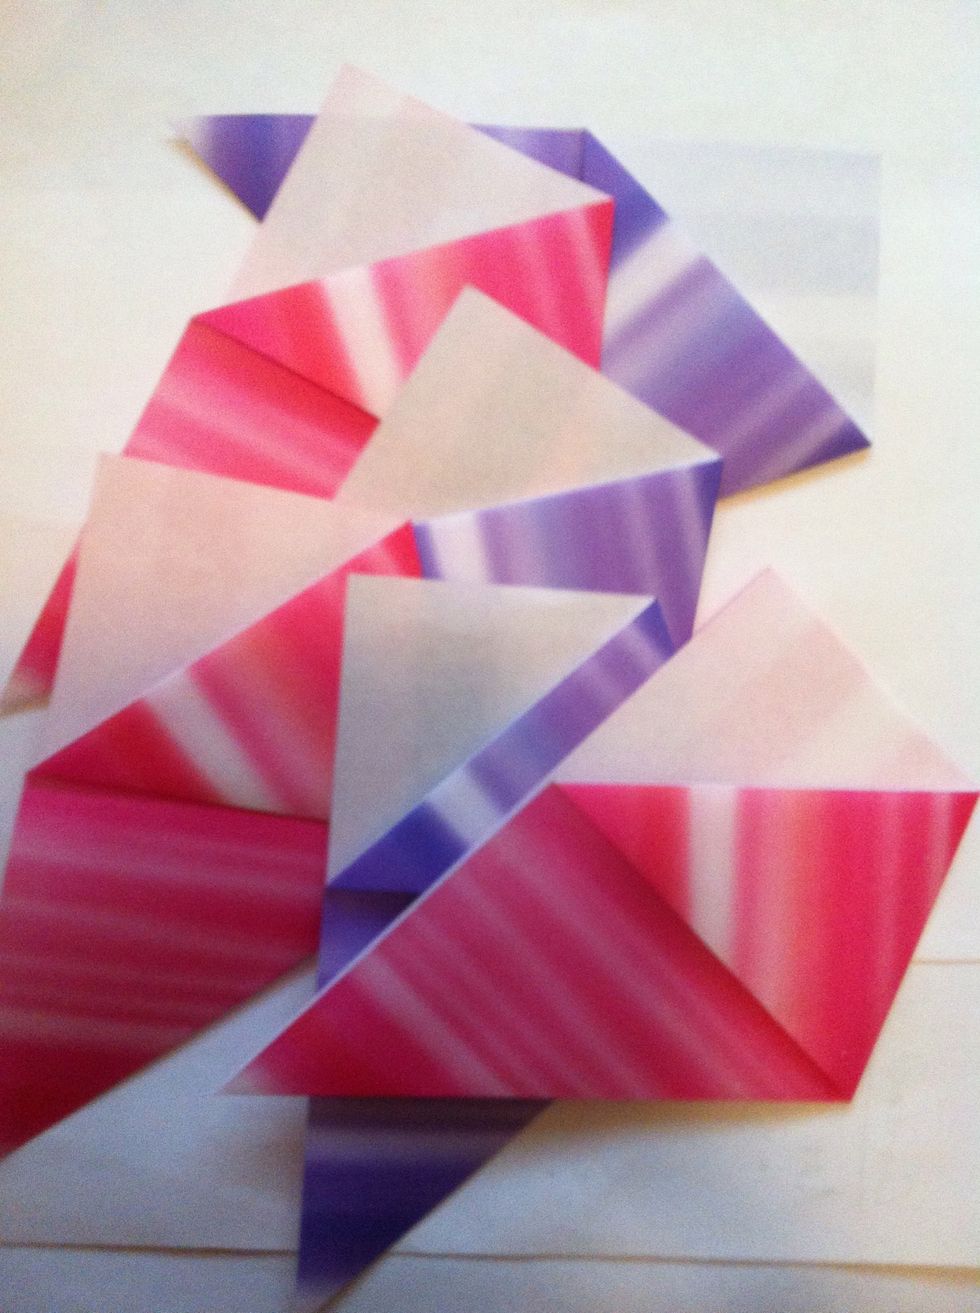
I'm making 6, so I could have a color pattern. I will show you one with 7 as well. 7 is good for all one color or double sided paper that's all the same. I think 7 is better spinning for little hands.
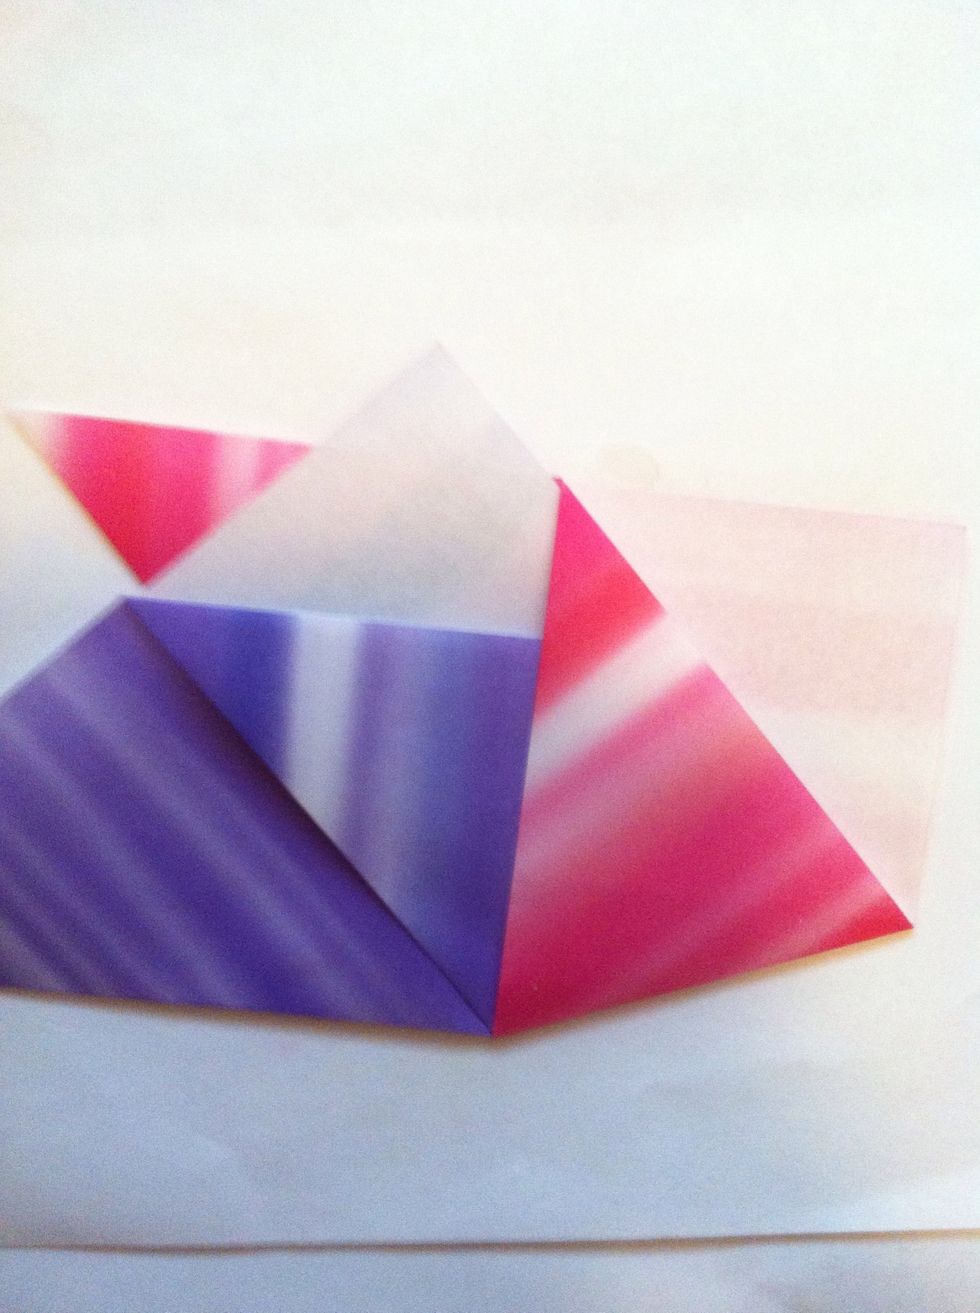
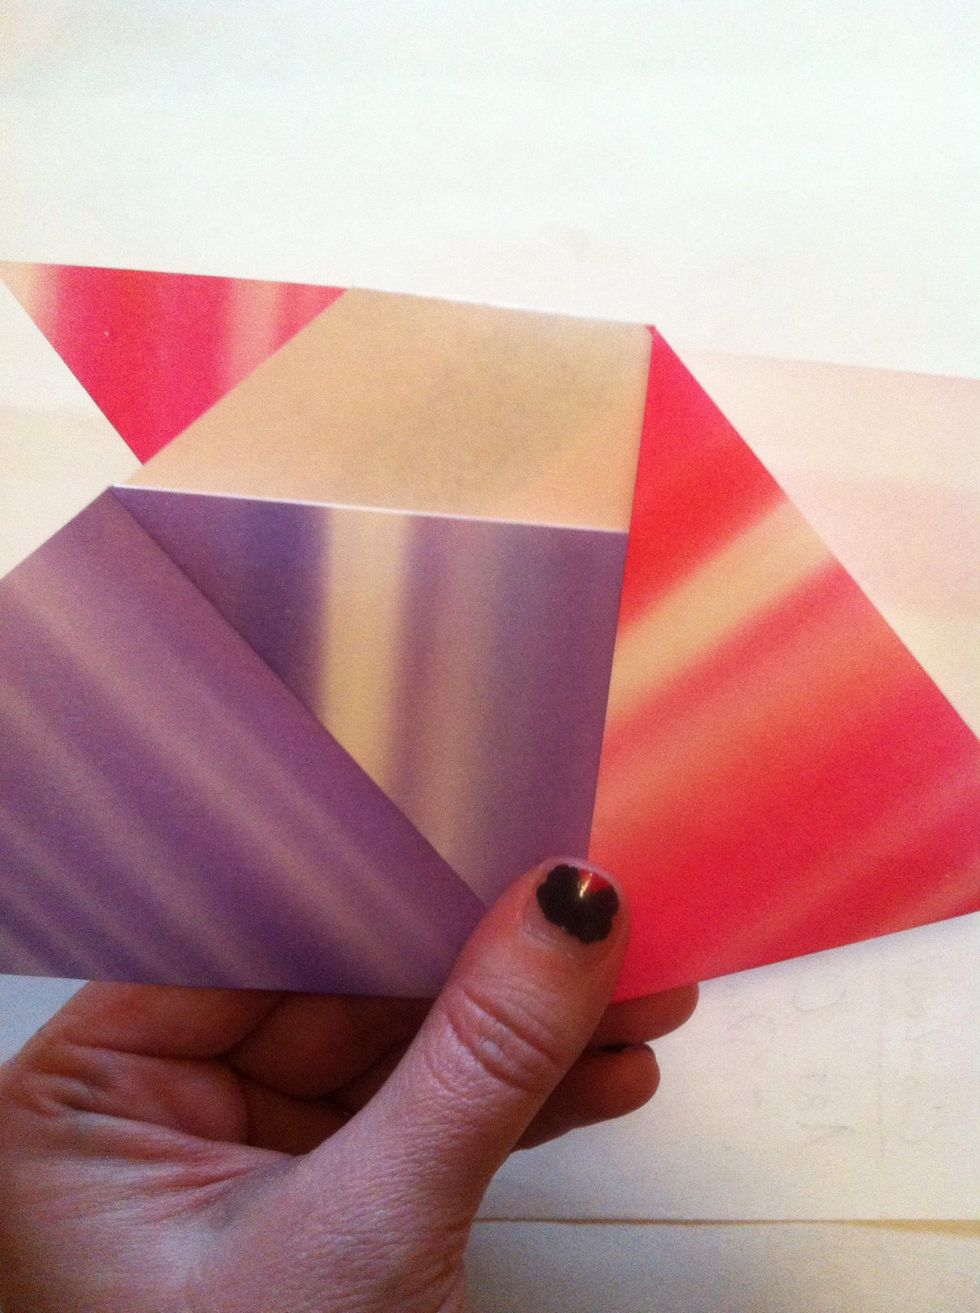
Slip one into the other. In this case, purple is going into the pocket of the pink one. The bottom tip of the purple will be just barely in that pocket.
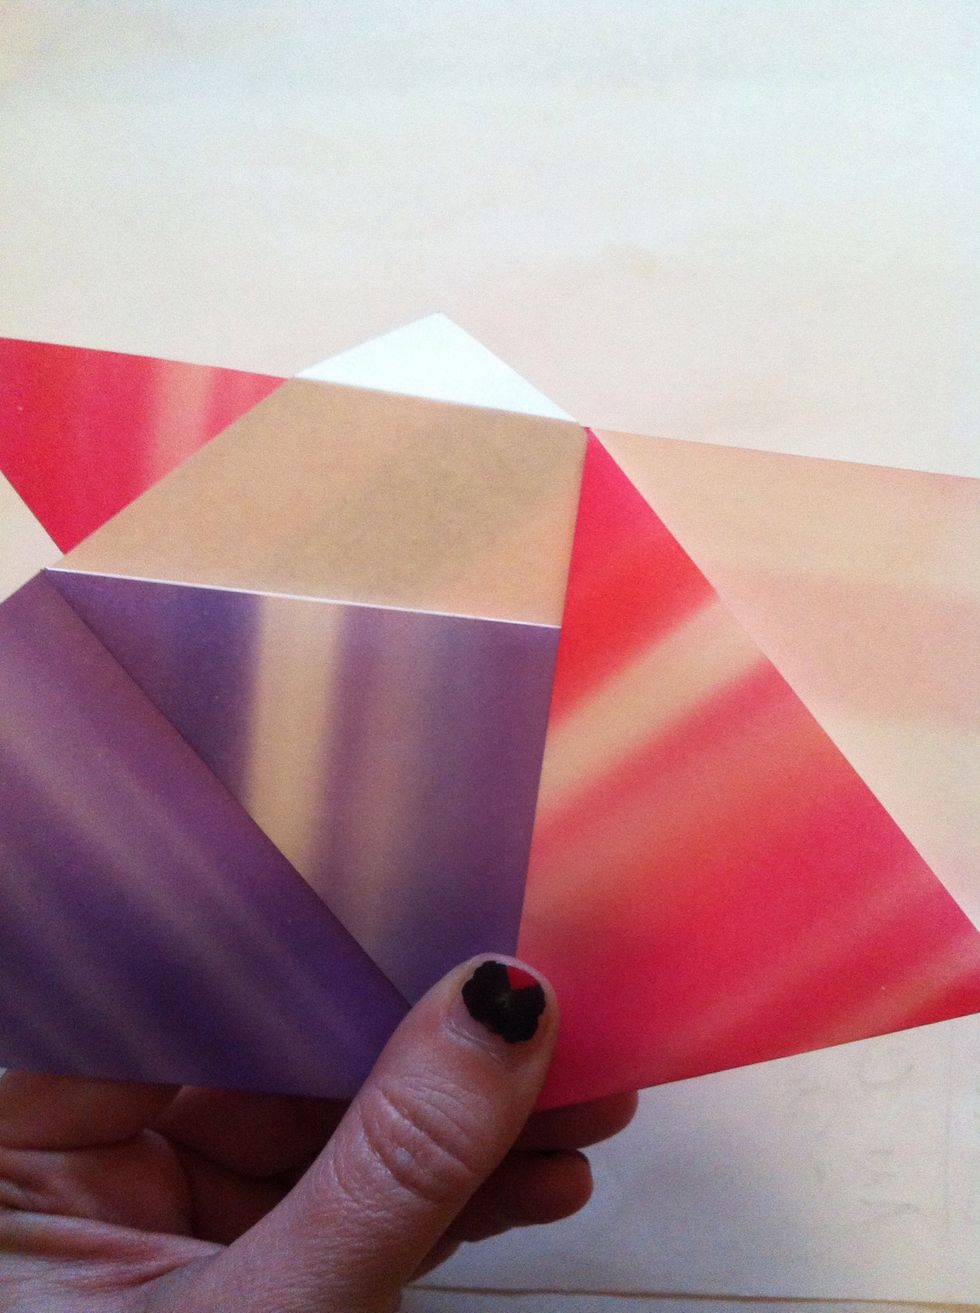
Fold the top tip back &...
Tuck it in.
Like this.
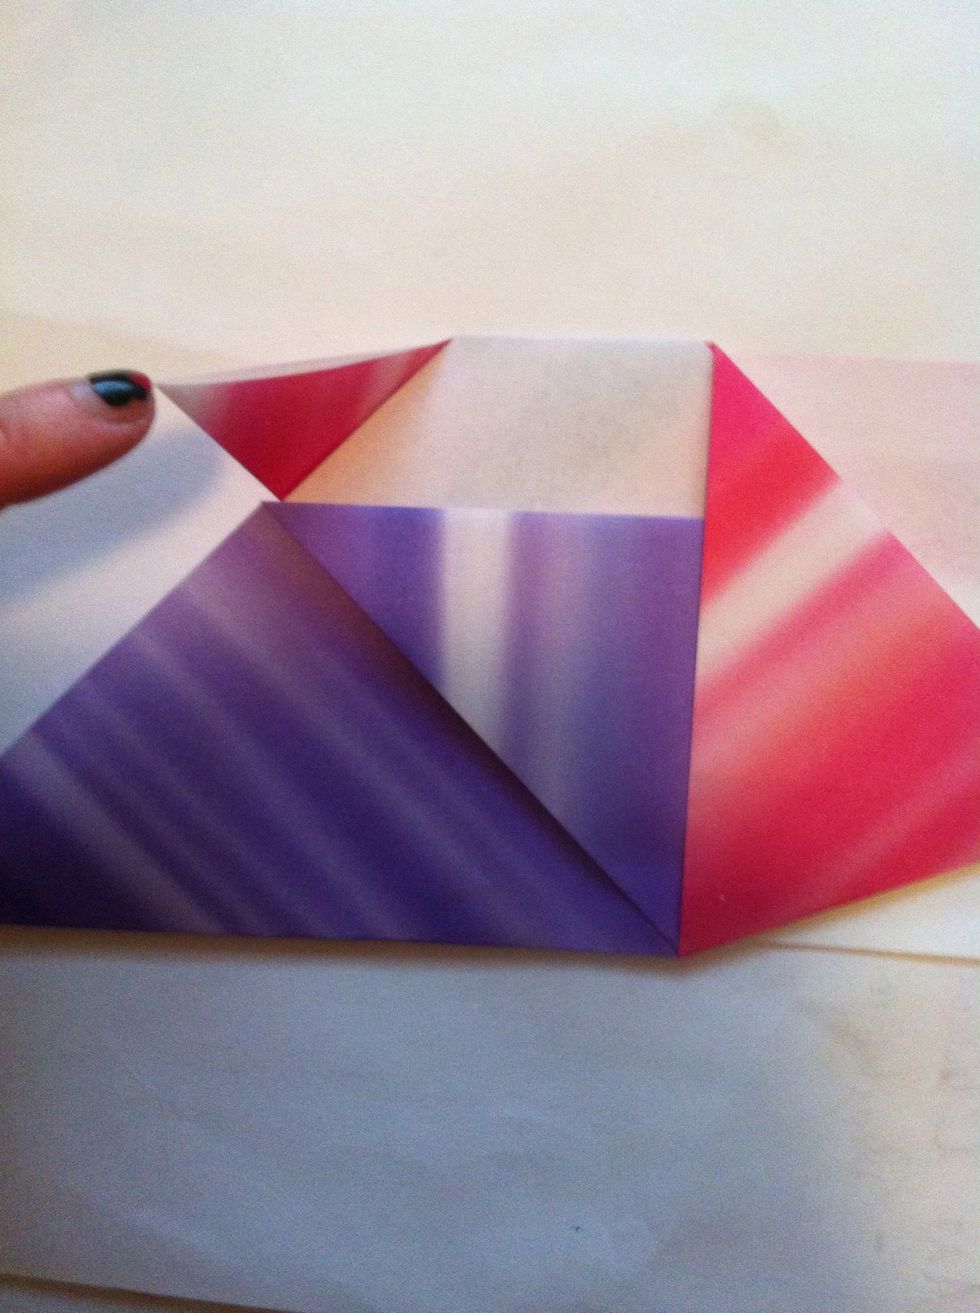
Now we'll tuck this guy away...

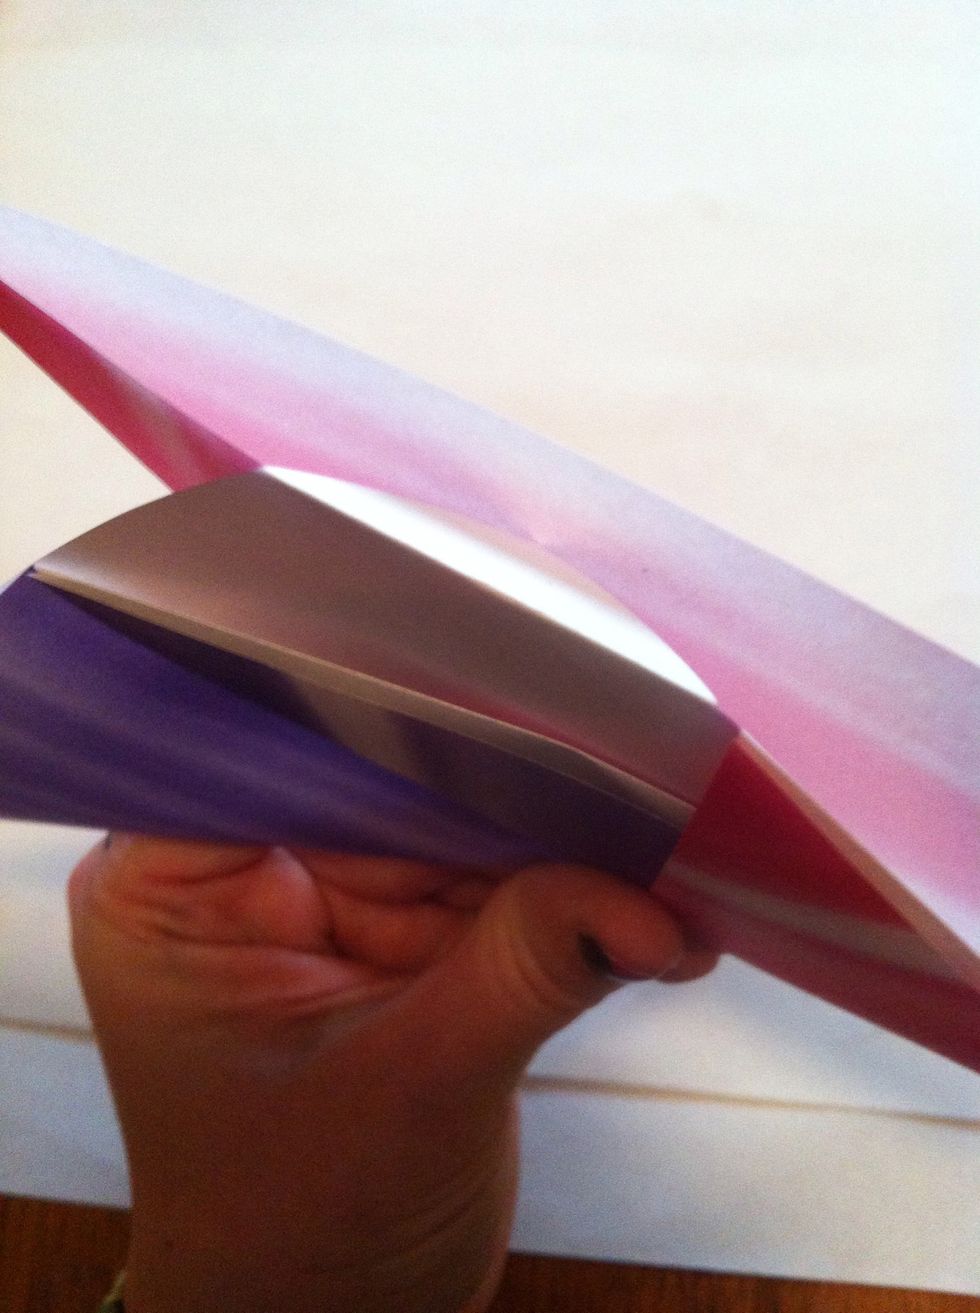
Right into here. Add all your pieces in the same way...
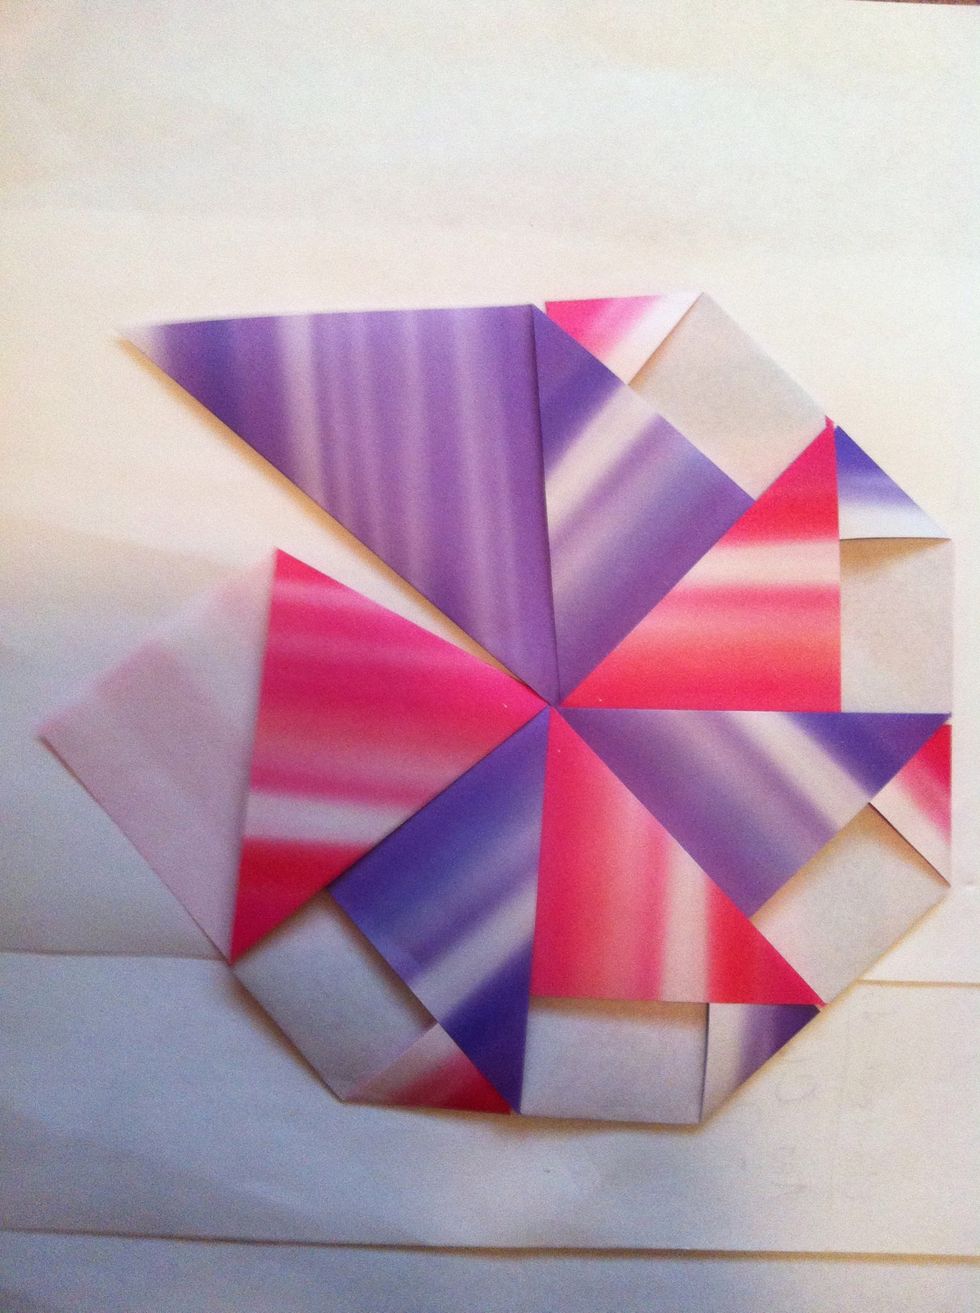
Here's my 6. You'll have a gap which is good cuz you're making a cone. Pink is going to slide into purple. Tuck away those two triangles & you're done!
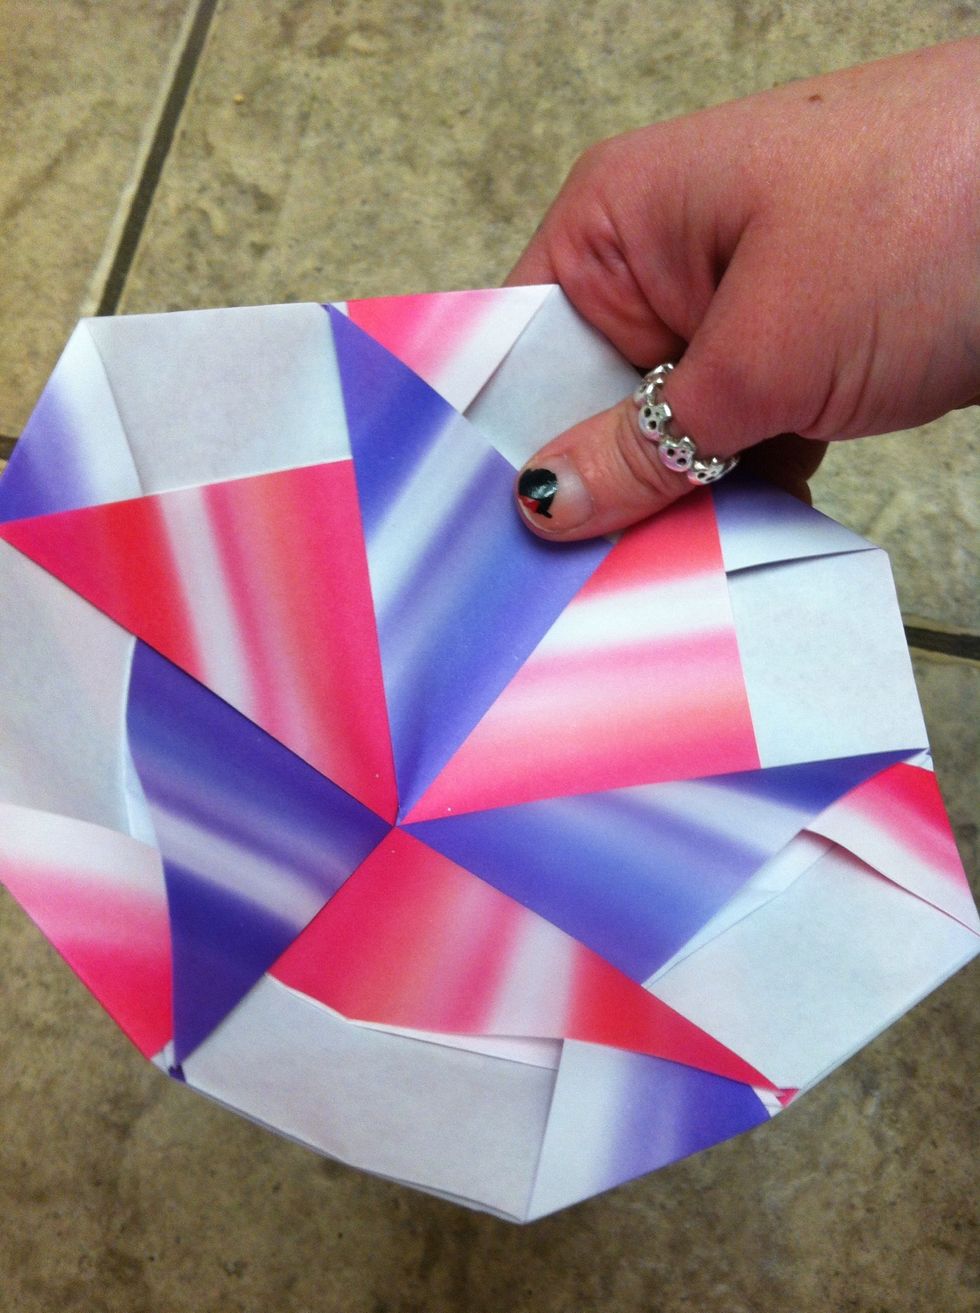
Pretty like a pinwheel.
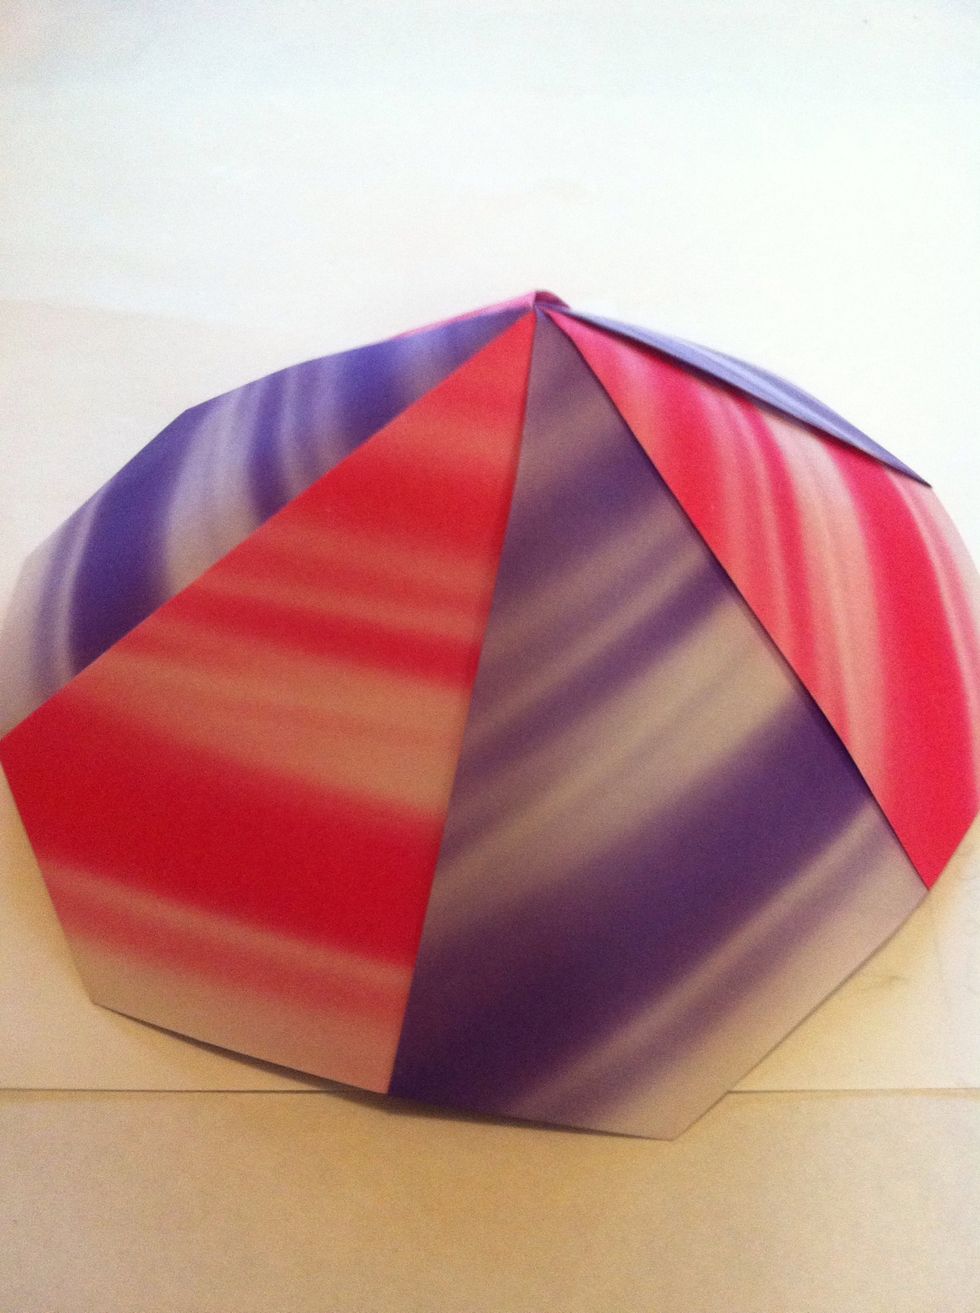
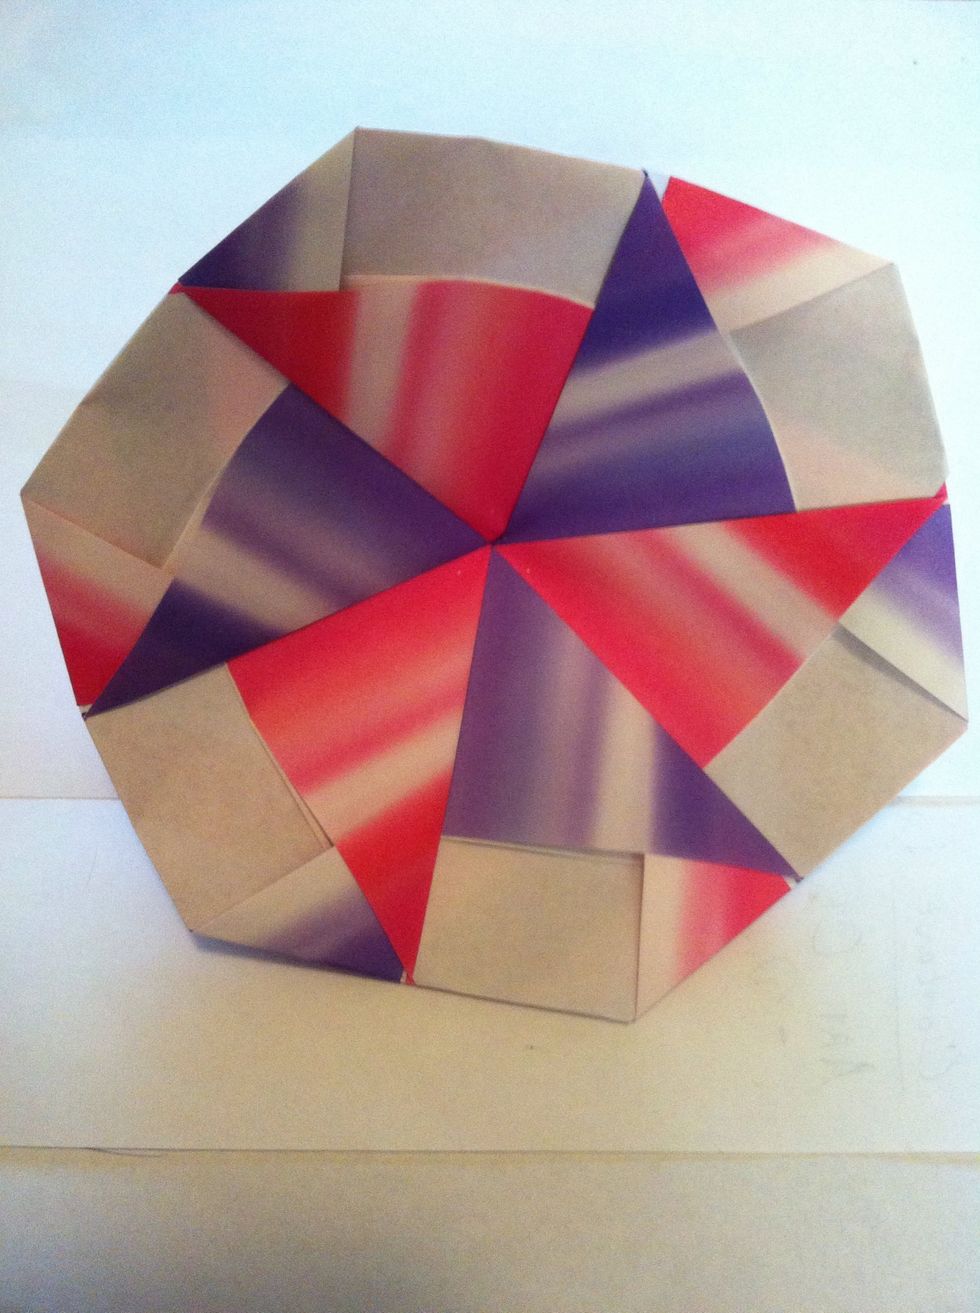
Very cone shaped with 6.
Toss it onto smooth, flat surface like a frisbee or even skipping stones.
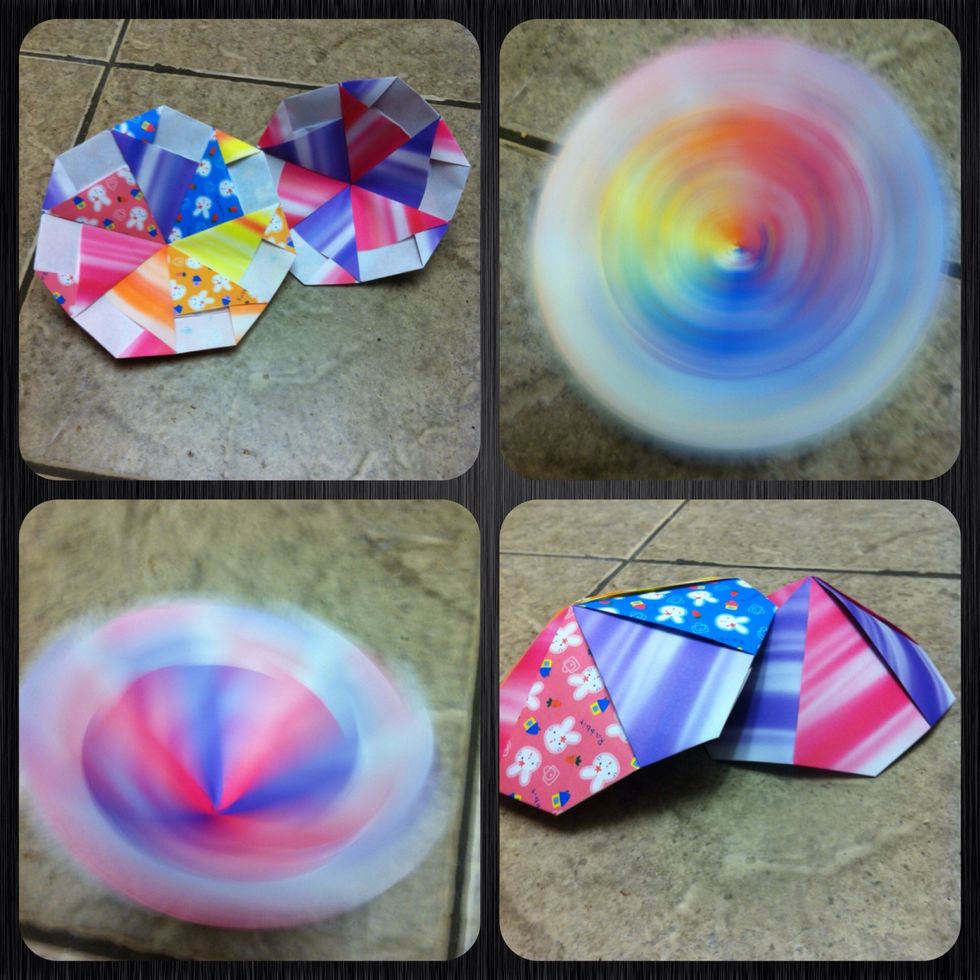
Here's a comparison of 6 & 7.
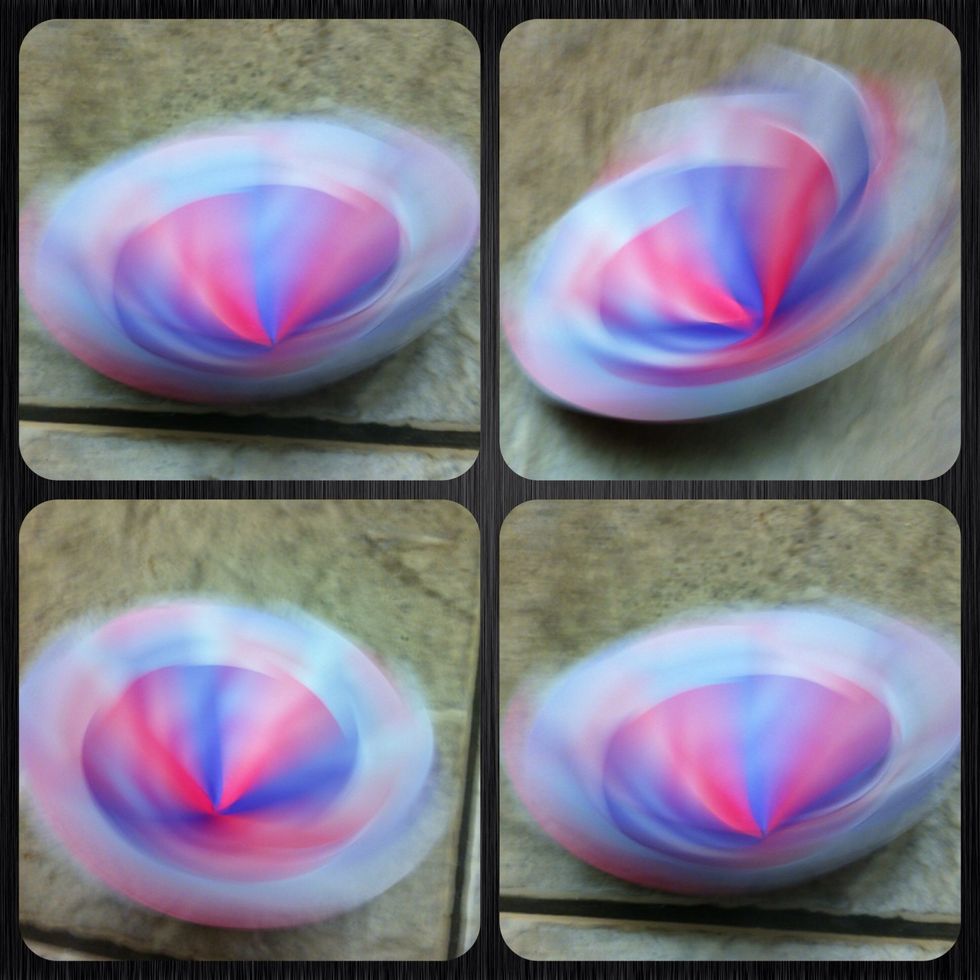
Wheee!