The Conversation (0)
Sign Up
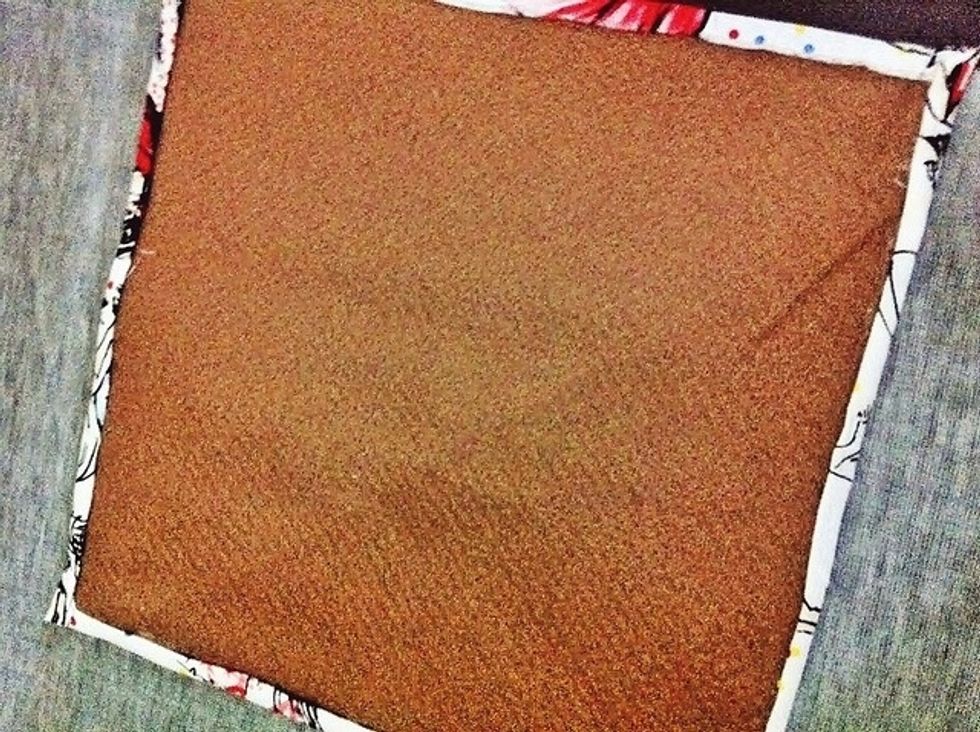
1. Cut your fabric & lining. Remember to add extra 1cm of fabric to wrap around your felt lining. Combine both fabrics & sew around it.
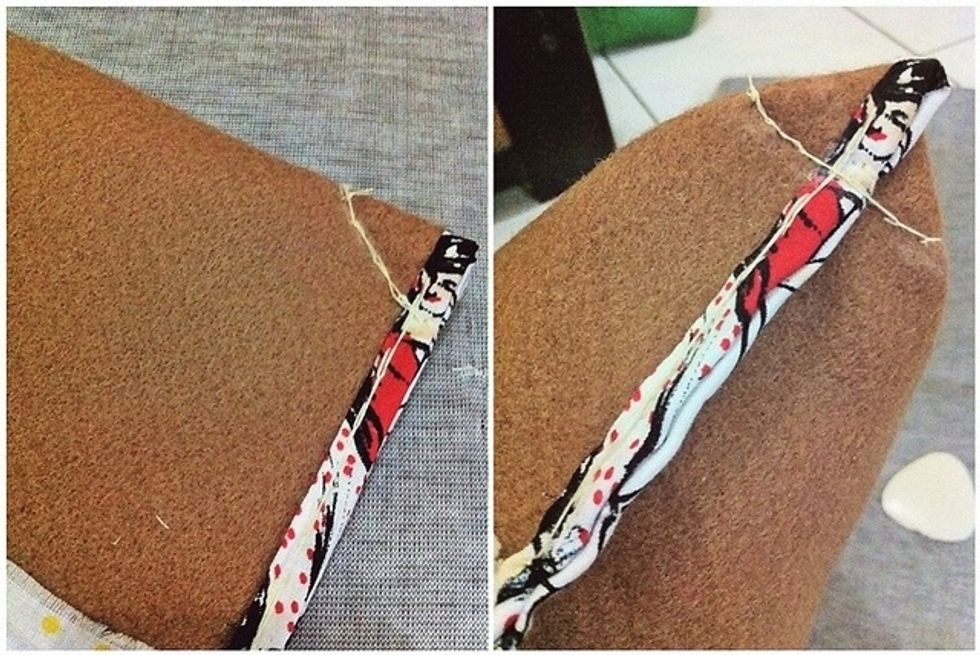
2. Fold the sewn fabrics into two, with inner side facing front. Don’t forget to measure the lid of your pouch when folding the fabrics. Sew each side of the fold, but keep the top-side open.
3. Sew diagonal line on each bottom corner as picture (2). Measure your desired pouch volume. I want it thin enough to slip inside my bag, so I sew about 2cm from the bottom. Or about 4cm in final.

4. Turn the fabrics around. Tadaa, now you have a basic pouch! Time to do the lid. I am gonna use two leather-strap as closure. But you can actually tweak anything. Even a single fastener will do.
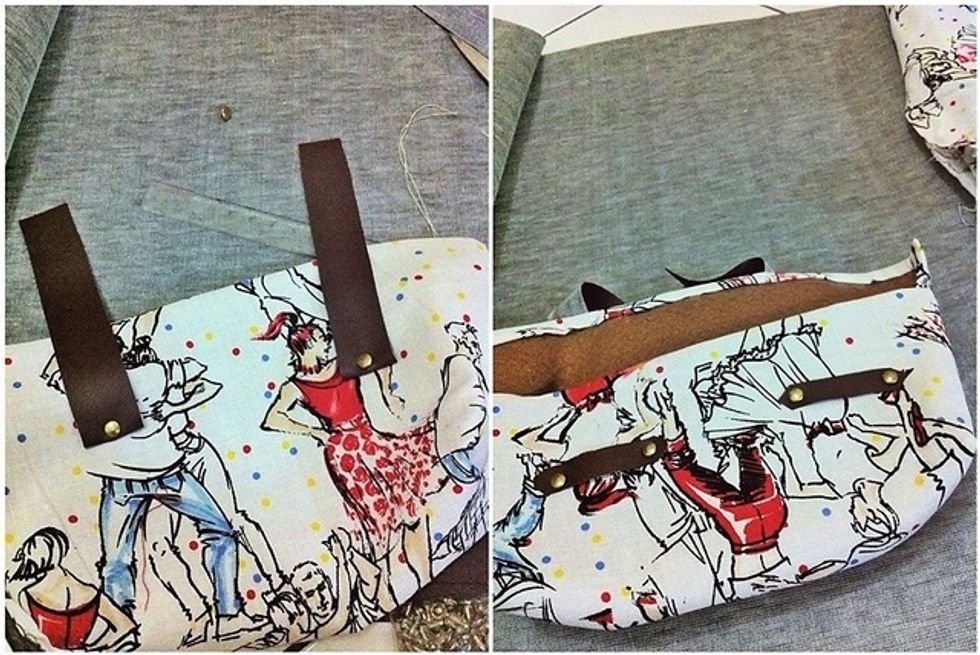
5. Since I’m using flat-studs, I make a hole on the upper side of my straps. Then I make another hole where I wanna put the straps on my pouch. Next, attaching the straps to pouch.
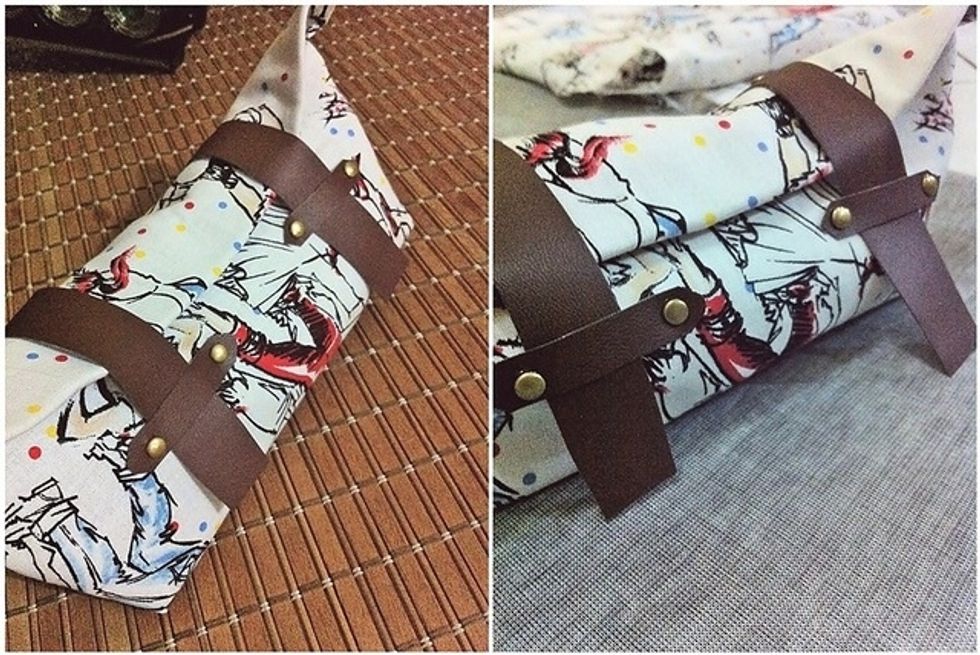
6. That’s it! Easy, right? Anyway, I ♥ this fabric so much. Will use if for many more projects :)