The Conversation (0)
Sign Up
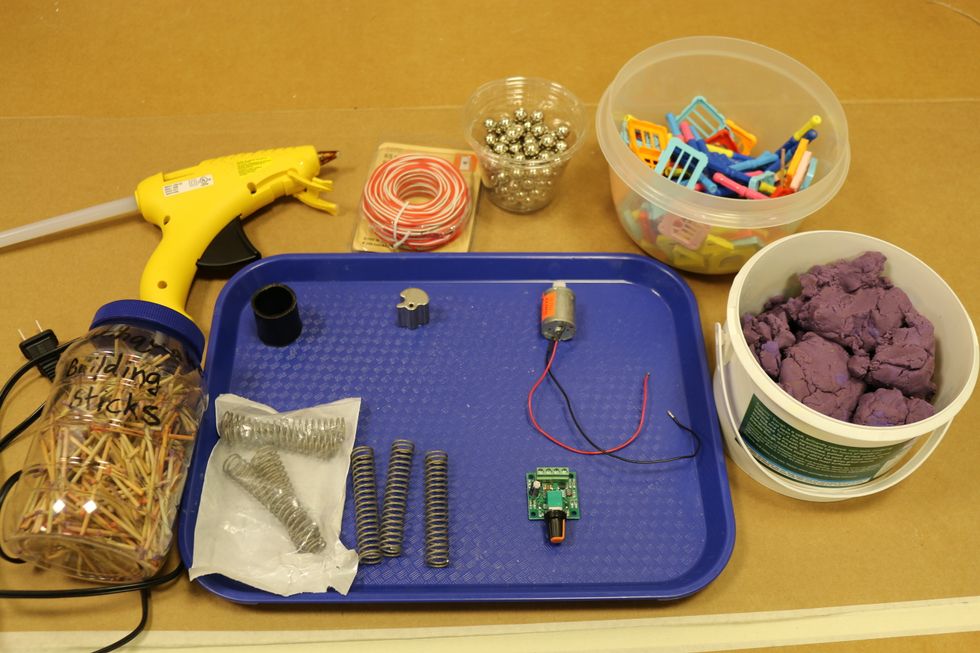
Gather all your supplies

The size of the tray we use is 13.5" by 10.5". It is not too big or too small.
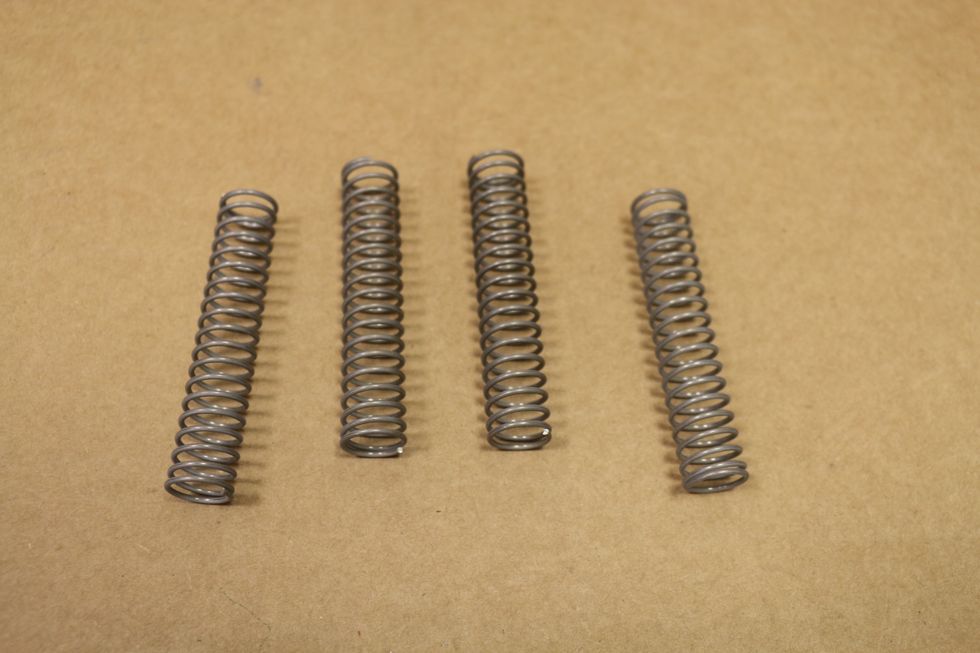
4 of the 3" long springs. You want ones that are flexible enough that allow you to shake the plate form back and forth but strong enough to hold the weight of what you put on it. http://goo.gl/ql4JE9

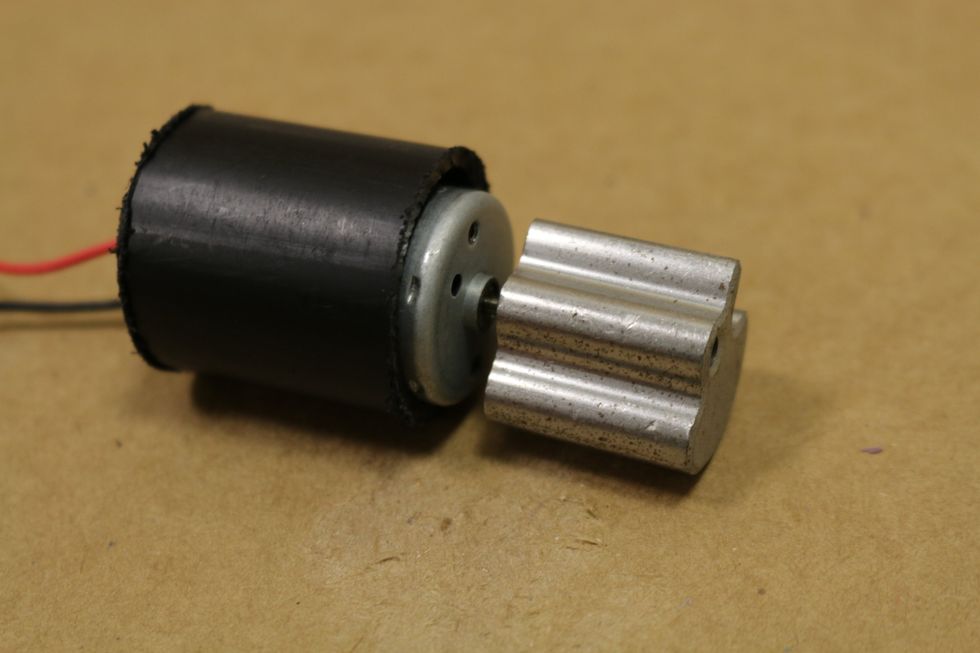
For the motor, get one that uses 6 to 12 DC volts. You might be able to find motors with the eccentric weight online. http://goo.gl/VceFyy
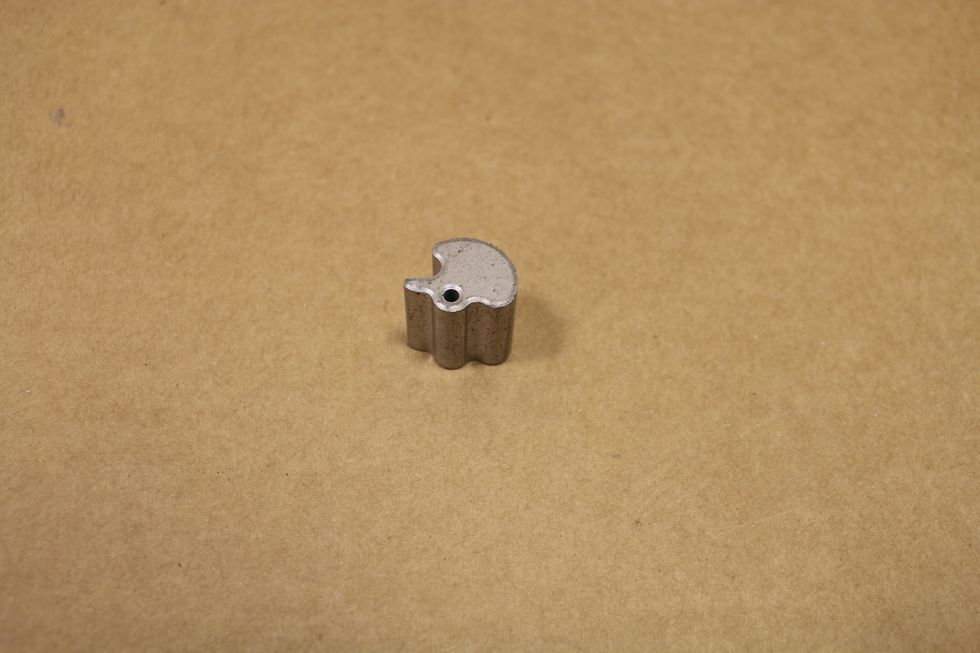
If not, you'll add an eccentric weight to shaft of the motor. This will create an off-center weight which when the motor rotate, it will vibrate or move back and forth.
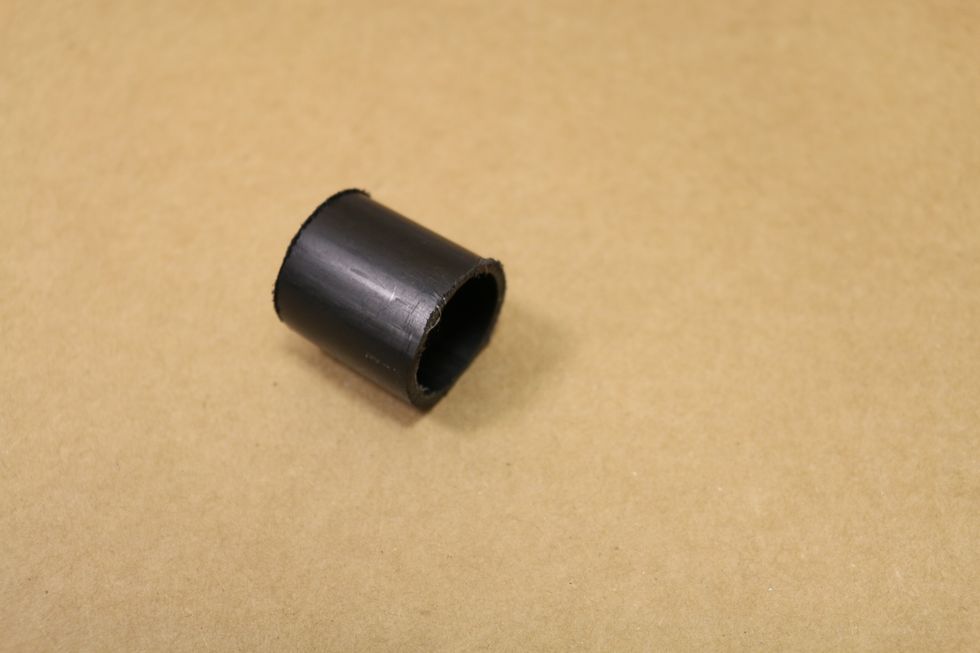
The PVC tube will act as a mount for the motor. The size of the tube you buy should fit around the motor you get. Cut it to the length of your motor.
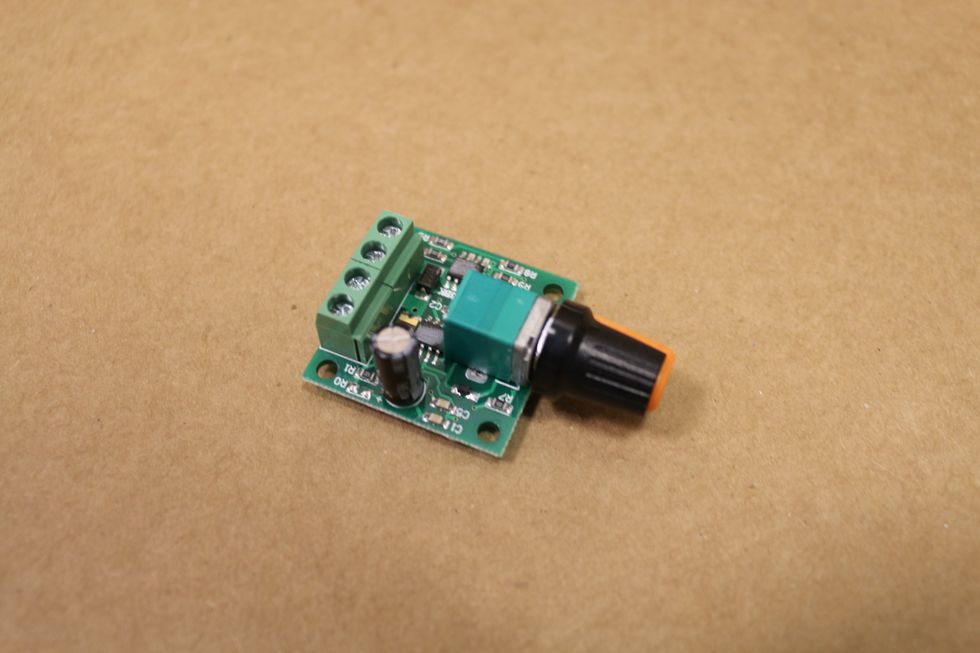
This is a speed control which you will use to control your motor. Search for "DC motor speed controller". Try this link http://goo.gl/XpbQup
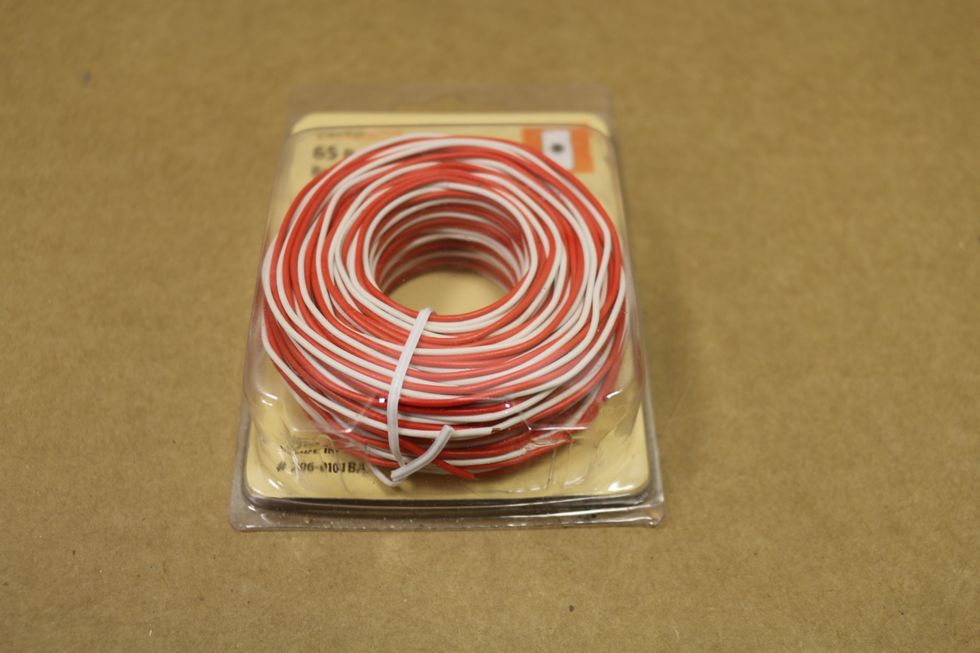
Wire to connect the batteries holder, speed control, and the motor. We like the red and white type so our circuit is easier to read the positive and negative.
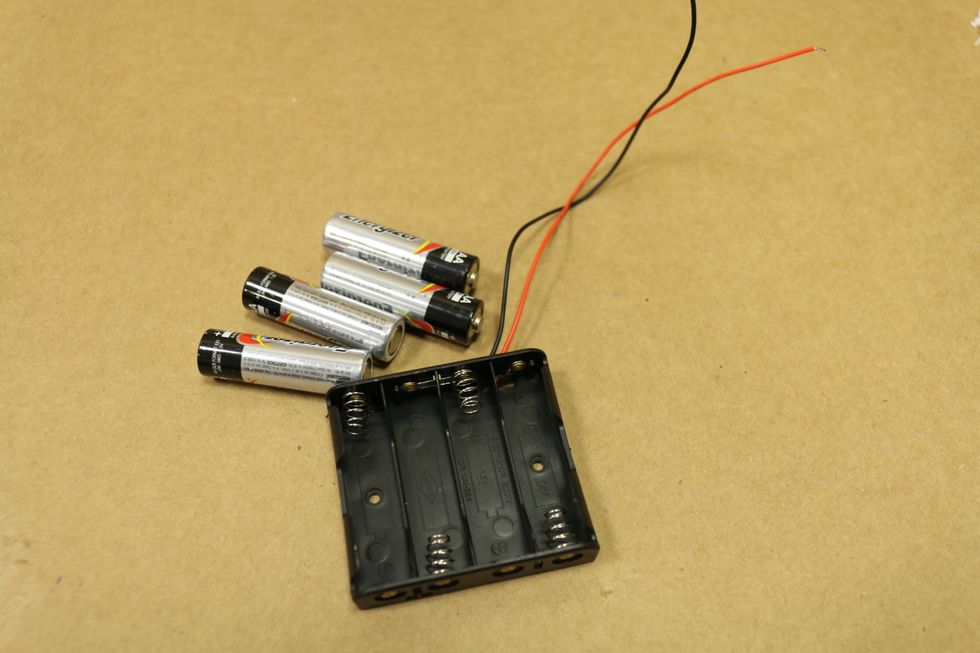
4 AA Batteries and a battery holder.
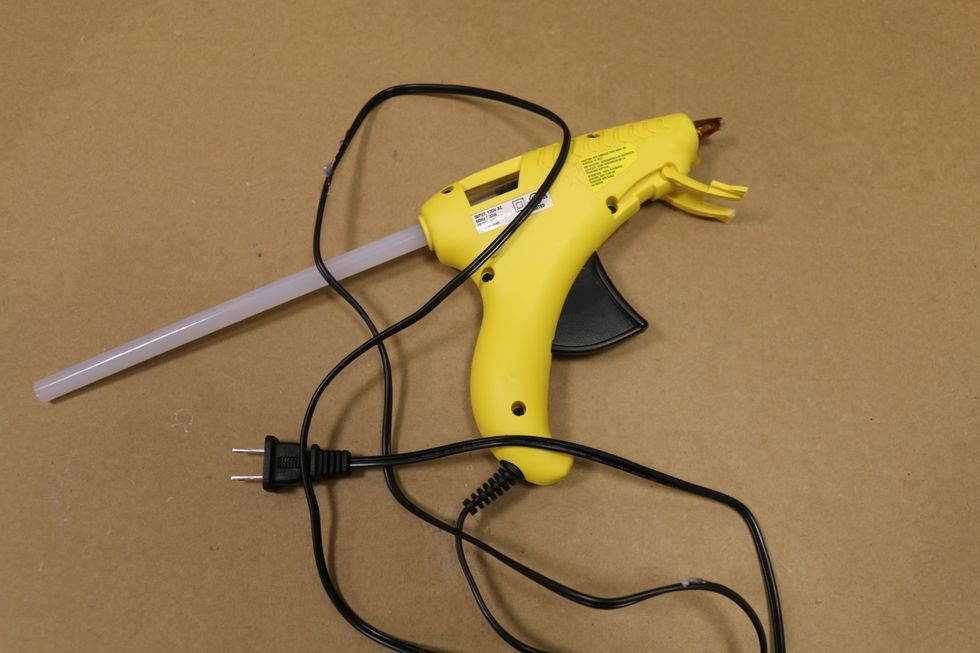
A hot glue gun and glue sticks
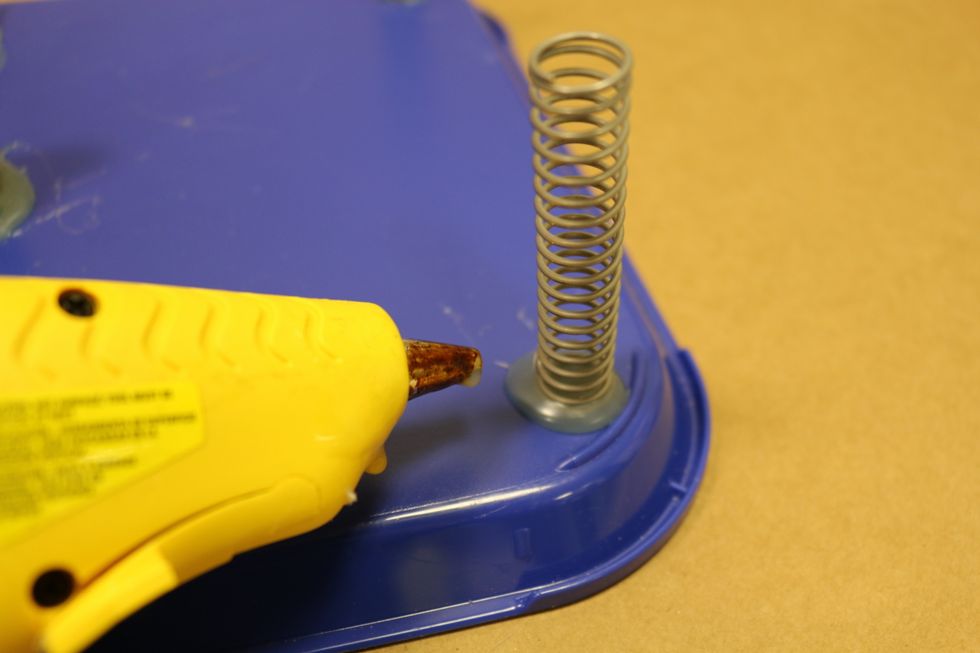
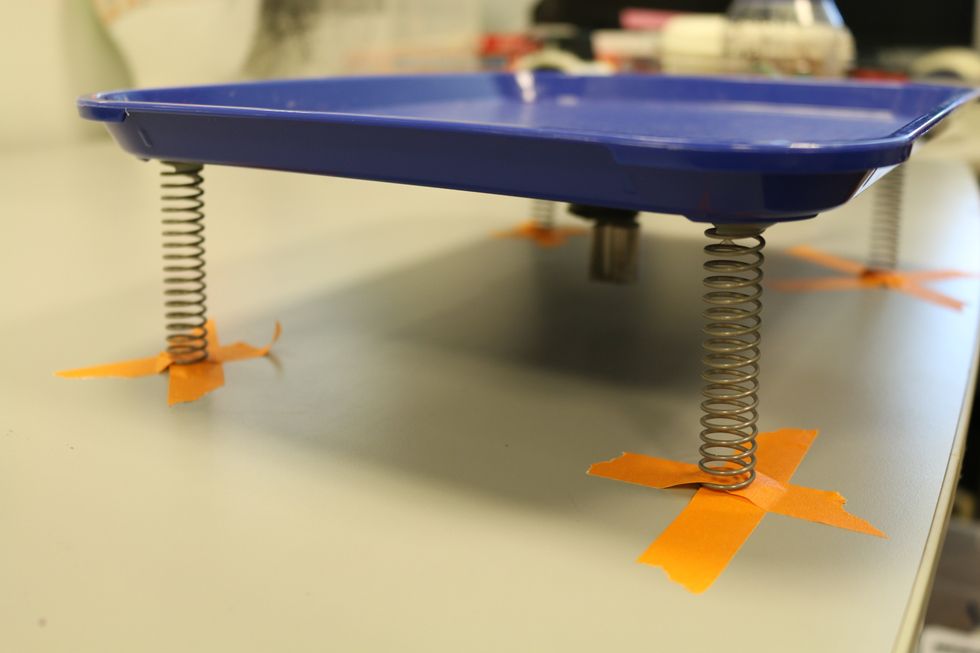
So to get started, we are going to attach 4 spring to each corner of the tray using the hot glue.
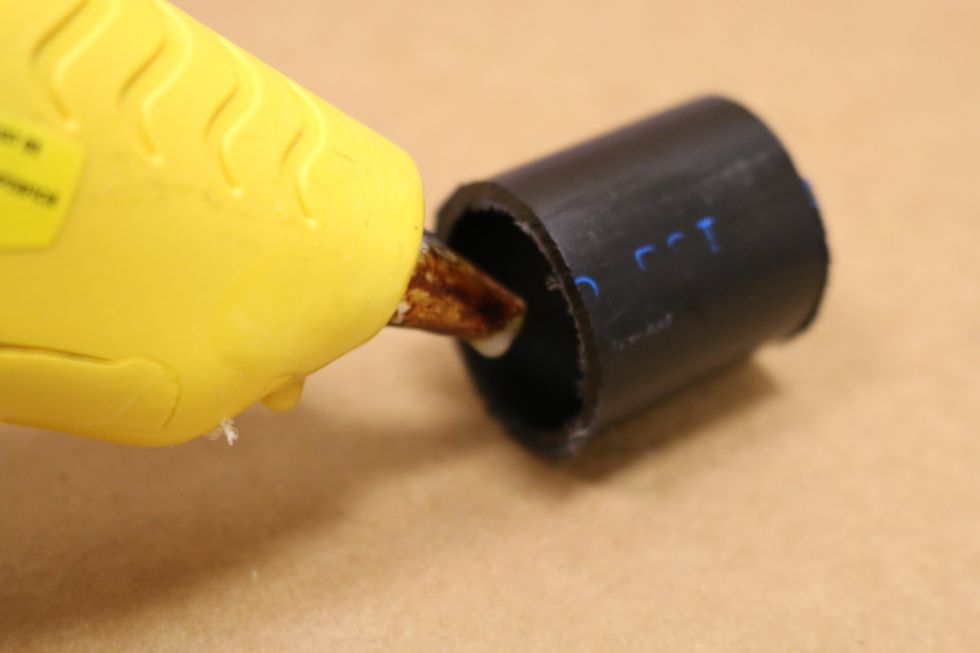
Put some hot glue in the PVC tube to hold the motor inside it.
Slide the motor inside the PVC tube while the hot glue still hot. Add some more hot glue to make sure the motor stays in. Careful not to get any hot glue on the shaft of the motor.
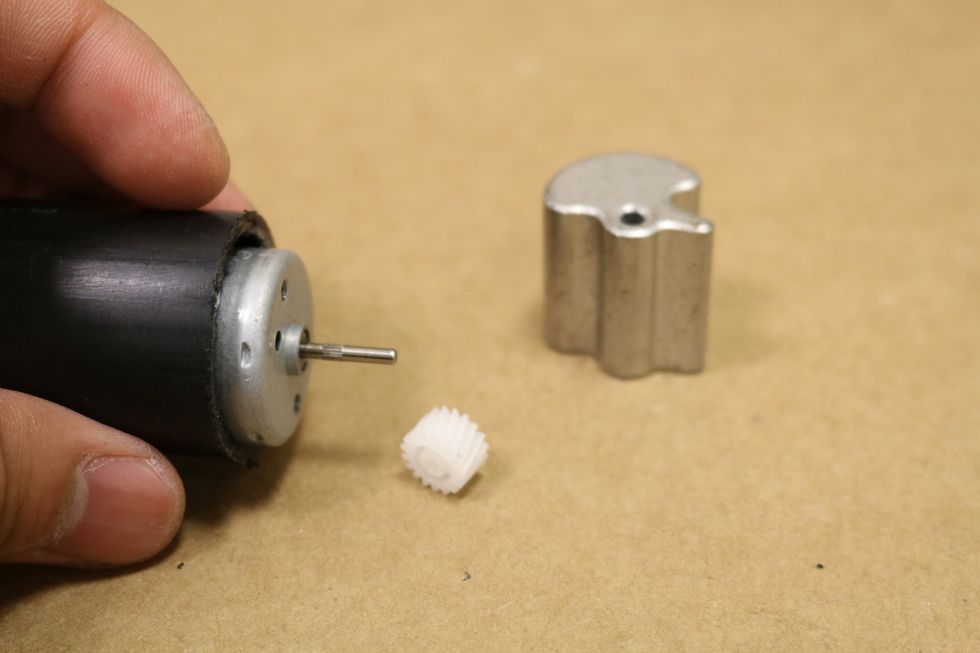
Take out the gear on the shaft of the motor. Put some hot glue in the hold of the eccentric weight, then attach the eccentric weight to the motor.
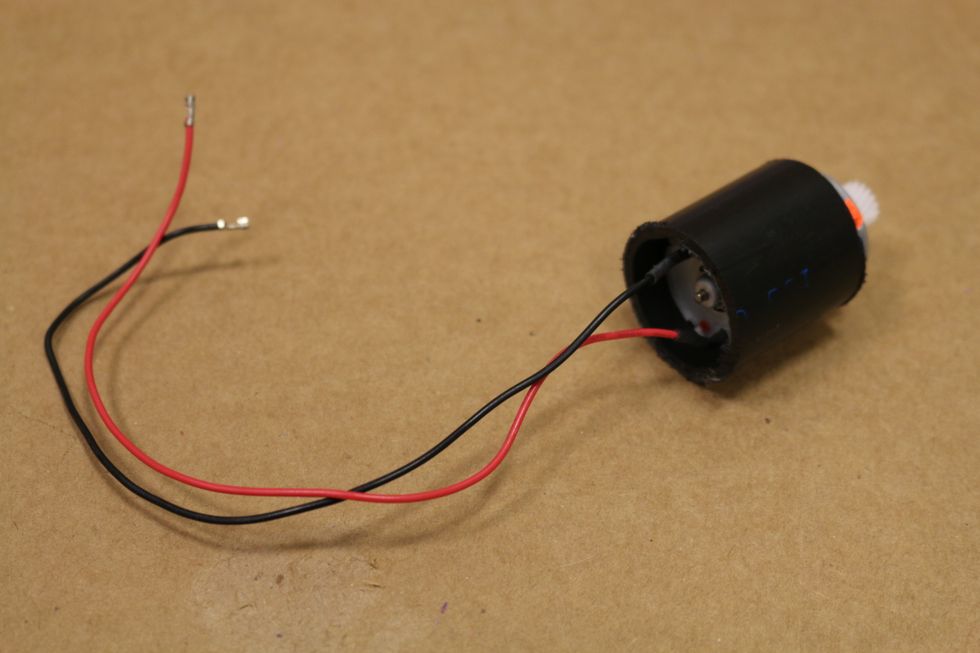
After the glue is cooled, test the motor by hooking it directly to a battery to make sure that it is working (and shaking).
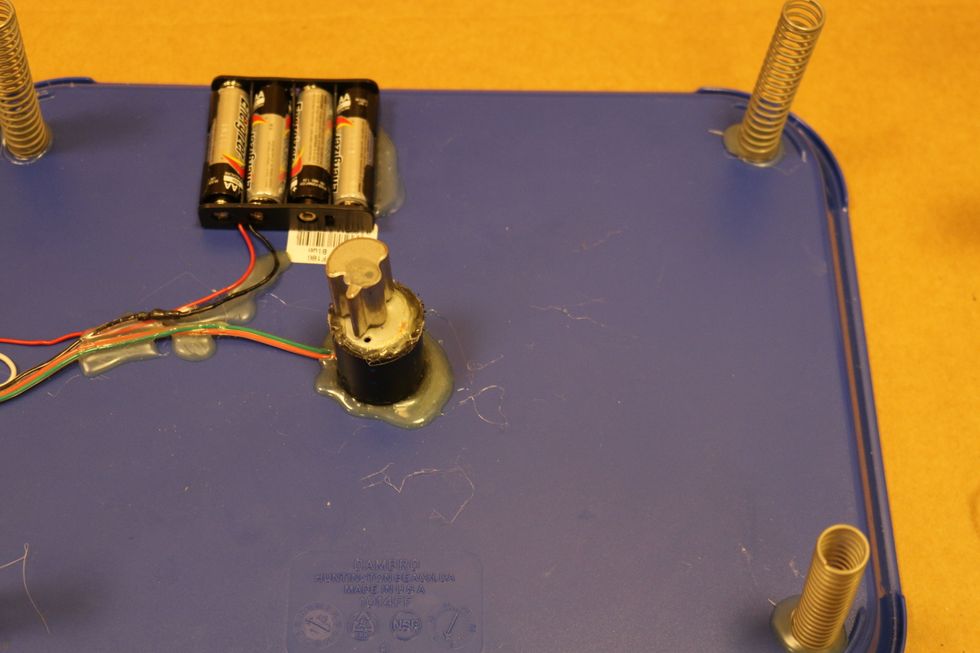
Hot glue the motor to the center bottom of the tray. Then hot glue the batteries holder next to the motor.
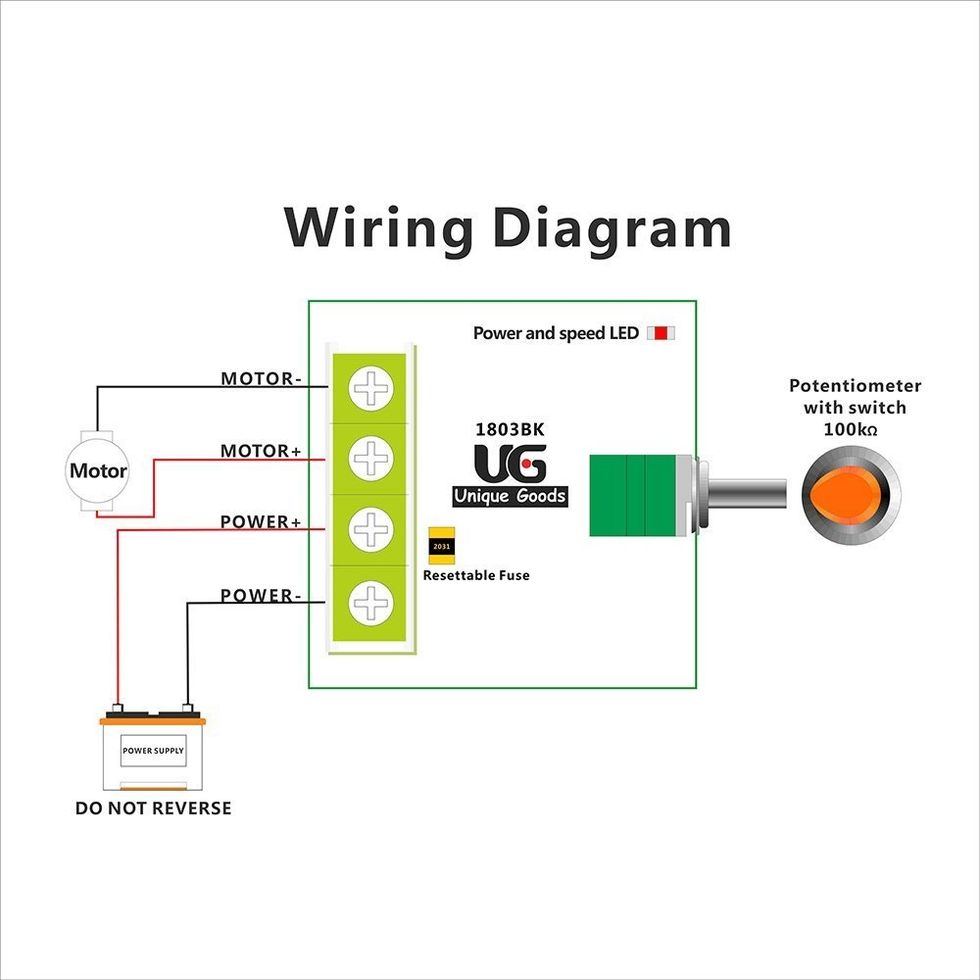
Follow the diagram to connect the motor and the batteries holder to the speed controller.
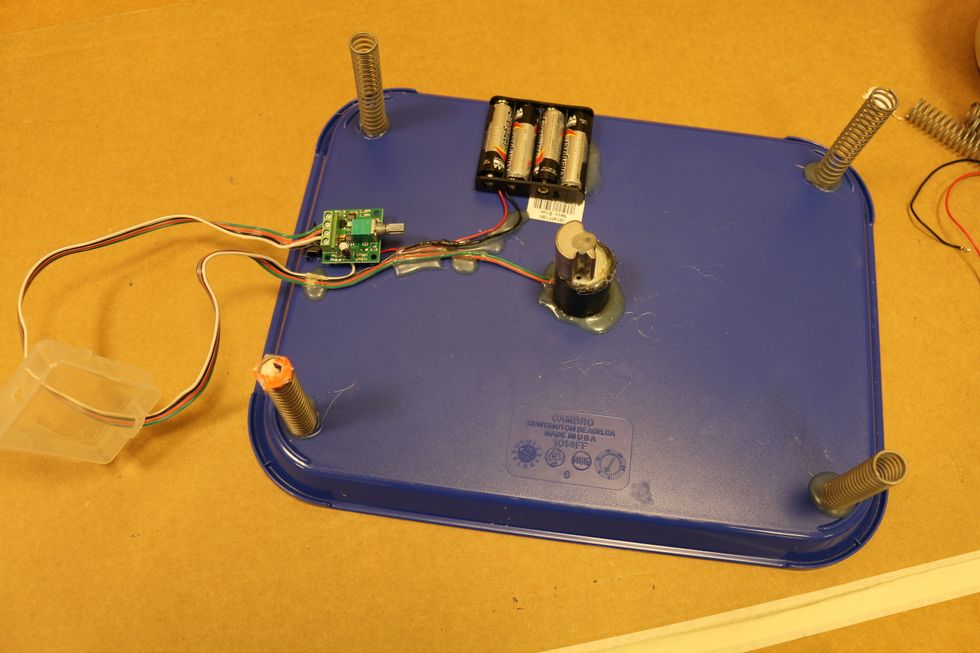
It should look like the picture above.
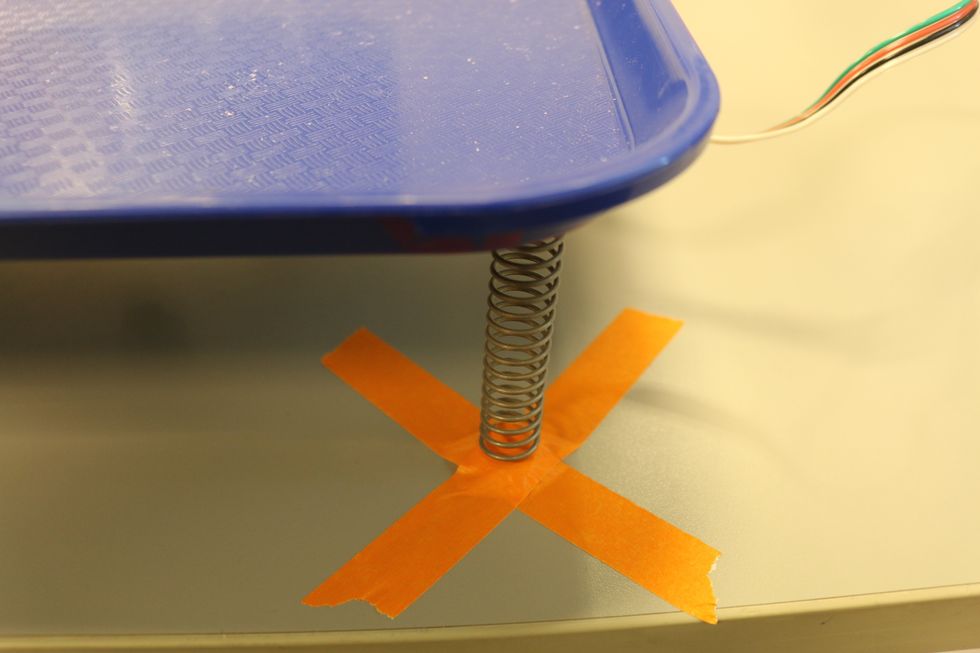
To keep the shake tray stay on the table, we tape down the four springs to the table. Suction cups could be attached to each spring to keep the tray in place.
Grab two pieces of tapes and cross tape each spring to the table .
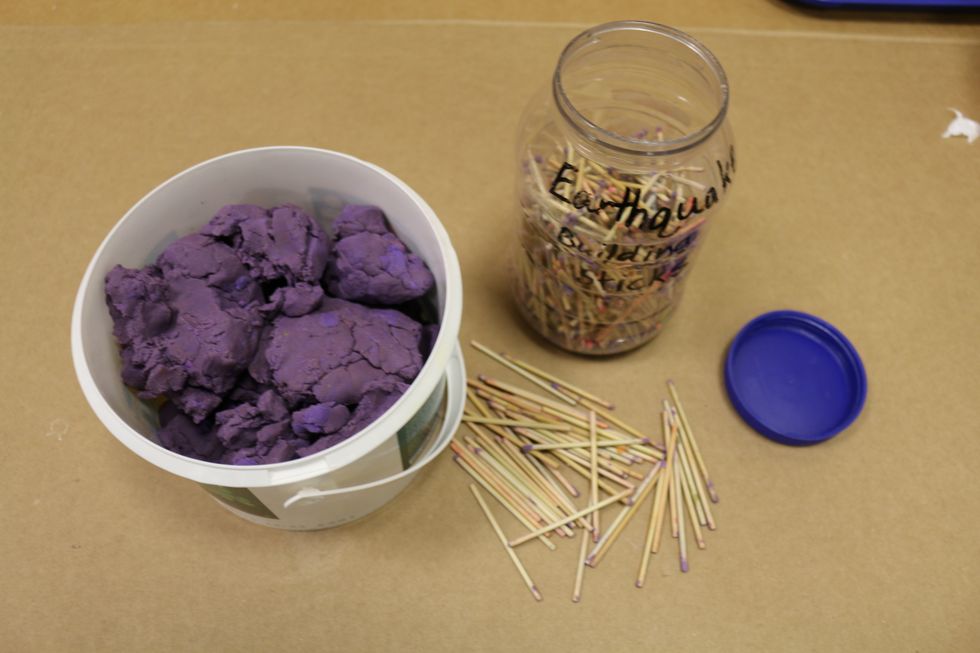
Prepare your playdough and tooth picks. We trim off the pointy ends of the tooth picks we use.
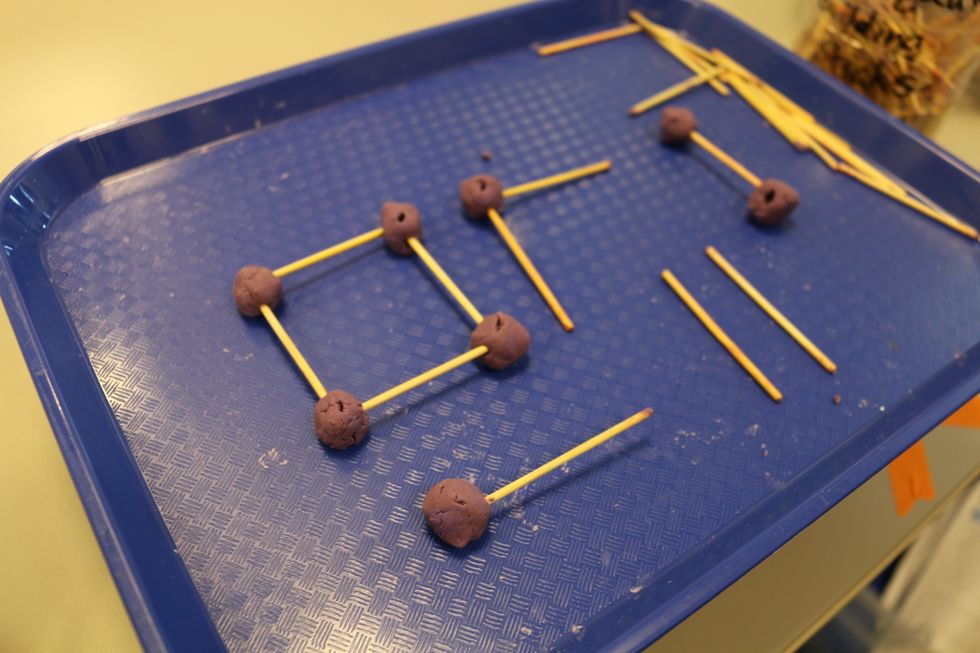
To make a structure, we make small balls using play-dough and attach them to the end of a stick. The play-dough balls act as joints for our structure. It allows us to make different shapes.
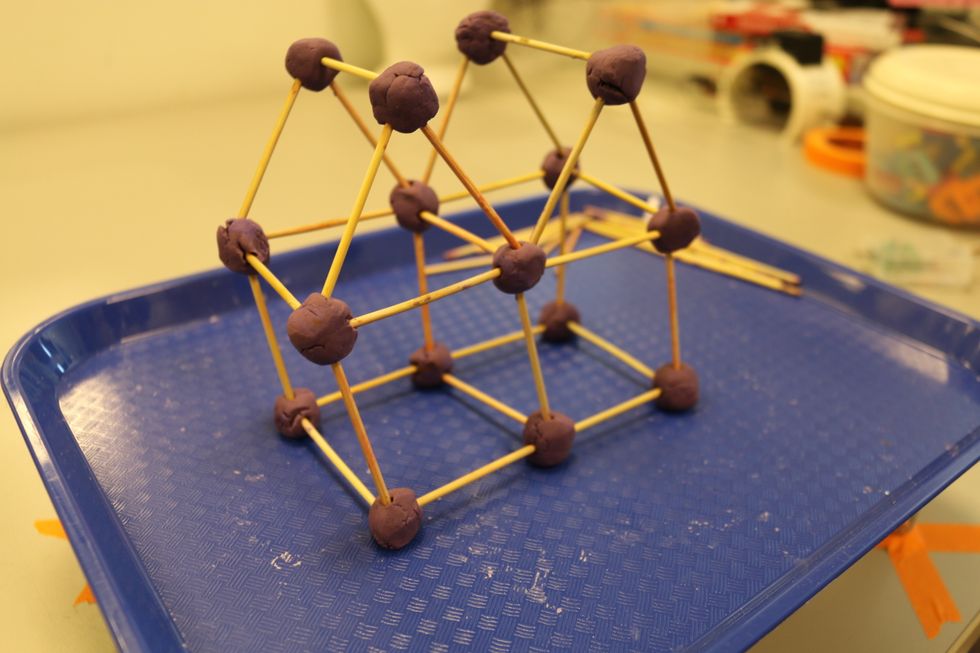
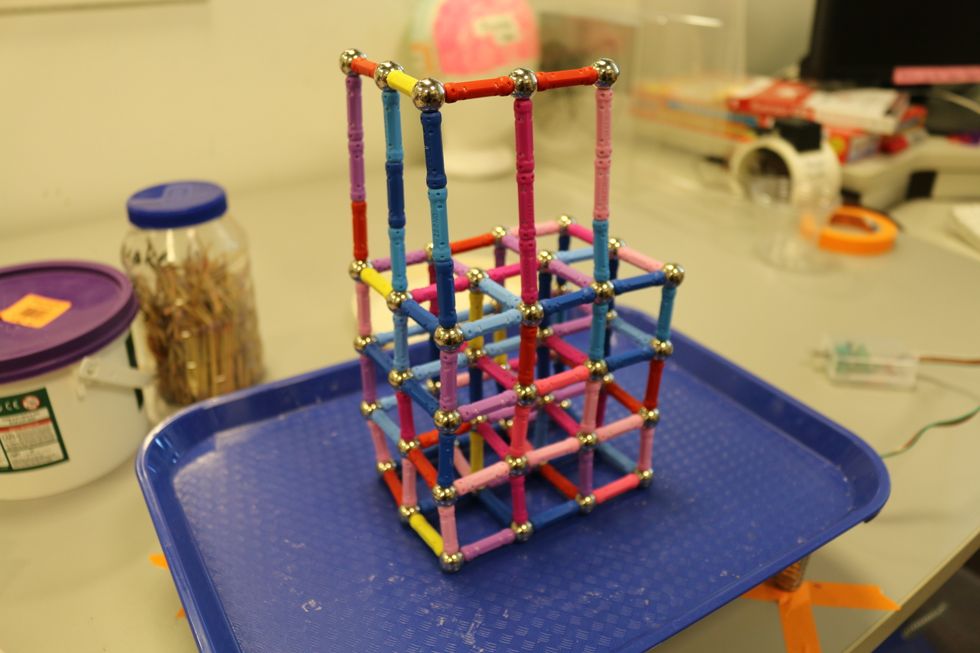
Here is an example of a structure with play-dough.
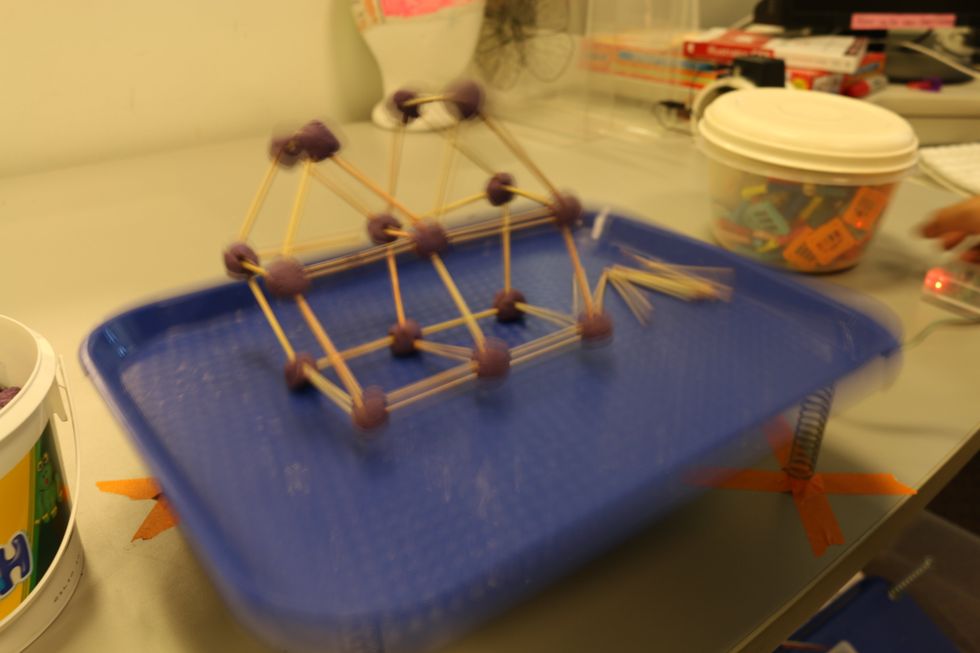
When you are ready with your structure, simply turn on the speed control and watch how it does on the shake table.
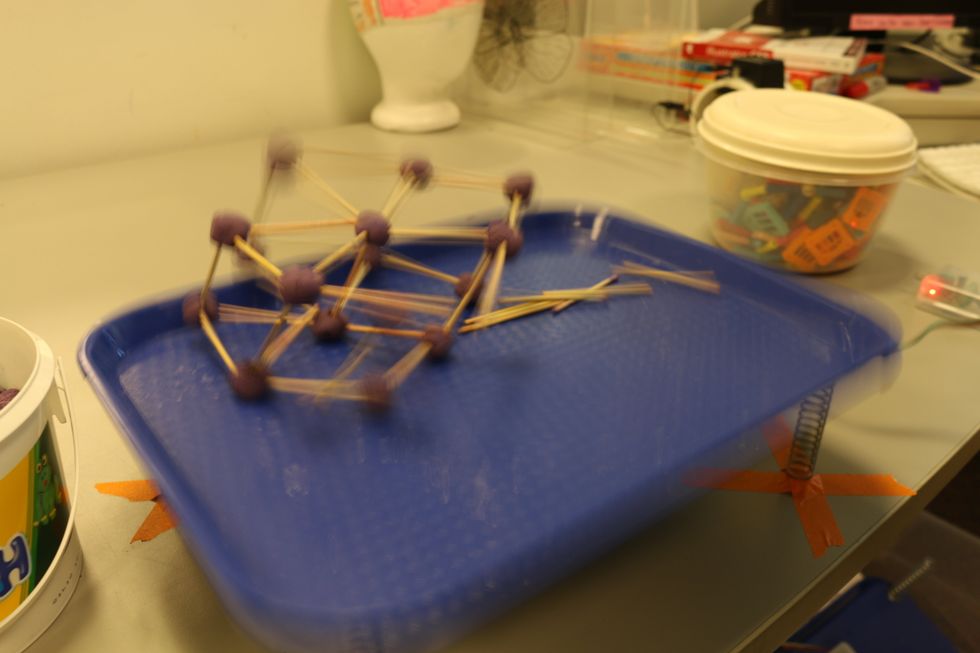
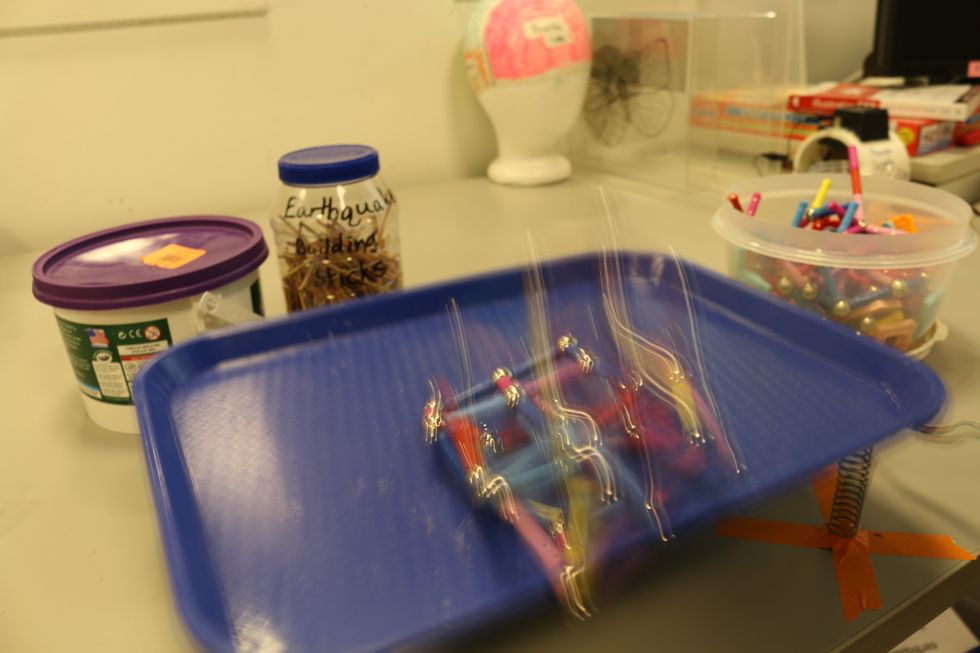
And then it collapses.
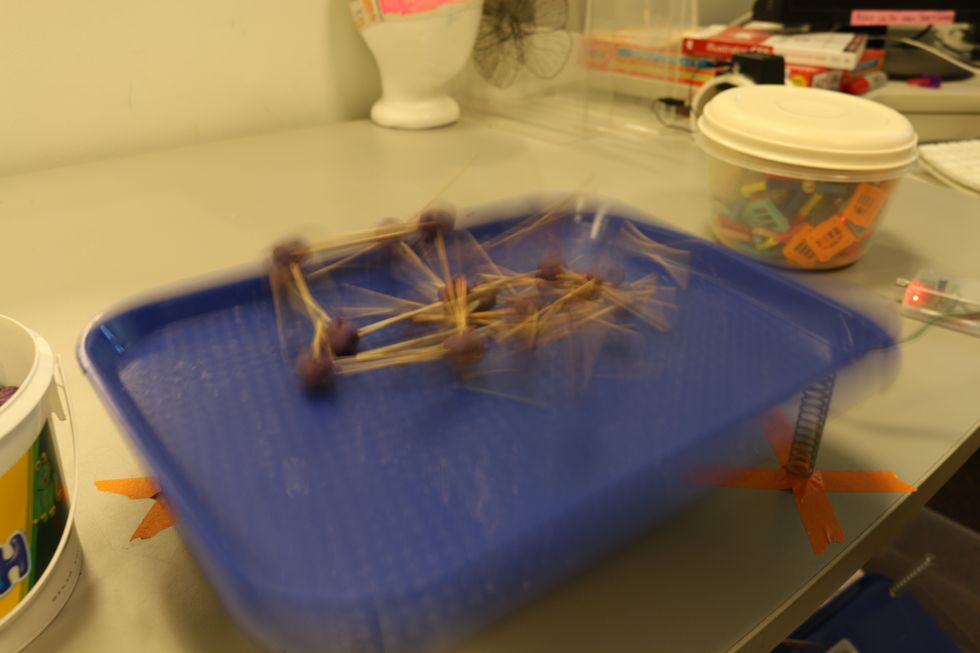
Do you think the structure you make can withstand this shake table? Share pictures with us.
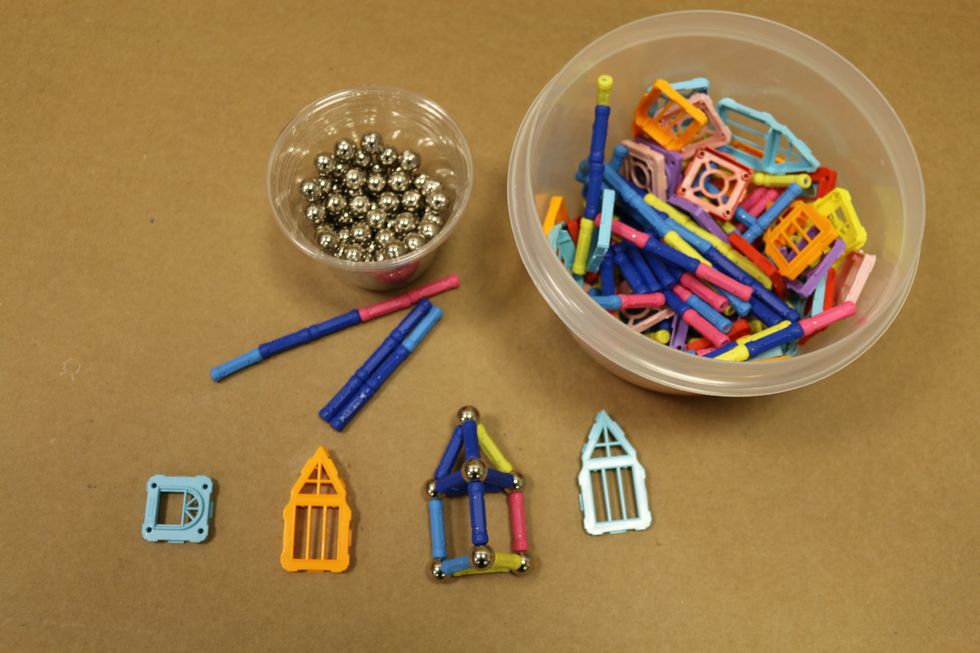
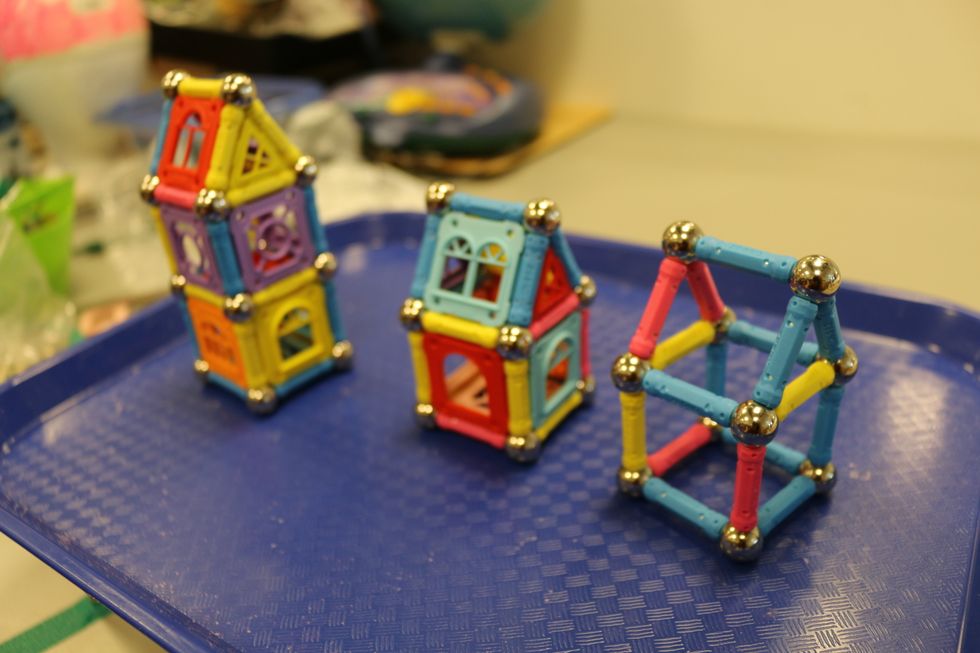
Magnet sticks are also worked great with this activity. We found inexpensive sets online. https://goo.gl/OEQGhQ

What do you think makes a strong structure?
Why do we make tall building? How can the structure be built to maximize its safety?
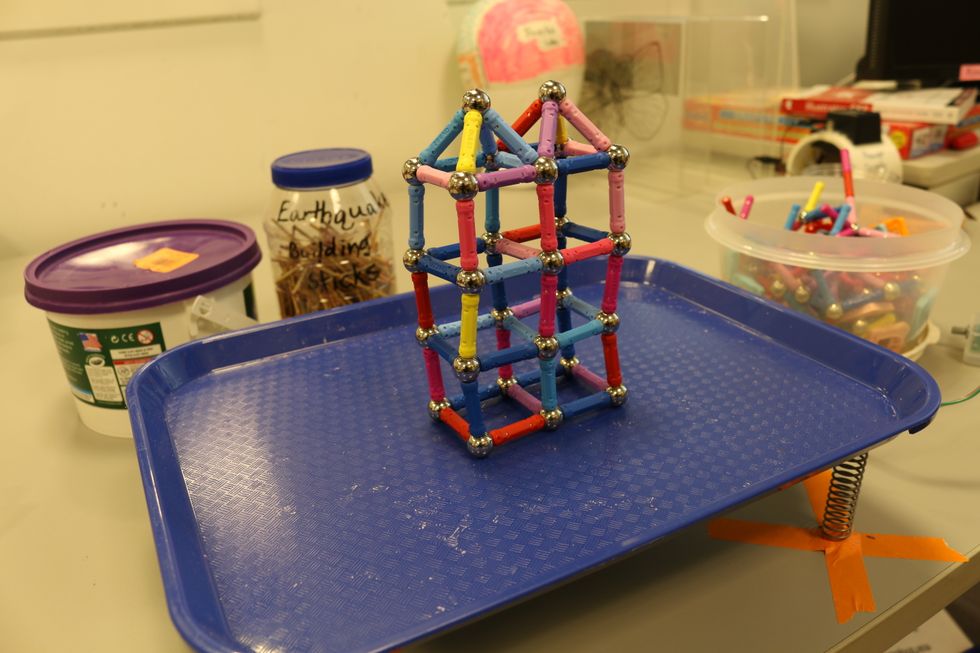
When you are ready, turn the quake simulator and see if your structure could stay still.
Were there adaptations that made structures better able to bear weight or withstand a simulated quake?
Go ahead and build your own structures. Have fun exploring! Here is Earthquake Design Activity in action, https://youtu.be/EHDx5brv7HU