The Conversation (0)
Sign Up
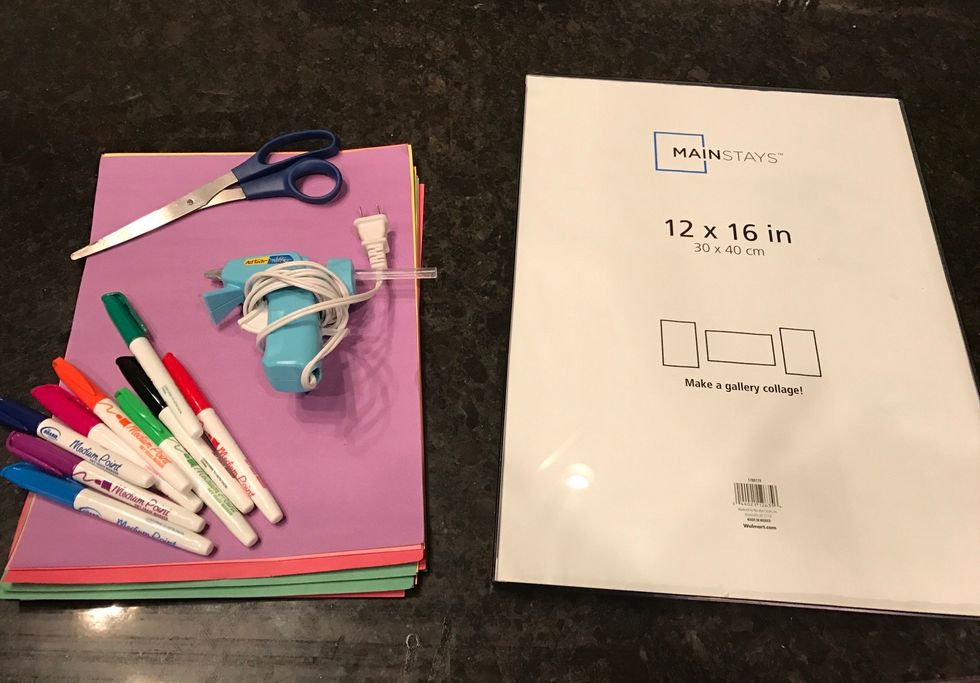
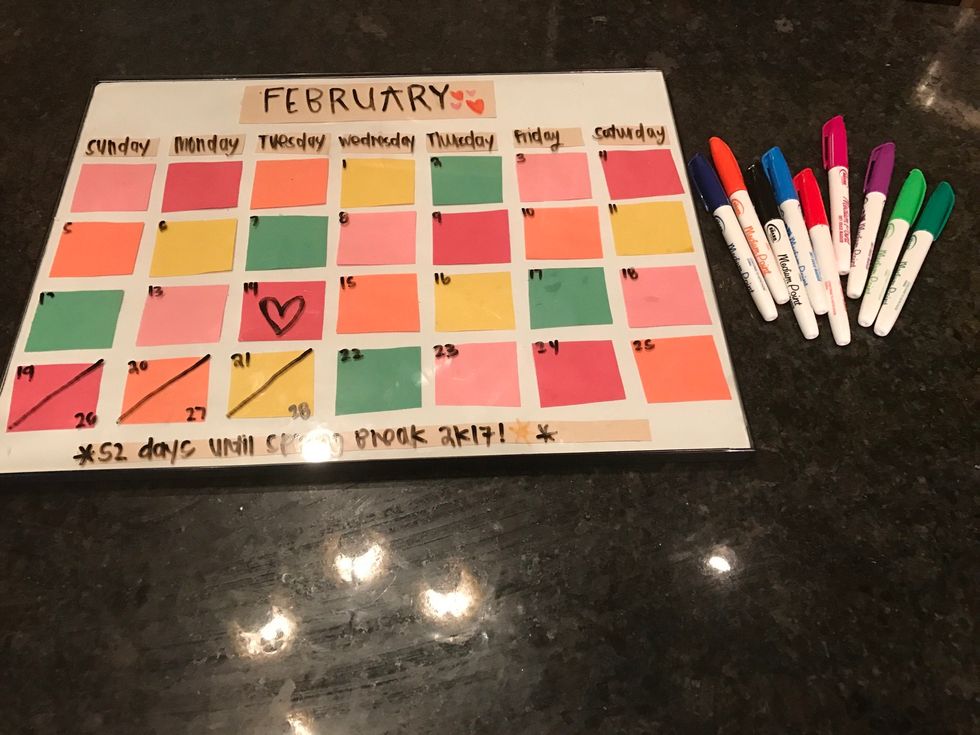
Gather your supplies.
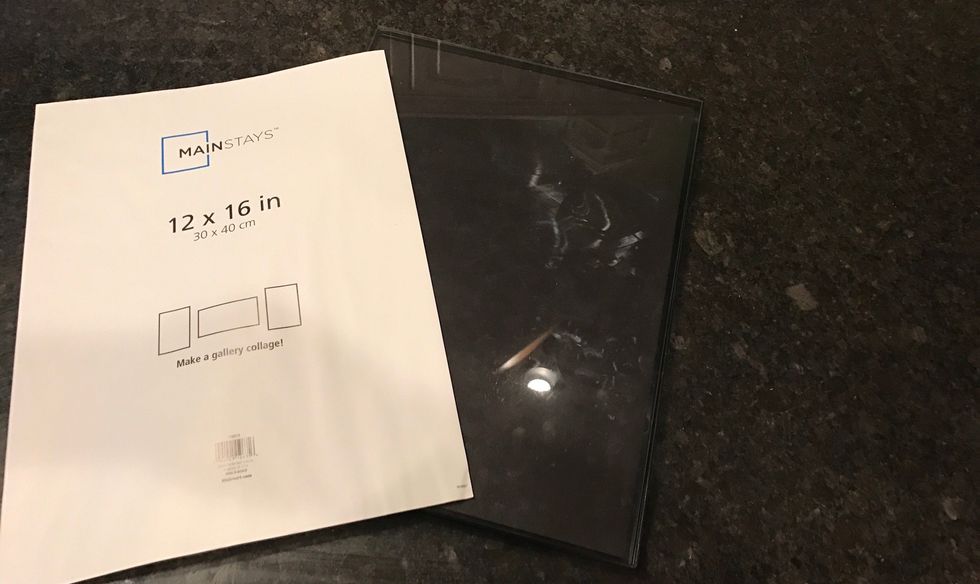
Remove the background sheet.
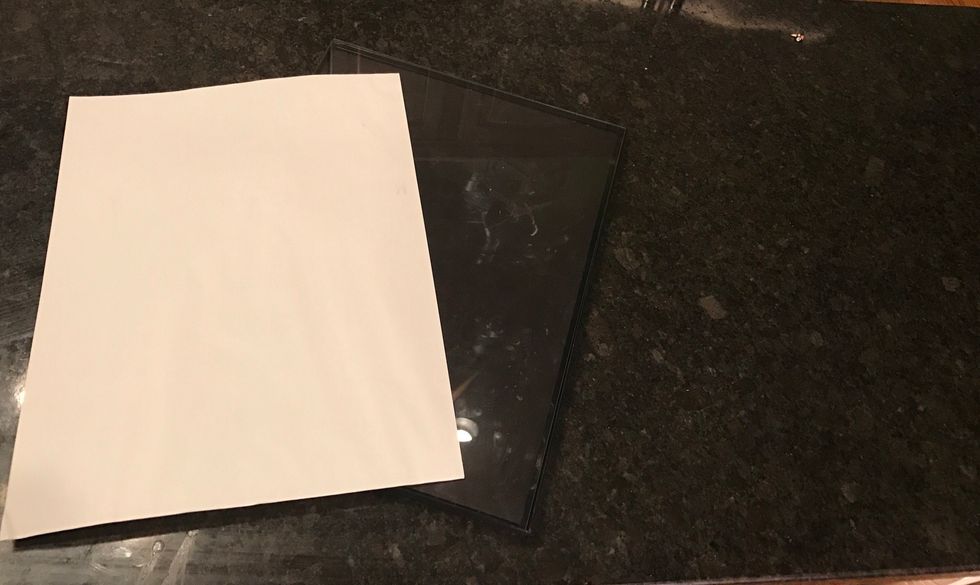
Flip over the background paper.
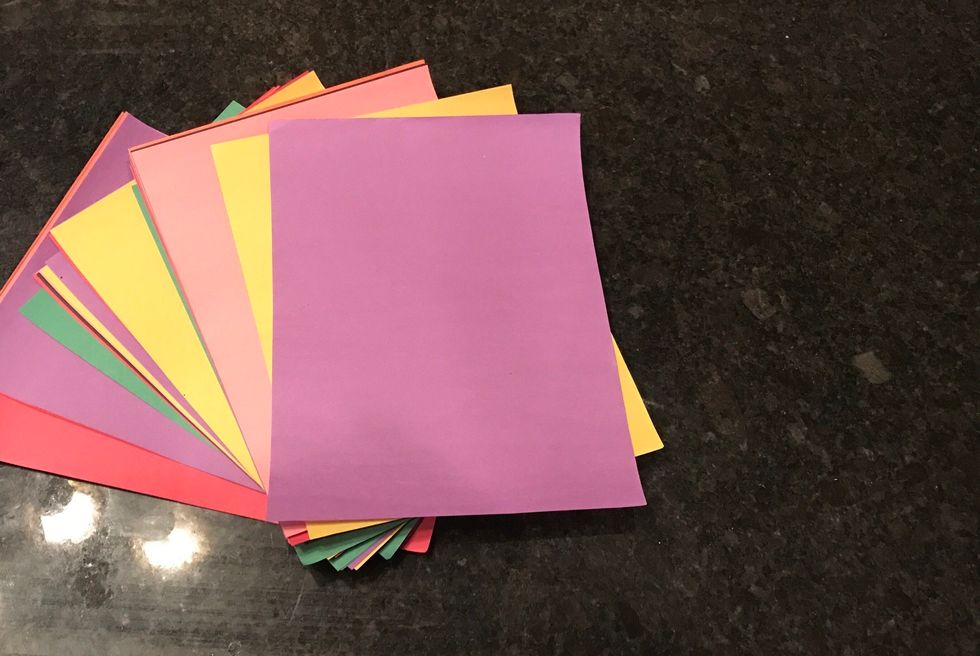
Pick out your colors you want.
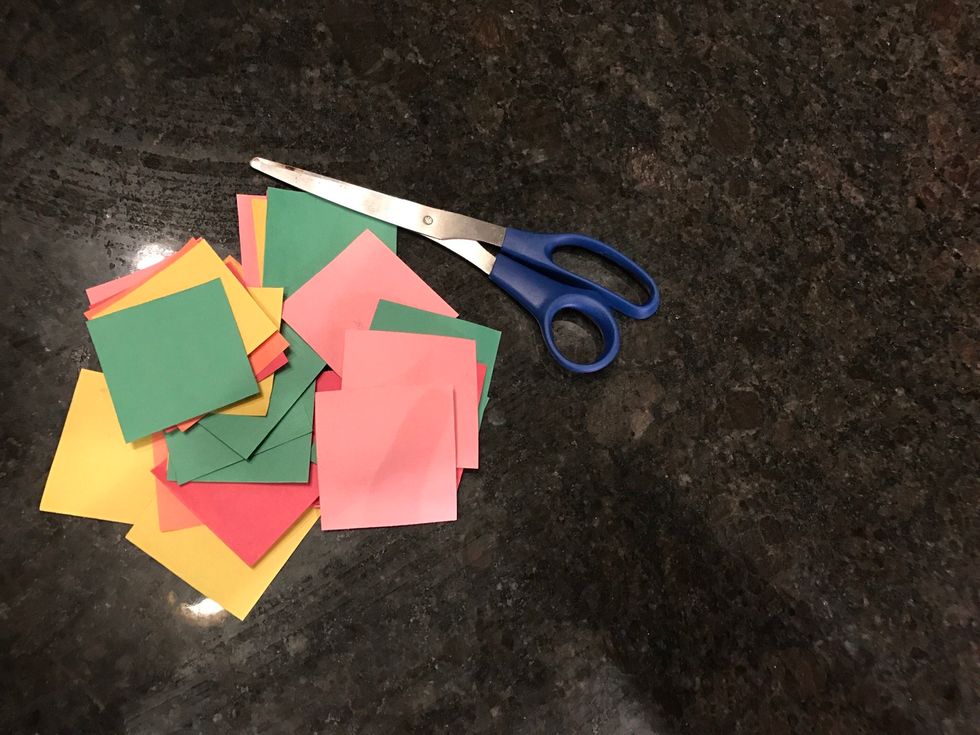
Cut out squares.
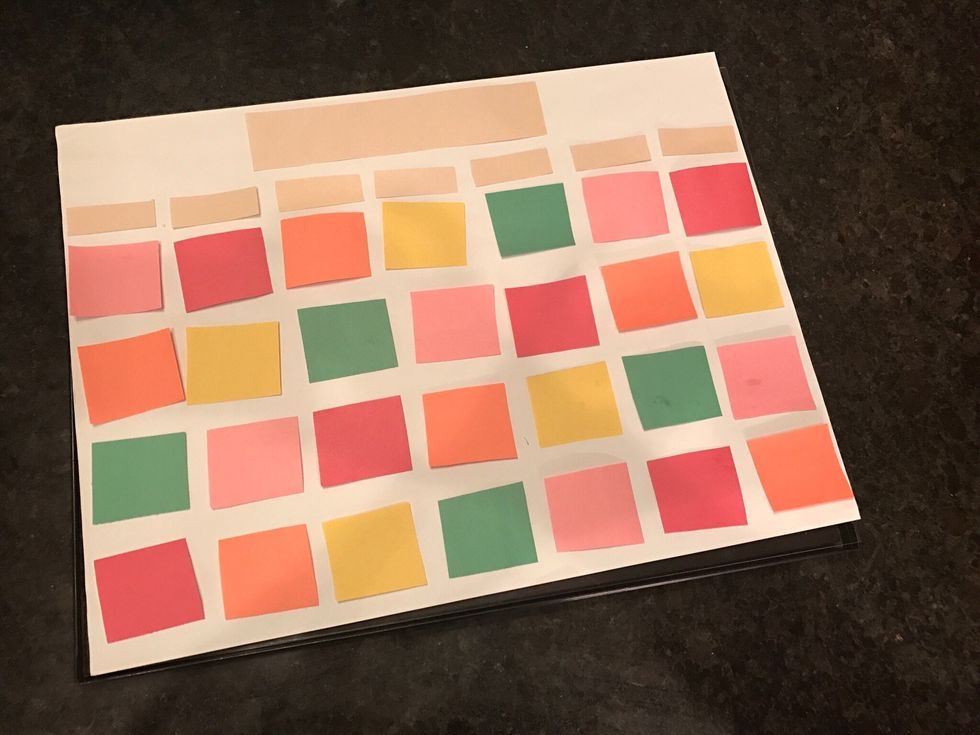
Arrange the paper.
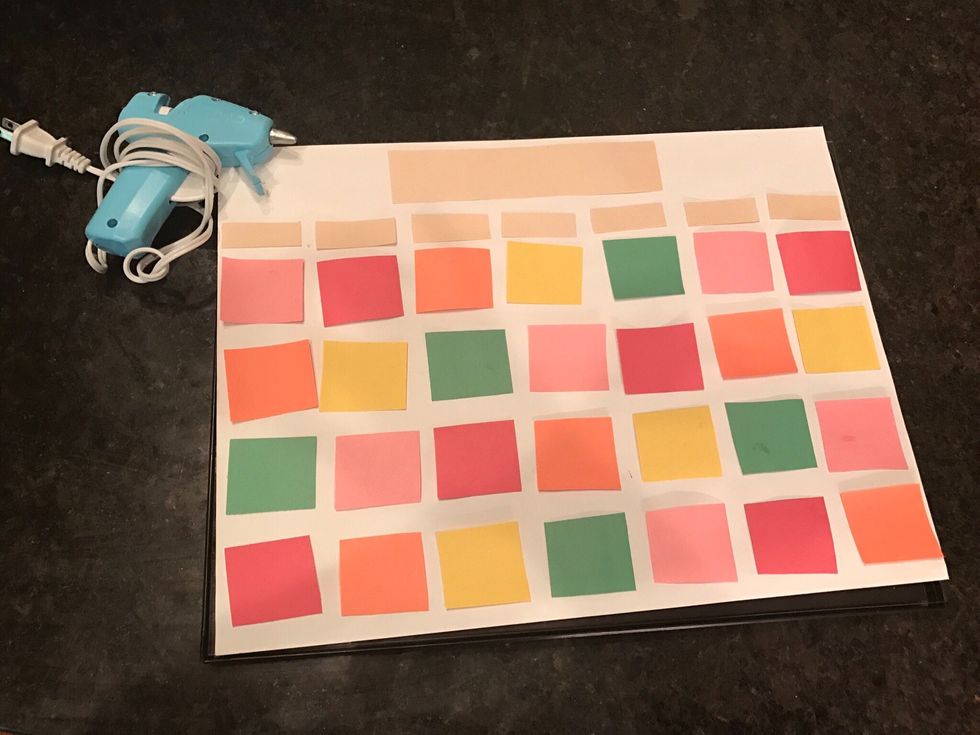
Glue the pieces to the background paper.
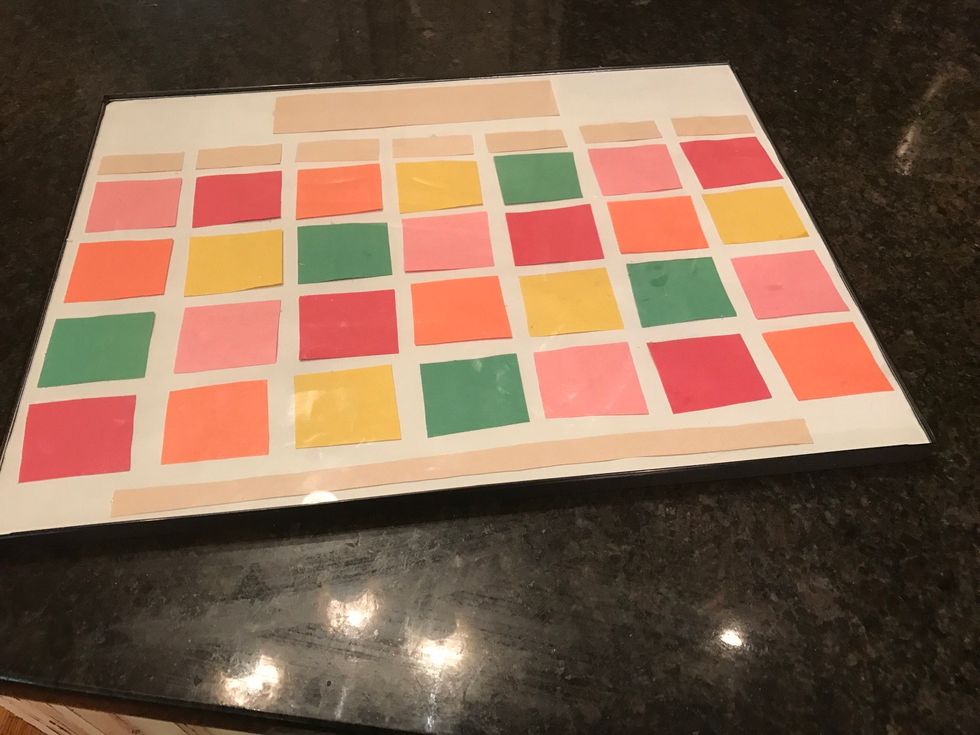
Put the paper back into the frame.
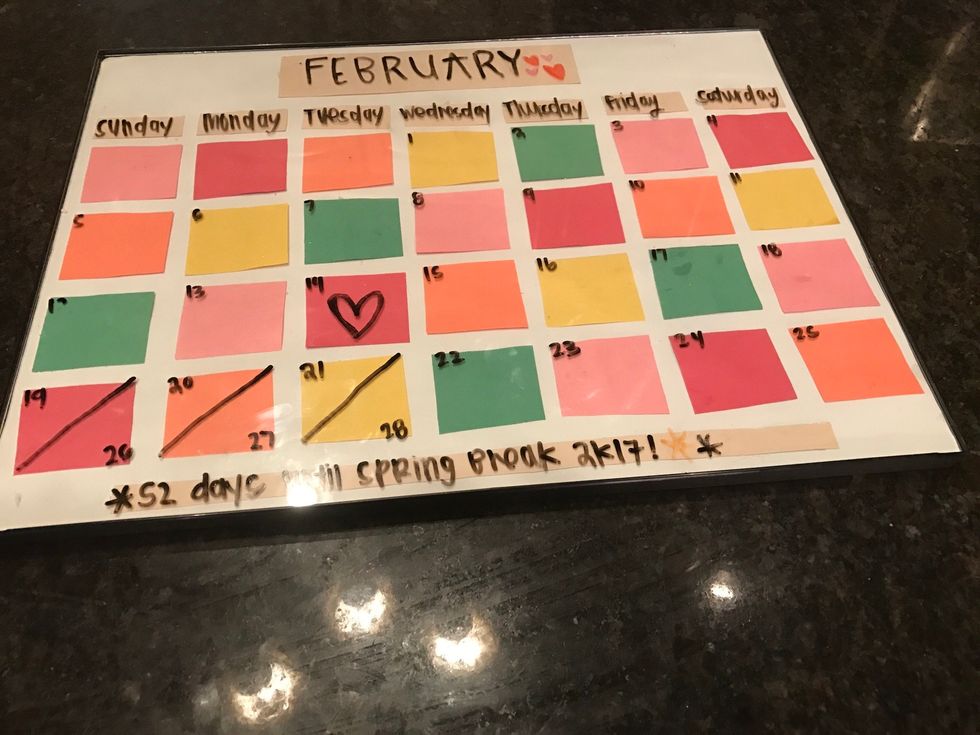
Fill out all the information needed.
Update every month and enjoy!