The Conversation (0)
Sign Up

My supplies. I printed the guitar pattern off the Internet. Just typed "guitar stencil" into google.
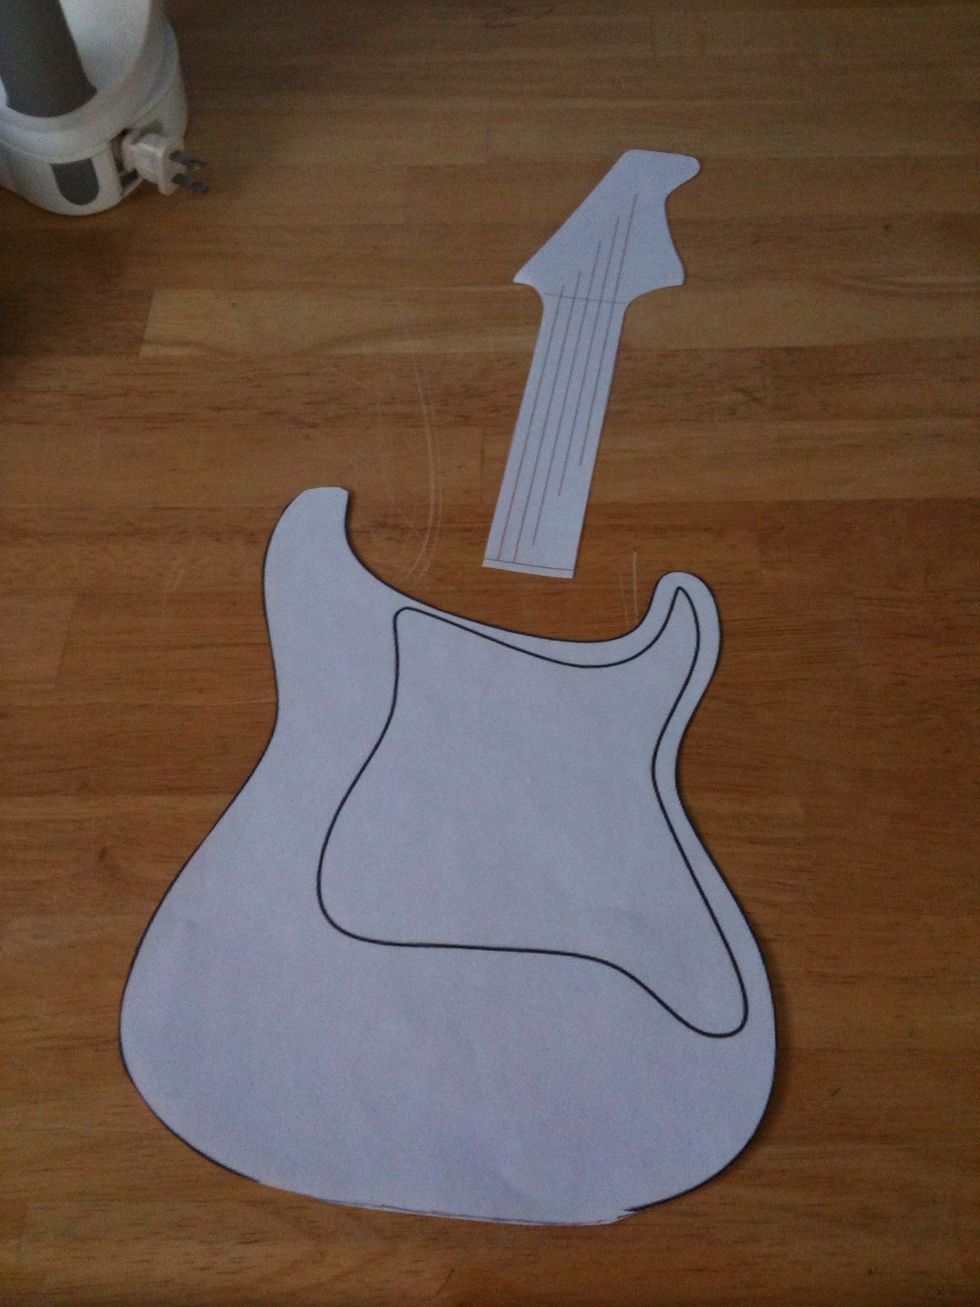
Cut out my stencil
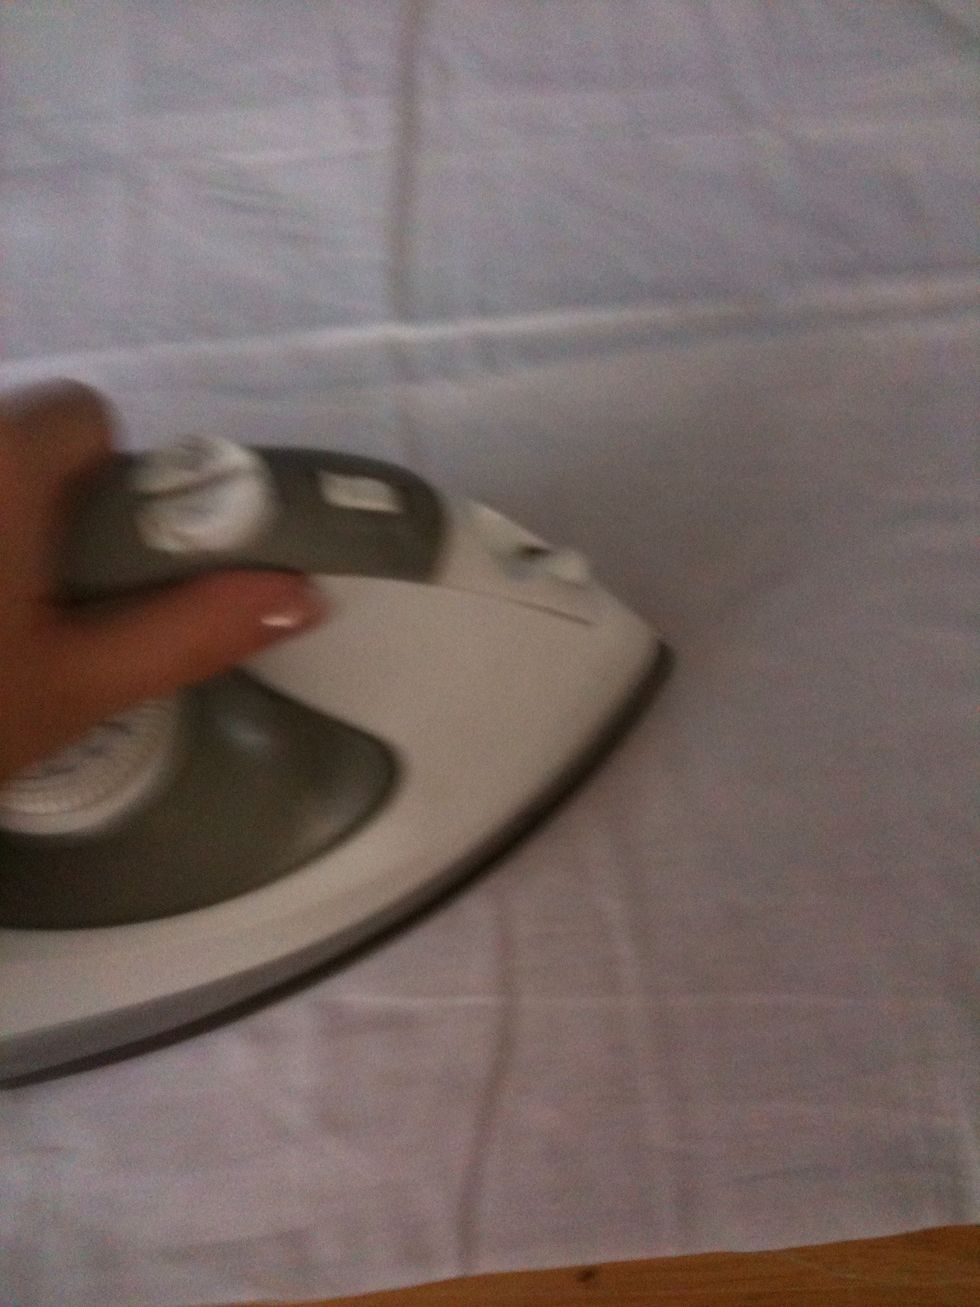
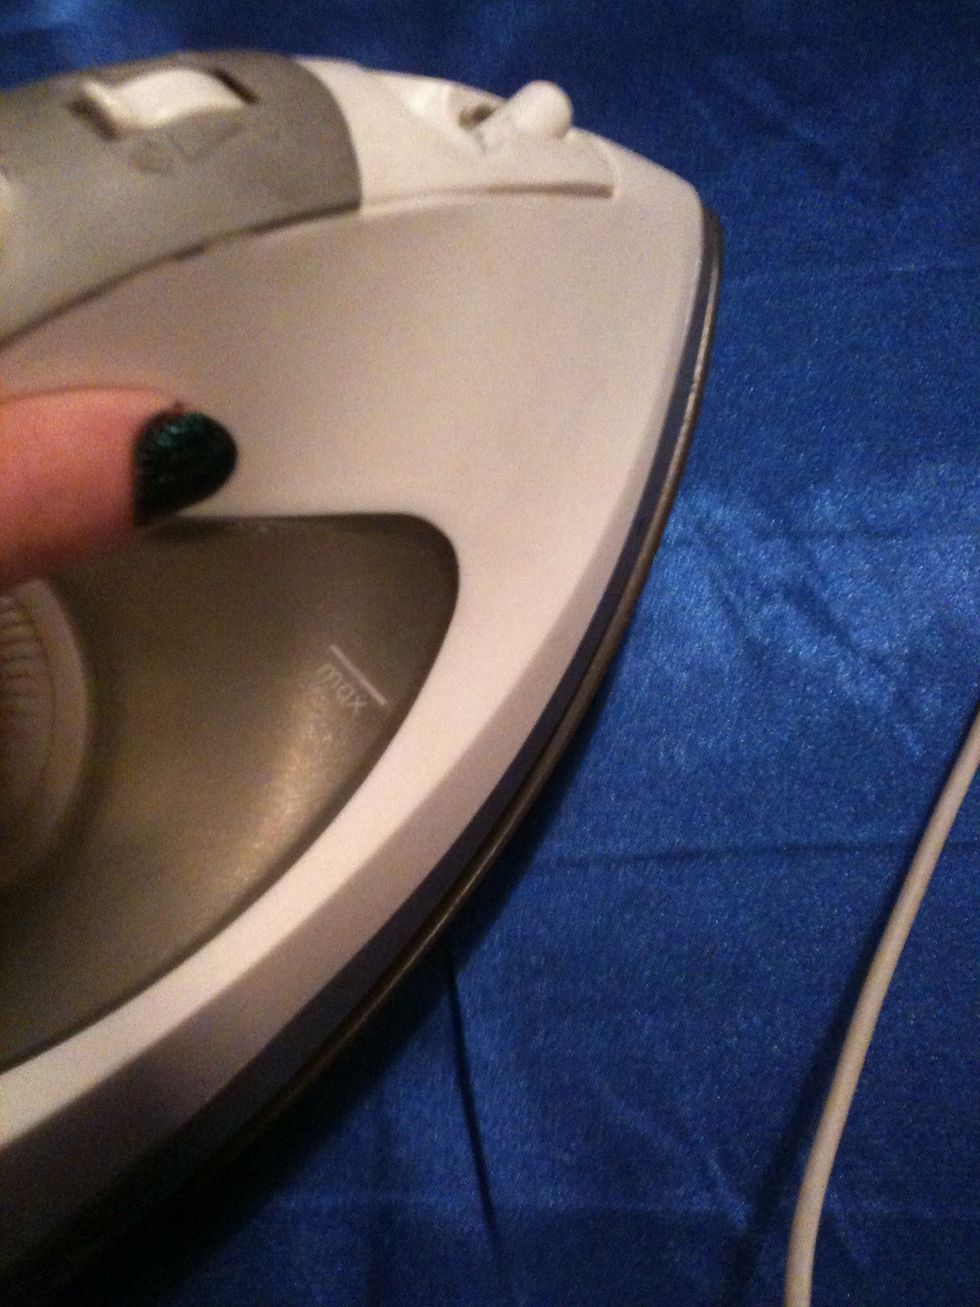
Iron wrinkles out if the fabric I'm using for the guitar
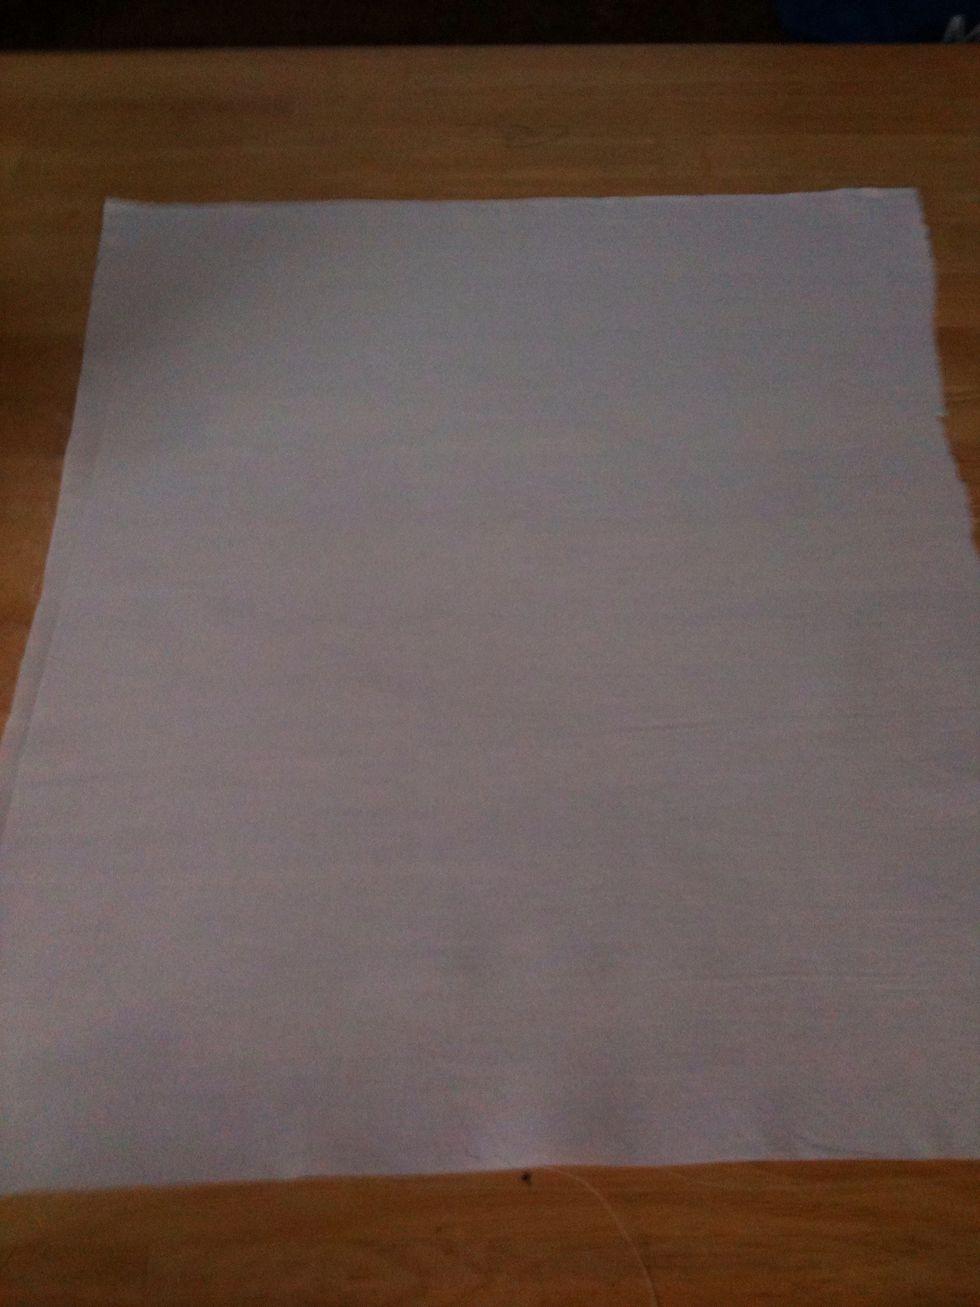
Muuuch better!
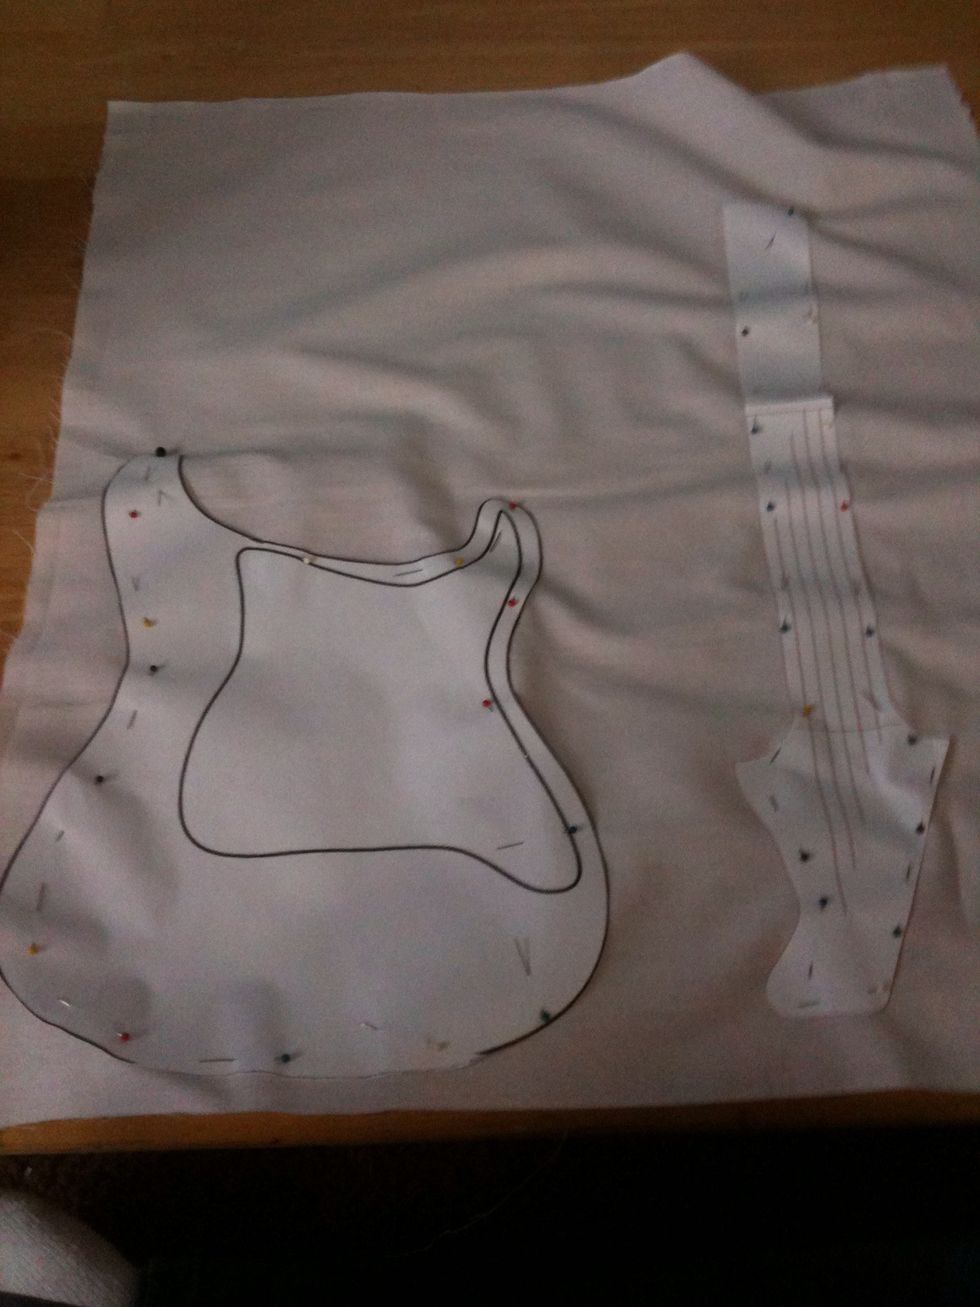
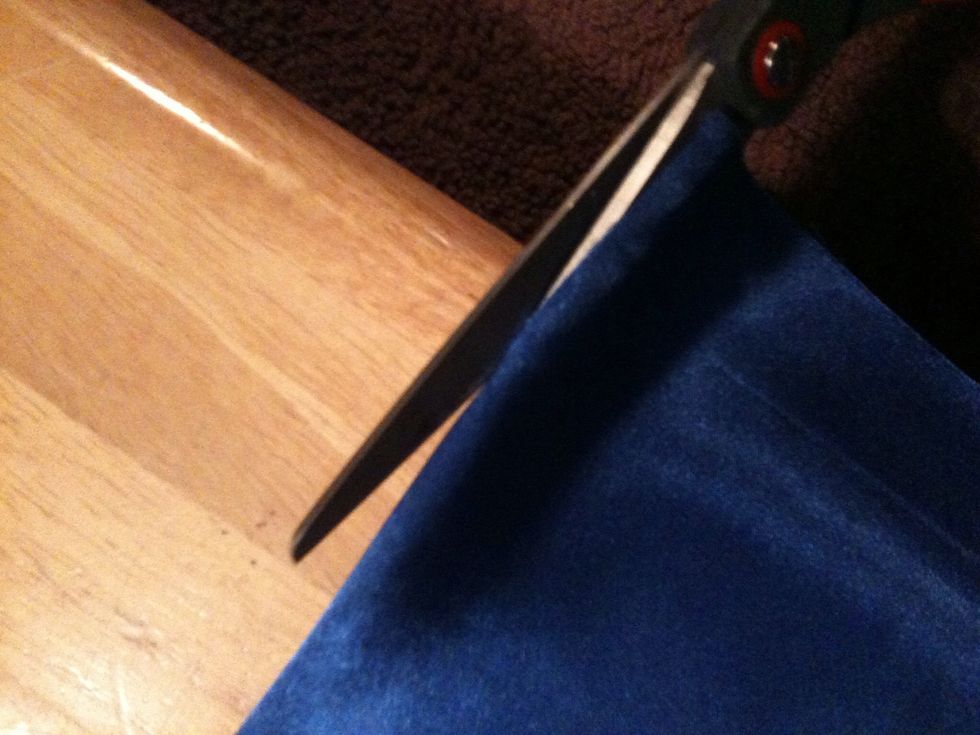
Pin my guitar pieces then cut out (if you can cut the whole guitar into one piece, do so, it'll look better but I hadn't thought of that at the time)

Iron the fabric I'm using for my faceplate. Then pin and cut out as well.
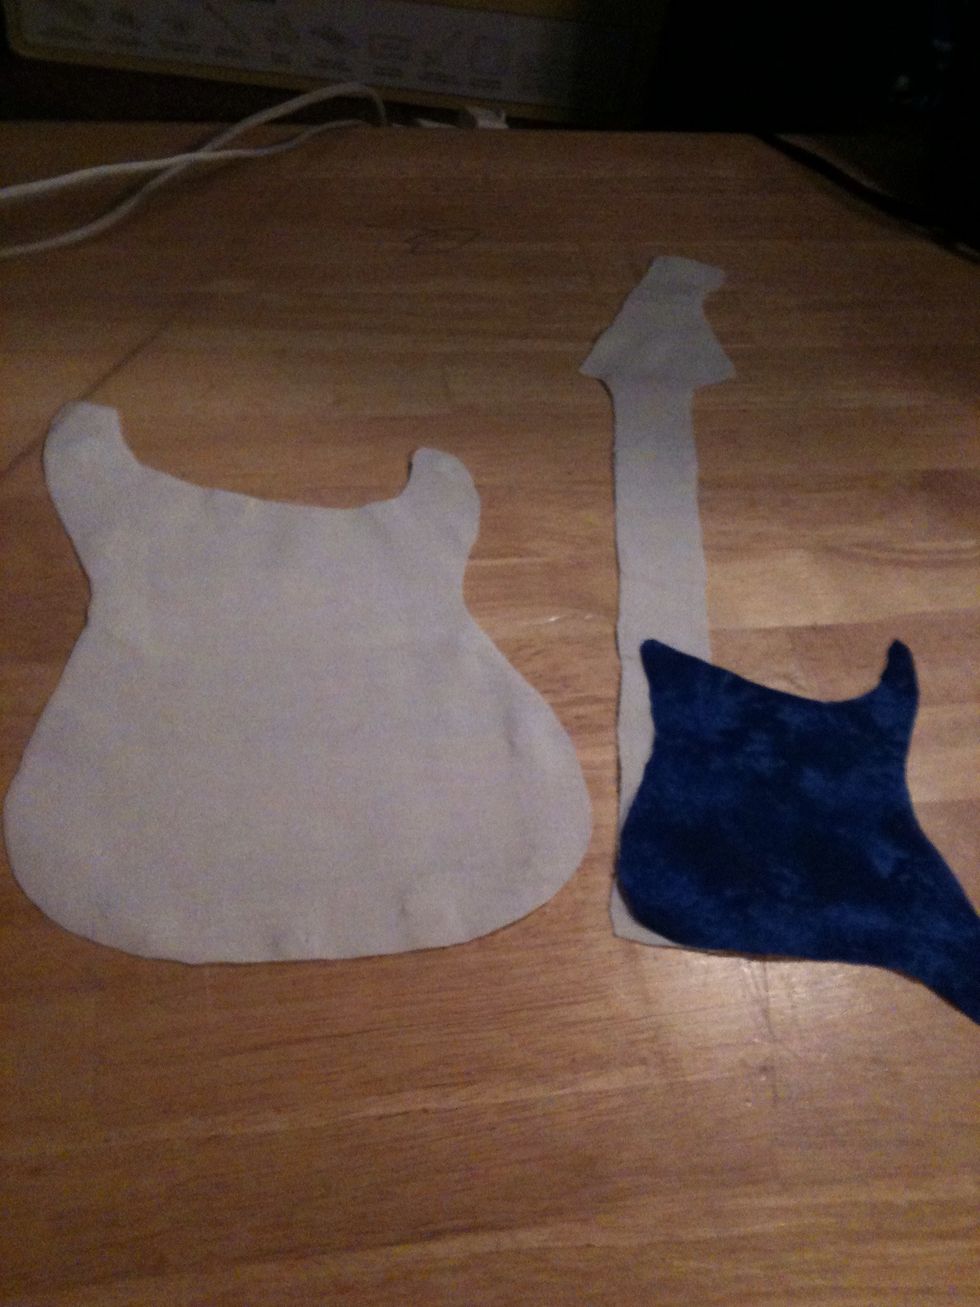
My cut out pieces.
Here, I decided to go back and recut my guitar so it was one piece. But if you have two, sew the neck to the base.
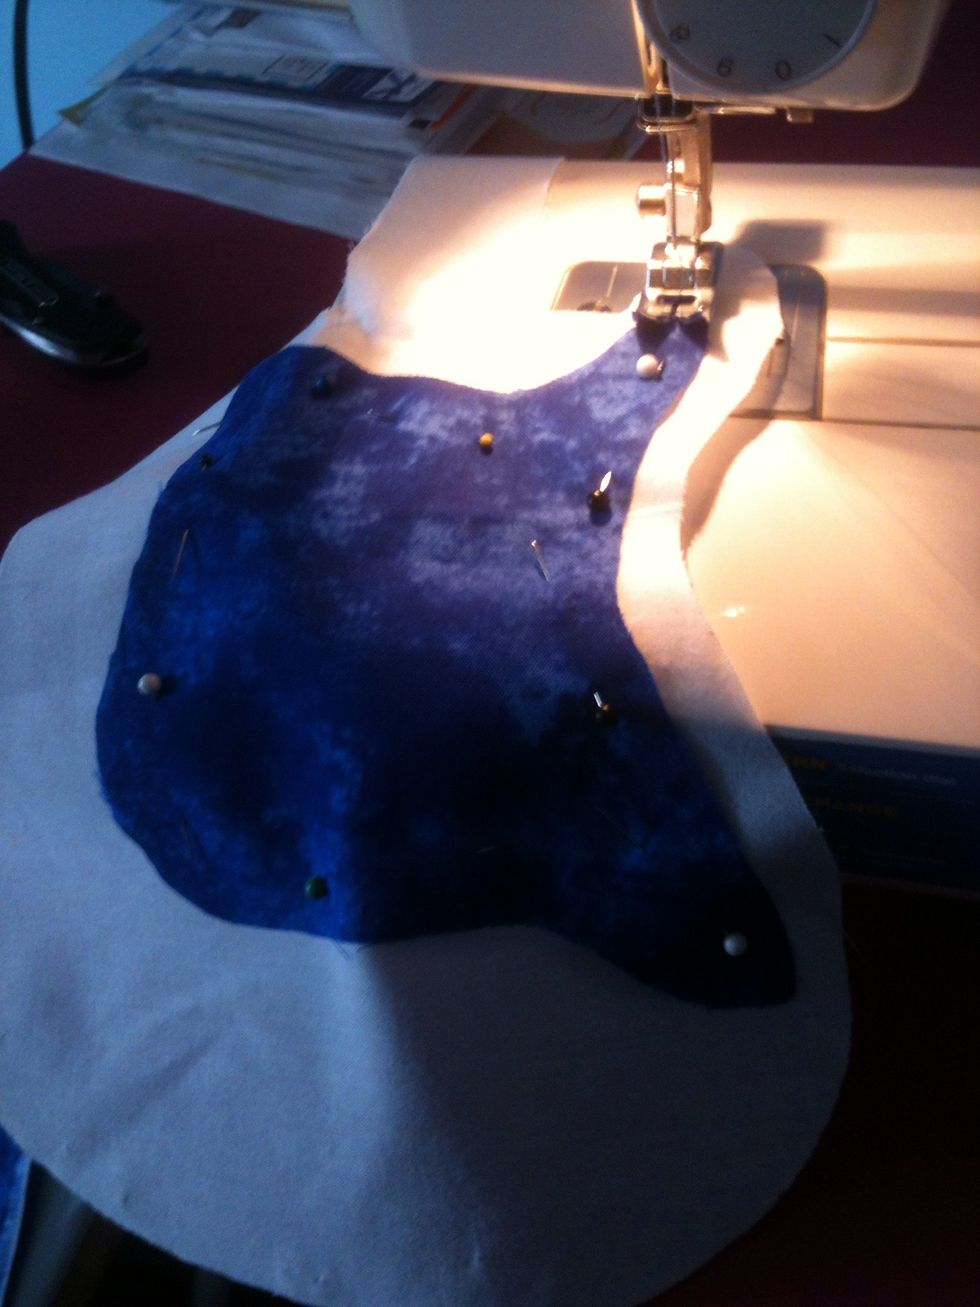
Here, pin then sew your faceplate to the guitar. Sew as close to the edge as possible so that there isn't too much extra edge hanging off. Cut off extra if there is any.
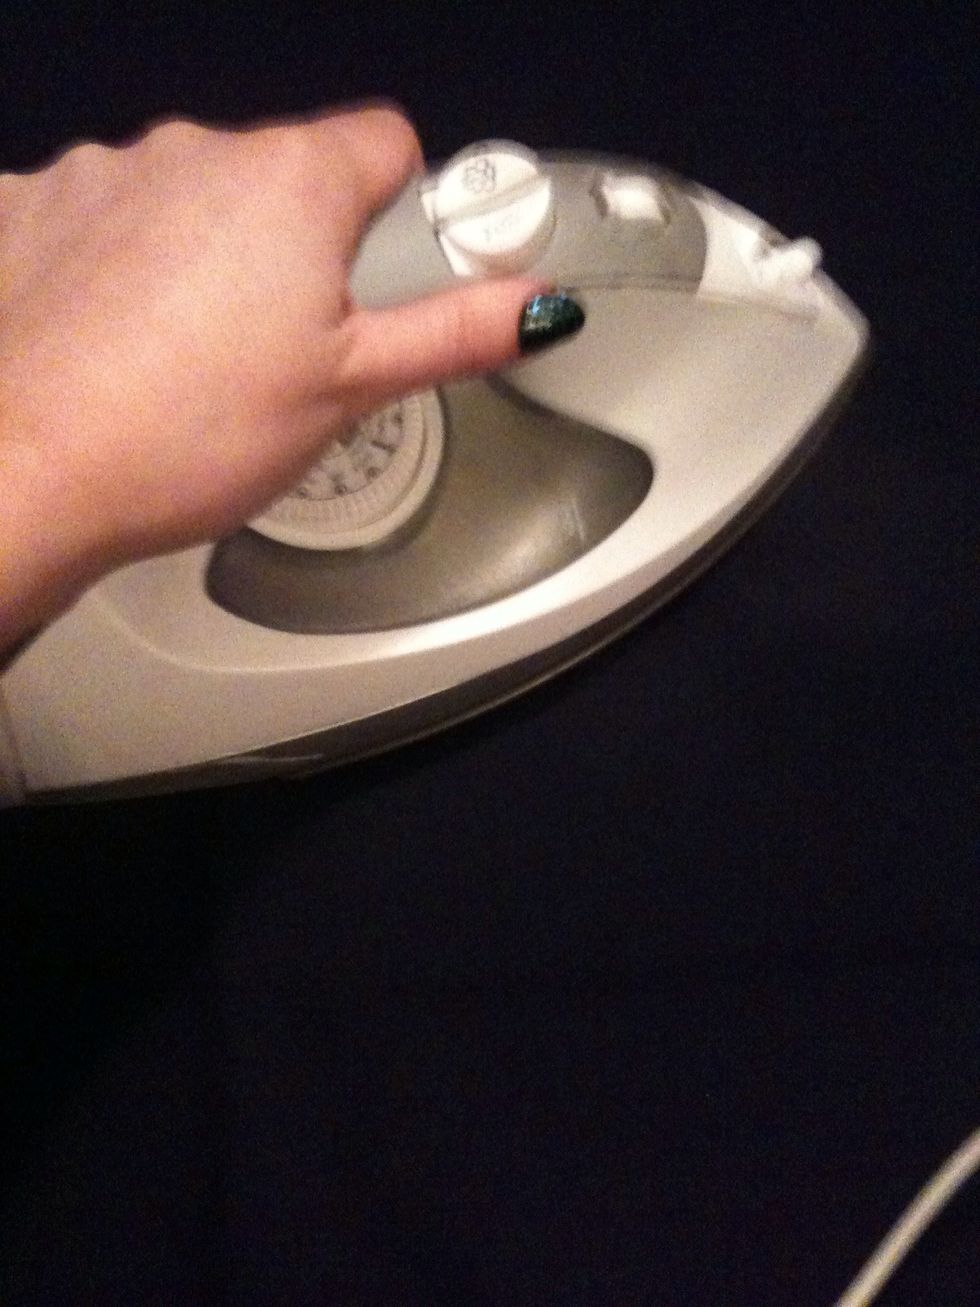
Iron any wrinkles out of the fabrics that you'll be using for your blanket.
More ironing.
Cut fabric to desired size
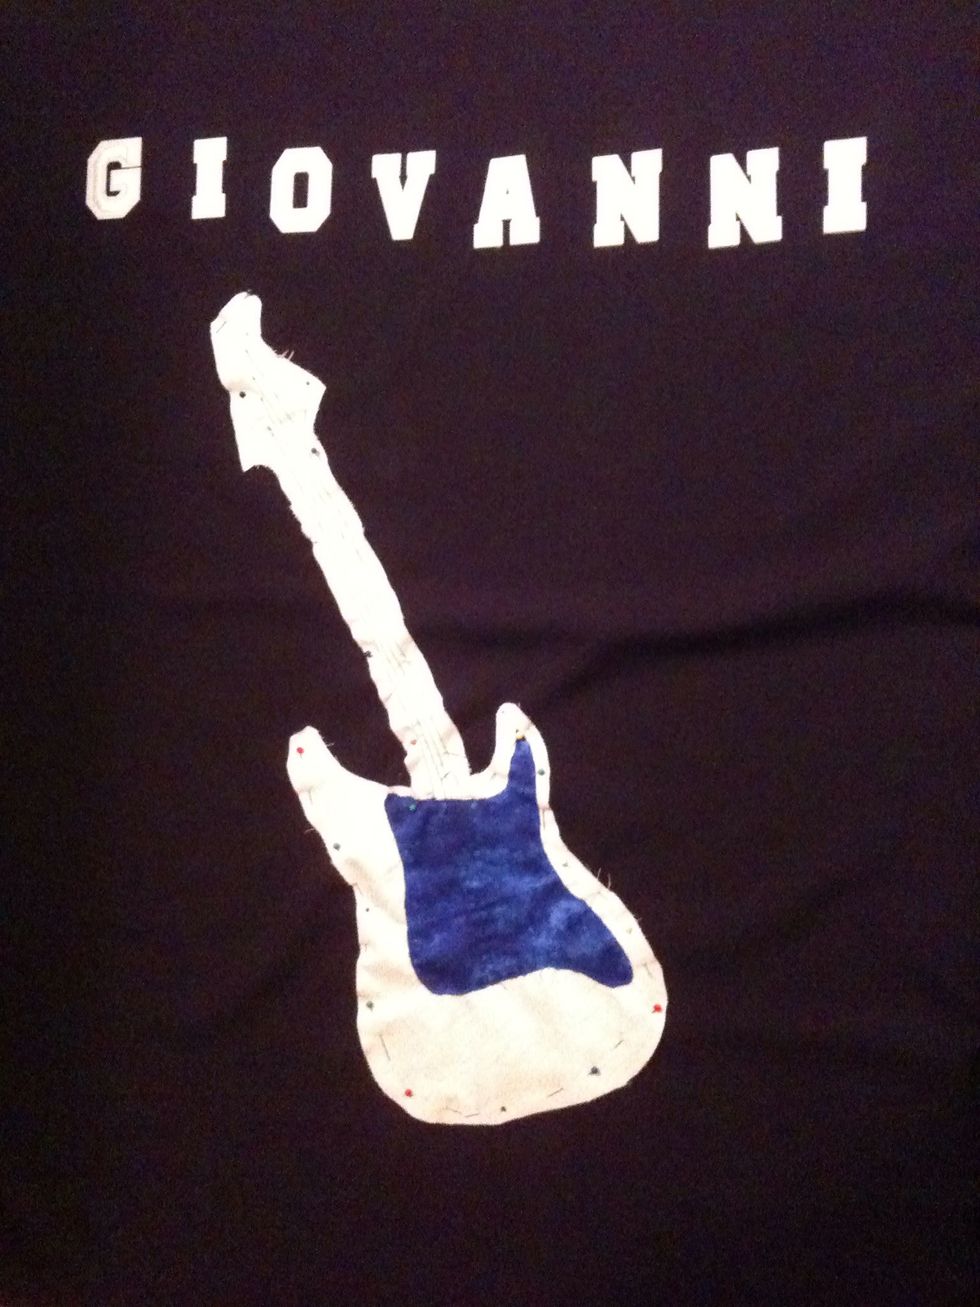
Pin guitar and arrange letters how you like.
It took me a few tries to see how I wanted my letters
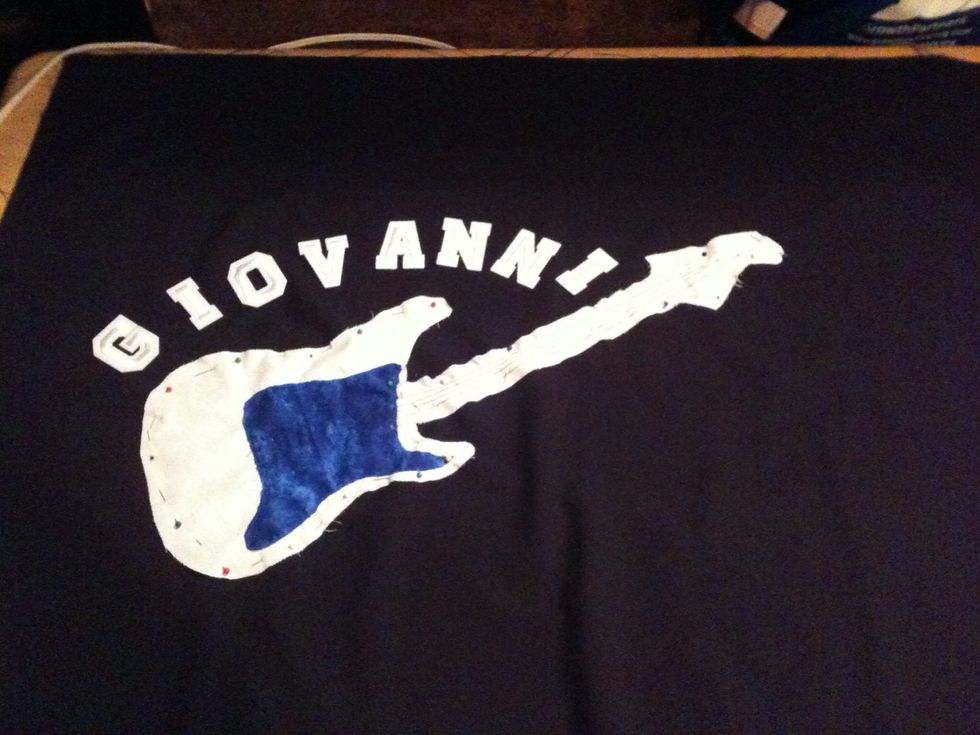
I settled on this layout. Pin your letters or just remember how you liked it. I was just playing with layouts at first so nothing is pinned down.
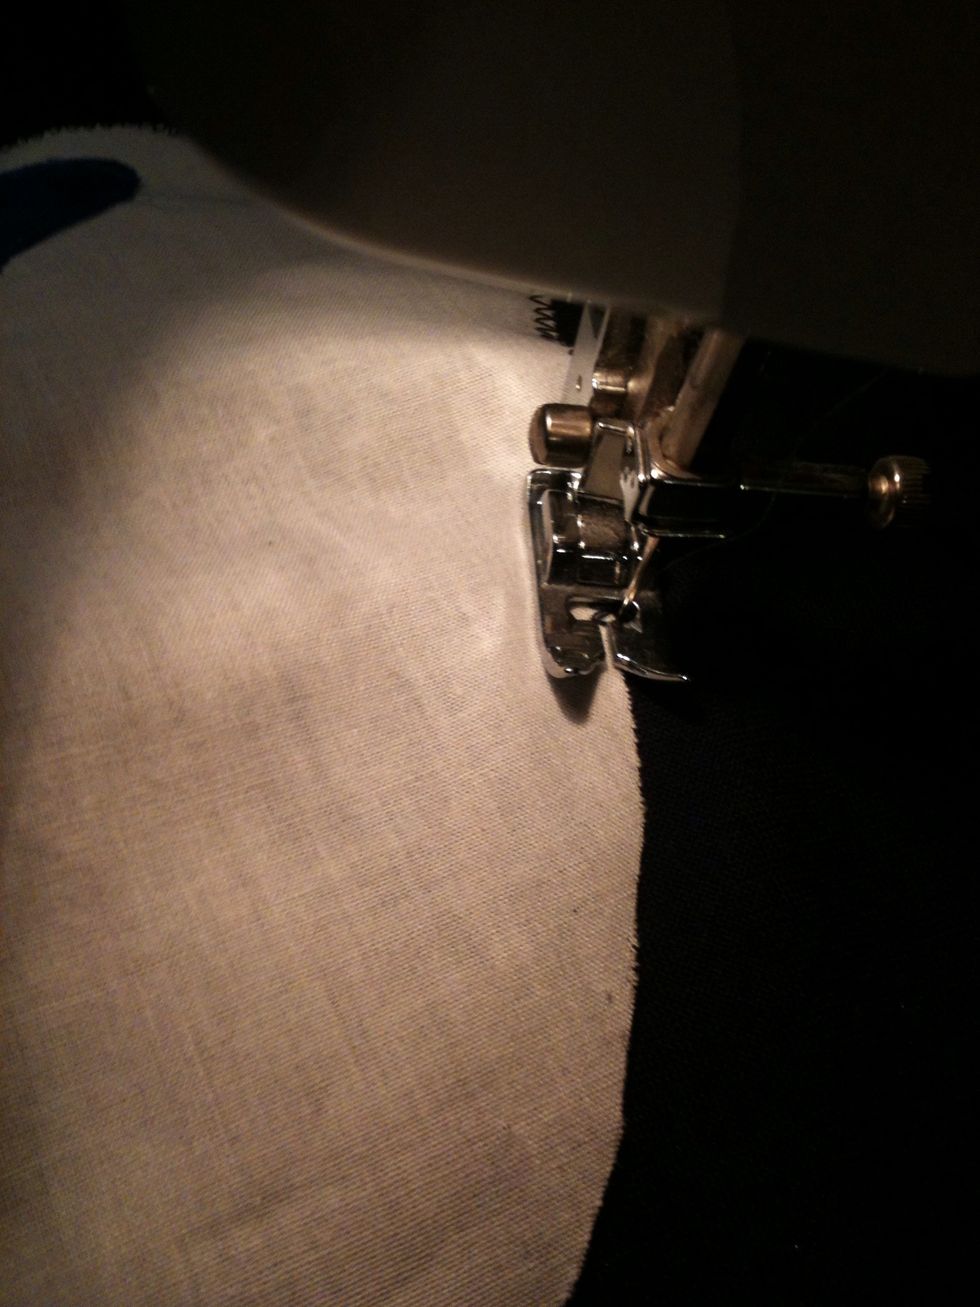
Sew your guitar to the piece of fabric you chose as the front of the blankie.
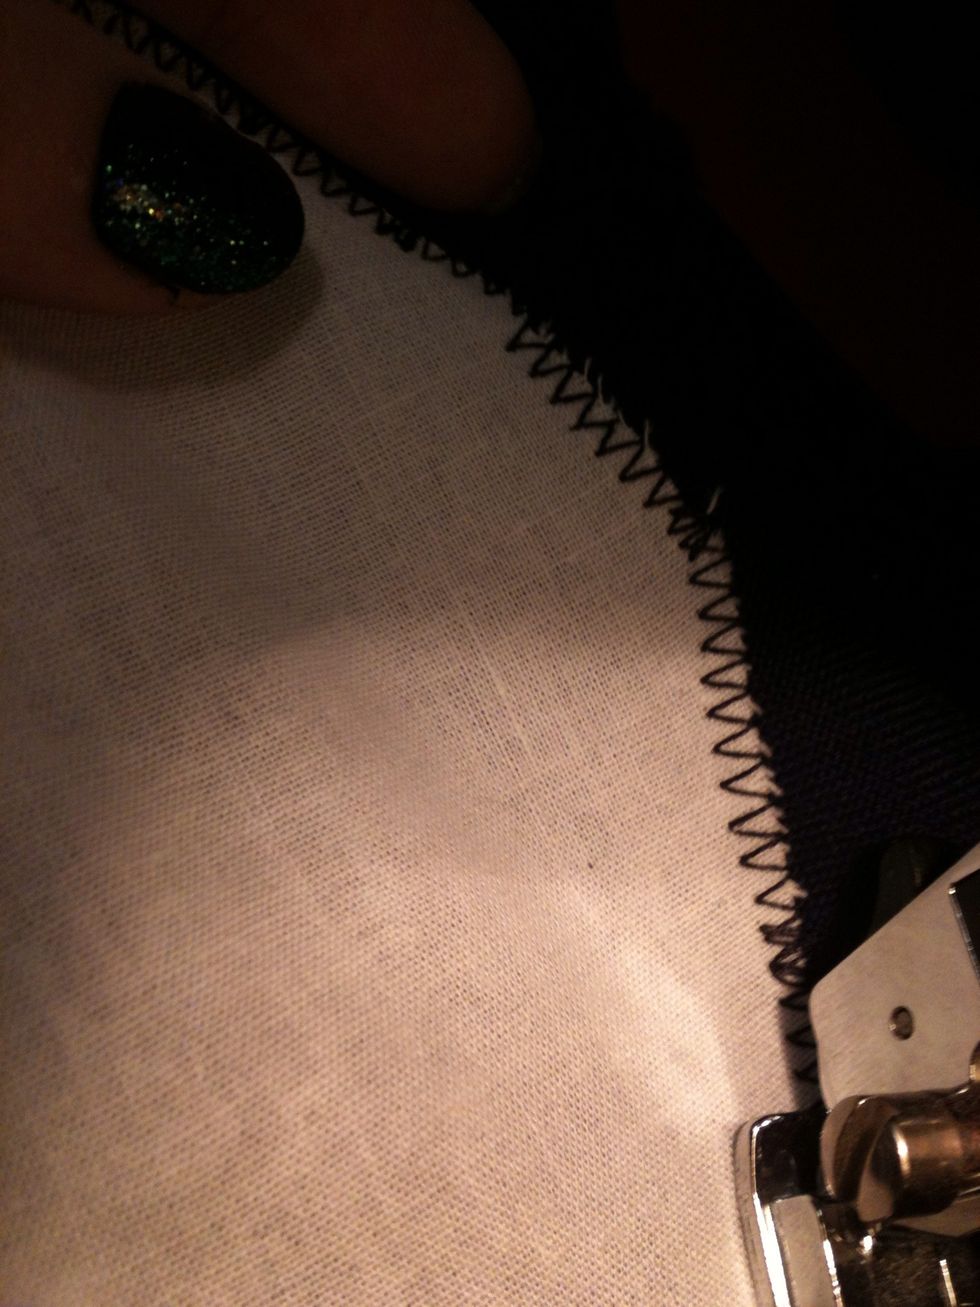
I chose this stitch because it will hold better and plus I just think it looks better.
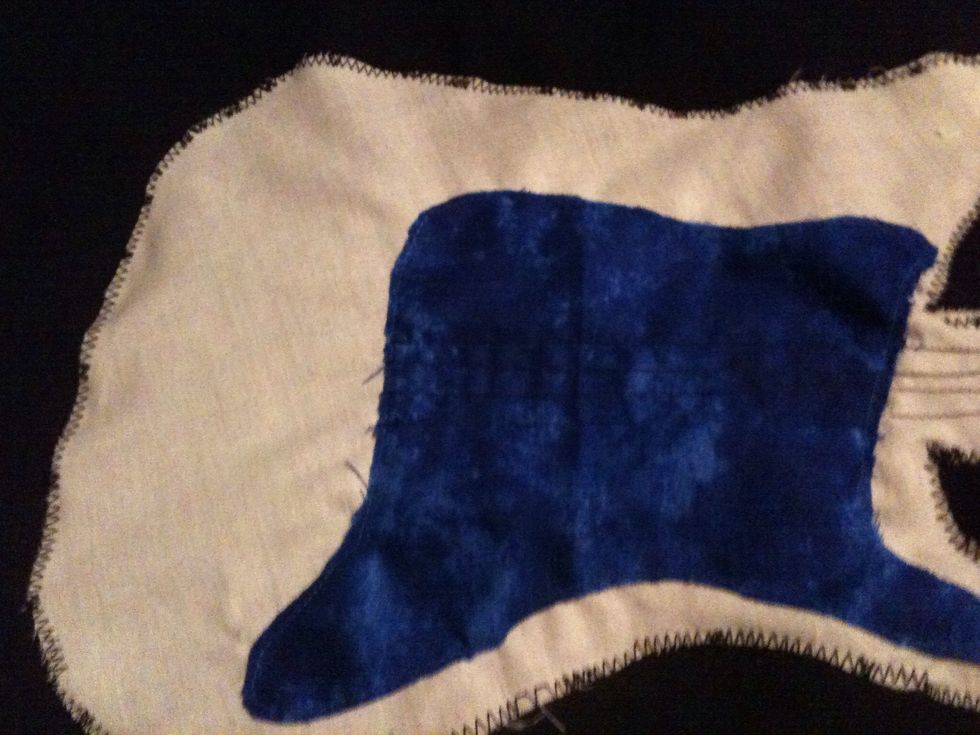
My sewn on guitar
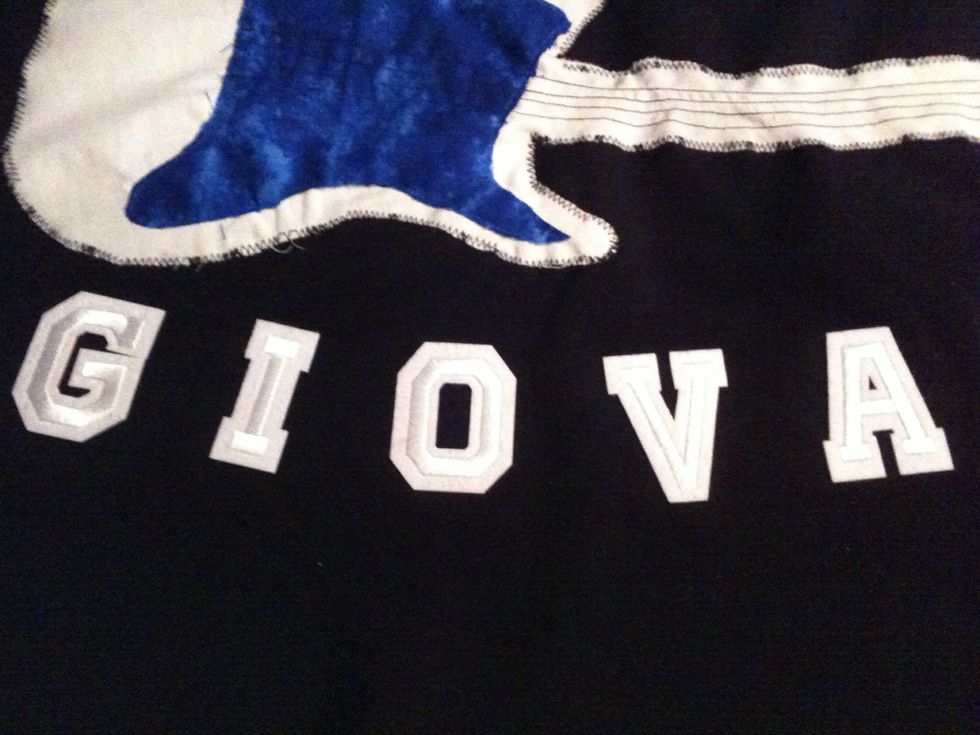
Lay out your letters again how you liked and iron them on according to packaging instructions.
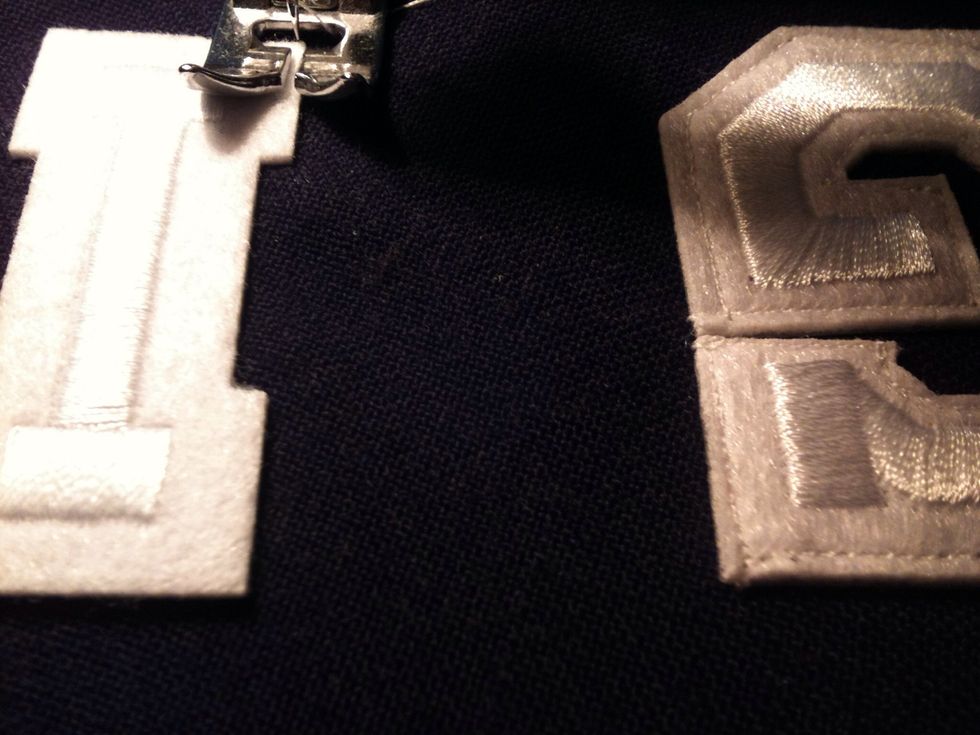
I chose to sew my letters on after ironing to reinforce the letters that way they won't fall off after several washes.
Here, I looked at my blankie again and decided it was plain so I used extra fabric pieces and cut out music notes.
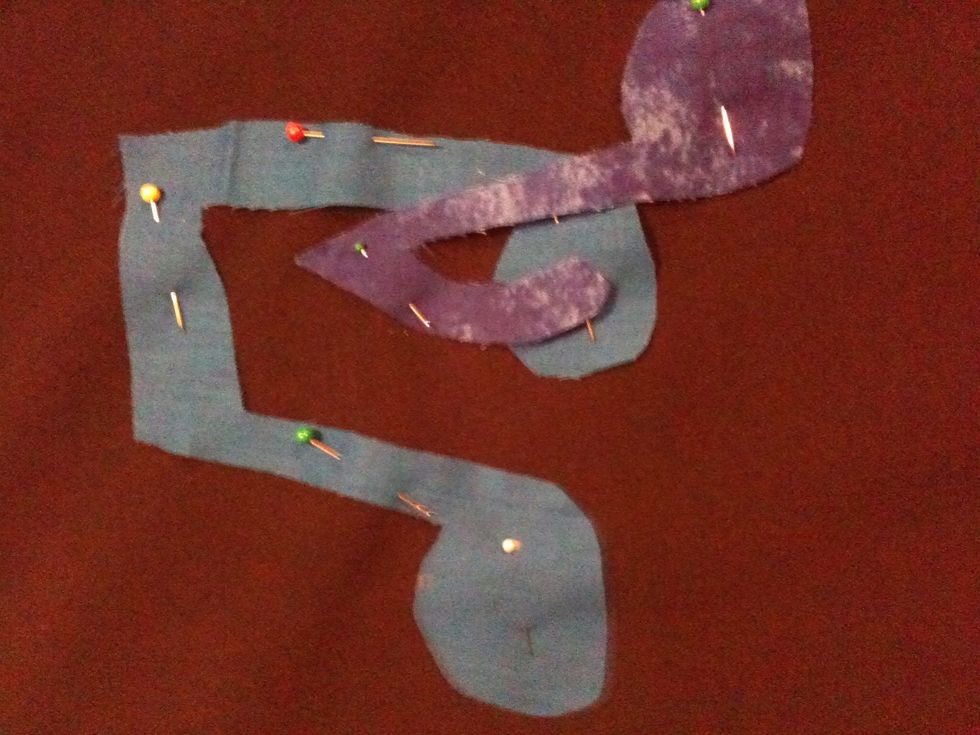
My music notes cut out and pinned to the blankie.
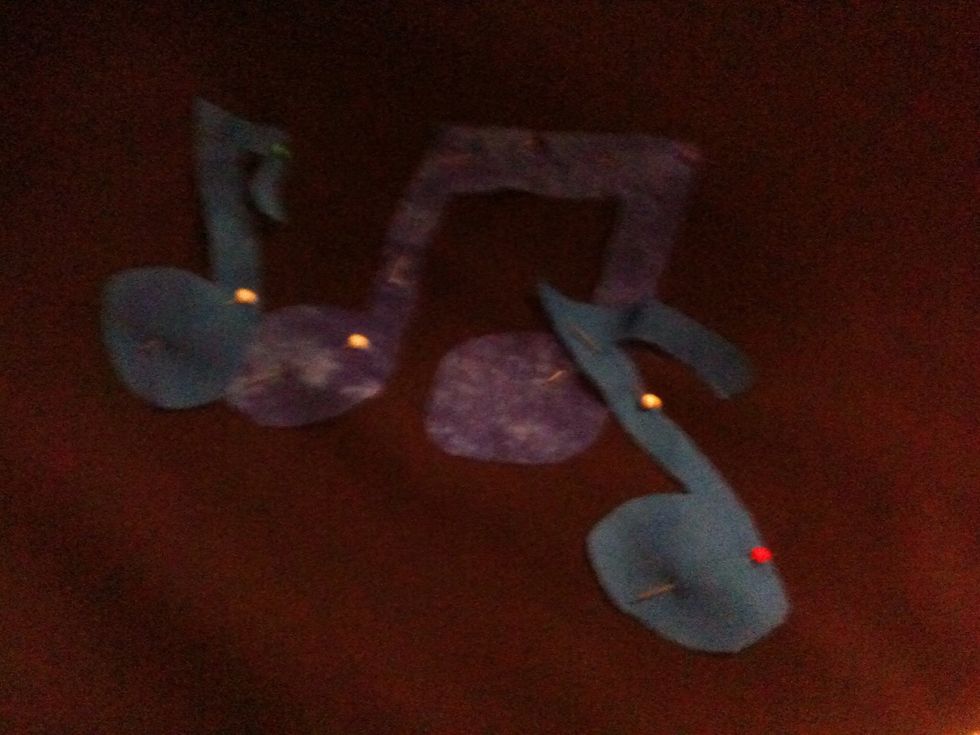
More music notes
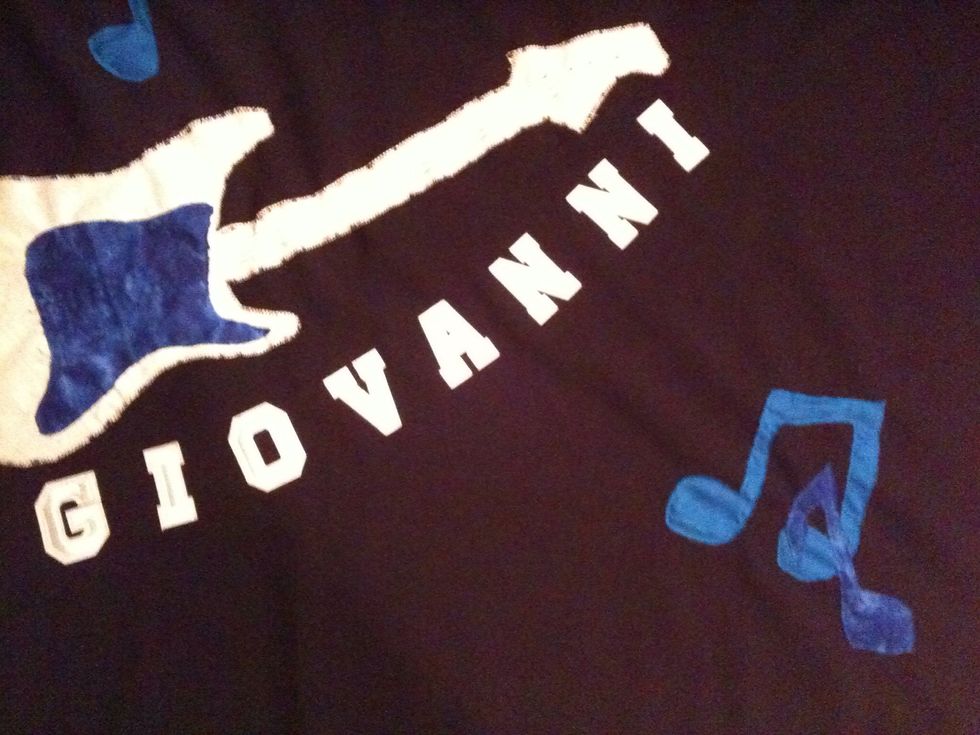
Sew the music notes onto the blankie however you like the layout. Ok the front is done. Now to make it into an actual blankie for baby. :)
Take your second fabric and lay it on top of the first. RIGHT sides together.
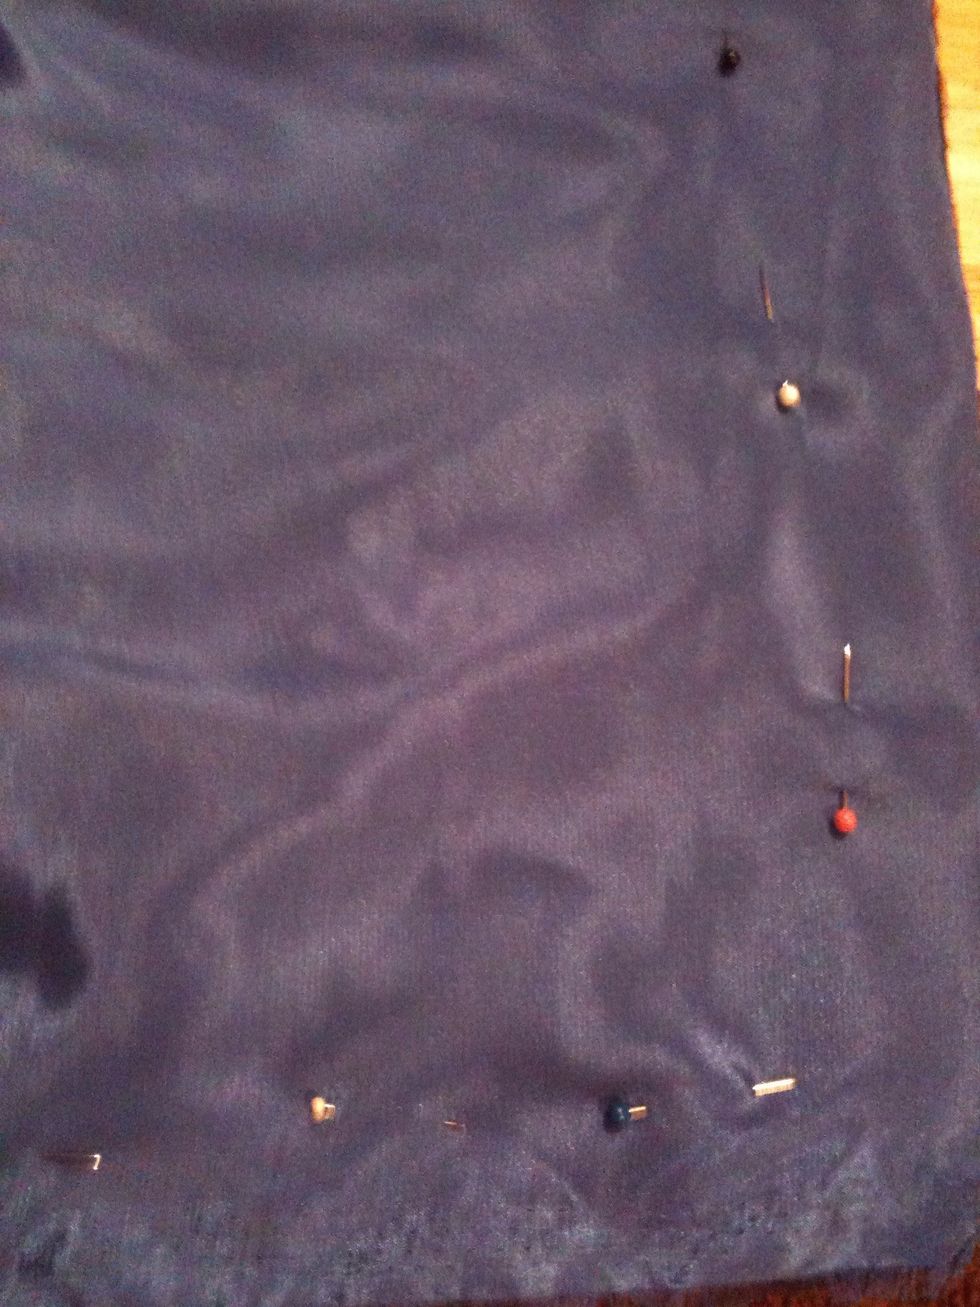
Pin it. It will help keep everything straight while sewing.
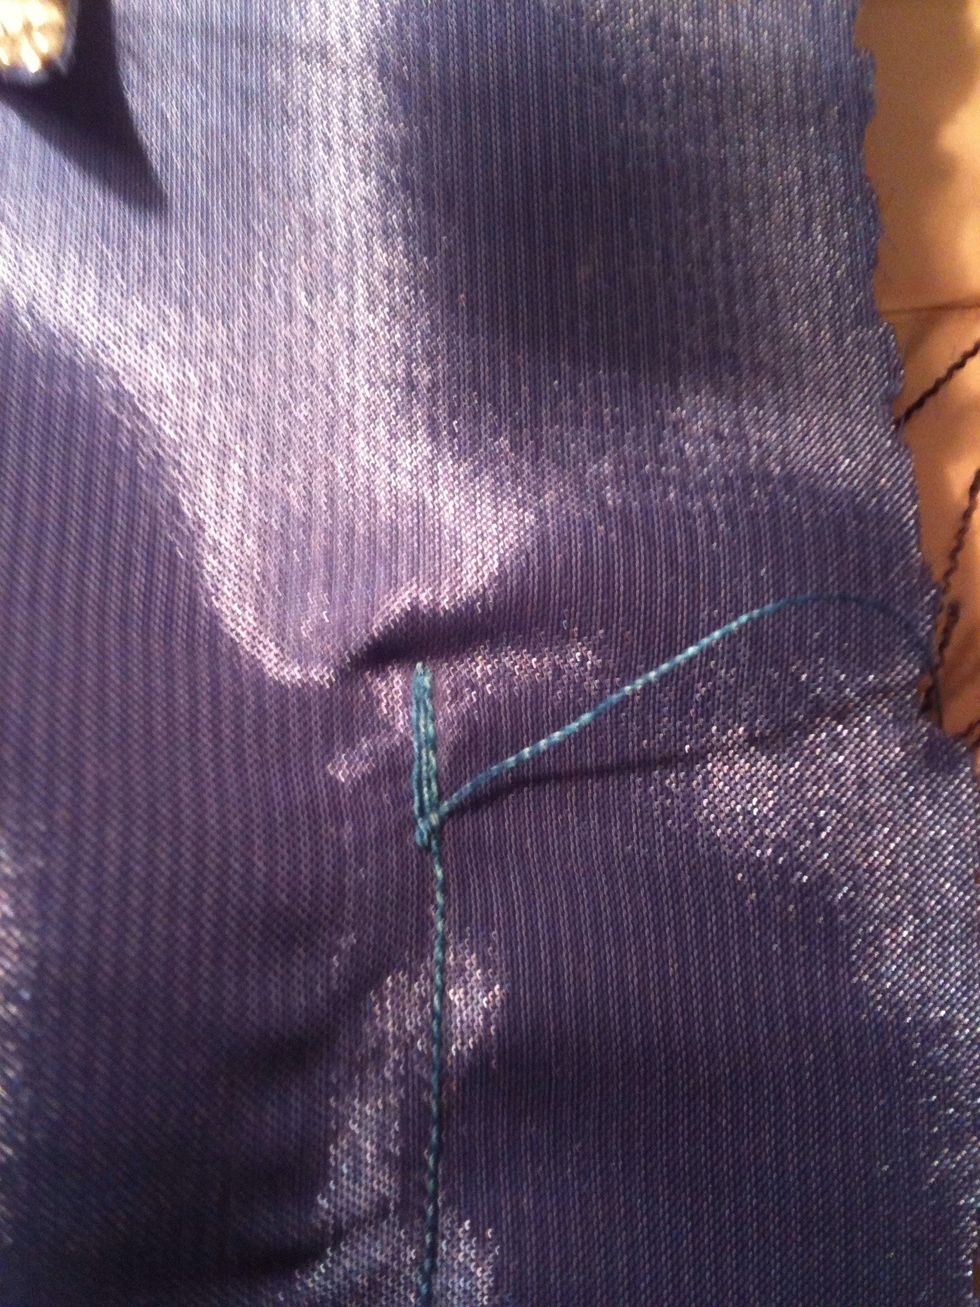
Sew your fabric together. Leave a gap, not sewing the whole thing together. You will need this to turn the blankie right side out. Make sure to back stitch here!!
I forgot to photograph this step but turn the blankie right side out by pulling the fabric from inside, out through the hole you left.
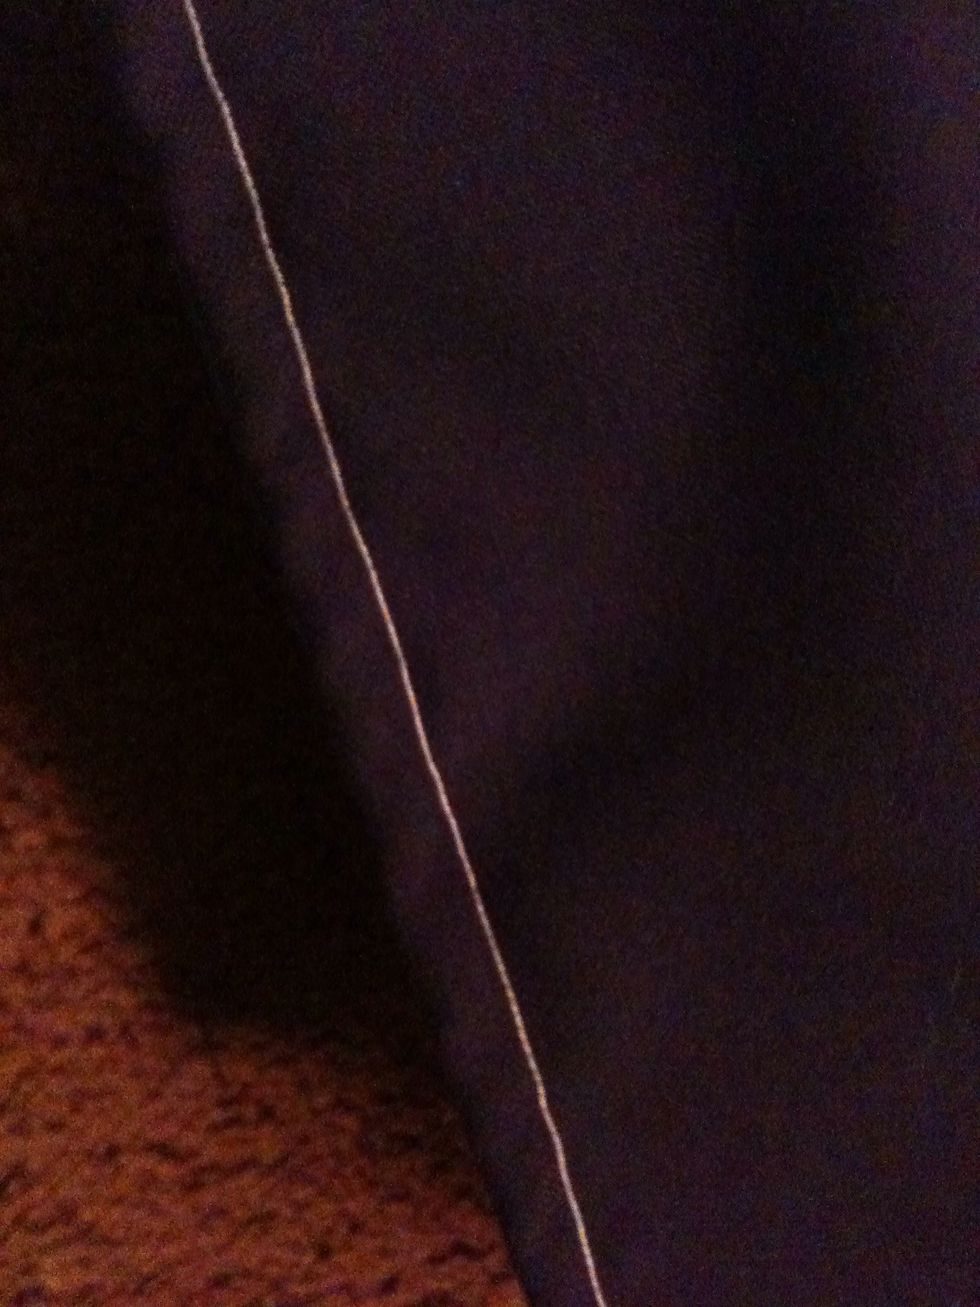
I wanted a nice, clean edge to help when I added trim so I sewed the sides of the blankie

Now, take your trim and measure how much you need.
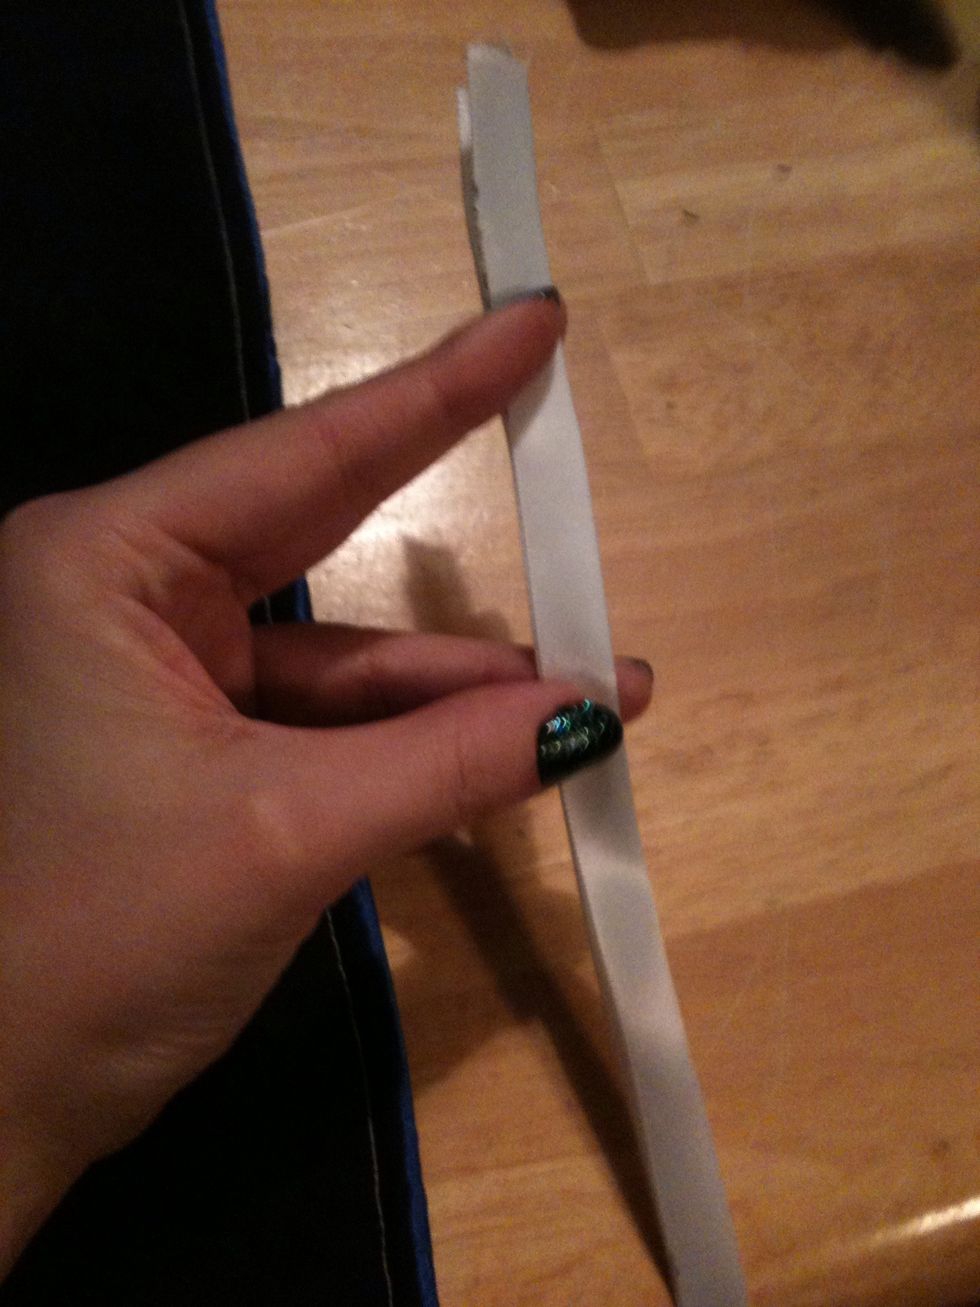
Fold it in half along your fabric. Folding it will just make it even on both sides of the blanket.
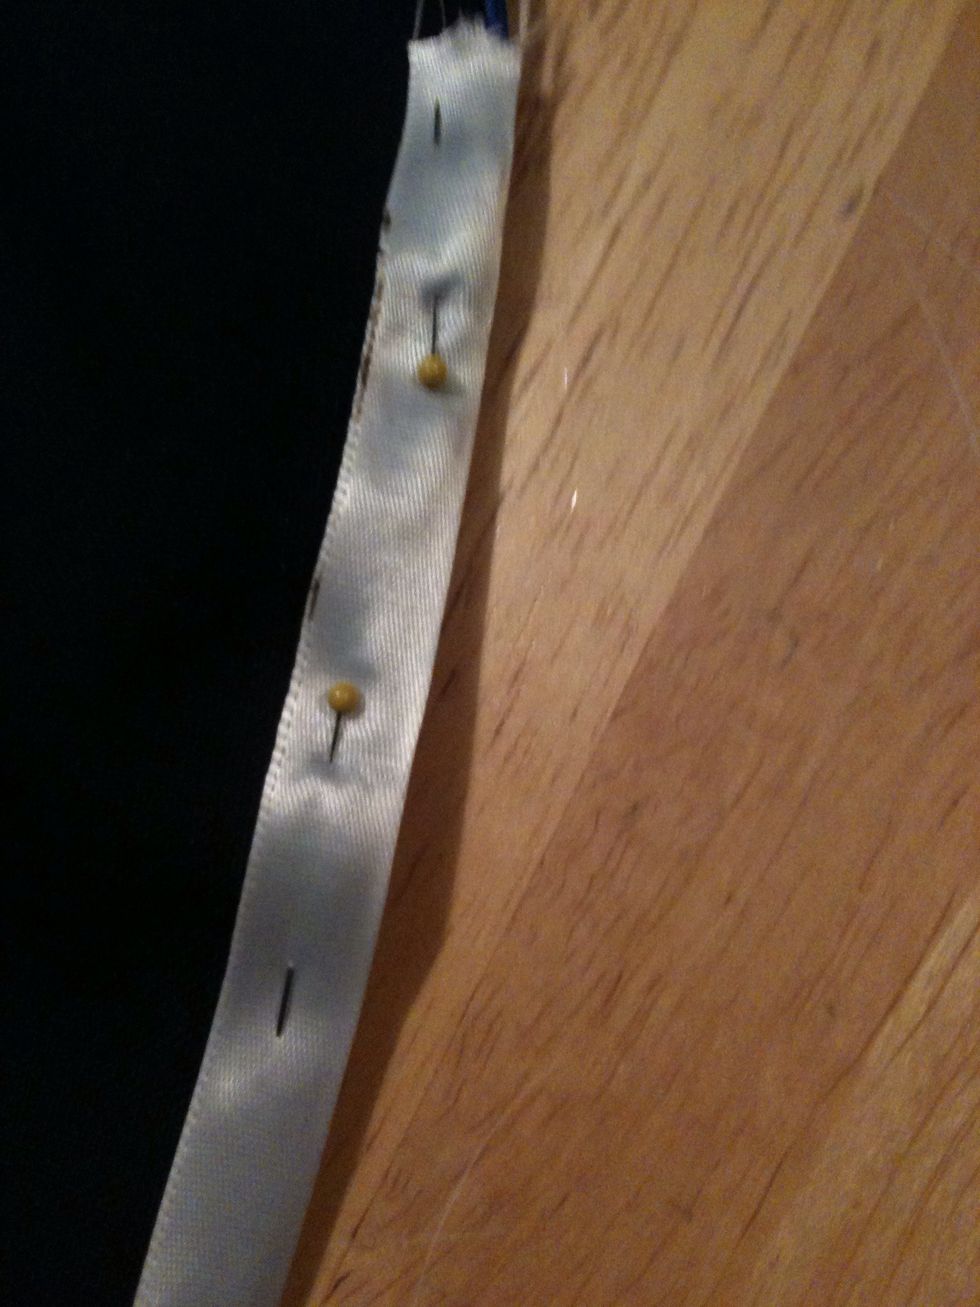
Pinning it will help keep everything straight.
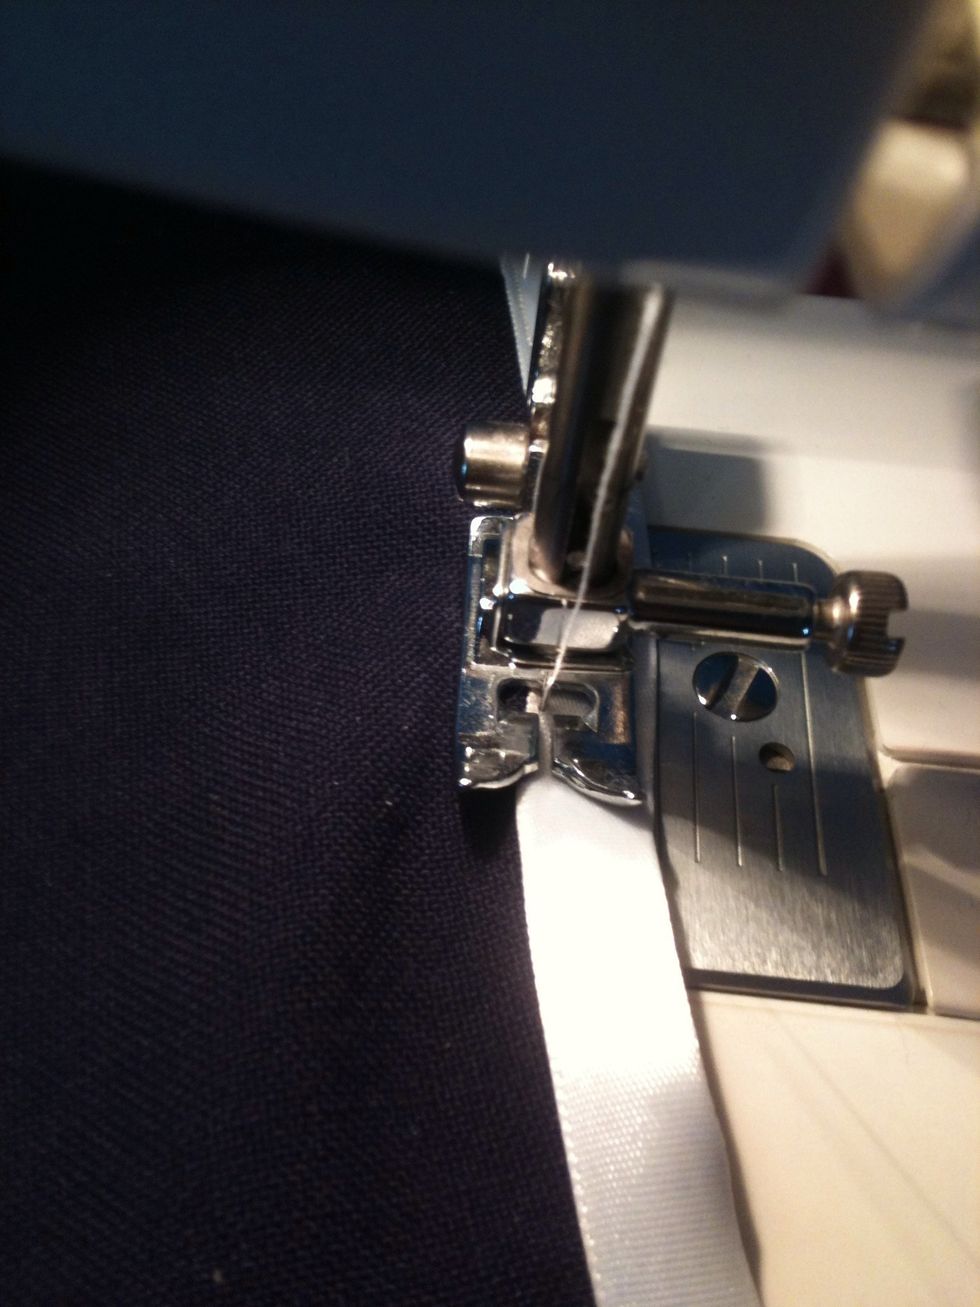
Sew the trim on. Sew as close to the edge as possible.
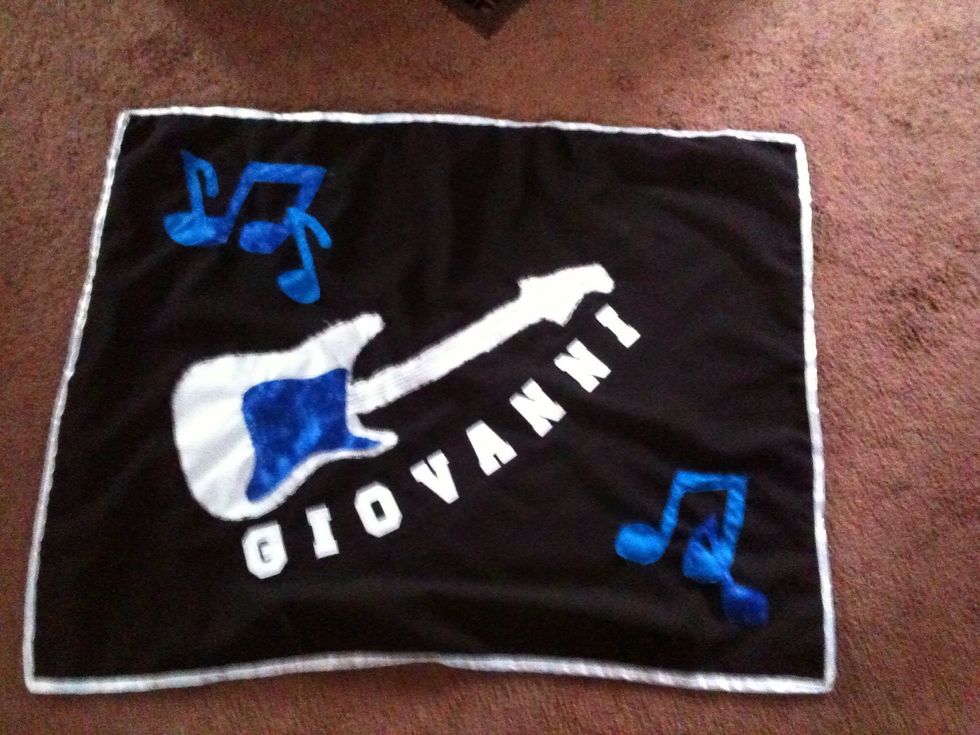
All done! Your cute rocker inspired baby blankie
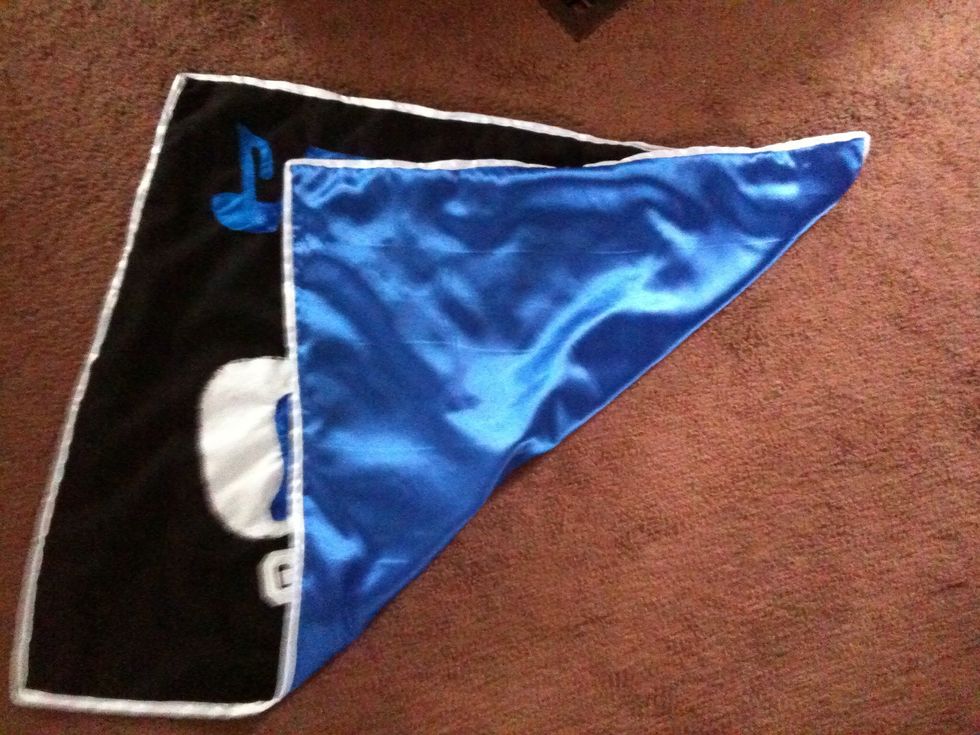
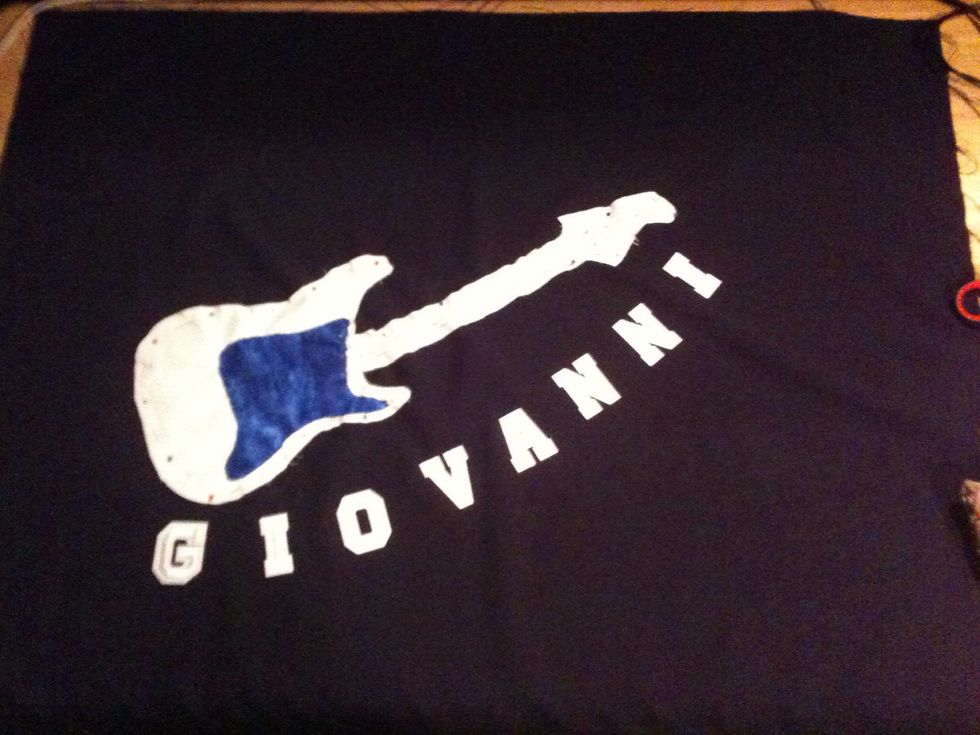
Back side