The Conversation (0)
Sign Up
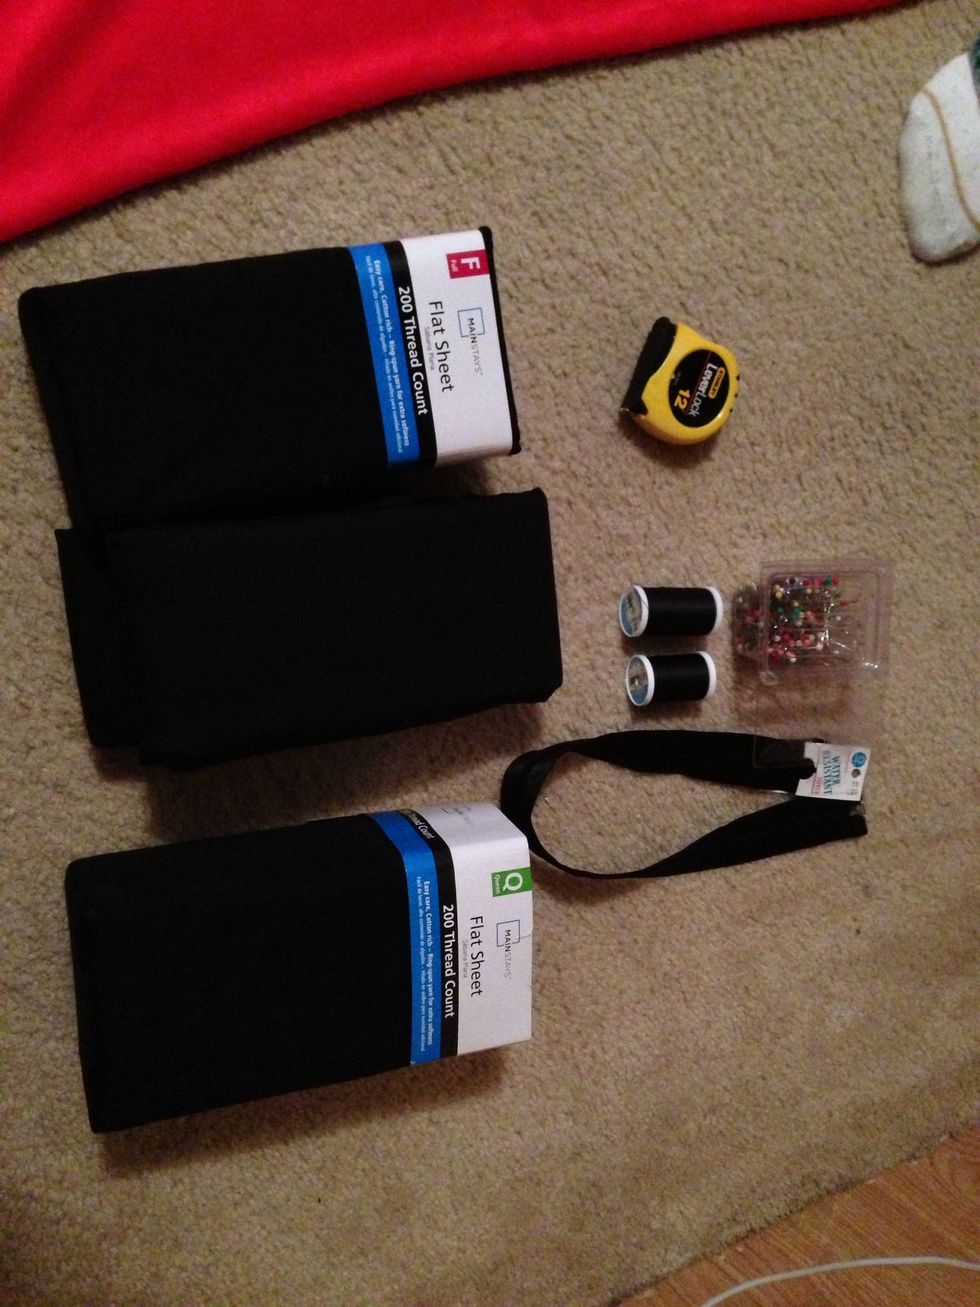
Gather your supplies. We decided to use flat sheets for our bottom and sides so we would have large enough pieces for the size of bed we wanted to make.
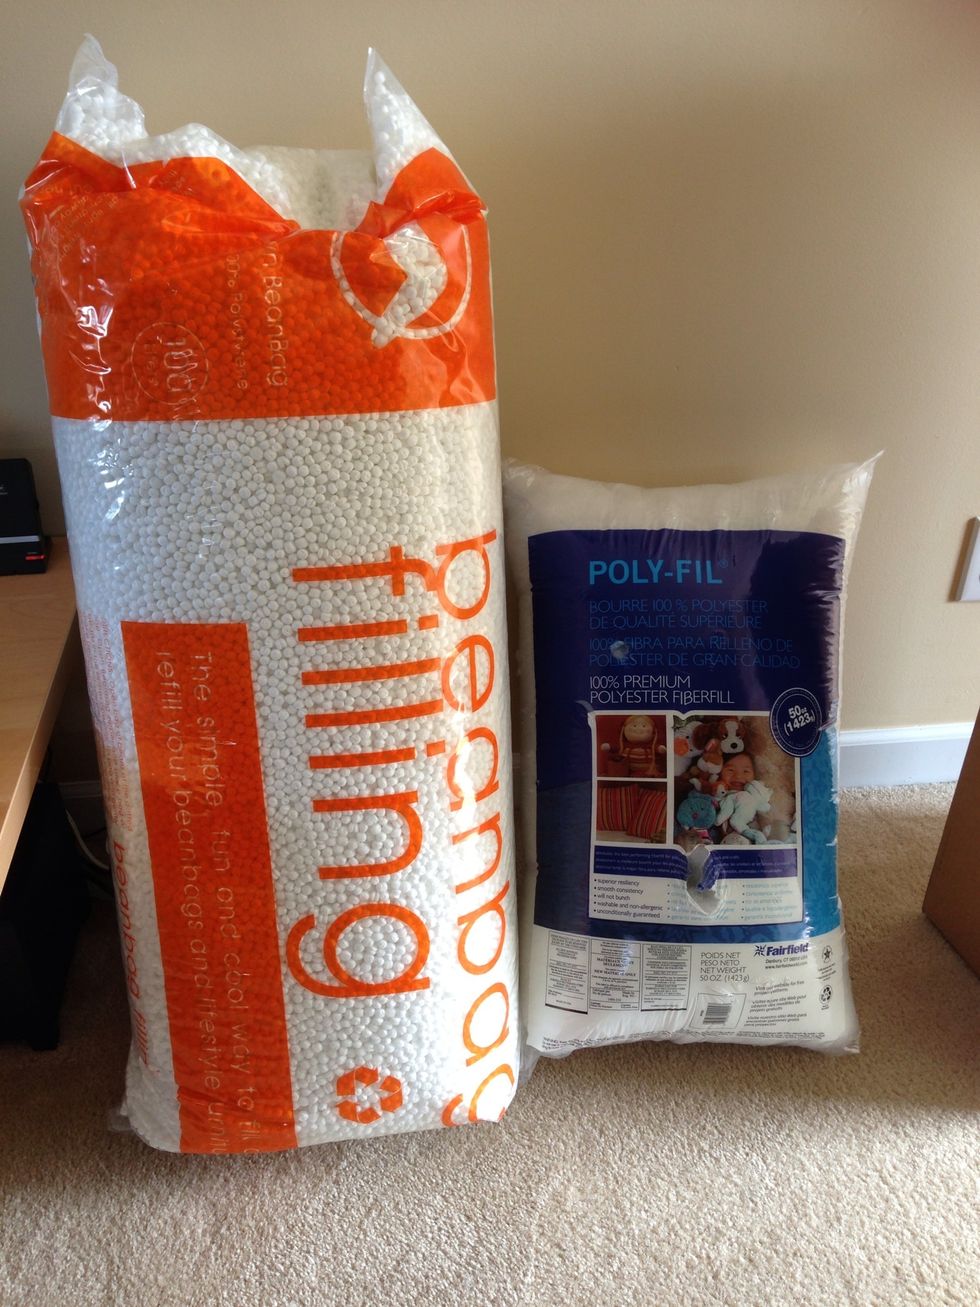
We used 2 different kinda of filling. Depending on the size of bed/bag and your comfort will determine how much to put in. We used 2 bags of beanbag fill and 8 bags of poly-fil.

We also used a full sized foam mattress topper for the bottom to give the bottom shape.
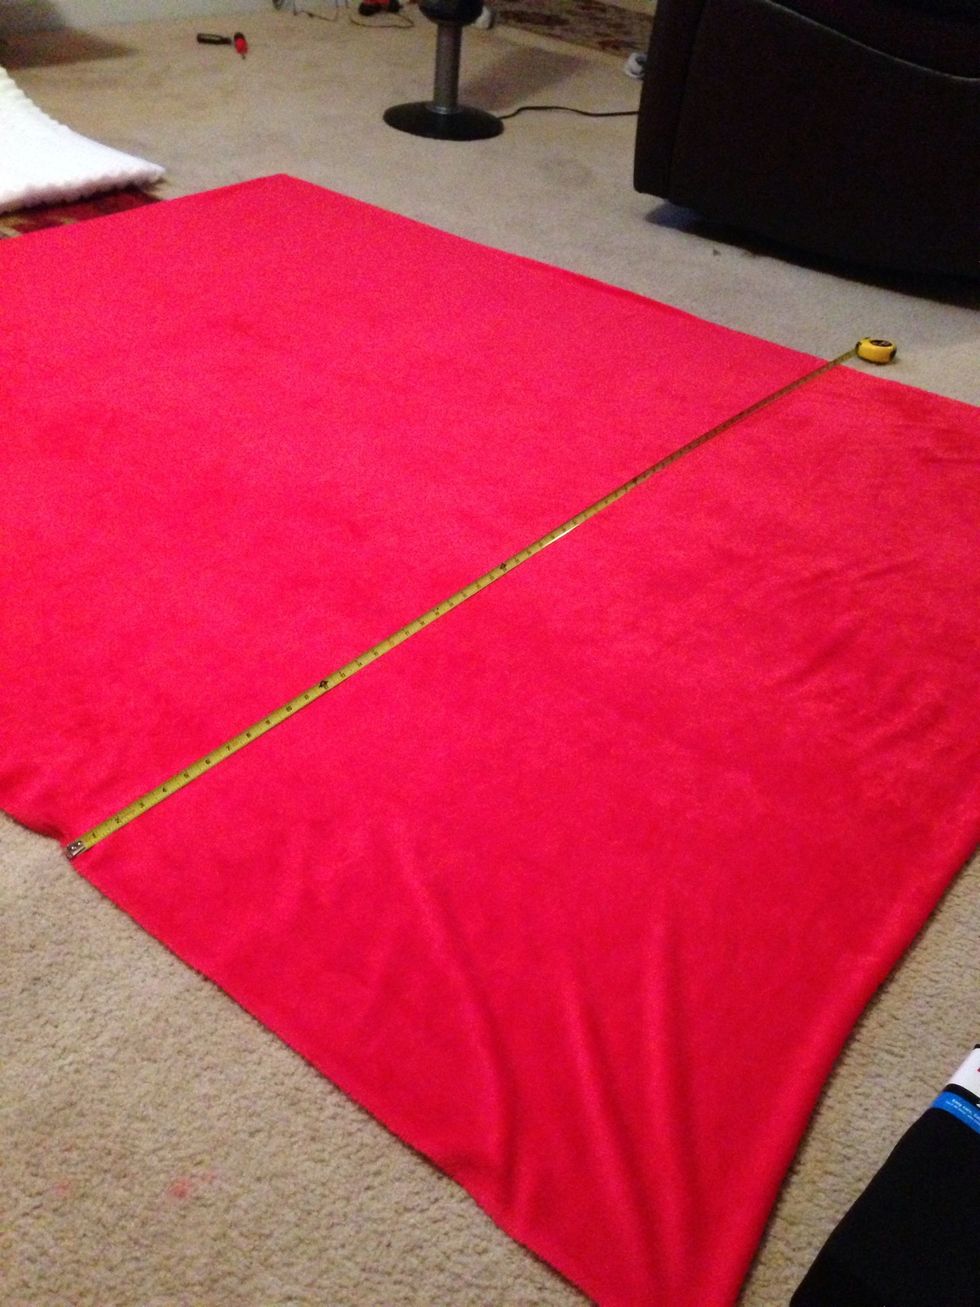
First, lay out your top fabric and measure the width and length, marking the dimensions.
Make sure when marking to leave some room on the edges in case you come off your markers you still have fabric rather then sewing an open hole into your design and have to redo it :(

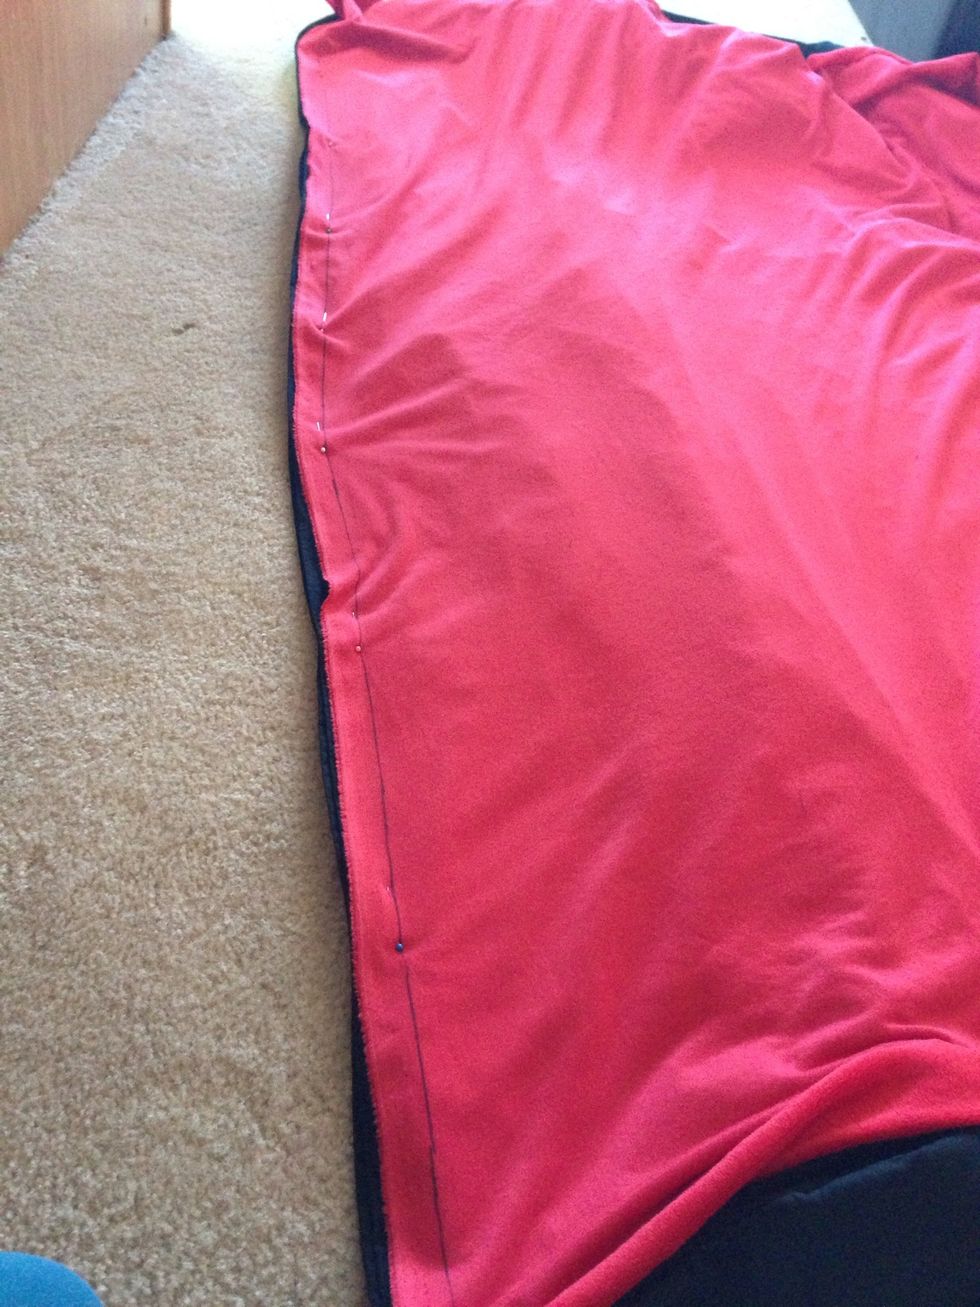
This is the side panel, measured, marked and pinned.
All of our side panels are doubled up so that they were more resistant to the outward pressures from someone laying on it. Each double panel is sewn together before being sewn to the bed pieces.

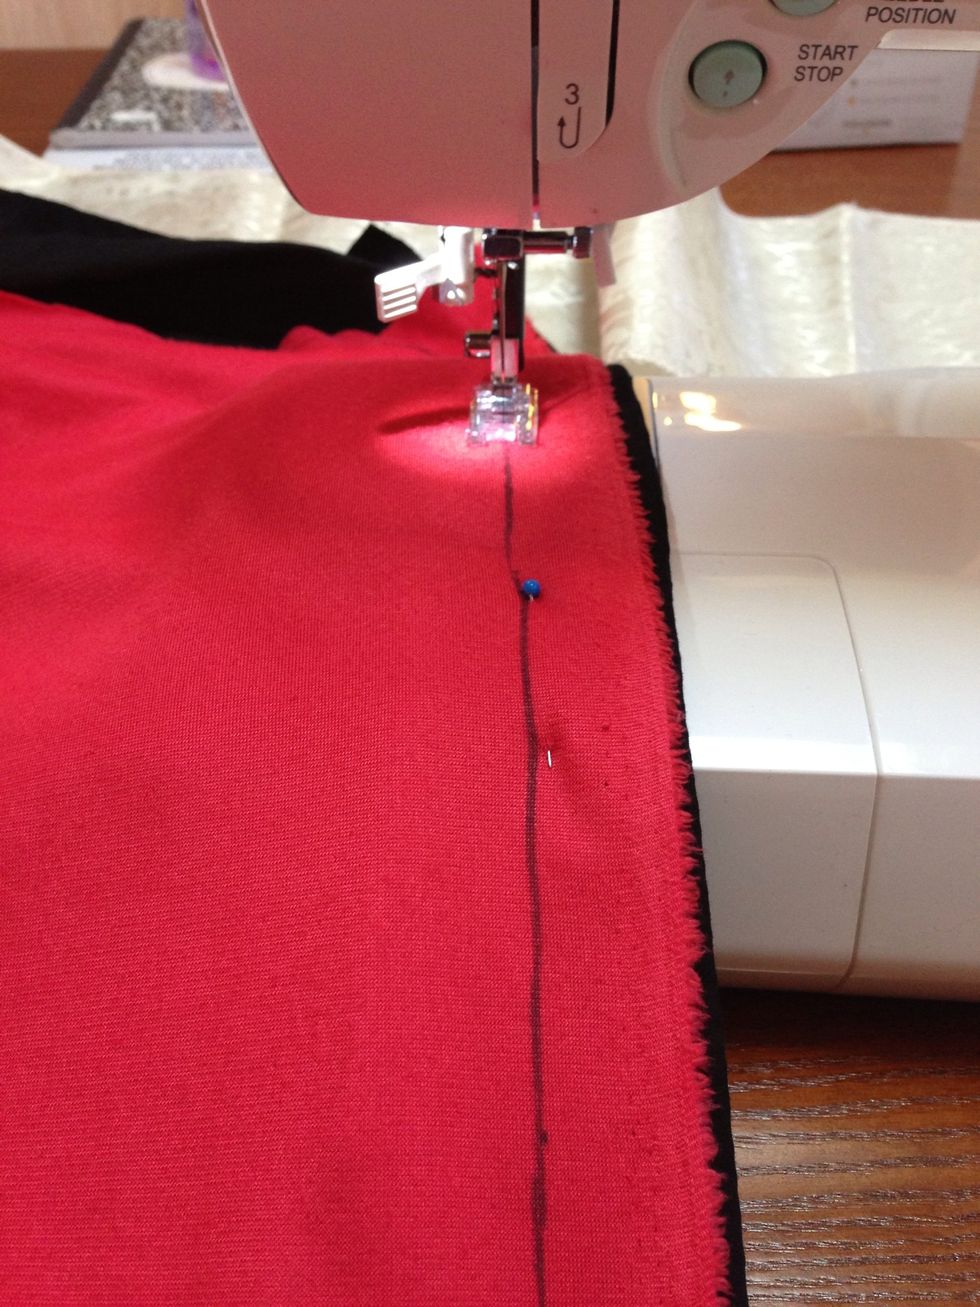
Thread your machine with the color thread you've chosen.

This panel shows the types of stitching I can do. I chose to go with a double stitch that way the seams are more resistant and can take the occasional jumper!

This is the length wise side panels pinned and ready to cut. We are using a sheet and doubling up the material on each side so the side panels are resistant. This is optional.
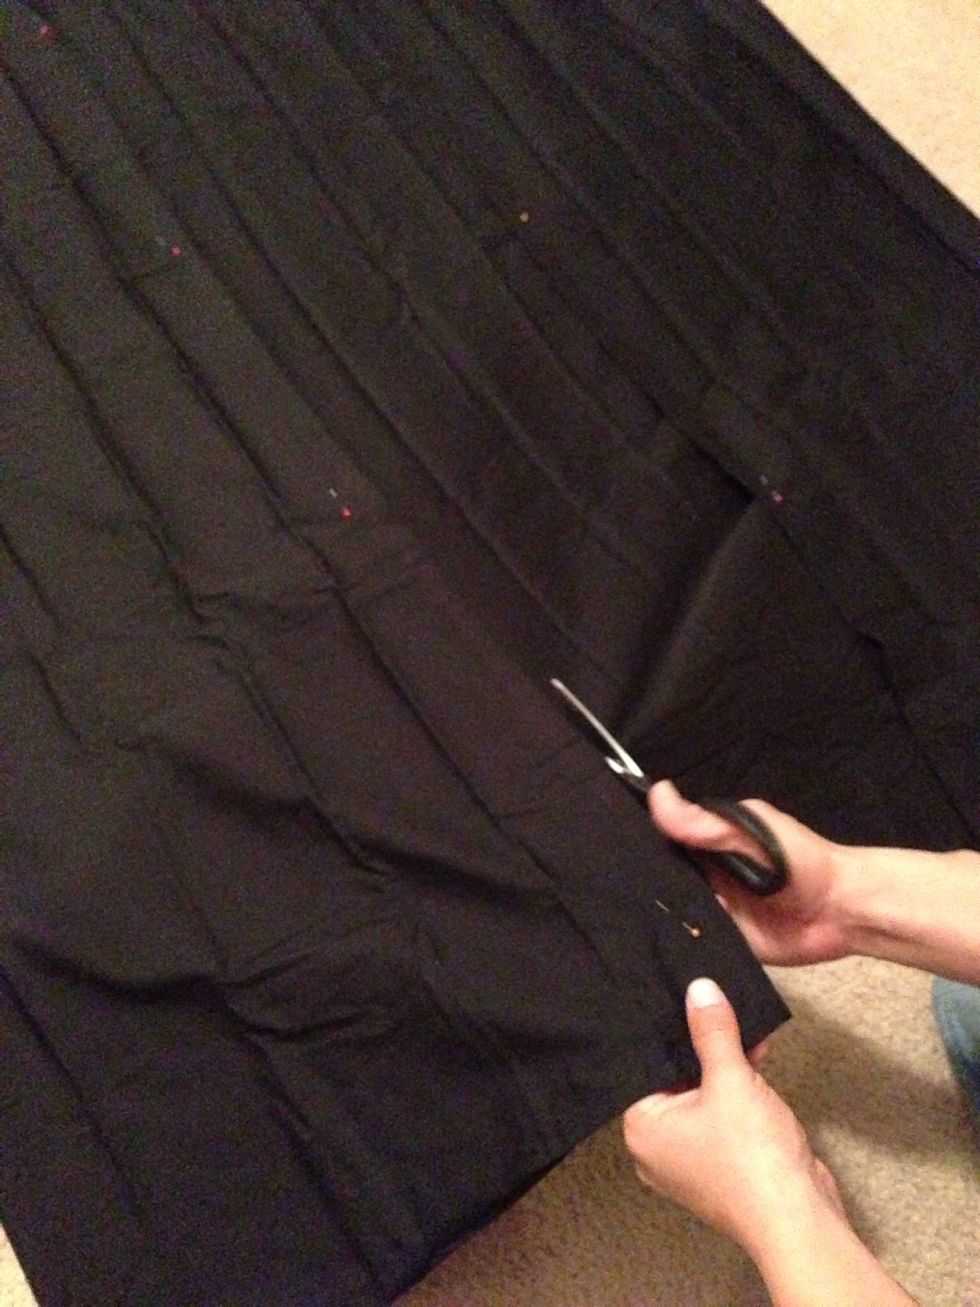
Cut them out!
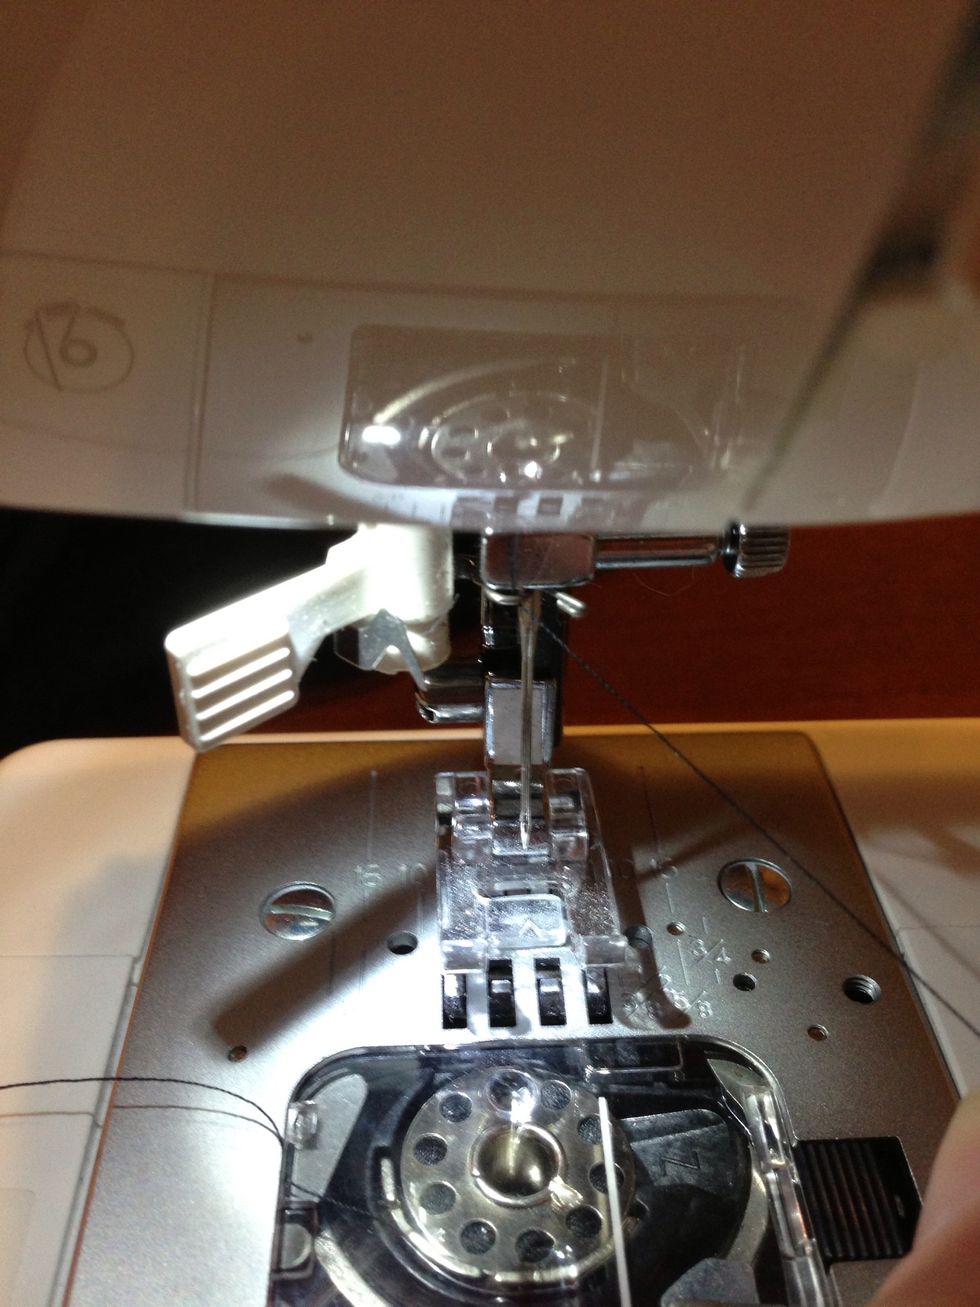
I like to have my bobbin thread the same color as my other thread but that's just our preference. They don't always have to match :)
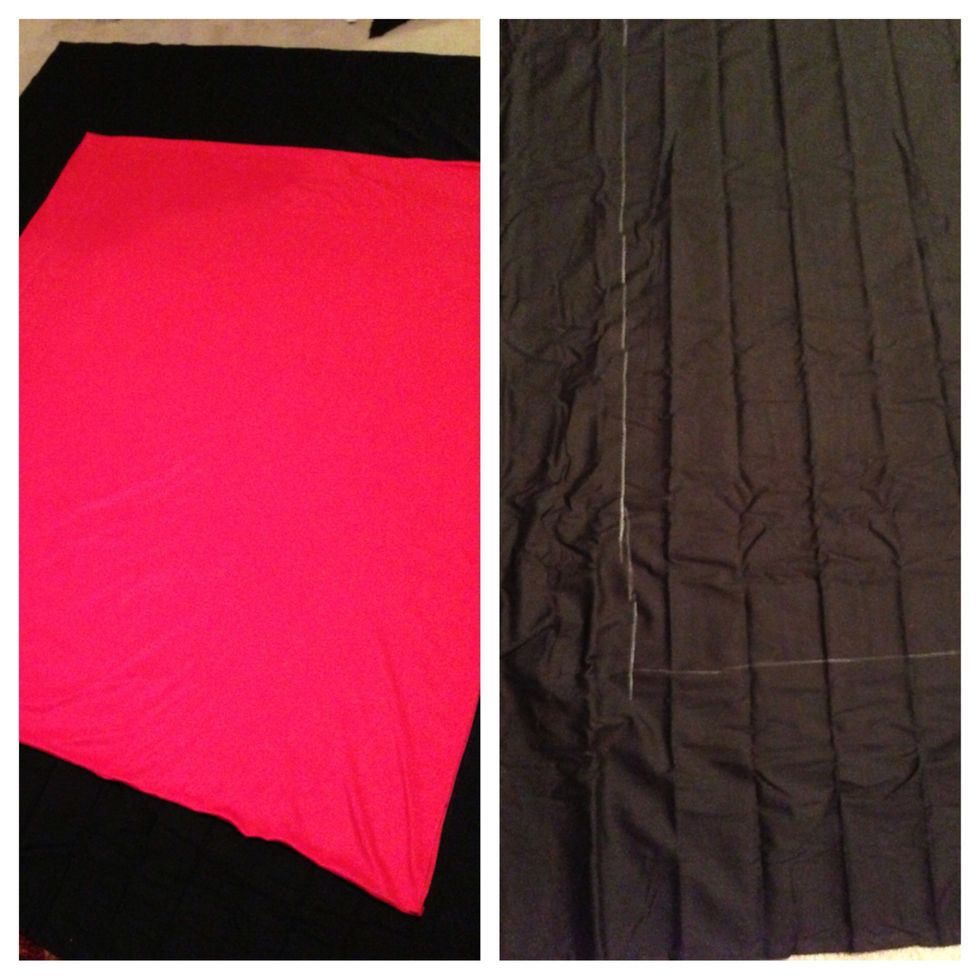
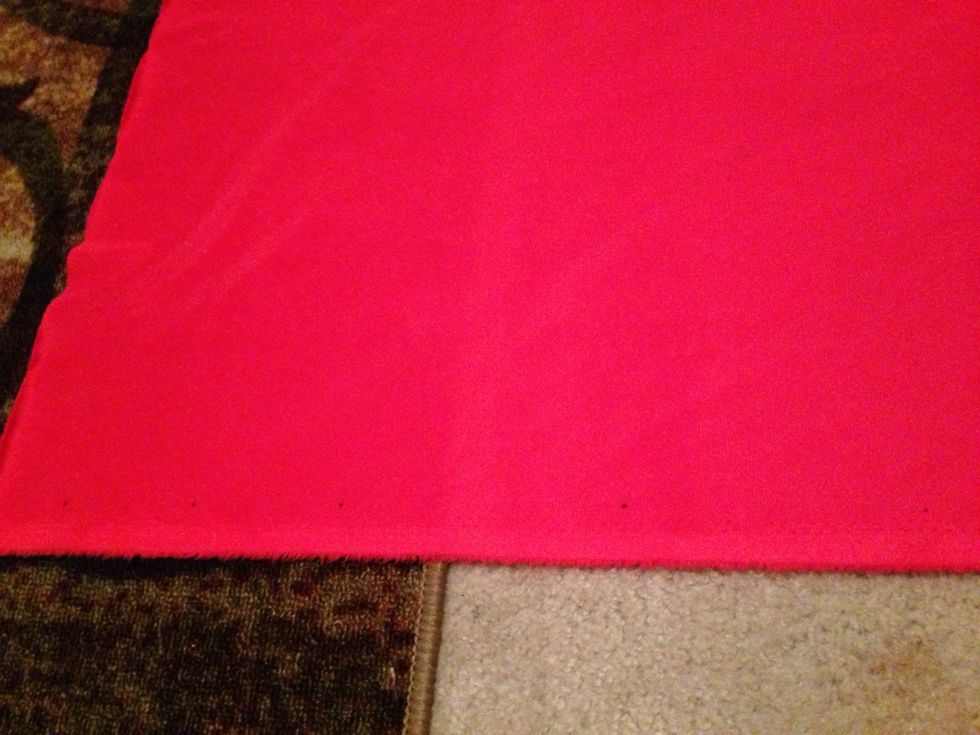
Since our top piece was smaller then the sheet, we laid the top piece on the sheet and traced the outline so we could get rid of excess material and have the same sized pieces.

First side panel pinned onto the bottom piece. I recommend doing 1 at a time so your not getting poked by needles while sewing the materials.
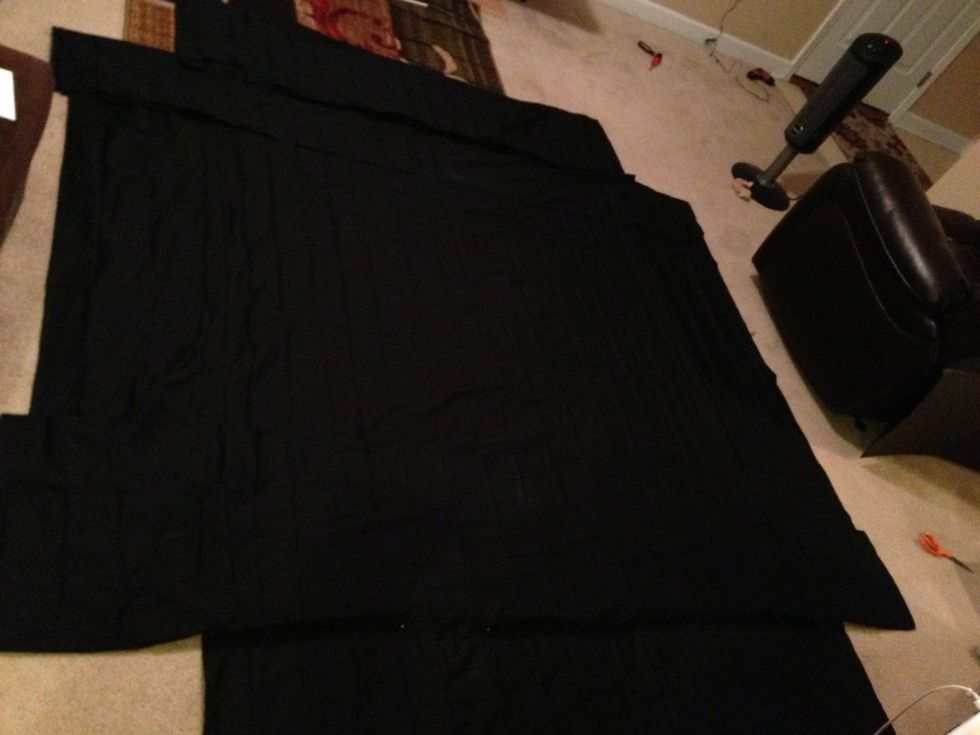
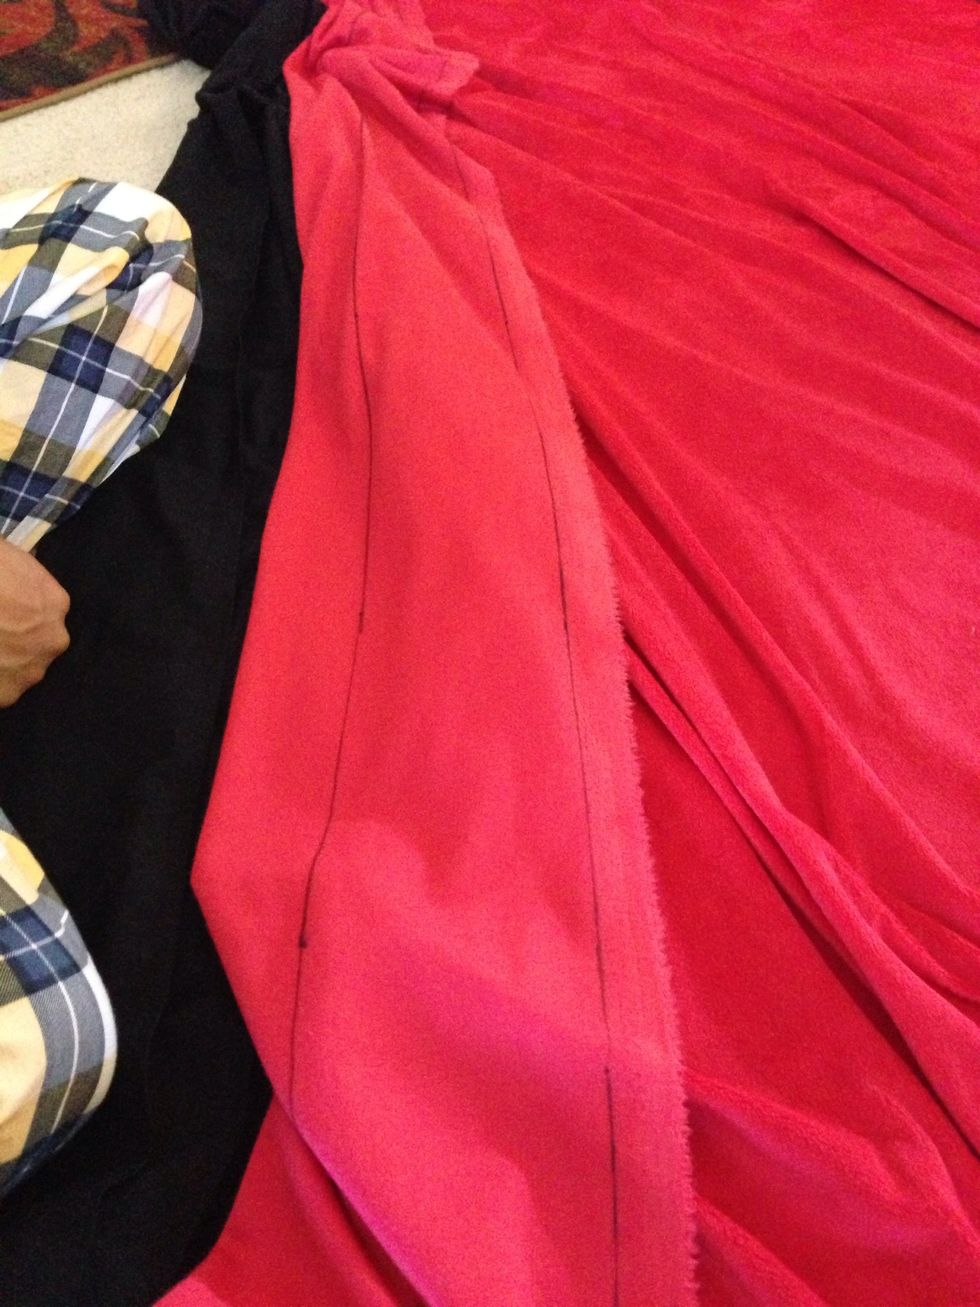
Repeat until all side panels are sewn on. (It's hard to see with the black material sorry!)
Now time to sew your corners together. Sorry, I forgot to take pictures of this step :/
Next pin your top material to your bottom panels. MAKE SURE THE MATERIAL IS INSIDE OUT! All seams are going to be inside and nothing is worse then sewing it wrong and having to redo that step!
Your getting close now! Sewing your final piece together. Be careful not to rush and follow your lines.

At this point the material is pretty big and fairly heavy. It might be helpful to have someone holding the extra material so your fabric doesn't get twisted or moved. Again redo's are no fun!
Once your 3 sides are sewn, make sure to mark where your zipper is and leave room. Don't wanna sew your entire thing closed on accident.
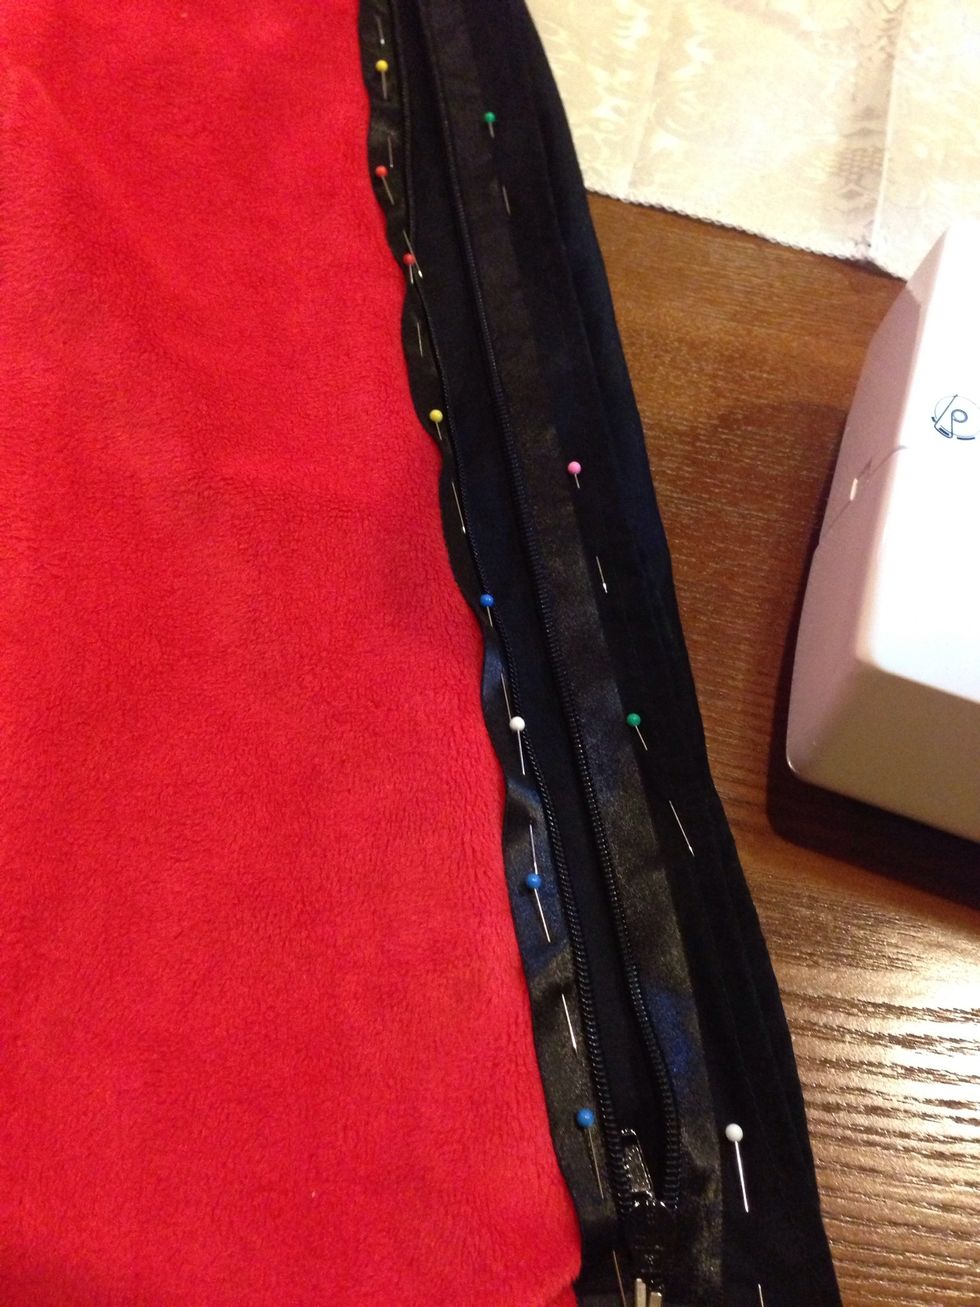
Again make sure materials are being sewn on the "inside" of the bag. Pin zipper into the opening you left.

So close now! Time to sew... The moment of truth, did you do it right...

Next Time to fill with your choice of stuffing. We were limited with the stores around us, so we chose to go with a poly-fil stuffing and some foam beanbag filling.
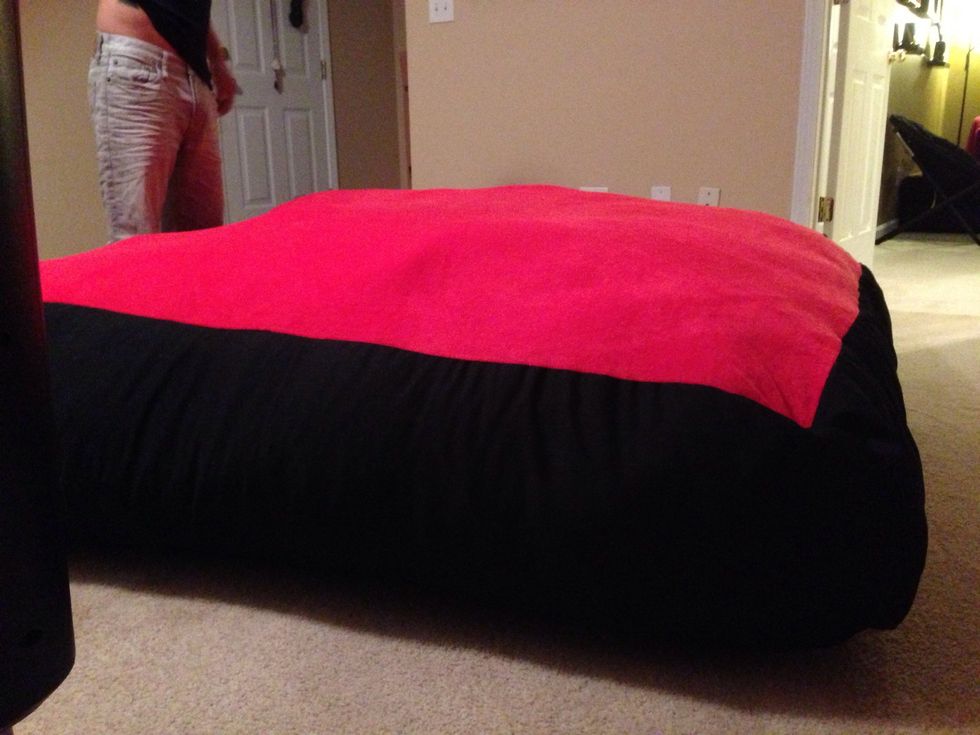
It's finally filled! Woohoo! Pat yourself on the back, this took a lot of blood, sweat and tears! Those pins are sharp, lol now it's fit for a king!
Or in our case the queen...
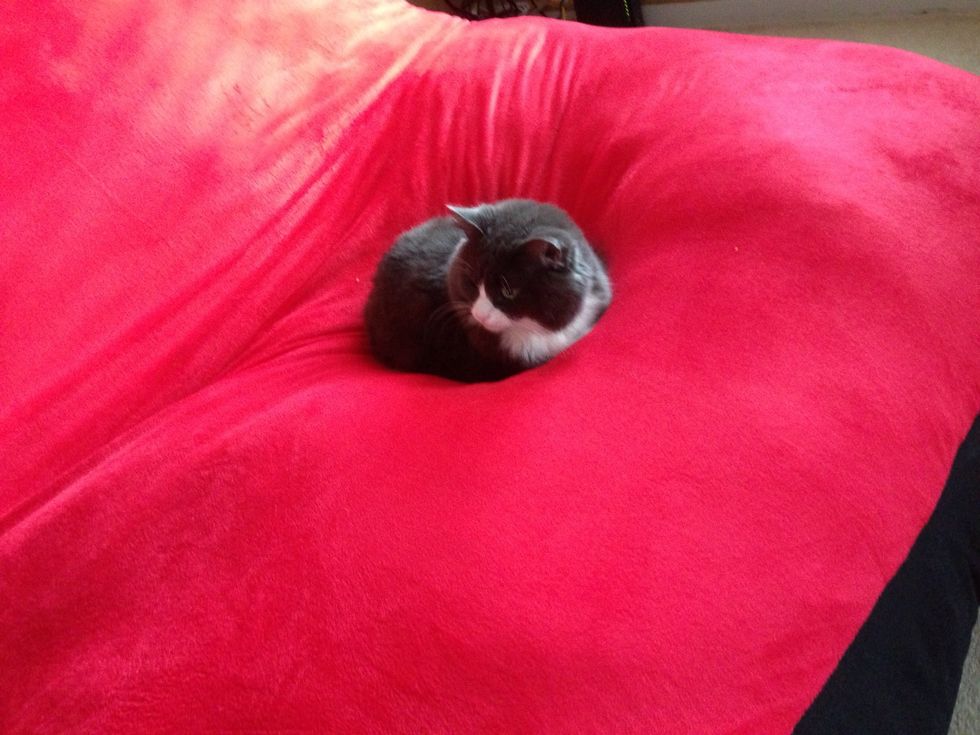
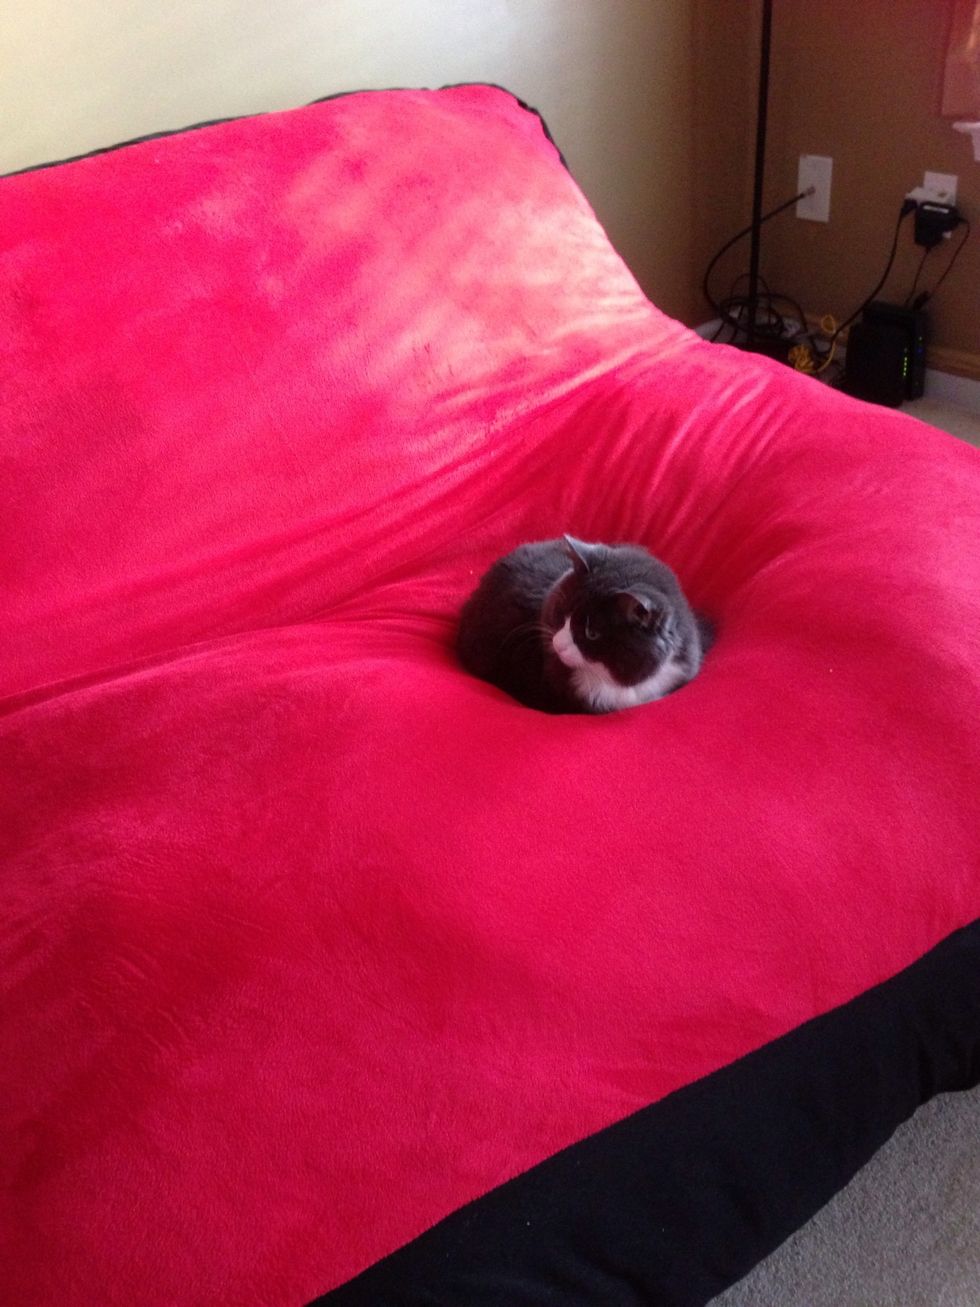
Kitty, bed is for humans not you!! Oh alright, I guess your too cute, I'll leave you there :)