The Conversation (0)
Sign Up
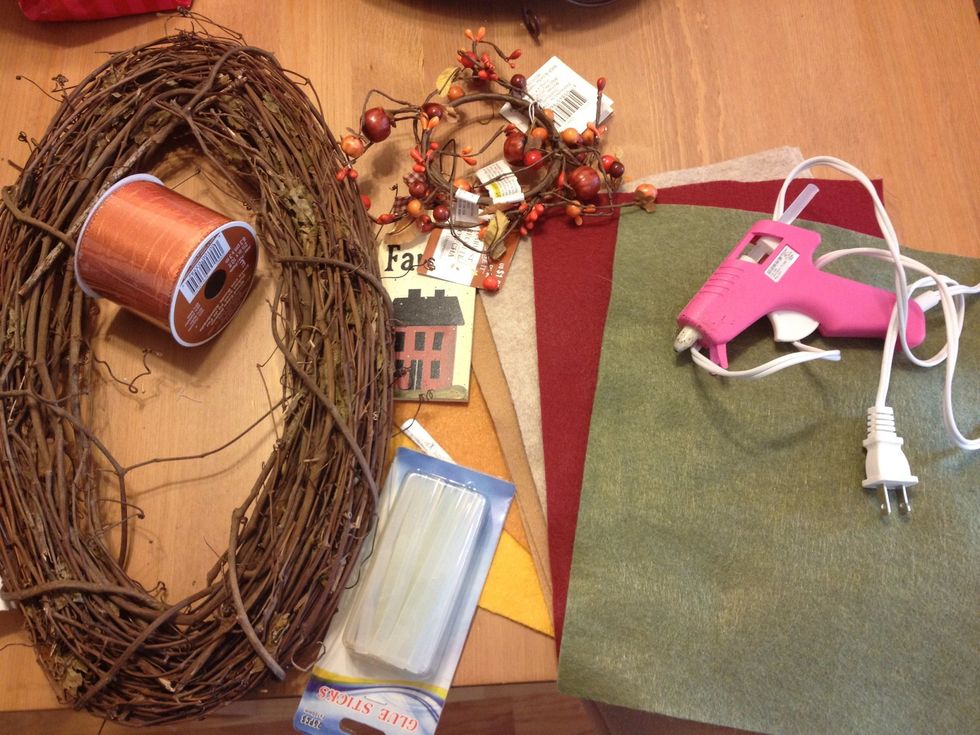
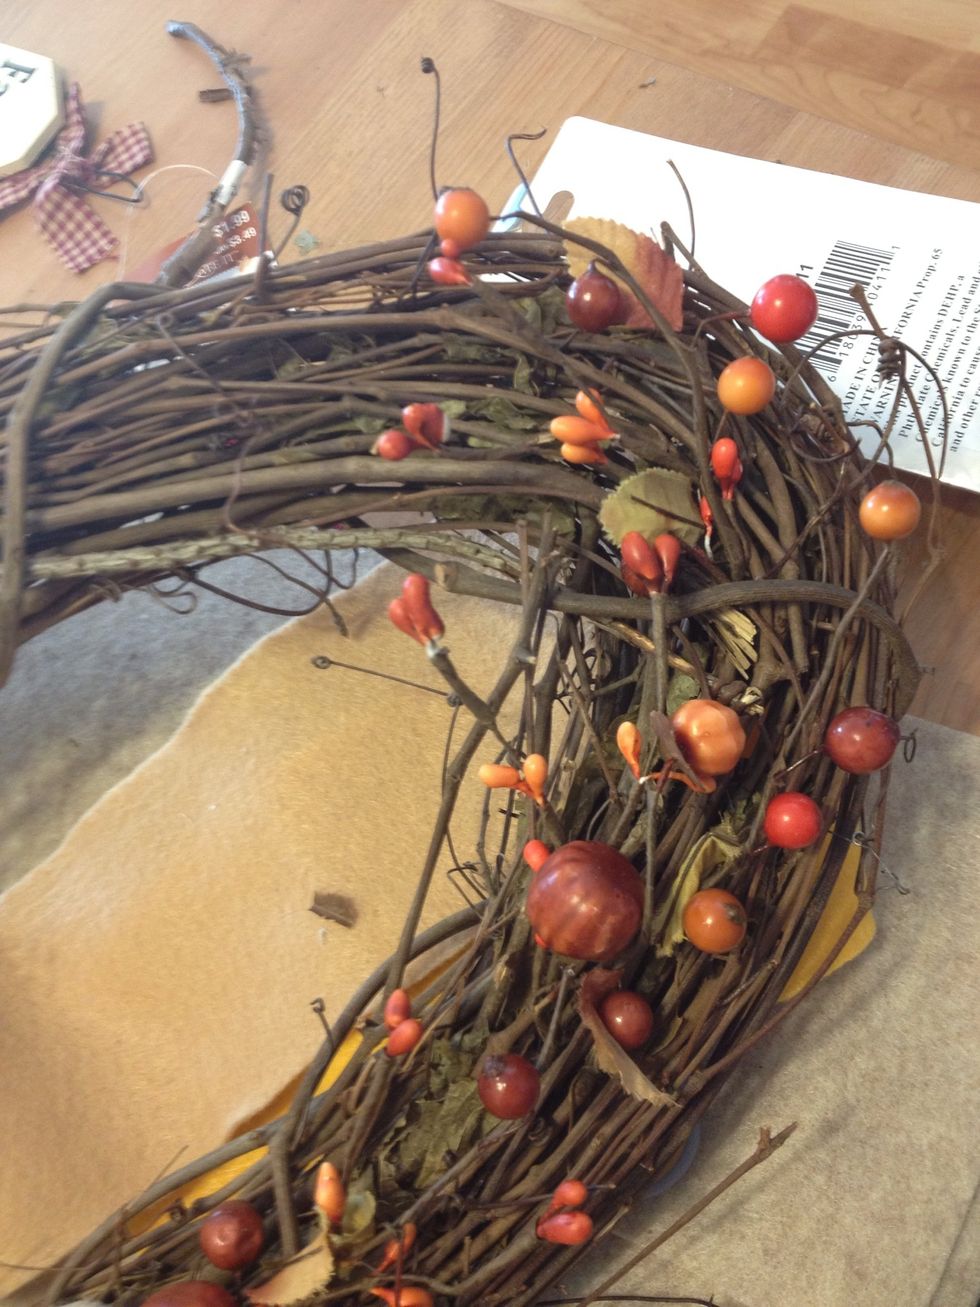
All the goodies! I got all these items after Halloween at Michaels craft store. If your lucky some of these items are already on sale!
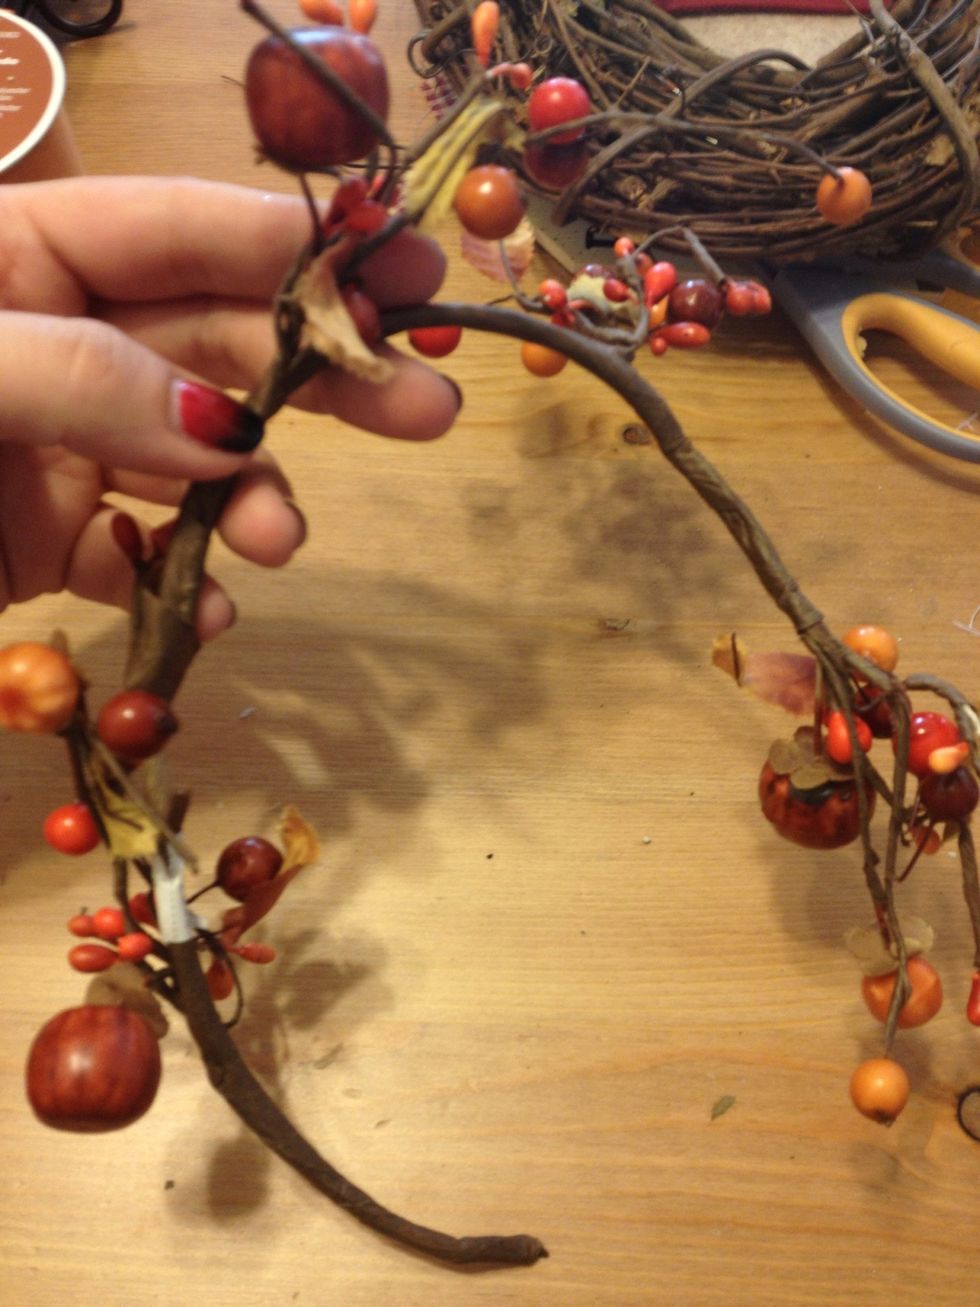
First, unwrap the berry garland. If you can't find this type, you can do jut leaves or autumn flowers.
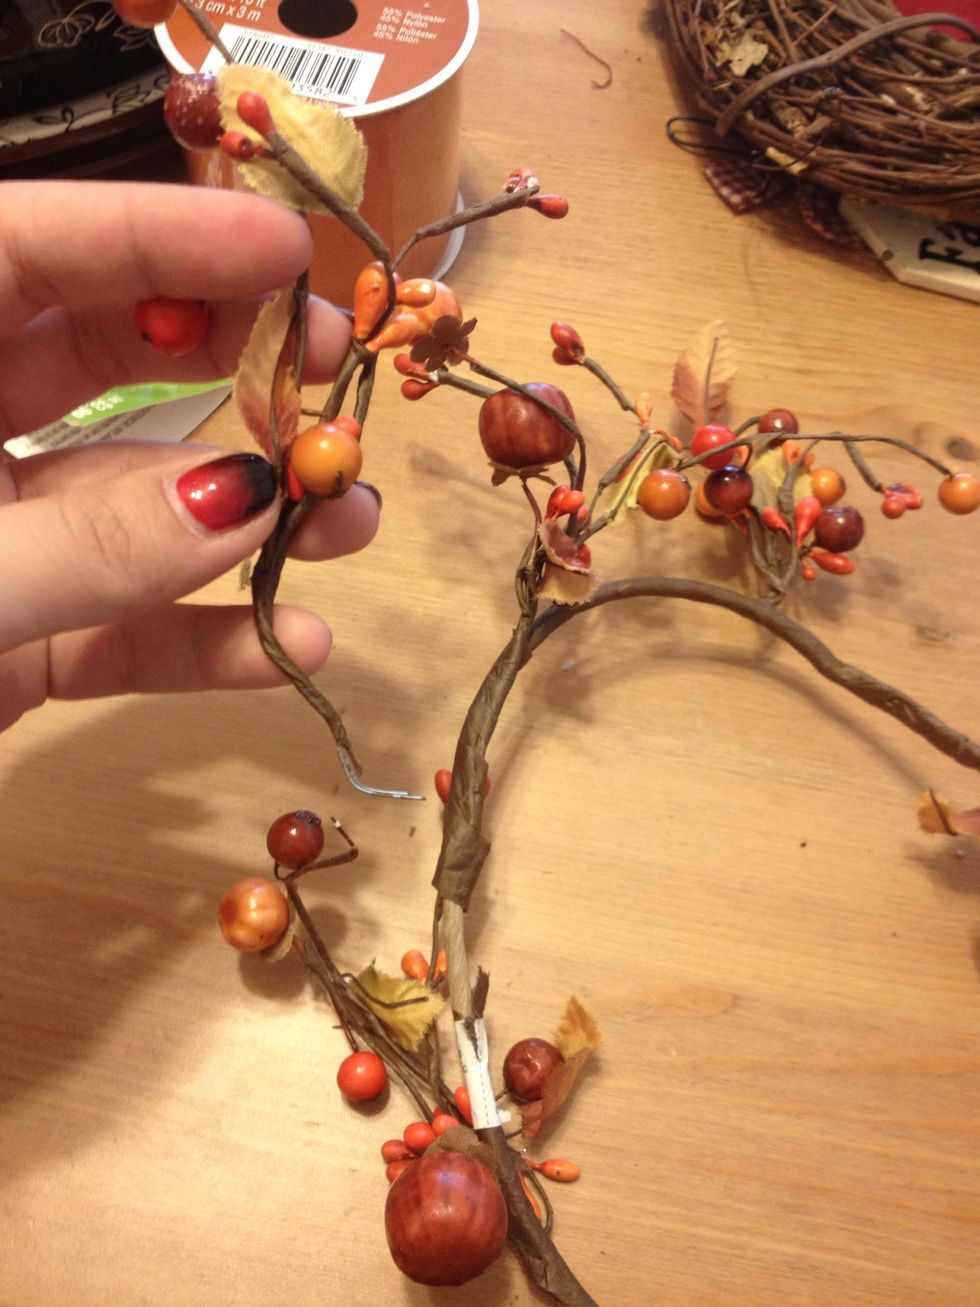
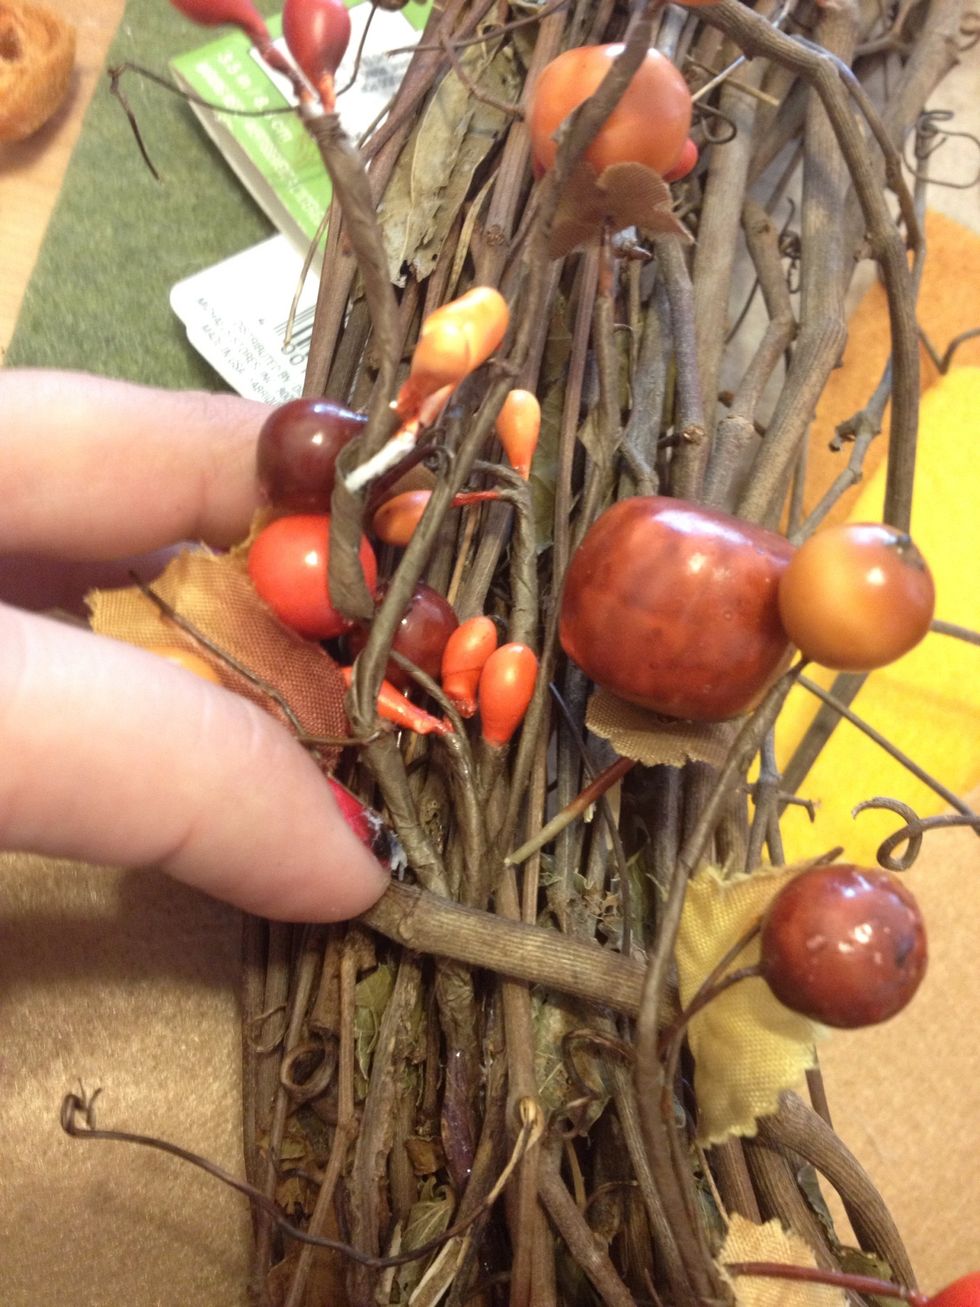
Start removing the individual branches. I got five branches out of this one.
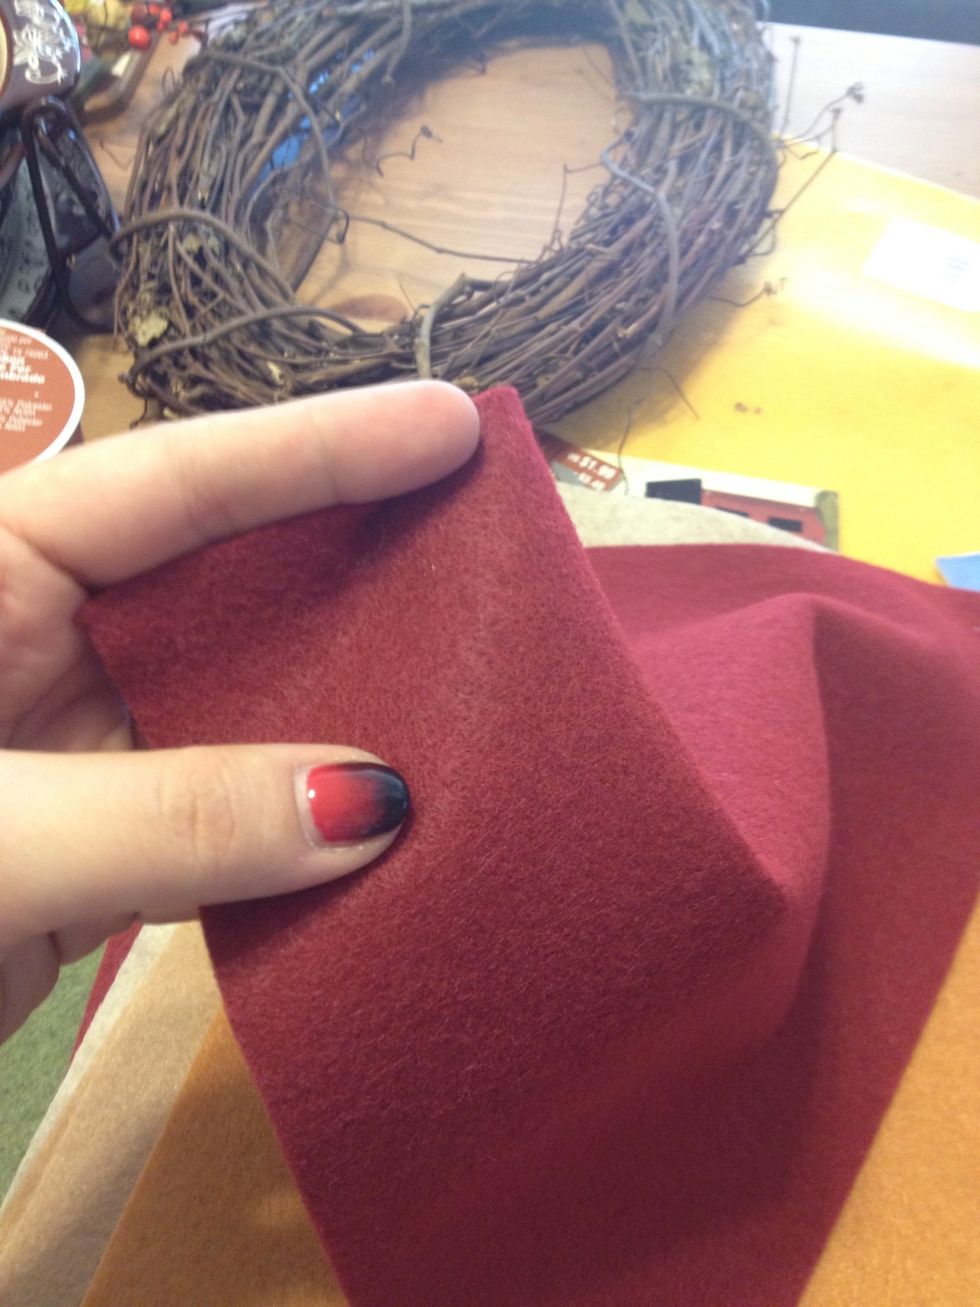
Put the garland aside and start with the felt. I am going to create the autumn roses. If you have seen my previous wreath guide, I use the same technique.
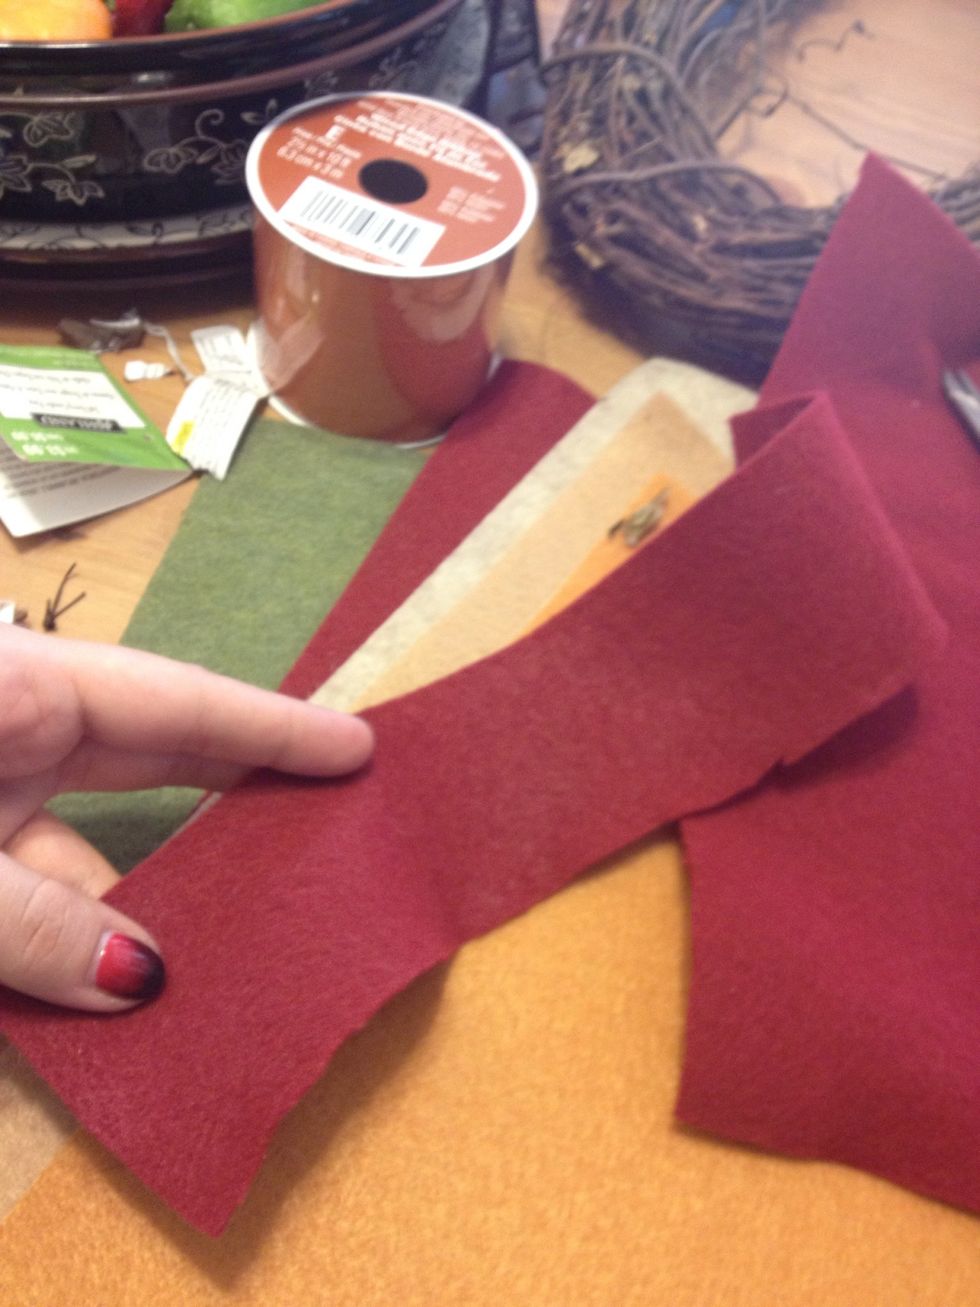
My biggest flower is going to be red. Them I'm going to get lighter and smaller in flower... Cut the first red felt two inches wide
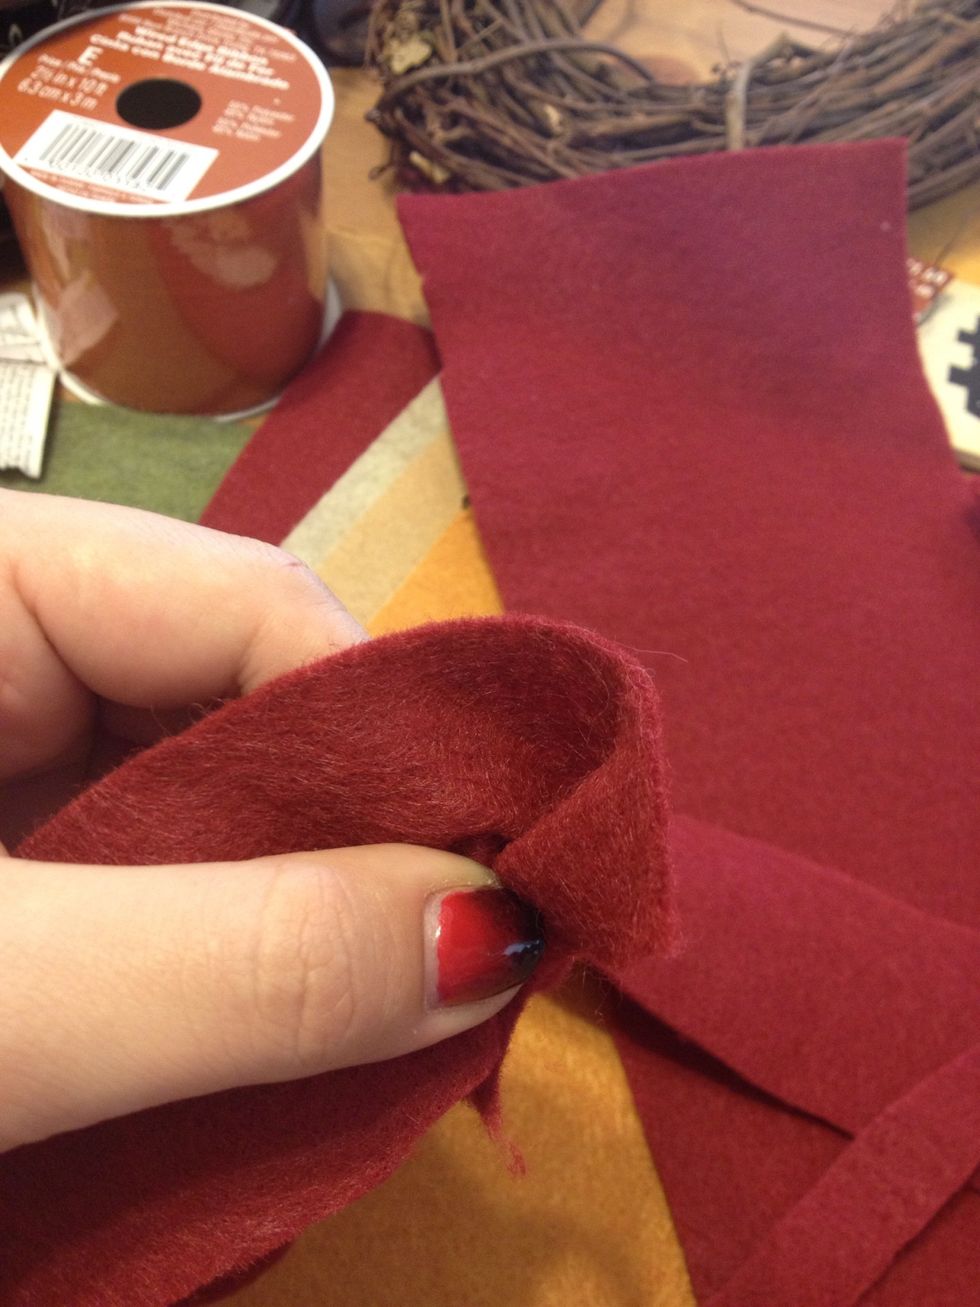
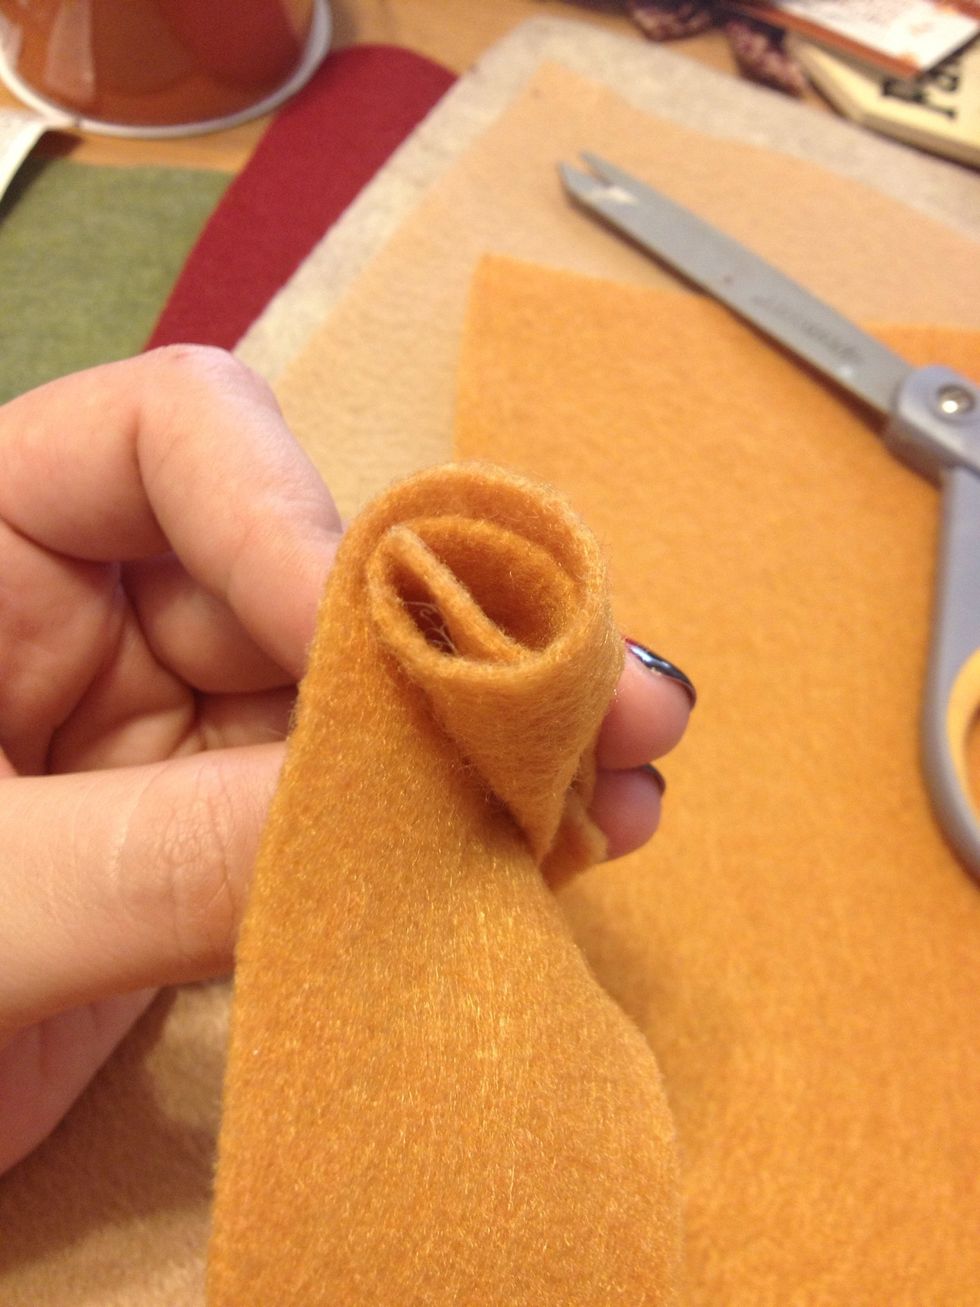
Start to roll up...
And bunch with the tips of your fingers
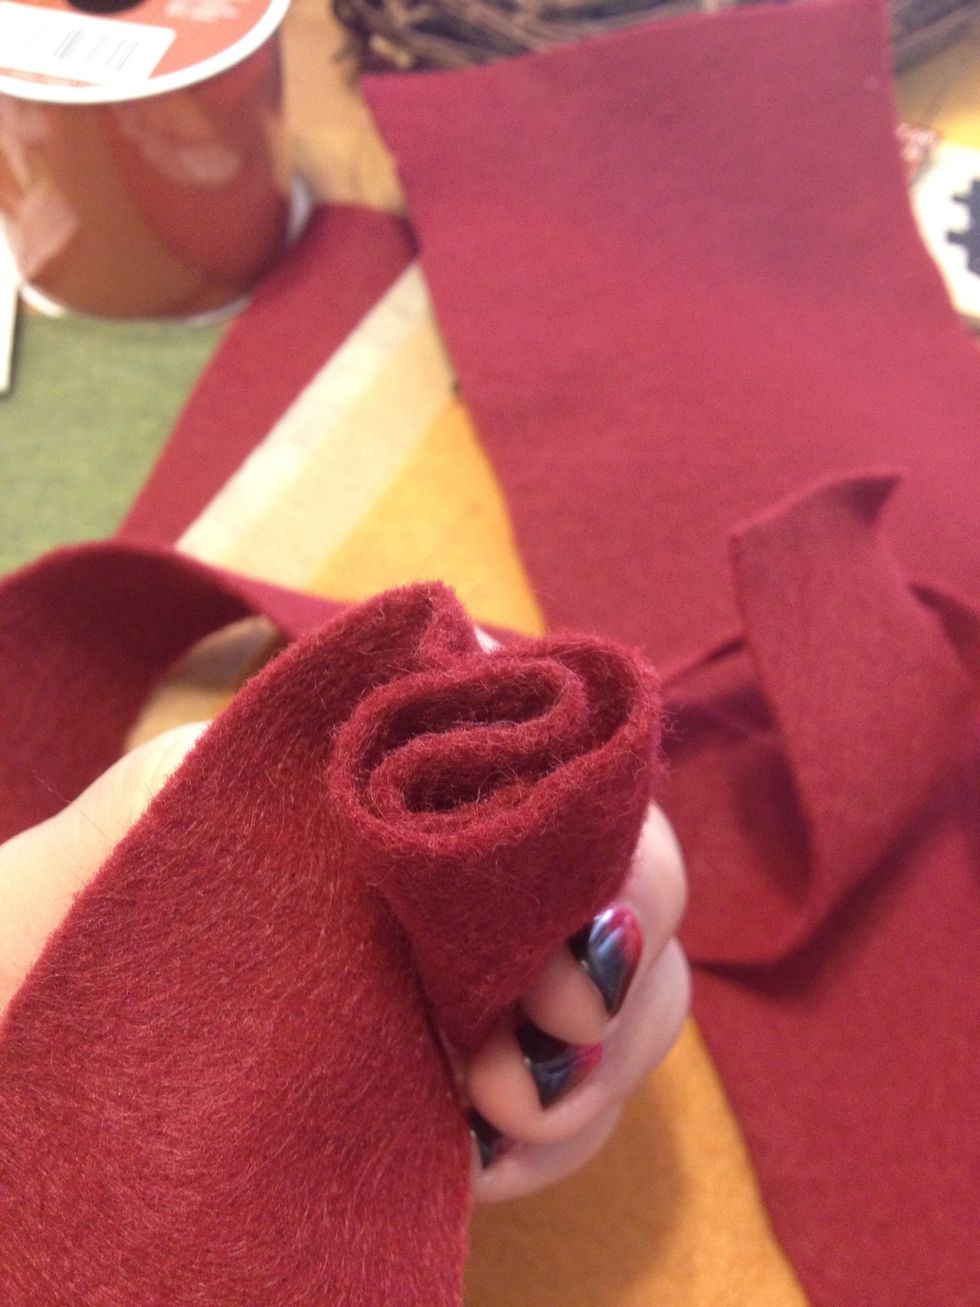
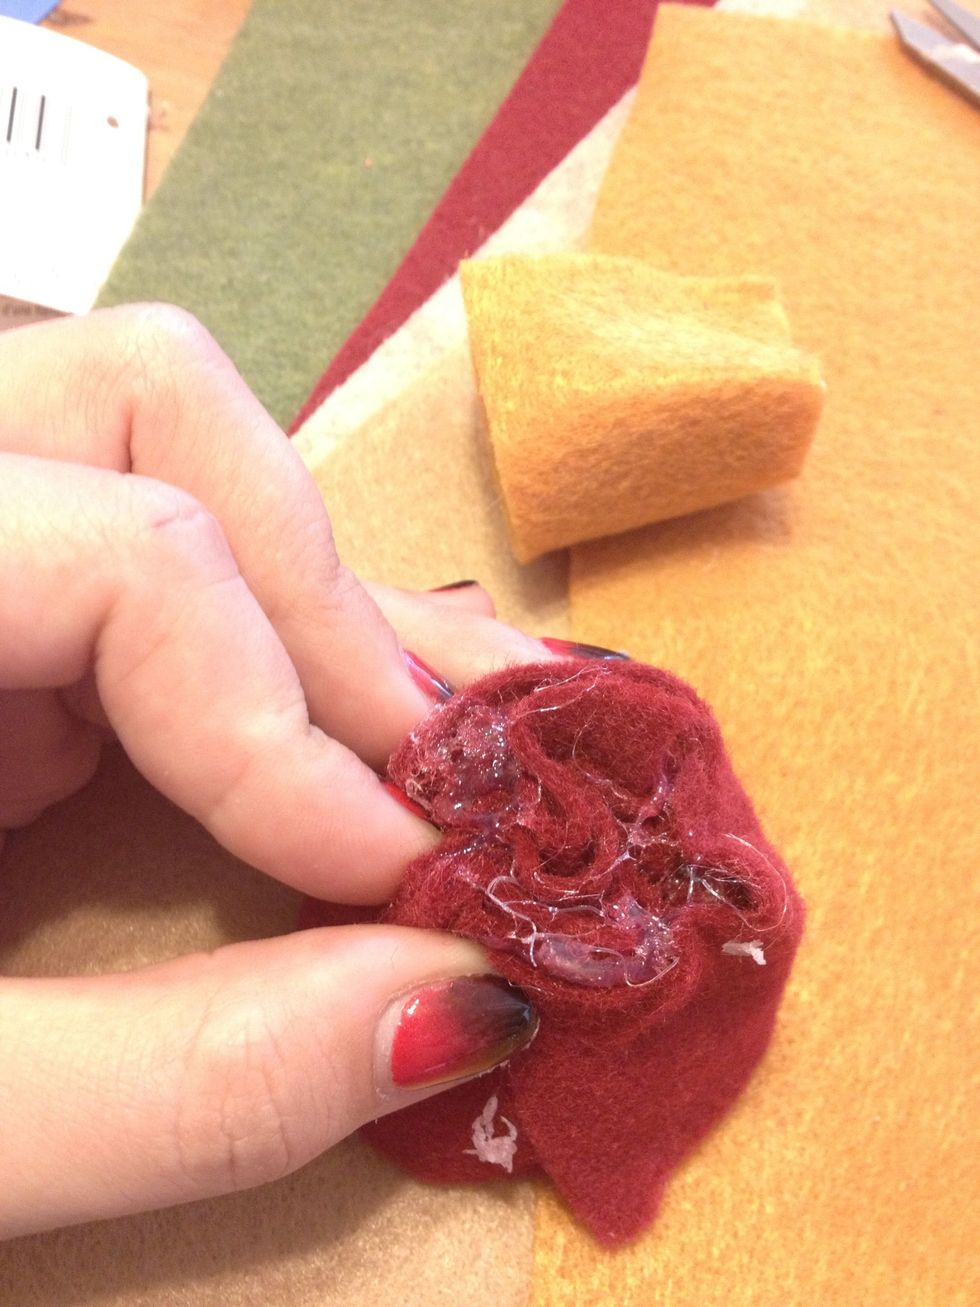
Add some glue from your hot glue gun to keep it together.
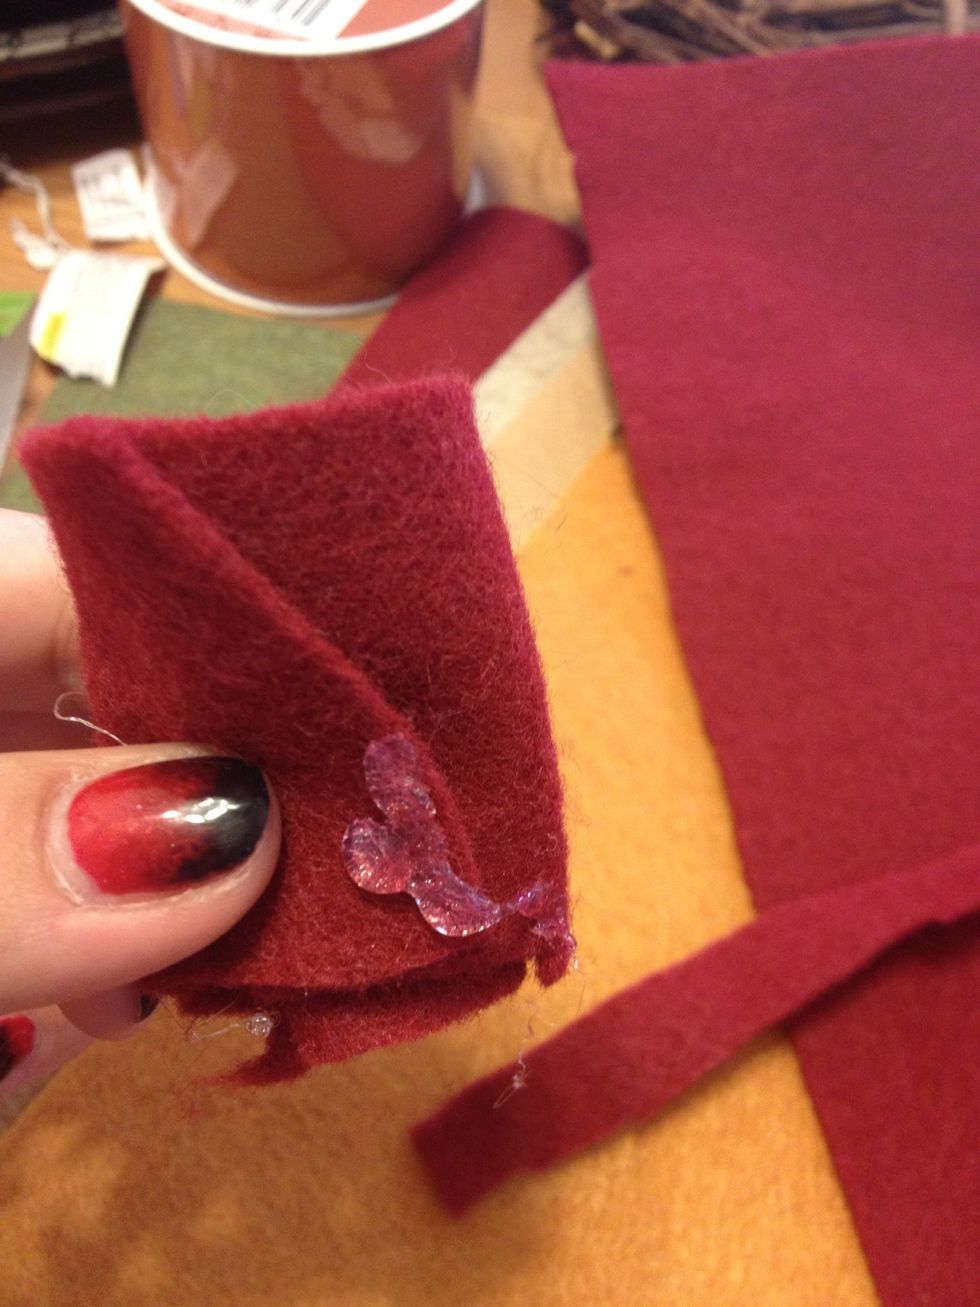
To make it larger I cut another strip and add to the existing flower. A dabb of glue...
And continue the flower. Dabb some glue at the end to hold the edge in place .
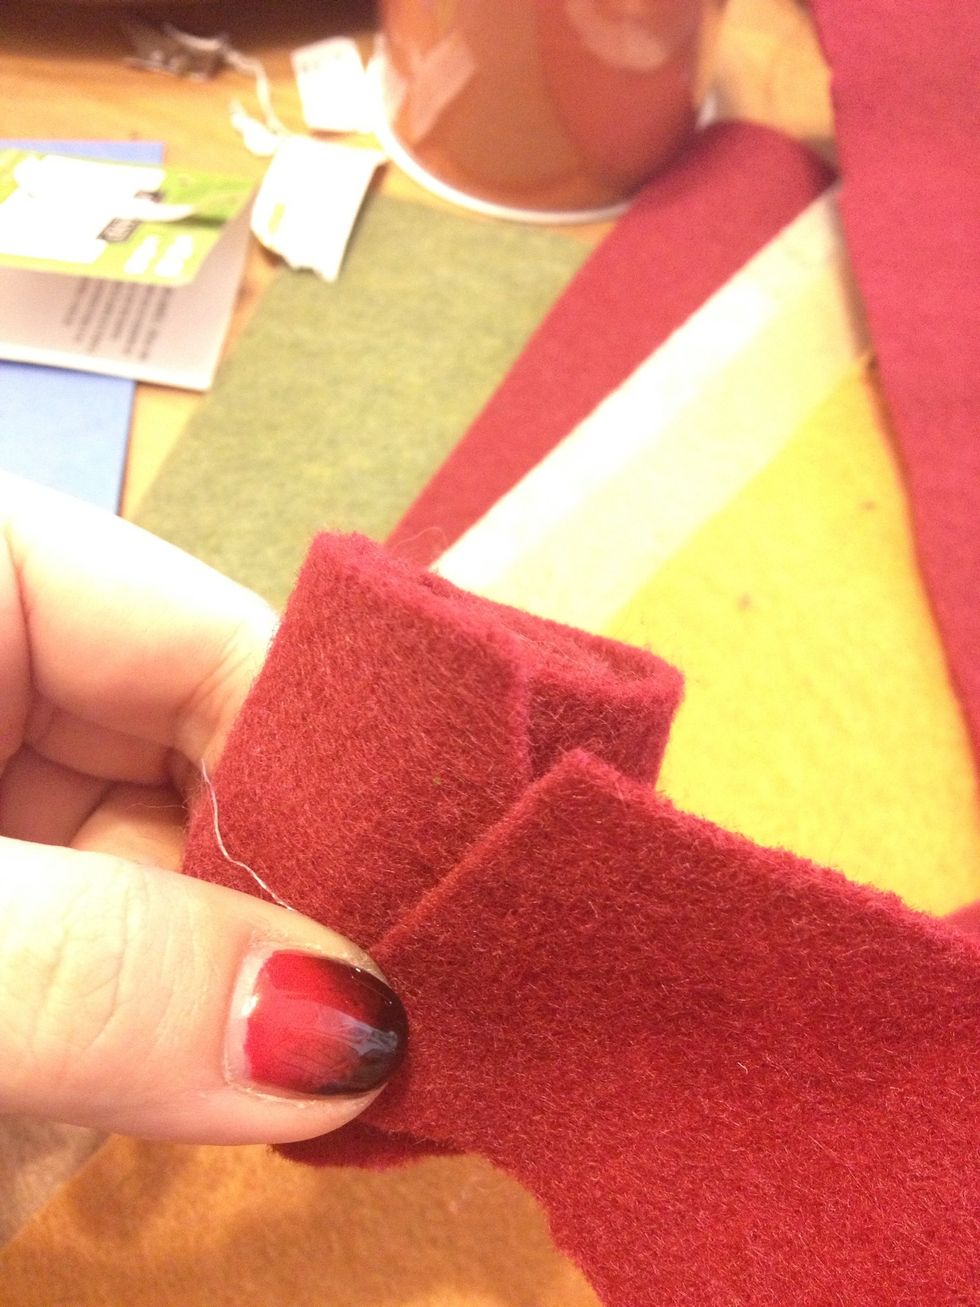
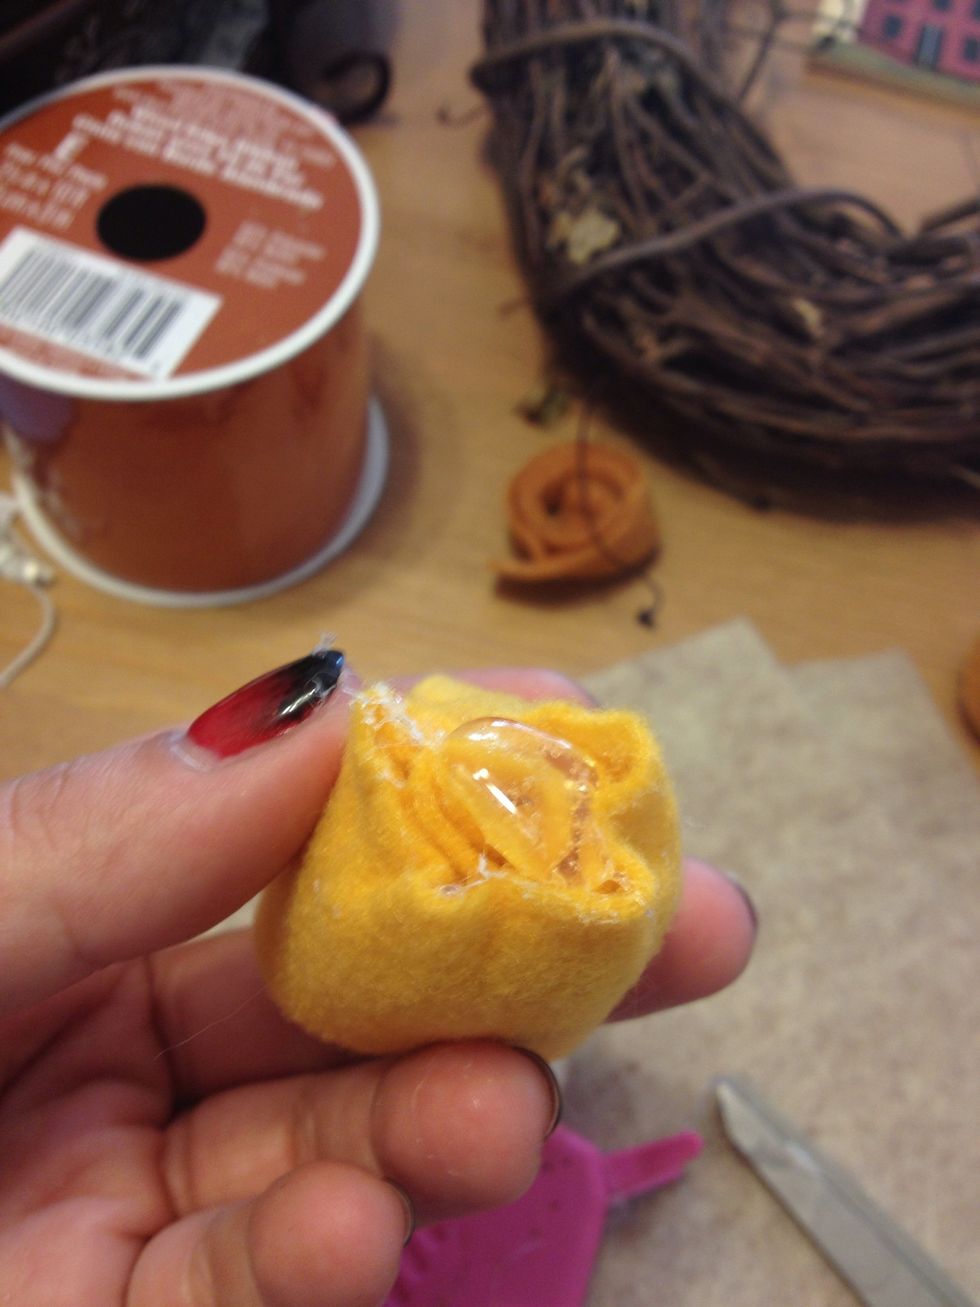
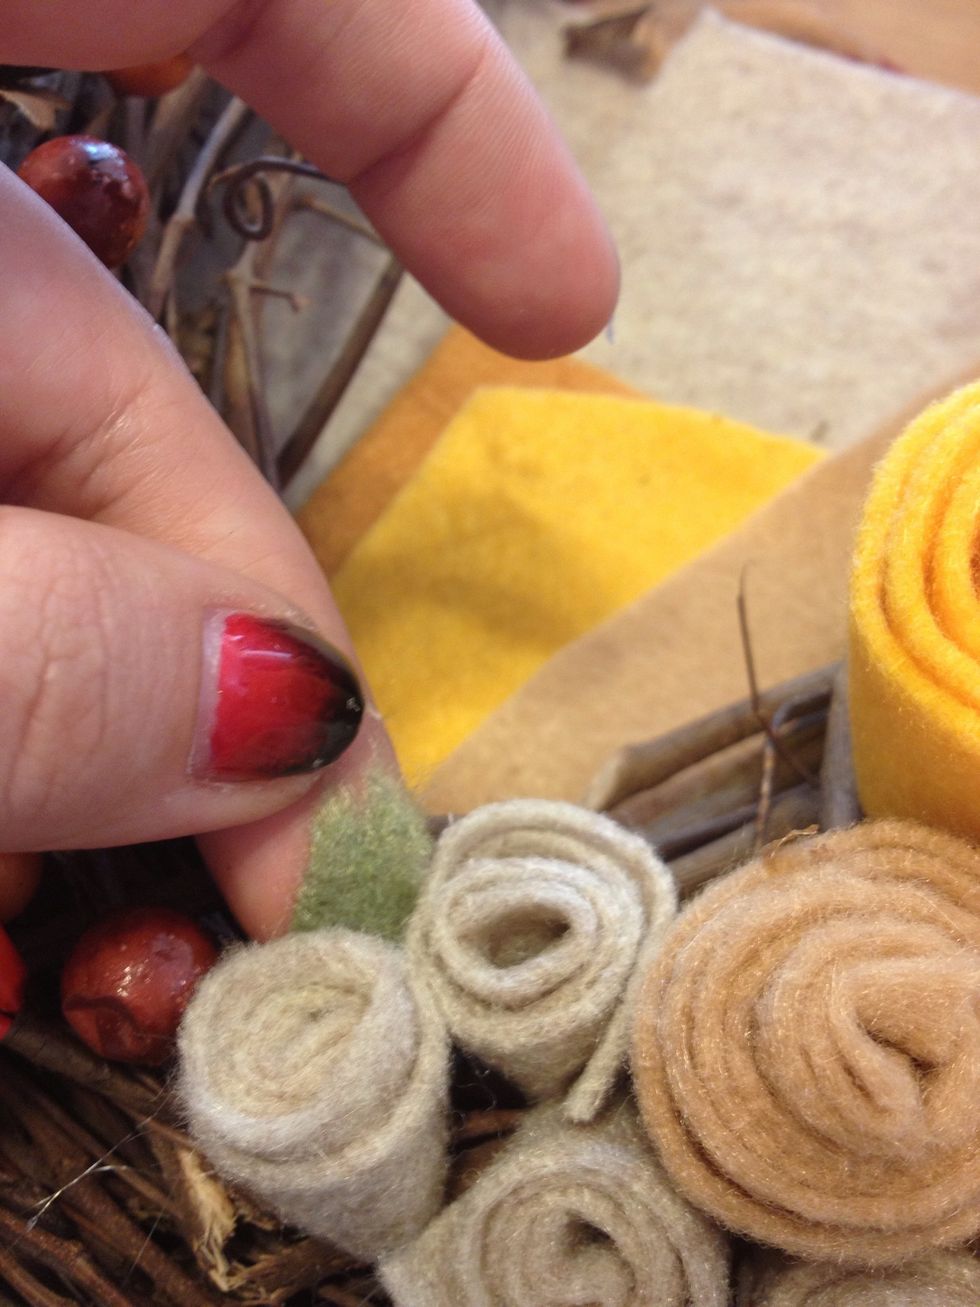
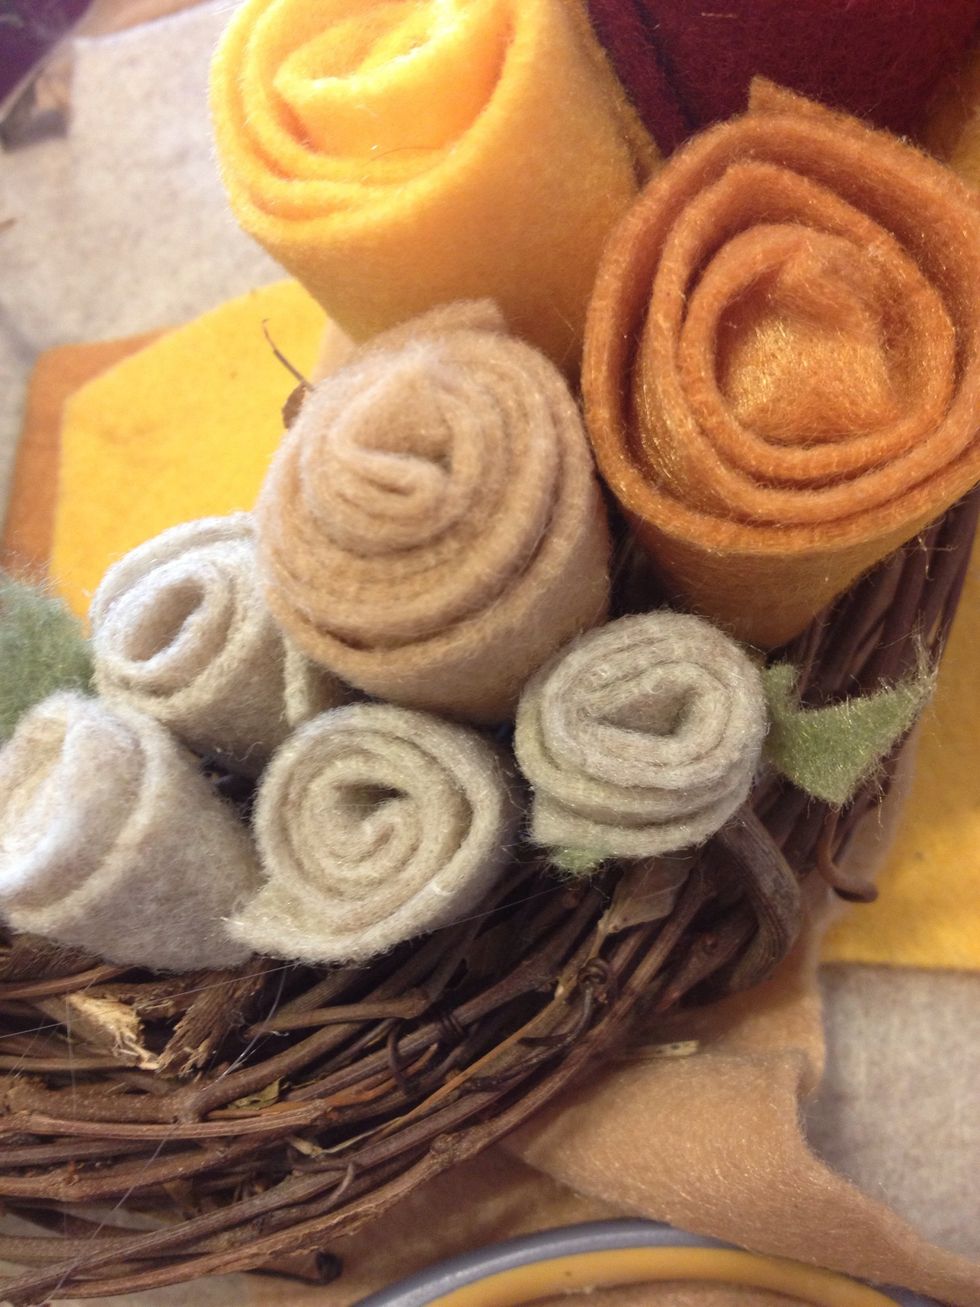
Now start on your other color felt flowers.

Same thing just use one strip. Only use double for the red rose.
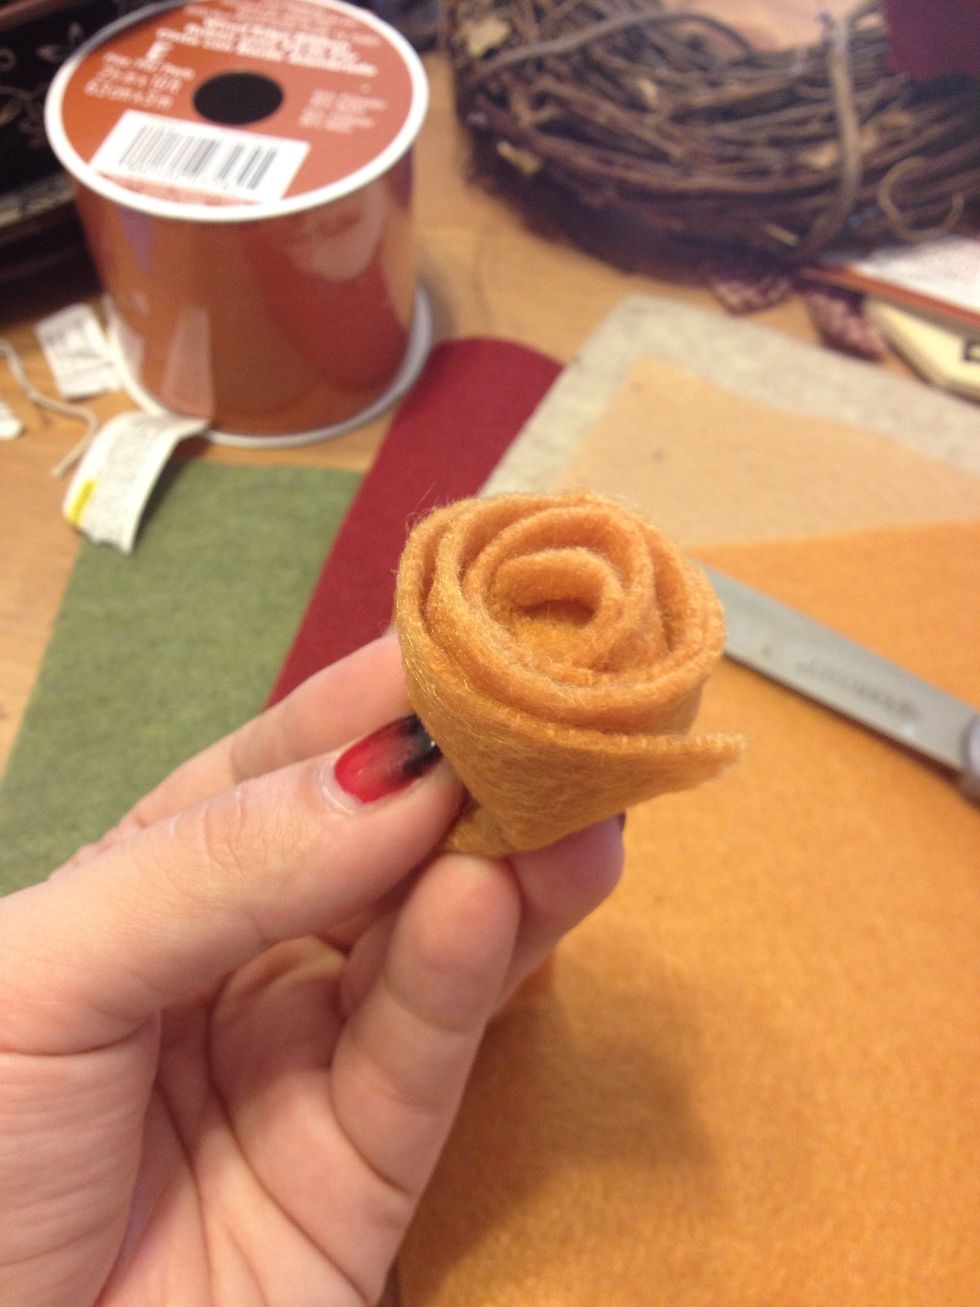
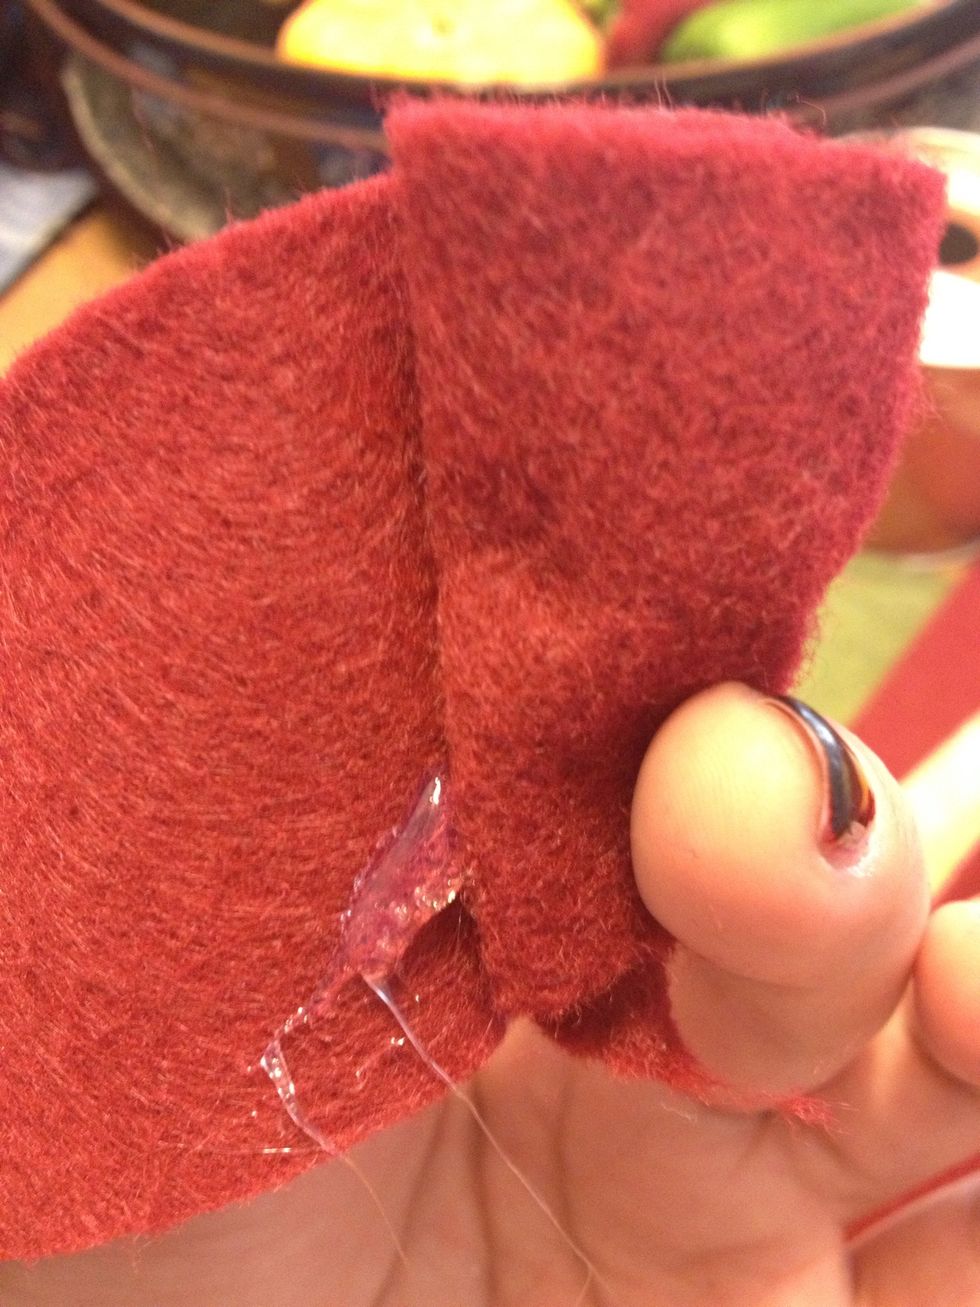
If you pinch the end of the flower while it dries I have notice it makes a nice bell flower shape.
Pinch pinch pinch! *BE CAREFUL* the glue gun is very hot! I have burned my fingertips many a times...
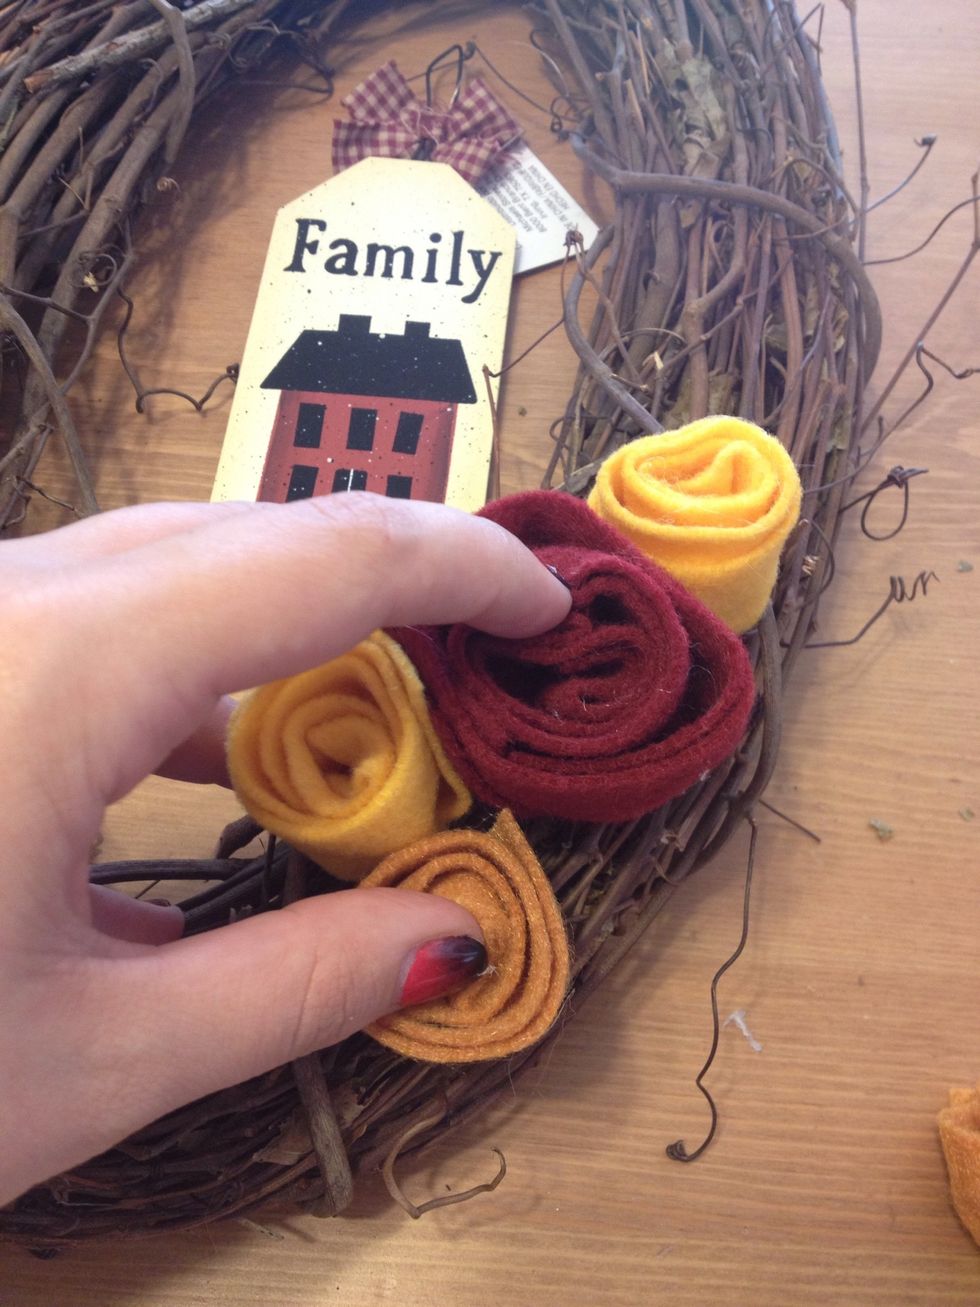
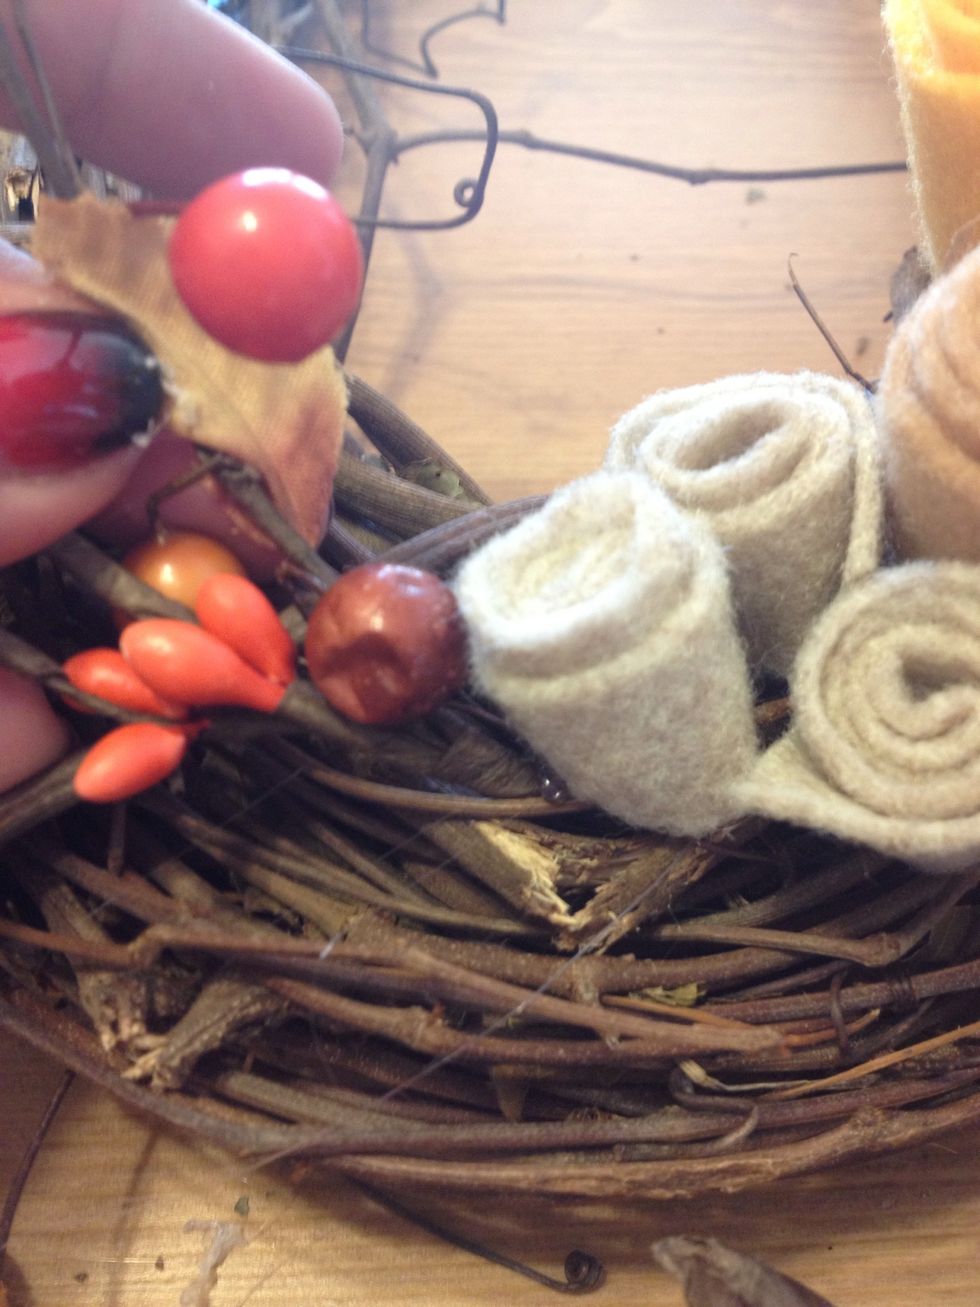
Once you have all the flowers you want start glueing into the wreath. Big glob of glue at the end of the flower...
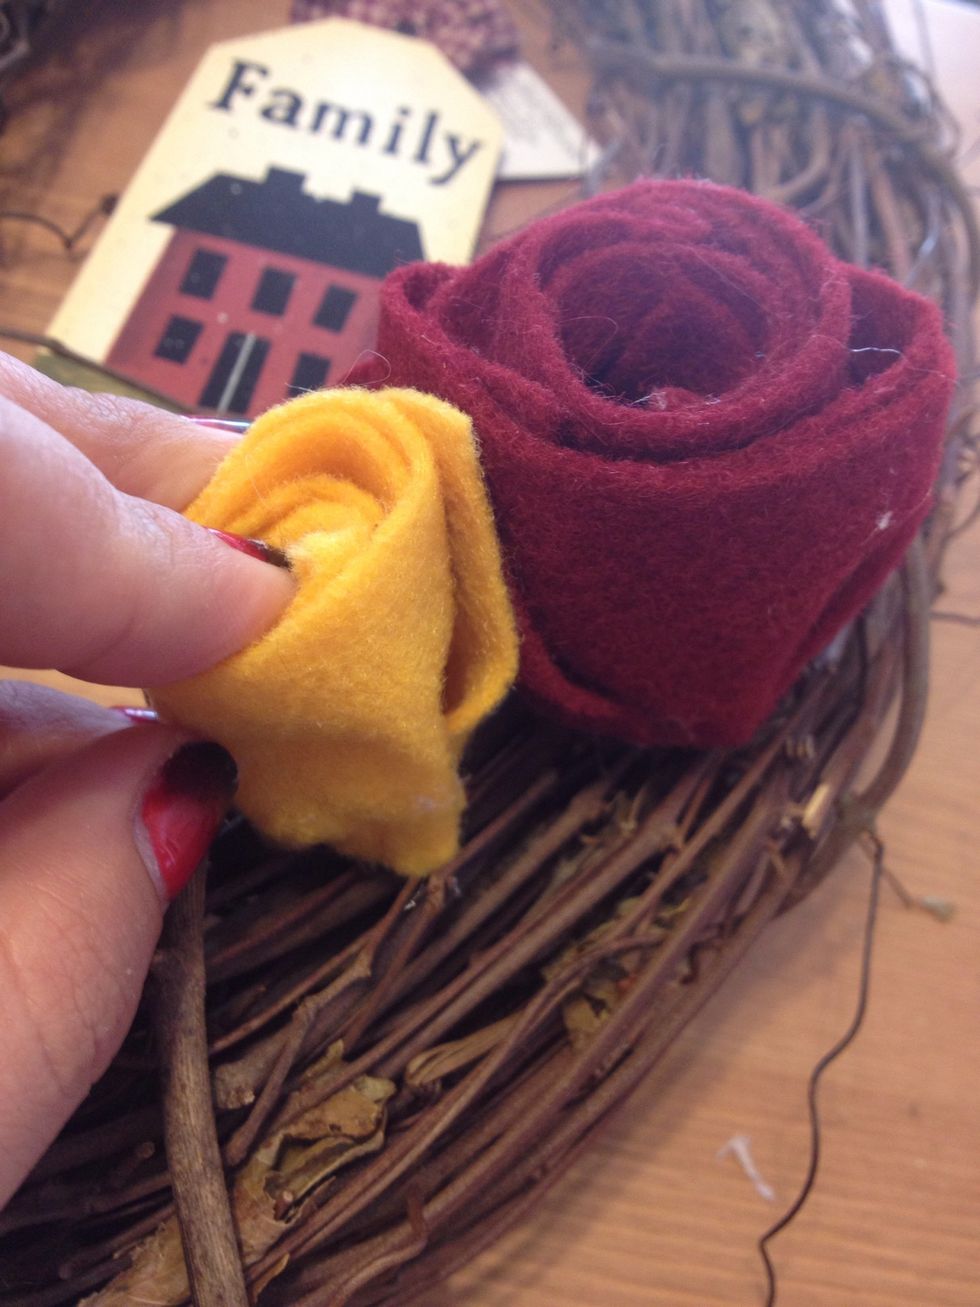
And hold for a few seconds.
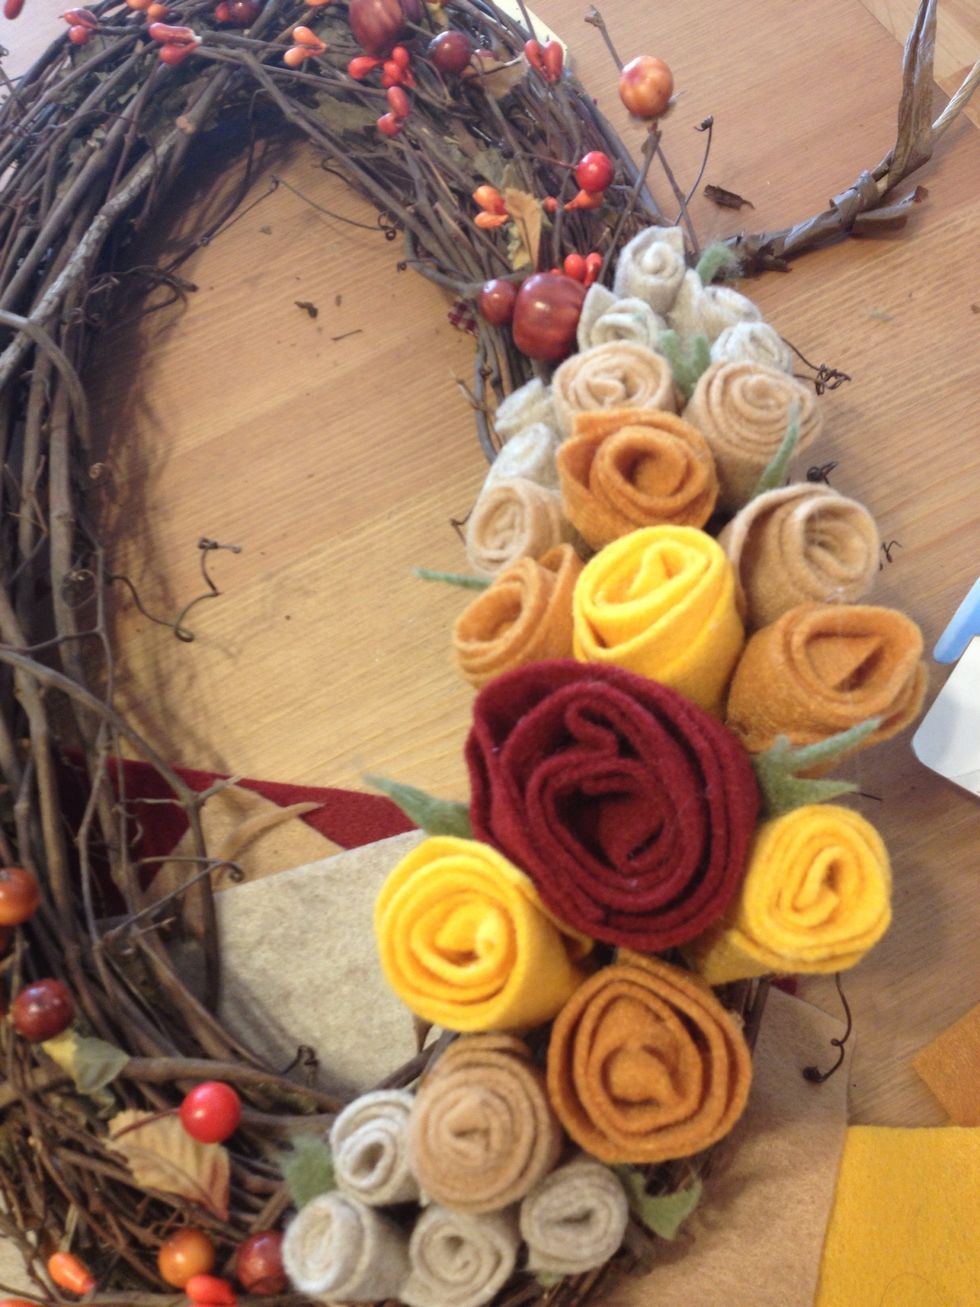
You can place the flowers however you want but I like to make a nice flow to it.
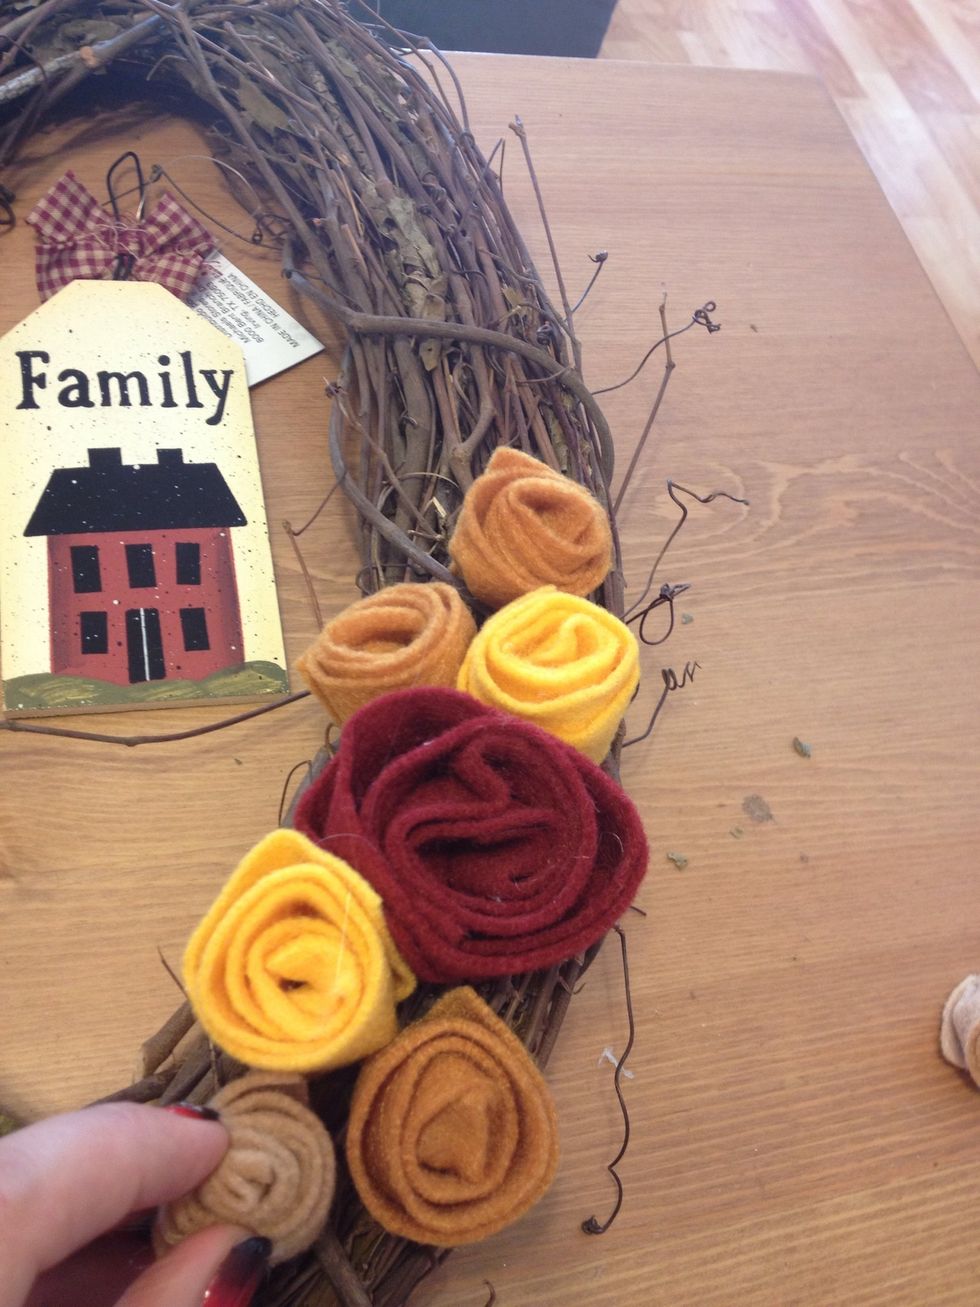
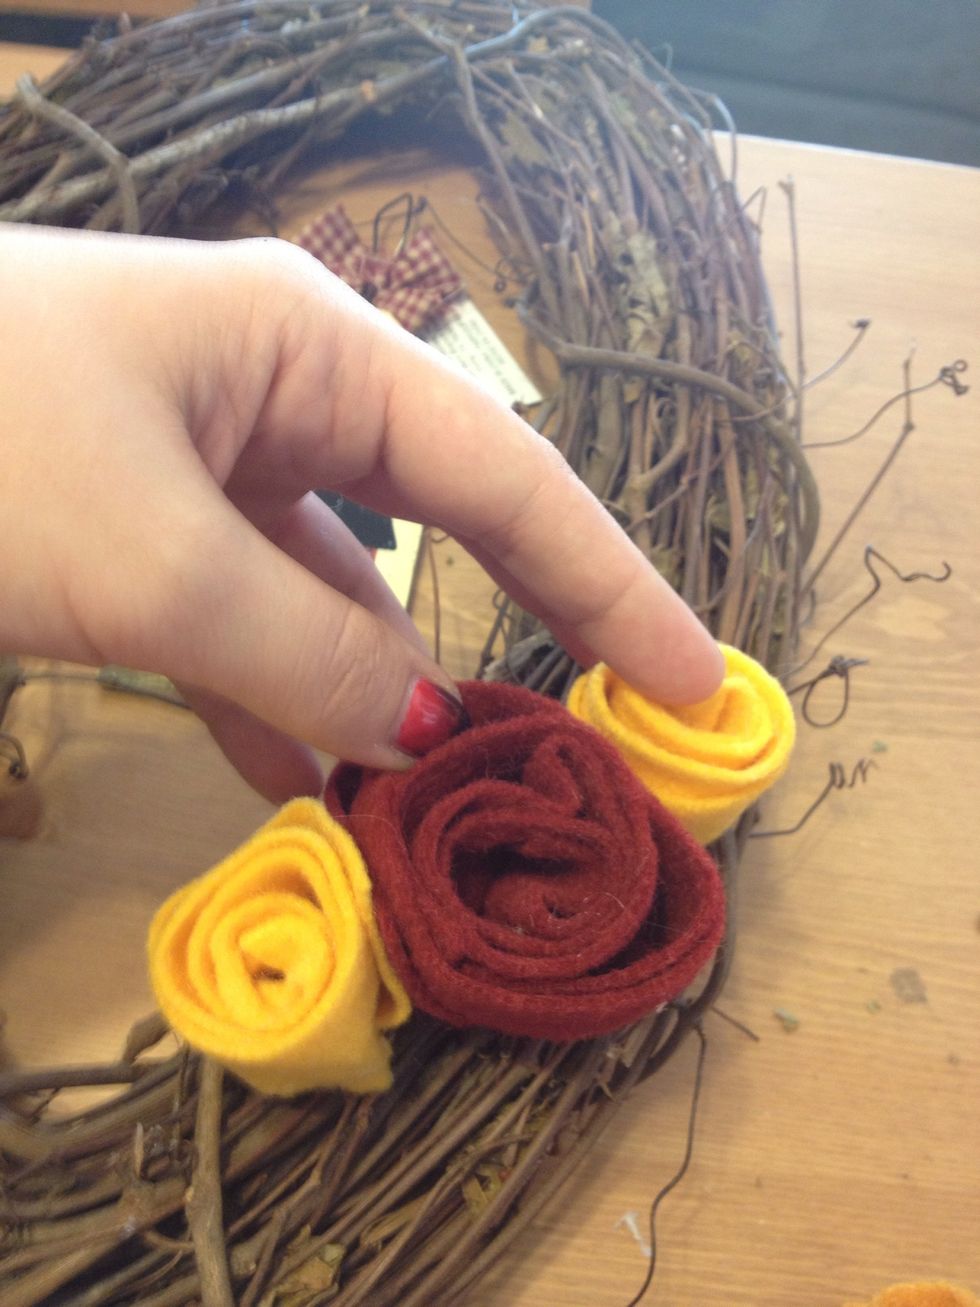
So here is my layout of the flowers. I went back and made more of the smaller and medium size flowers to make it fuller looking.
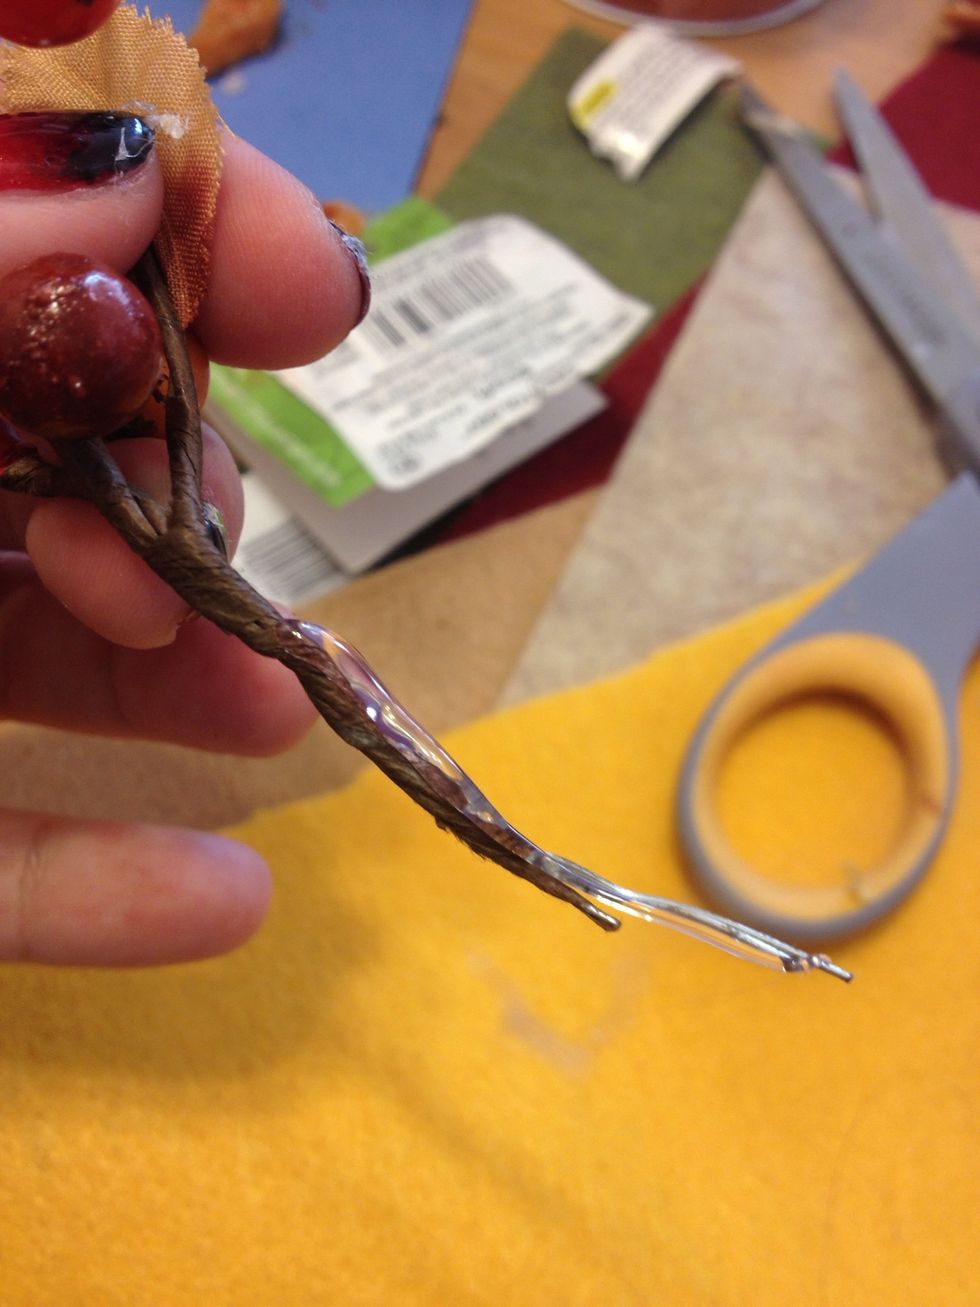
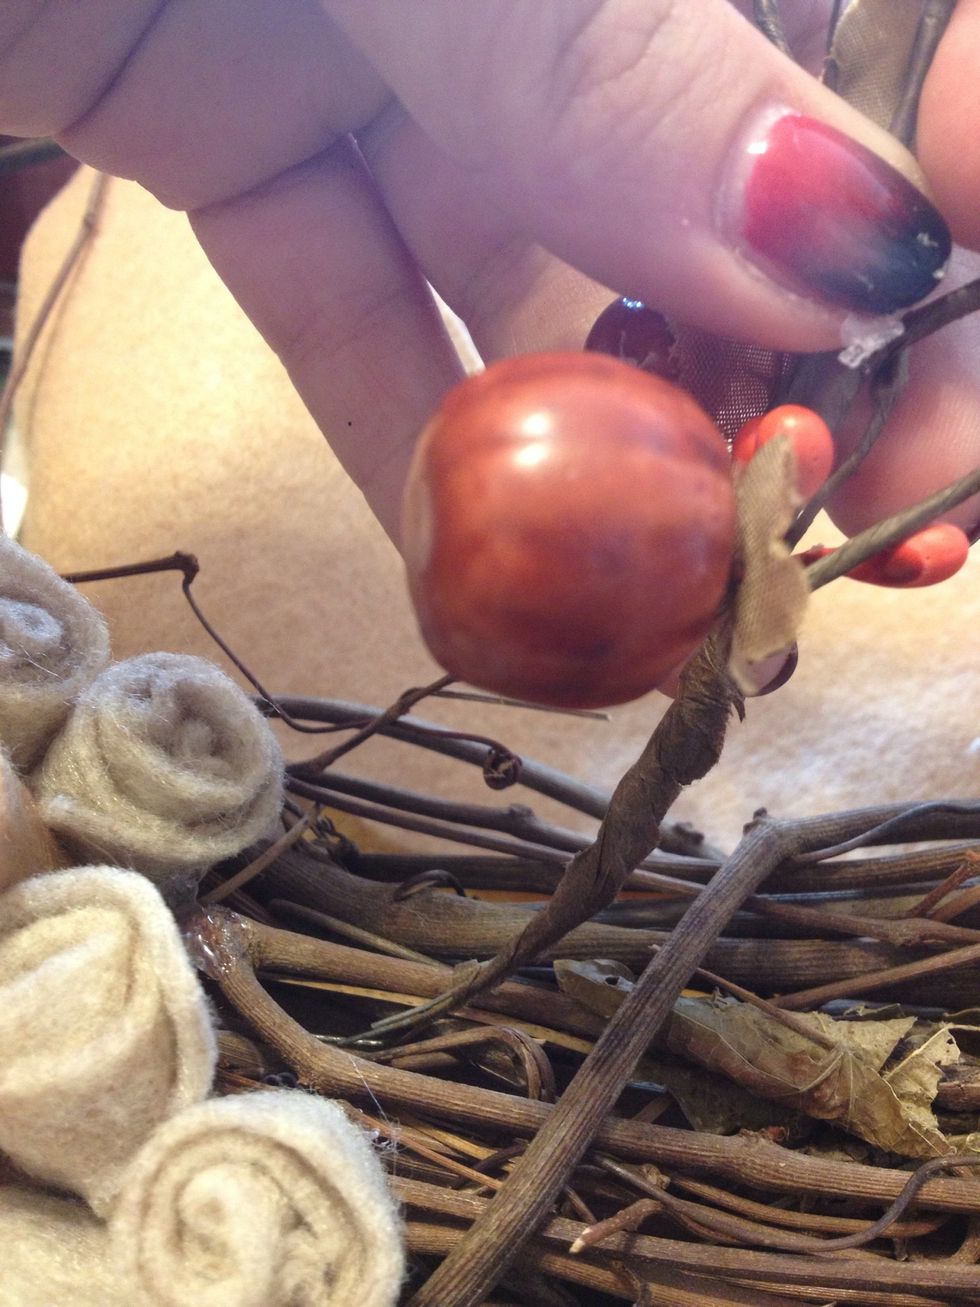
Now take your garland and put glue on the en where the wire is exposed.
Place in between the twigs of the wreath.

It holds pretty well. Then you can move the garland however you want.
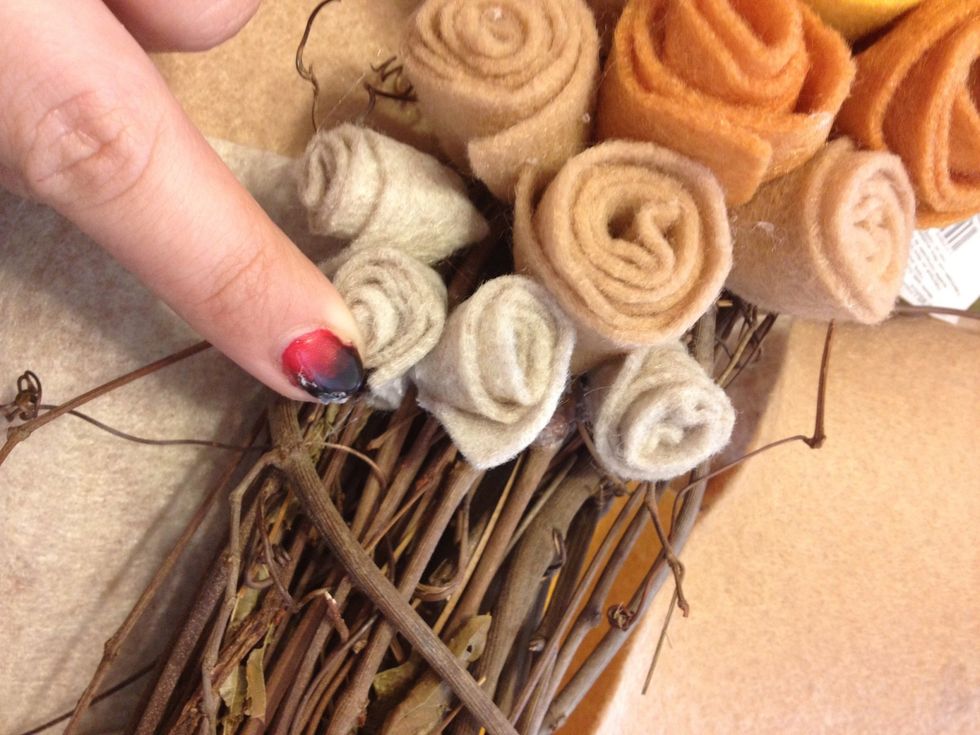
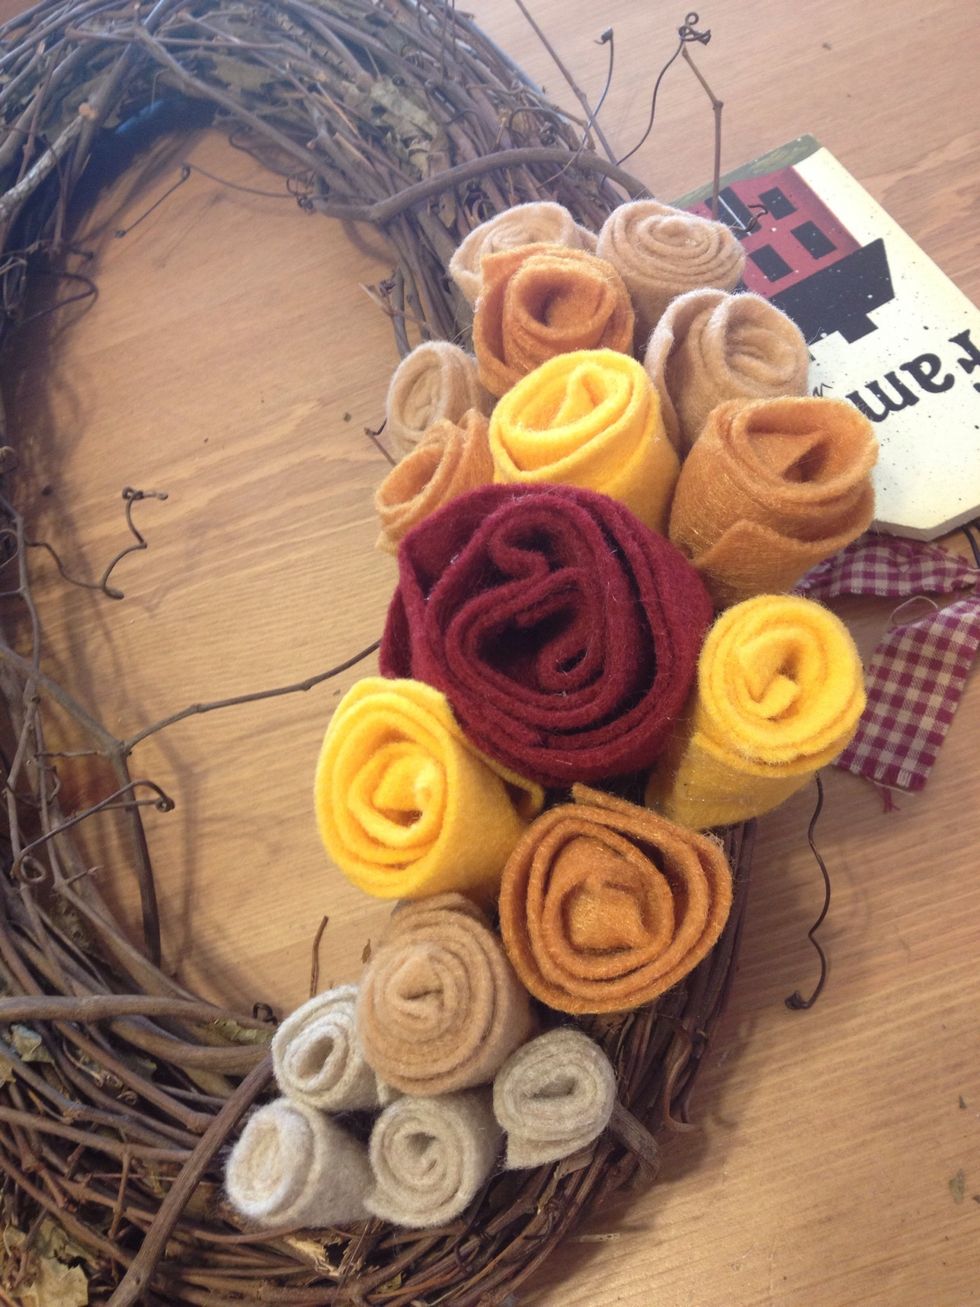
Filled more roses 🌼🌼🌼
Do the same on the other end of the flowers.
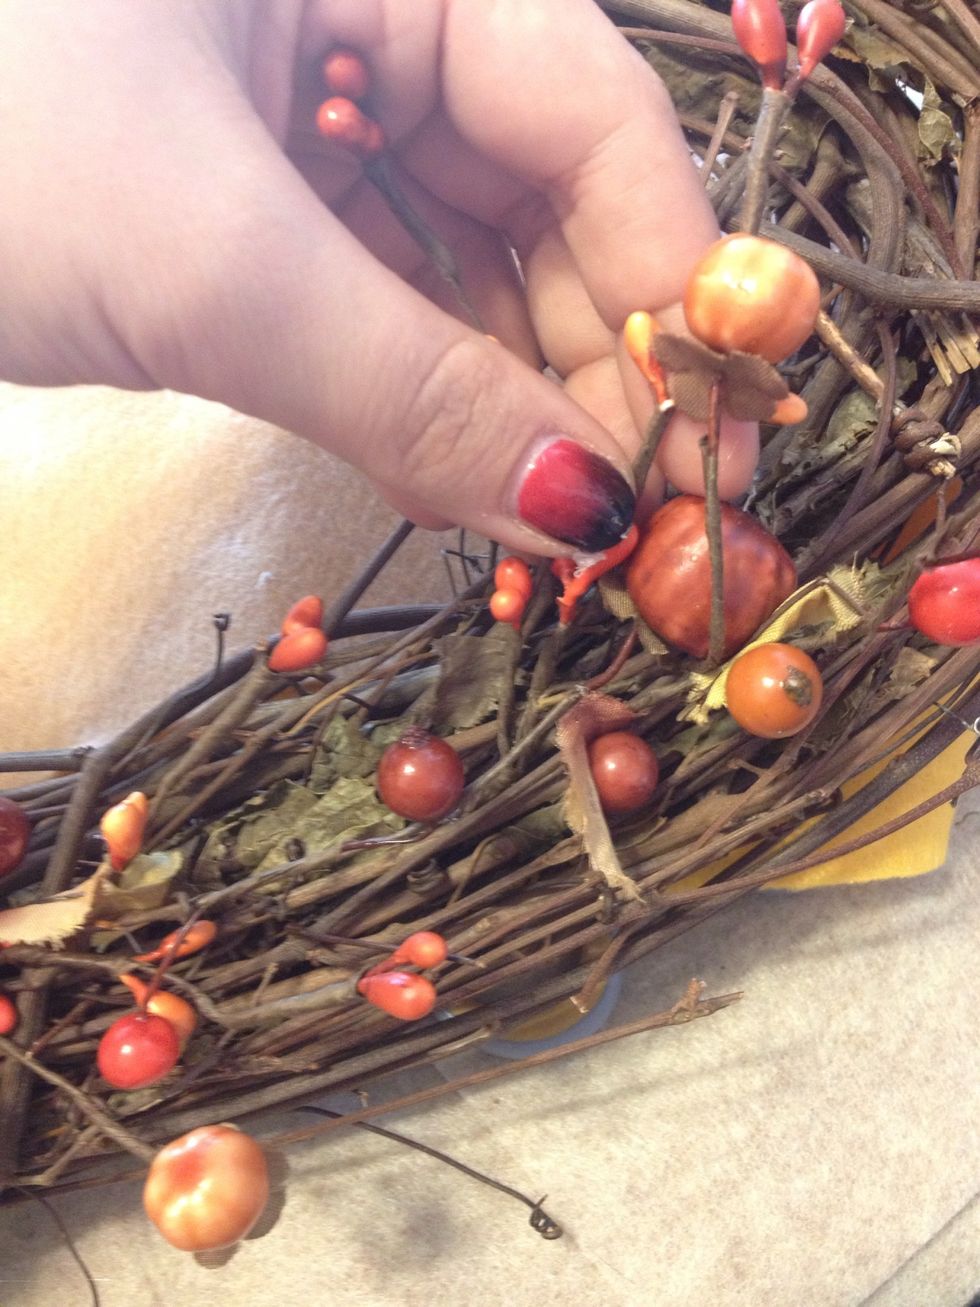
Take another garland branch and place on top of the first to follow around the wreath.
I used three of the garland branches for the upward section of the wreathe from the flowers.
And did two on the bottom part of the wreath.
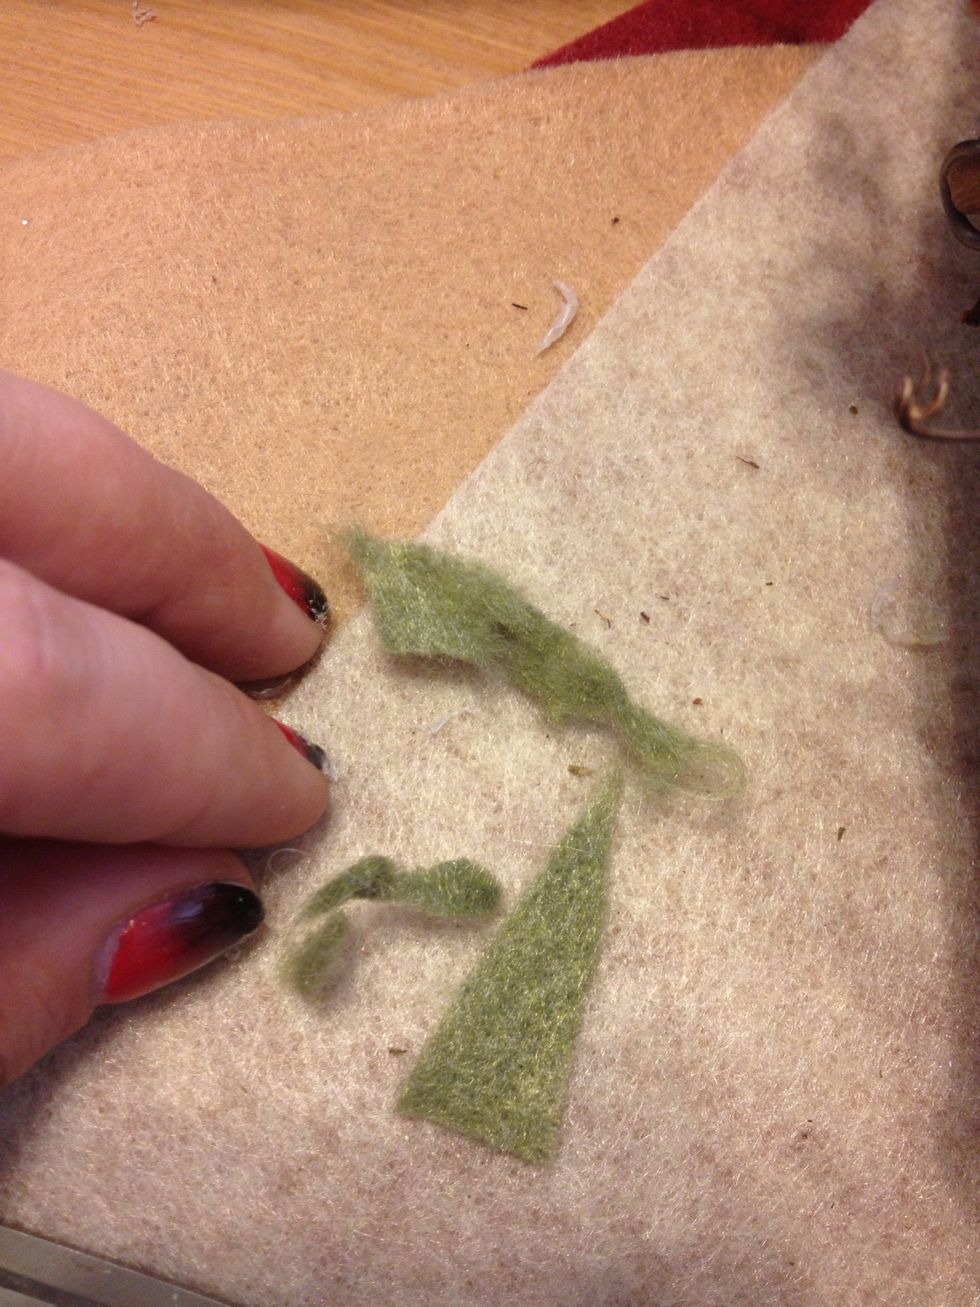
Now take some small pieces of olive green felt and tear some edges...
Glue next to the buds.
As such.
So your garland and roses are done!
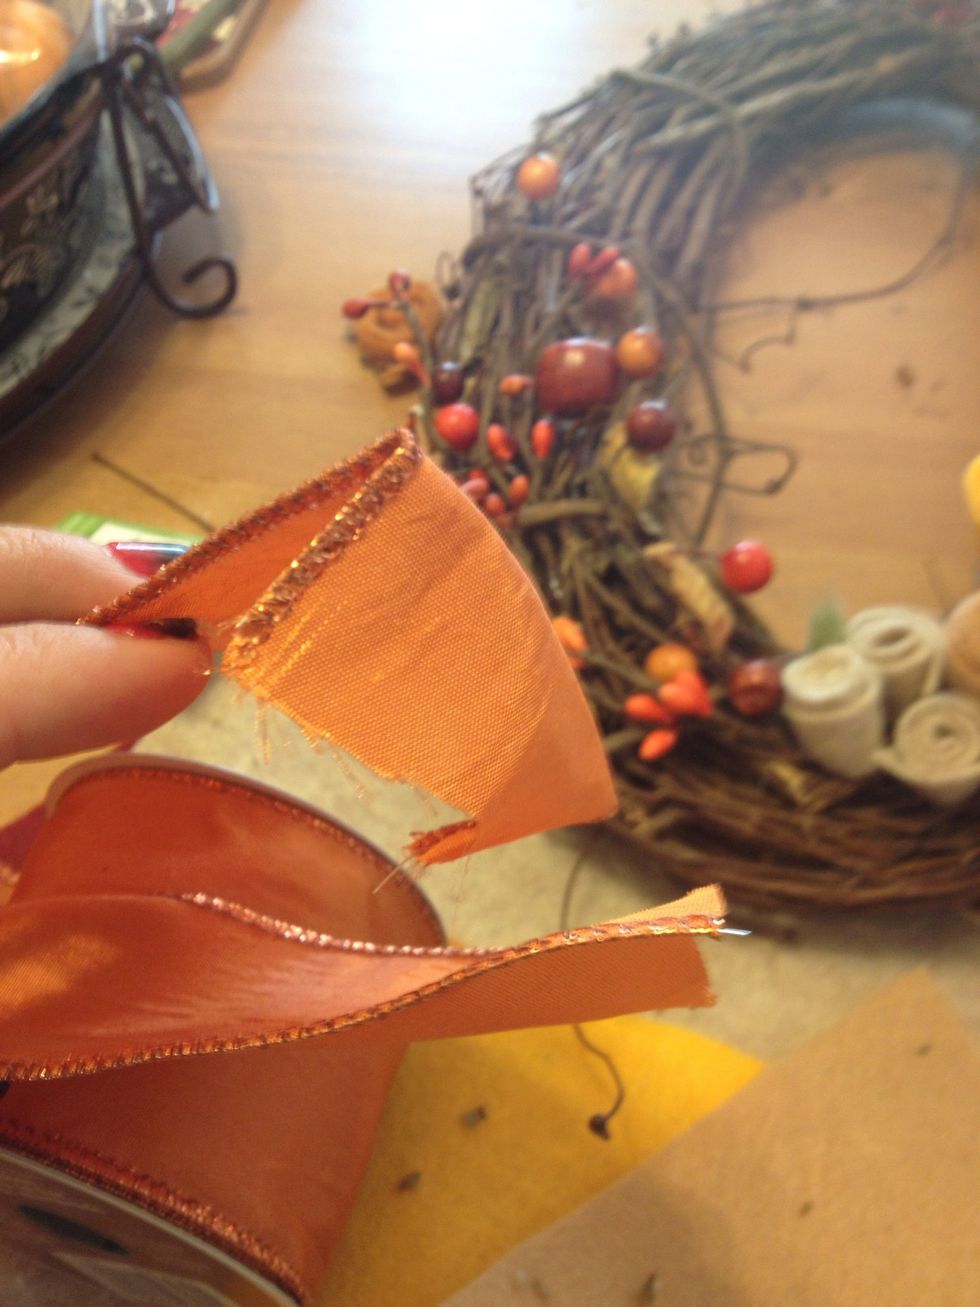
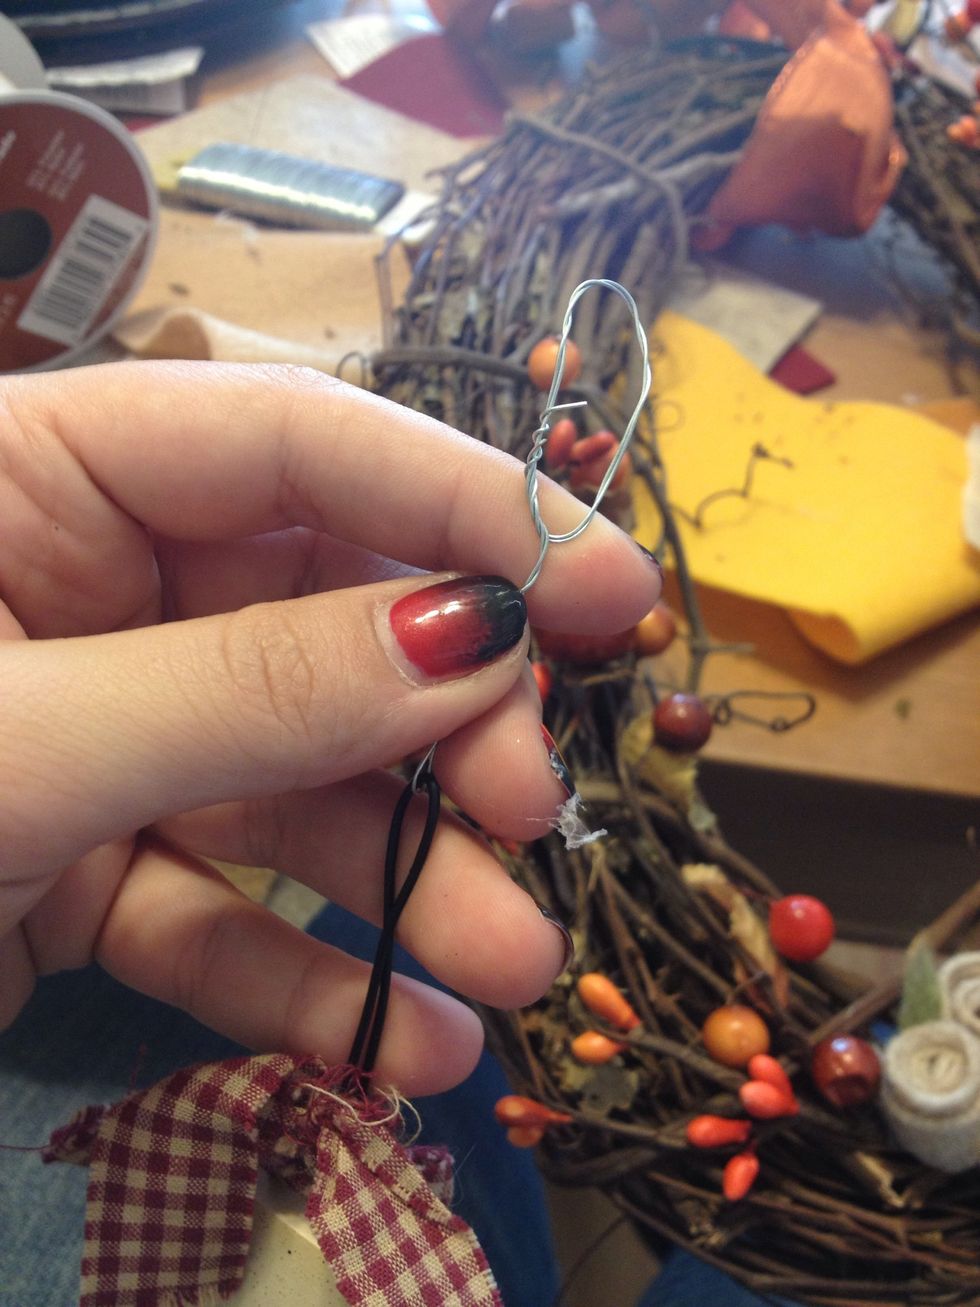
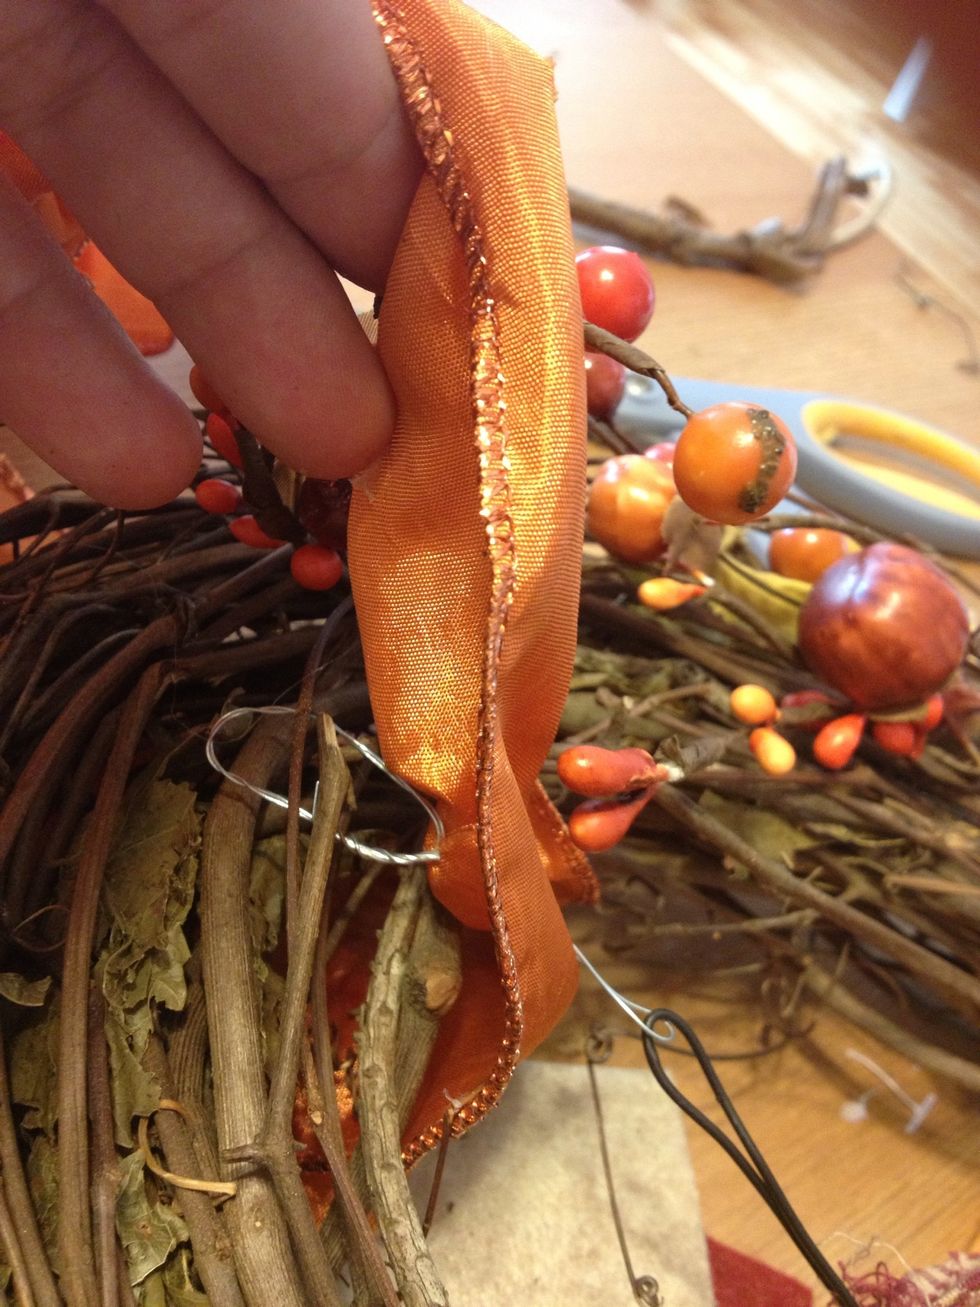
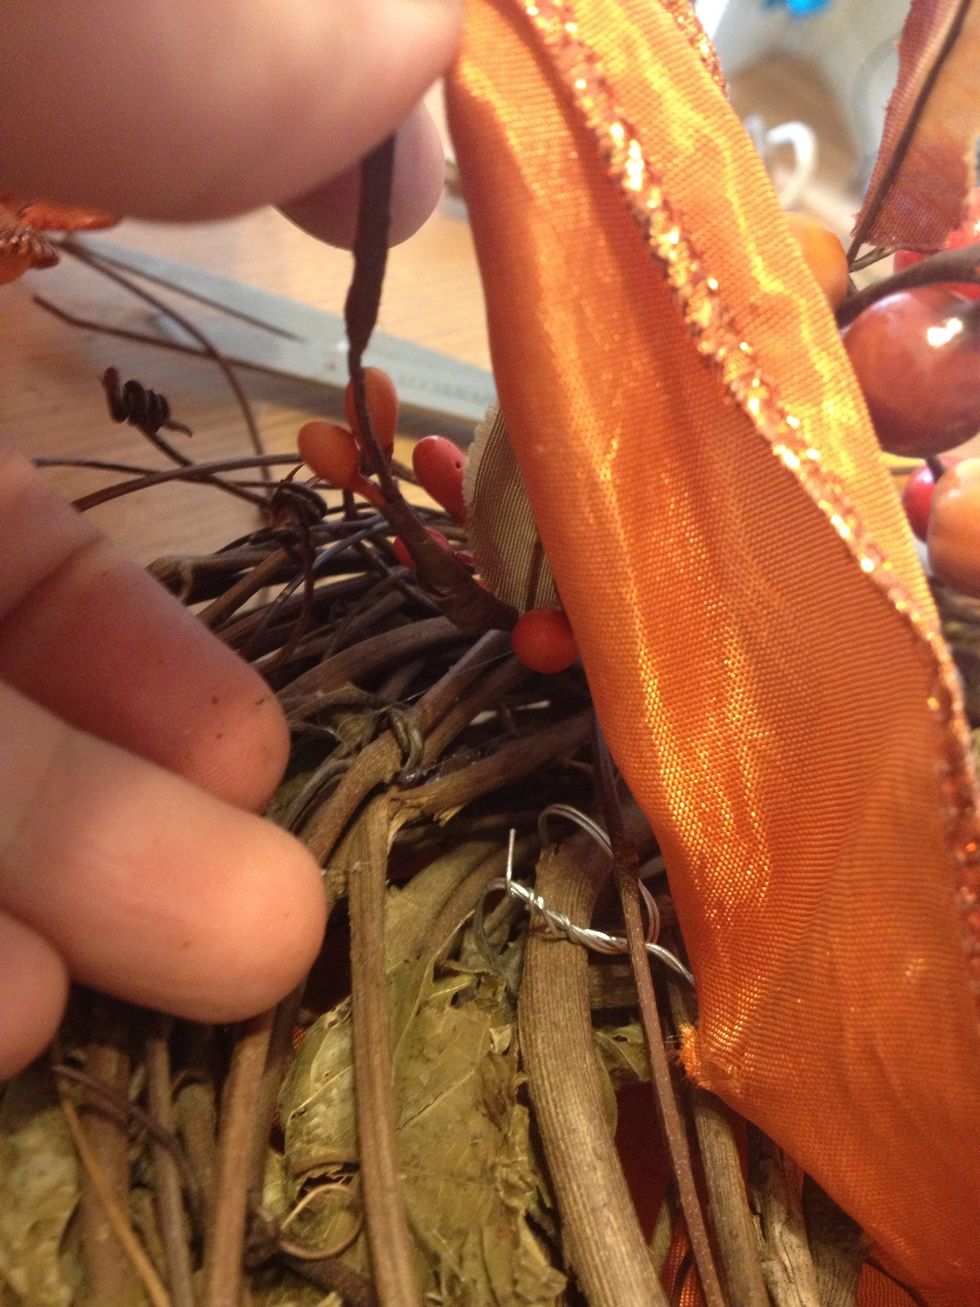
Ribbon time!!🎀🎀🎀🎀 Cut about 10-12 inch long piece and bend one area back. I like to use the ribbon that has wire threaded in the edges to bend it to your liking.
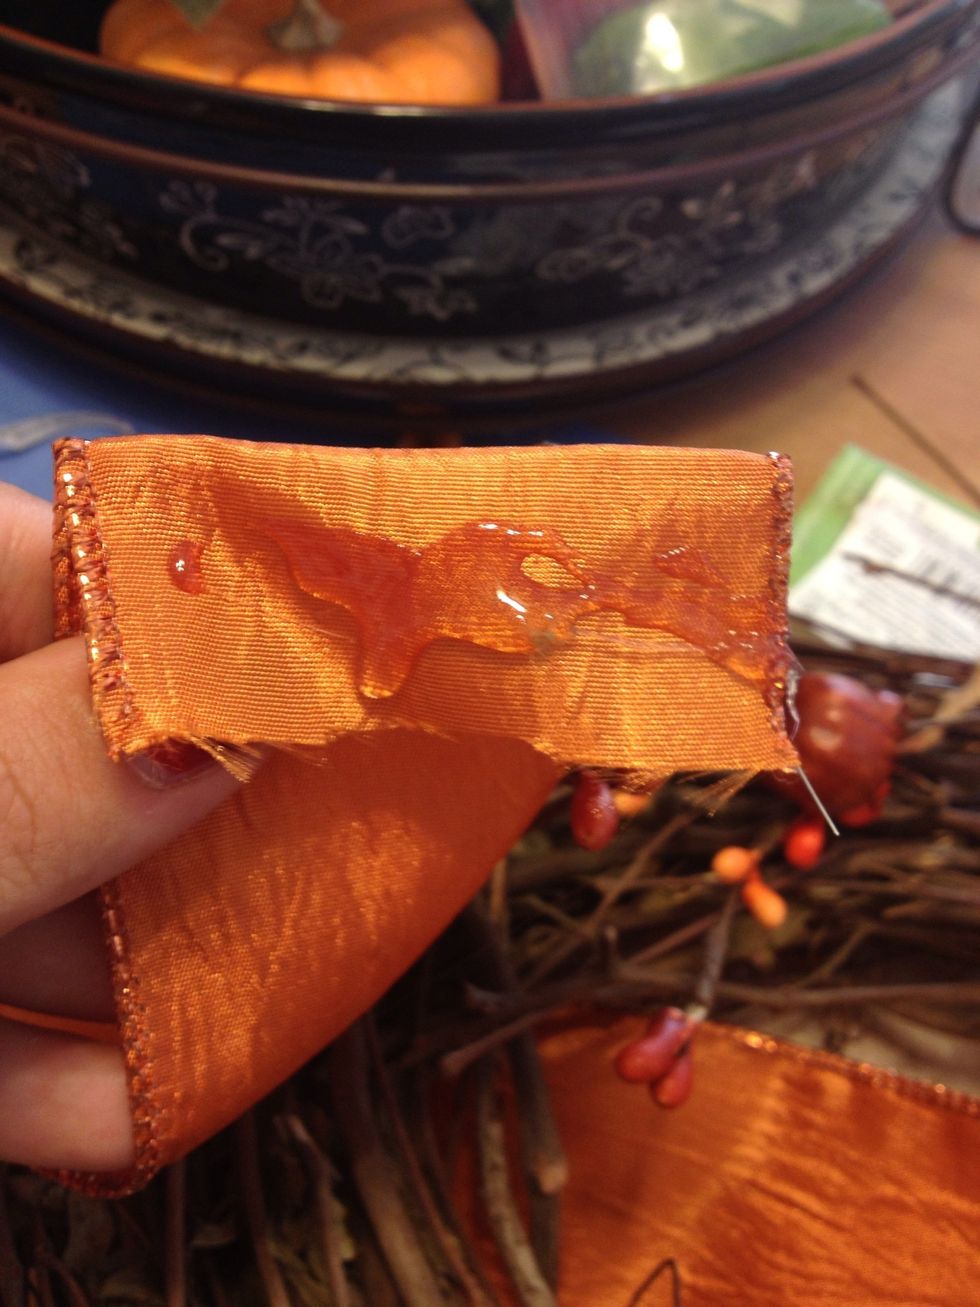
Glue the bend edge ...

And connect other end. Do this around the wreath. This is going to be your hook to hang up the wreath.
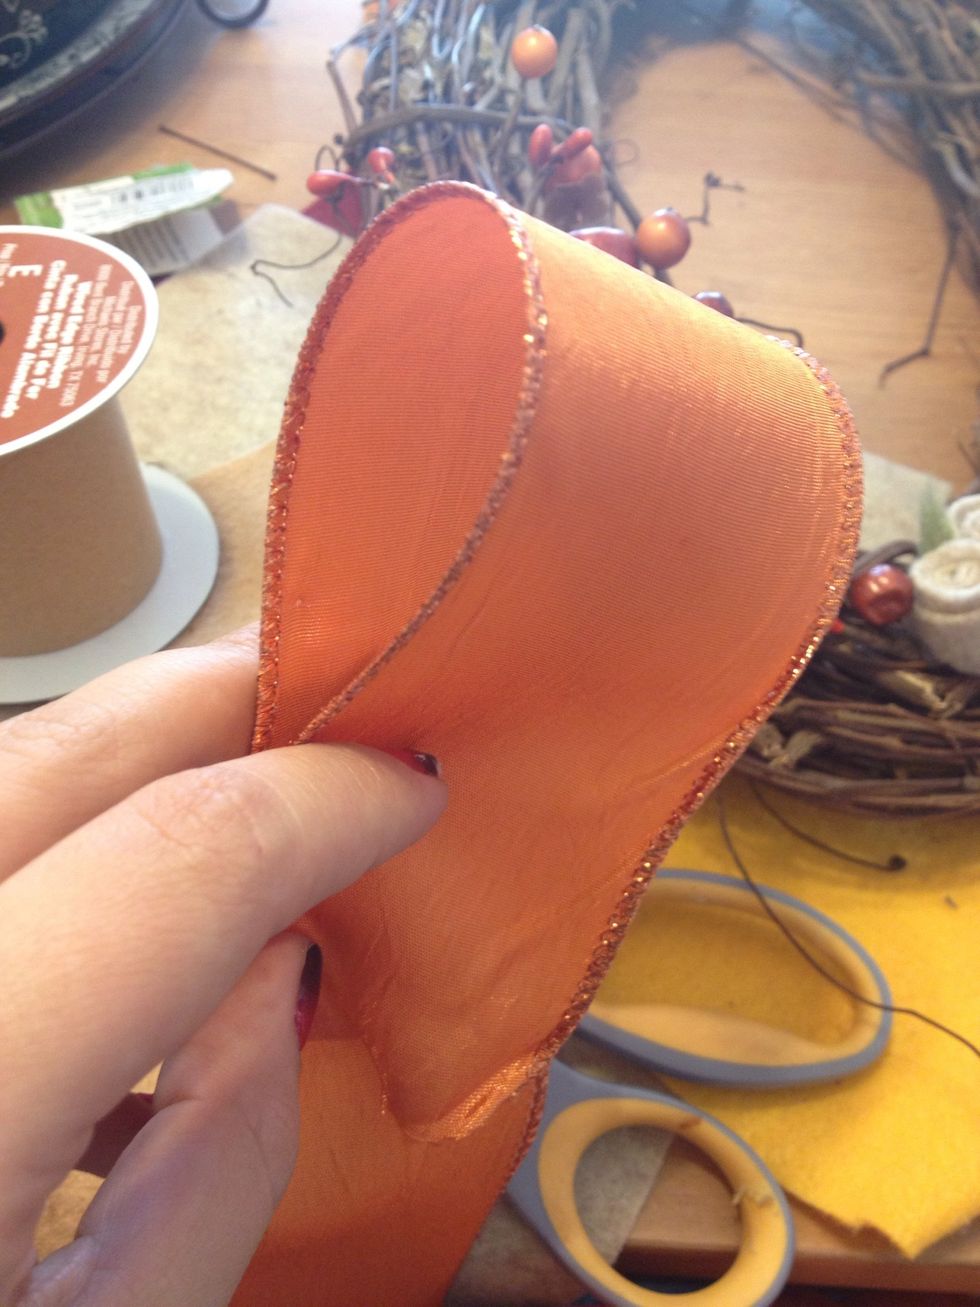
Now my "I don't know how to make a bow" bow. I just wing it but I do multiple loops and glue them together in the center...
Glue in center ...
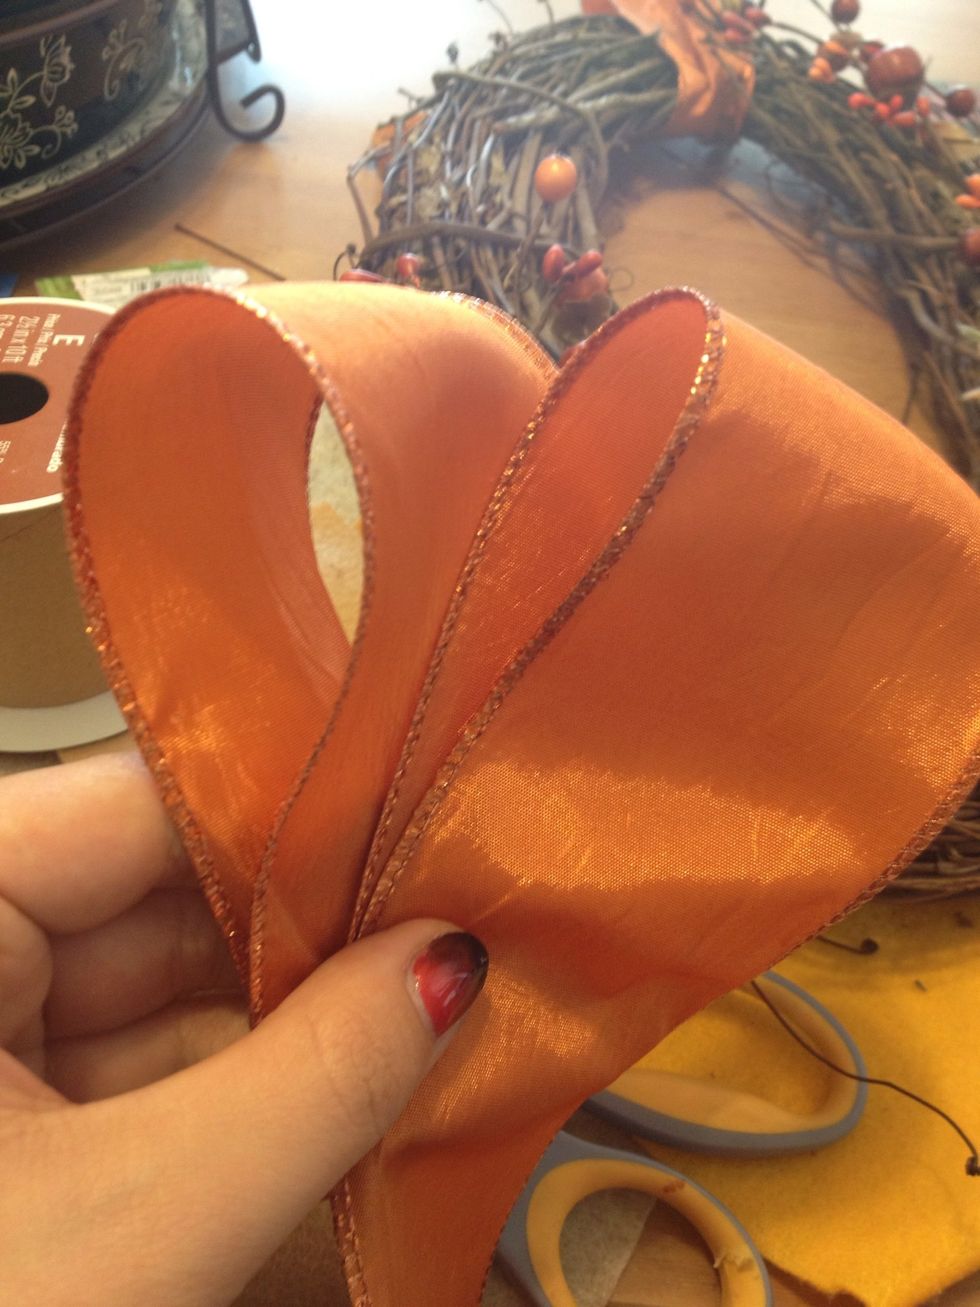
Make three more loops ...
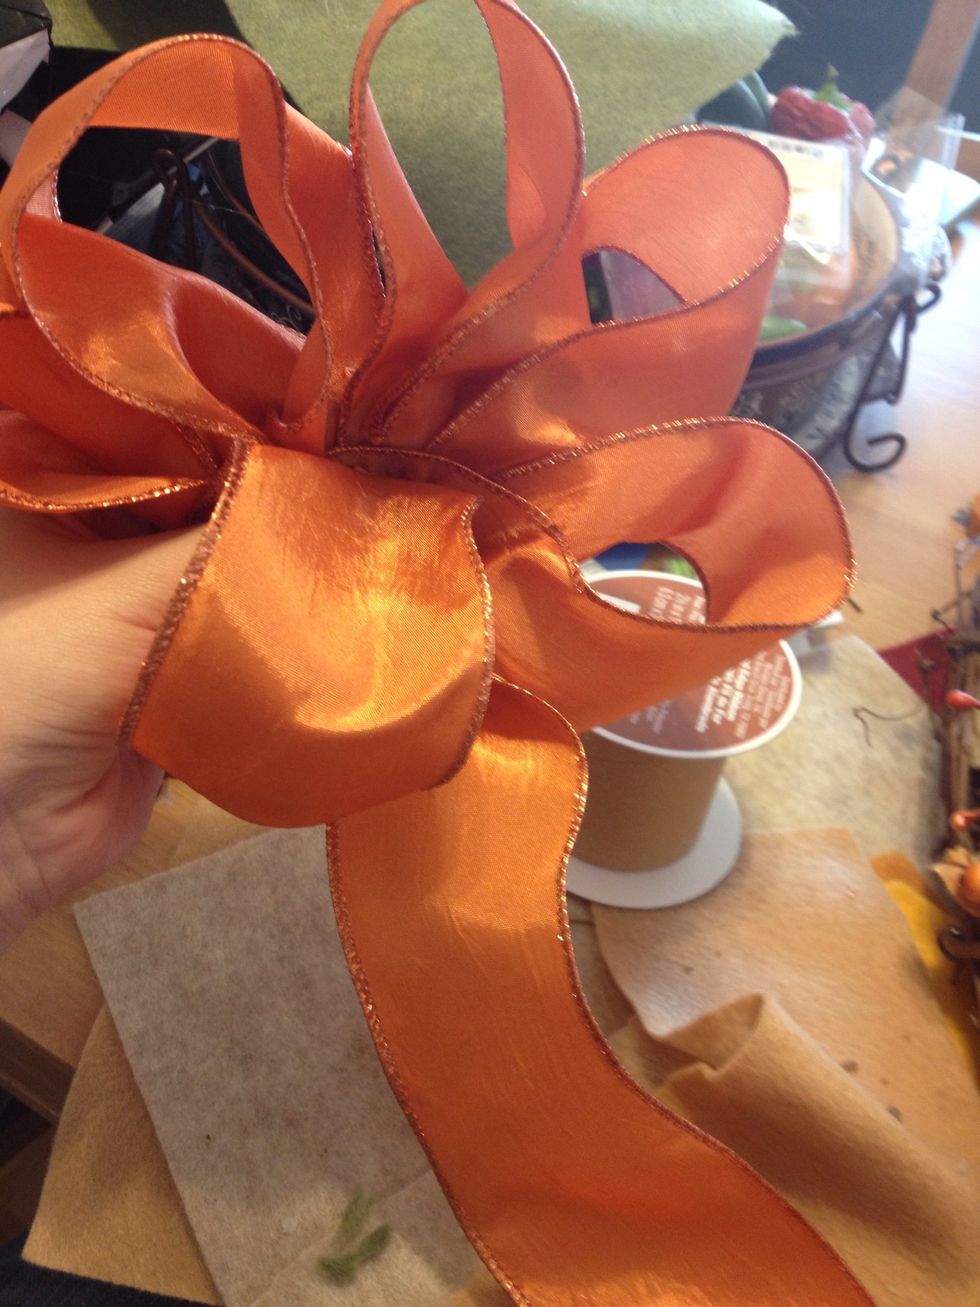
Glue the loops in the center...
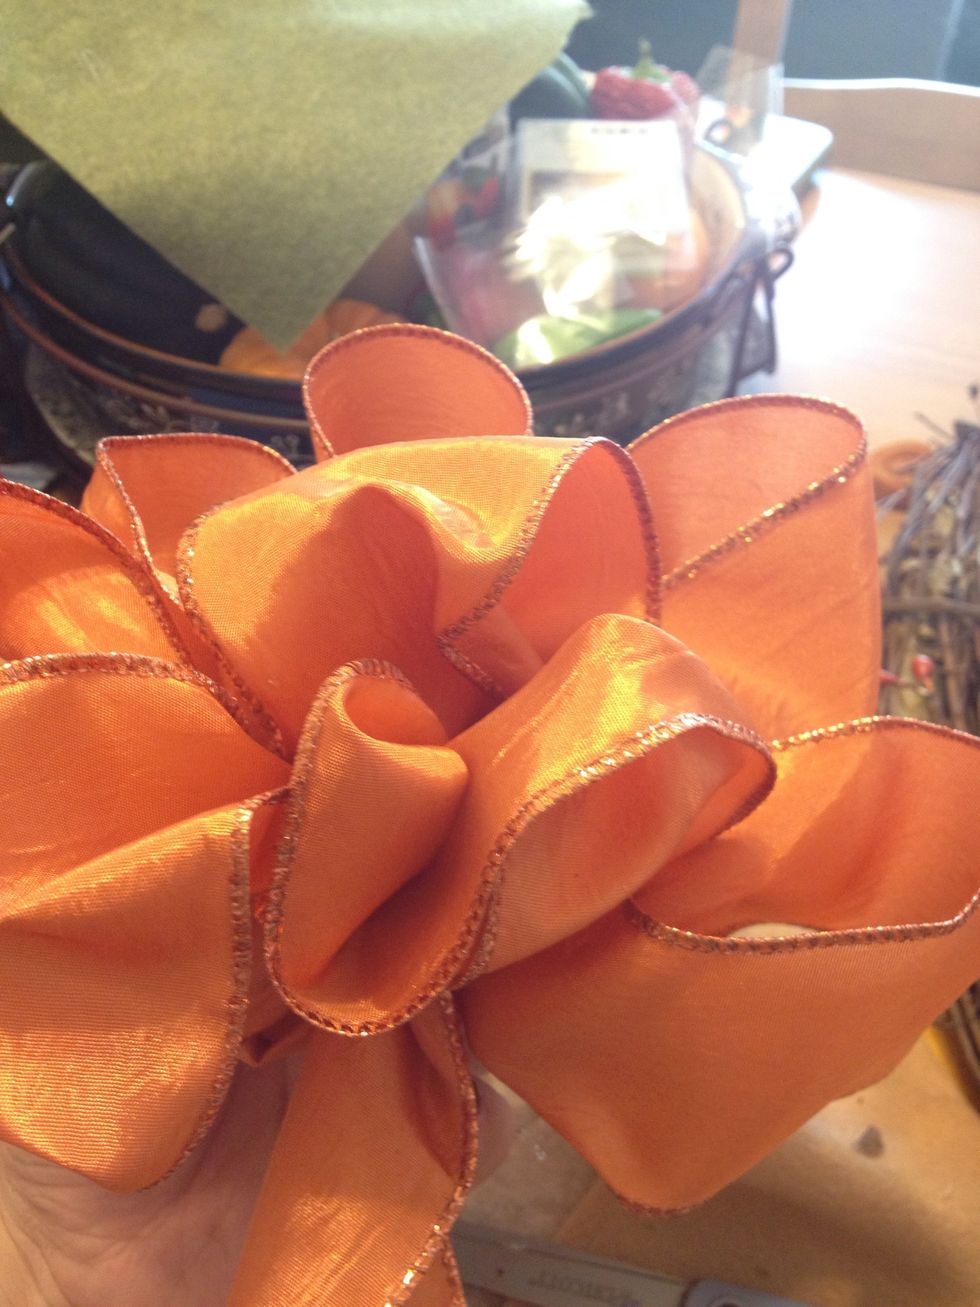
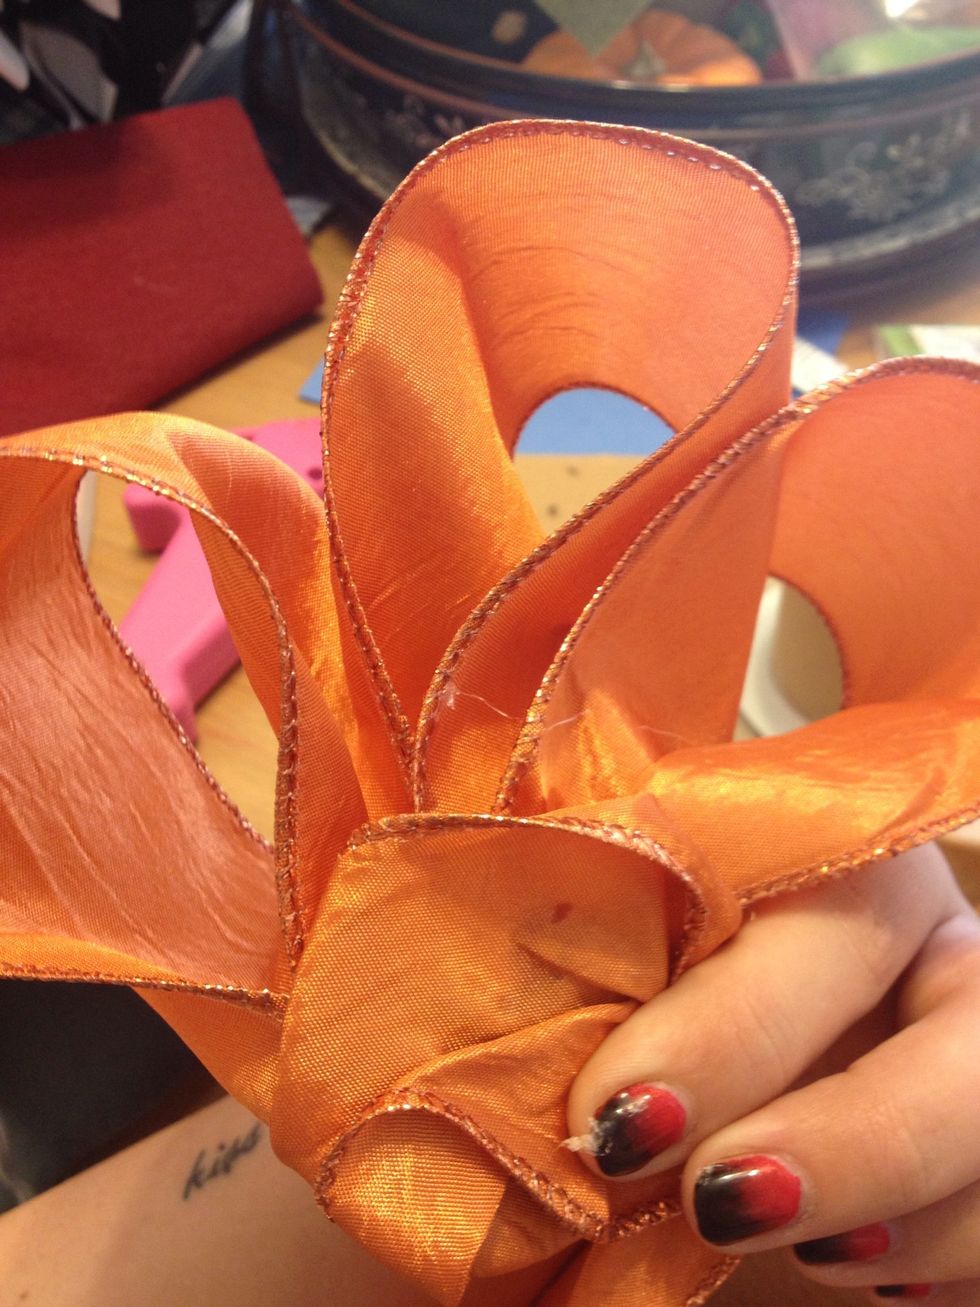
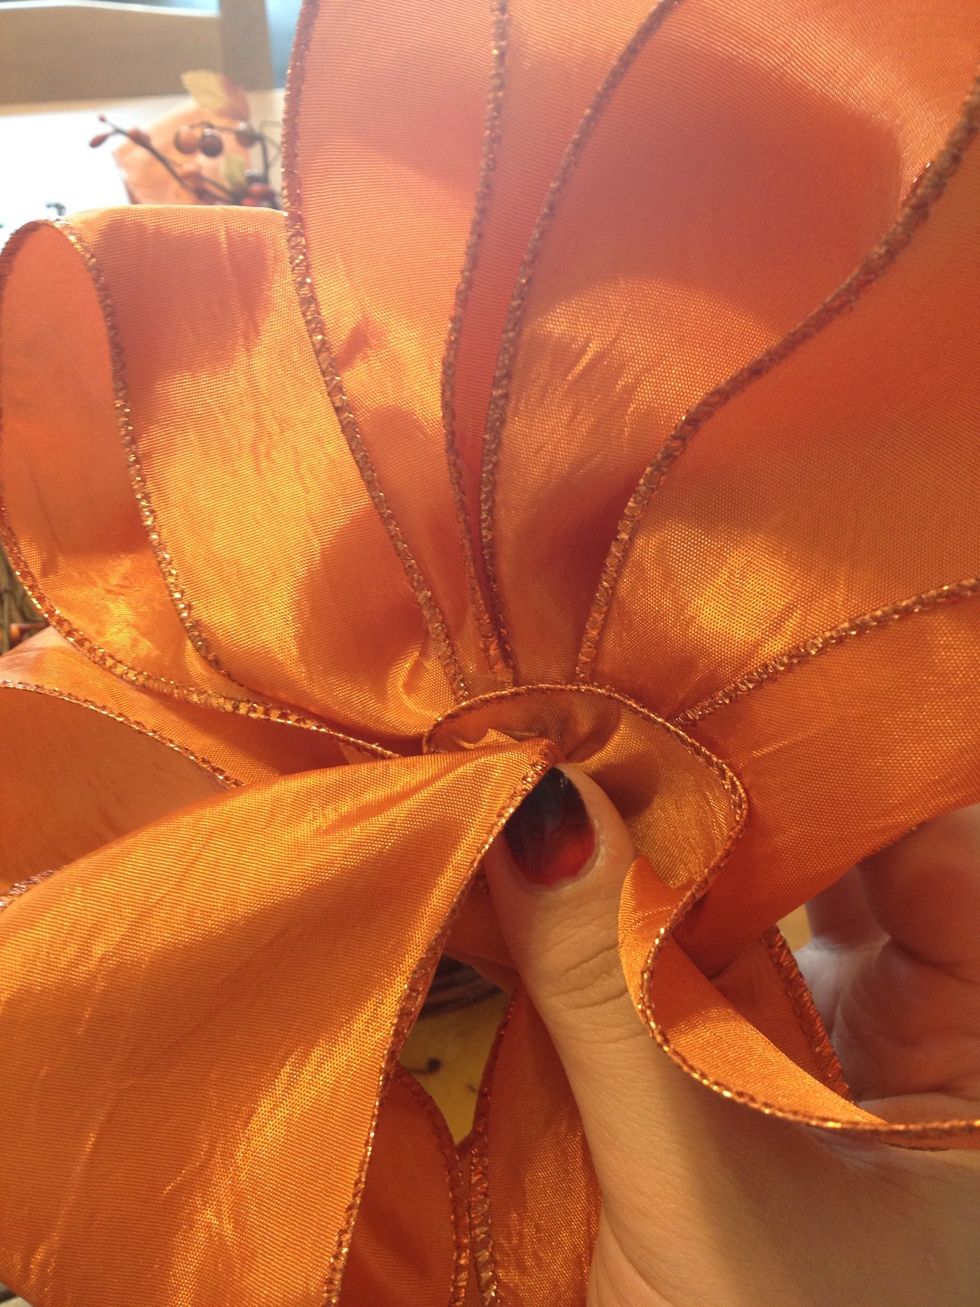
I make two smaller loops in the middle... And yes... Glue!!!
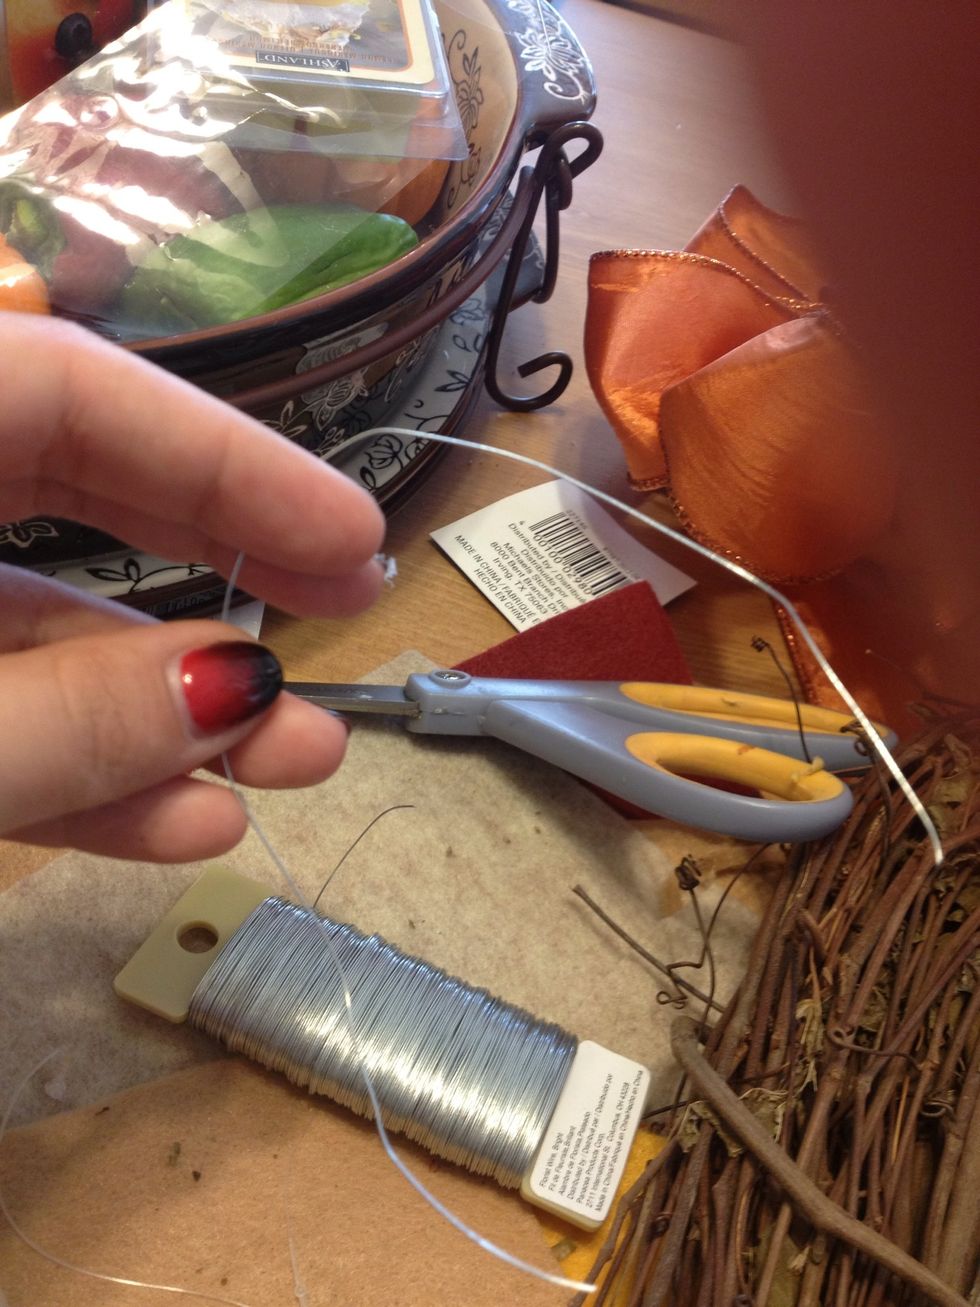
This part is all optional- take a small piece of wire or ribbon. Put aside for now
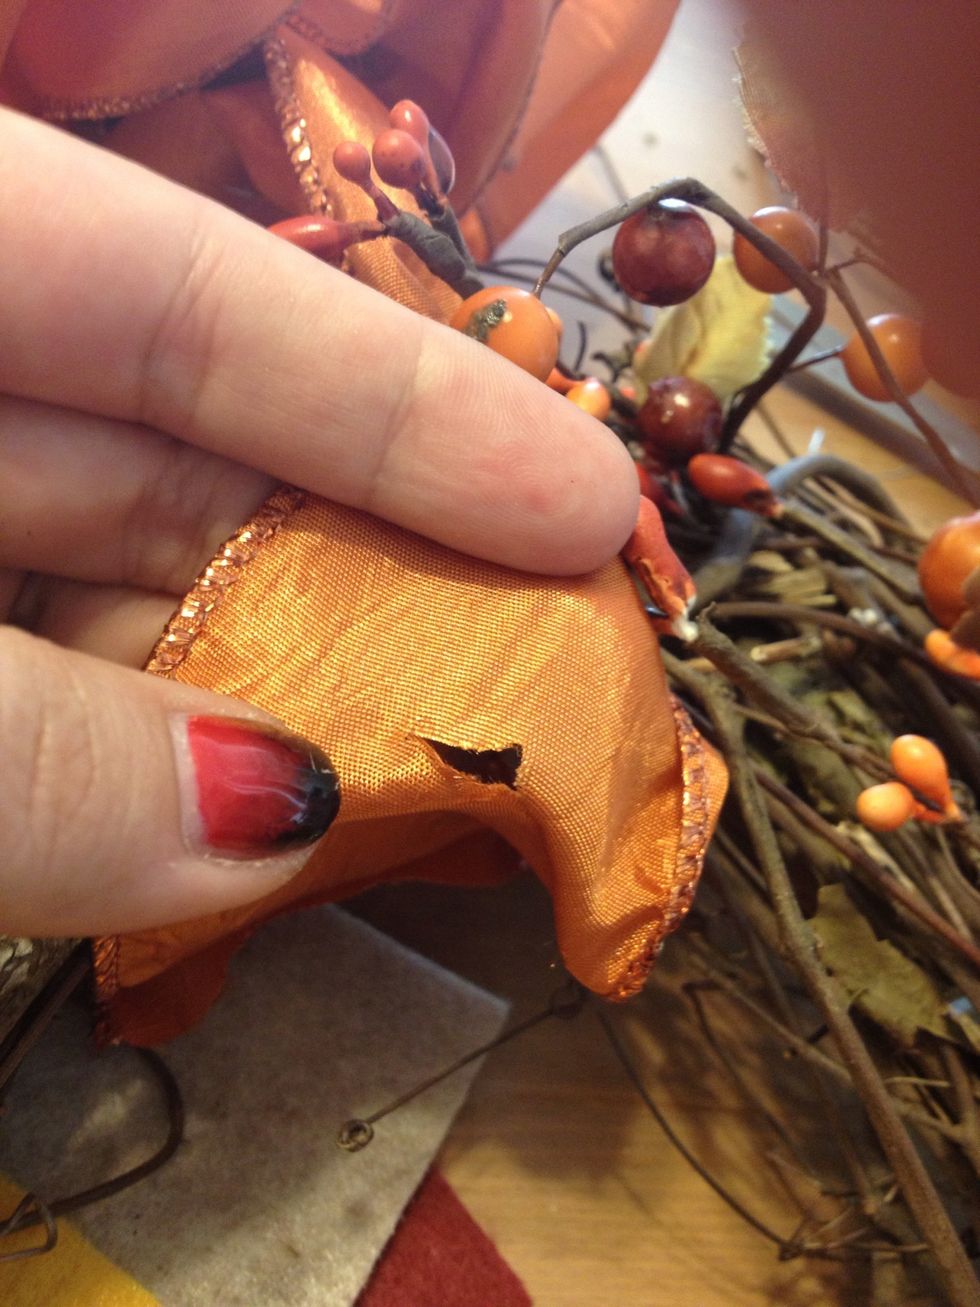
On the bottom of the ribbon cut a small slit for the sign to go threw..

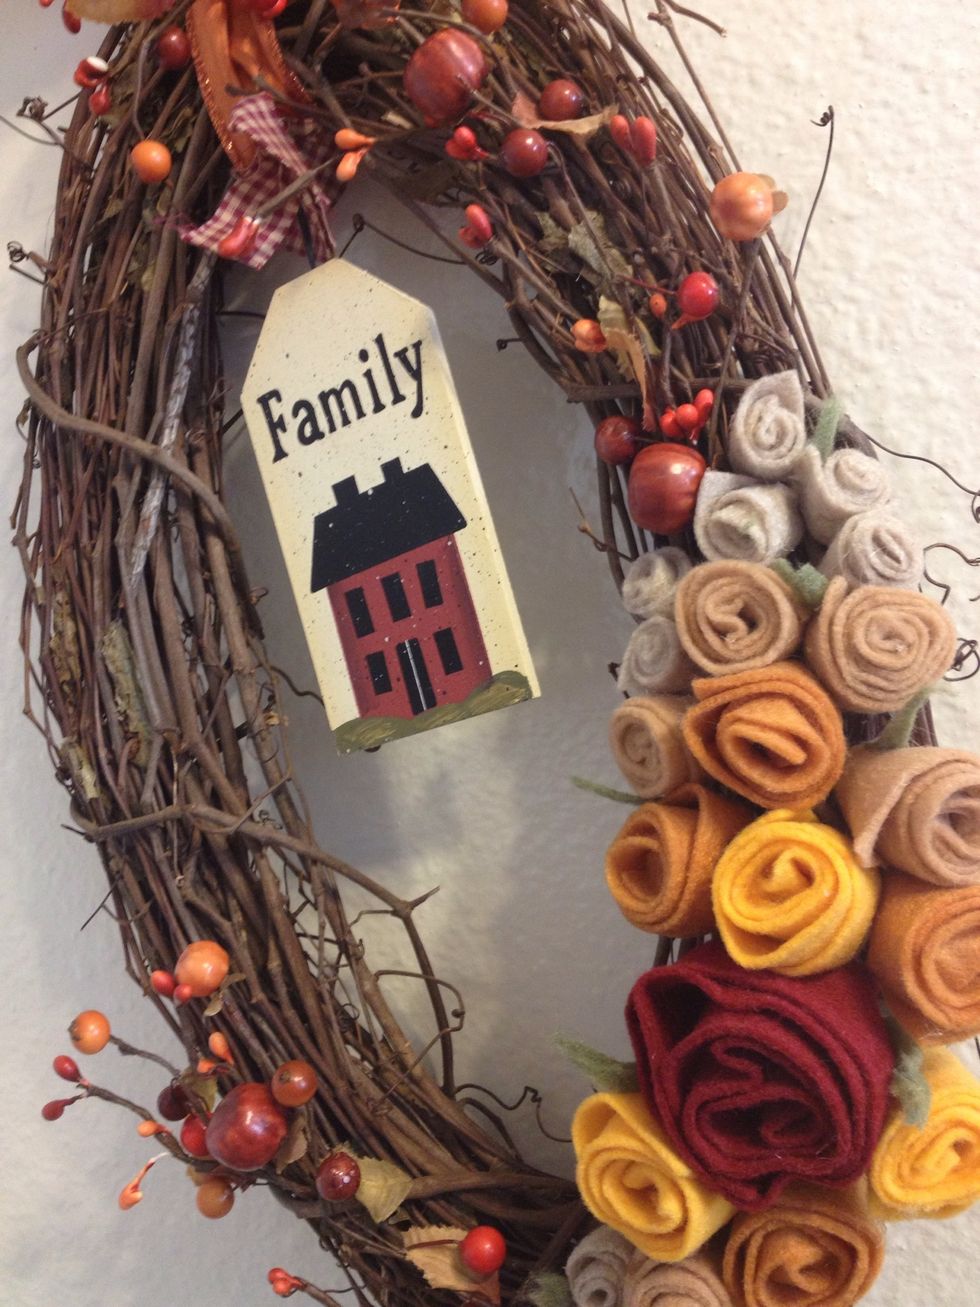
Here is my sign I got for 99¢ on sale at Michaels.
I wrapped the wire around the signs wire to give more length when it hangs.
Slip threw the slit you make in the ribbon...
And bend onto one of the twigs. This is good if you want to remove the sign or change it.
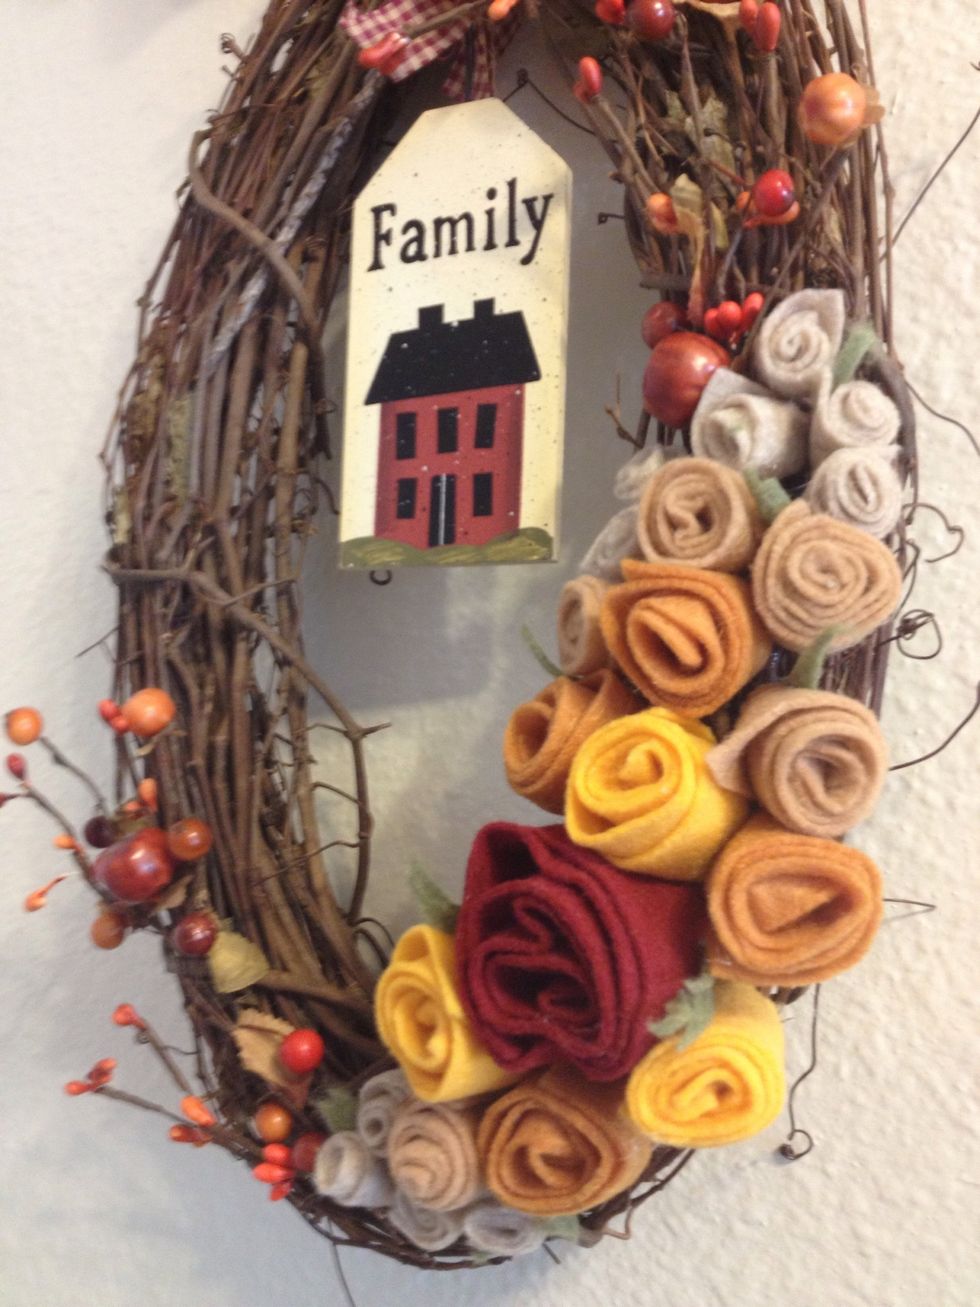
And there ya have it! A cute and cheap autumn wreath...
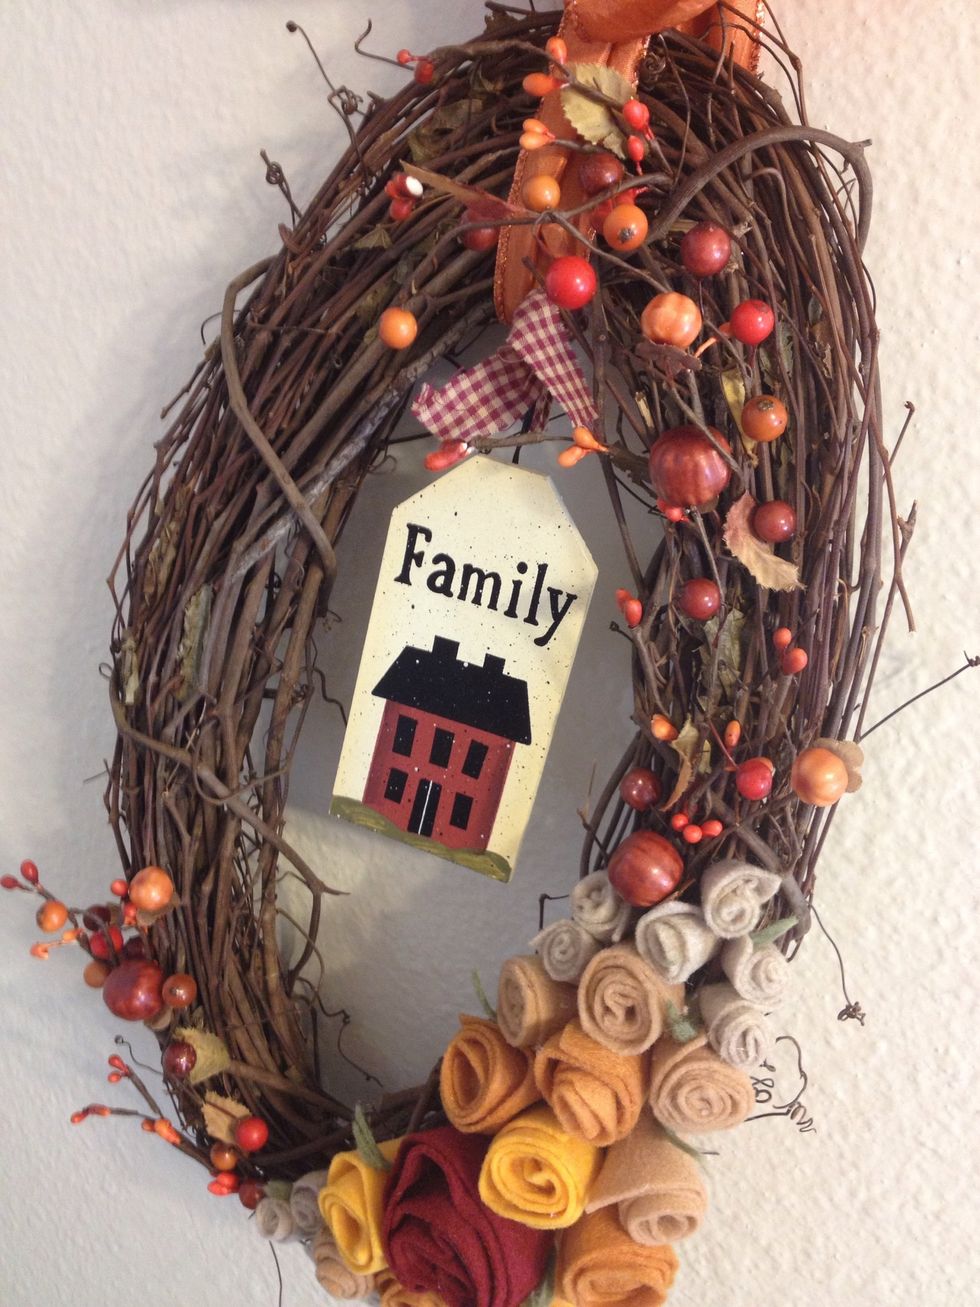
It's different and fun to make!
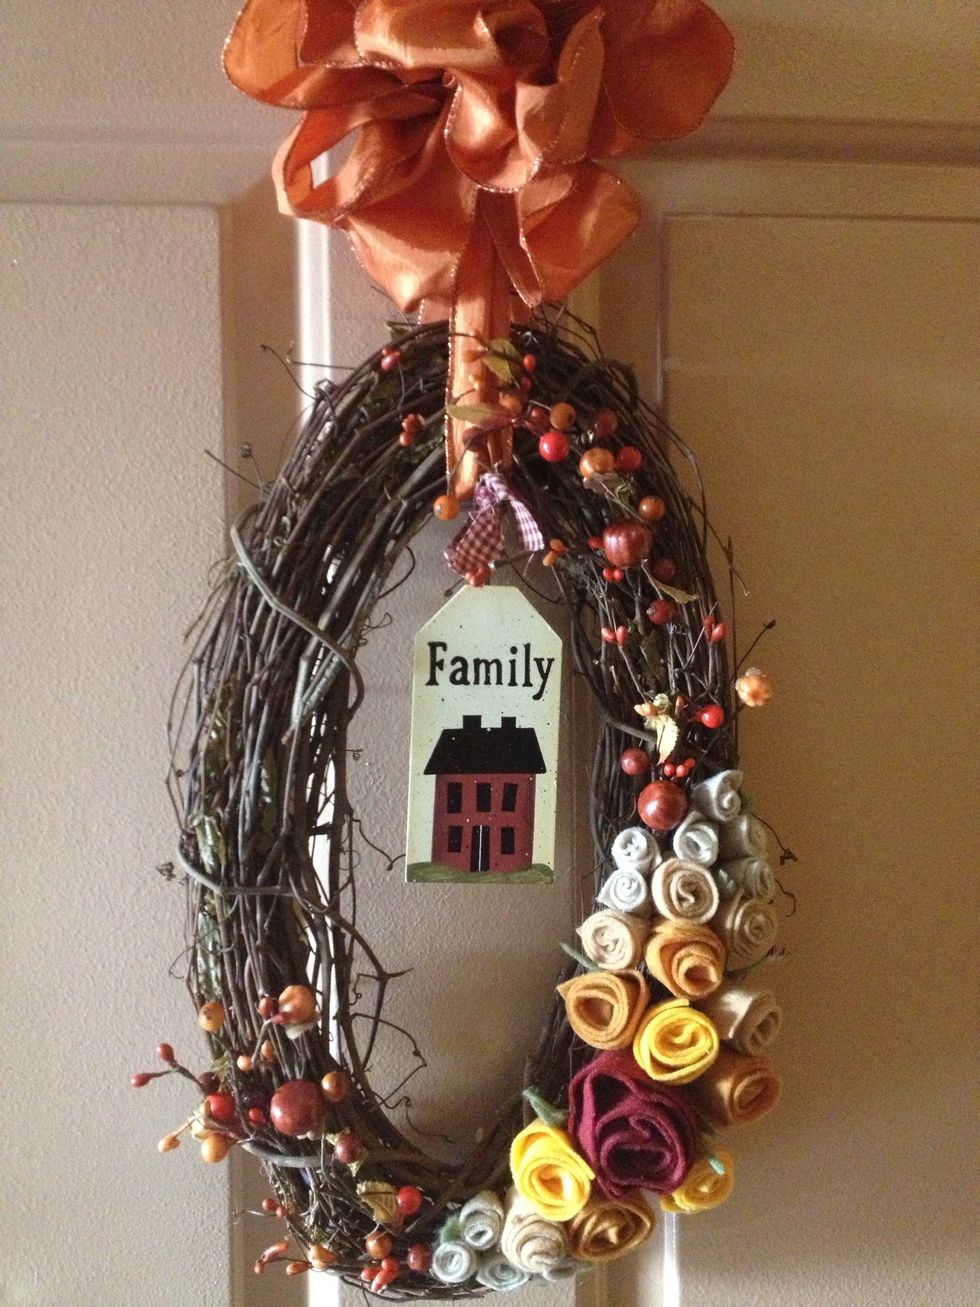
🍁🍂HAPPY AUTUMN🍂🍁