The Conversation (0)
Sign Up
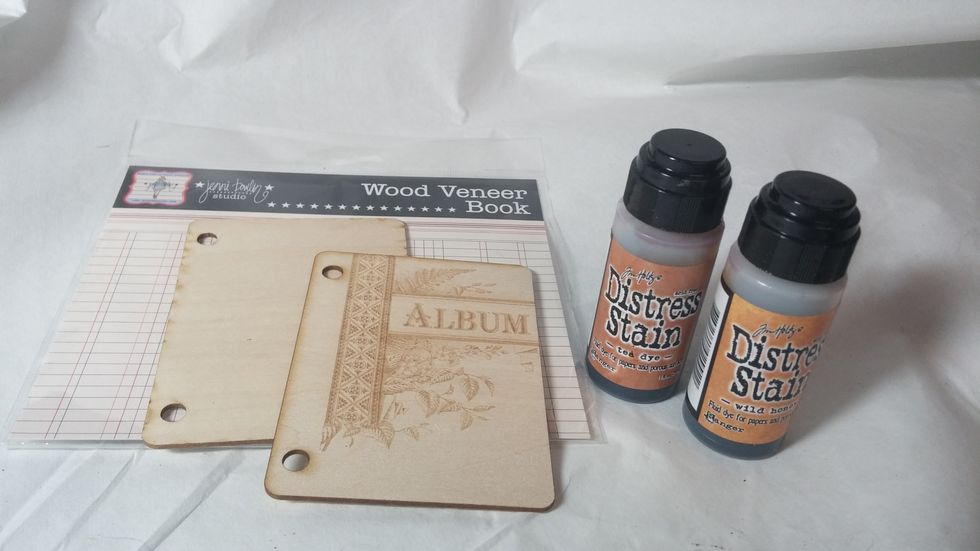
Step One: Alter your wooden cover with Distress Stain.
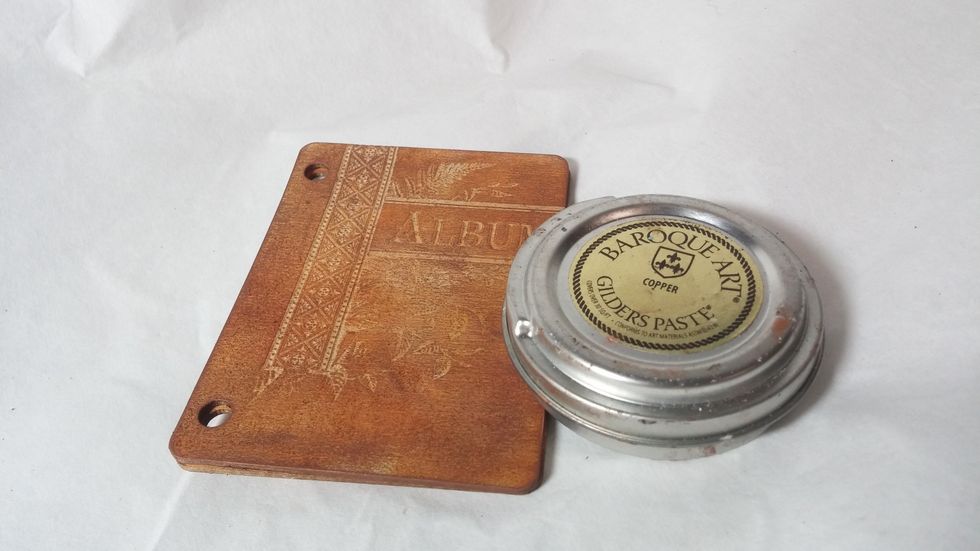
Step Two: To grunge it up and find more texture, add a layer of gilders paste.
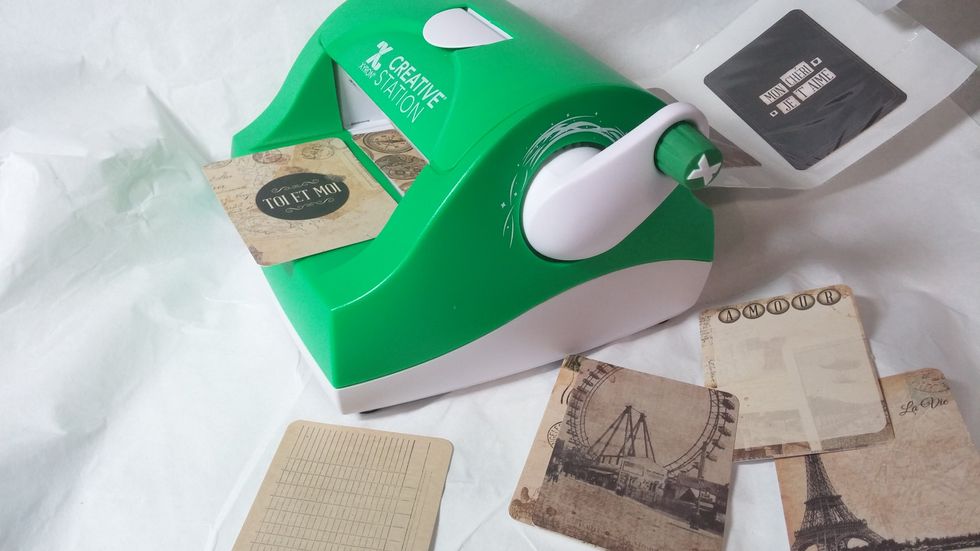
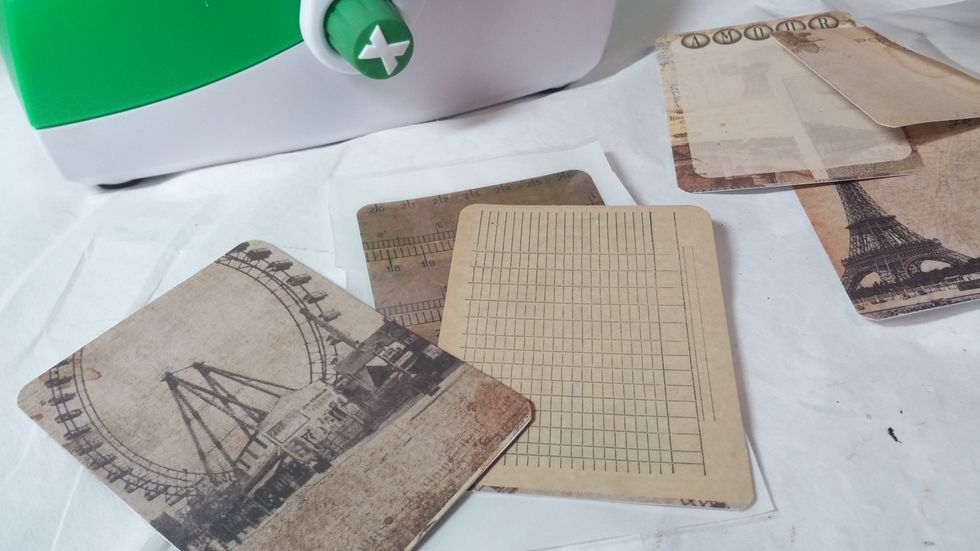
Step Three: Glue your pages together using the Xtryon Creative Station. The Cartographer ATC pad was the perfect size and shape for this project!
Step Four: Adhere your ATC cards together to create sturdy pages for your book.
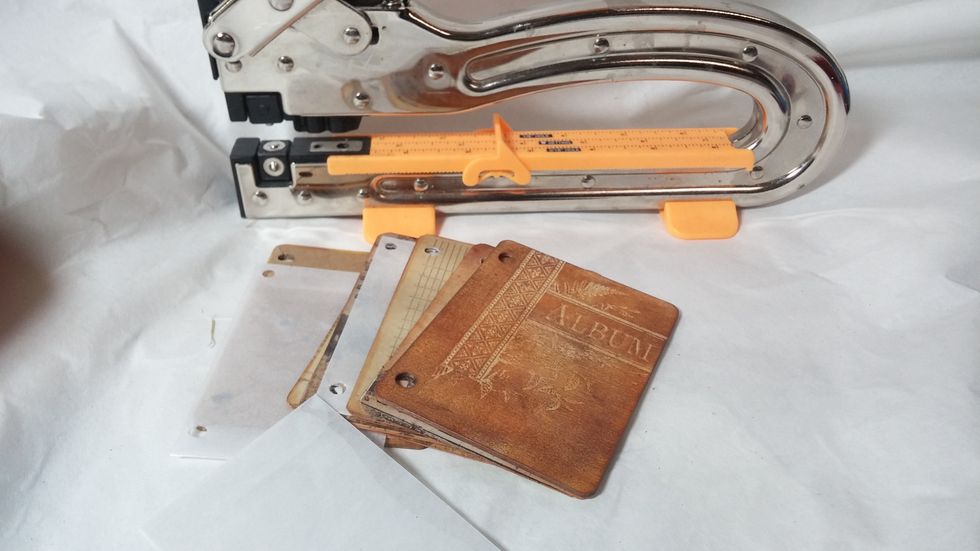
Step Five: Use a punch to make holes in your pages for binding. I also included some envelopes in my book.
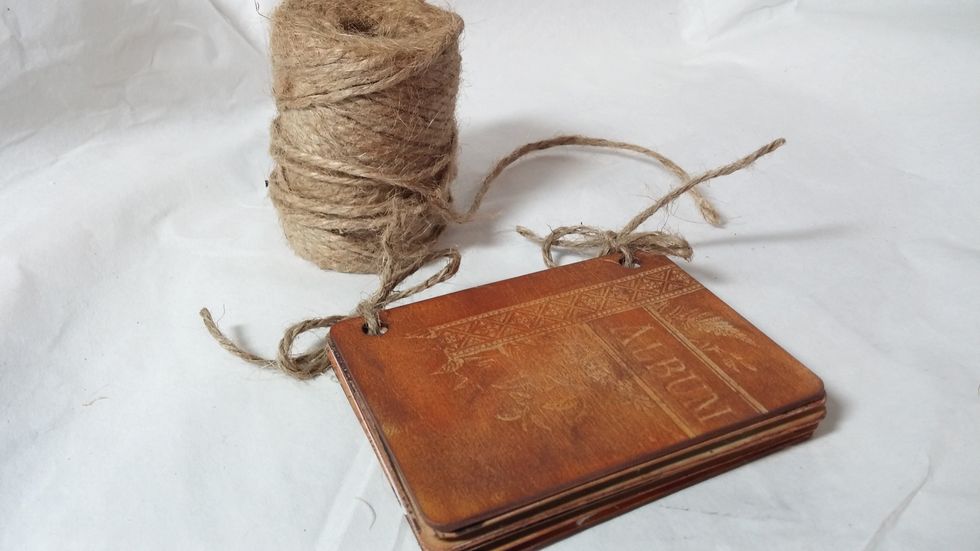
Step Six: Thread the twine through your pages and tie in a knot or a bow.
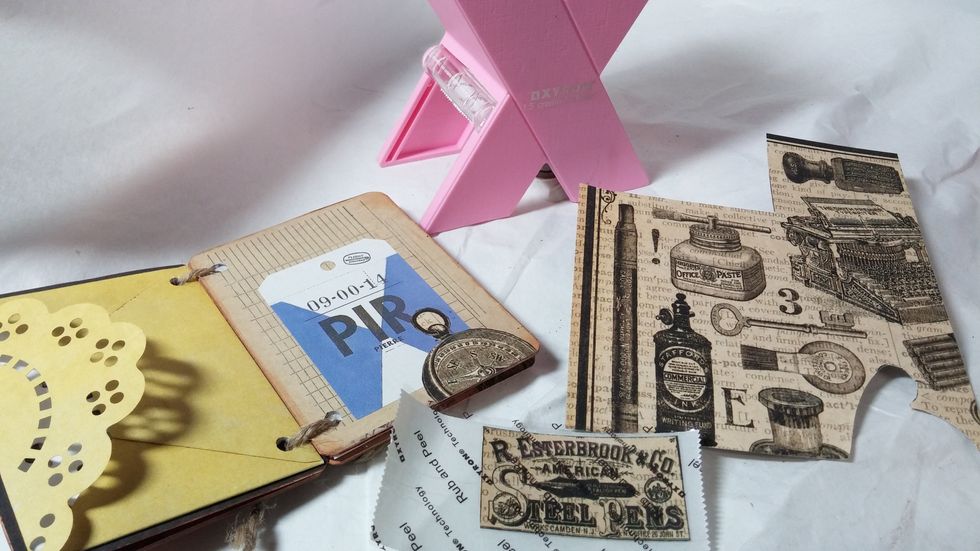
Step Seven: Start to decorate your book. Use the Xyron 1.5" sticker maker to achieve perfect adhesion!
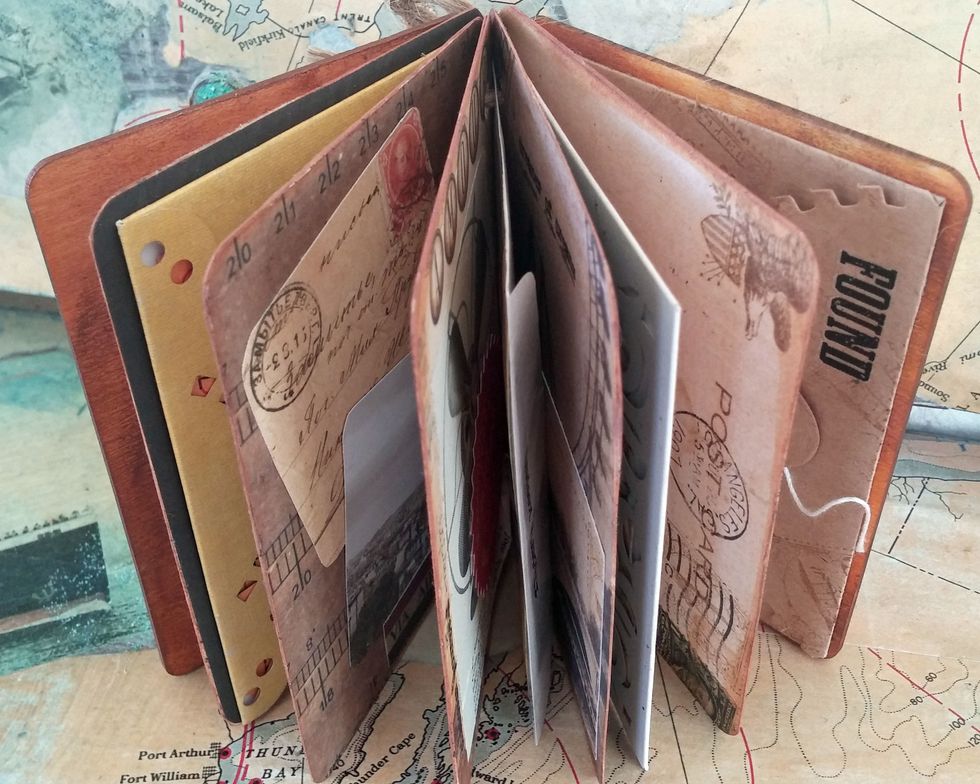
Step Eight: Now bring your tiny book with you and fill it with doodles, daily ephemera and found objects from a special trip or adventure!