How to make an apple with an orange inside w/ photoshop
Make an Apple With an Orange Inside W/ Photoshop
291
STEPS
TOOLS

Open photoshop
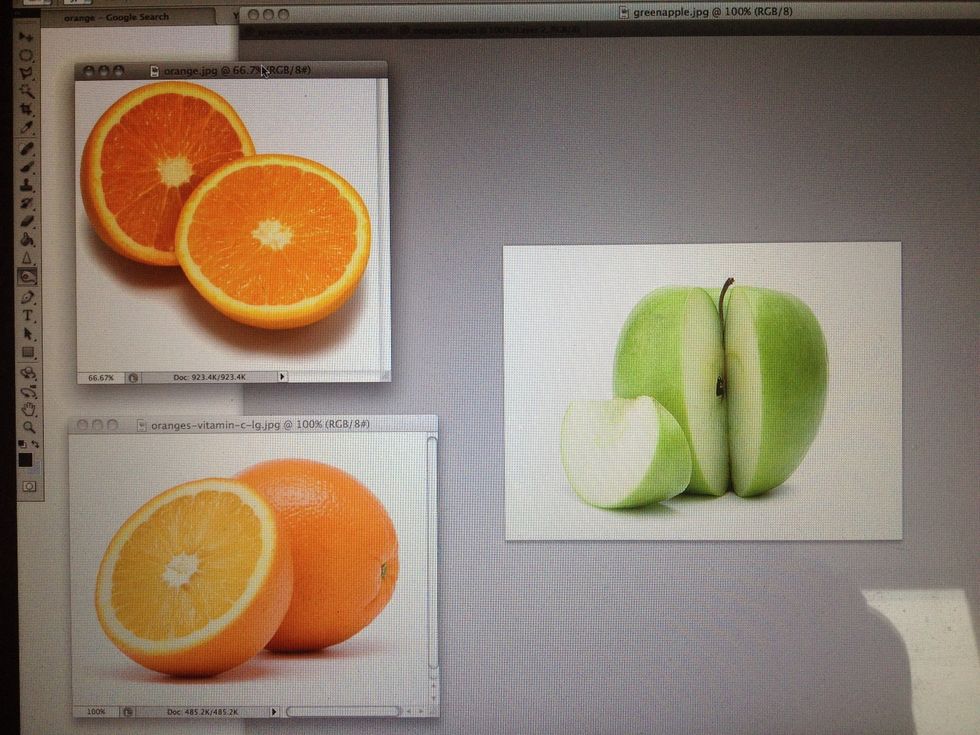
Get your images ready. I found some great ones just off of google. For this tutorial we are going to be creating an apple with orange insides.
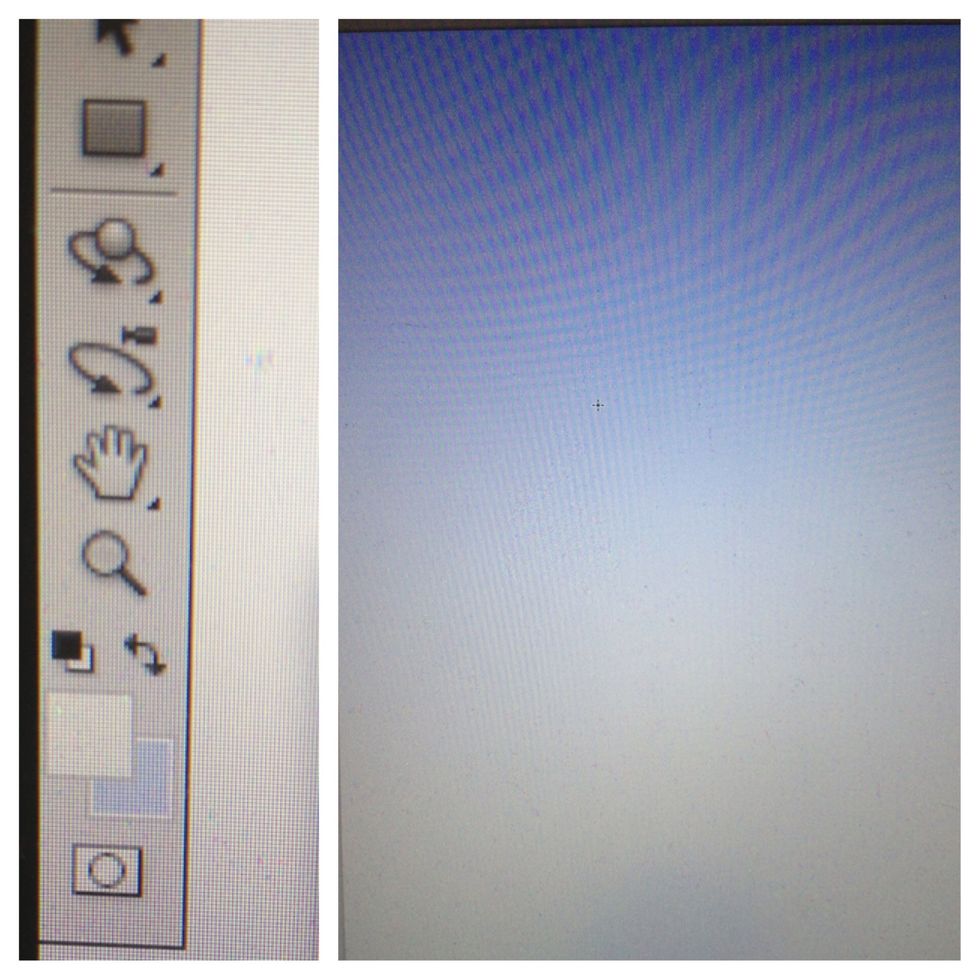
Create a new canvas (File>New). Switch your palette colors to a white and light blue and then use your gradient tool to fill in the canvas and make sure white is at the bottom
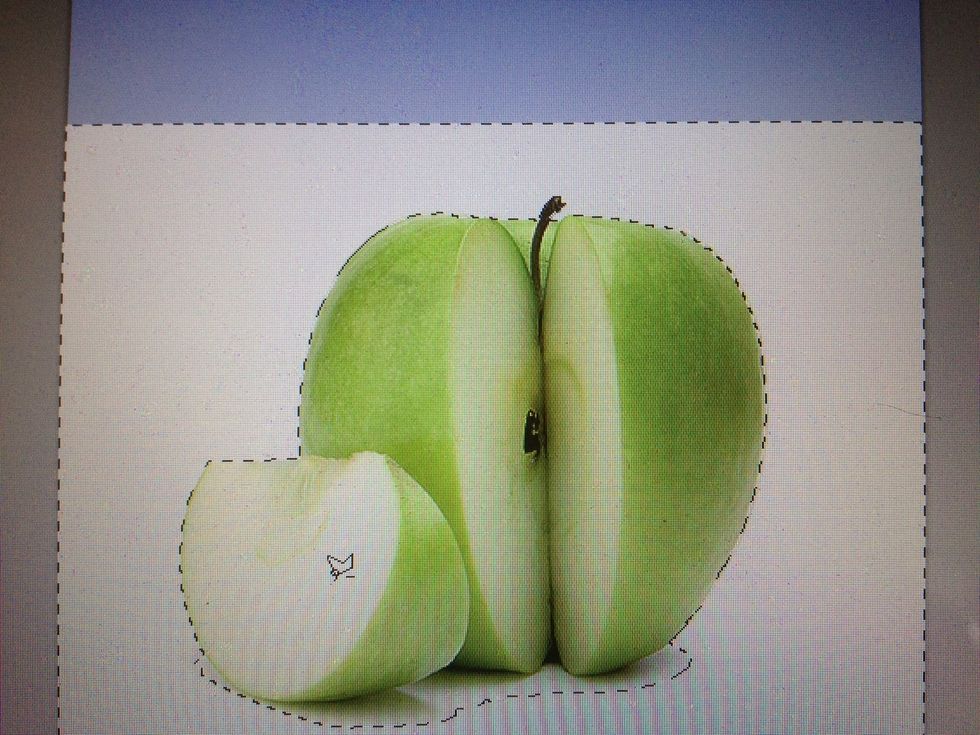
Drag in your apple photo.
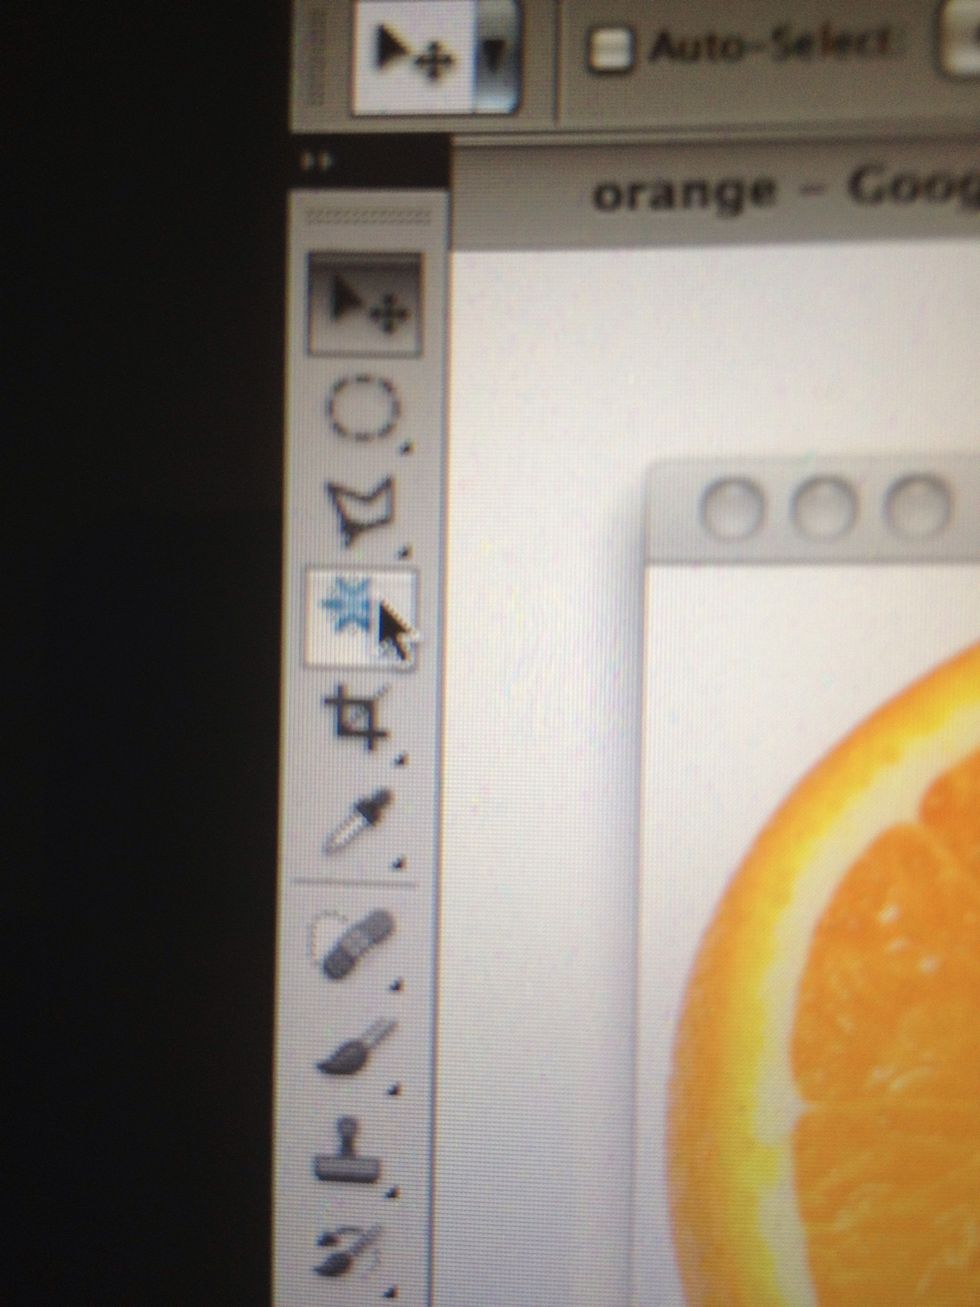
Select the magic wand tool and click the white part around your apple. It will select all areas of the same color and we can then delete them.
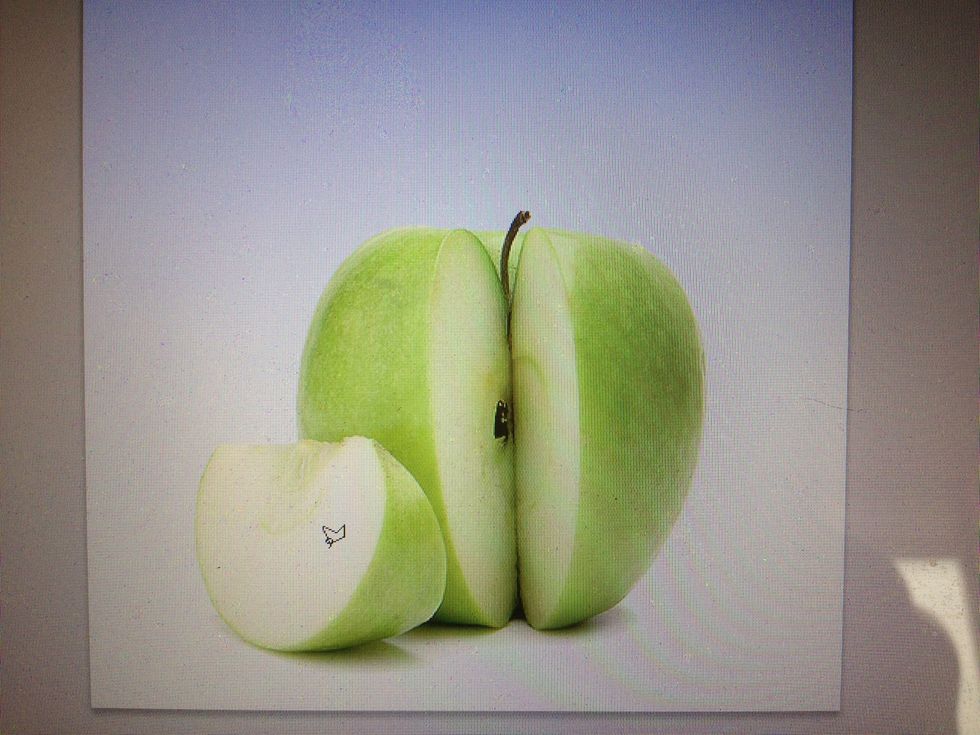
Like so. Now it looks pretty decent. Let's start adding some orange in.
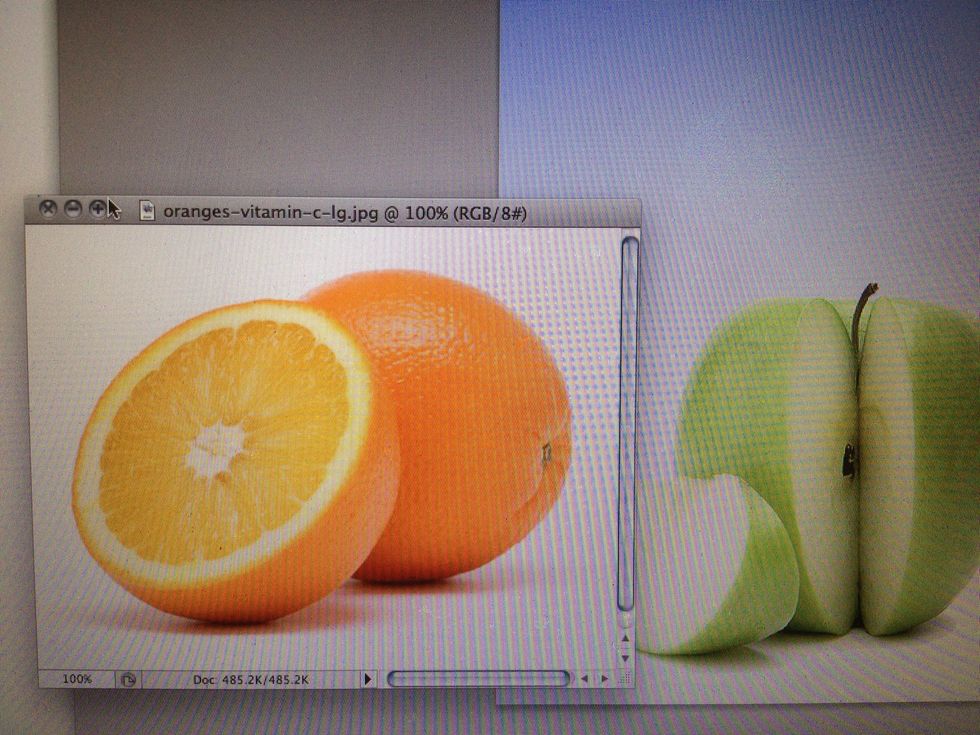
Import your orange photo in.
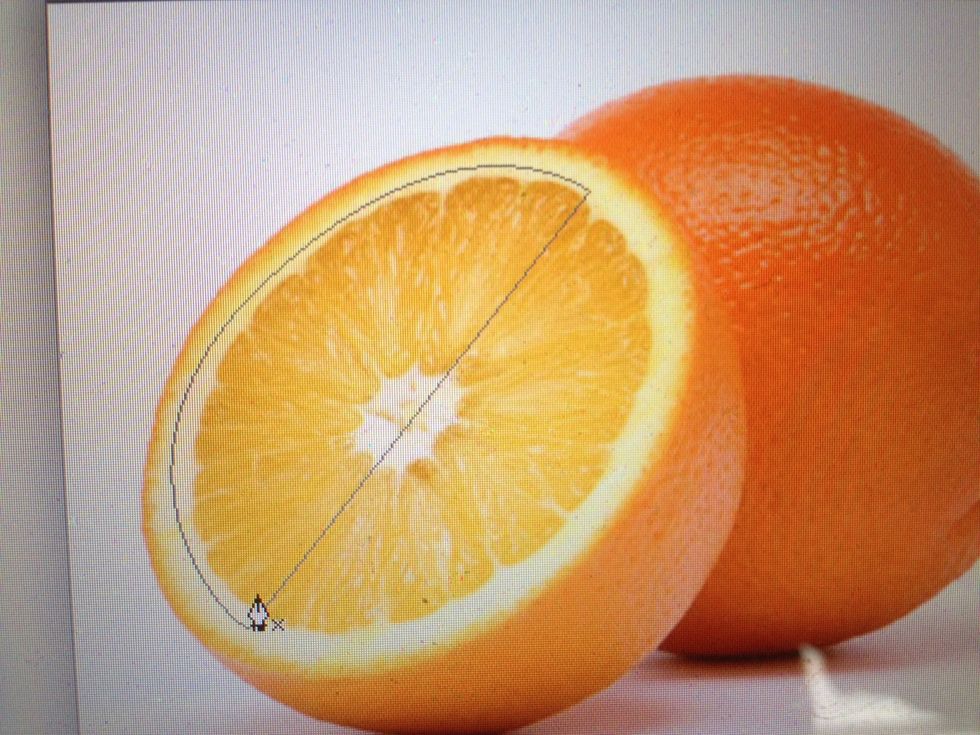
Select your pen tool from the menu. Then trace around half of the orange's inside. This is what we will use for our manipulation
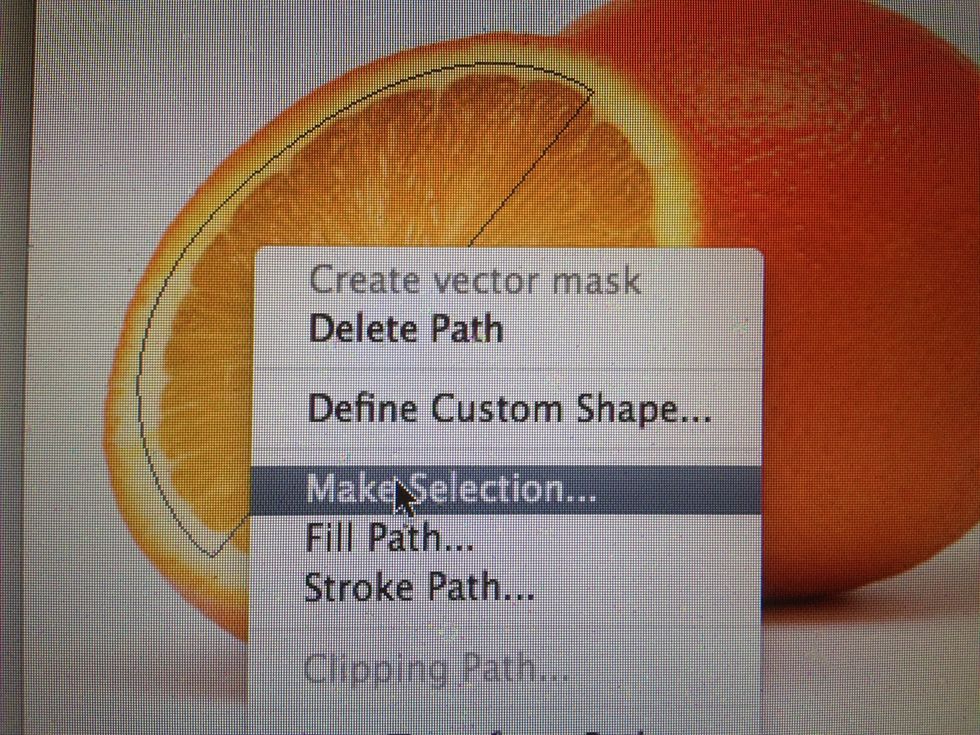
Once your done tracing. Right click and select "make selection" as shown above. When that is done and the region is selected, right click and copy the selection.
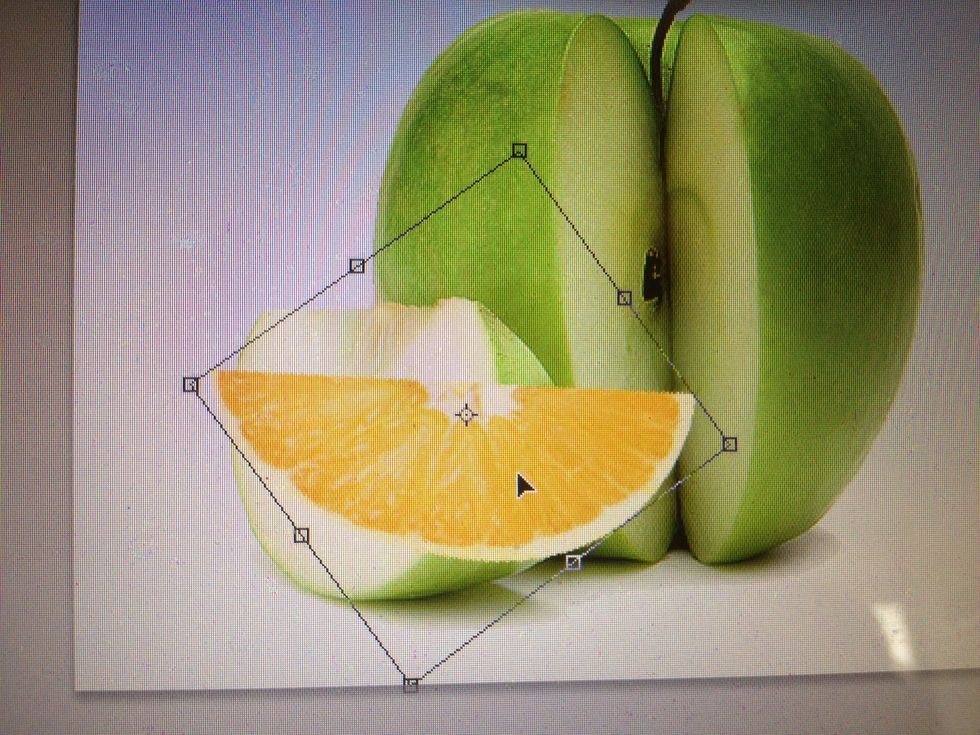
Now paste it onto our new canvas. Grab the arrow tool from the tools palette.
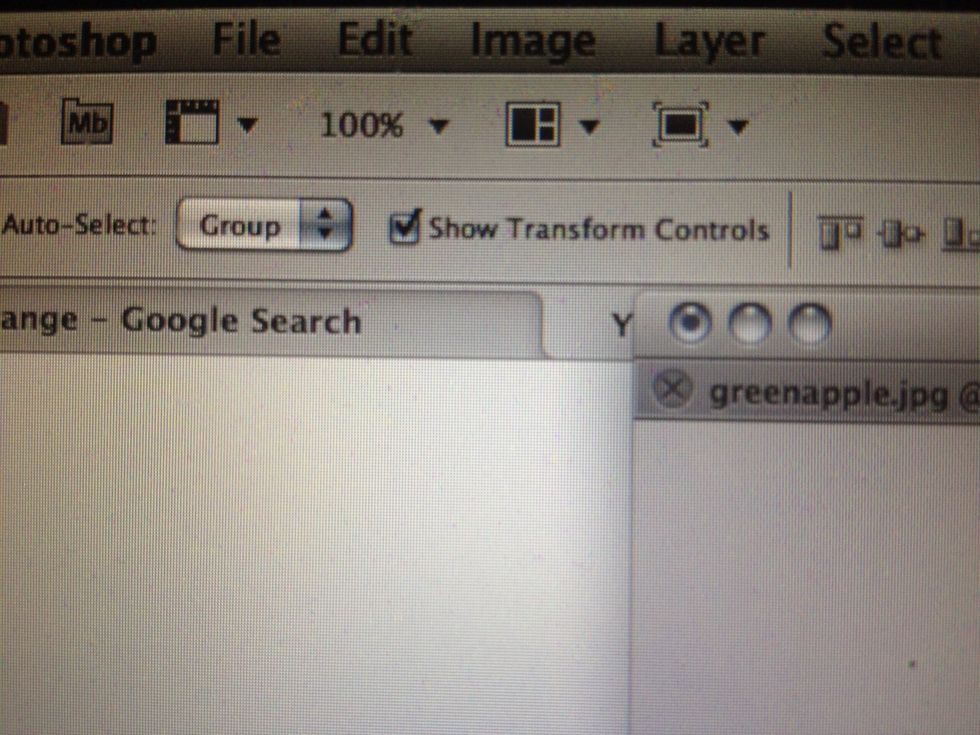
Tick show transformation box at the top under the menu list. Like shown.
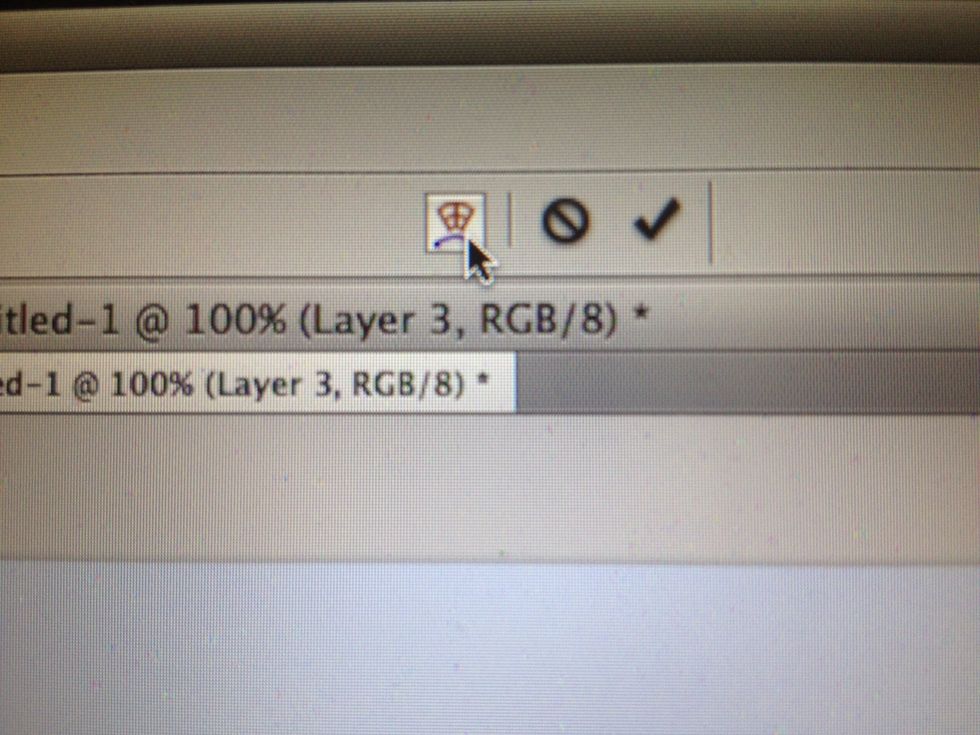
Then select the free transform button to the right of the free transform.
NOTE: you have to have started to adjust the selection for the free transform icon to appear. Or else you will just be looking for Nothing. You can also find the option in edit>transform.
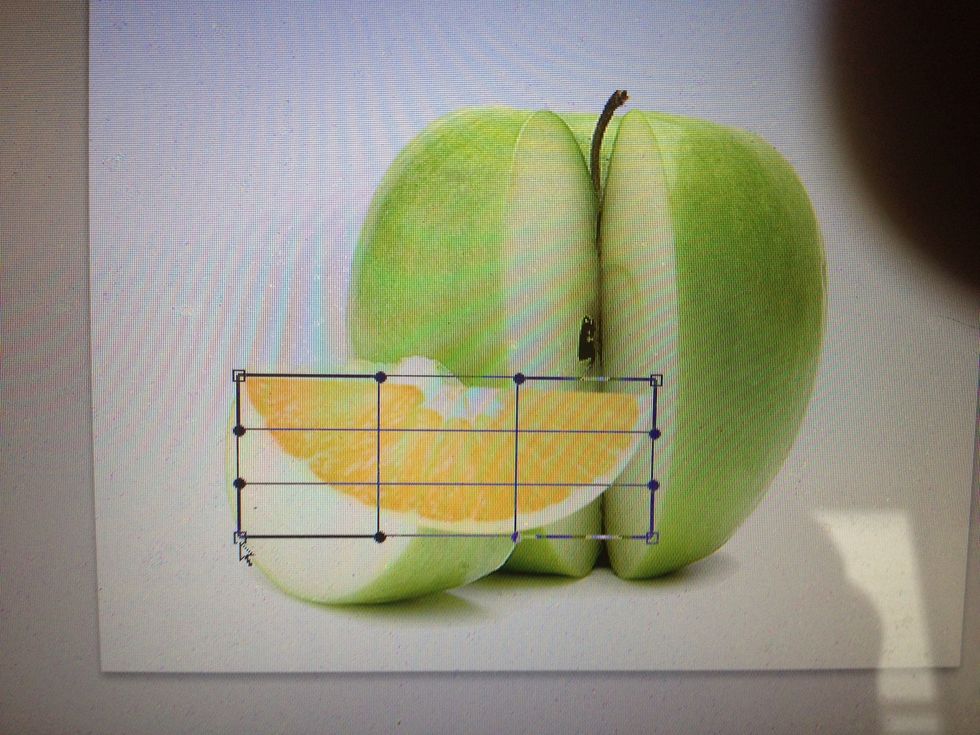
Now your selection should look like this. Now we can start adjusting the areas to fit to where we want them.
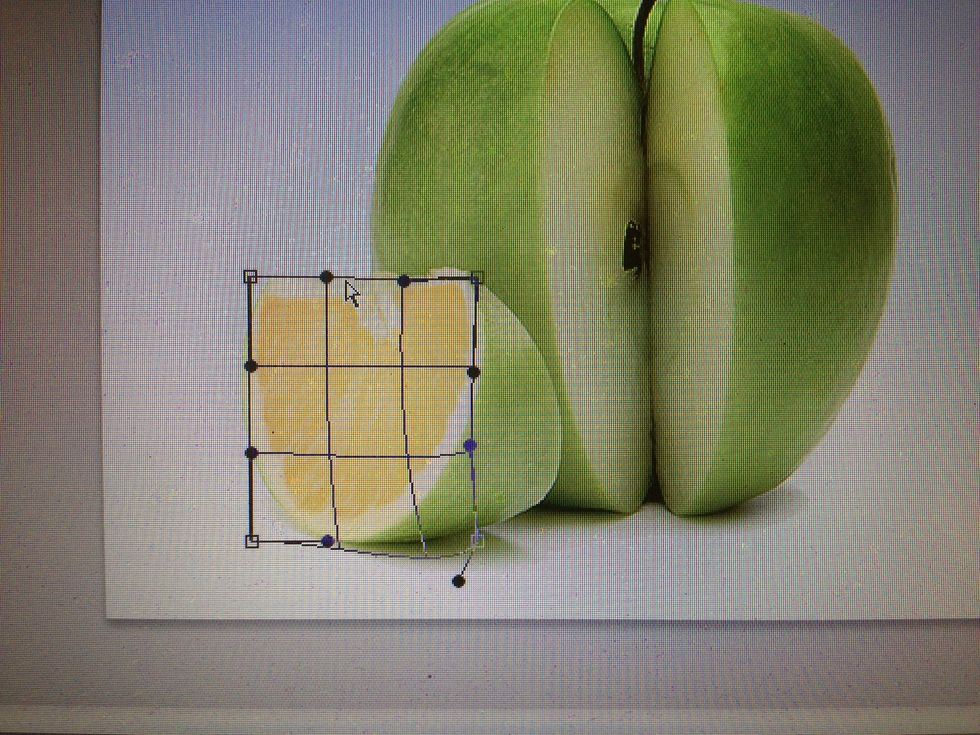
As you can see after I have warped the perspective a bit this is what I have gotten. This does take some trial and error. But after a bit, you understand what areas you transform lather what and where
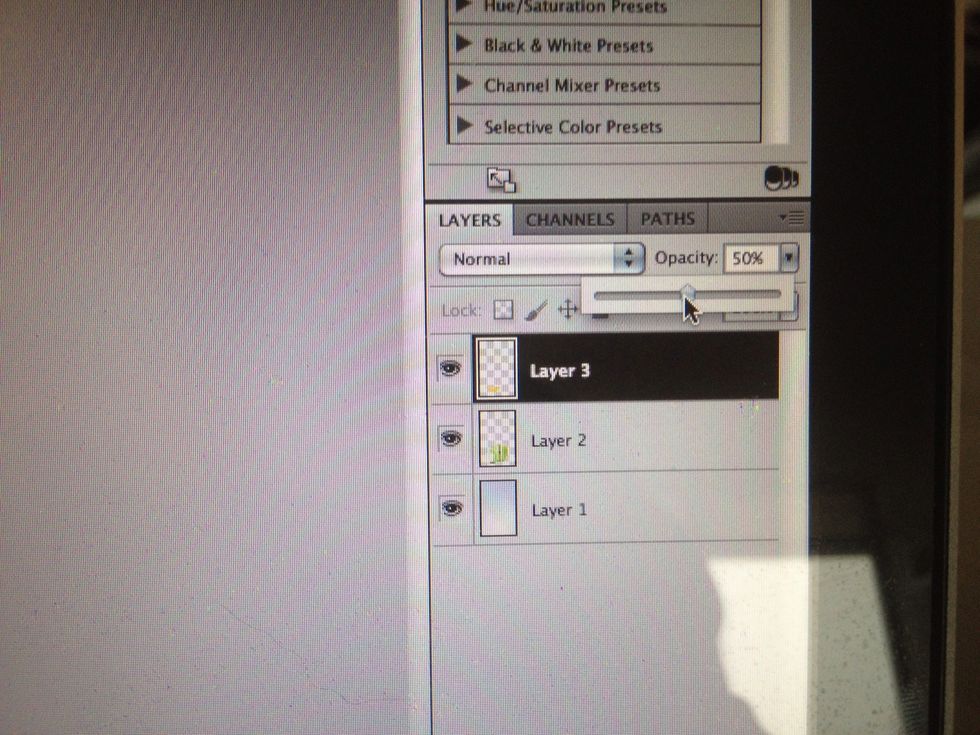
TIP: When adjusting your placement. Lower opacity on your orange slice to aid in your adjustments and transformation for the placement.
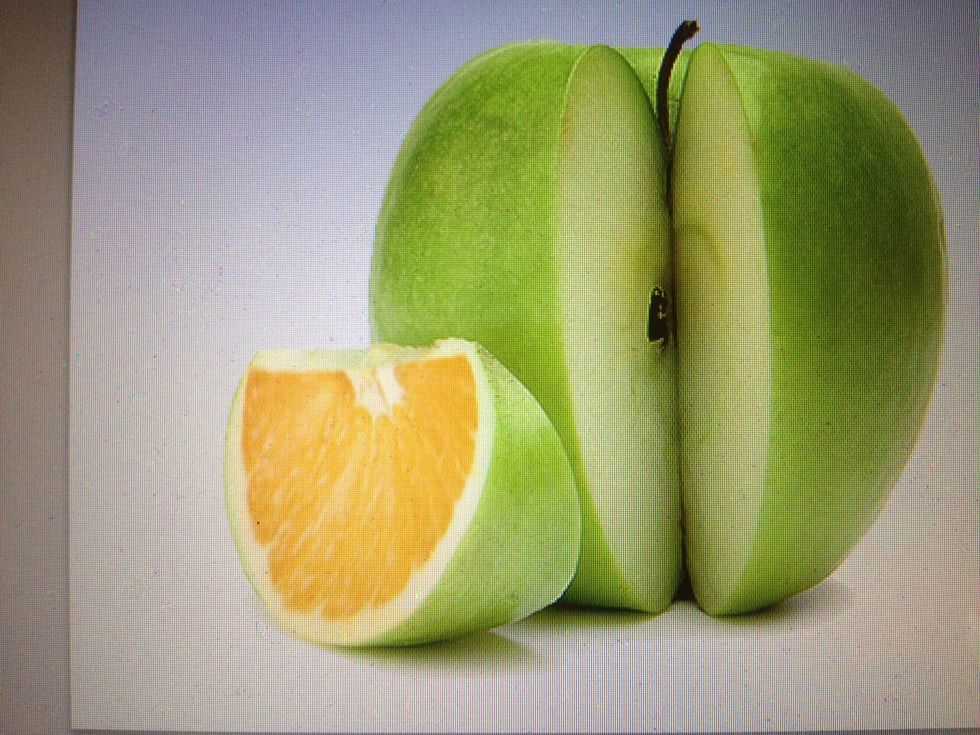
Voila. This is what I got after I transformed everything. Now onto the middle.
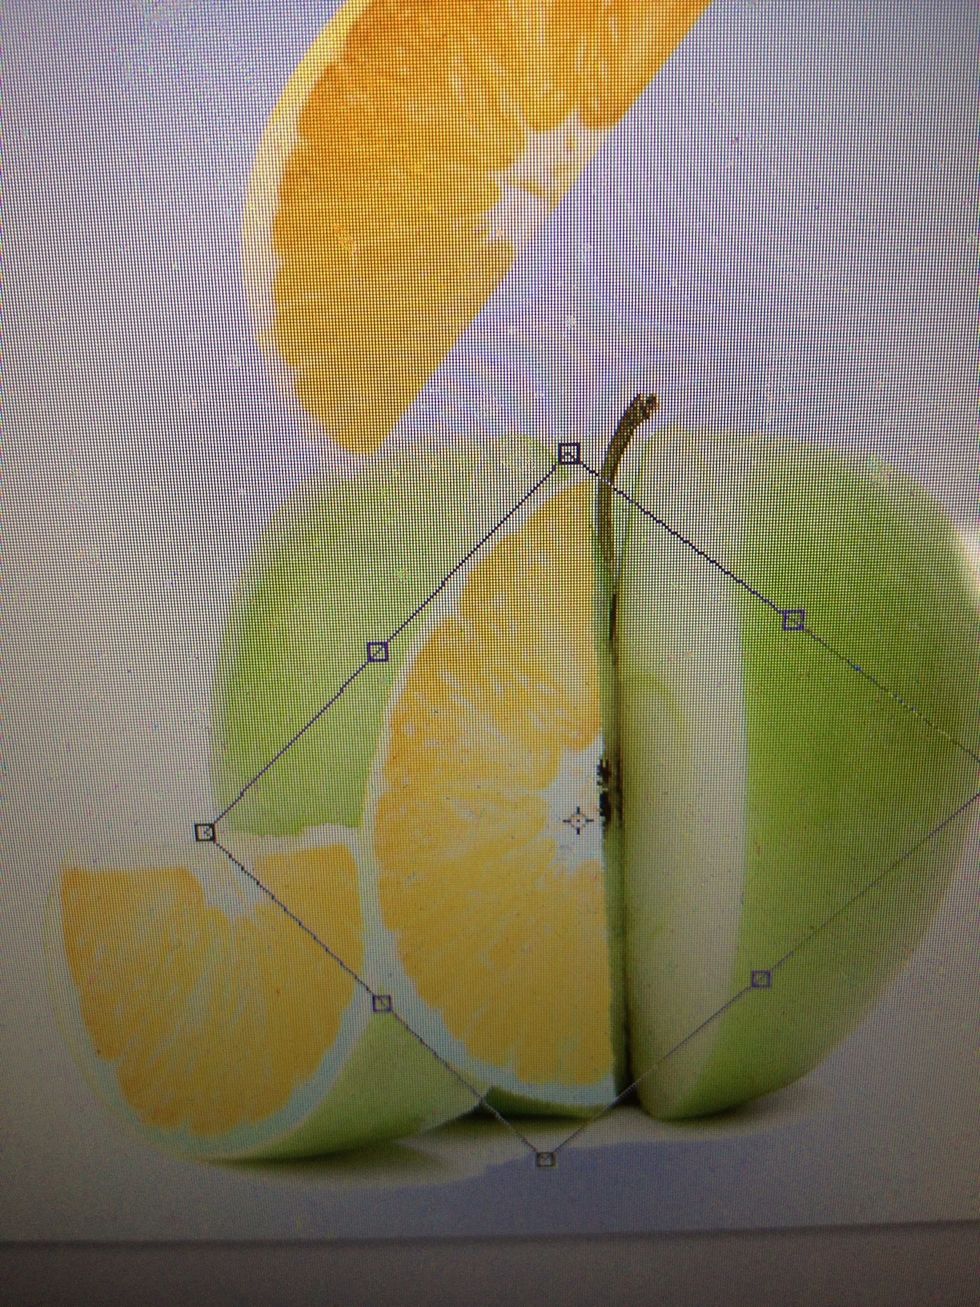
Paste the same piece we used for the slice. Using the same transformation techniques. Let's start adjusting it to match the inside properly
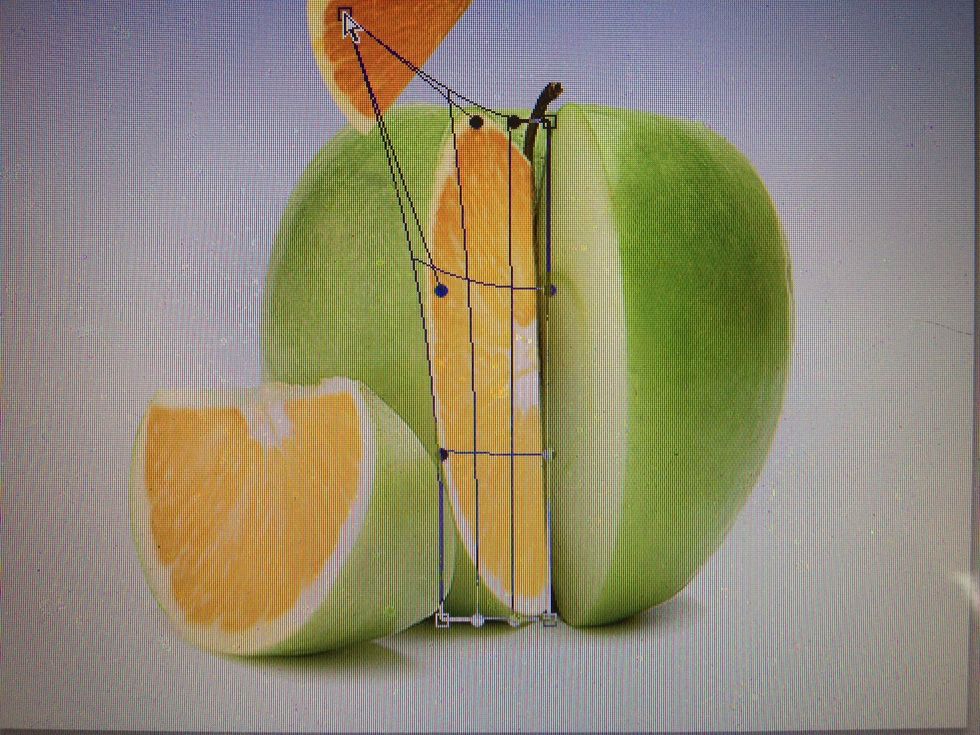
Using free transform start adjust the perspective. Like so. Depth is the key here
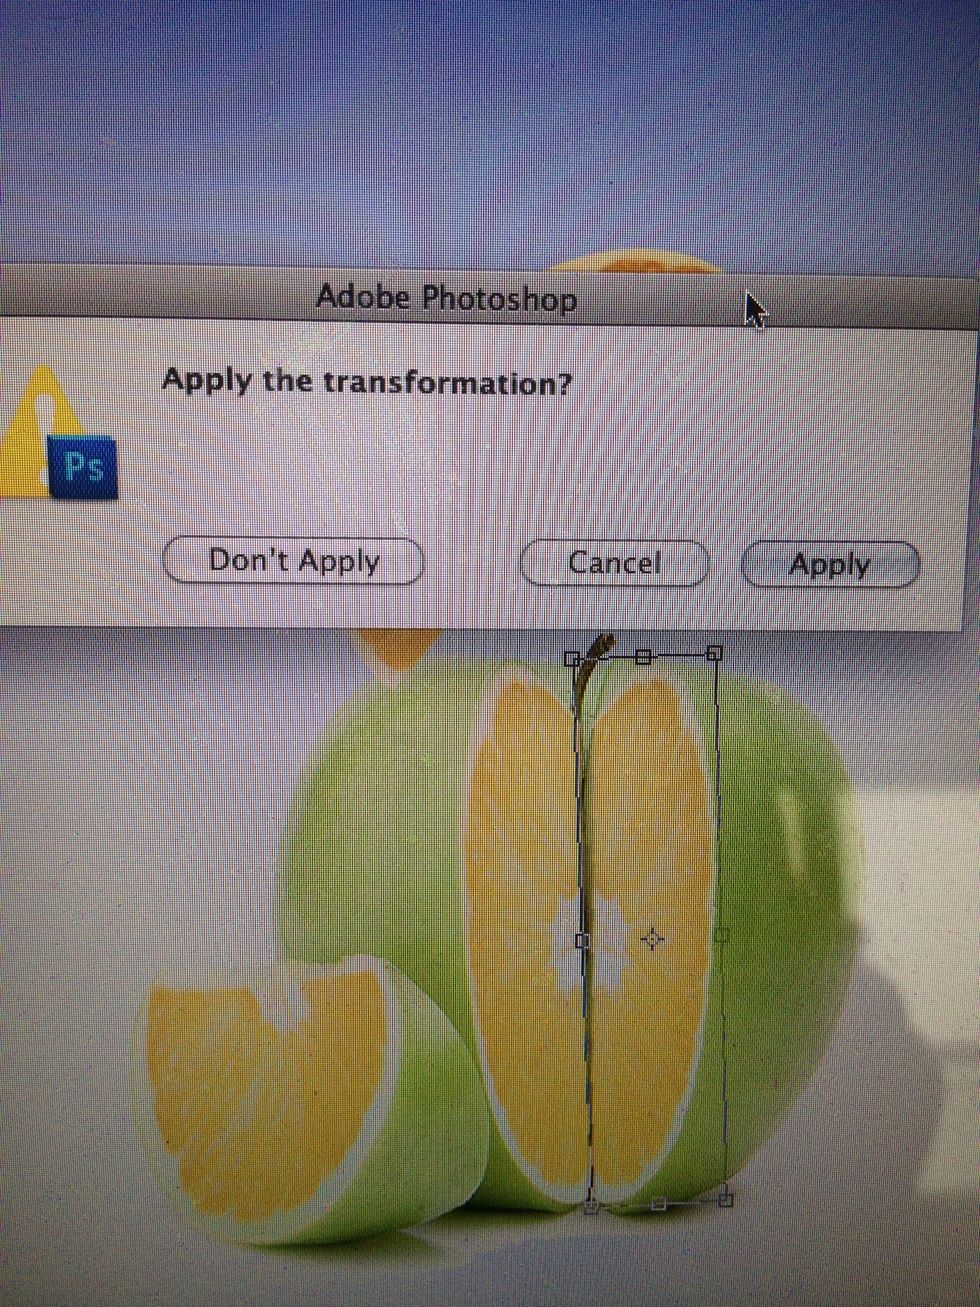
After you've matched it nicely. The easy part comes! Duplicate your inside slice layer (CTRL+J) then just go to edit>transform>flip horizontal. As seen above the above that should be the result!
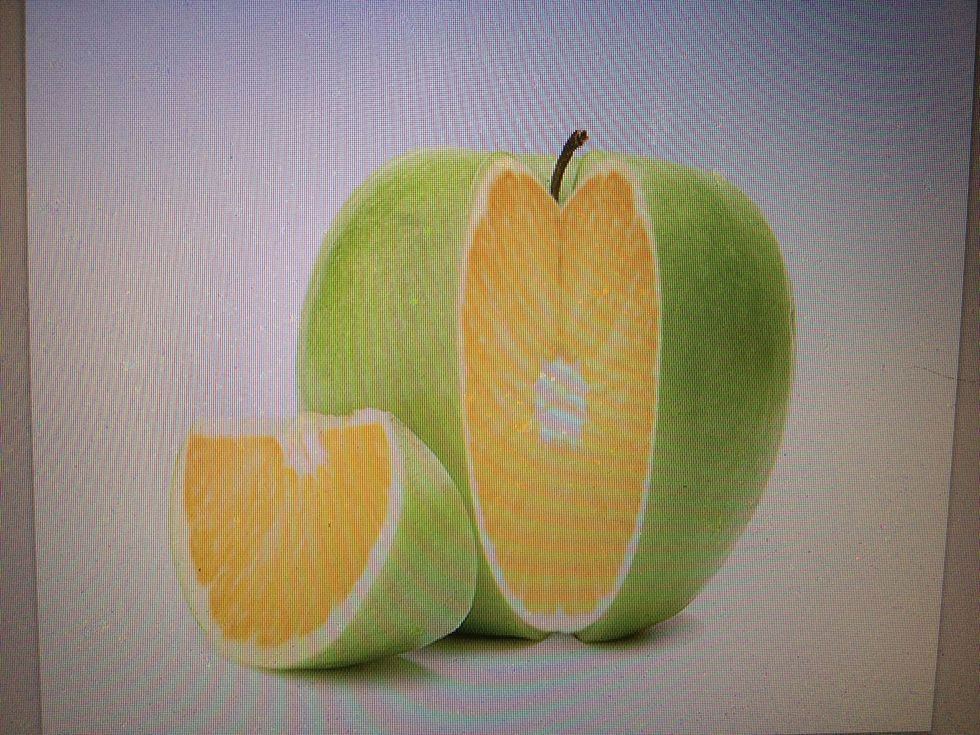
With some alterations and adjusting. Almost stick the two pieces together. Like so.
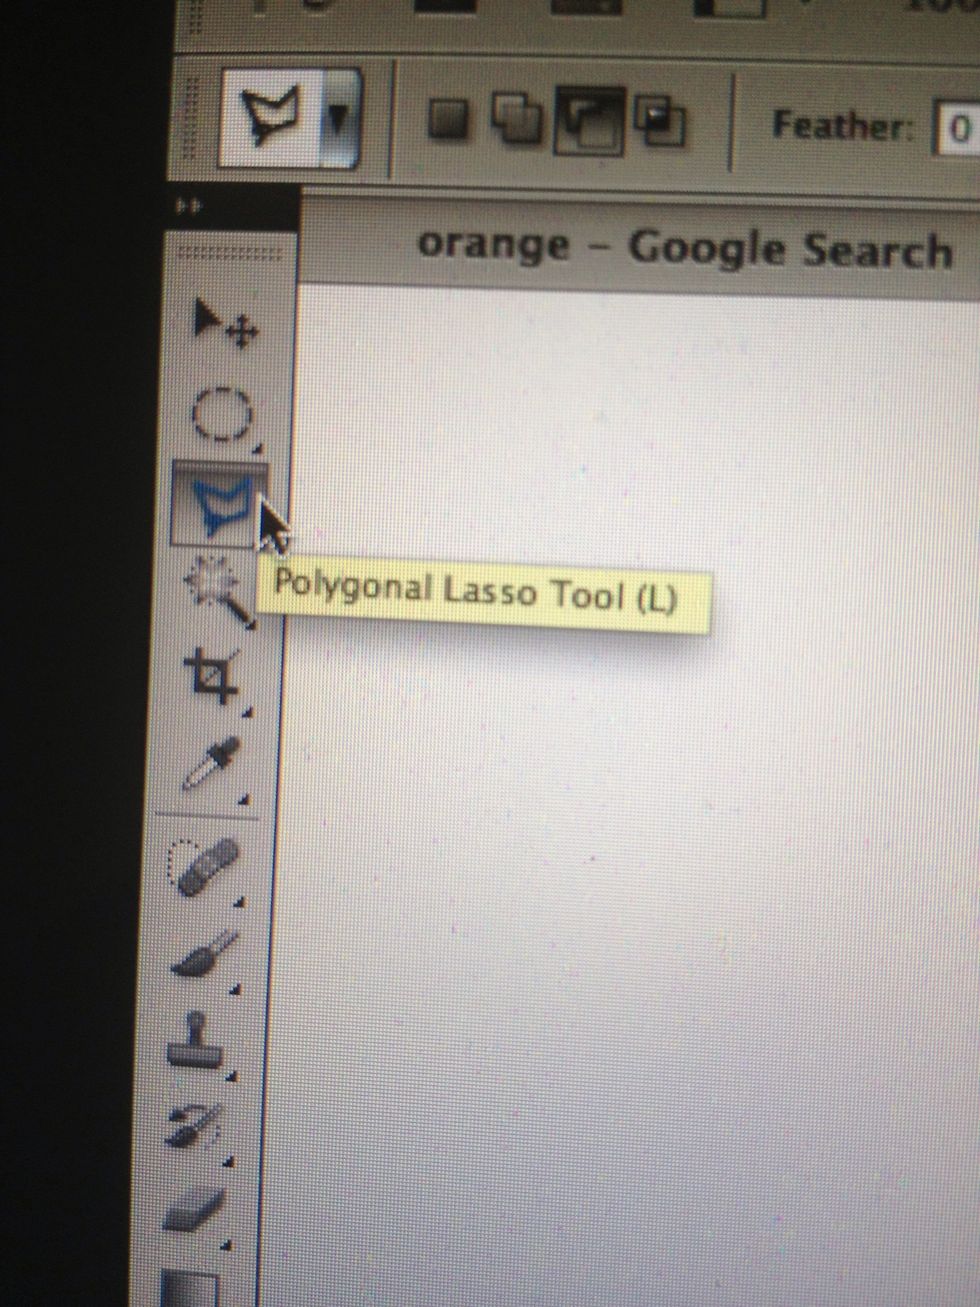
Grab your polygon lasso tool
Next, select both of the orange pieces on the inside of the apple and right click and select "Merge Layers" making them one image.
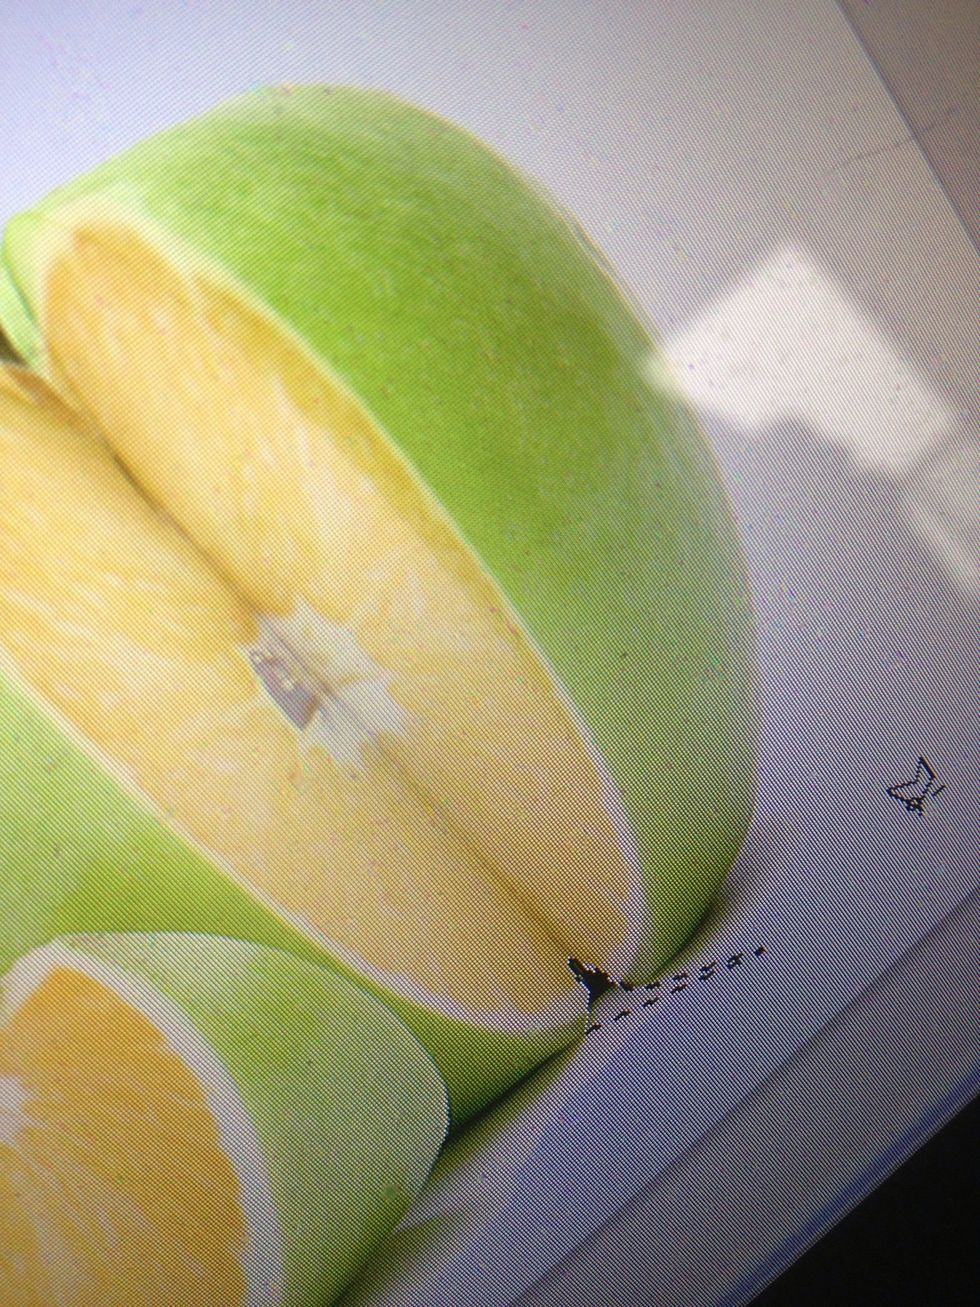
In a photo manipulation. It's the smallest details that make the image believable. So with your merge layer selected. Lower the opacity and start cutting out some areas where it overlaps the apple.
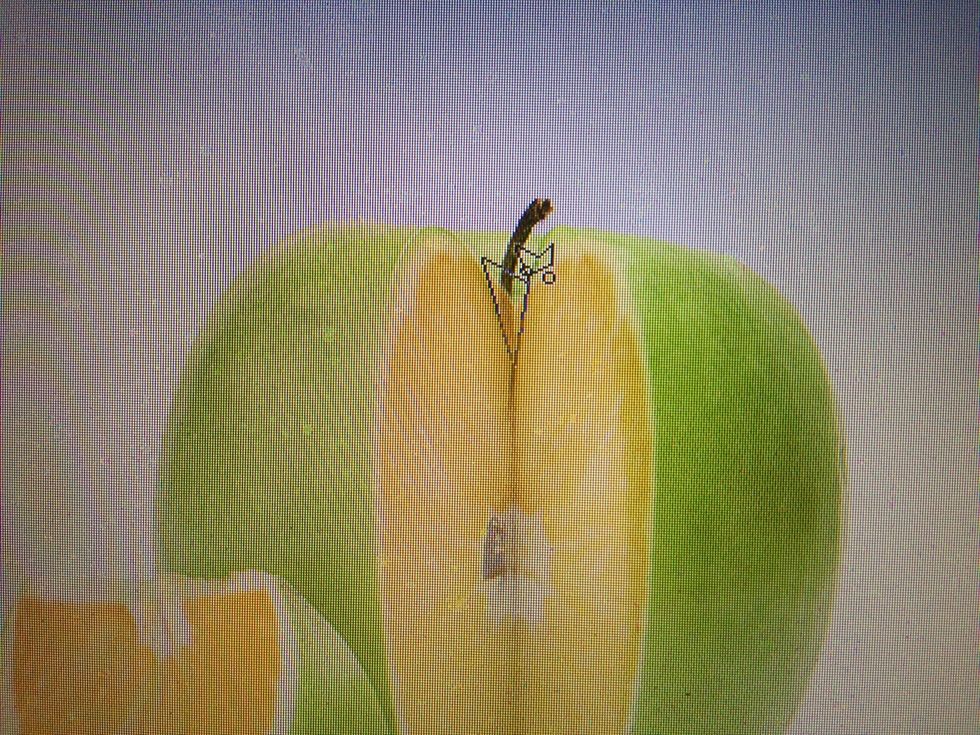
Like this as well.

After cutting out those pieces and raisin the opacity back to 100% this is now what the middle looks like. Pretty believable.
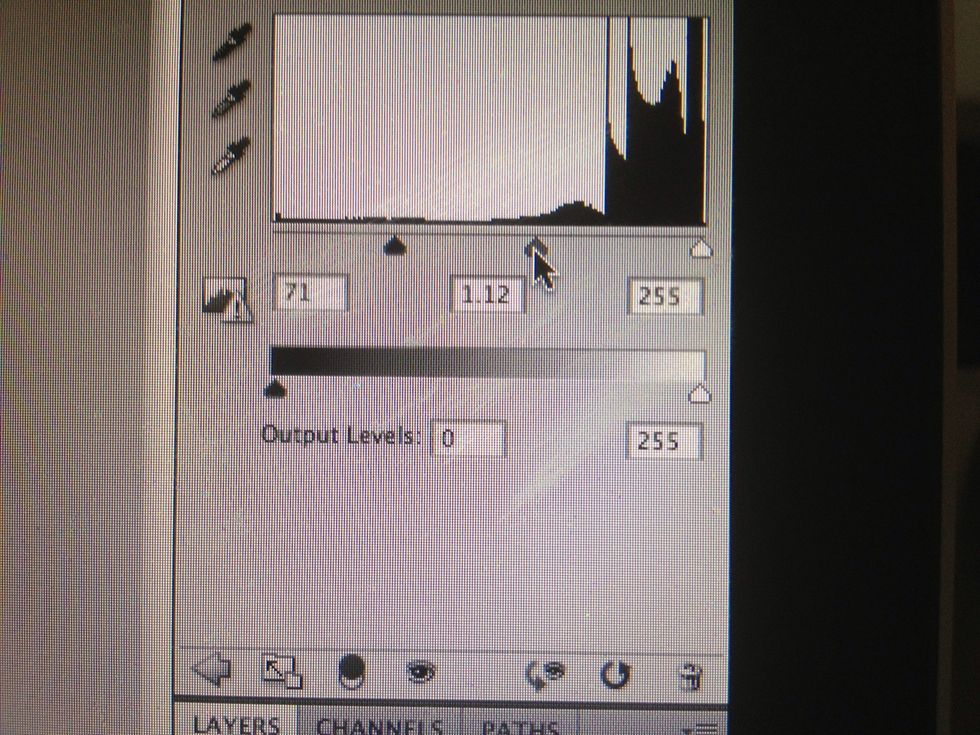
Add a levels layer mask (circle with half white and black at the bottom of the layers palette.) and use these settings.

Next add a curves layer mask with these settings.

This was my outcome.
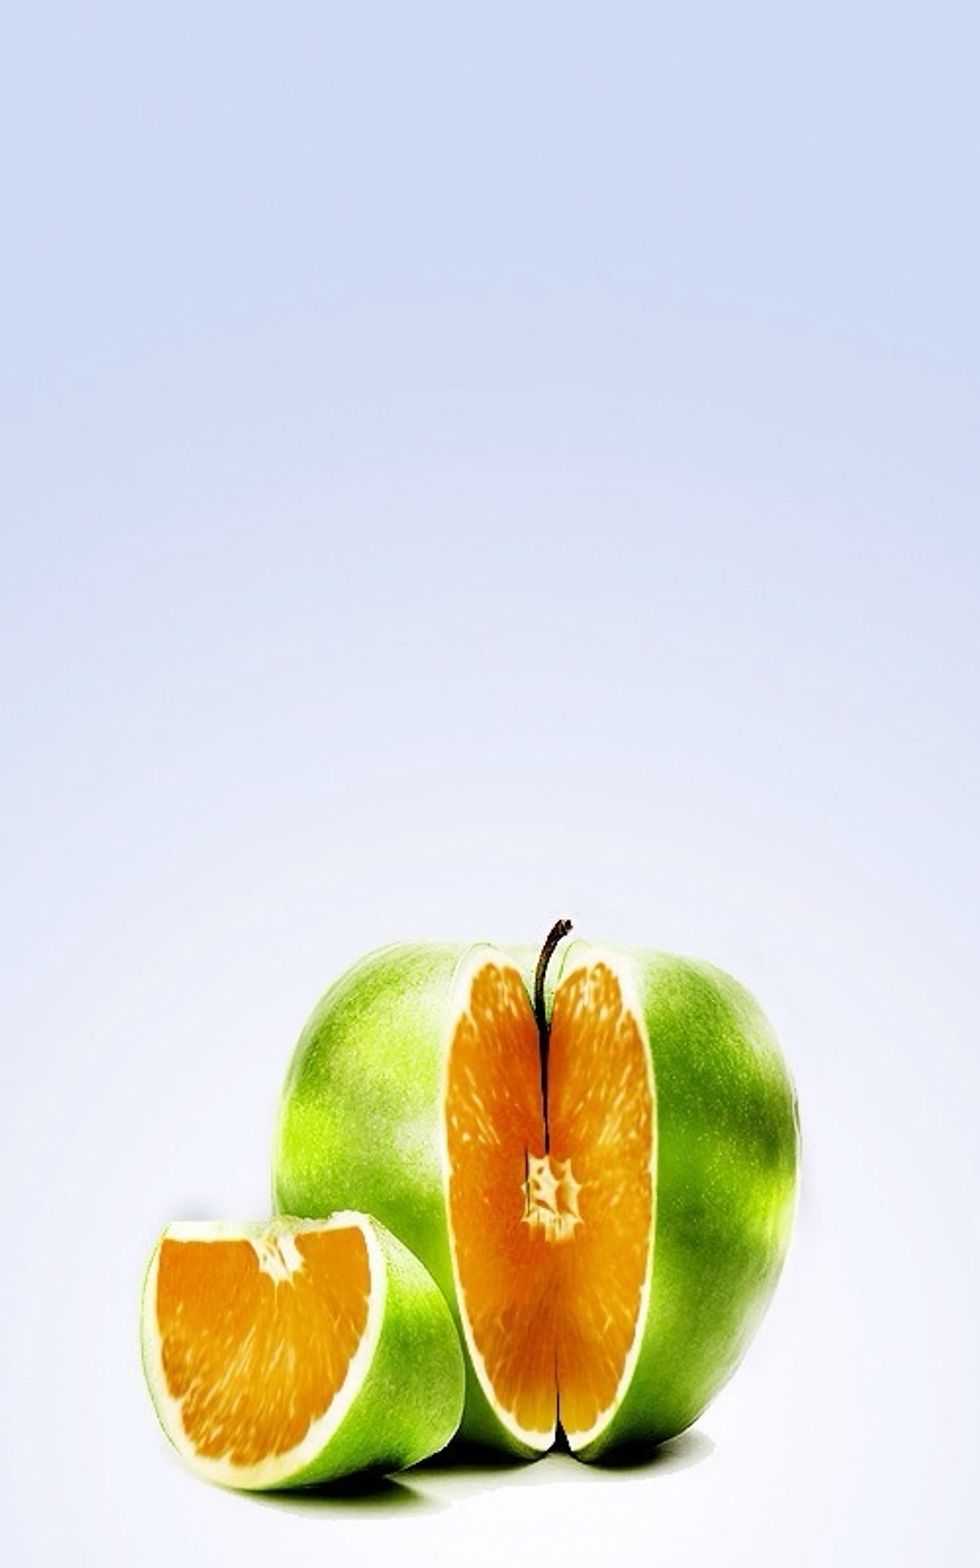
After all was said and done this was my outcome. This was with a few adjustments to Color and hue/saturation.
This was a long process for me because of the little details. However, if you are stuck or have any questions feel free to Contact me and I will be of any assistance I can.
Also if you have anything you are wanting to see let me know and I will see if it's Feasible for me to do a guide for.
- Photoshop CS or higher
Pj Hutch
If you need any graphic design work...help a struggling artist out and hire me! All requests to downtobusiness@gmail.com
Toronto
The Conversation (0)
Sign Up