The Conversation (0)
Sign Up
First, check that no one else is signed into your iTunes. Find the "Settings" app.
Check in "iTunes and App Store" for an incorrect Apple ID signed in to your iTunes. If so, then tap the email address. If not, skip next two steps.
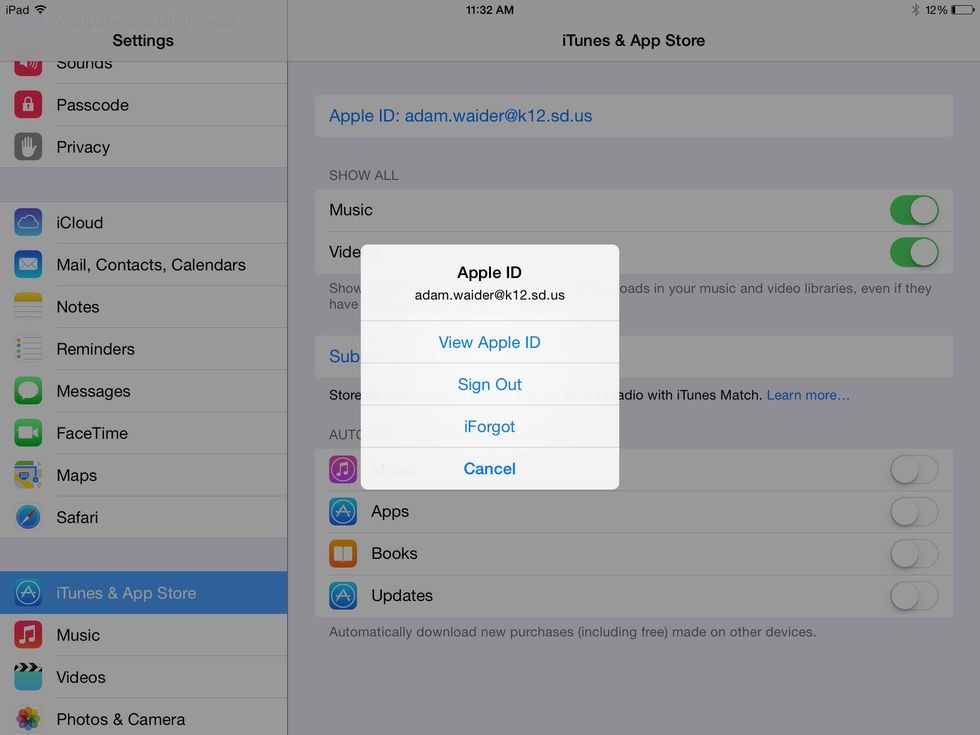
Choose "Sign Out".

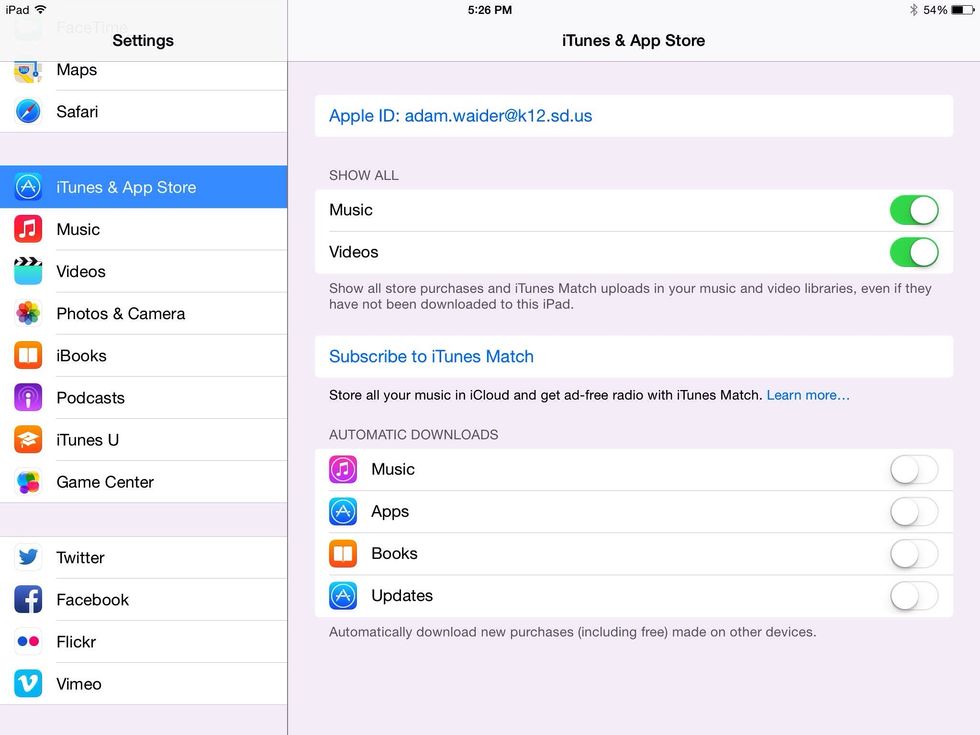
It should look like this to create an Apple ID. This will allow you to create it in the App Store (most say this way is easier, but if creating it online is preferred then see other tutorial)
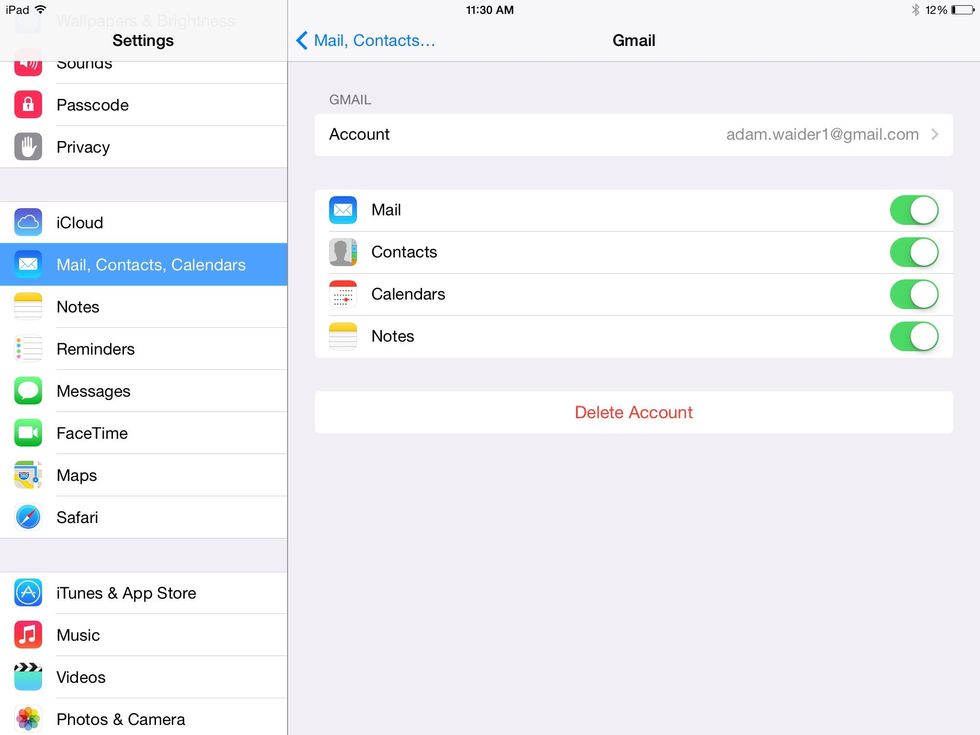
Before you leave "Settings", check the spelling and symbols of your email address under "Mail, Contacts, and Calendars. If you have your mail set up you can check for the address. Write it down.
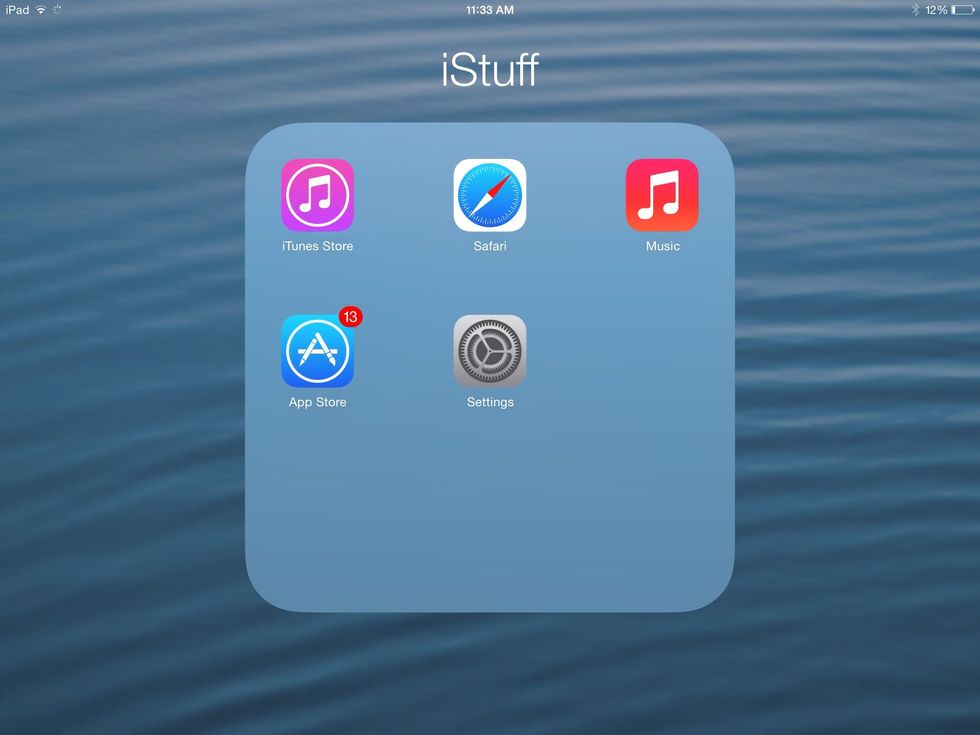
Now find the App Store as shown above (make sure to read the caption under the icon).
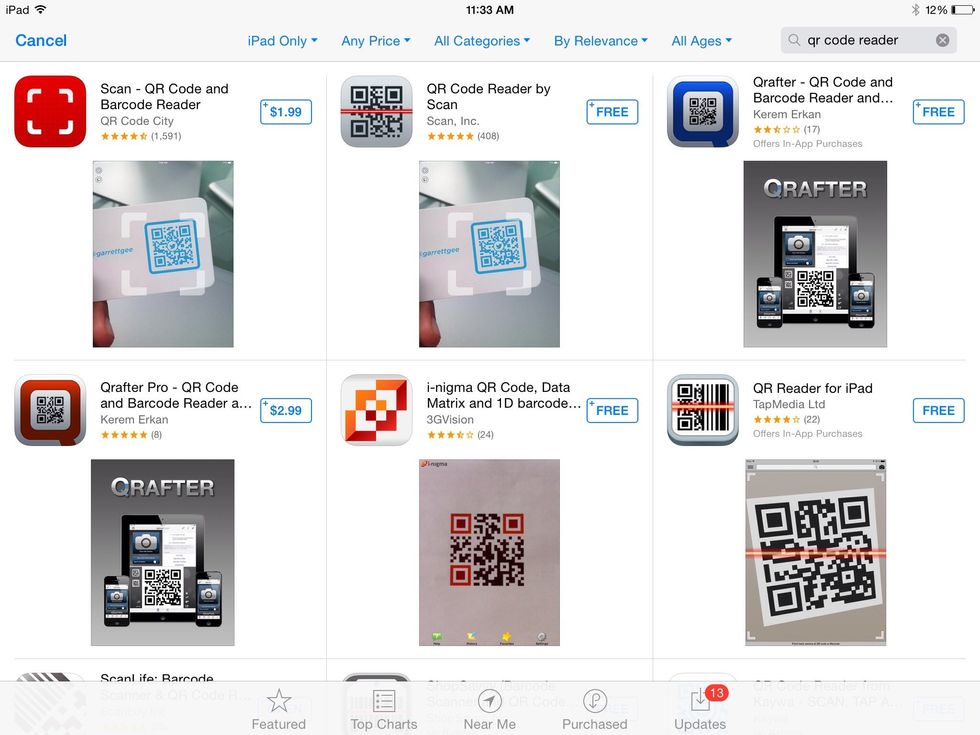
Search a preferred free app, and tap the free button next to it. Here it is "QR code reader by scan."
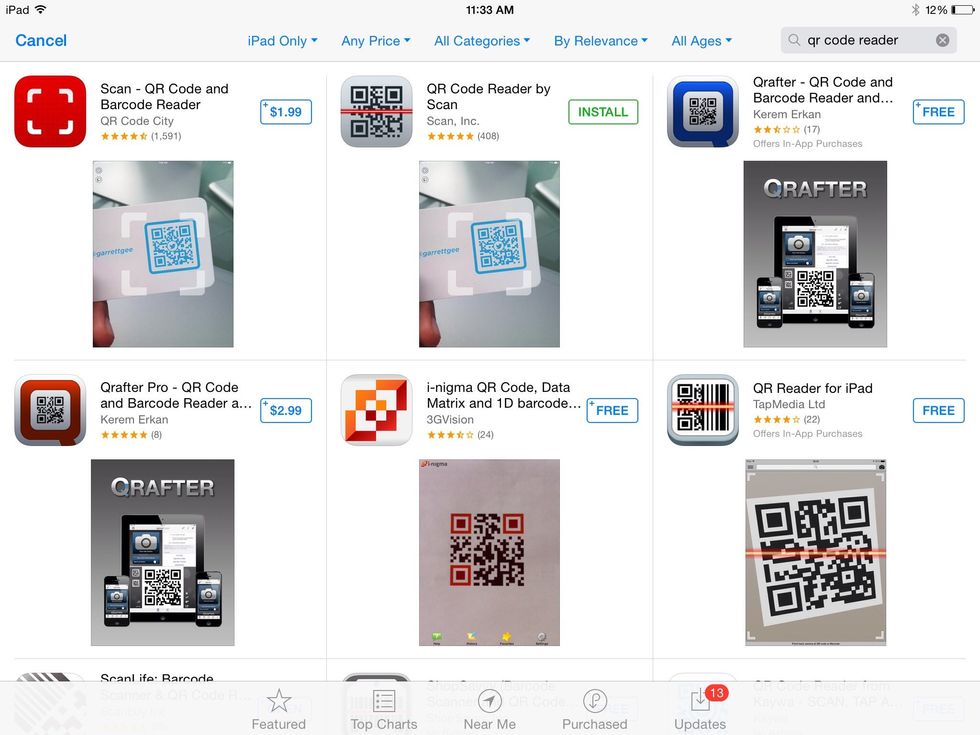
Then tap install
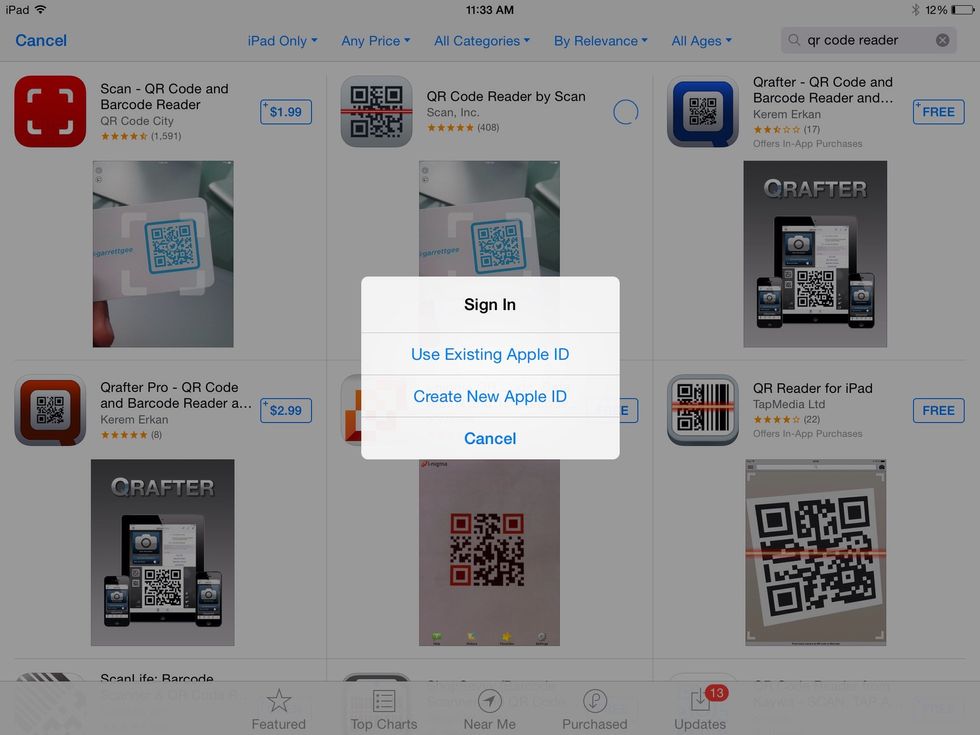
Choose Create New Apple ID.
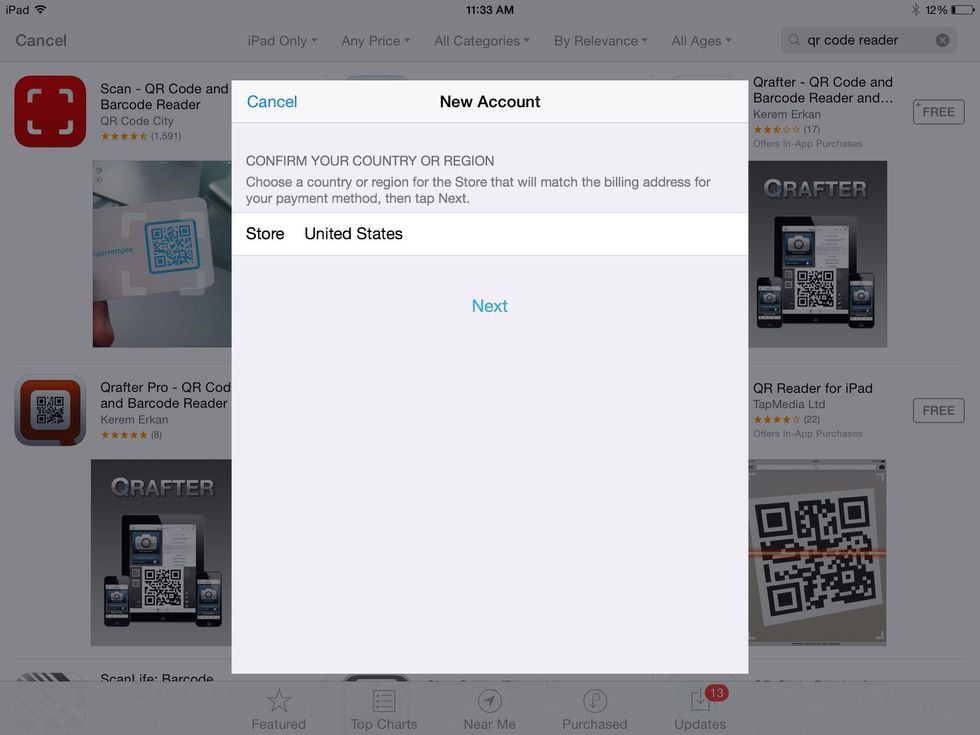
Check that United States is selected and choose next.
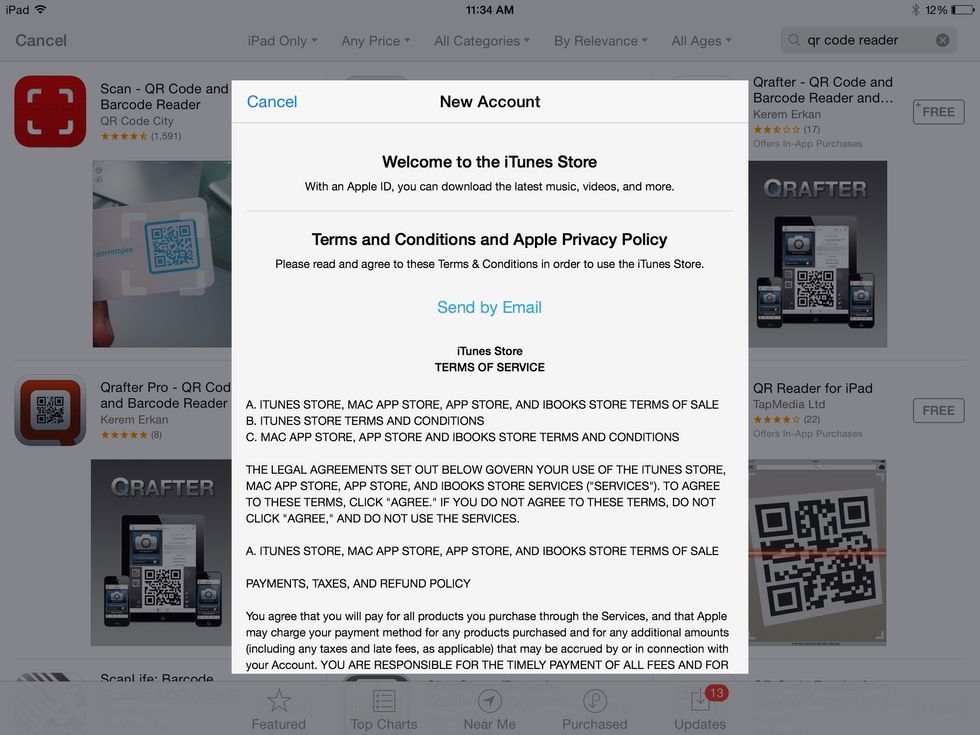
Scroll down to find the agree button (you may wish to "send by email" the terms of service to your email if you wish to read them someday during a root canal, or on a long flight overseas).
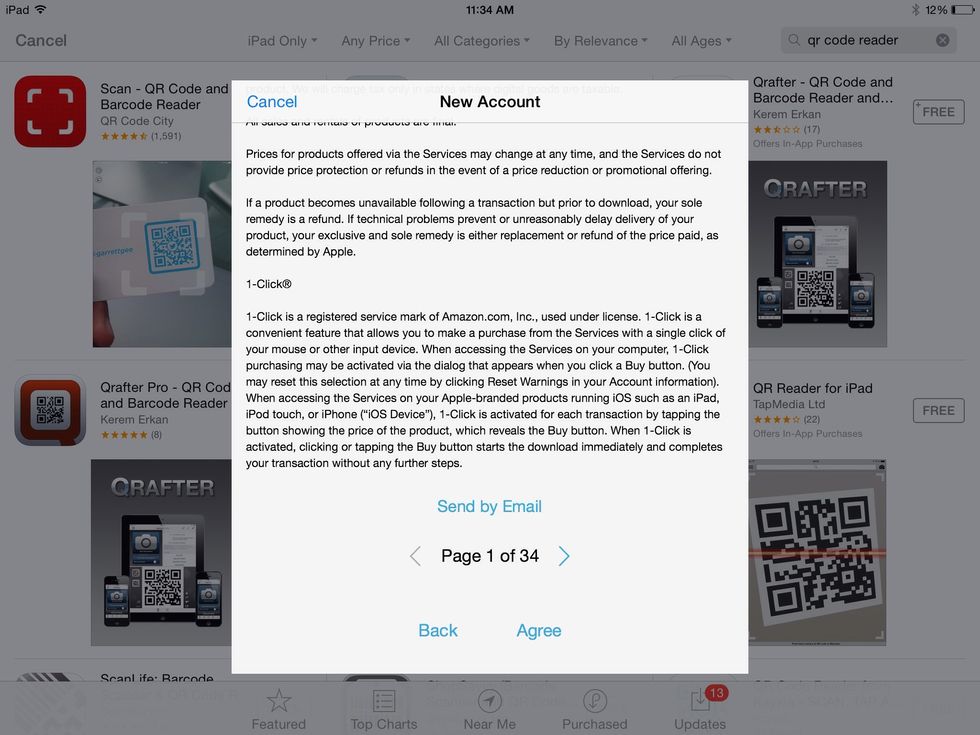
Choose agree.
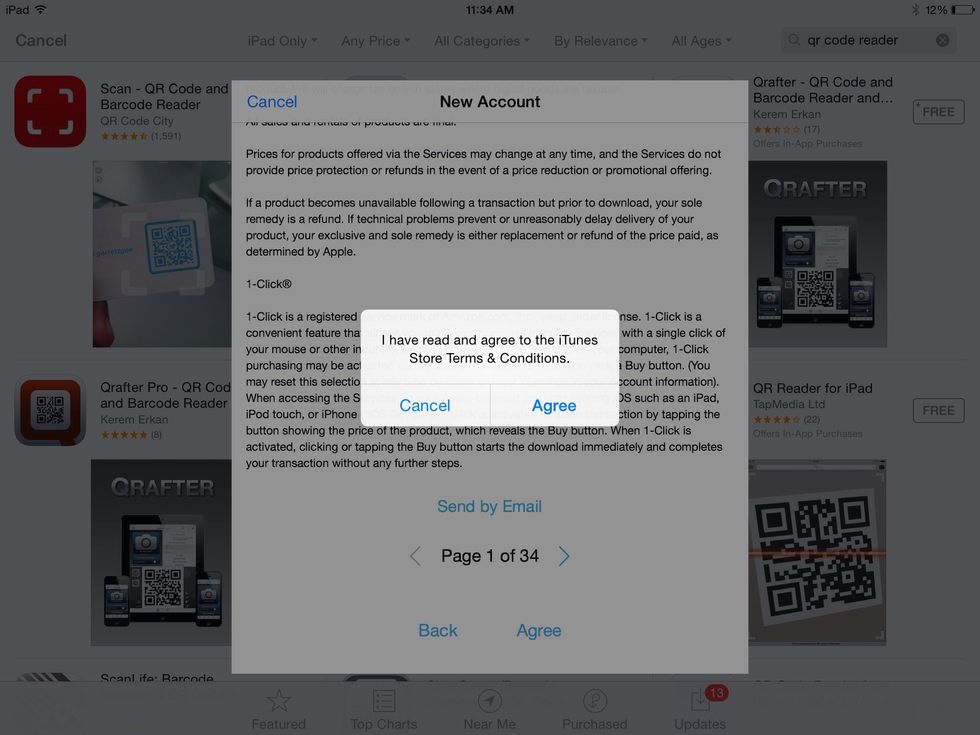
Choose agree again
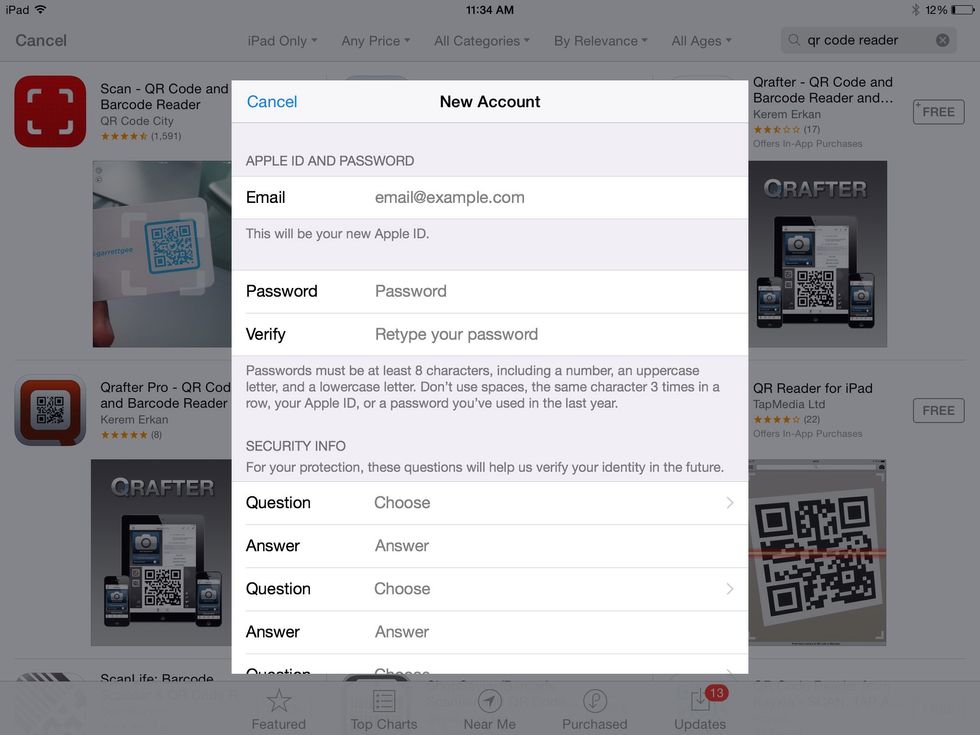
Now enter in the email that is written down, the password that you can remember, and the information needed for the security questions. Type the answers in all lower case, and be as honest a possible
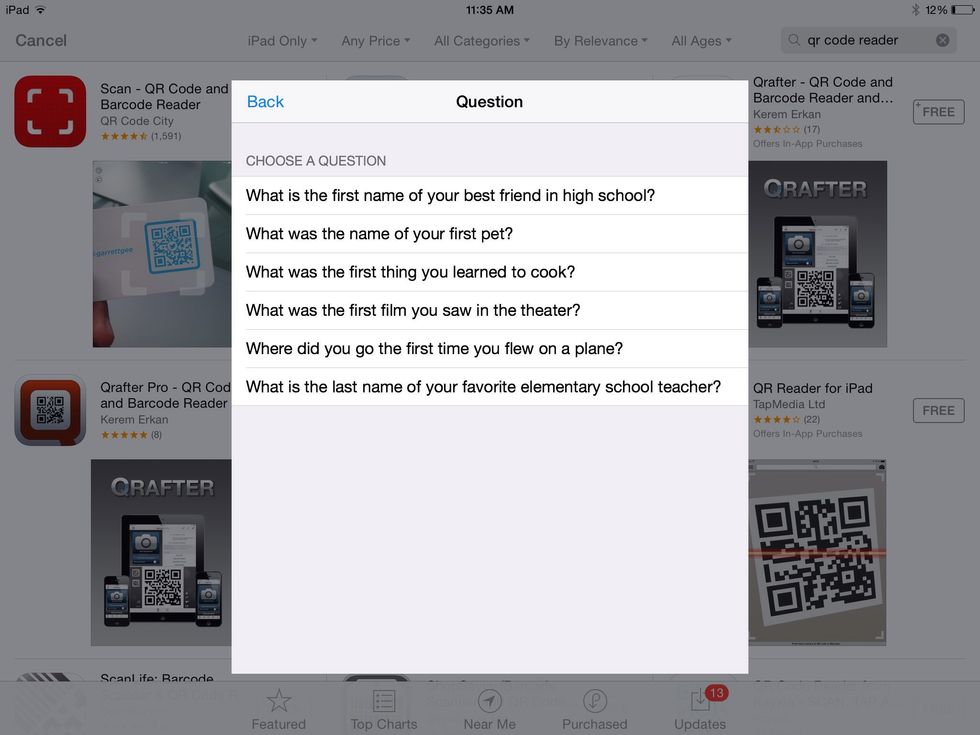
Choose security questions who's answers do not have multiple correct or common spellings.
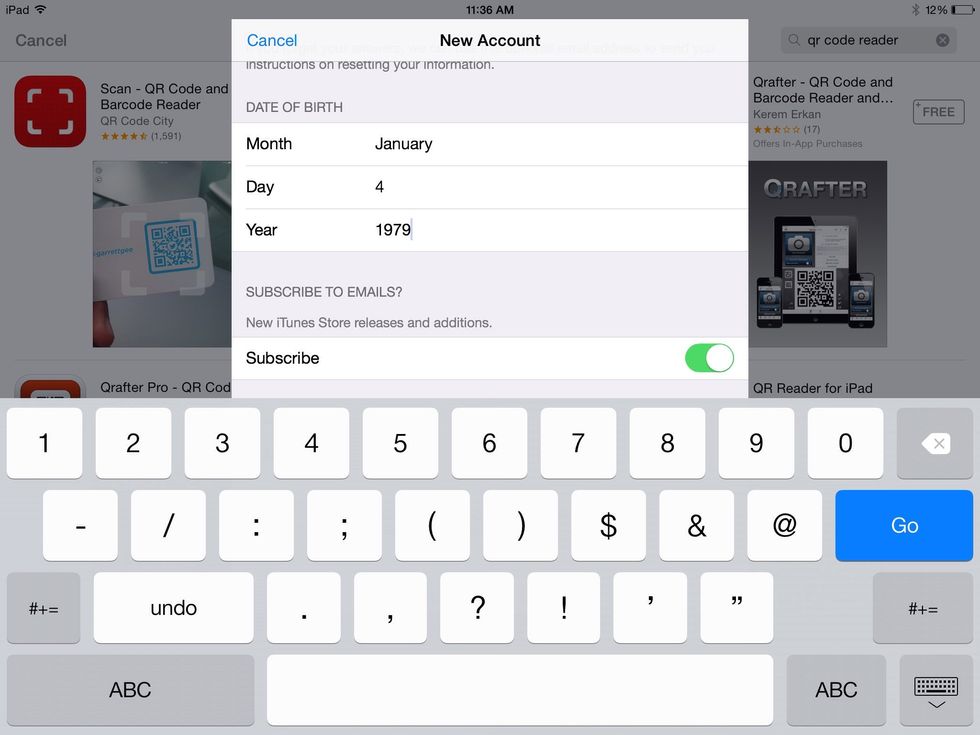
Be honest here unless you are a really good liar. And turn off subscriptions.
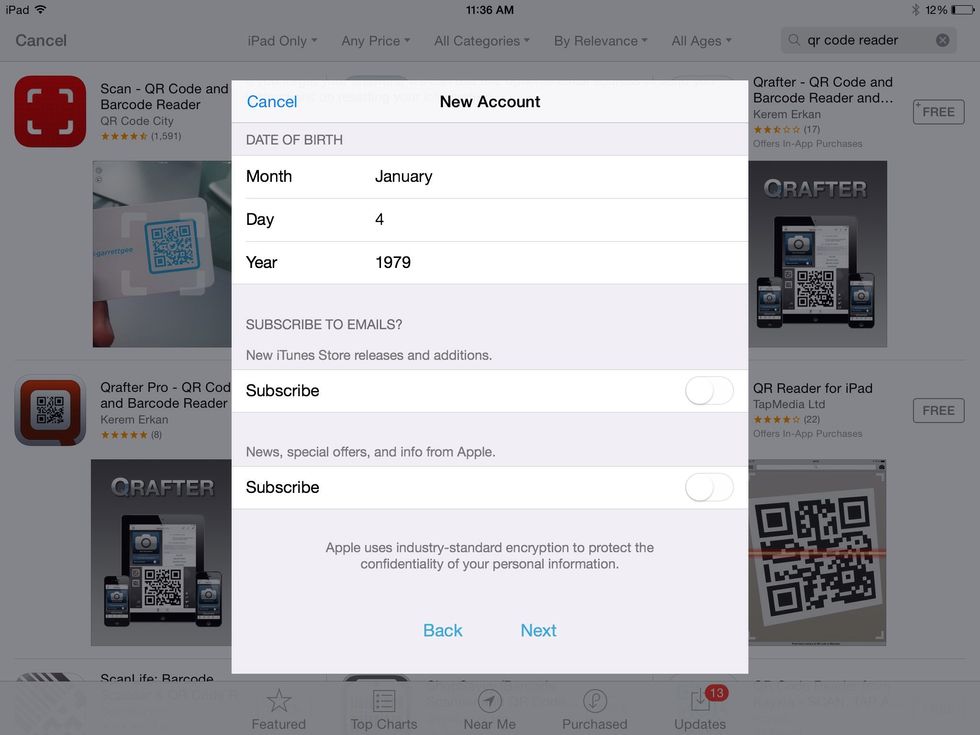
Choose next

Make sure none is selected.
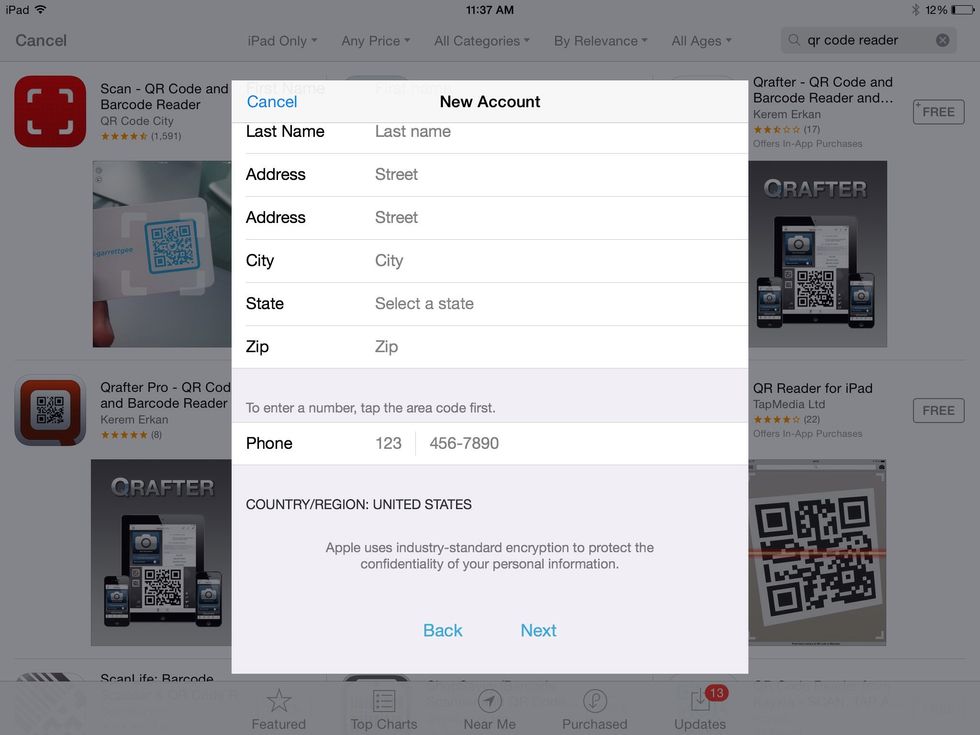
Enter in your a billing address even though there is no CC associated with the account and choose next.
To verify your email, you will have to log in to the email address used for your Apple ID.
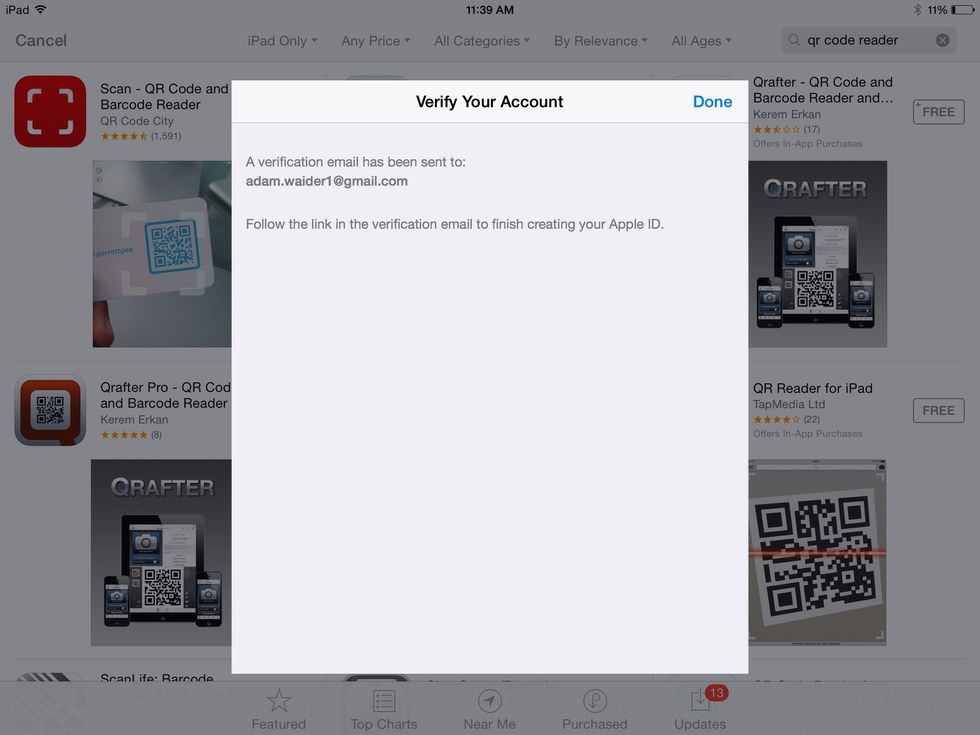
If you choose done and try to enter in your password you will only be able to get this far.

Then you will get this screen, so now go and verify your email. I know you so well.
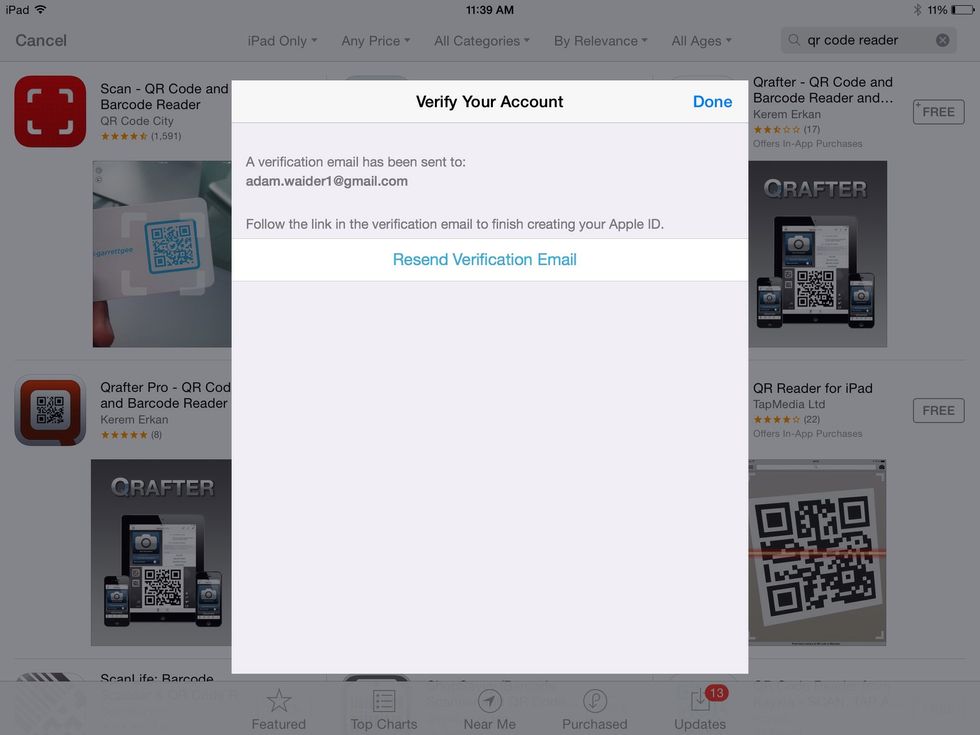
If you are having trouble finding the verification email check your spam folder, and double check that you have logged in to the correct email. If you still don't see it then resend verification.
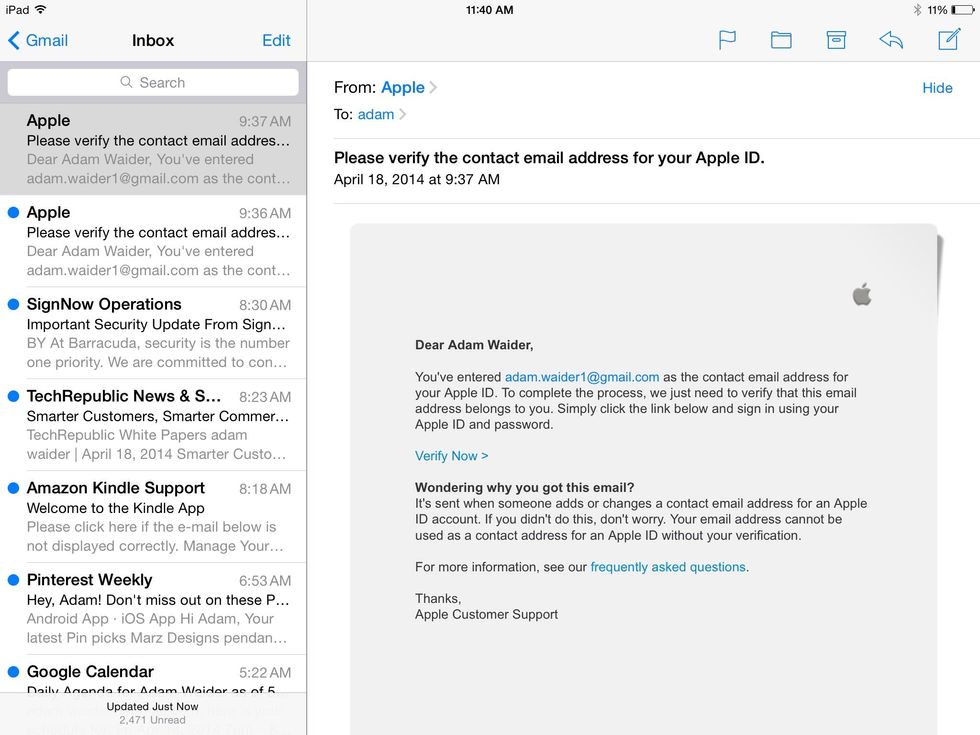
If your email is set up on your iPad, this step is easier because email is already logged in. Just tap verify now.
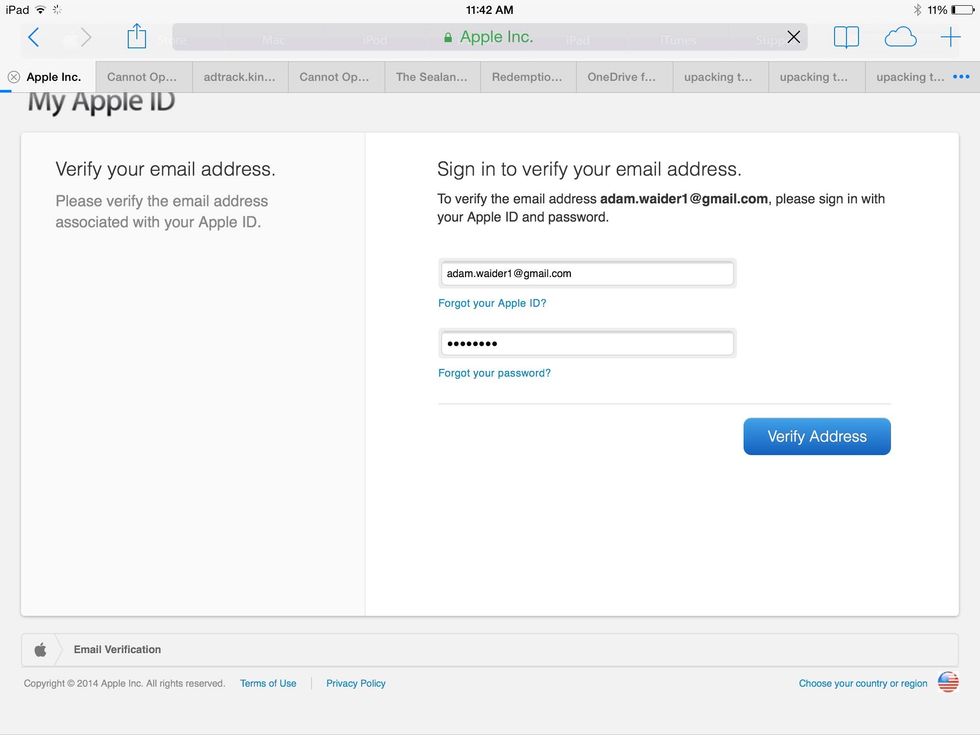
Type in your email and password. Then tap "Verify Address".
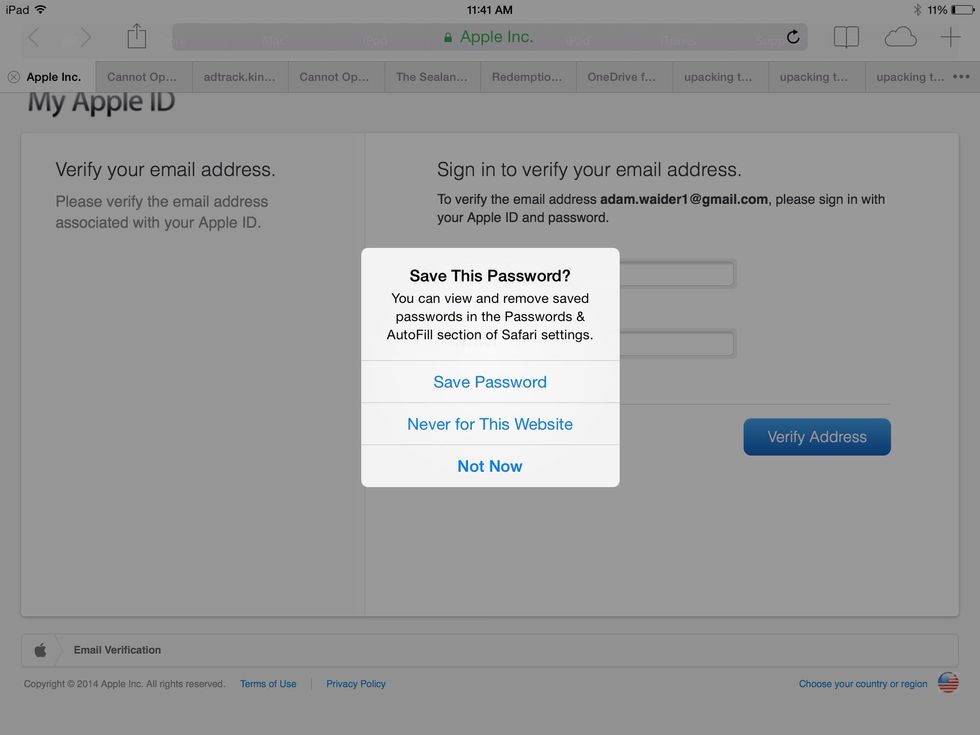
Tap "Save Password".
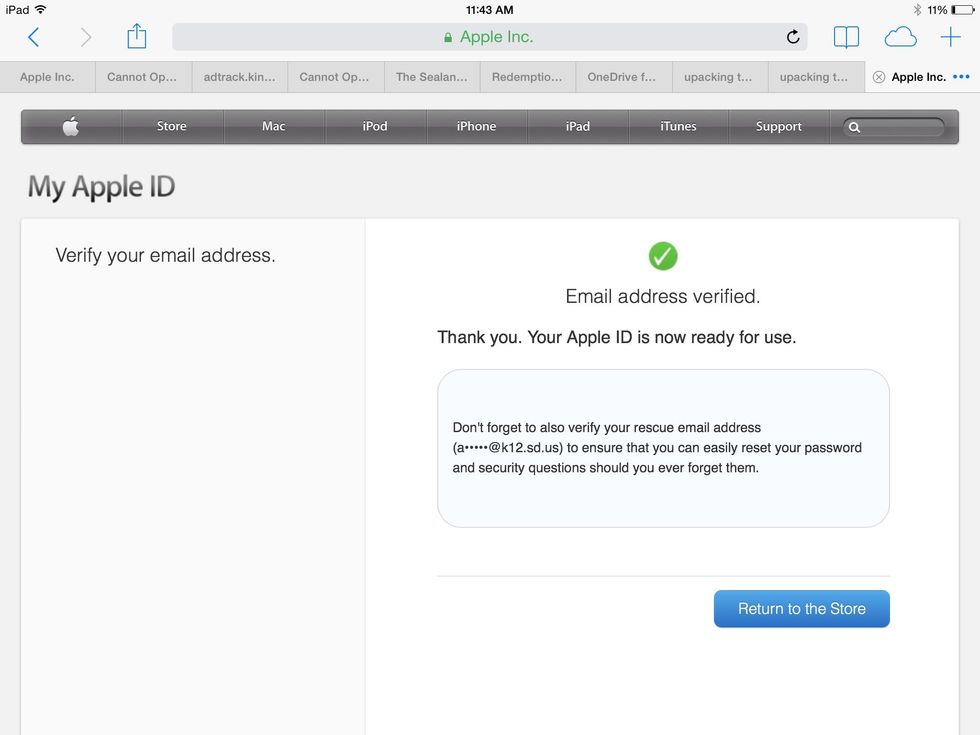
Your Apple ID is now ready to use. Go back to the App Store, and finish your install.

If you are on the iPad, press the home button twice and navigate to the App Store by swiping left or right.
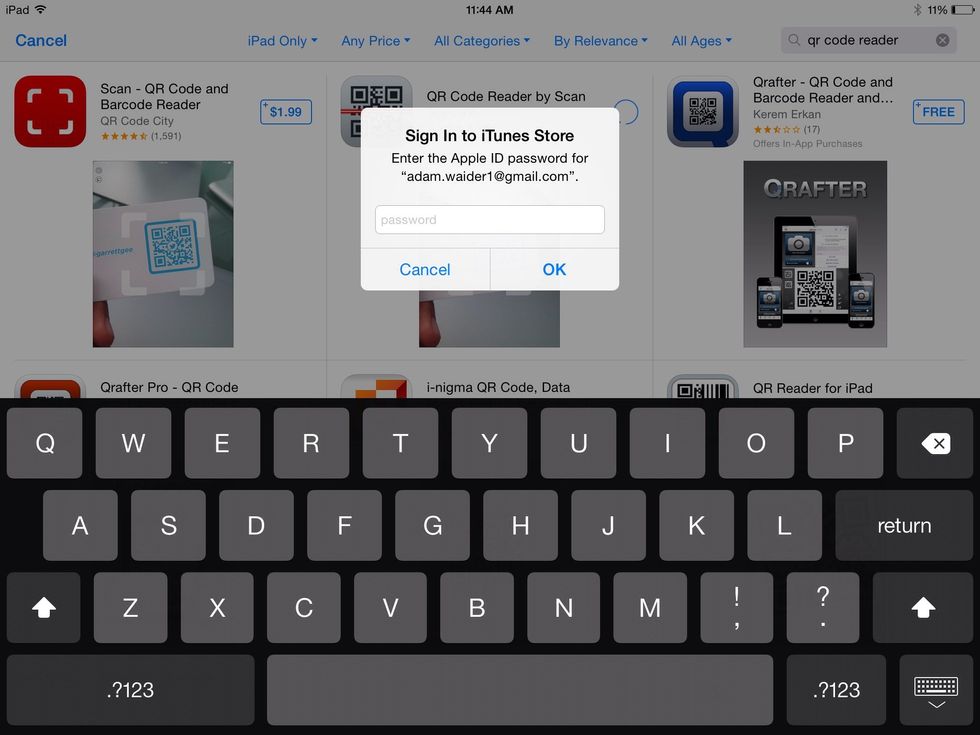
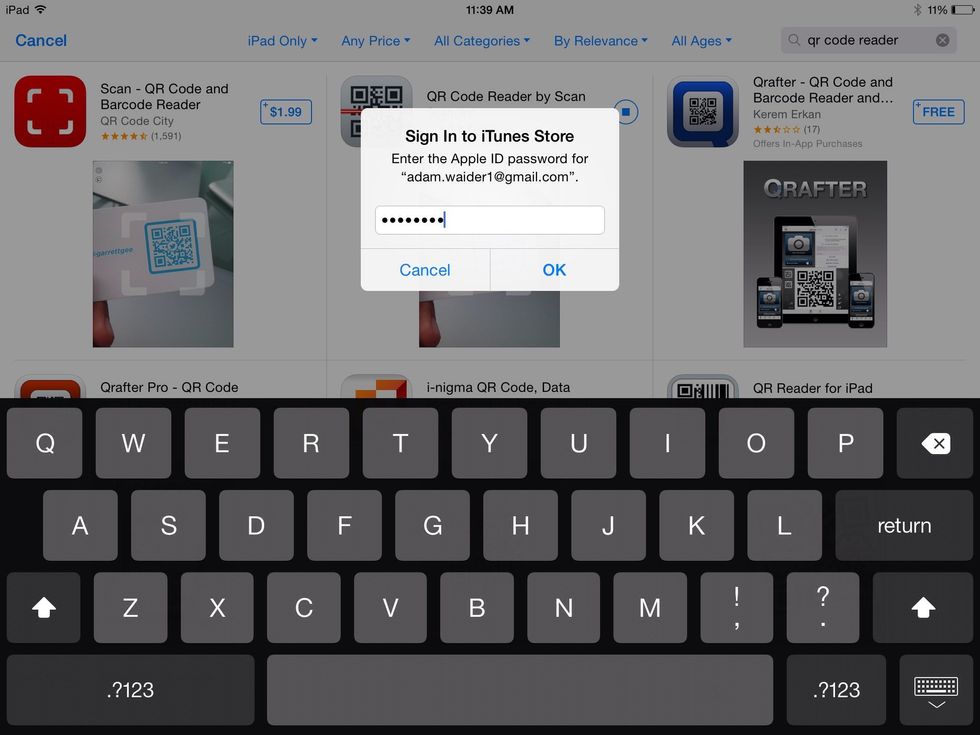
Enter in your password.

The circle means that the app is downloading and installing. You are finished and you have a new app to play with.