The Conversation (0)
Sign Up
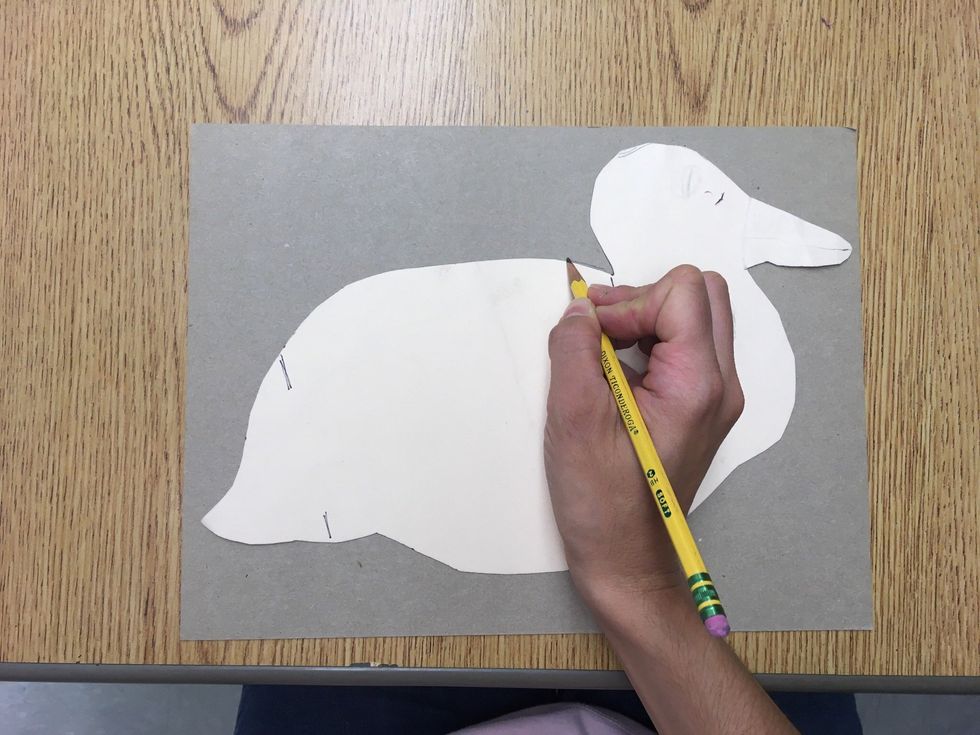
First, trace your animal of choice or draw your own in pencil on cardboard.
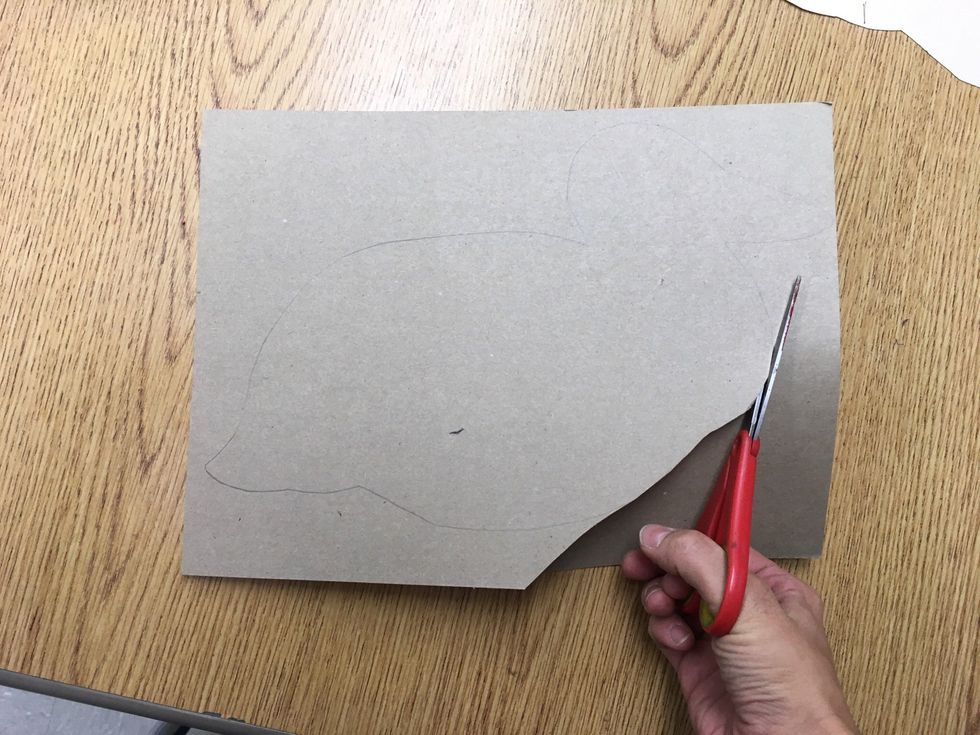
Cut out your animal. Open the scissors wide because it's sharper toward the handle.
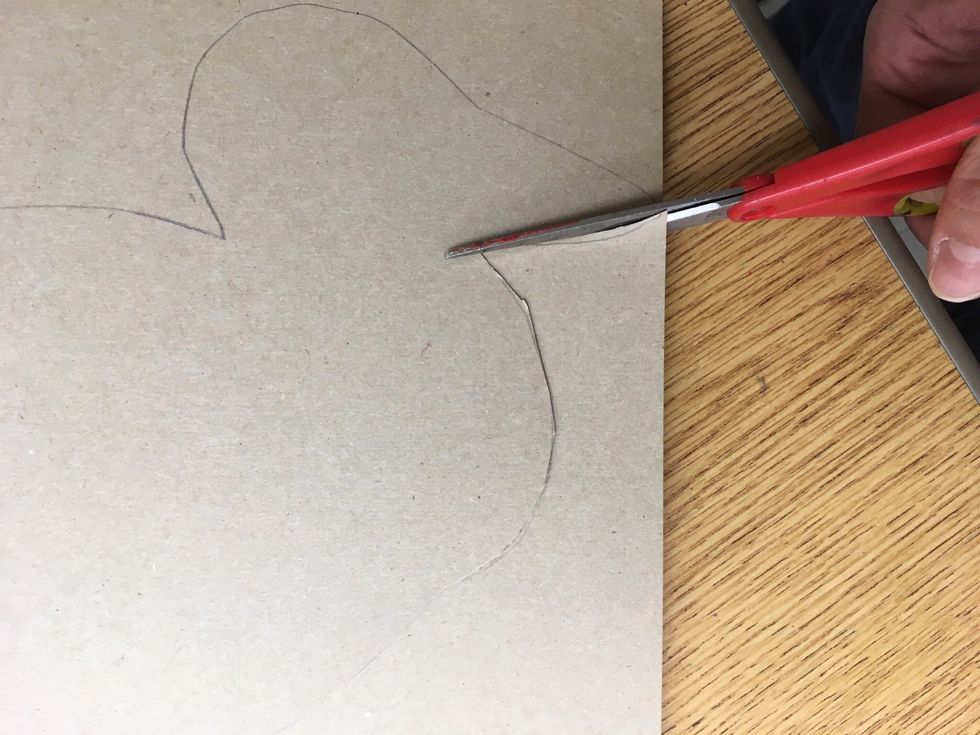
If it becomes difficult to cut around a corner, either cut the piece off or cut in from a different angle.
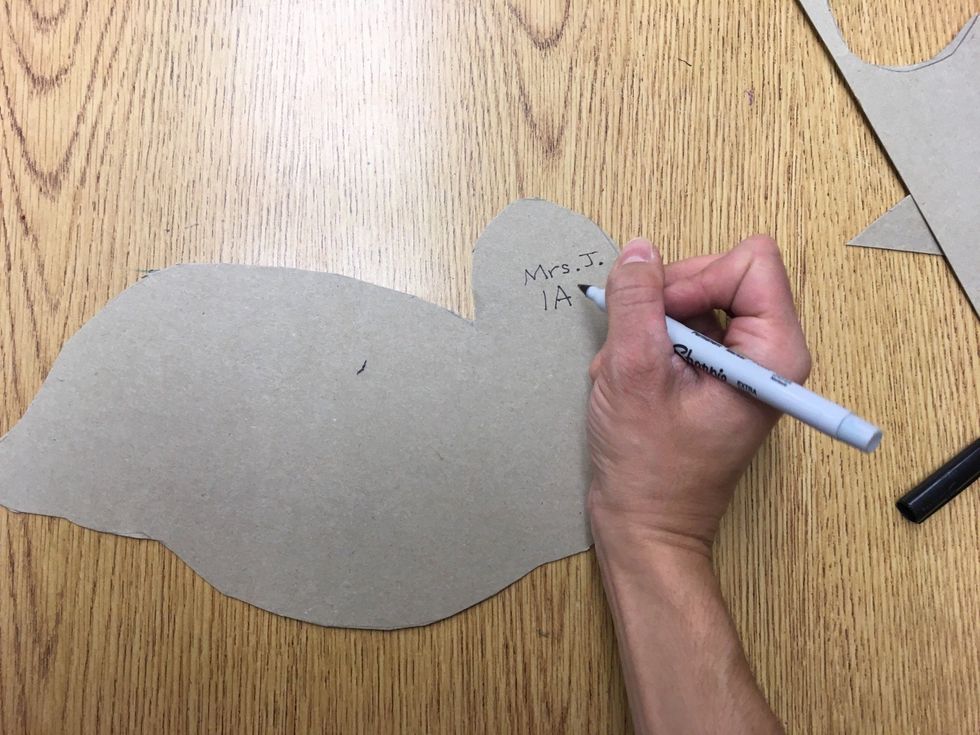
Label your name and class code with Sharpie on the back side of your choice on the animal's head.
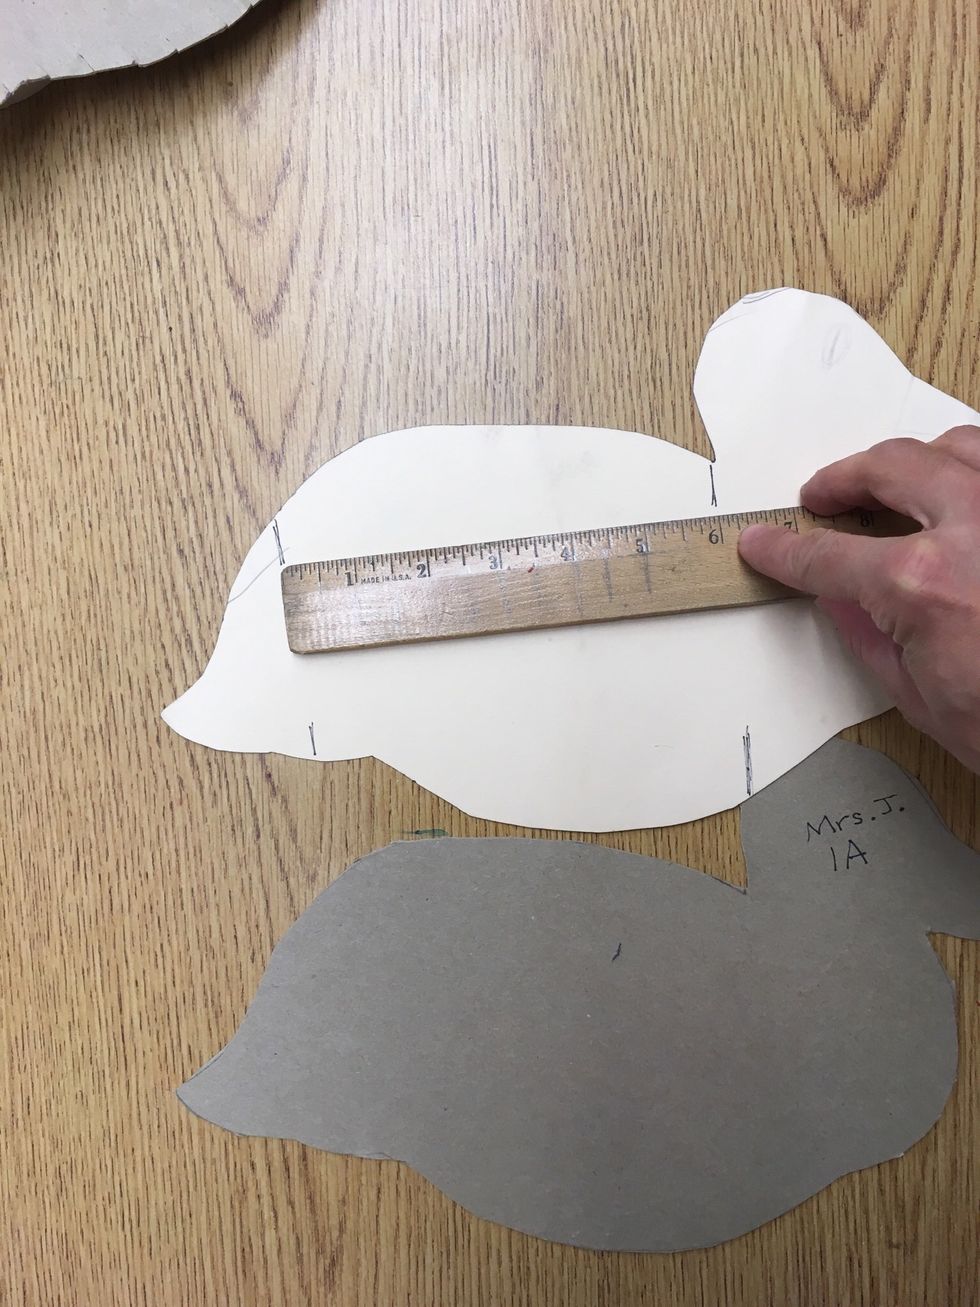
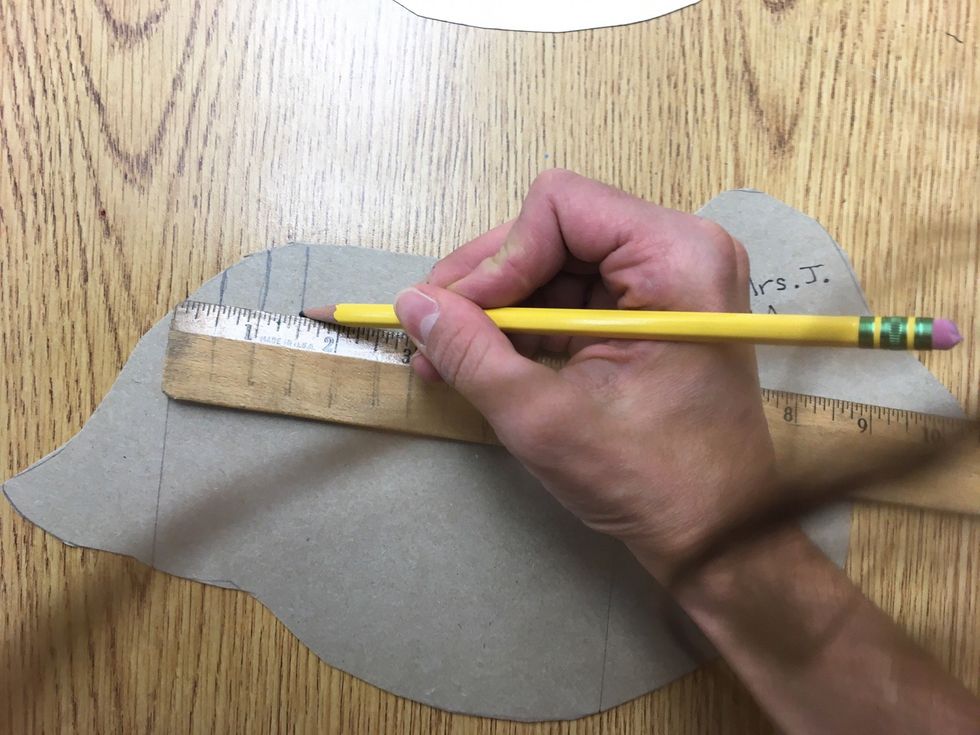
Find a beginning and ending point. The points are usually just on the body of the animal, not the tail, legs, and head. You can use the marks on the tracers as a guide. This duck is 6 inches.
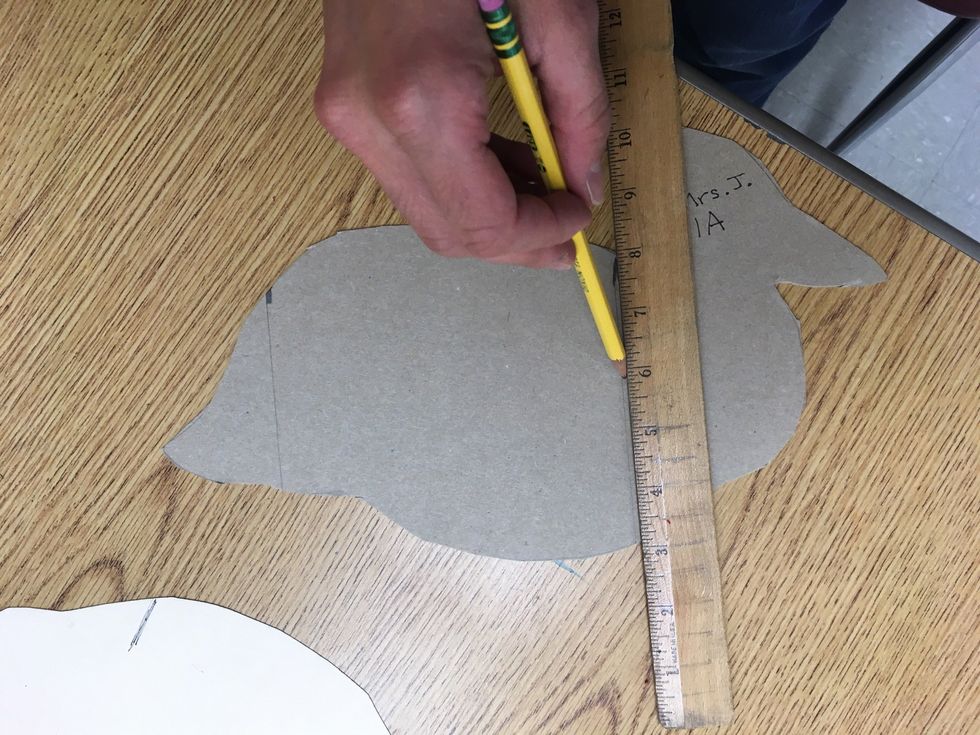
Before the tail, mark a line at the zero on the ruler on the back of the duck. Then before the head, mark an ending line. It should end on an inch or half inch. This duck ends at 6 inches.
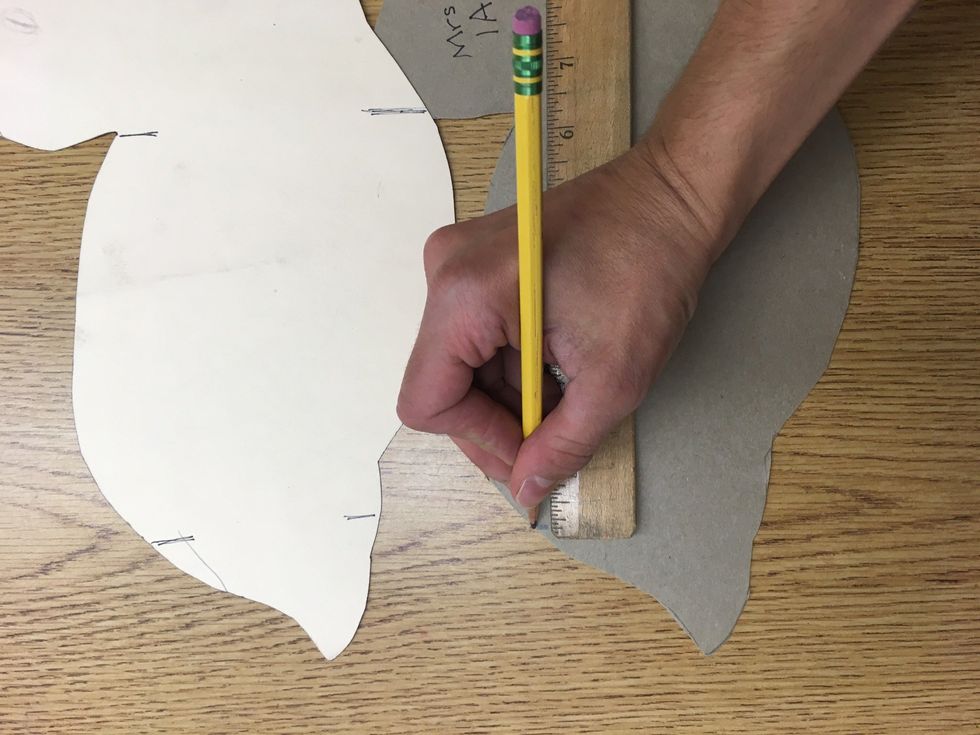
Then extend the lines straight down on either side.
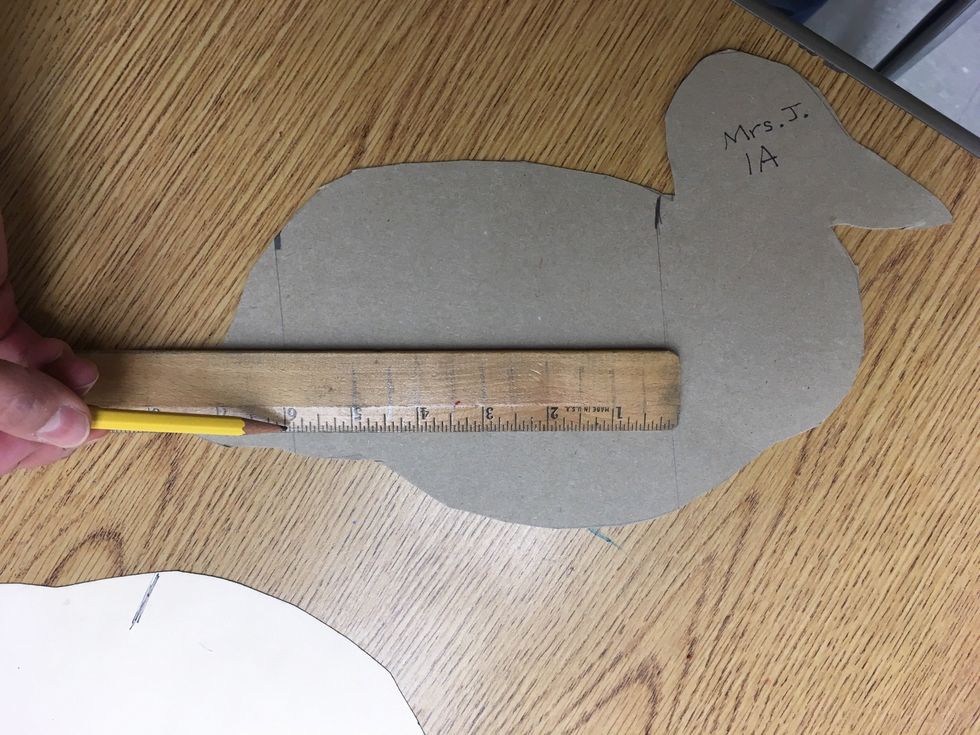
Double check to see if the other side is 6 inches and looks even.
Hold the end of the ruler back at my beginning line and the ruler is on the animal. Measure every half inch on the ruler and make a mark. Turn the animal and do the same to the other side.
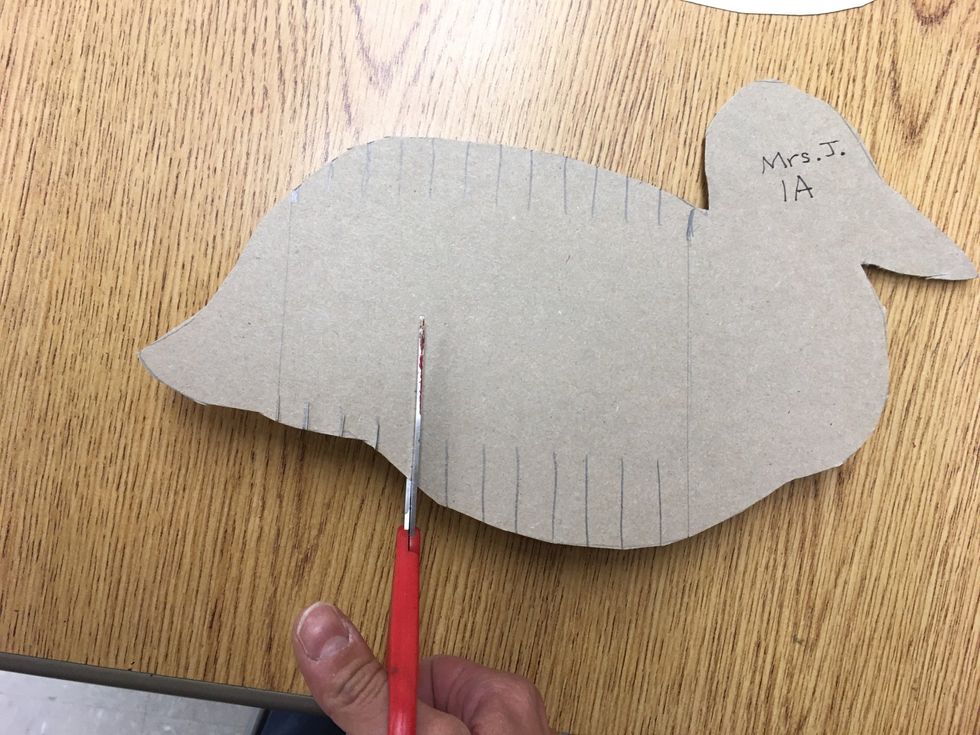
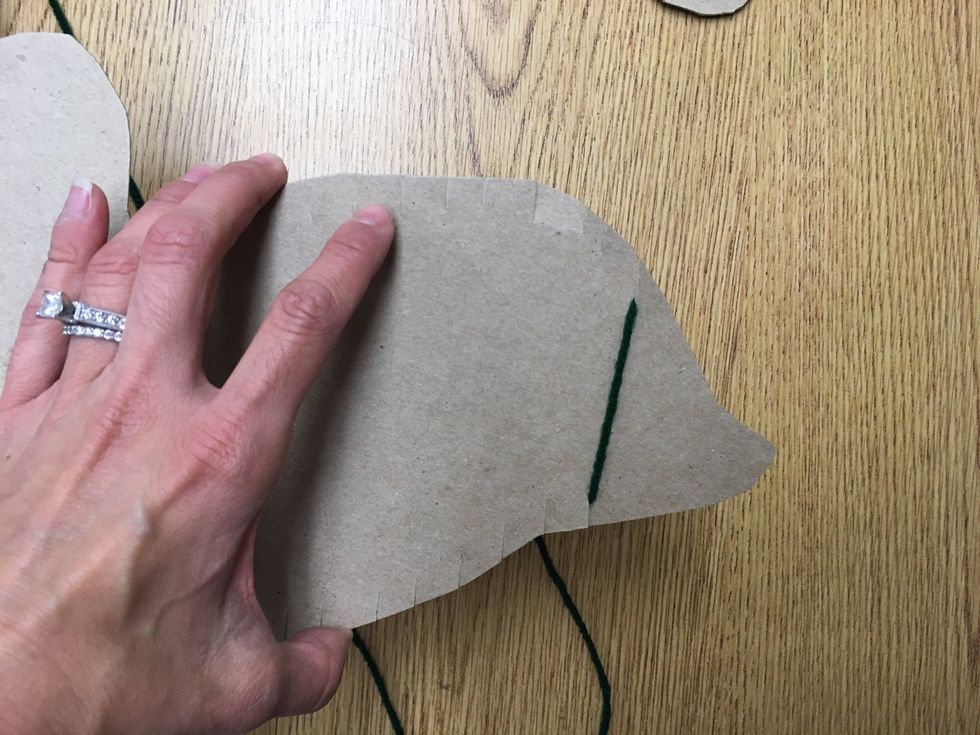
Make a small cut on every line using the inside of the scissor.

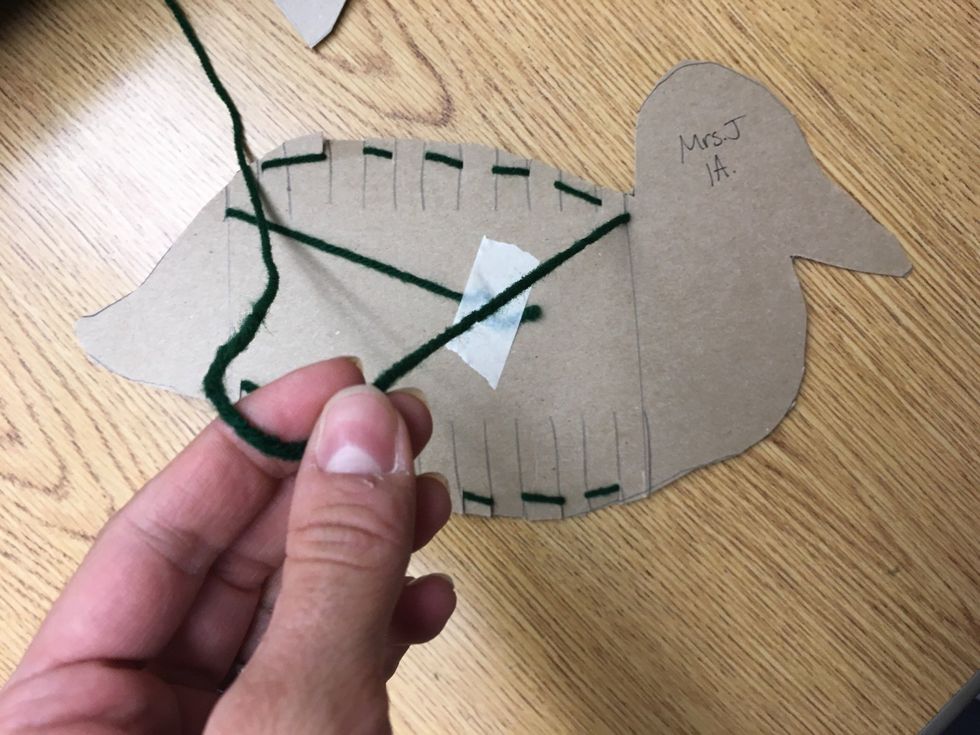
Tape an end of a skein of yarn on the back middle of animal.
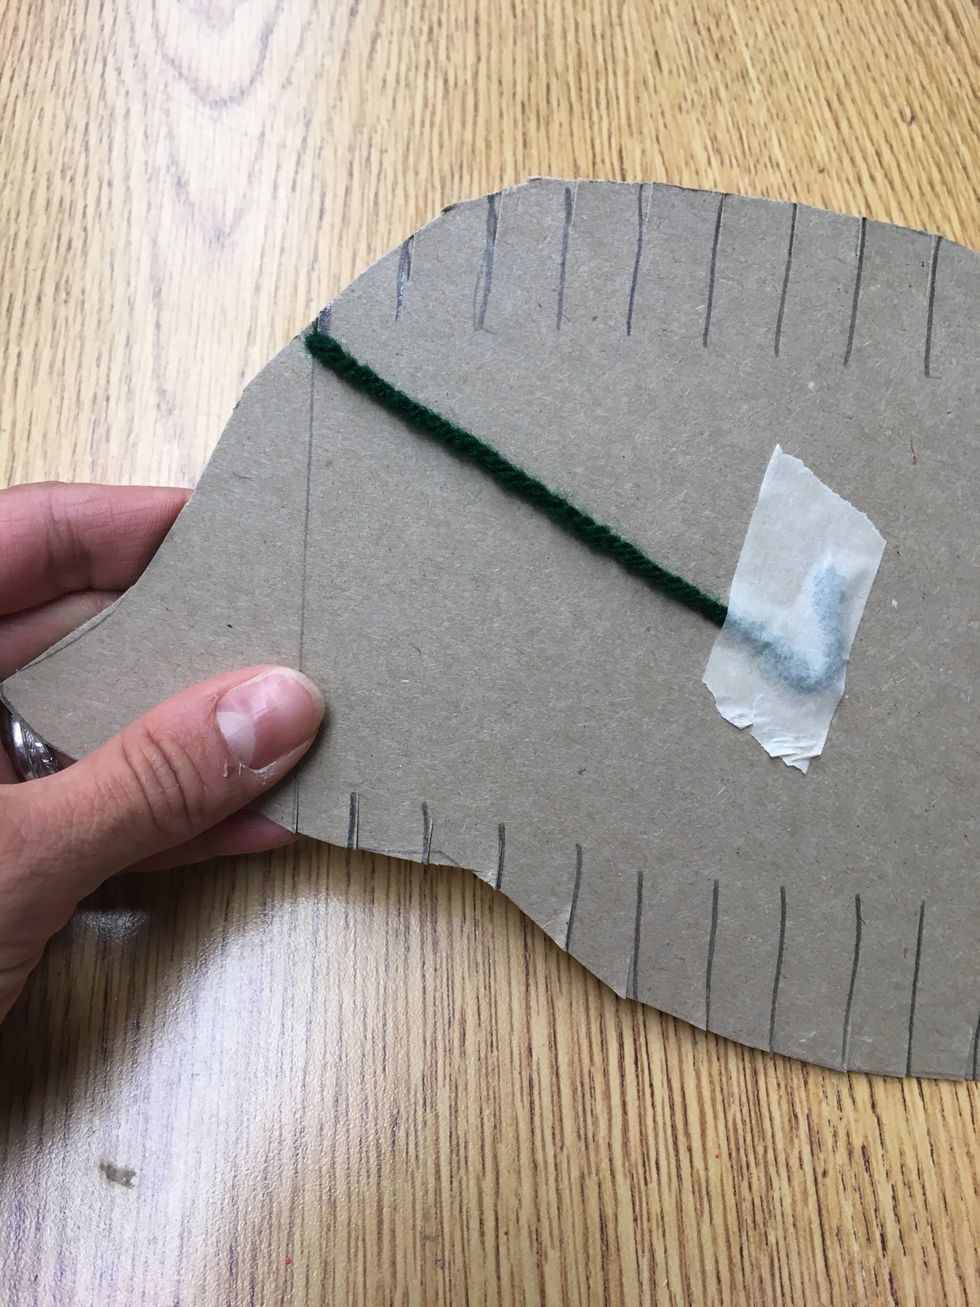
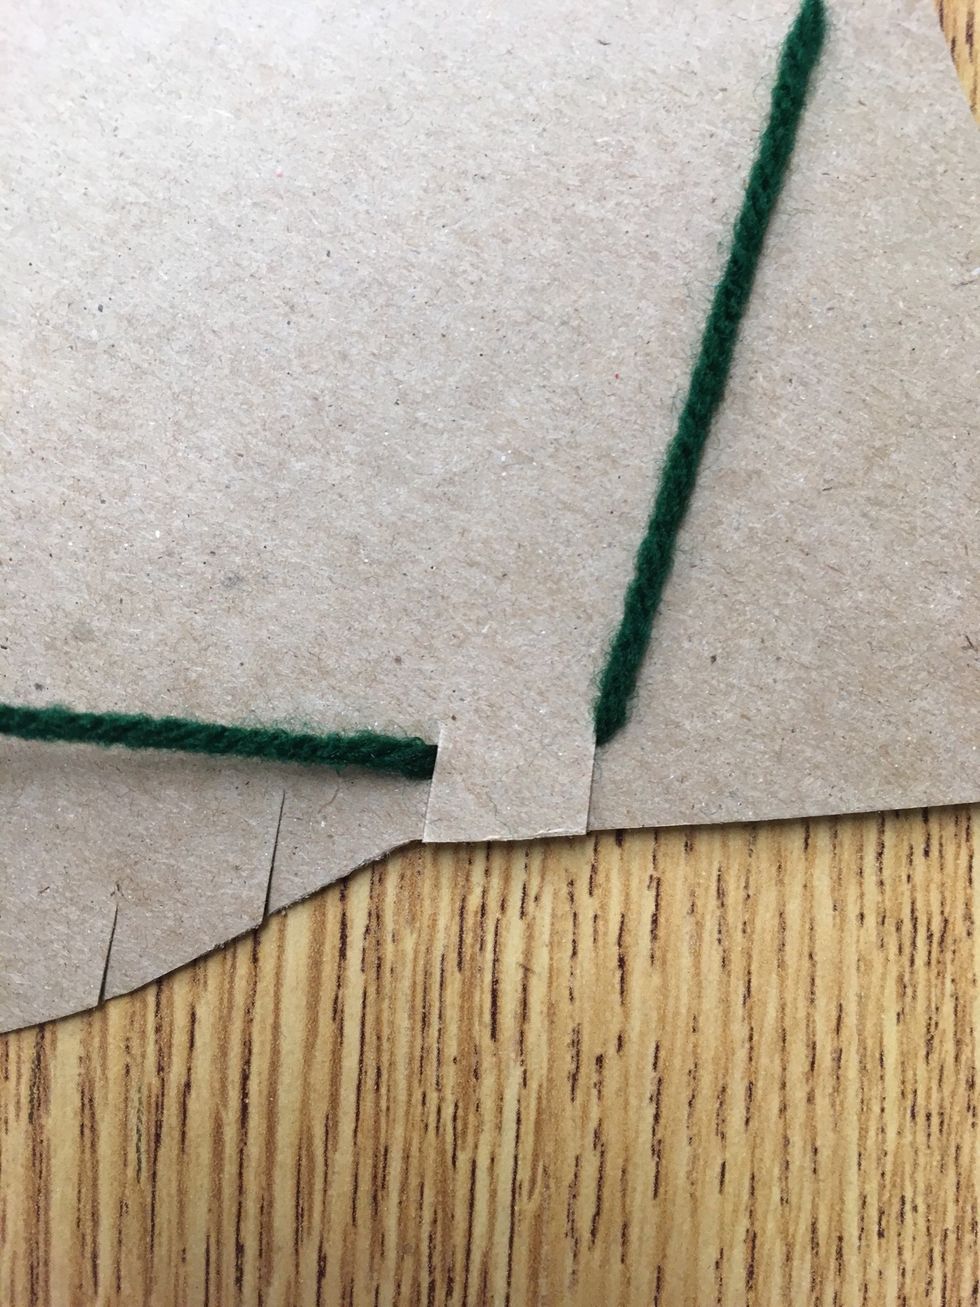
Put the yarn in the first notch all the way in one of the ends.
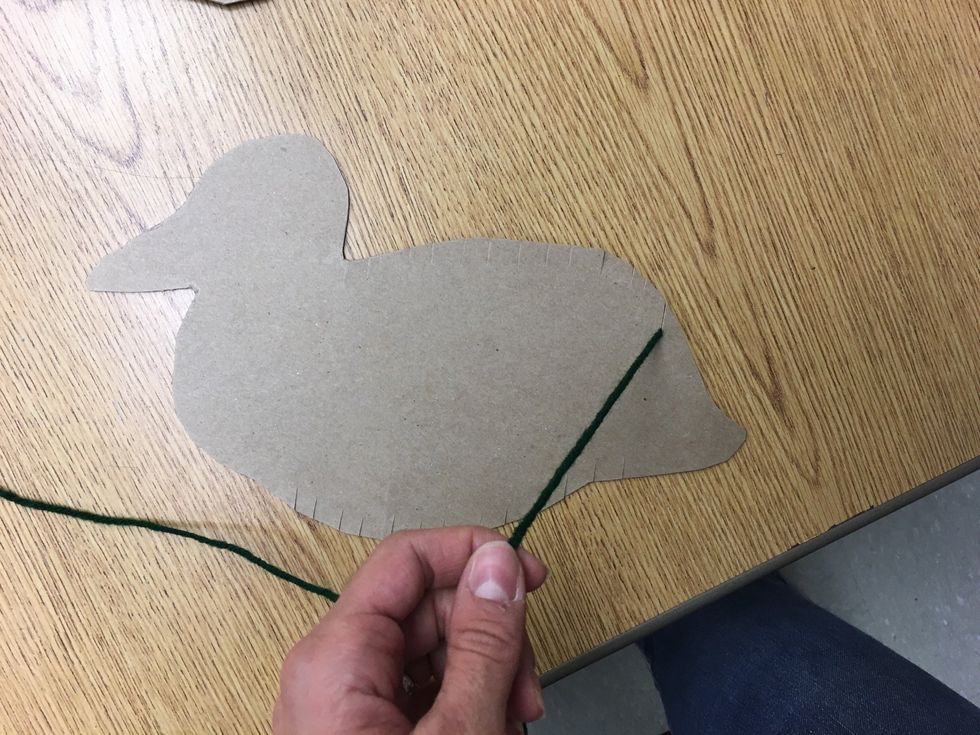
Flip the animal over and bring the yarn to the front.
Put the yarn in the notch directly below the first notch.
Wrap the yarn around behind the notch and bring it back to the front.
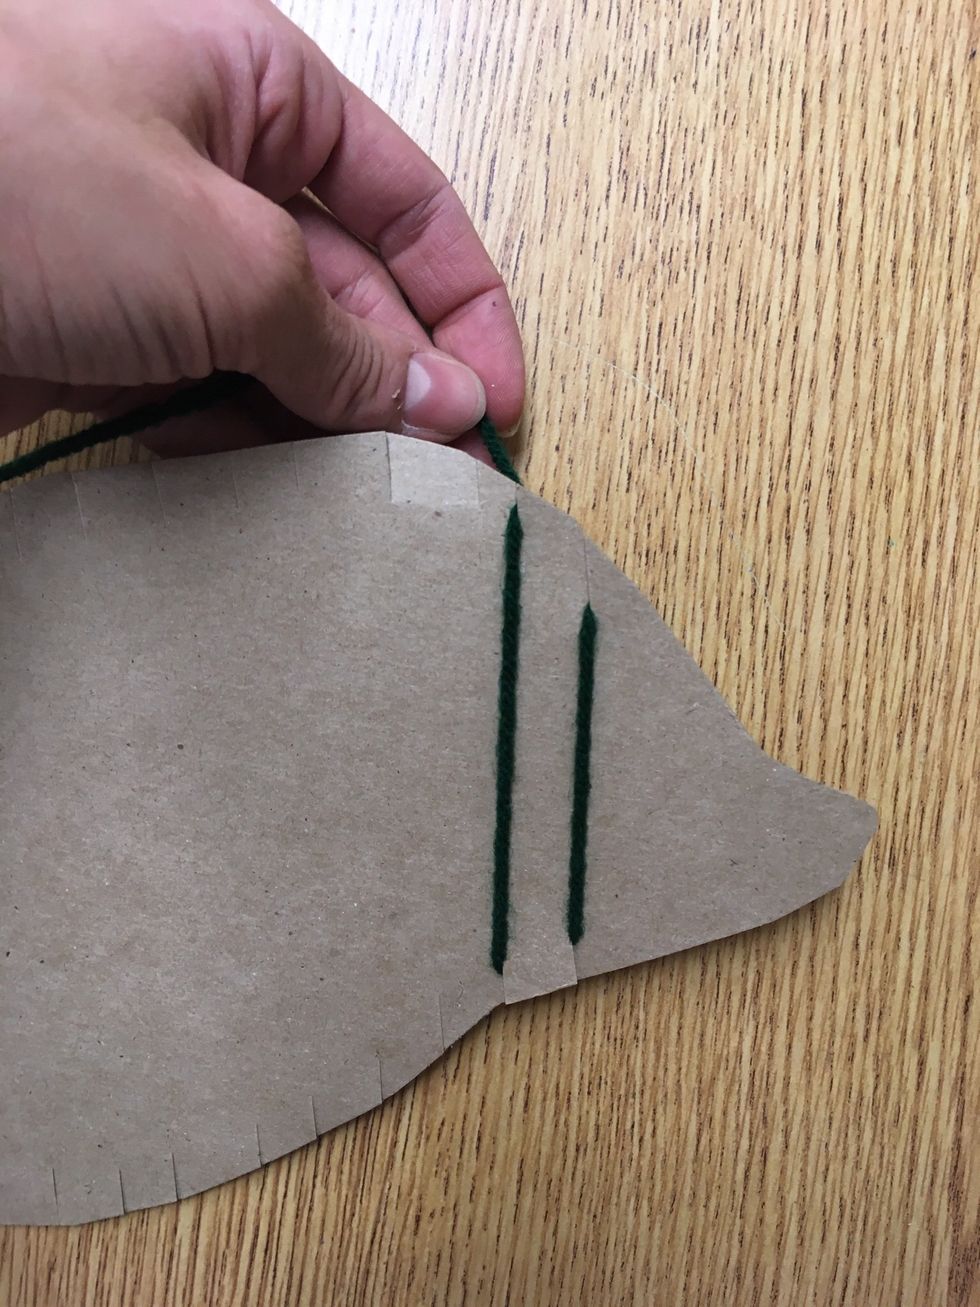
Bring the yarn straight up to the next notch.
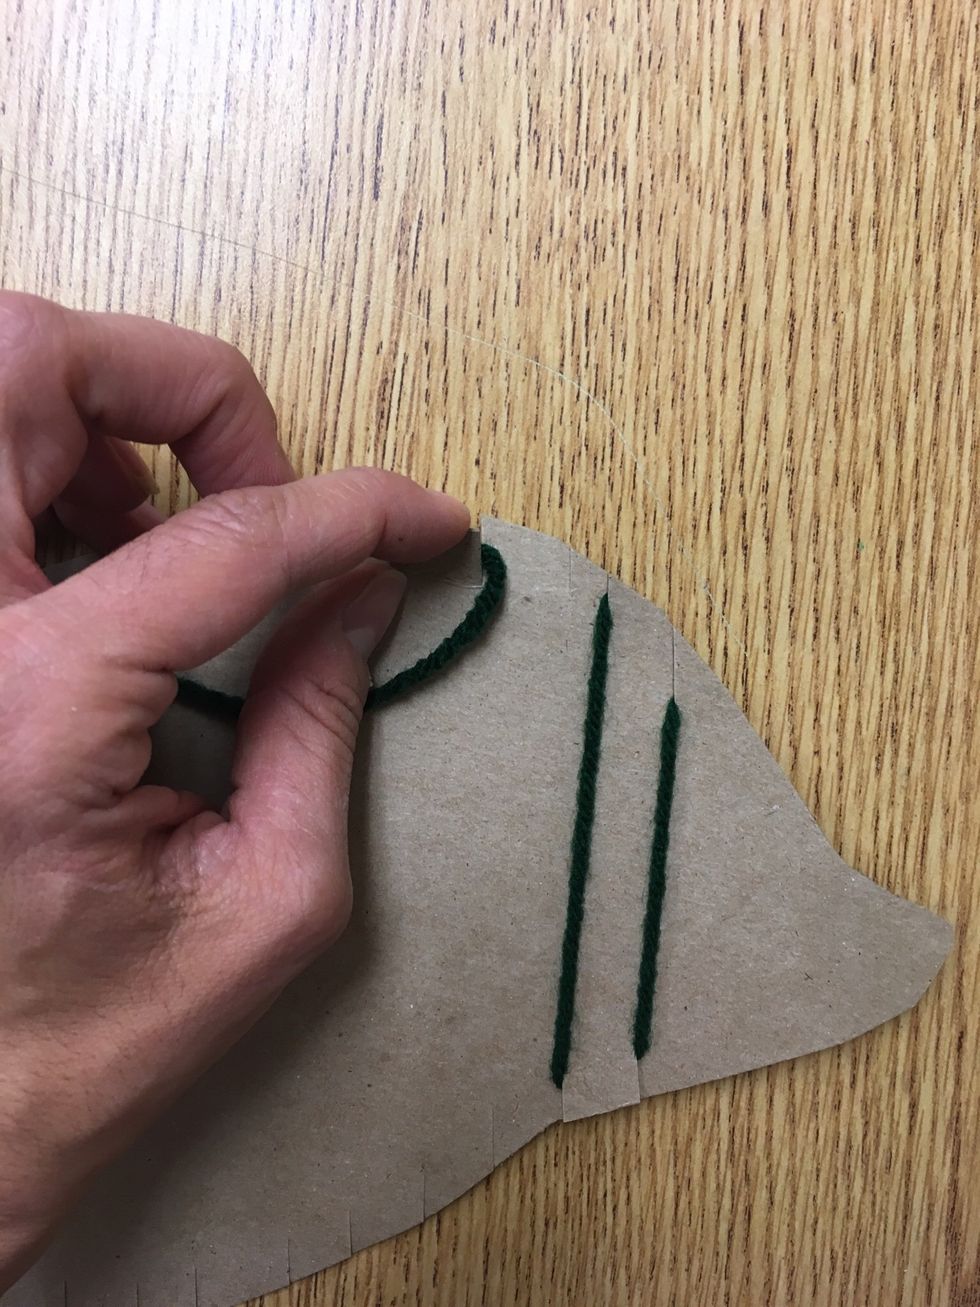
Wrap the yarn around the notch and continue this up and down pattern until the last notch.
Bring the yarn to the back on the last notch.

Cut the yarn from the skein.
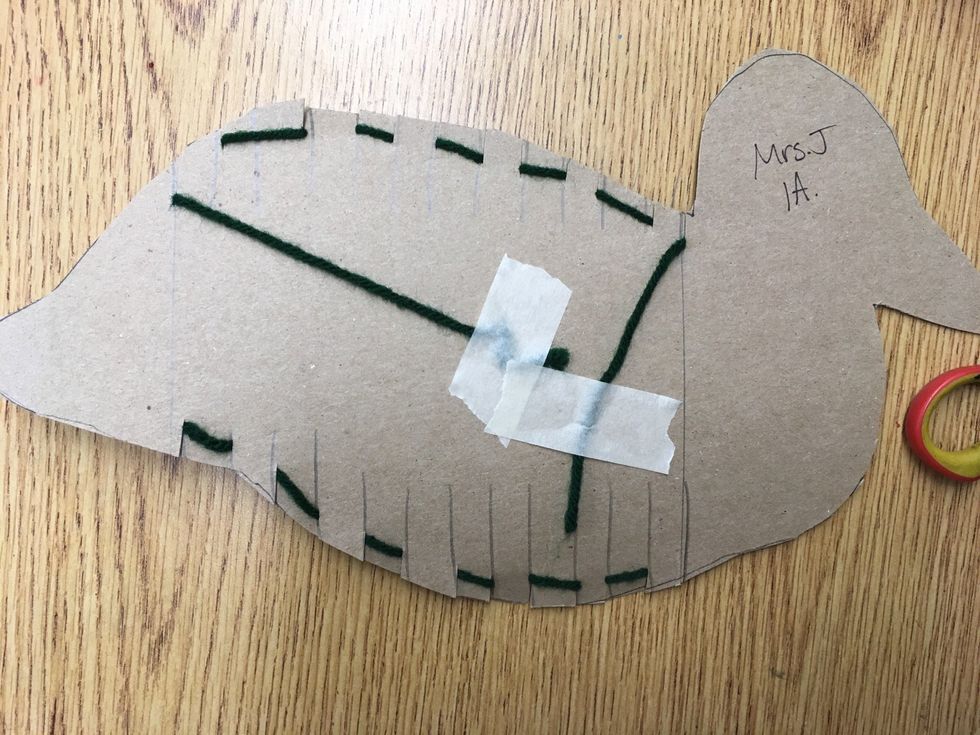
Tape the loose yarn down on the back of animal.
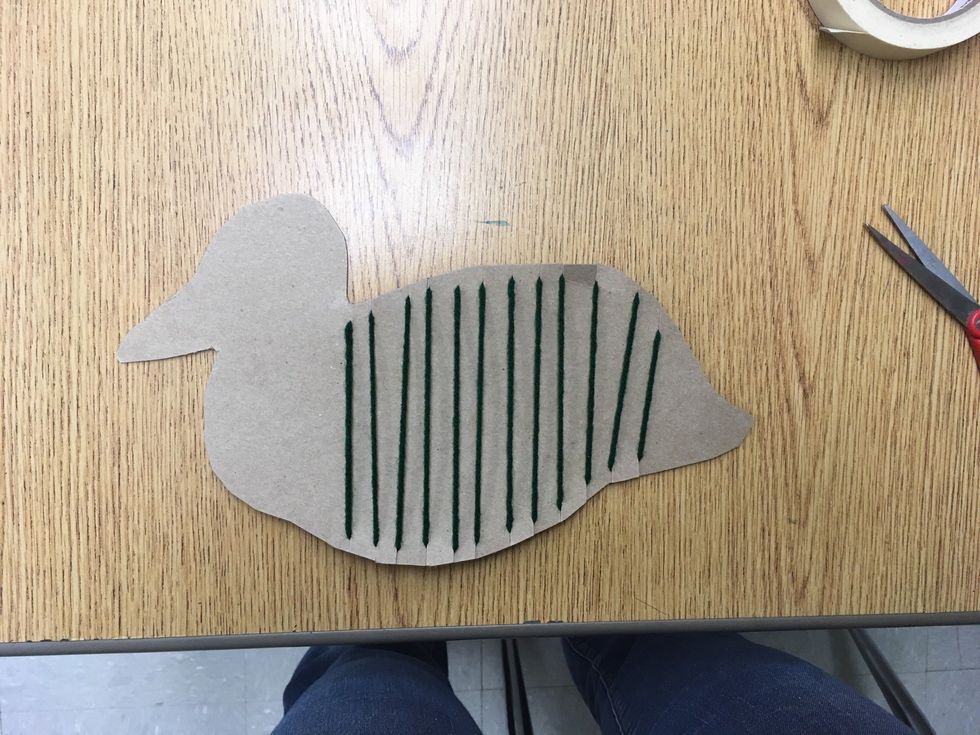
Voila! Here is the loom. These lines are called the "warp." It holds the yarn or weft in place while weaving.
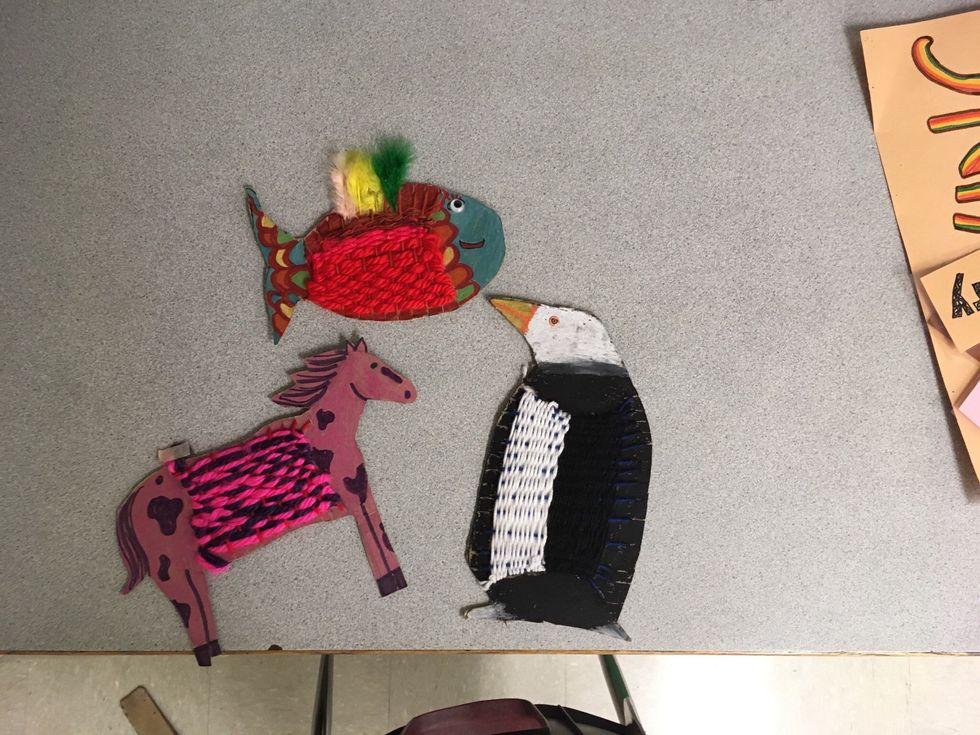
Here are completed samples after students wove. I will make another guide for the weaving part!