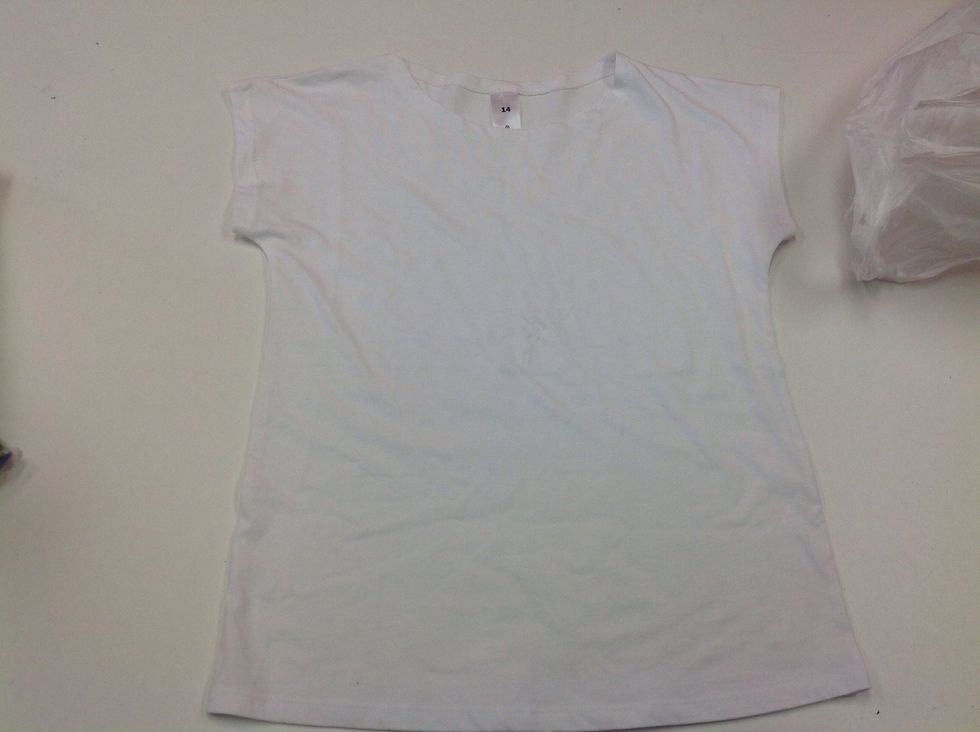
Step1: First you will lay your top on a flat surface, gently place your fork in the middle of the top. Slowly turn your fork clockwise. Wait for the top to be in a tight coil and take the fork out.

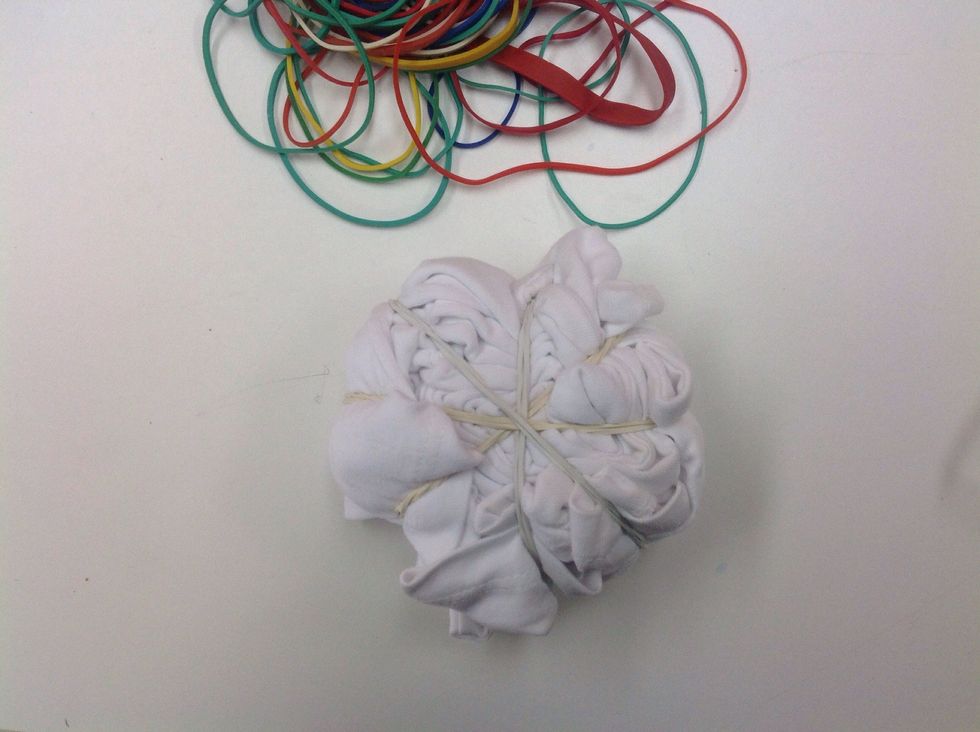
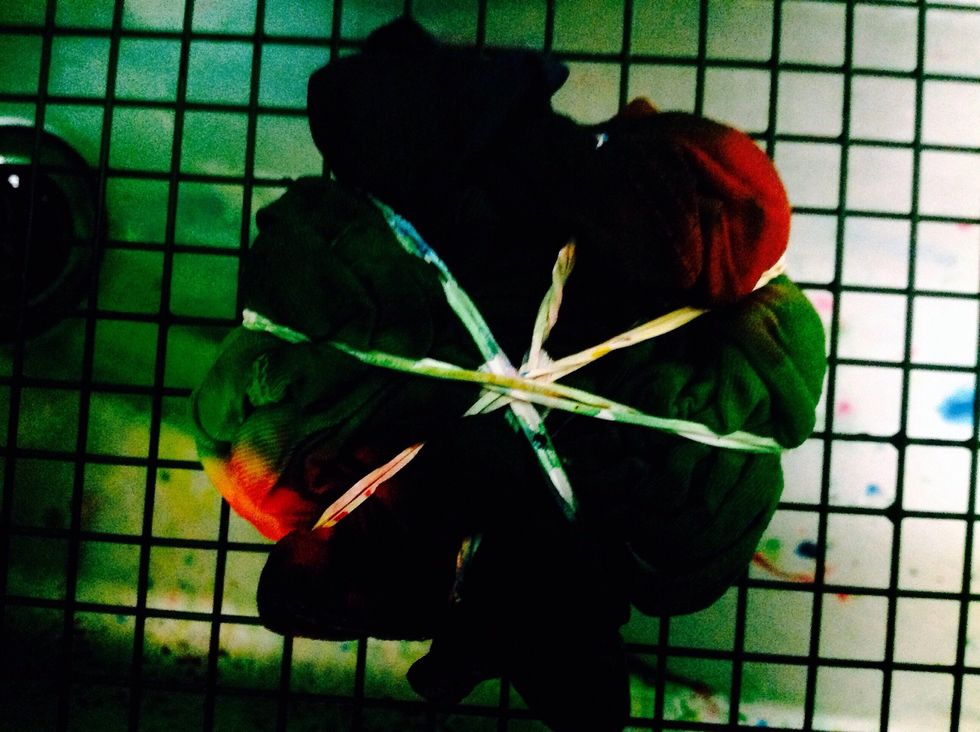
Step 2: Hold the top tight and make sure that the top is still in a coil. Grab 4 rubber bands and tightly place them arount the top. Divide the top into 8 different sections.
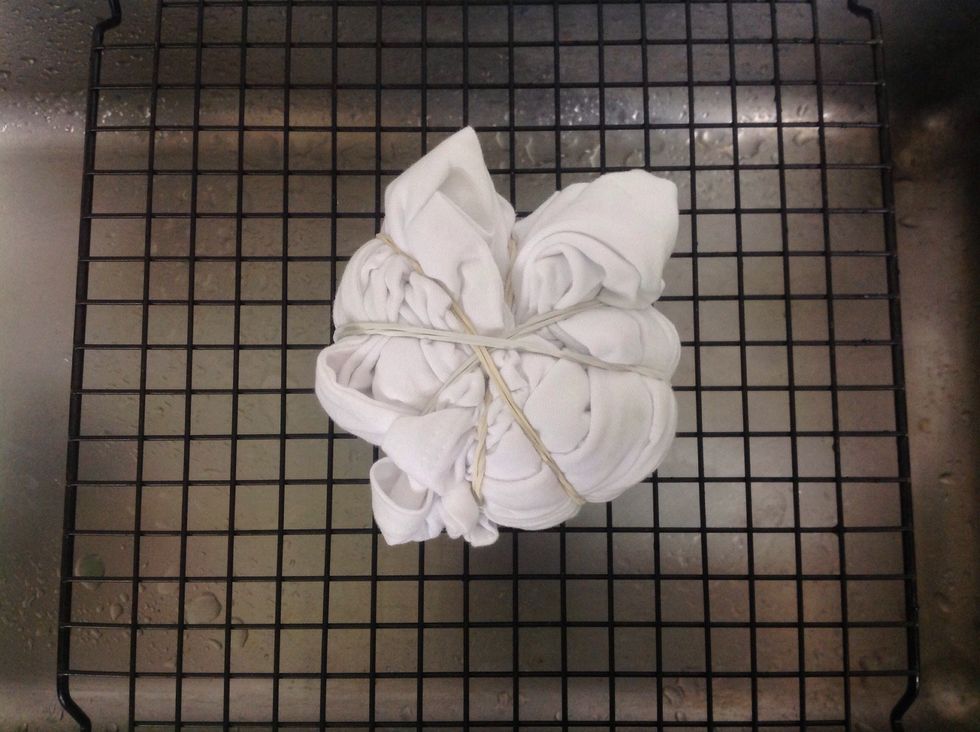
Step 3: Place the top onto a cooling rack that is over a sink so the dye will run into the sink.
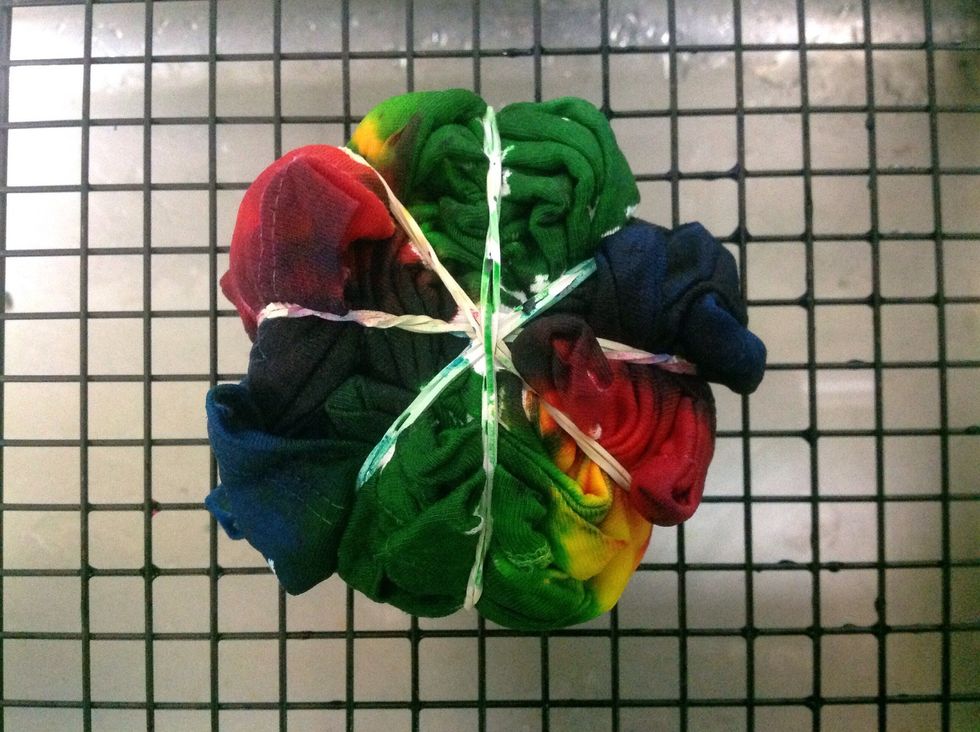
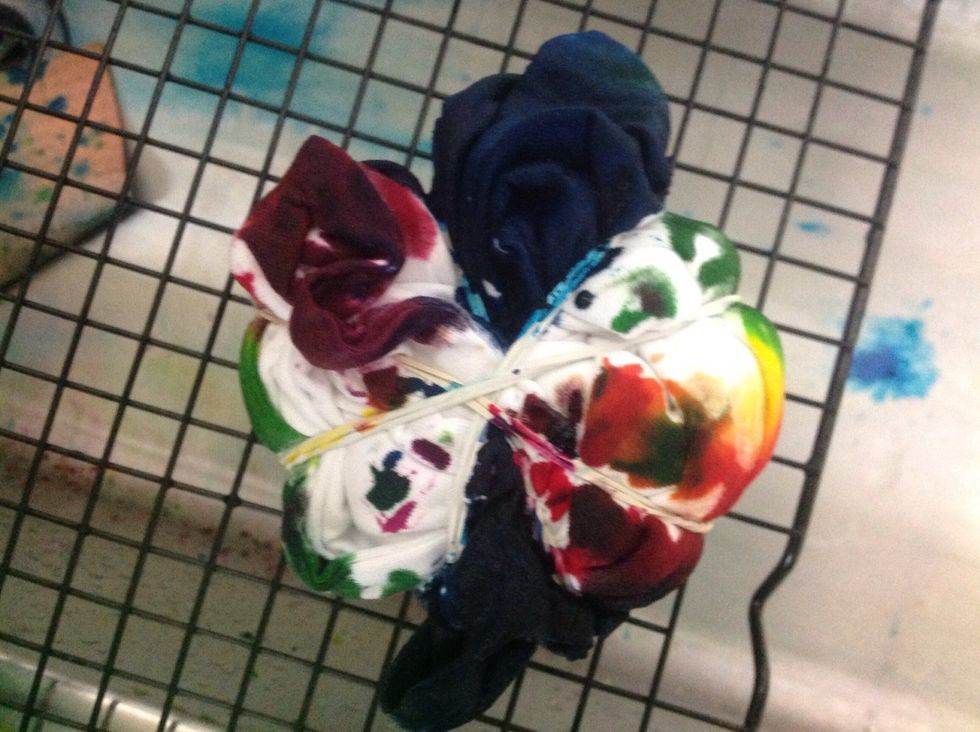
Step 4: Carefully pour the dye into different sections, make sure the blue colour is directly across from each other and do the same with each other colour.
Step 5: Carefully pour the same tie dye colours on the bottom of the t-shirt. Make sure that the right colour is in the right section.
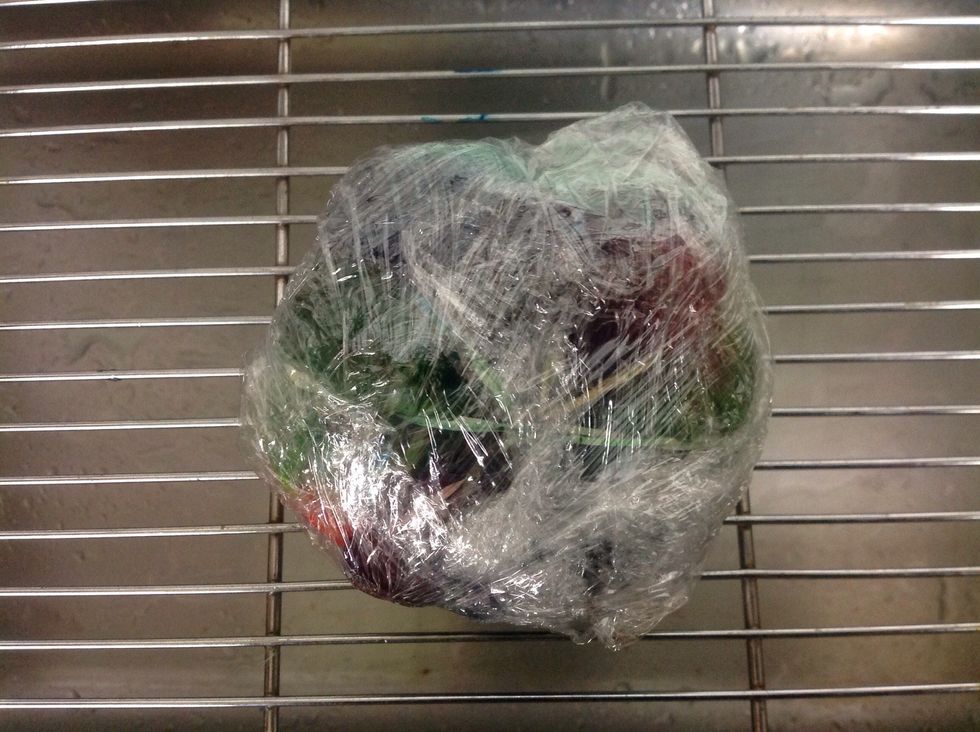
Step 6: After you have finish pouring the colours into the 8 different sections, you cover the top with glad wrap and leave it for 24 hours.
Step 7: After 24 hours you will take the glad wrap and the rubbers band off the top and wash the top until most of the dye come out.
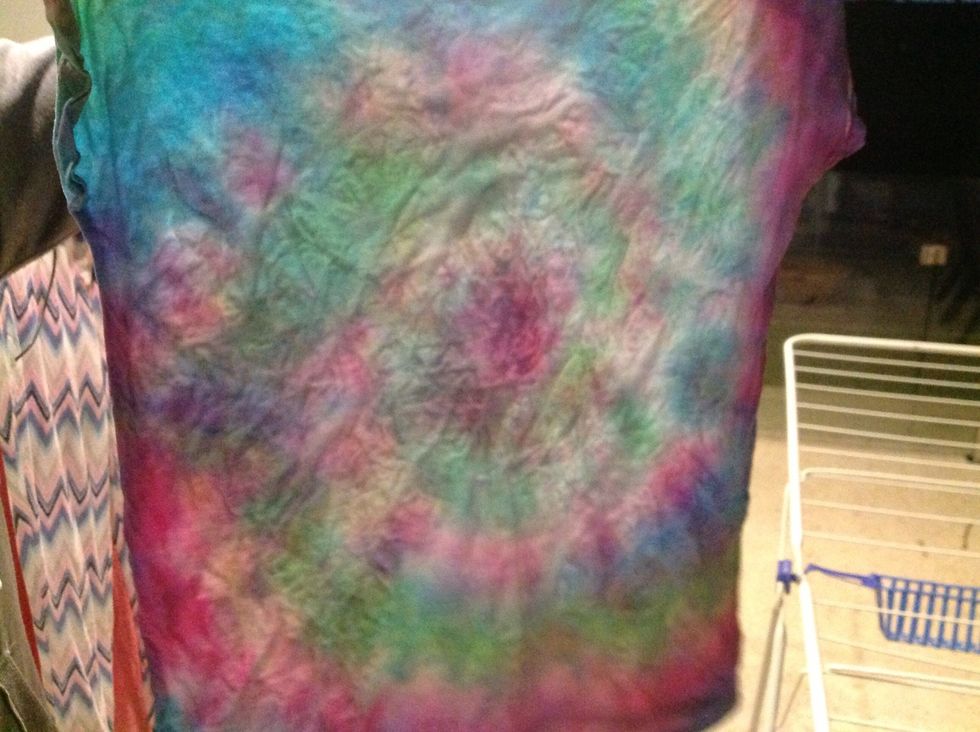
Step 8: Let the top dry over night.
Step 9: Once your top is completely dry you are ready to wear your own, customised tie dye top.