The Conversation (0)
Sign Up
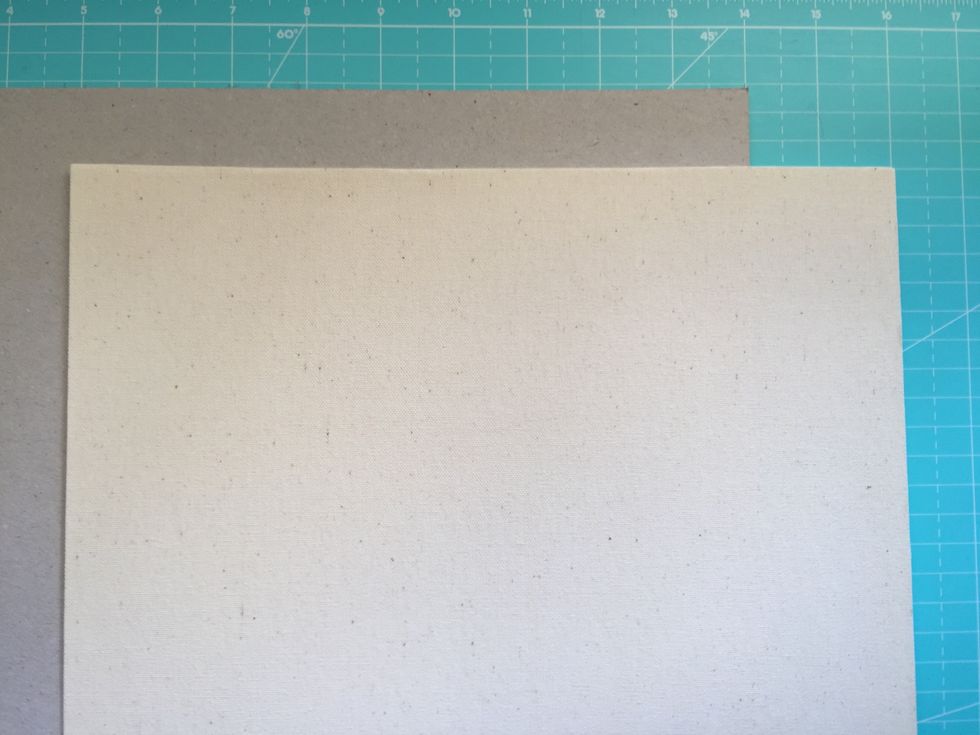
Cardboard and self-adhesive canvas.

Mark three pieces: two 4"x6" and one 2"x6"
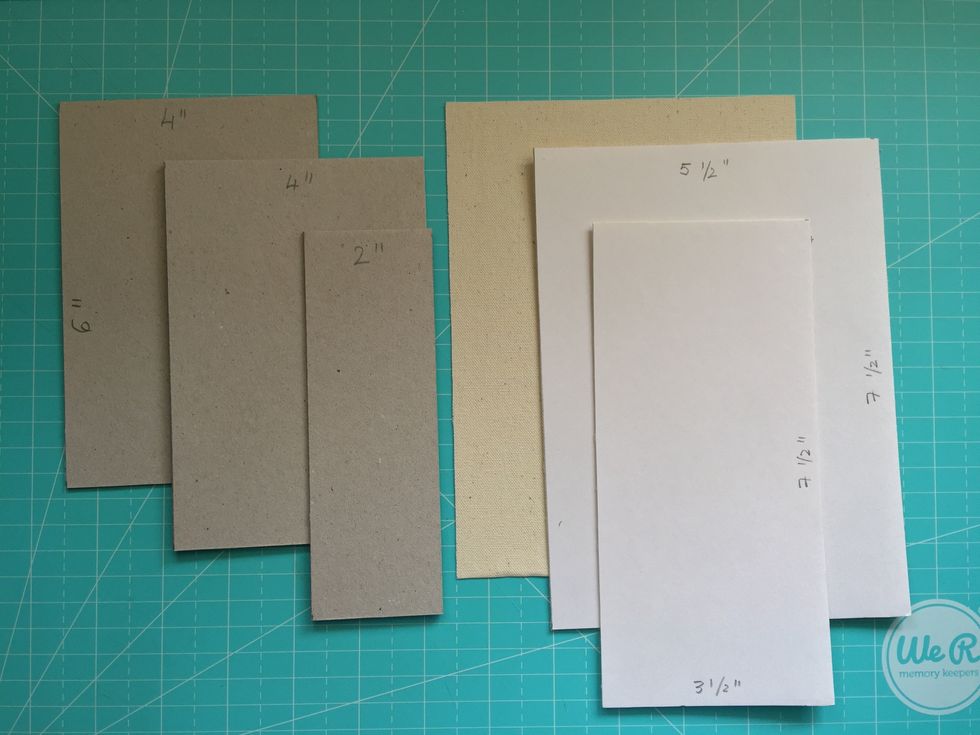
Cut cardboard pieces and then cut self-adhesive pieces. Two pieces of 5" 1/2" x 7" 1/2" and one of 3" 1/2" x 7" 1/2"

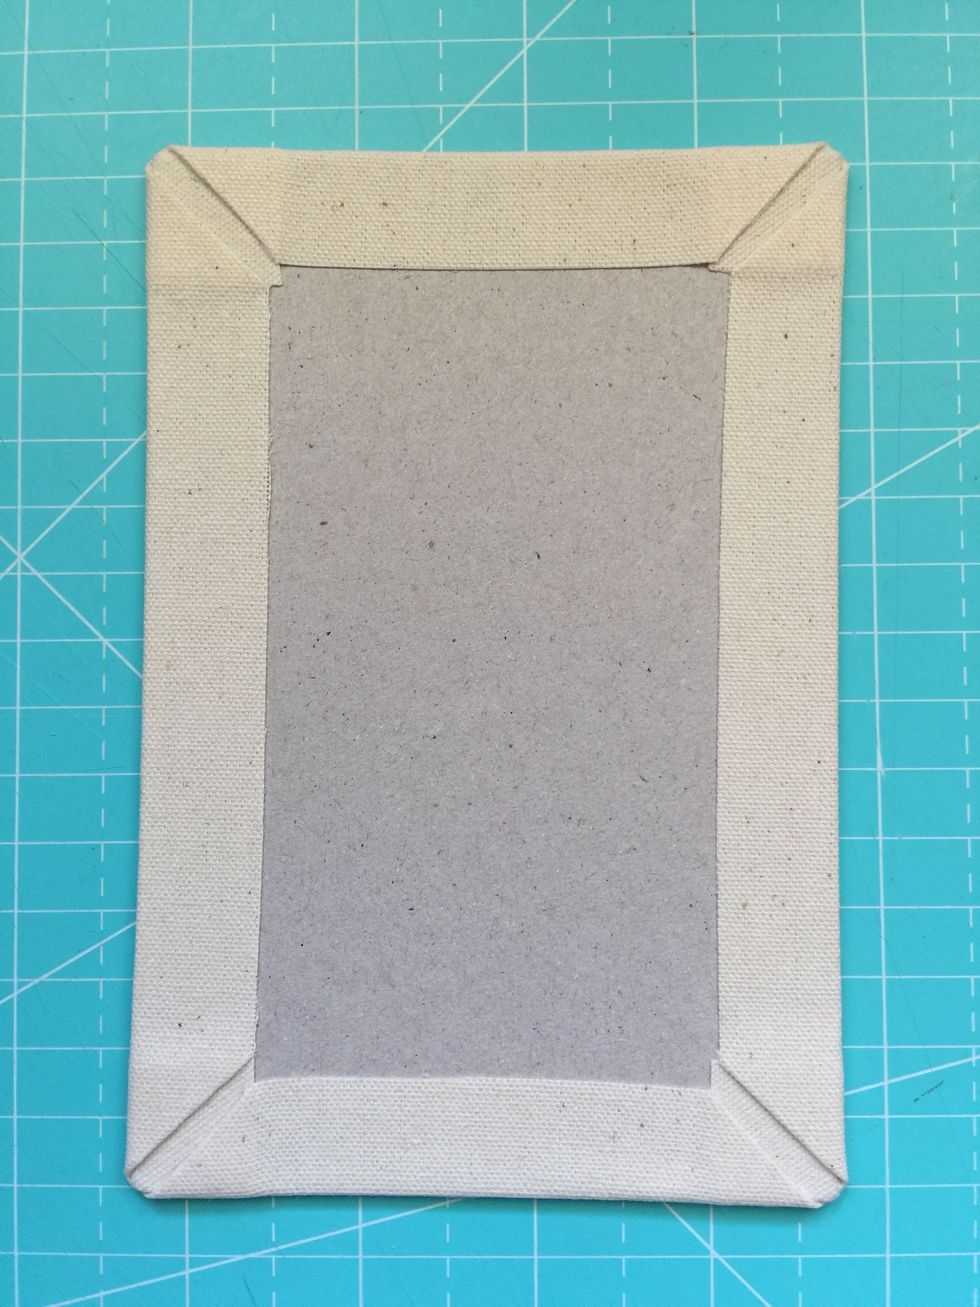
Remove the protective paper from the fabric, put it on a smooth and clean surface.
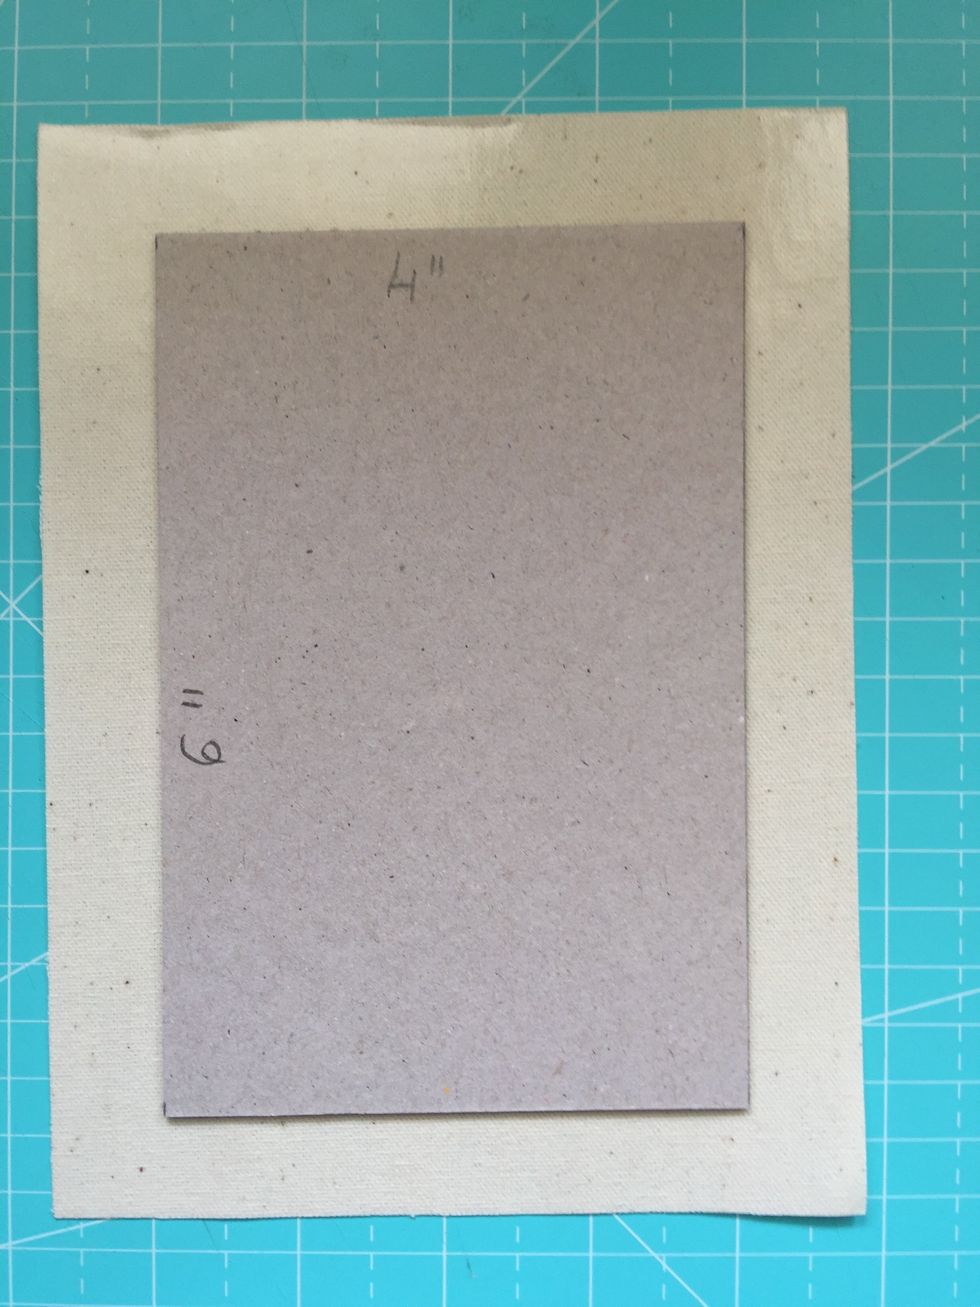
Place a piece of cardboard on it leaving a margin around it. Press to adhere well.

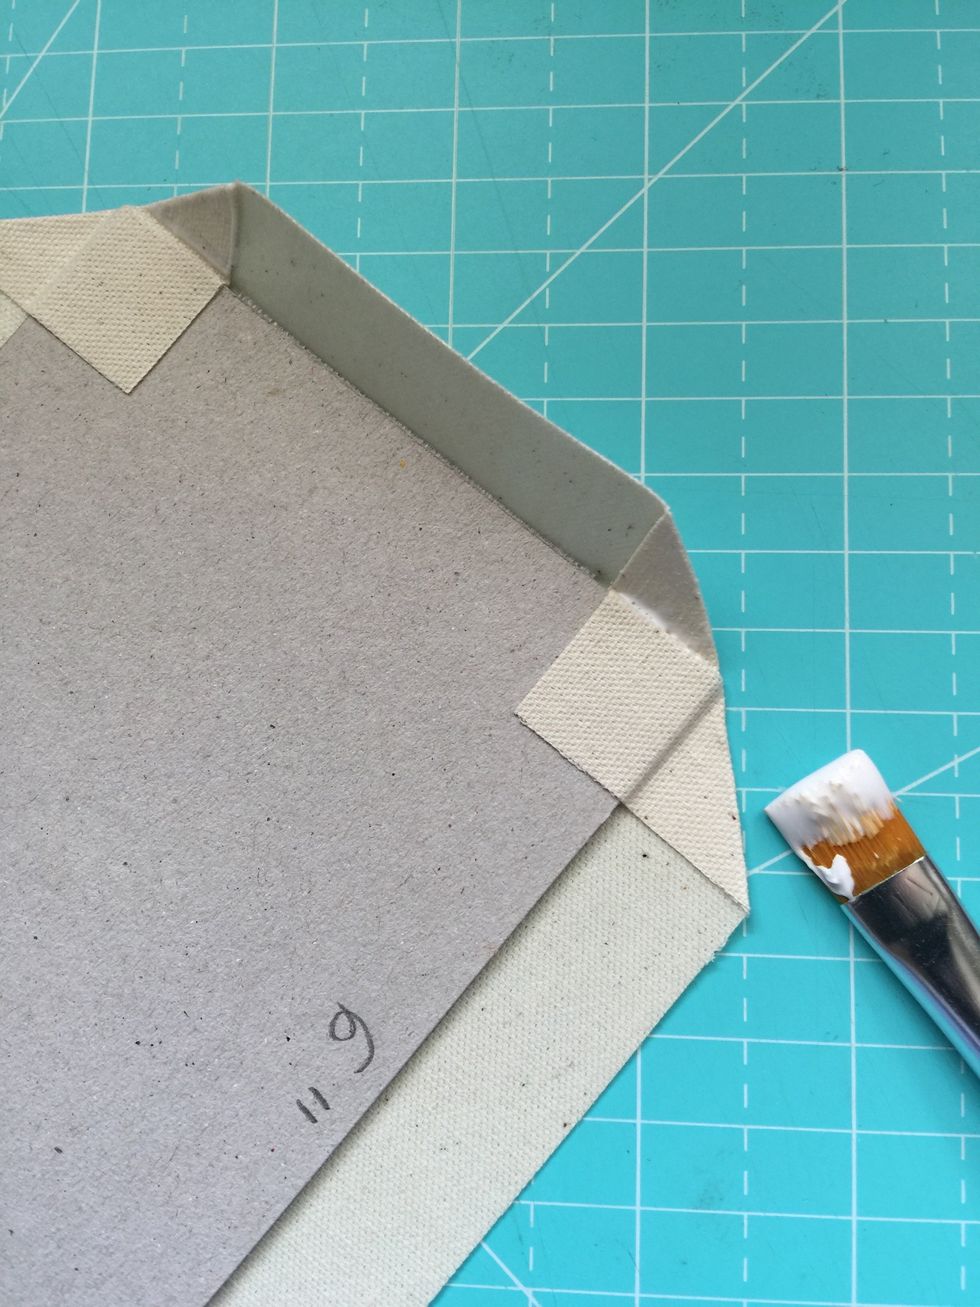
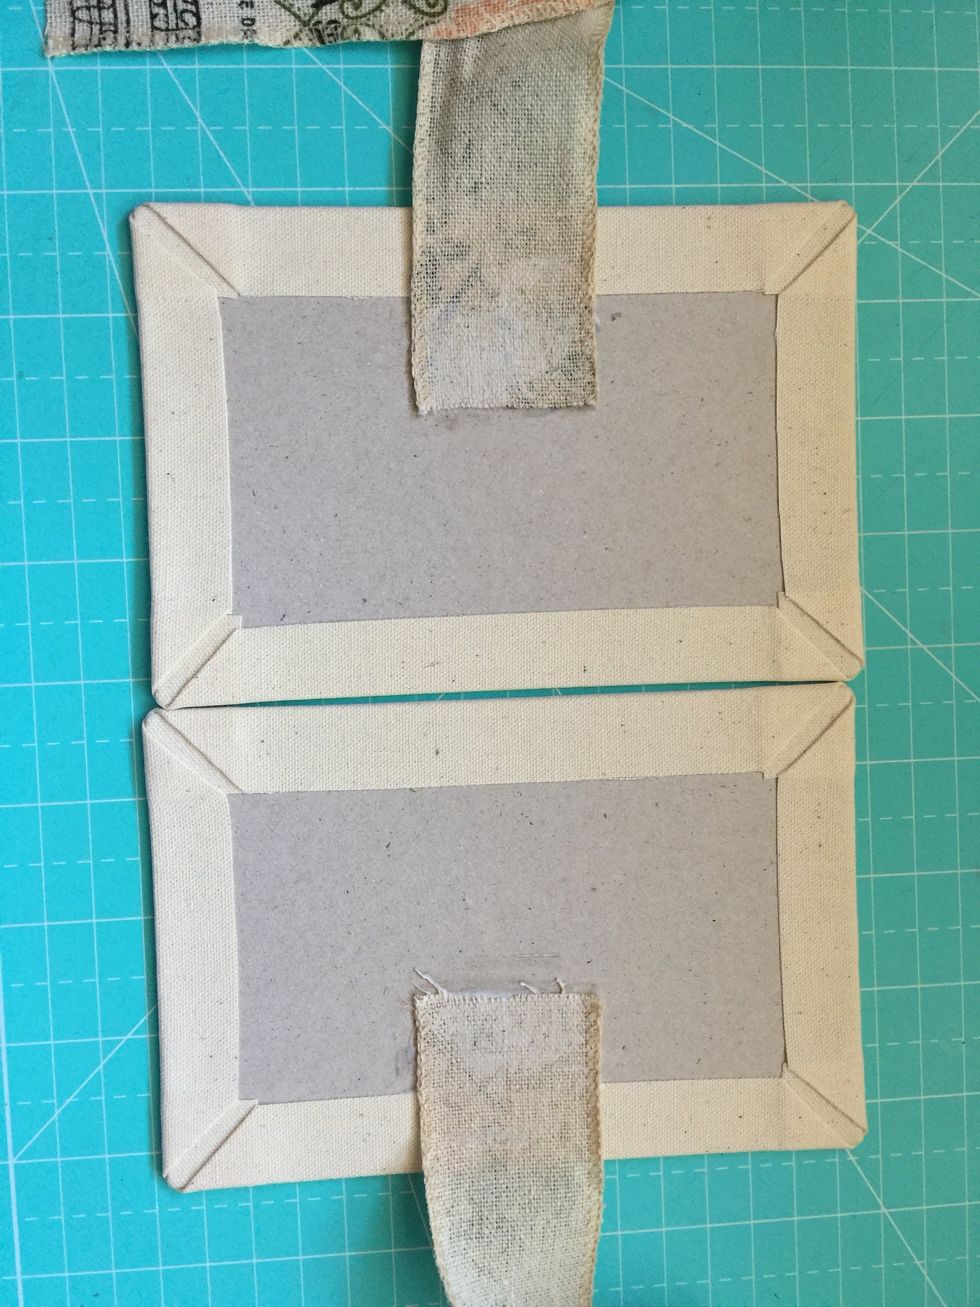
Apply some binding glue on these smalls triangles.
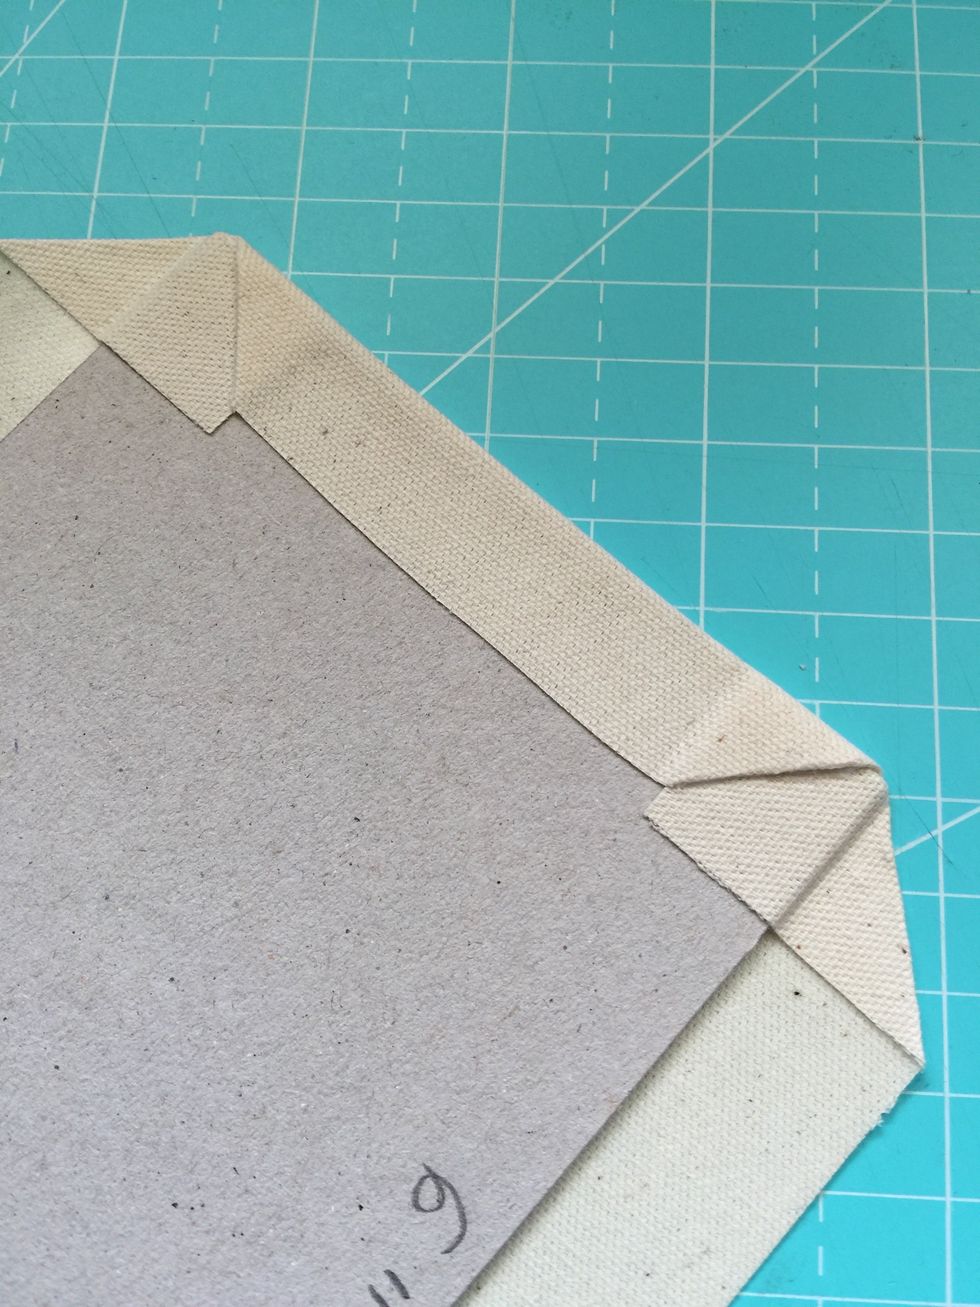
Paste the tab.
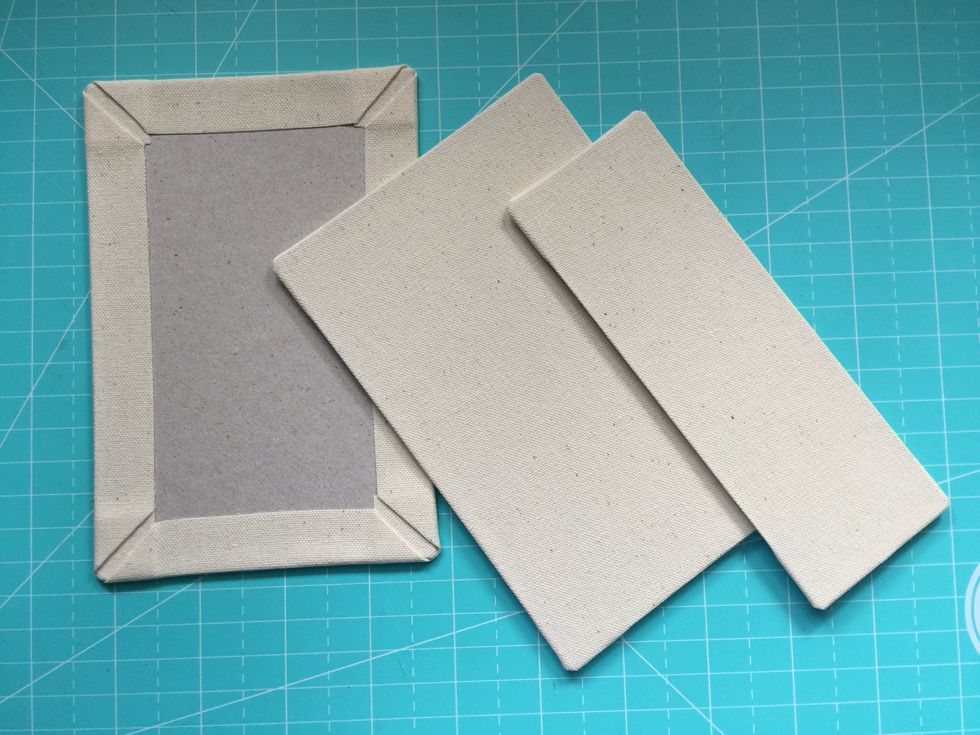
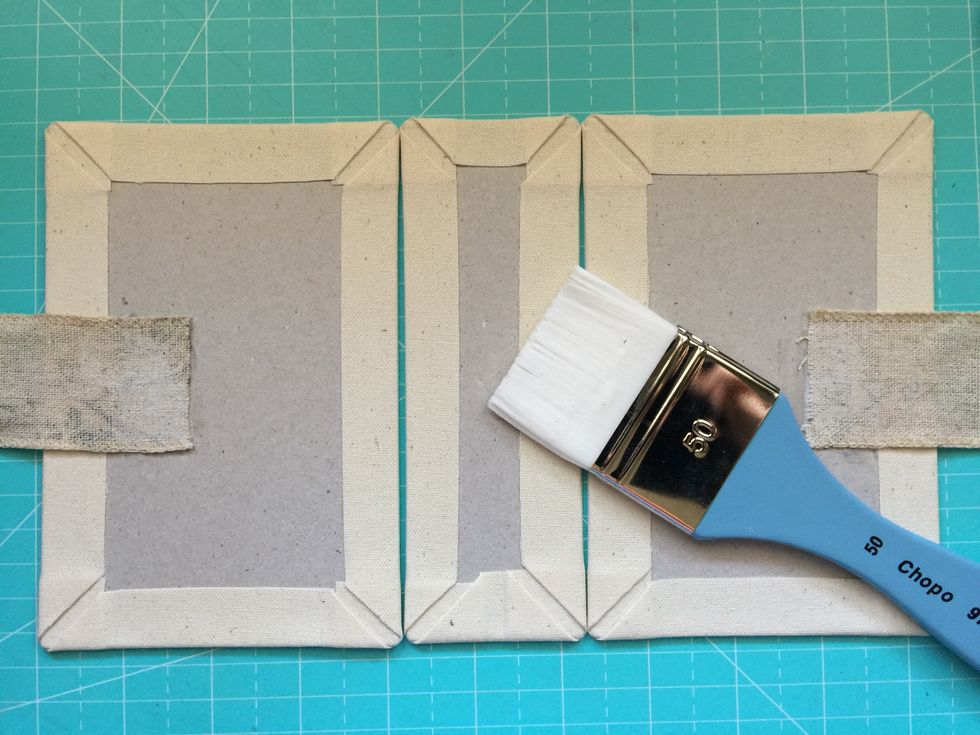
Repeat steps in the remaining two pieces.
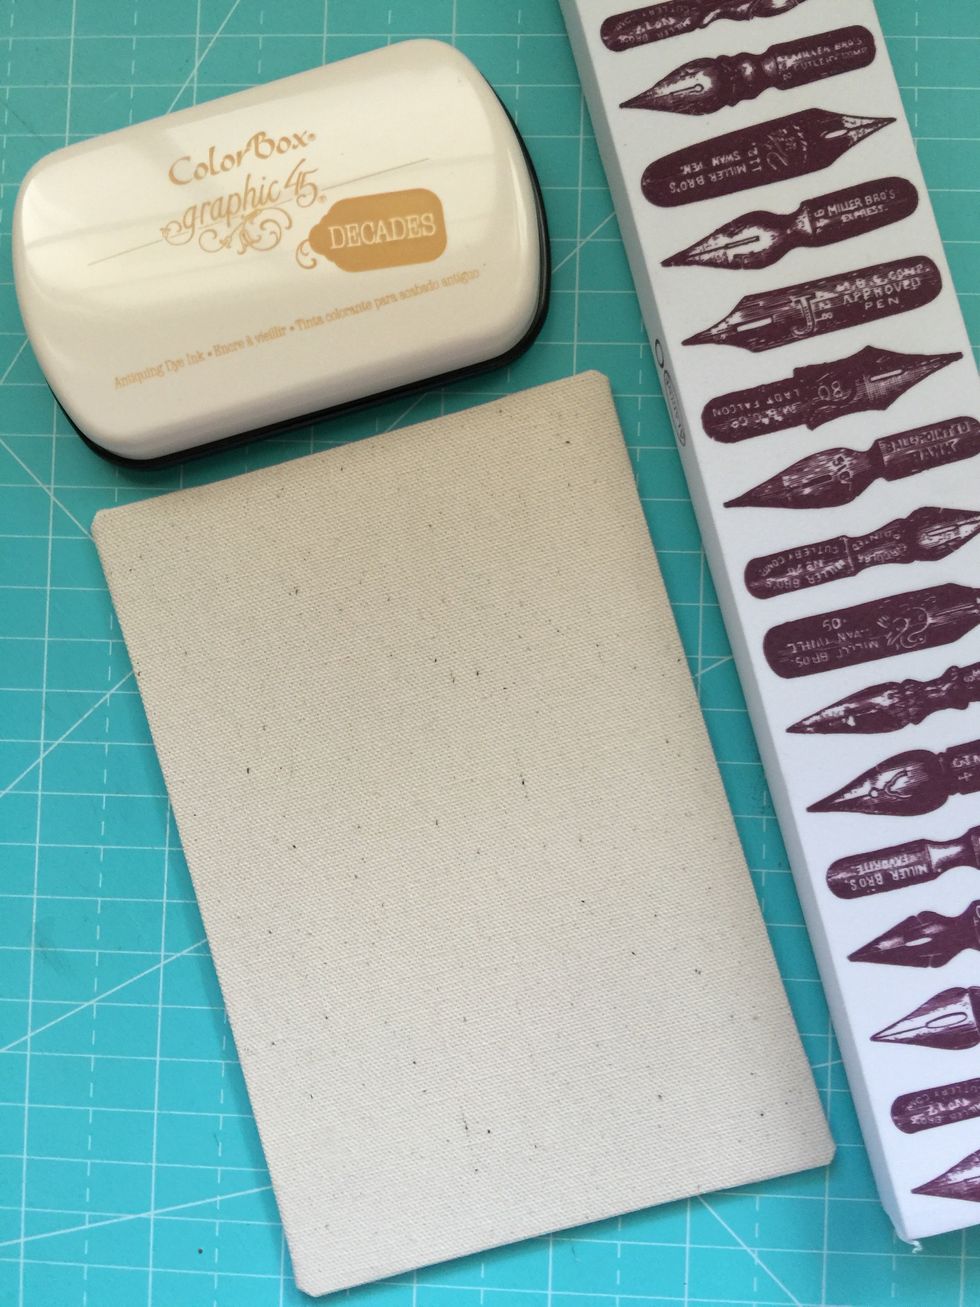
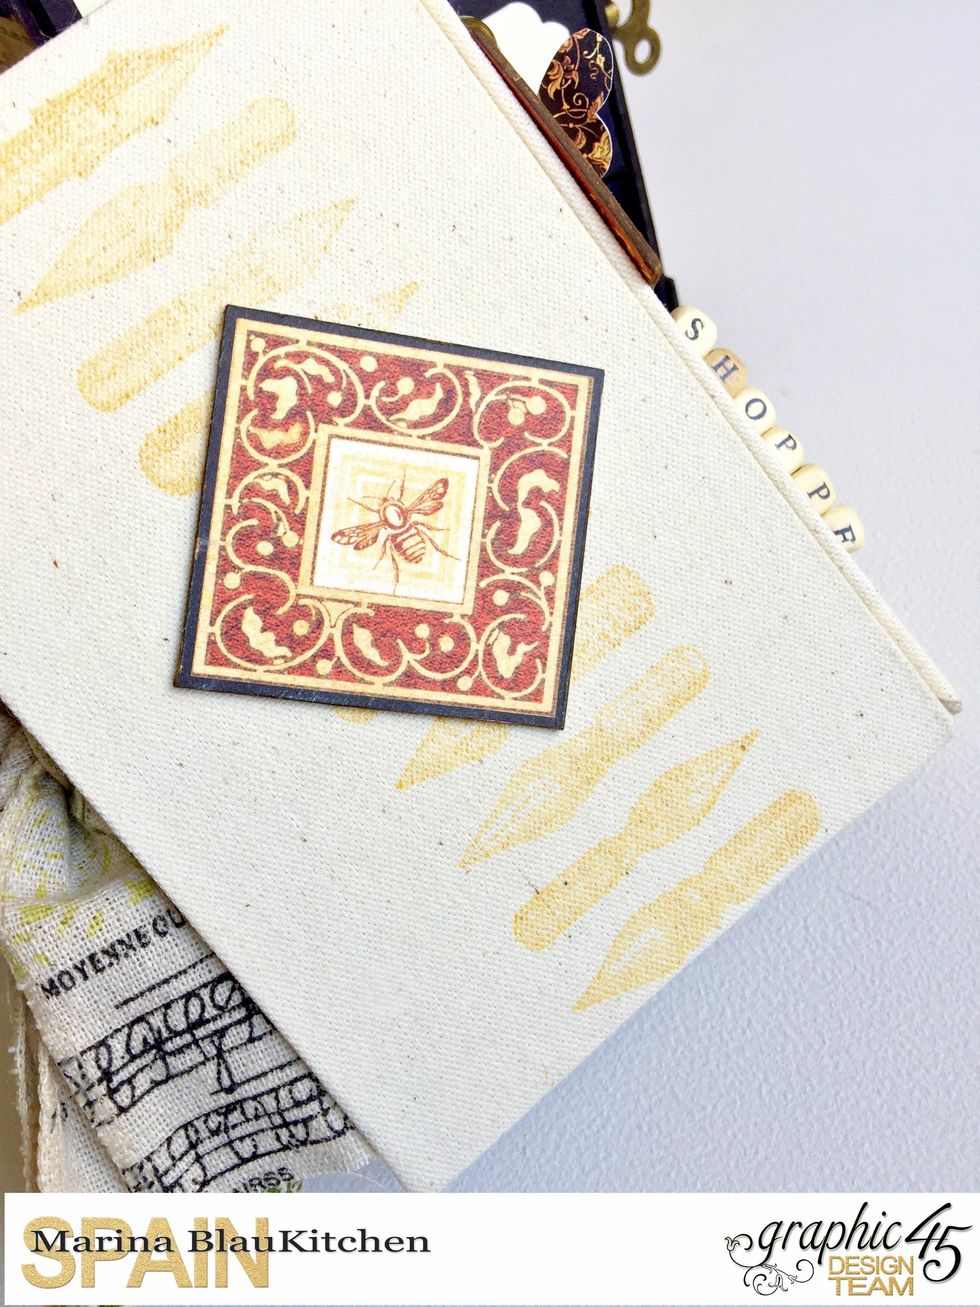
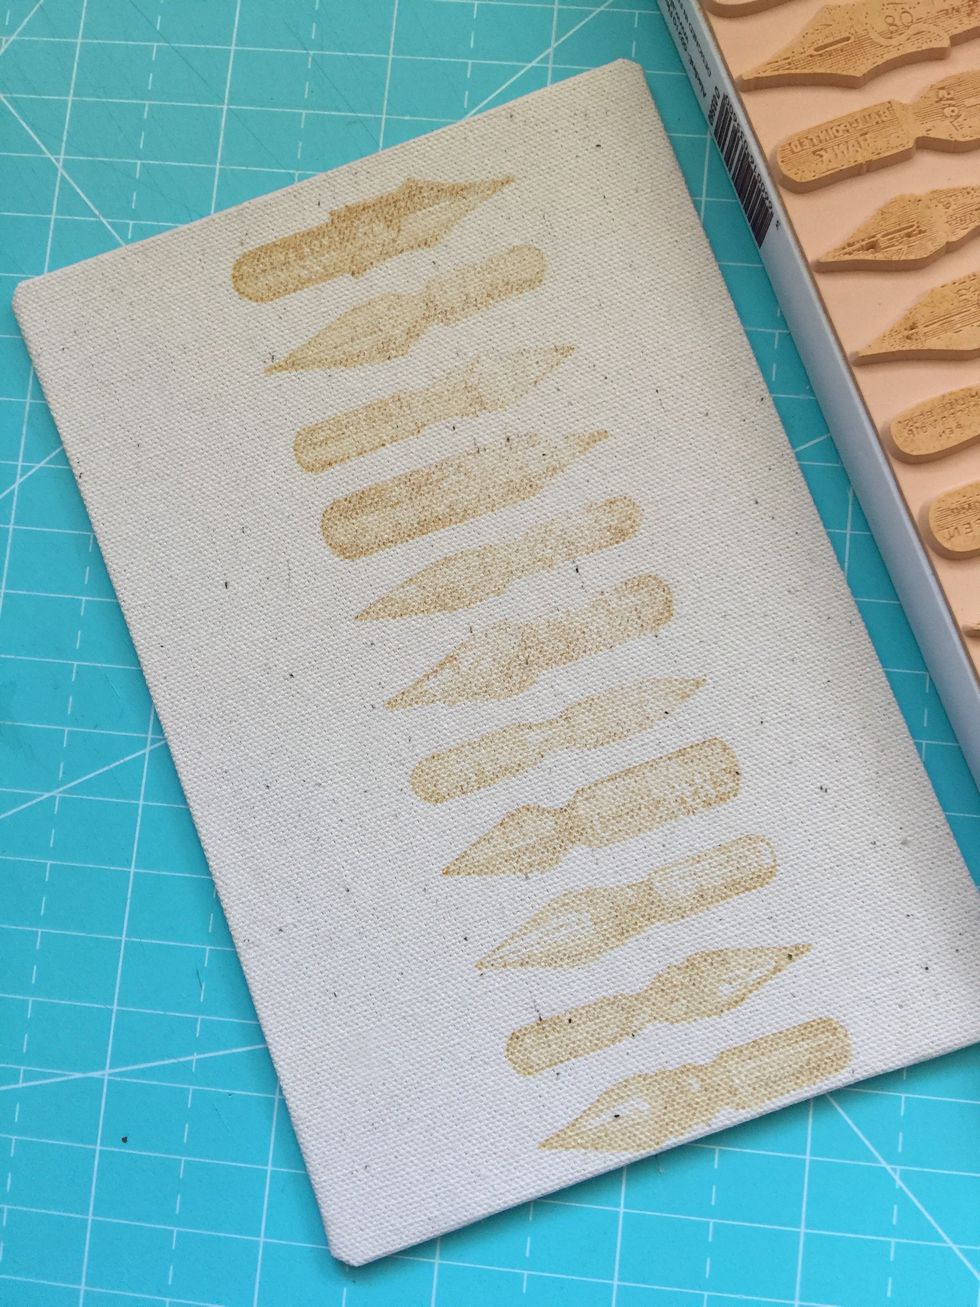
You can decorate the covers with stamps.

Cut a thick cardstock piece of 10" x 5" 7/8"
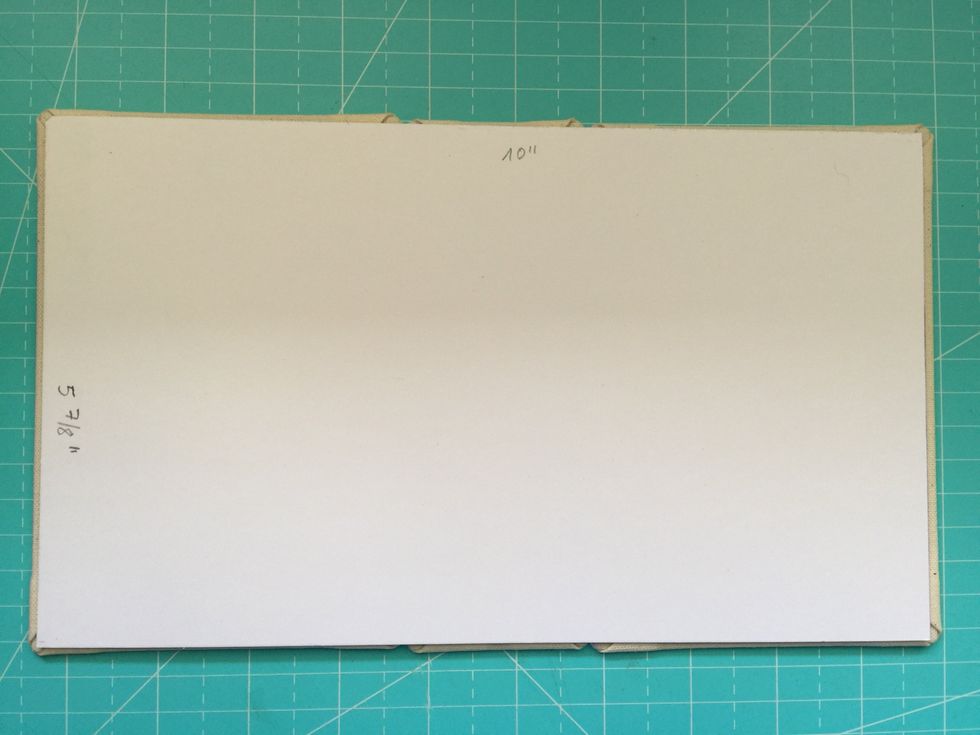
This piece will go inside the album and is the one that will join the three pieces of the covers.
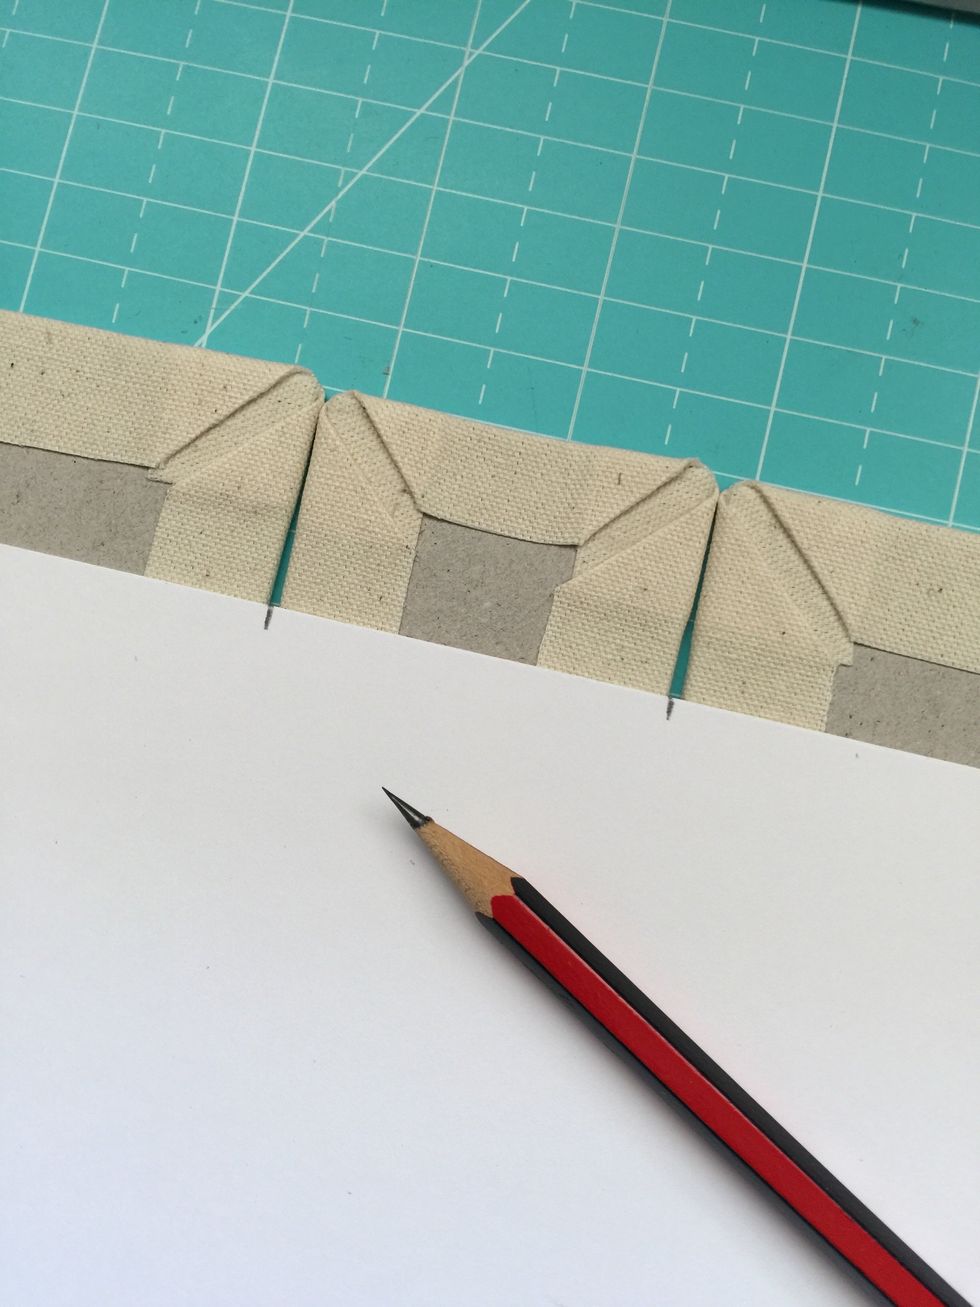
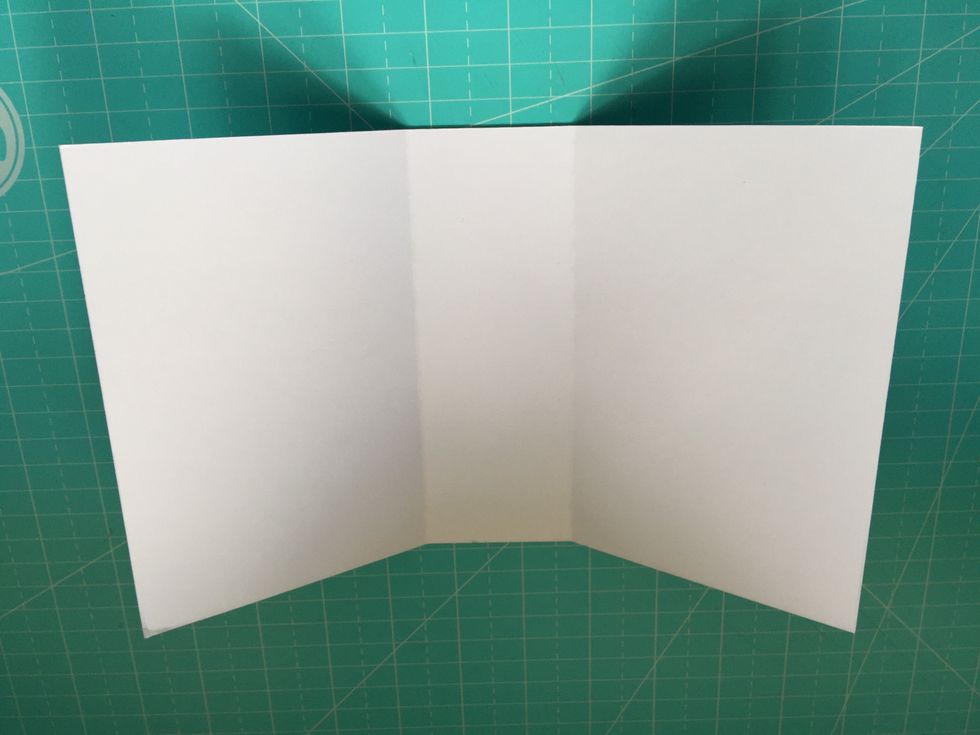
Mark the central zone that coincides with the spine.
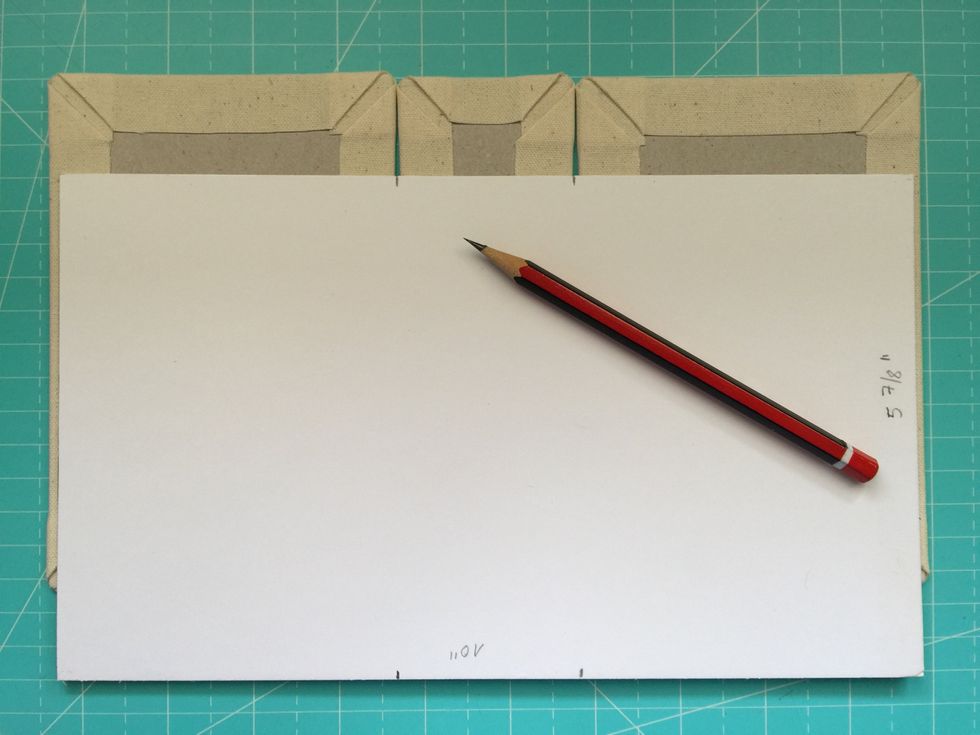
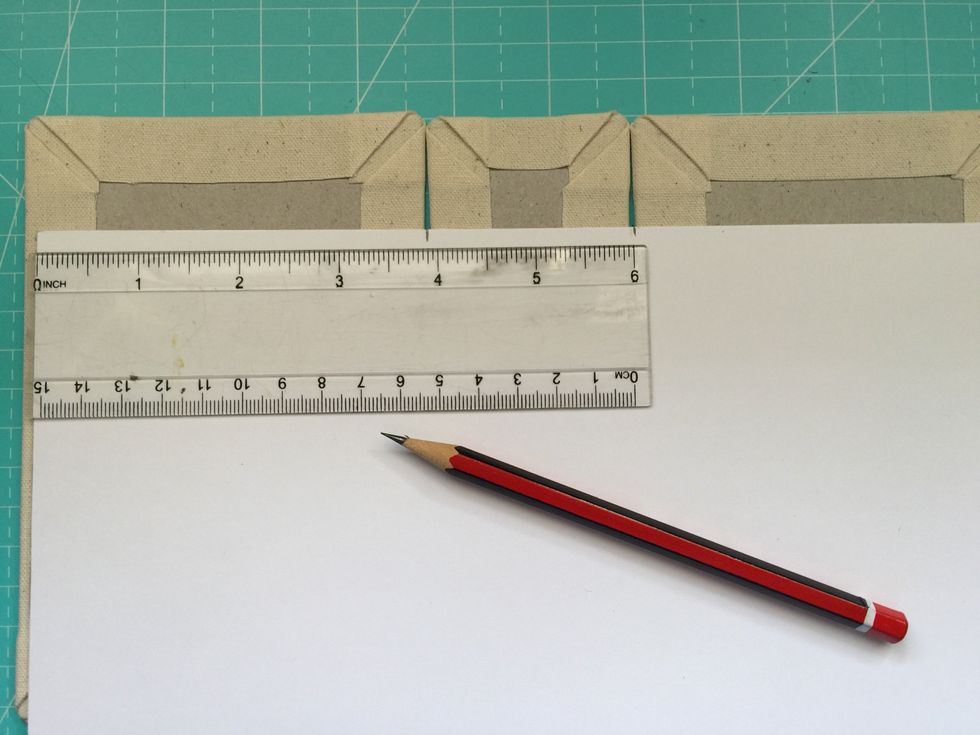

Make a line with a blade without cutting the cardboard, we just want to mark it so that the piece can bend

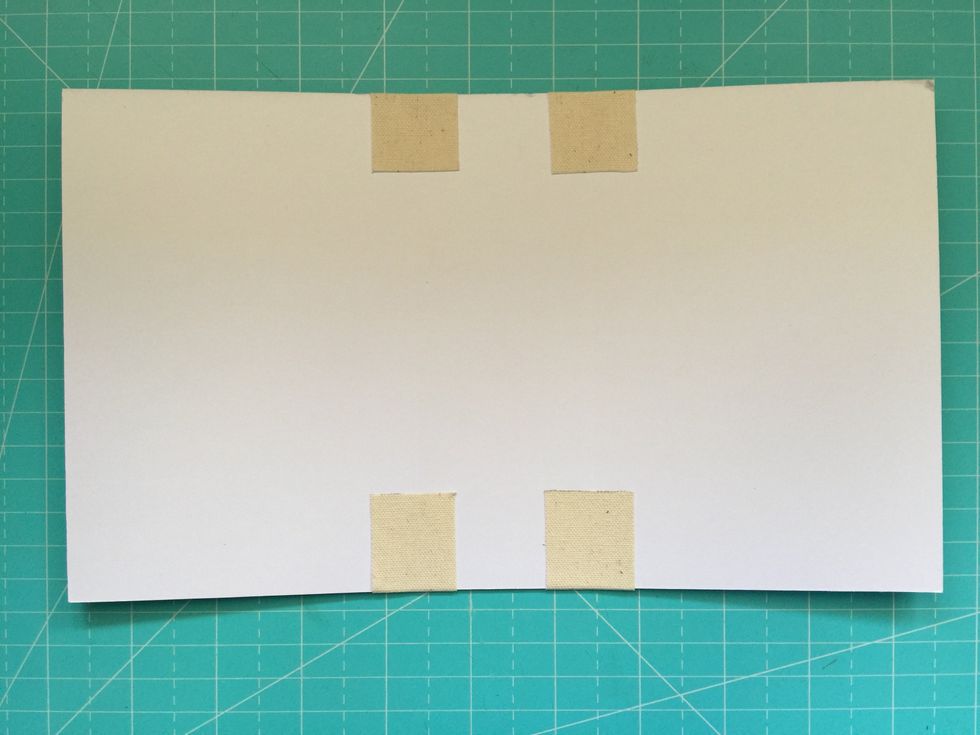
Cut two self-adhesive canvas pieces of 1" x 8"

Adhere the canvas pieces on this side.
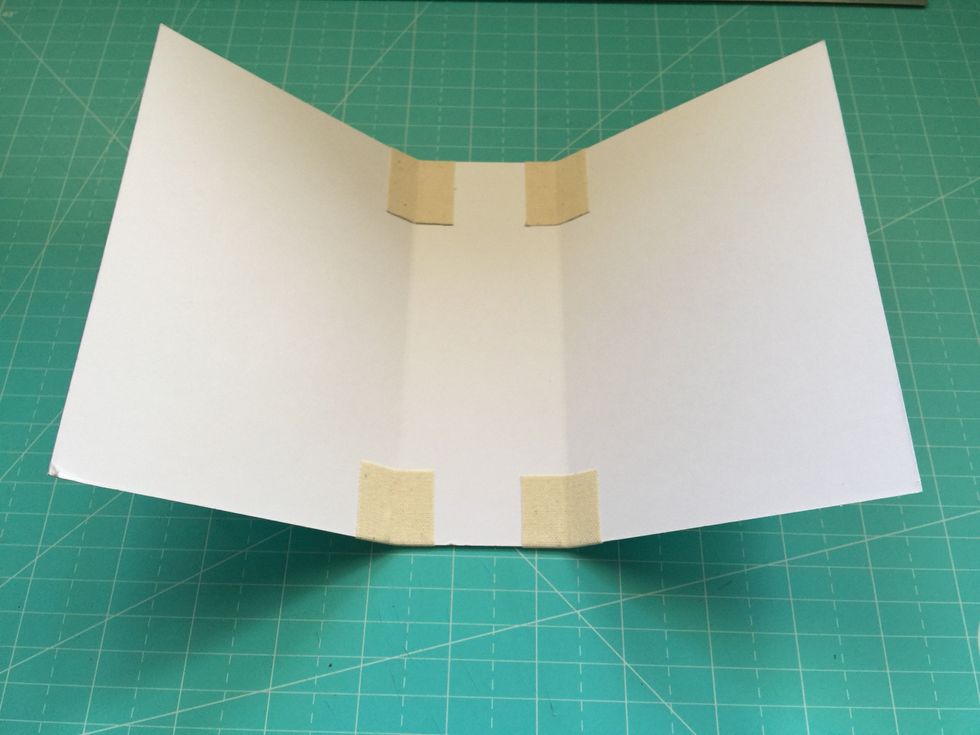
Fold the ends inwards.

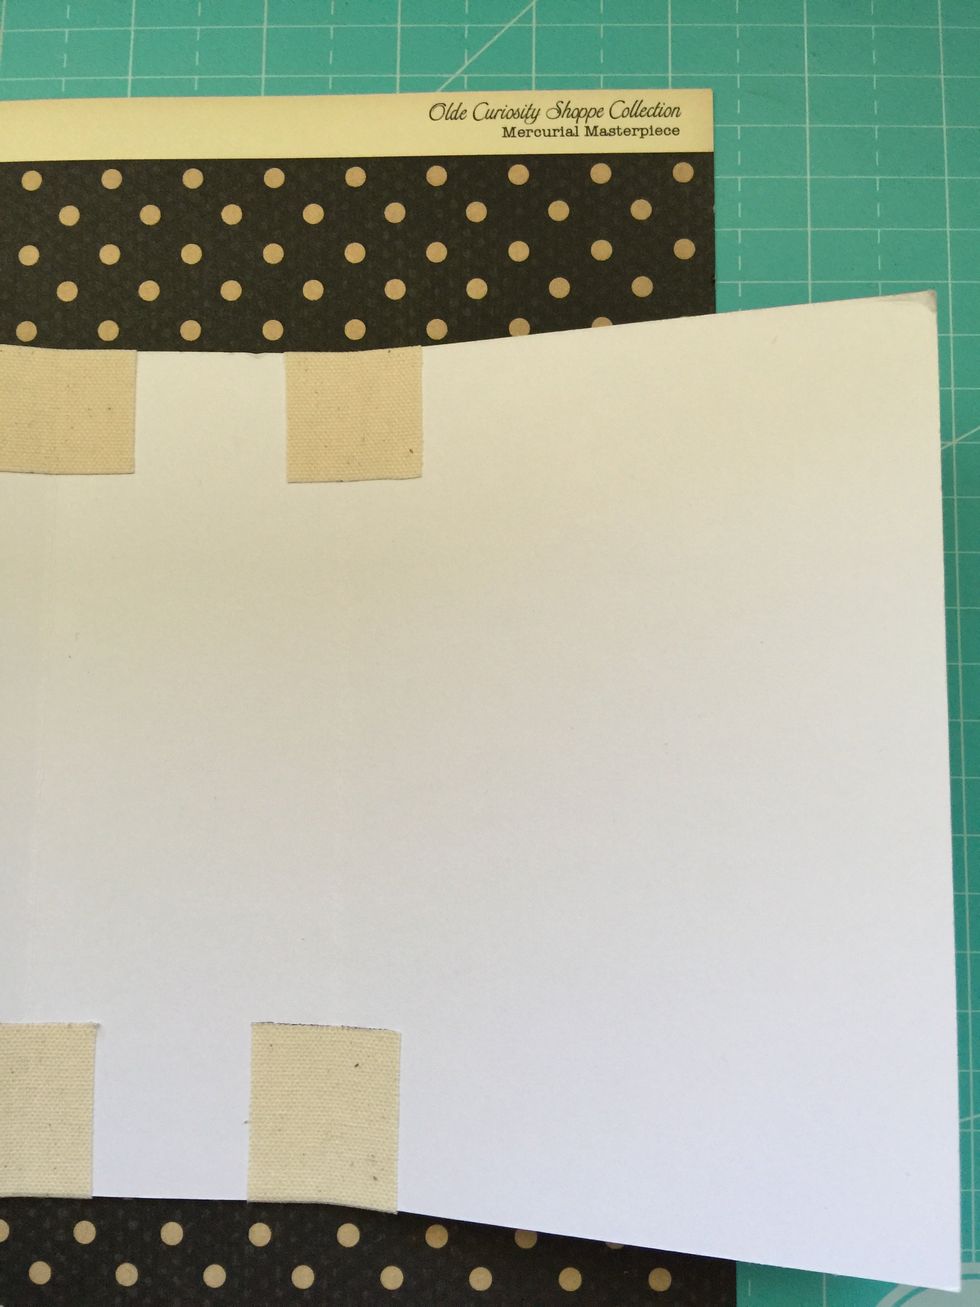
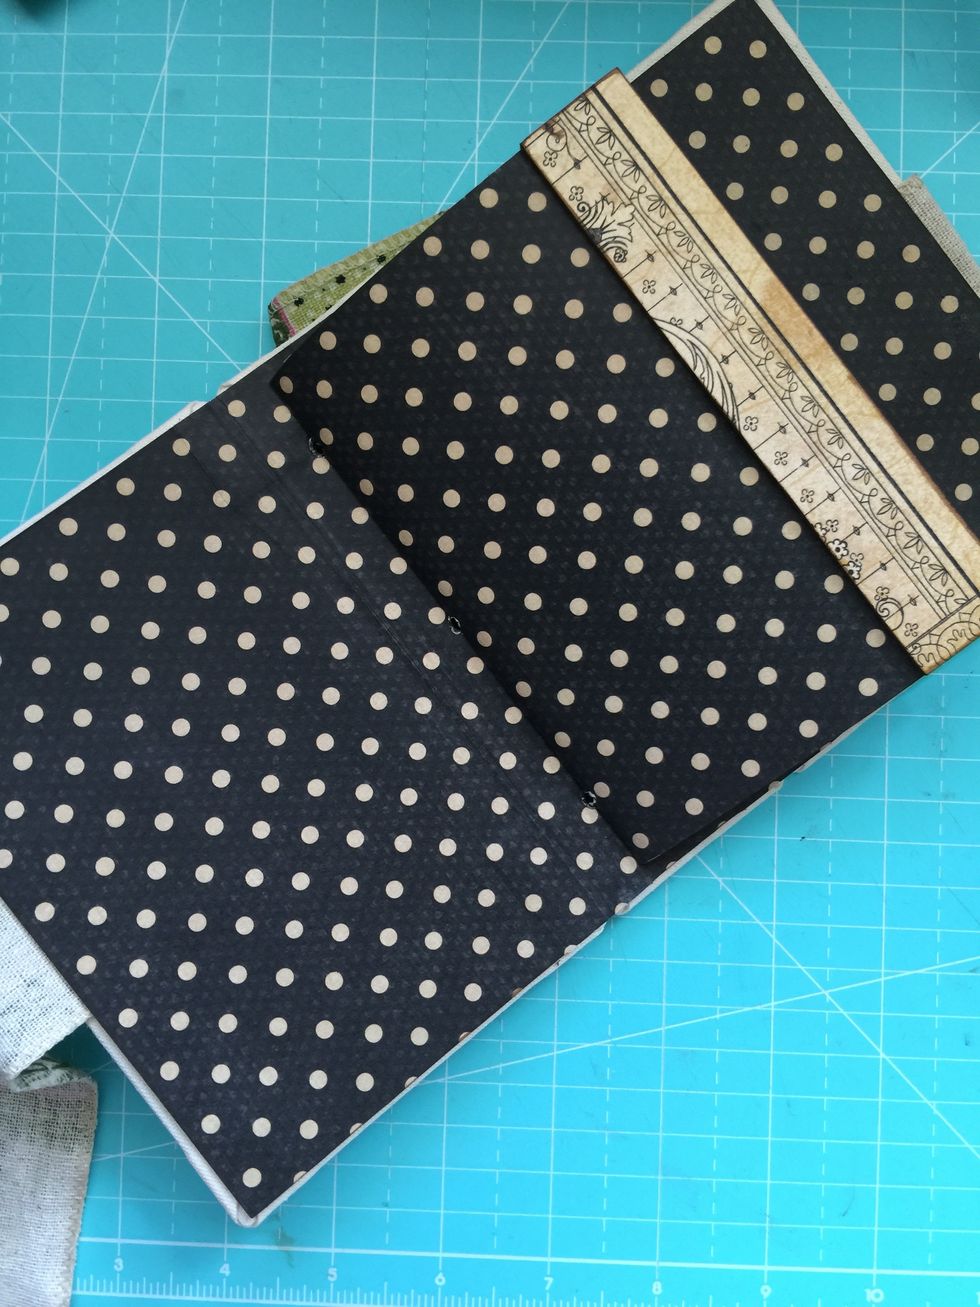
This is the paper for the inside of the album.
Use binding glue and let it dry.

Glue two pieces of decorated ribbon, one on each cover.
Put the three pieces together and glue the surface

Adhere the inside piece and let it dry. It is a good idea to put it to dry under some heavy object.

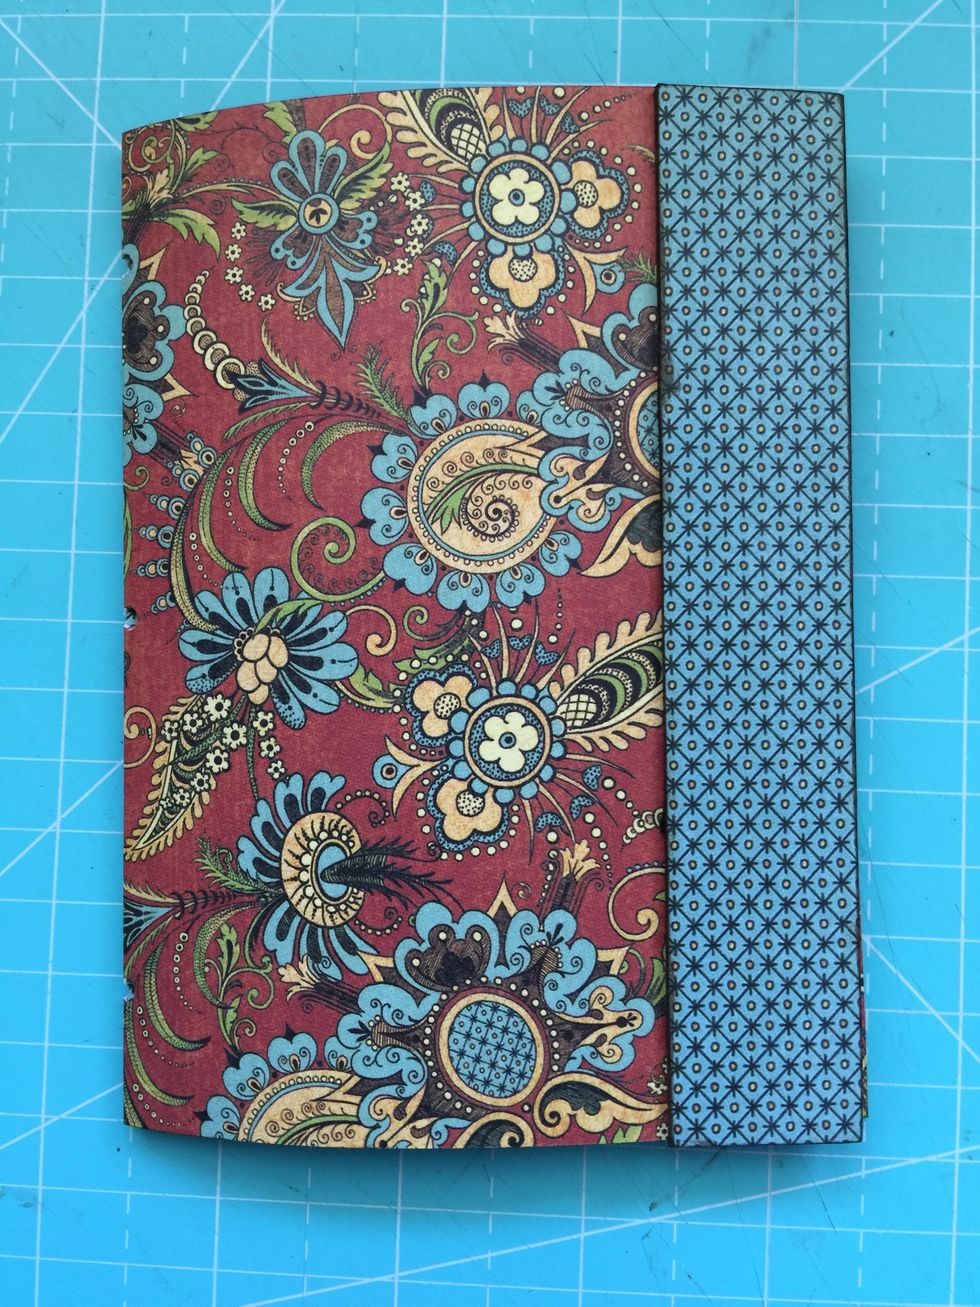
Cut three pieces of 12" x 6" of different designs.
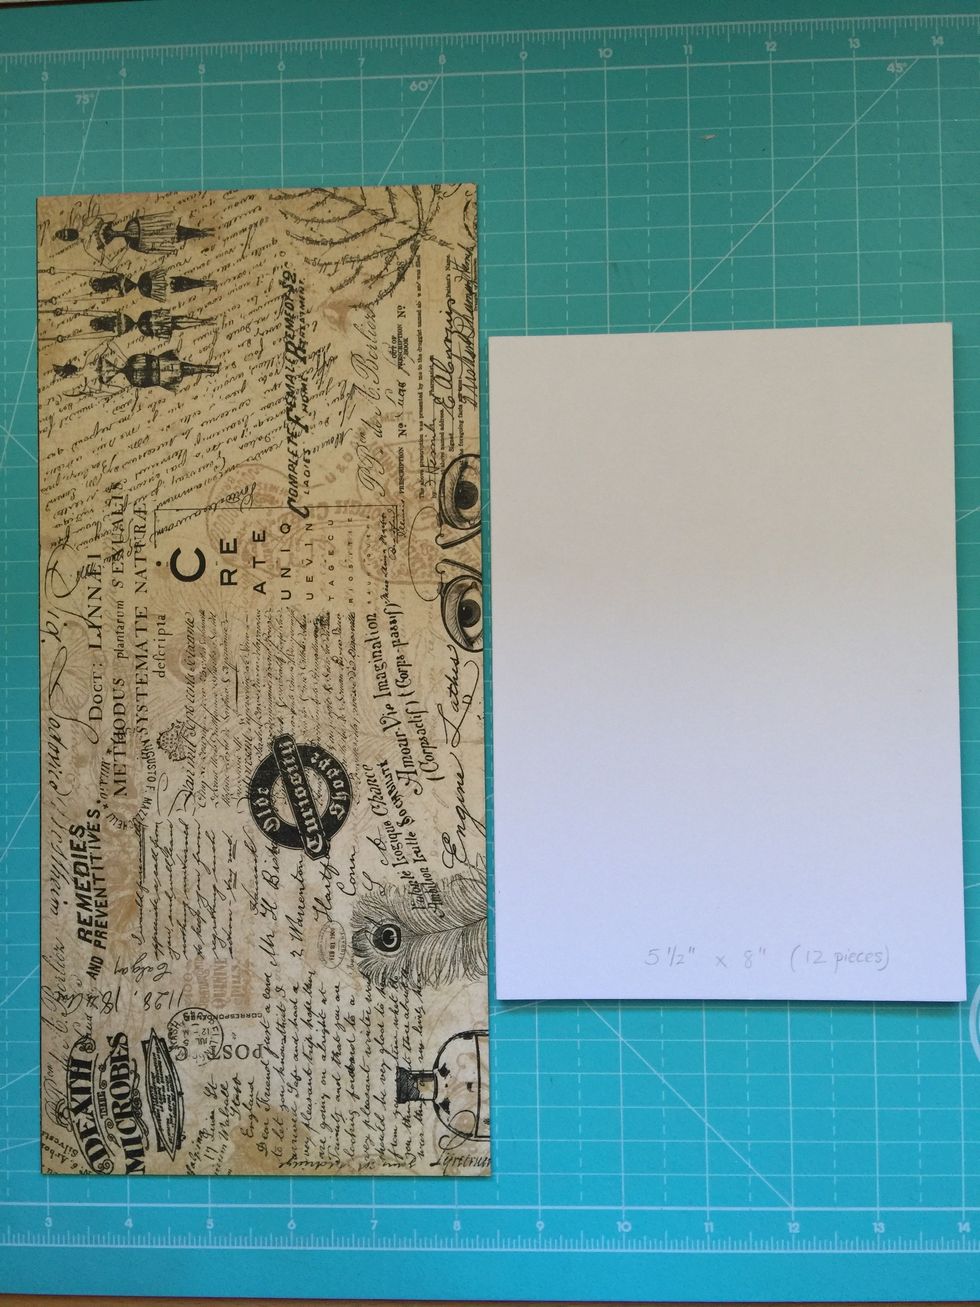
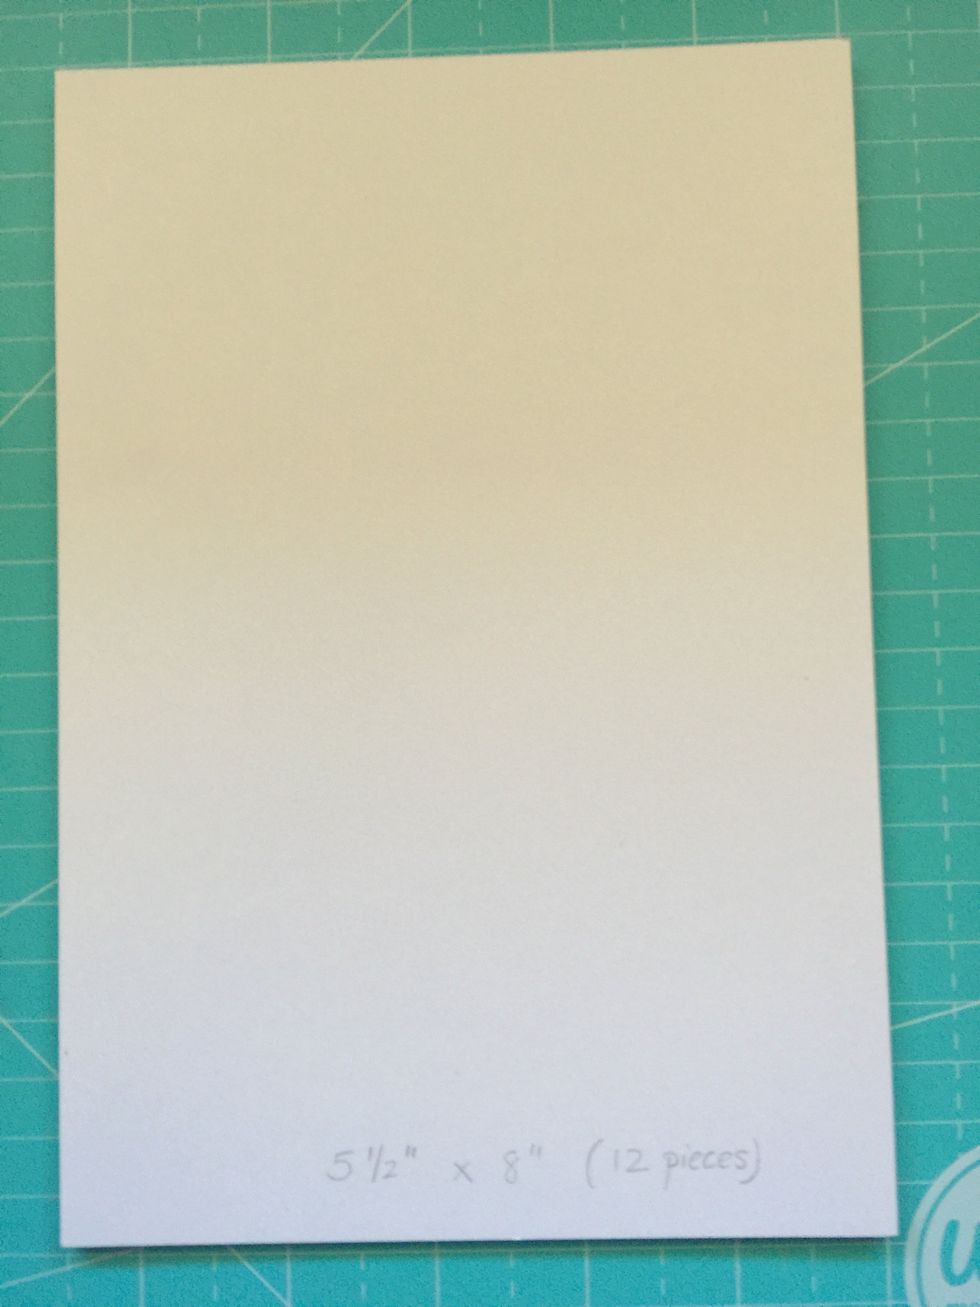
And 12 pieces of cardstock of 5" 1/2" x 8"

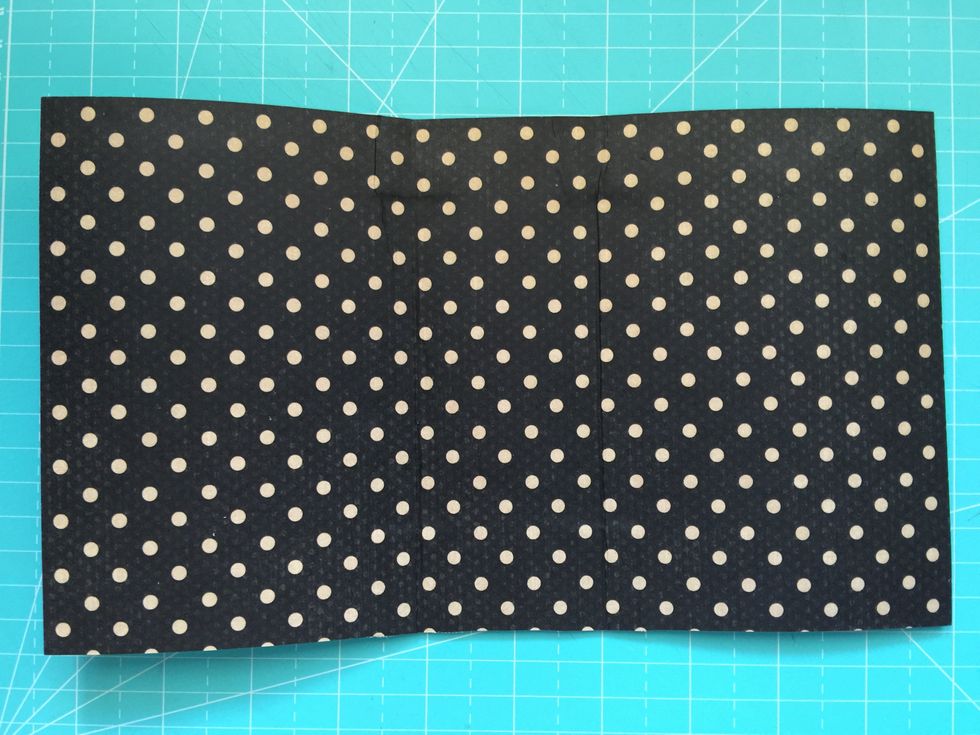
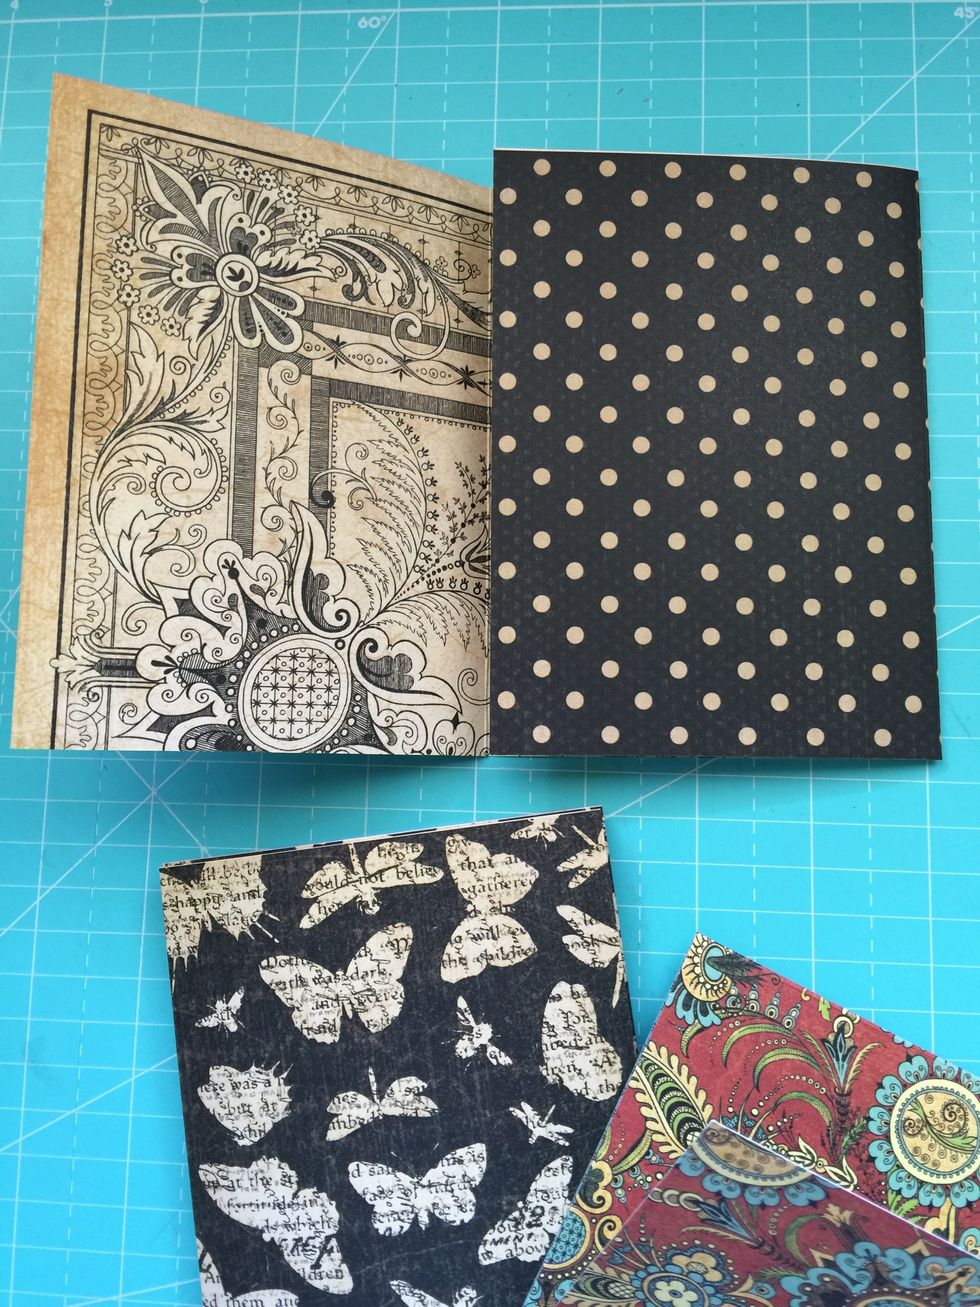
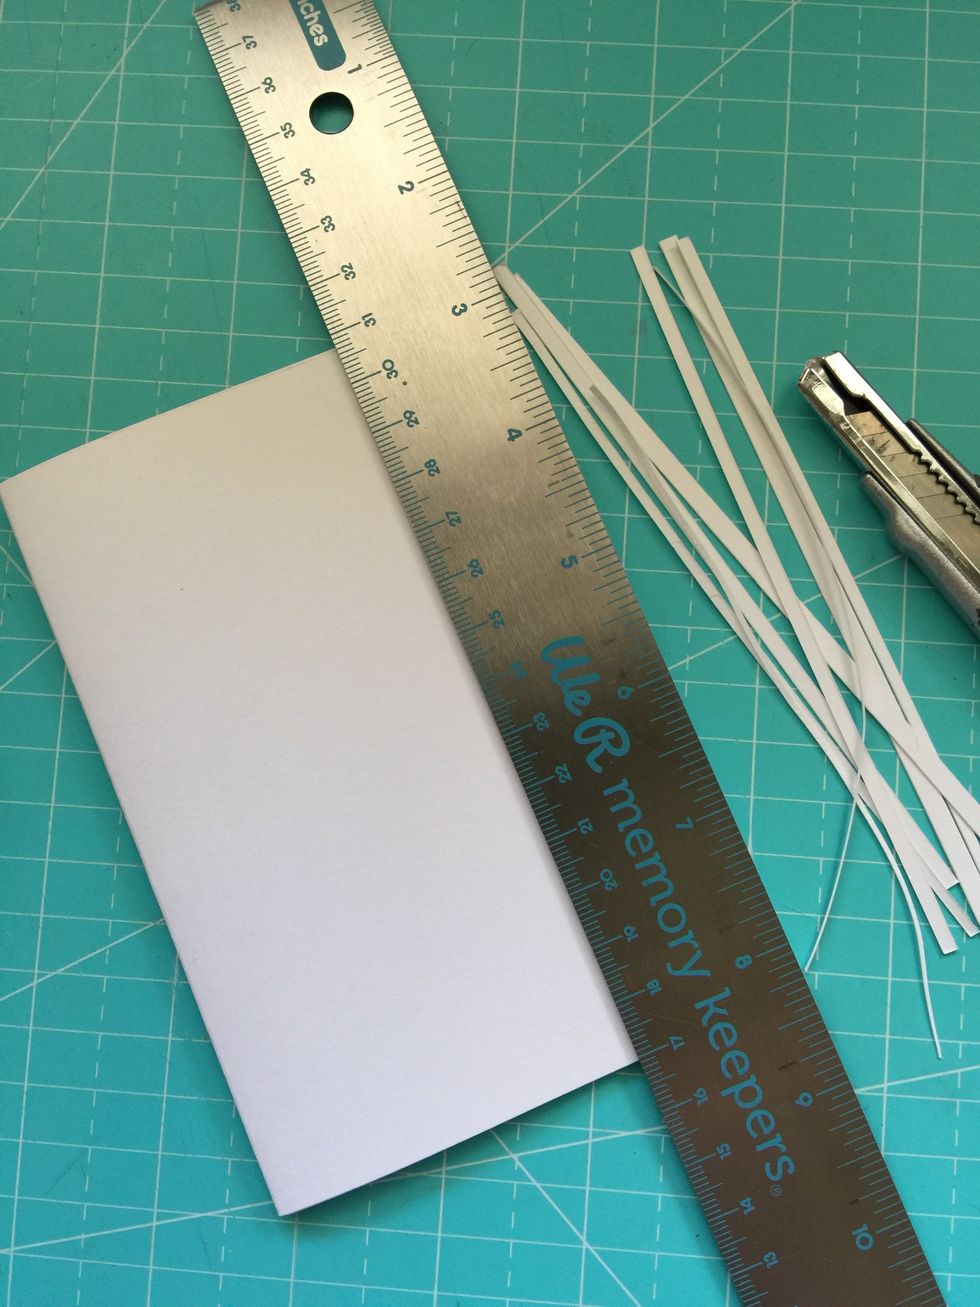
Score the three pieces of decorated paper at 4" and 8"
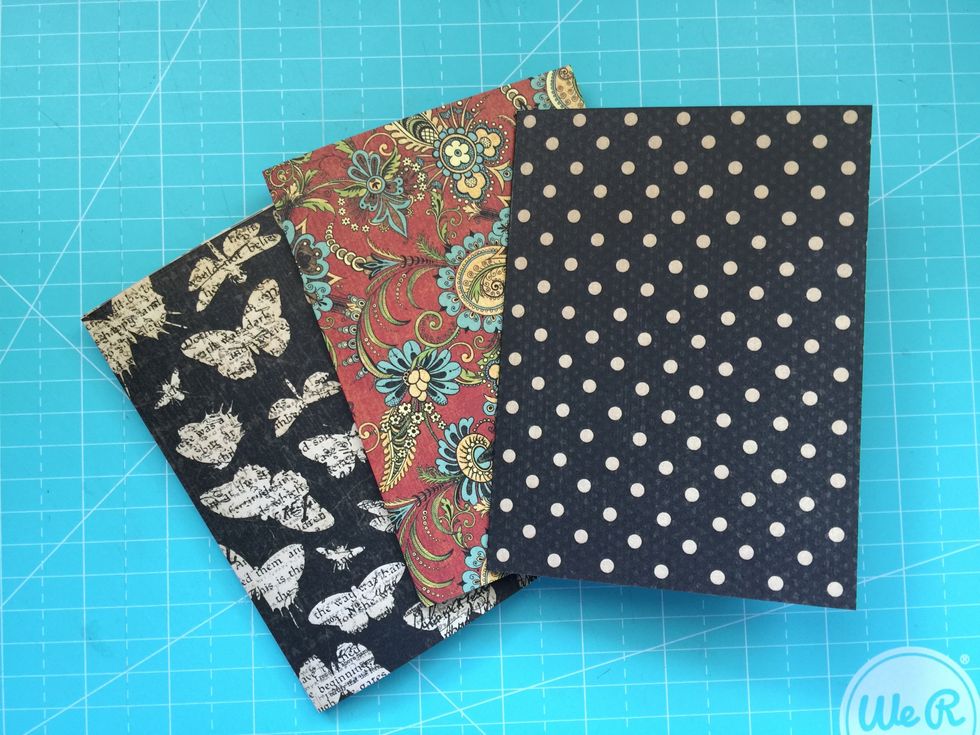
These pieces will form the covers of three small booklets for our album.
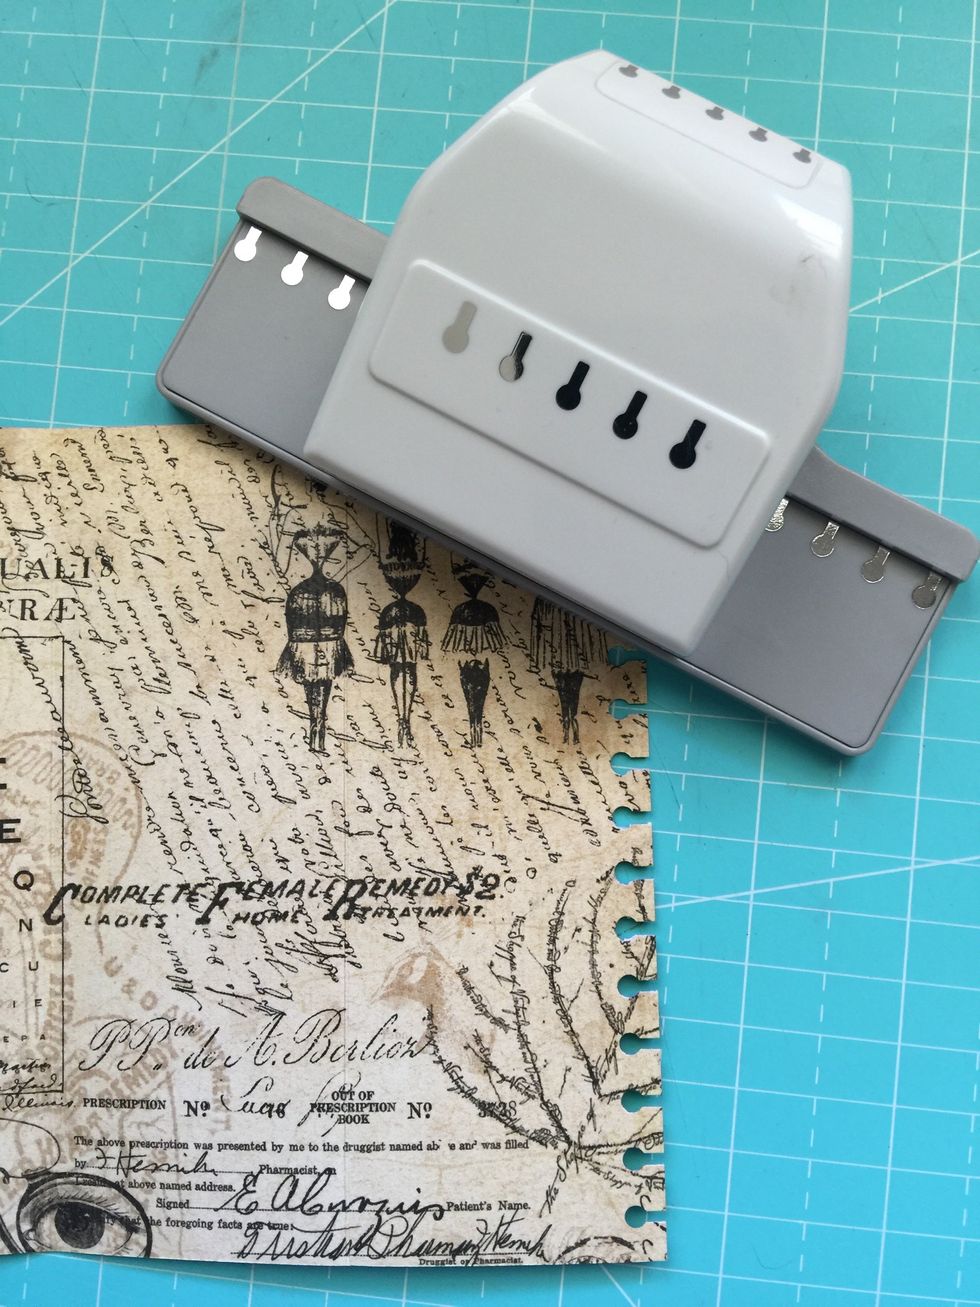
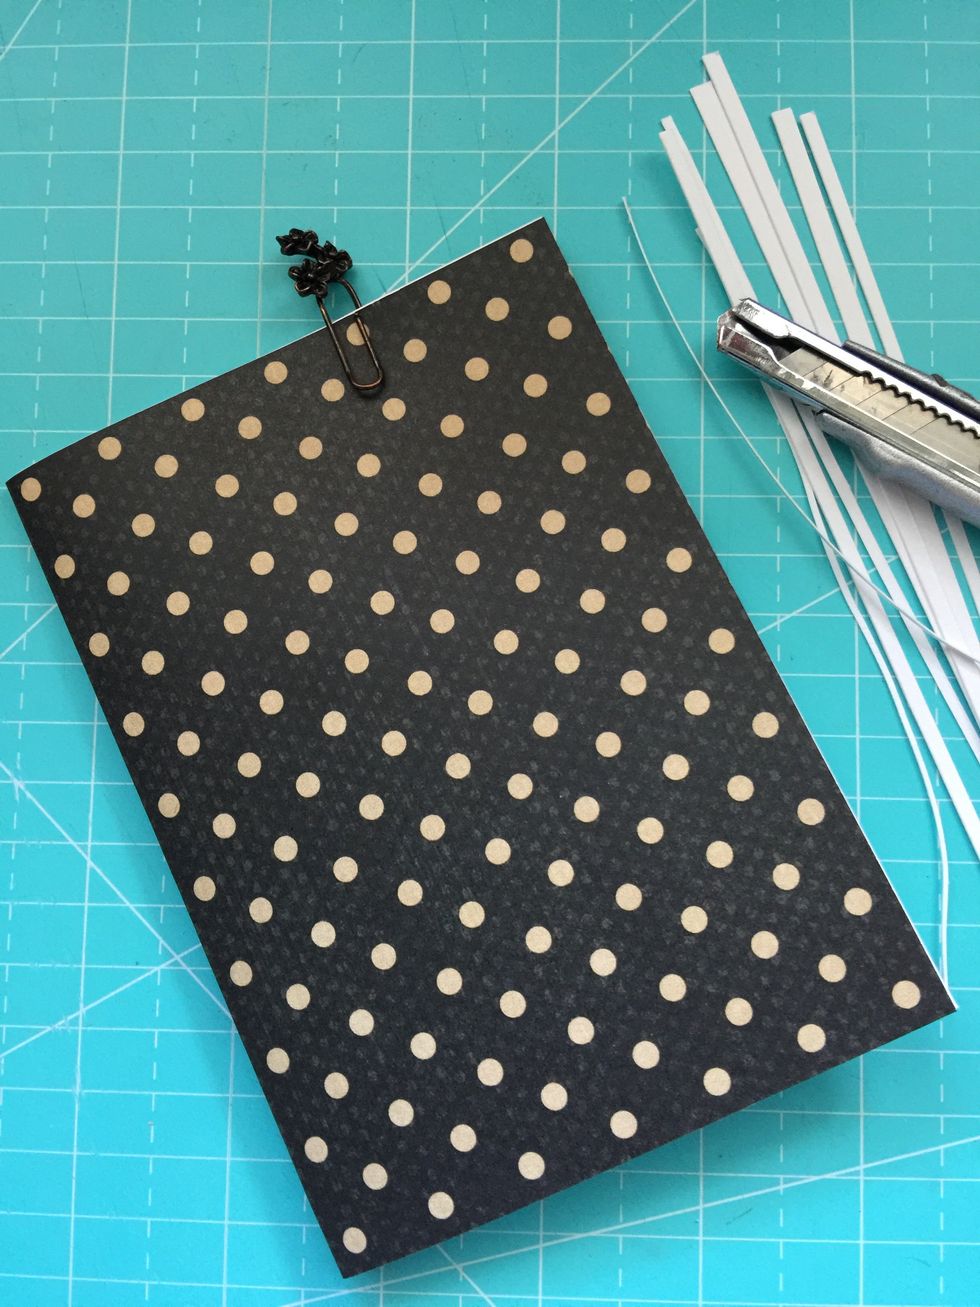
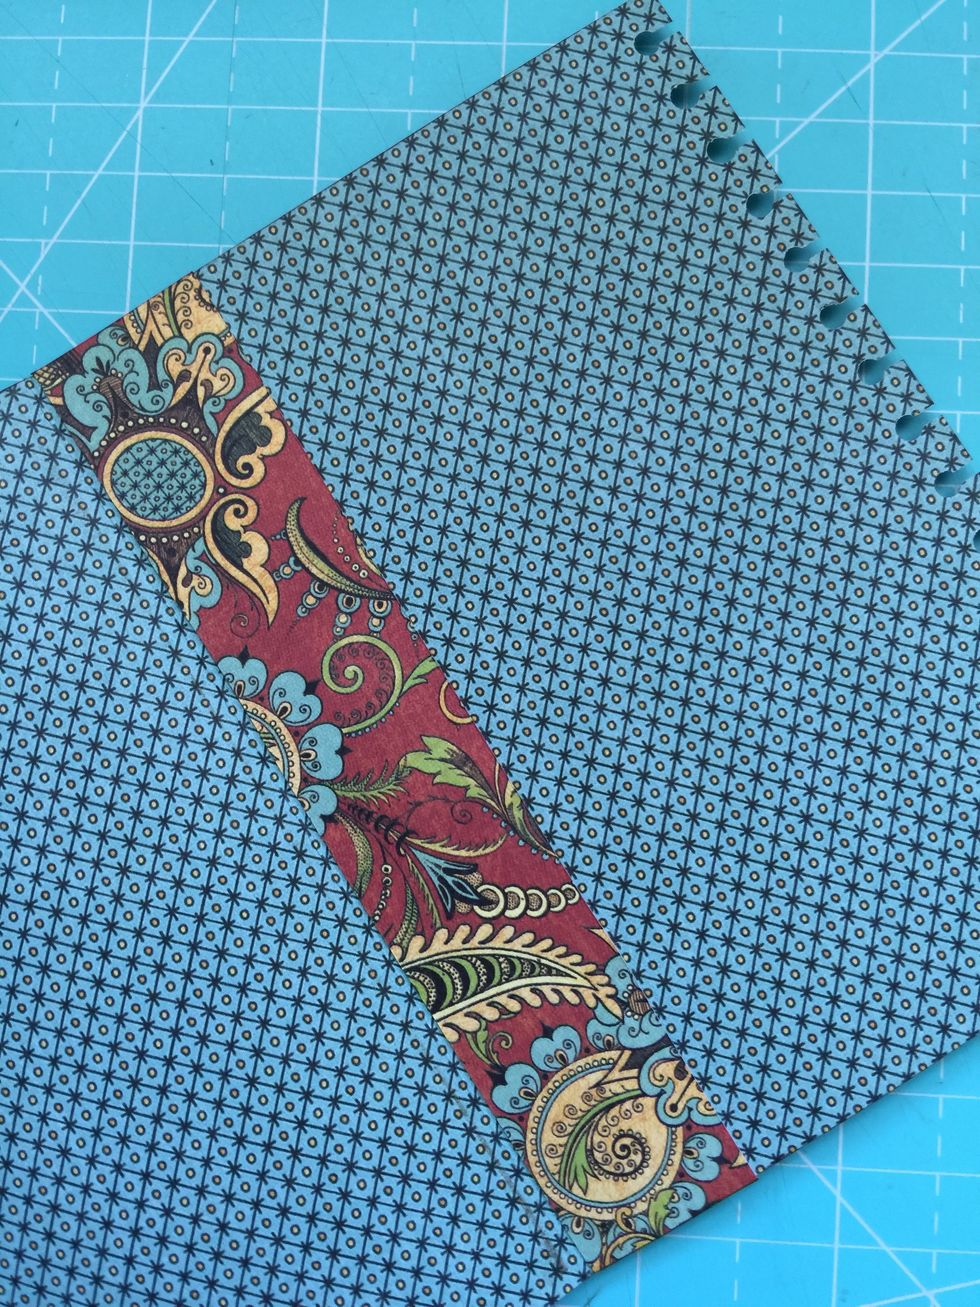
Punch one edge on each cover.
Fold the cards in half.

Do the same in all three booklets.
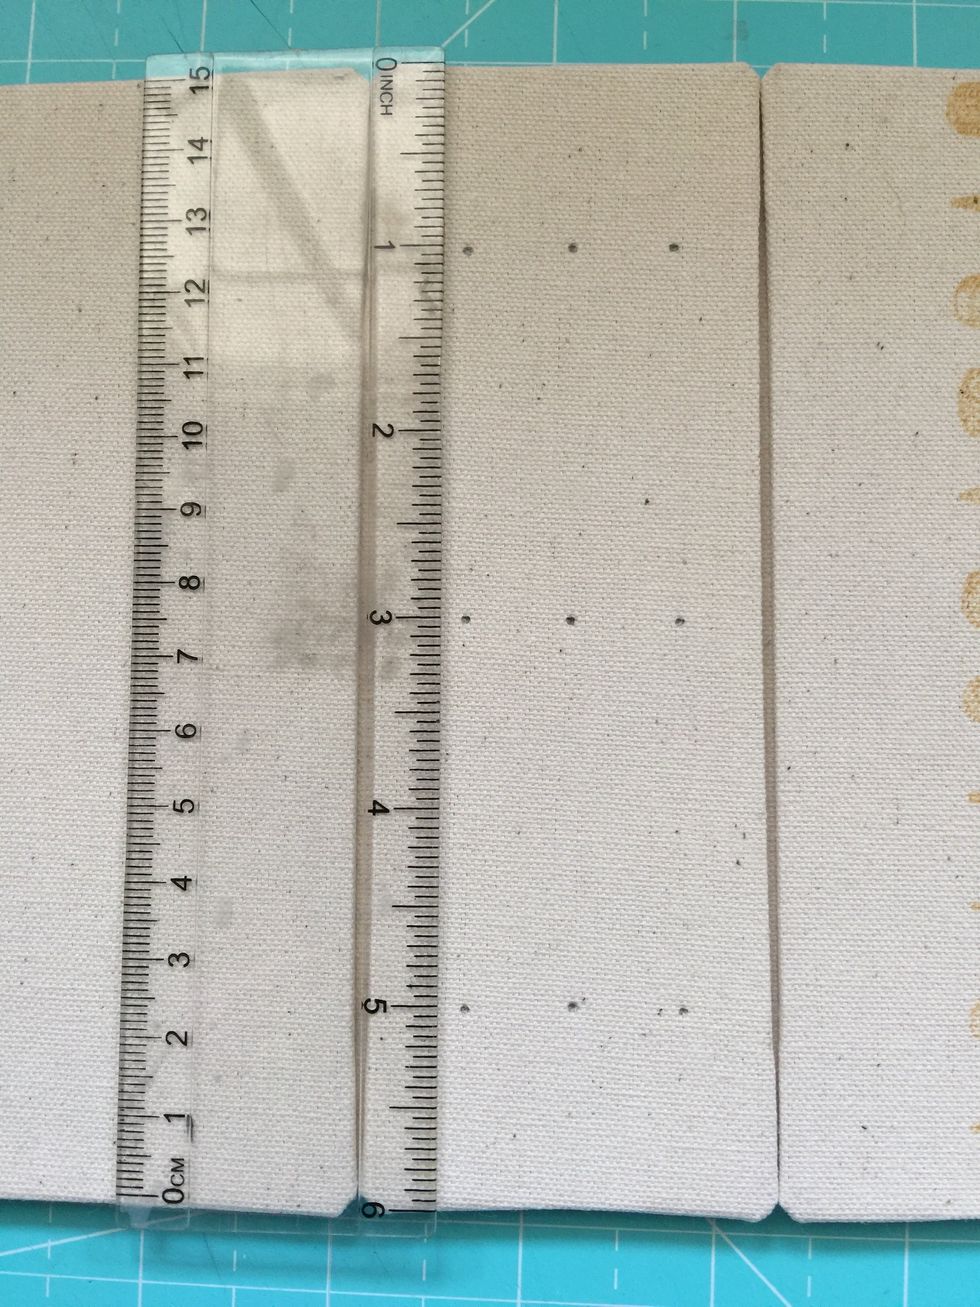
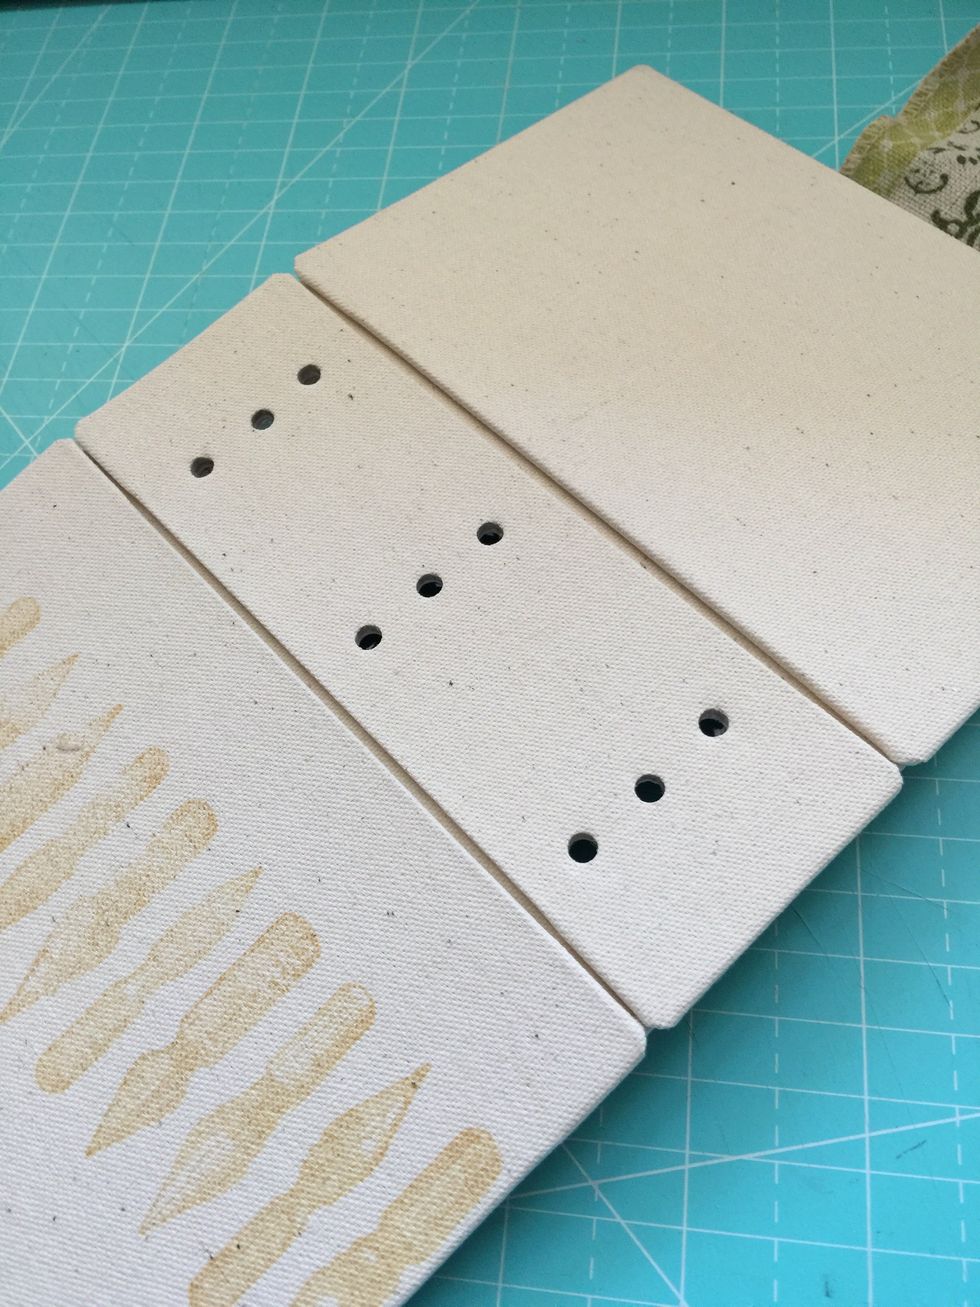
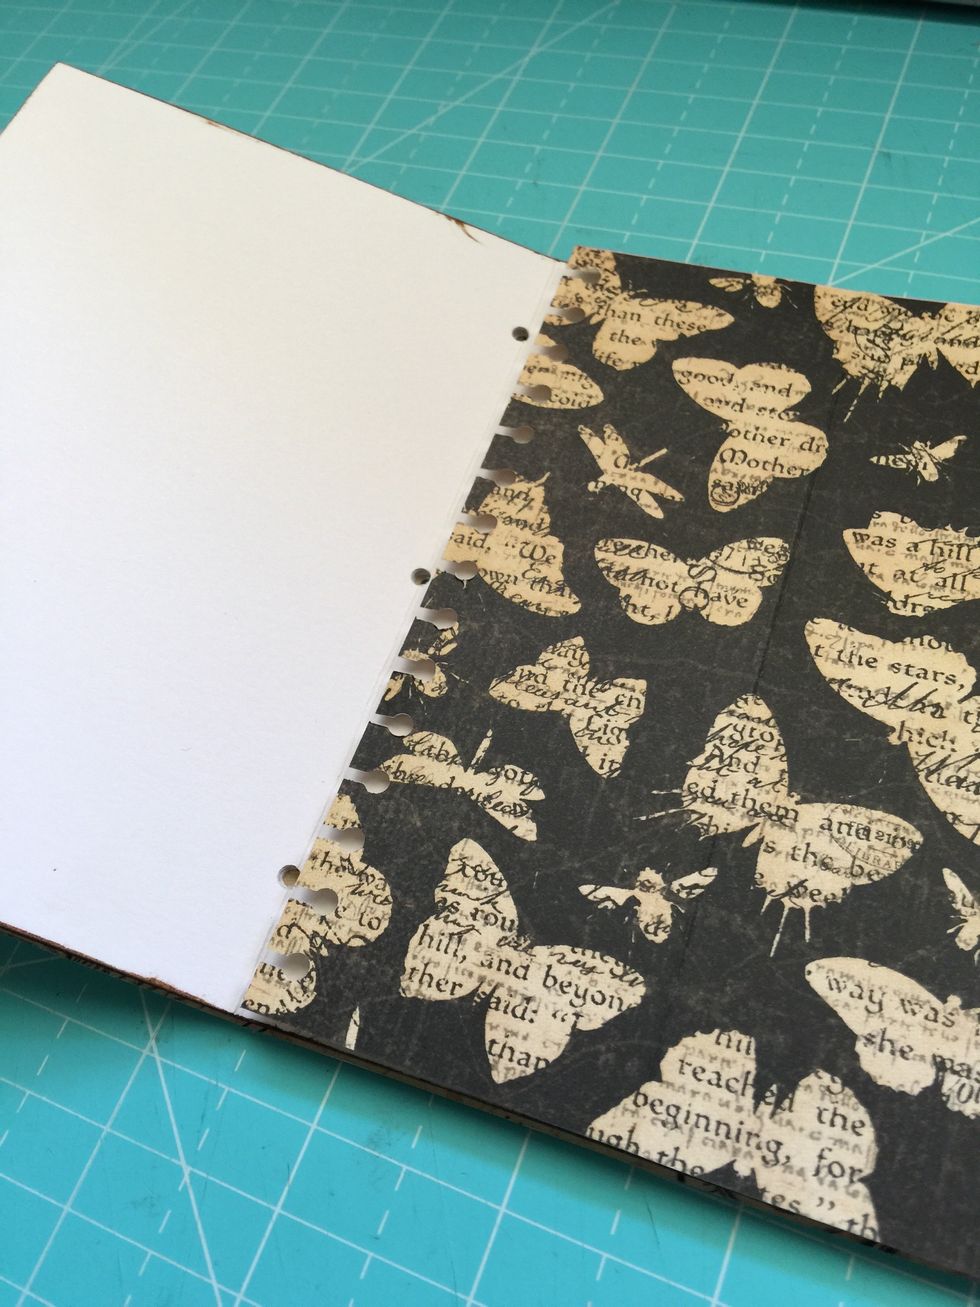
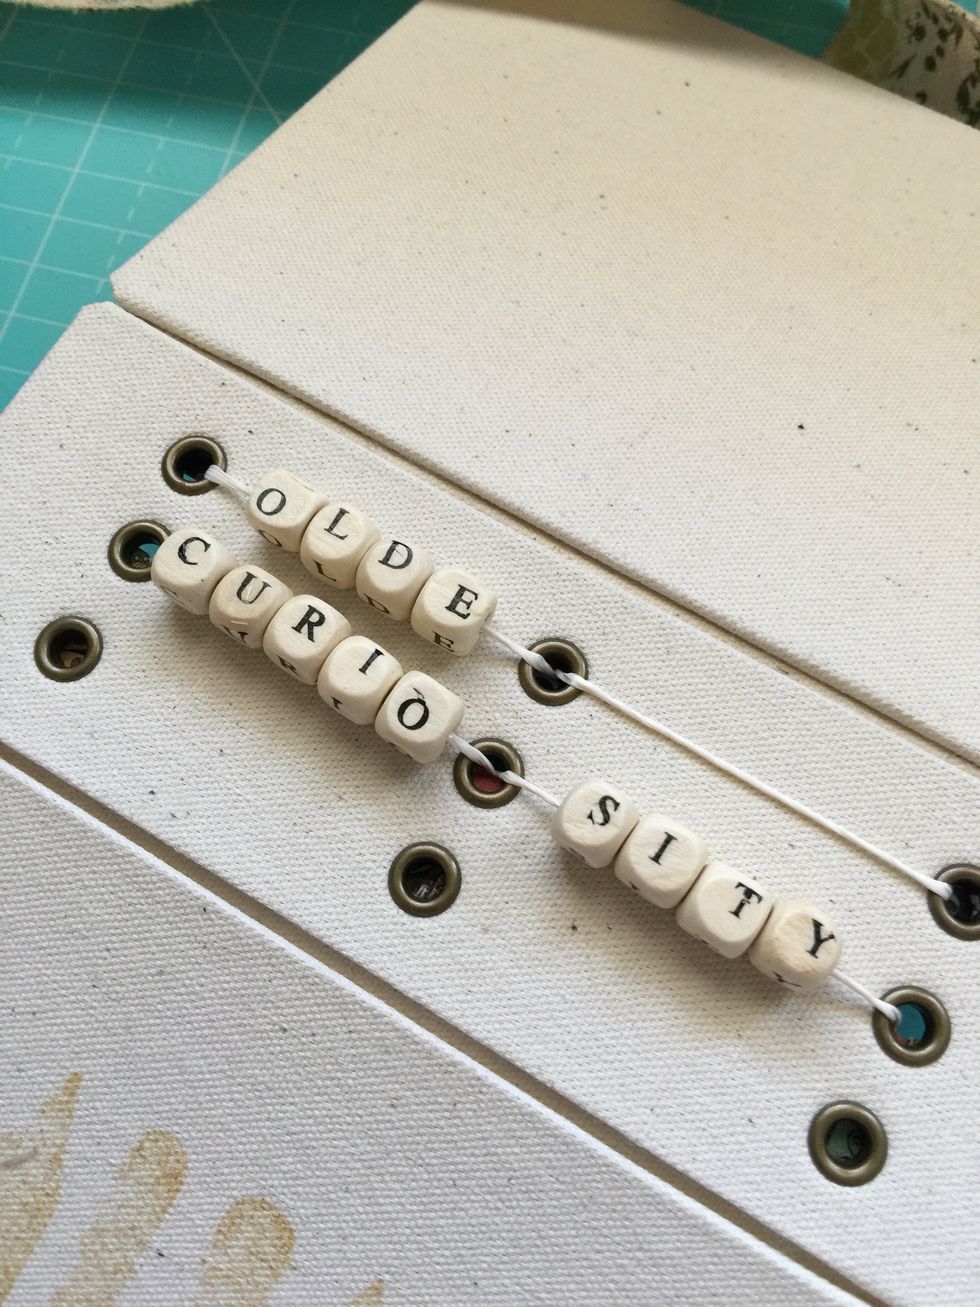
When the covers are completely dry, mark some points on the spine where holes and eyelets will be placed.
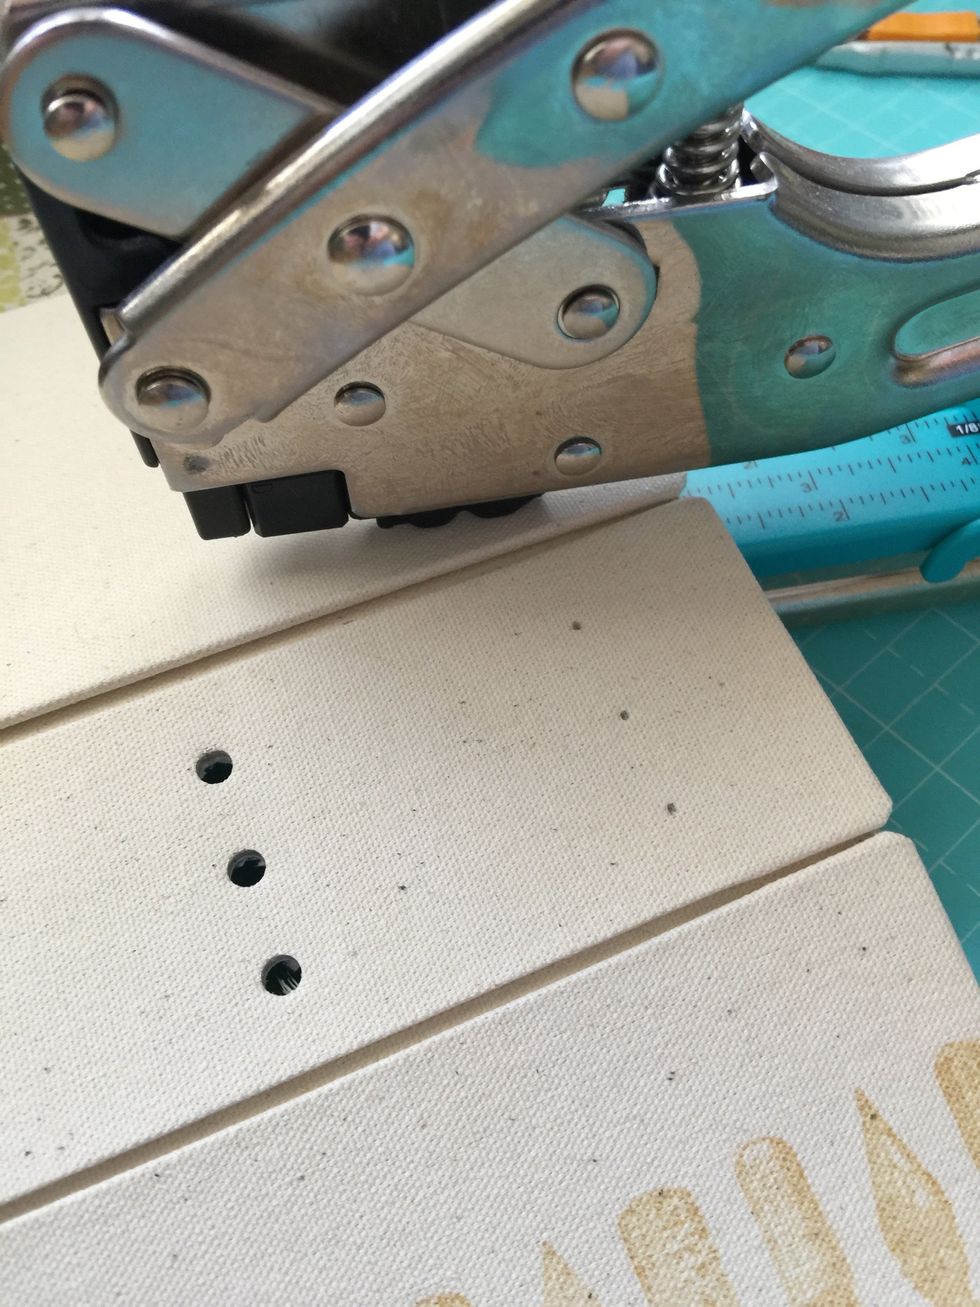
Punch them.
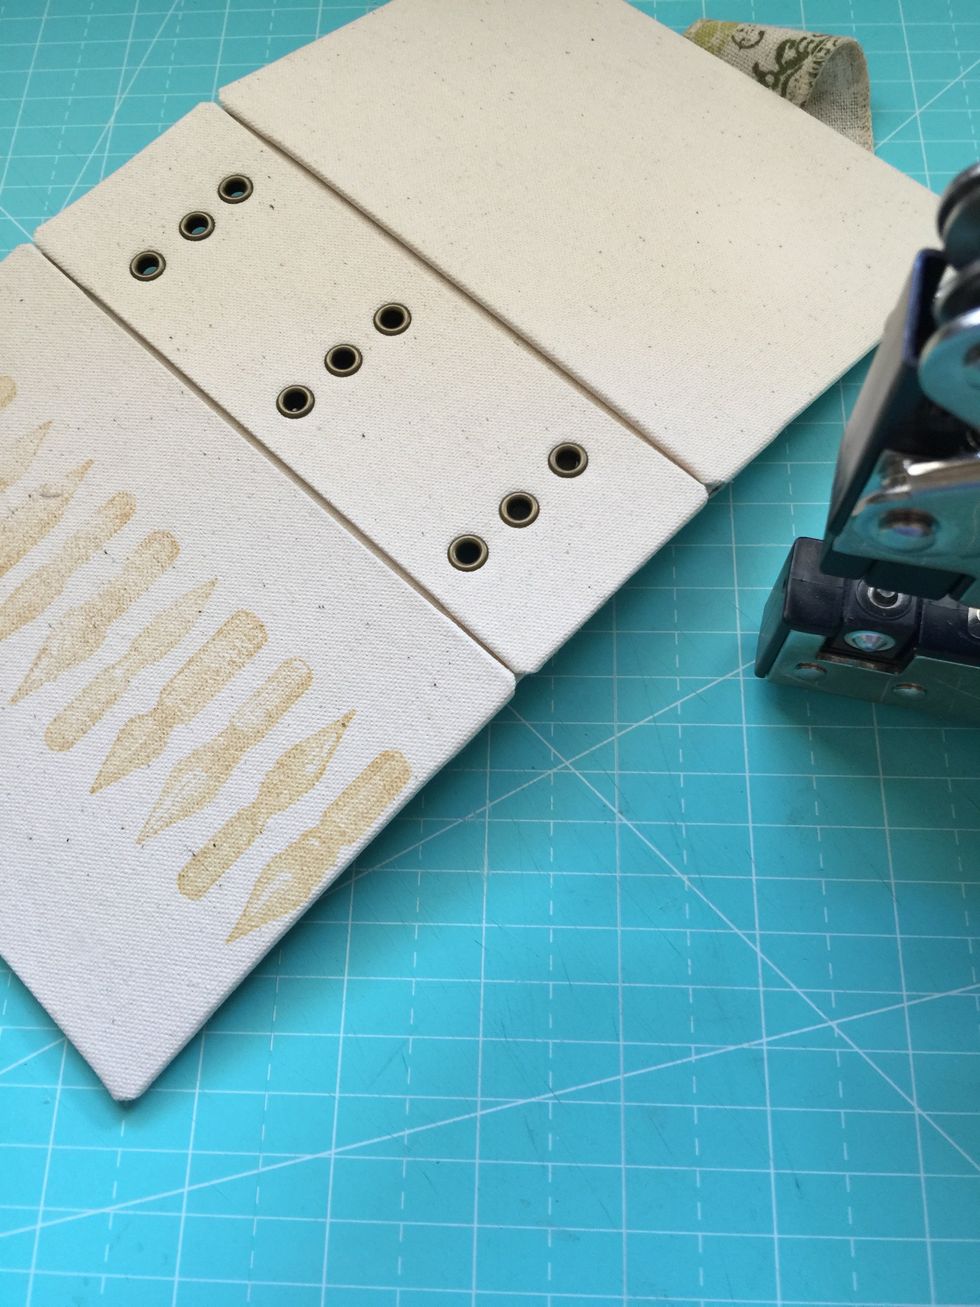
Put the eyelets.
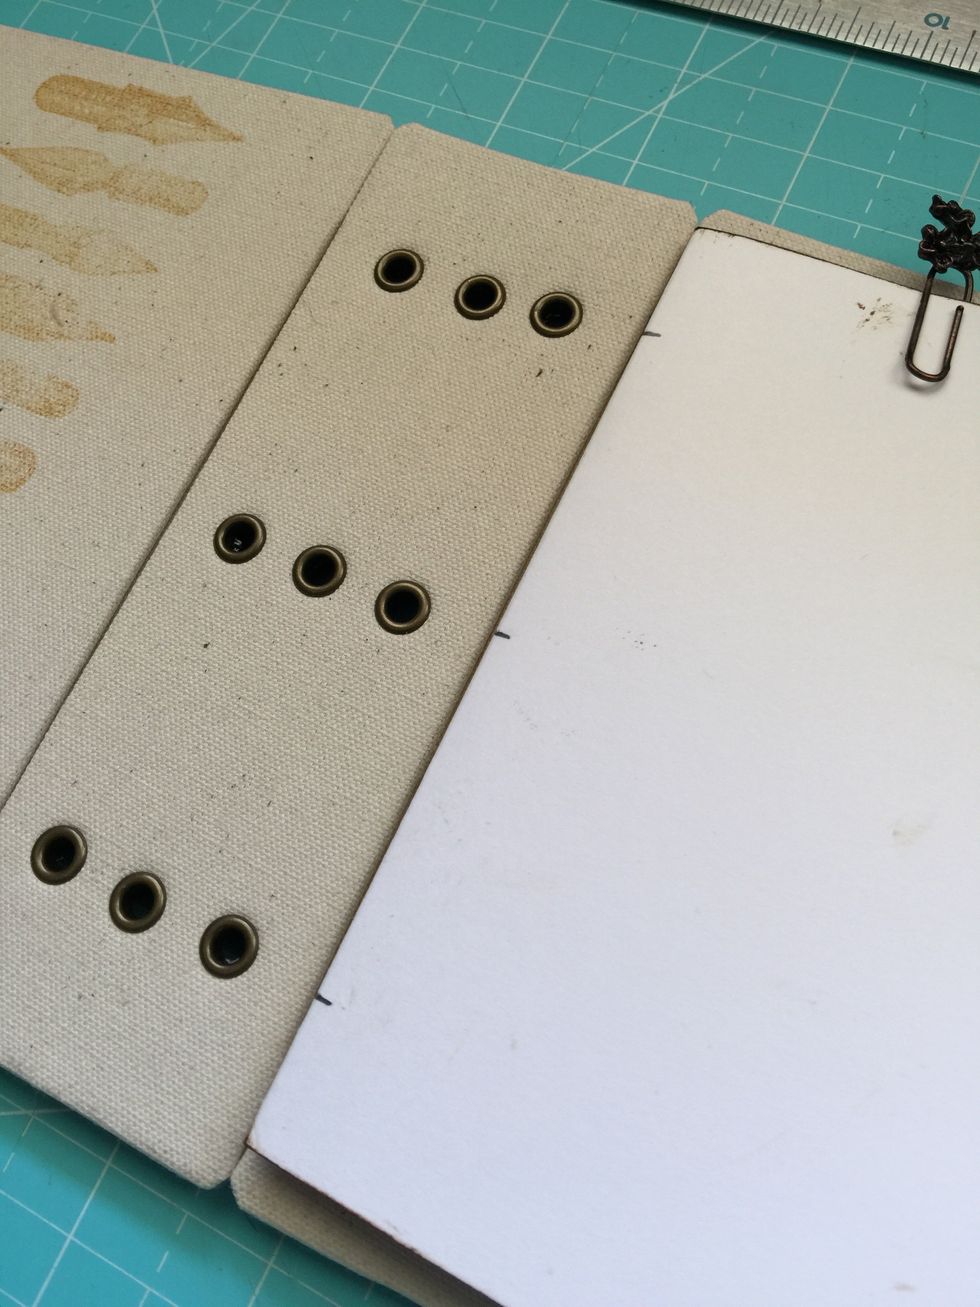
Take these holes as a measure to mark where the holes will be placed in the pages of the booklets.
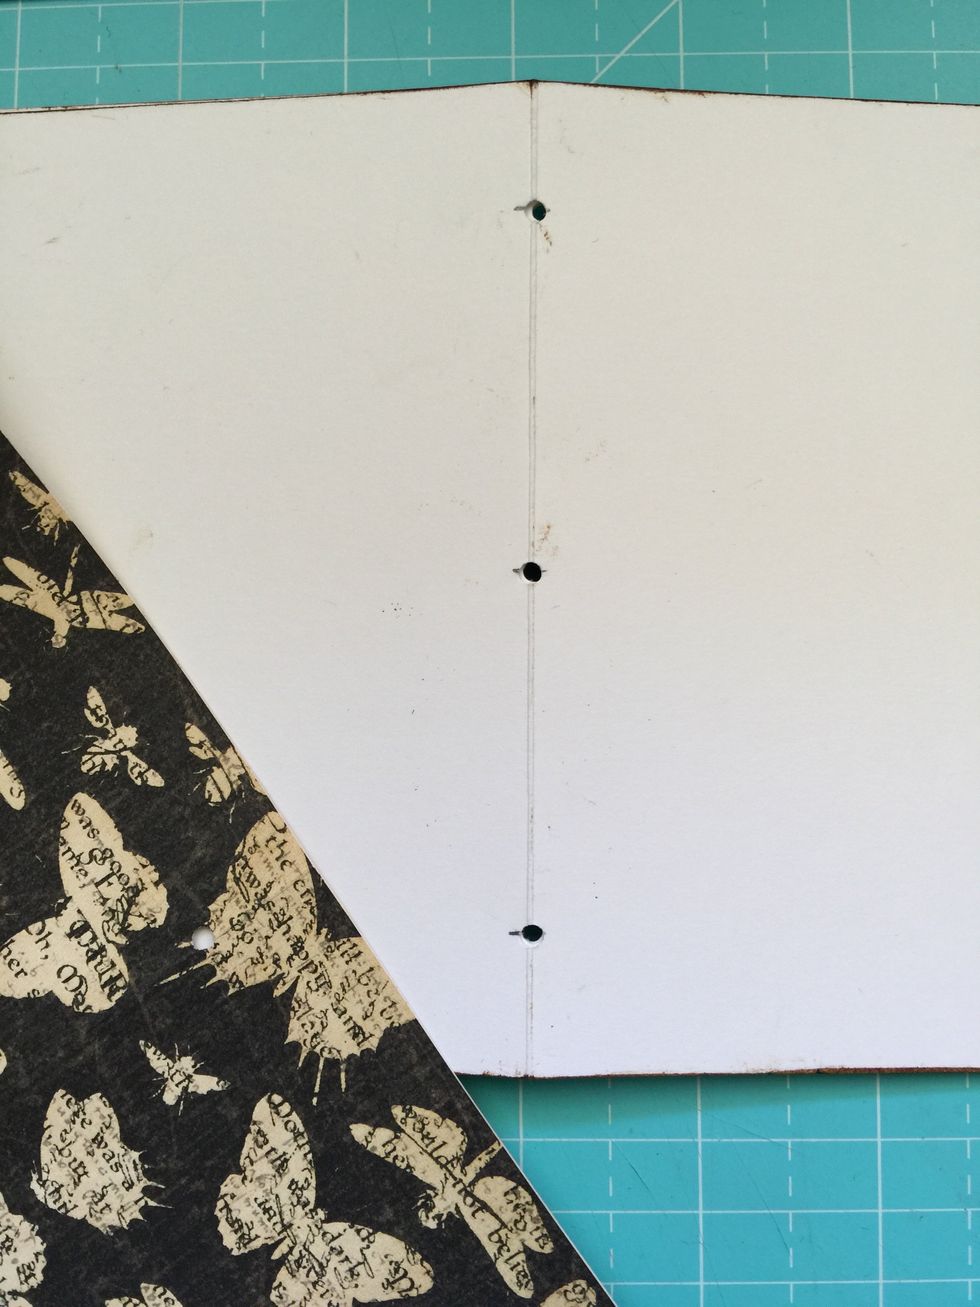
Make holes.
Also make the holes on decorated covers.
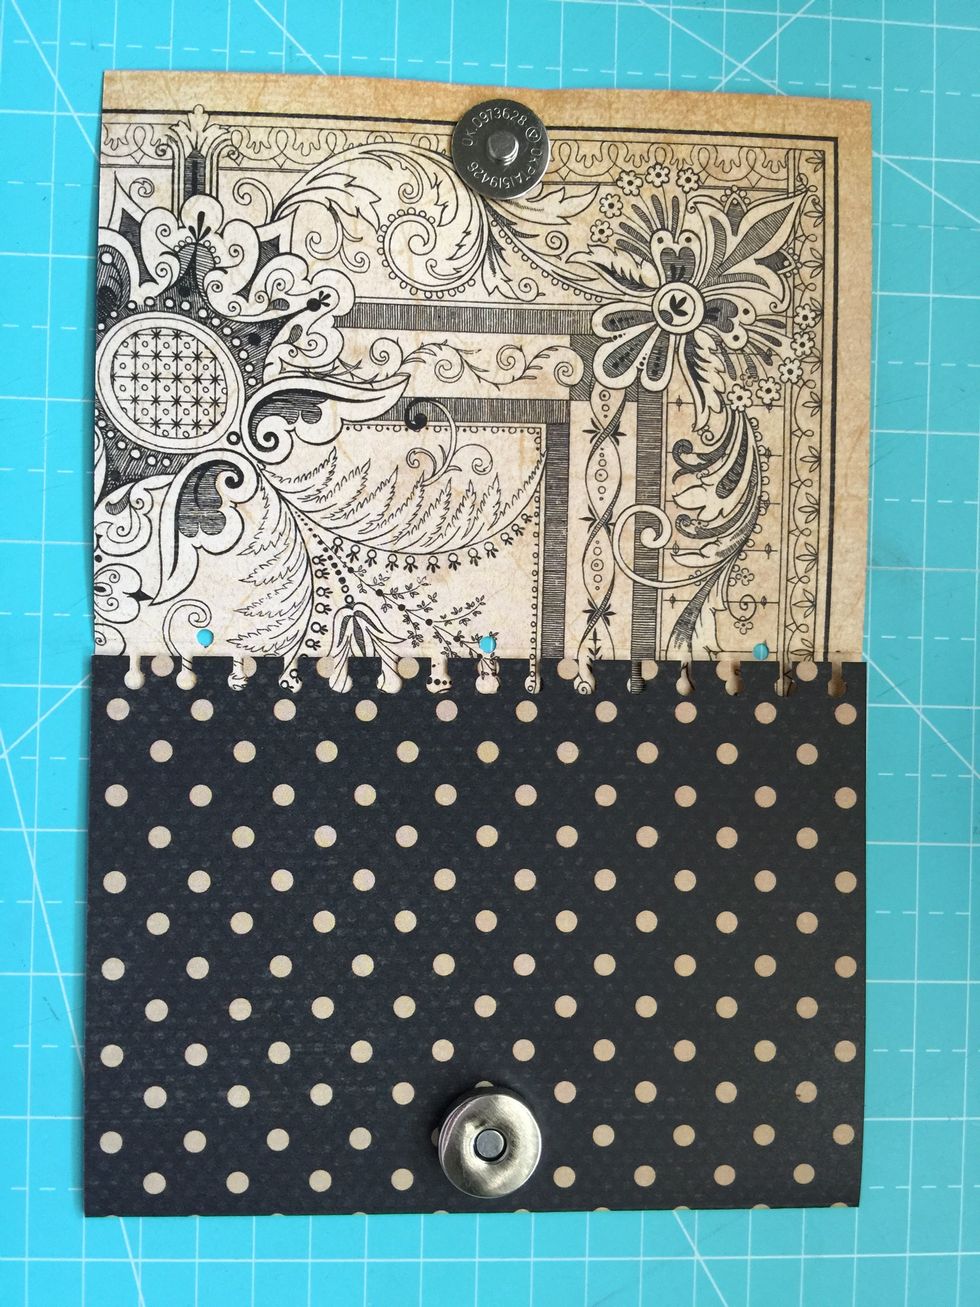
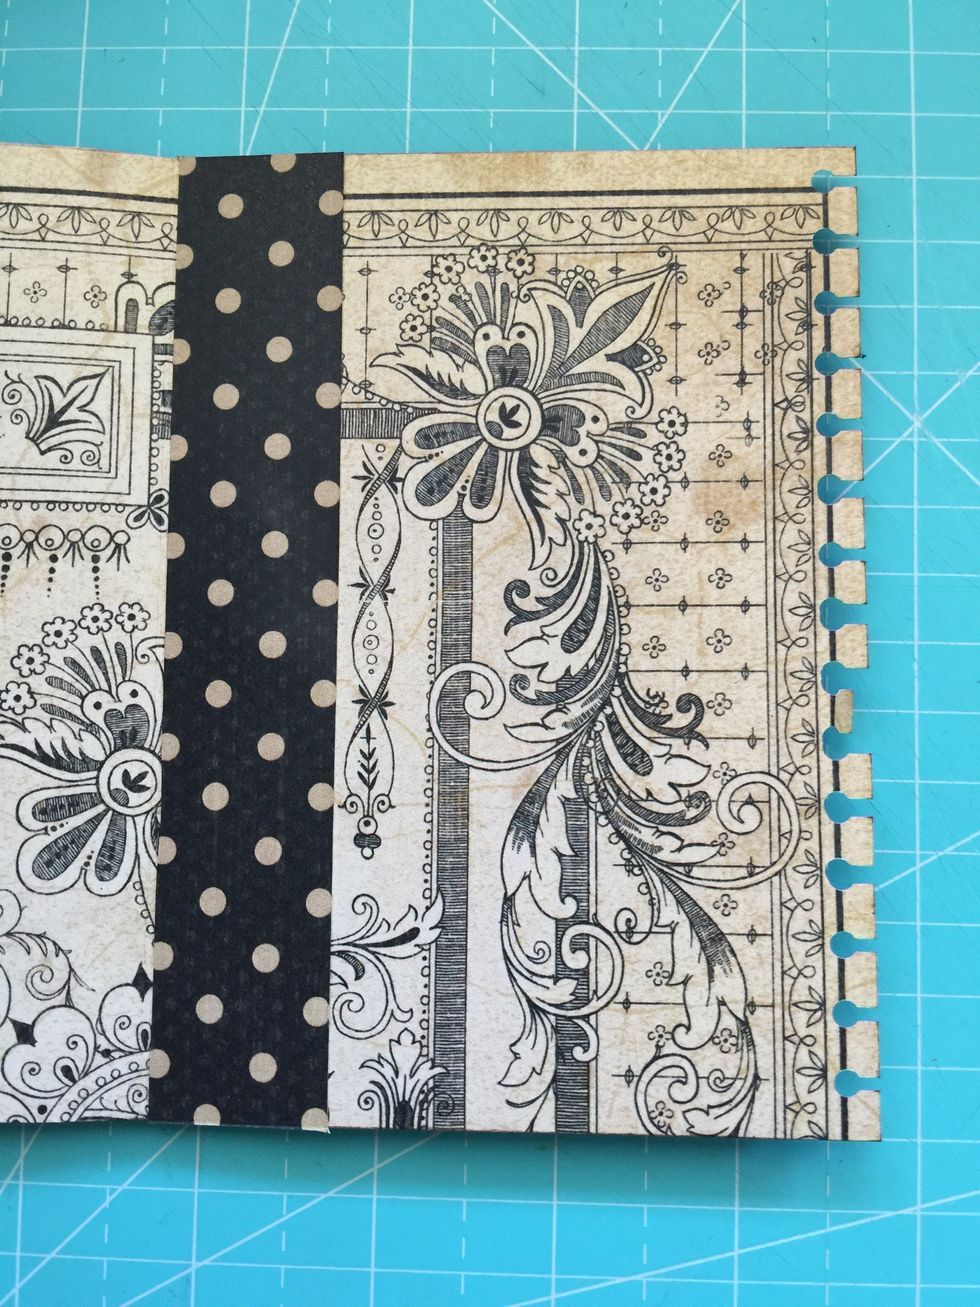
Place magnets so the booklets close tightly.

Make a piece of cardboard covered with paper 1" wide
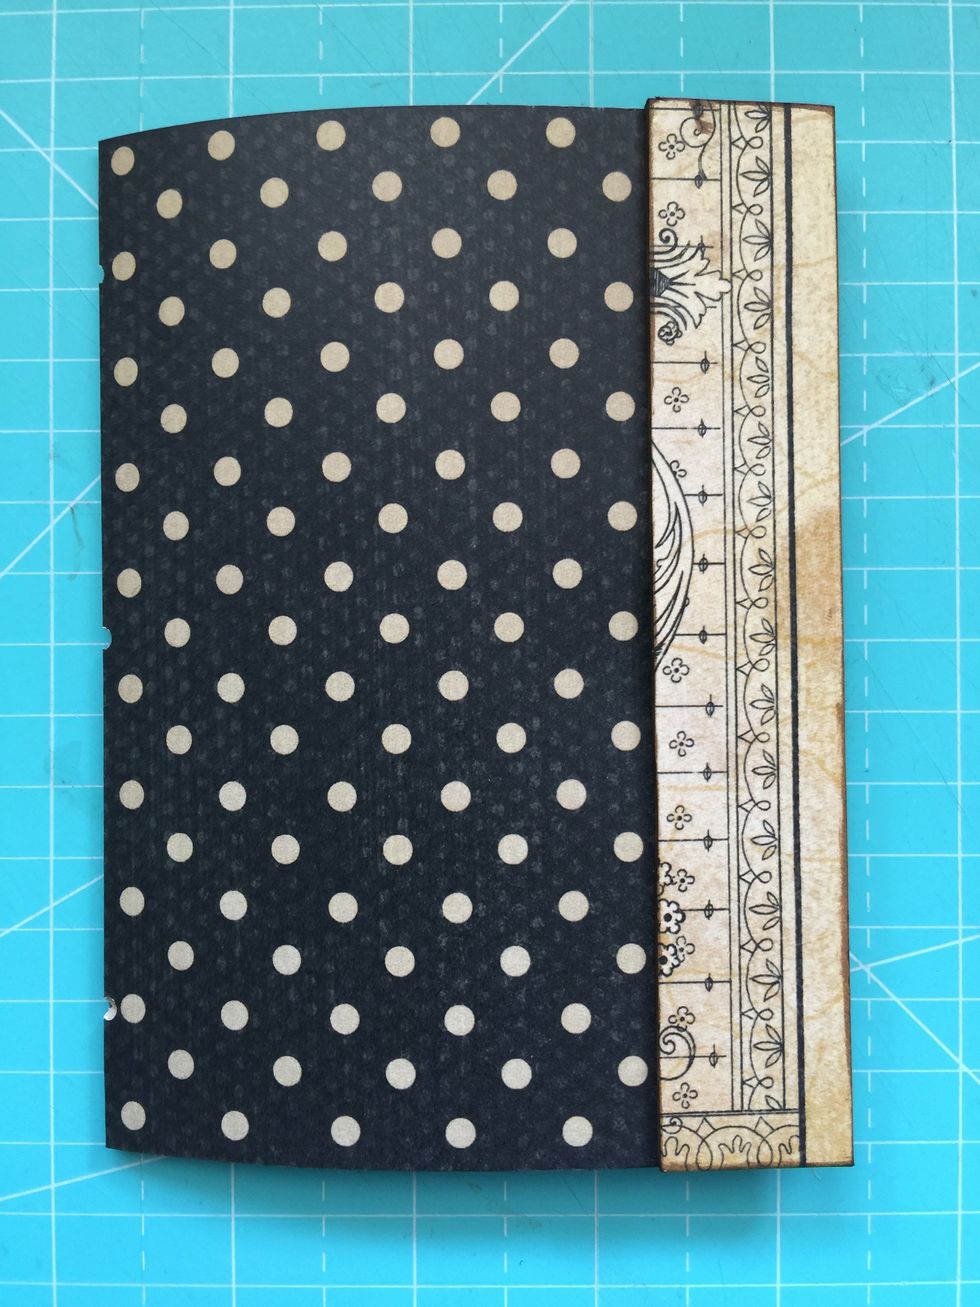
Use double-sided tape to adhere this piece.
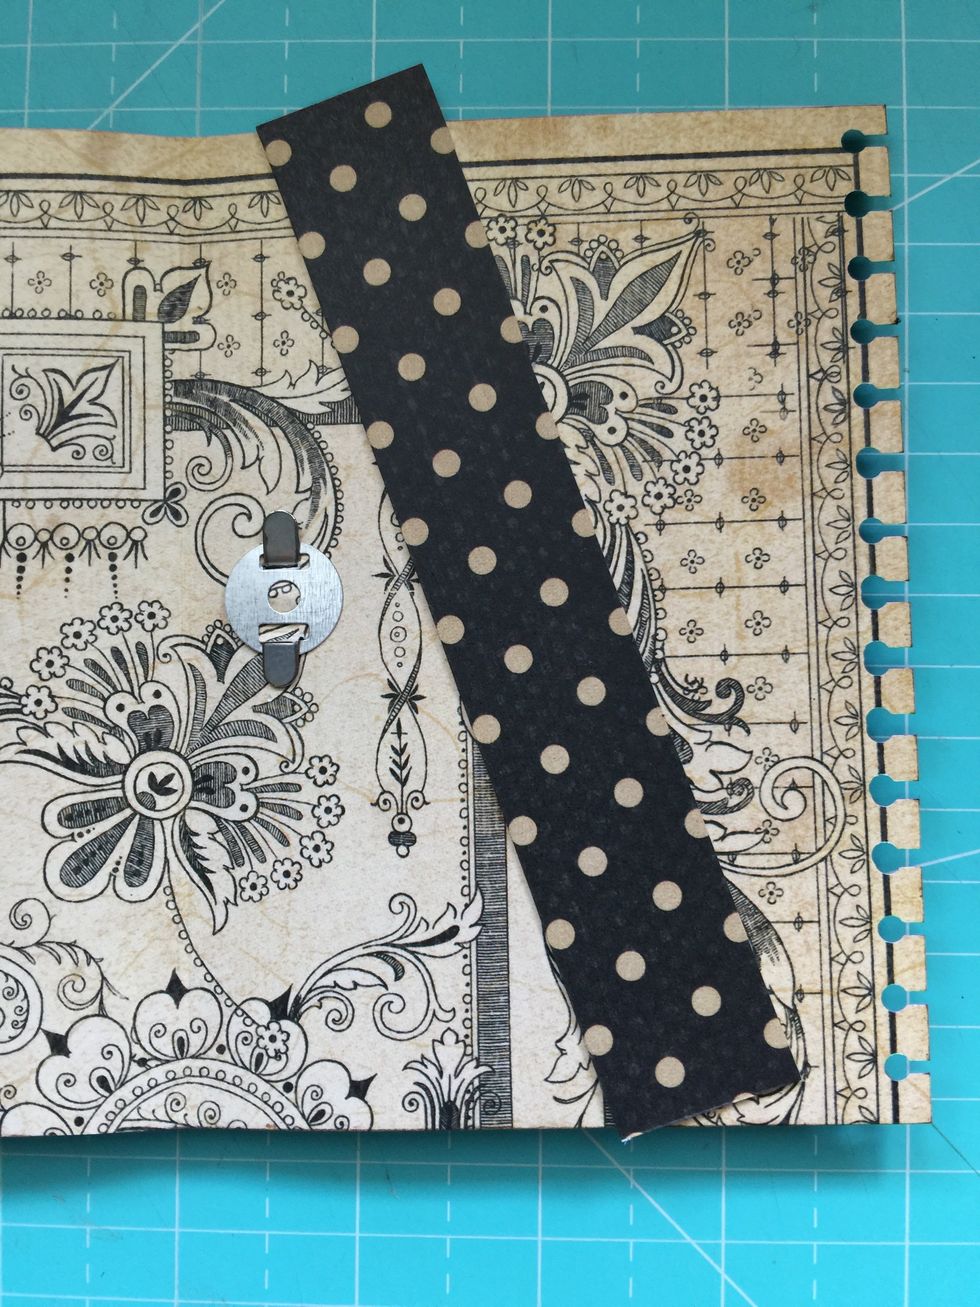
Then make a strip to cover the inside magnet.

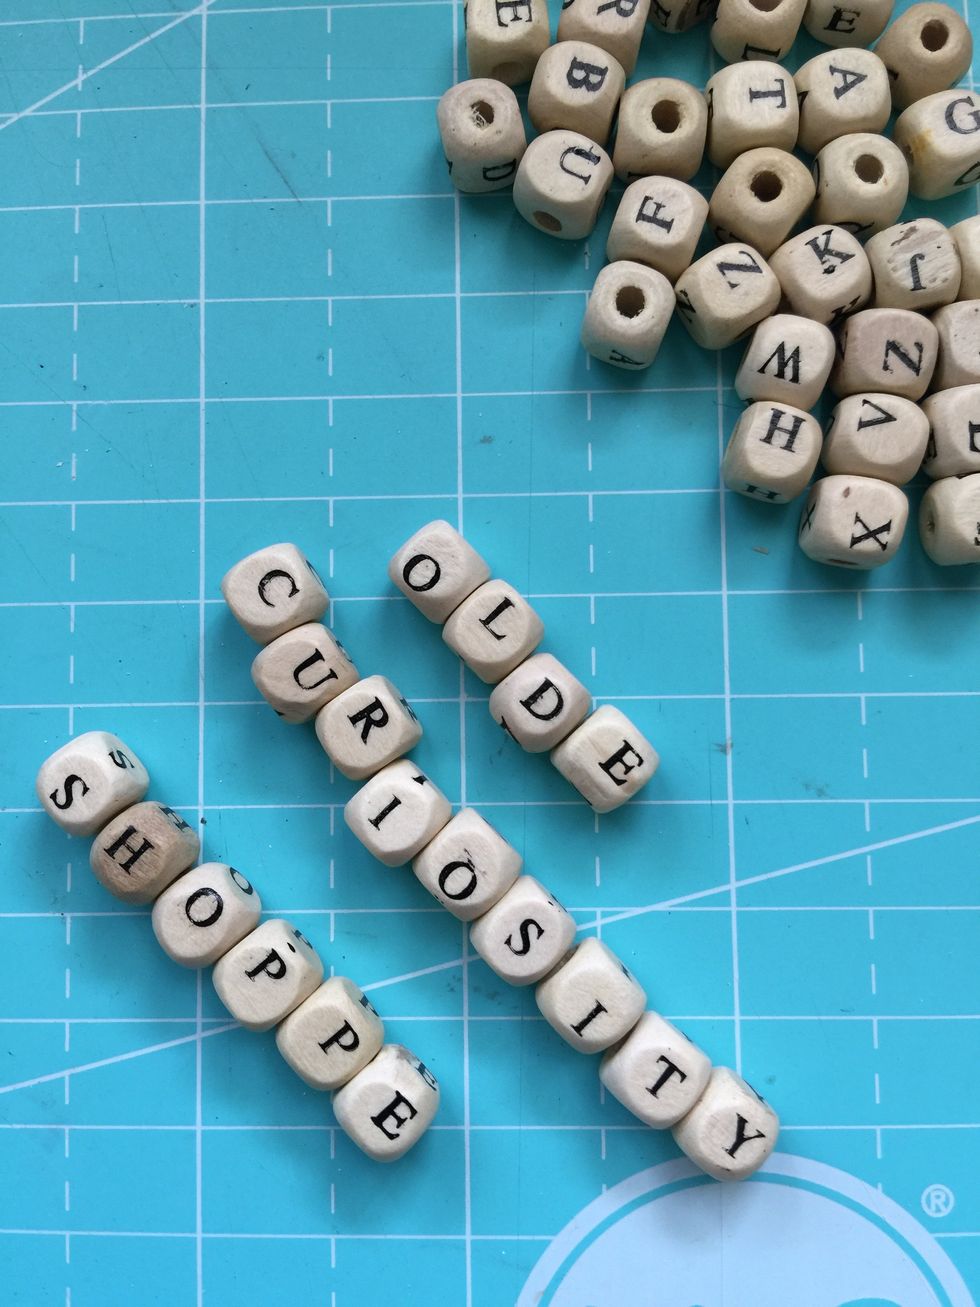
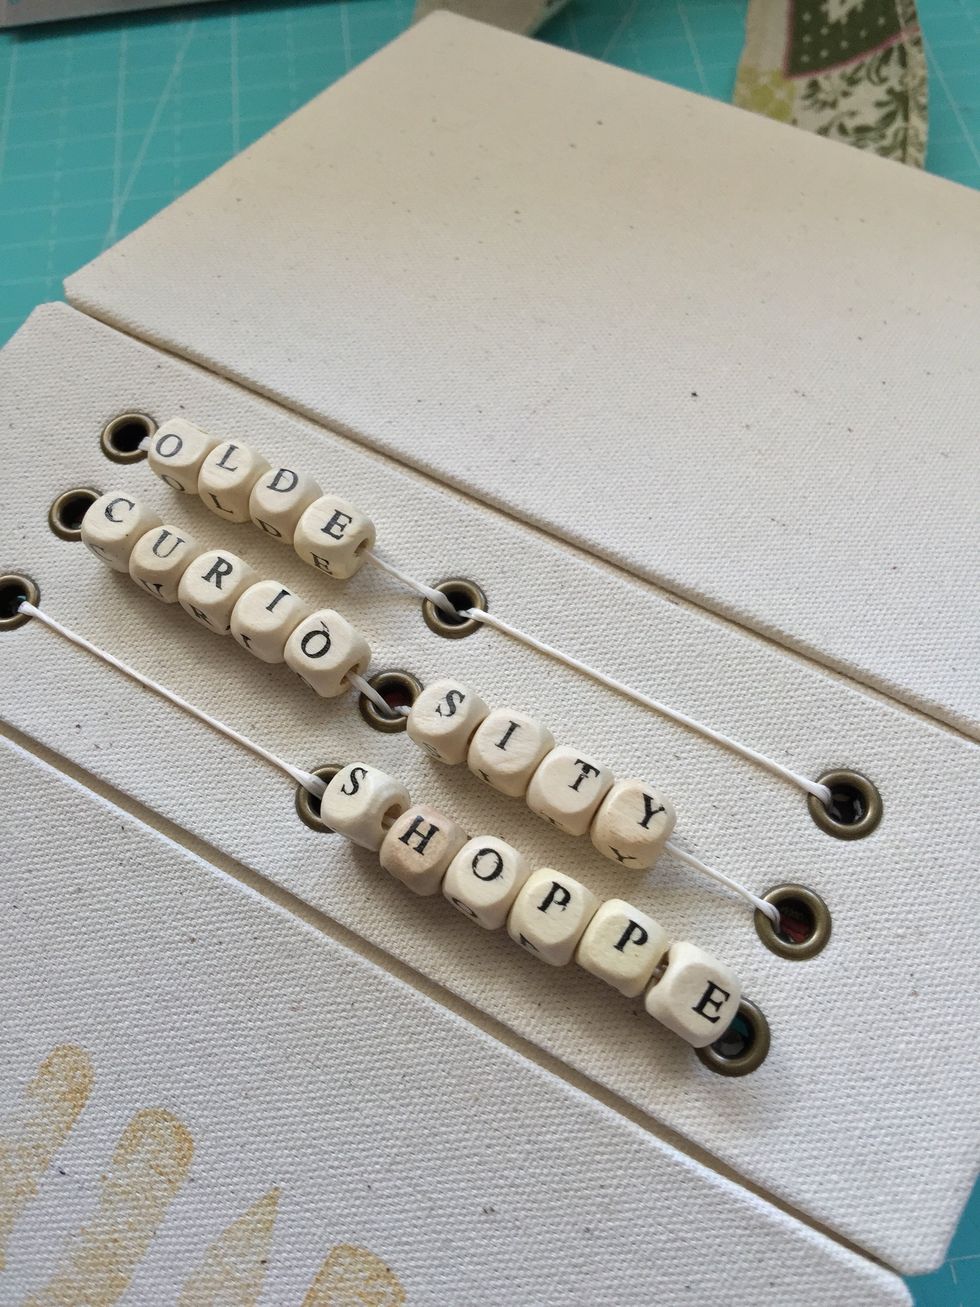
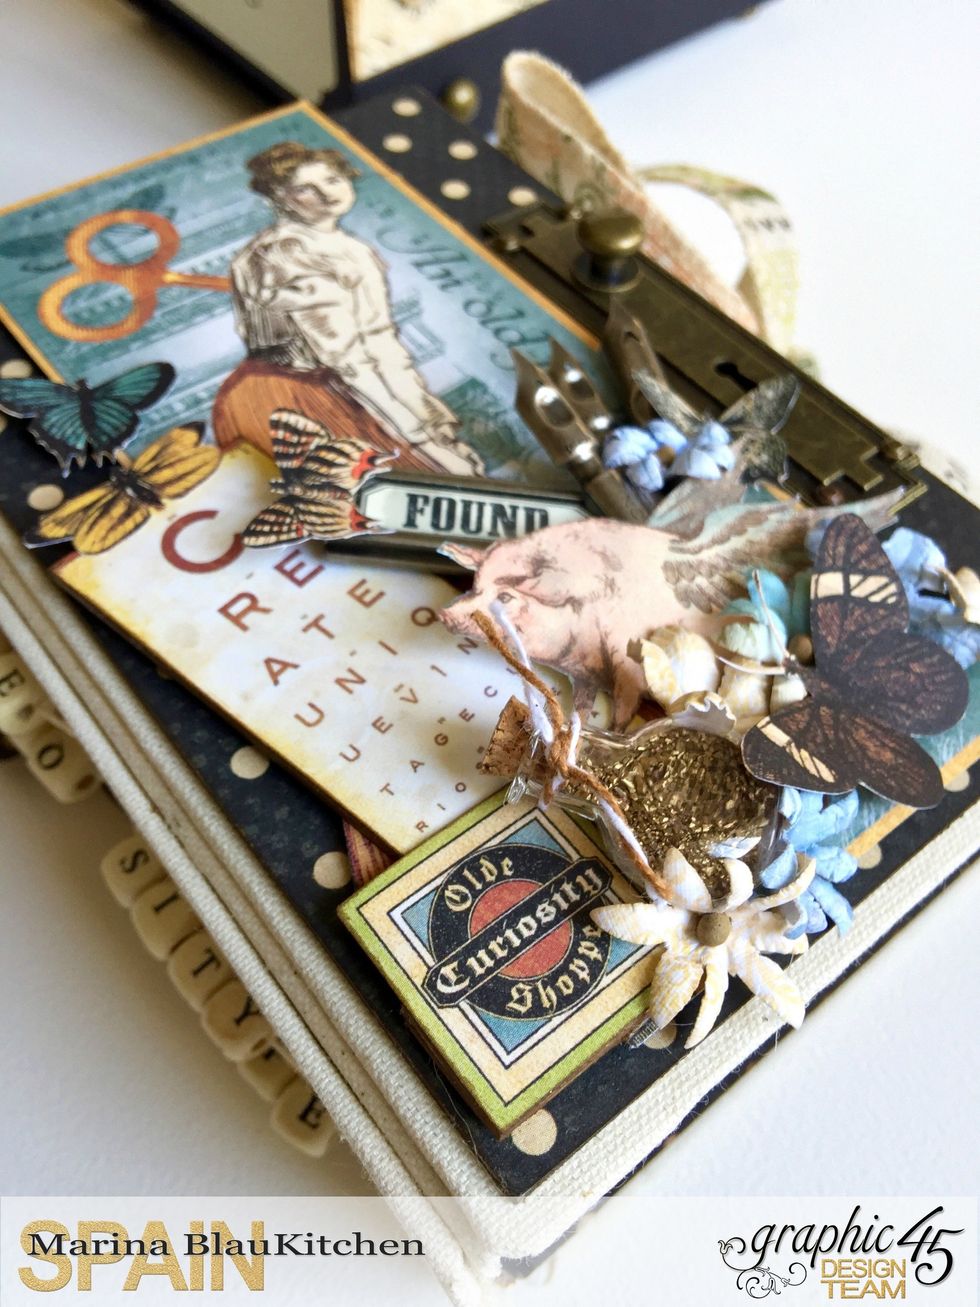
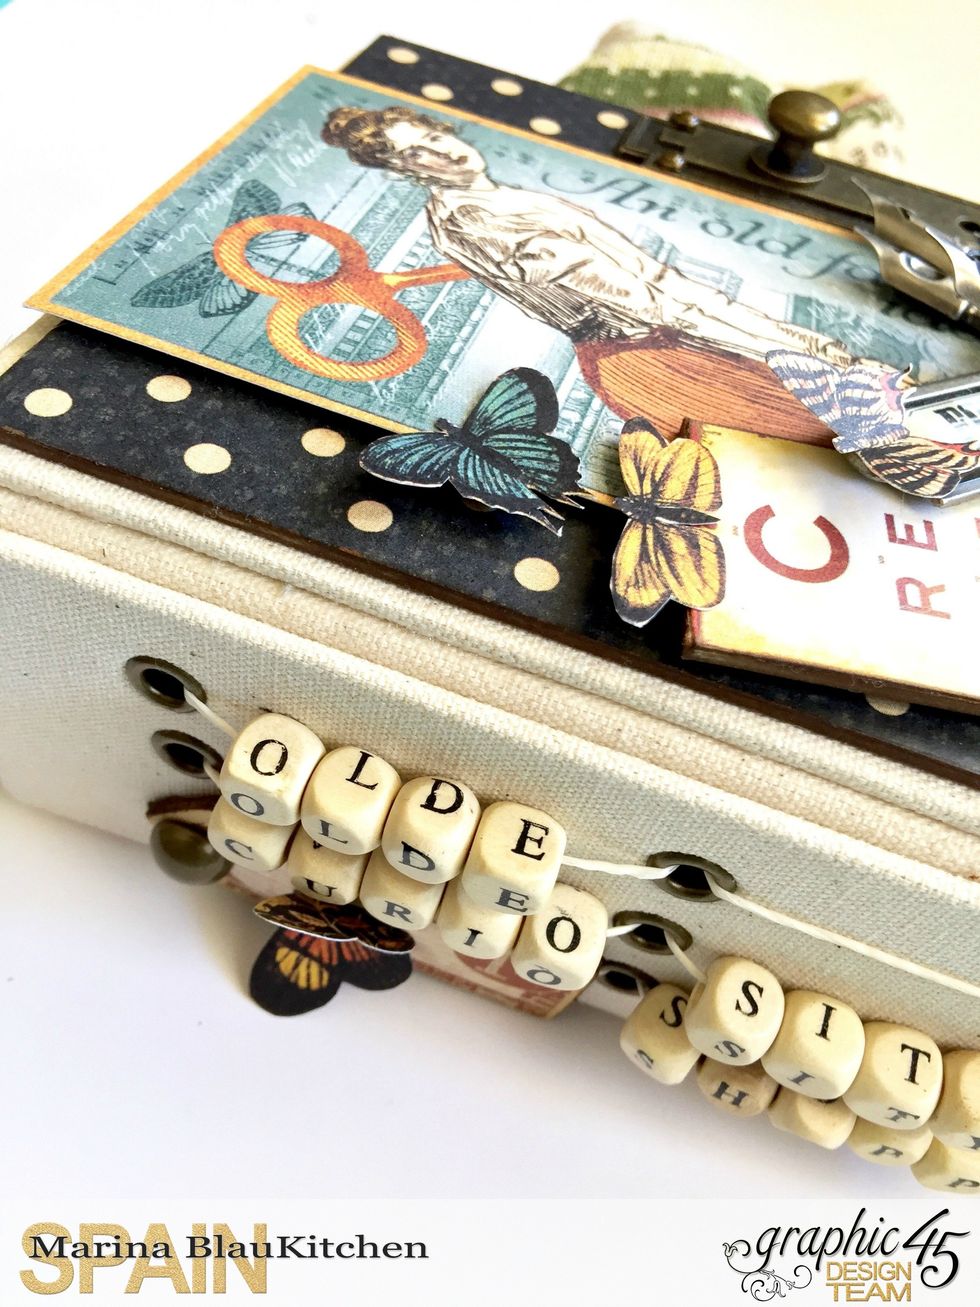
Wood beans to ornate the spine
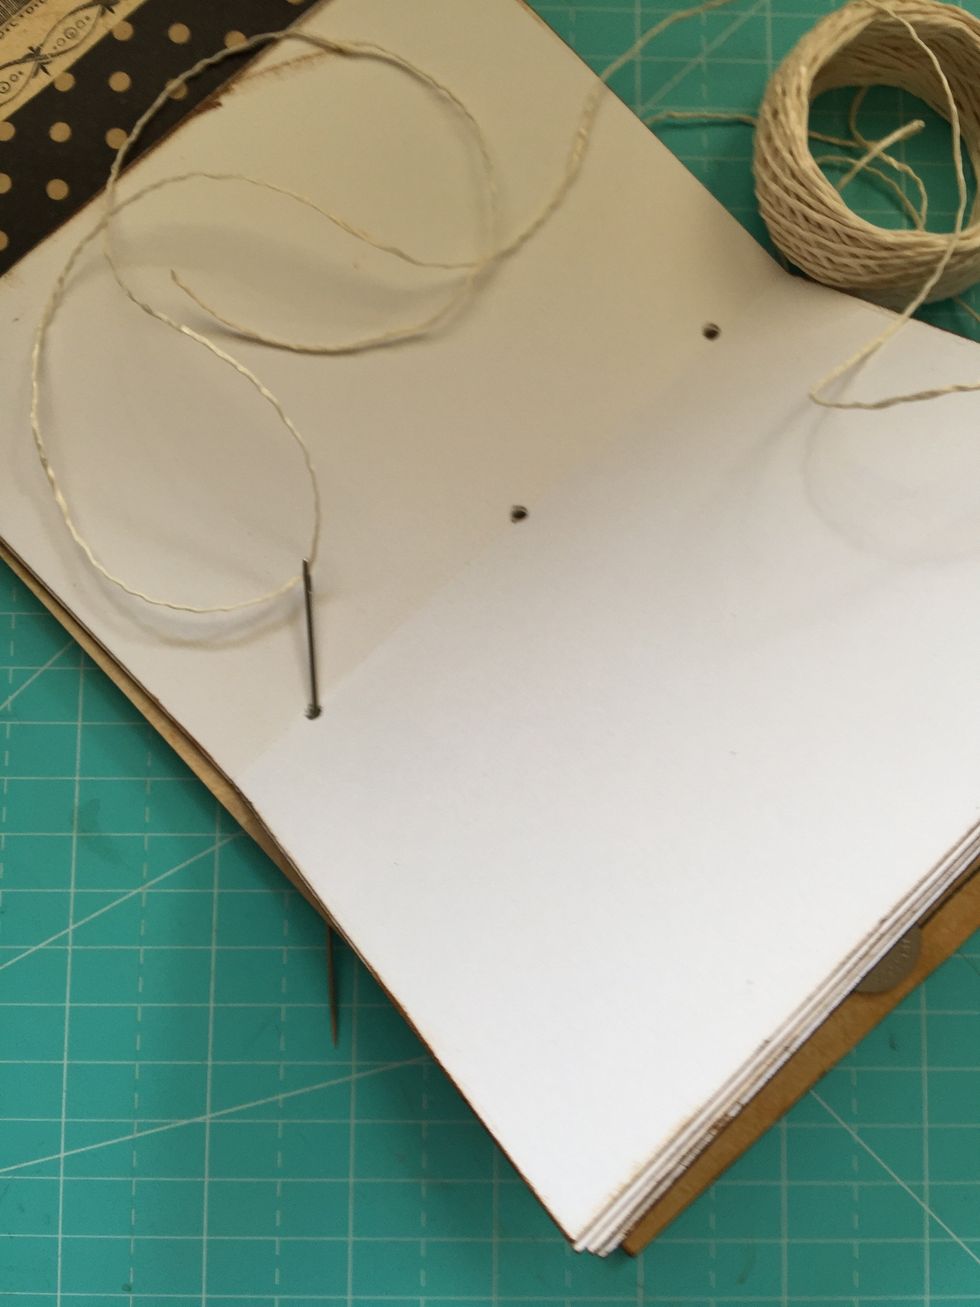
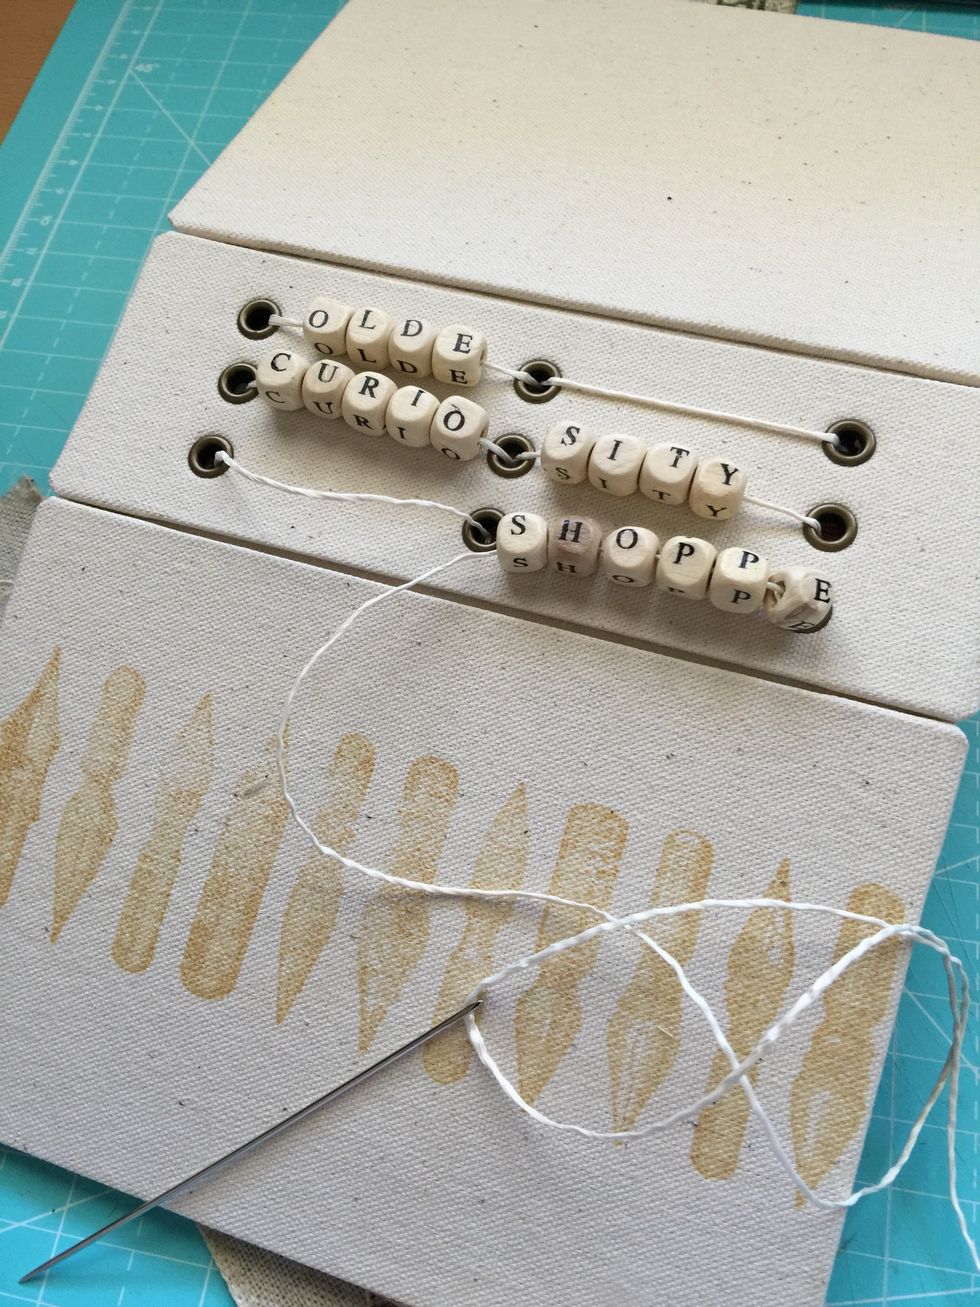
Start the sewing of the booklets by first passing the thread inside the booklet.
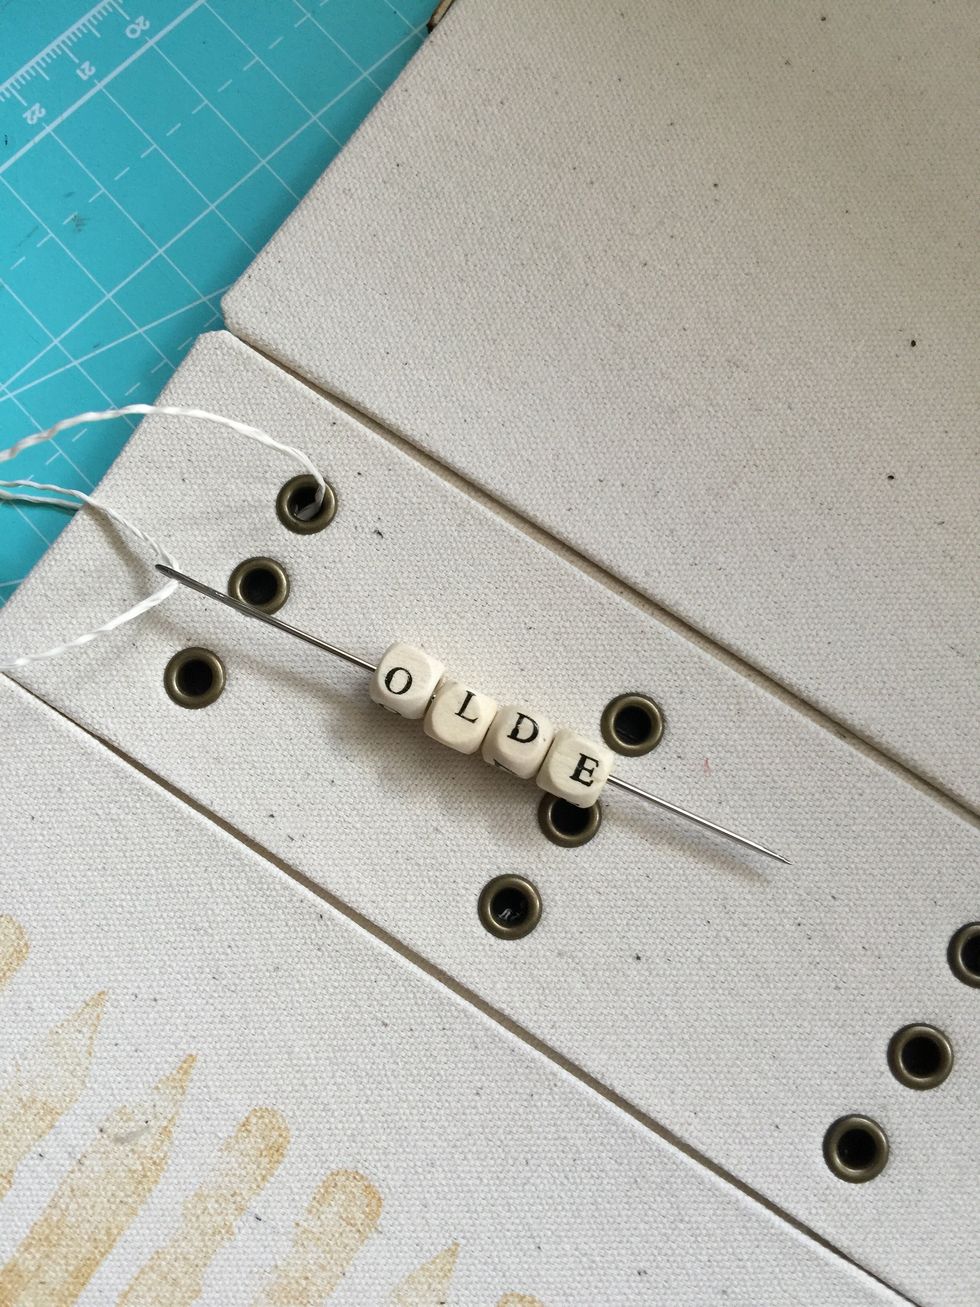
Draw the thread by the first eyelet and intricate the wood beads.

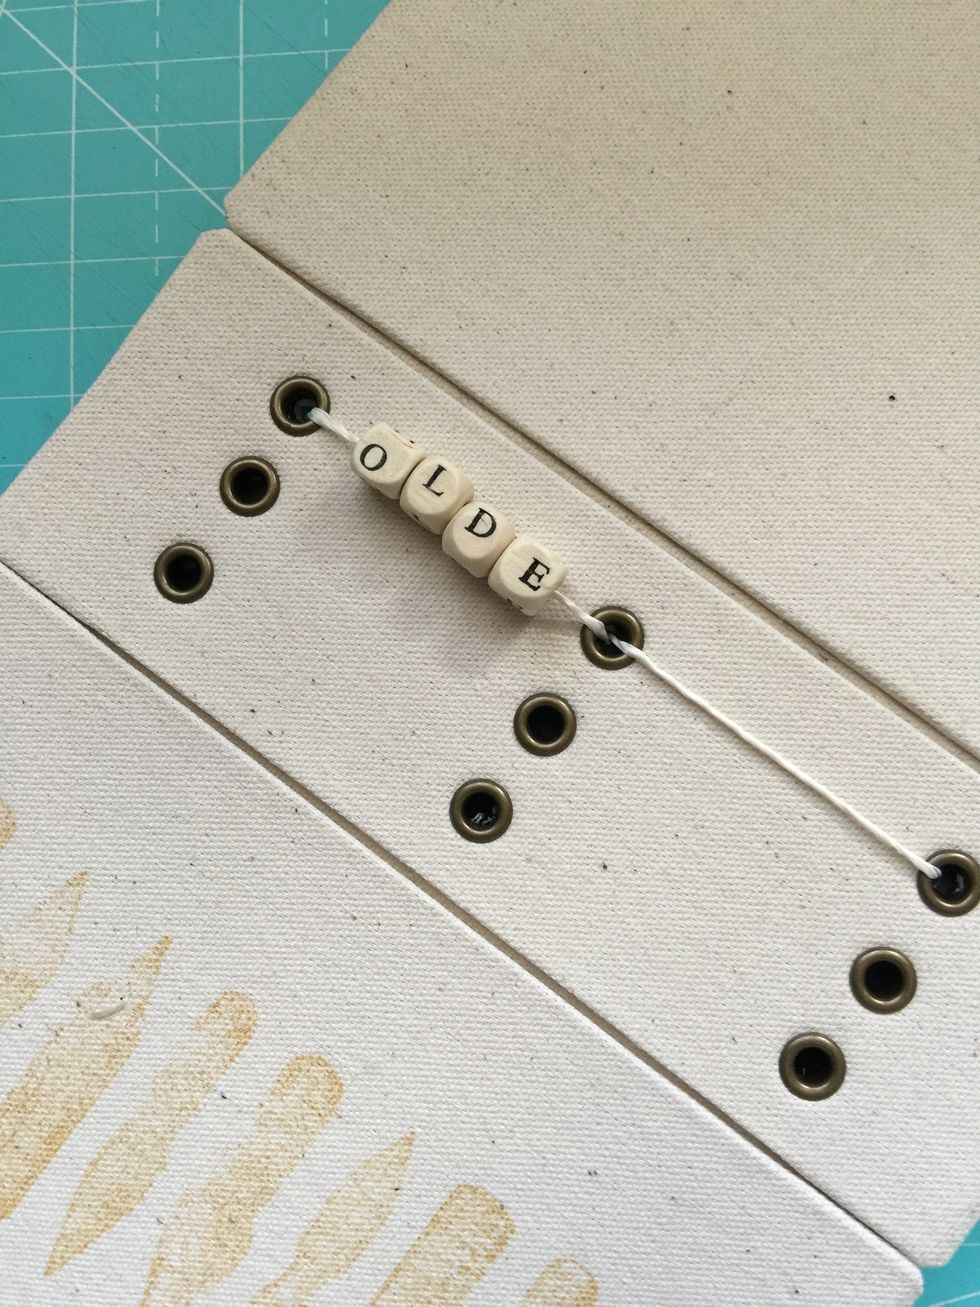
Continue sewing and knotting on the inside.

Repeat with the remaining two booklets.
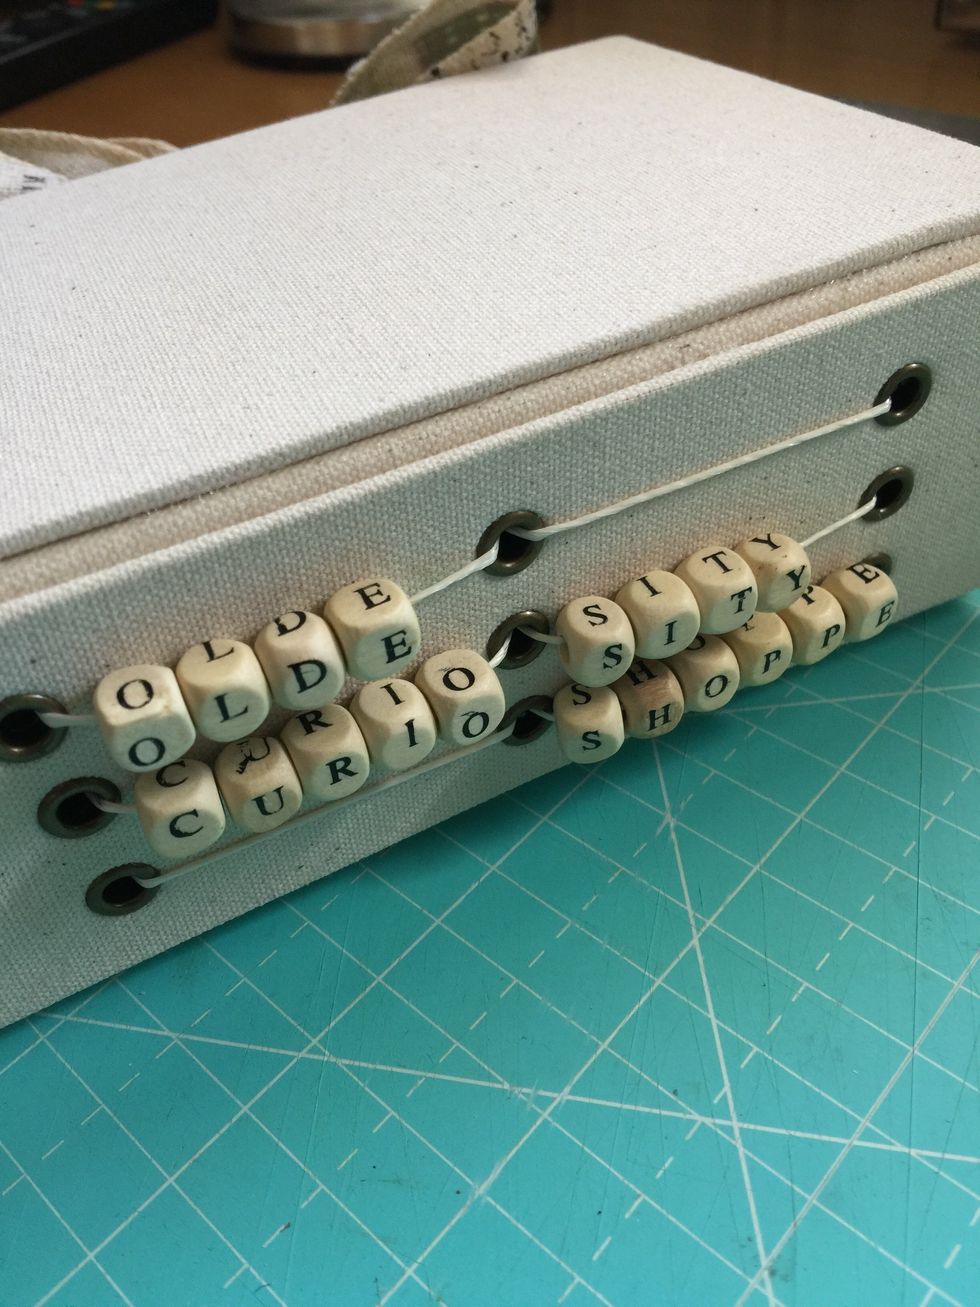
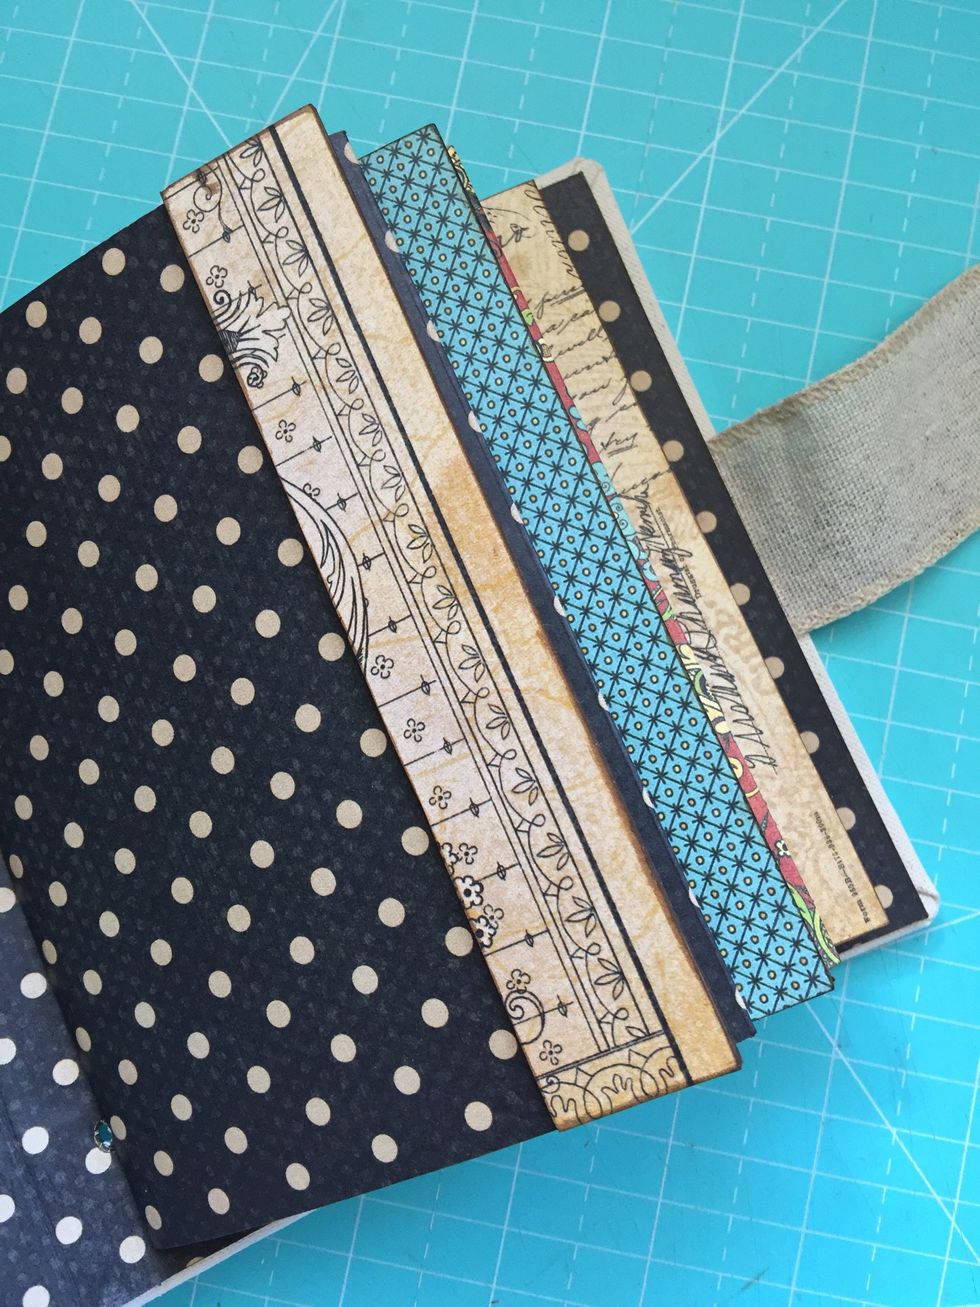
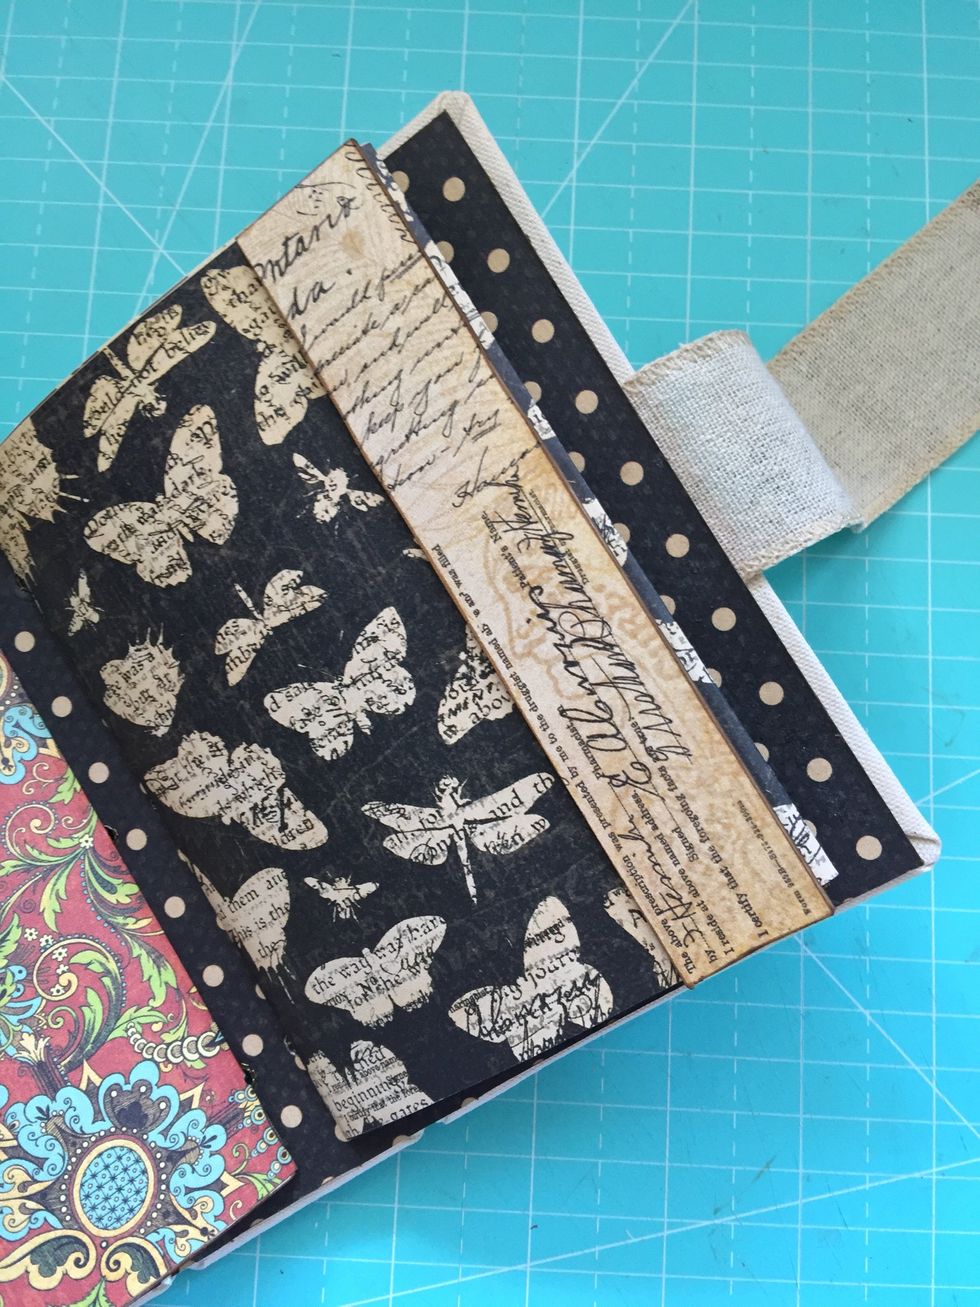
The three booklets are already sewn on the spine.
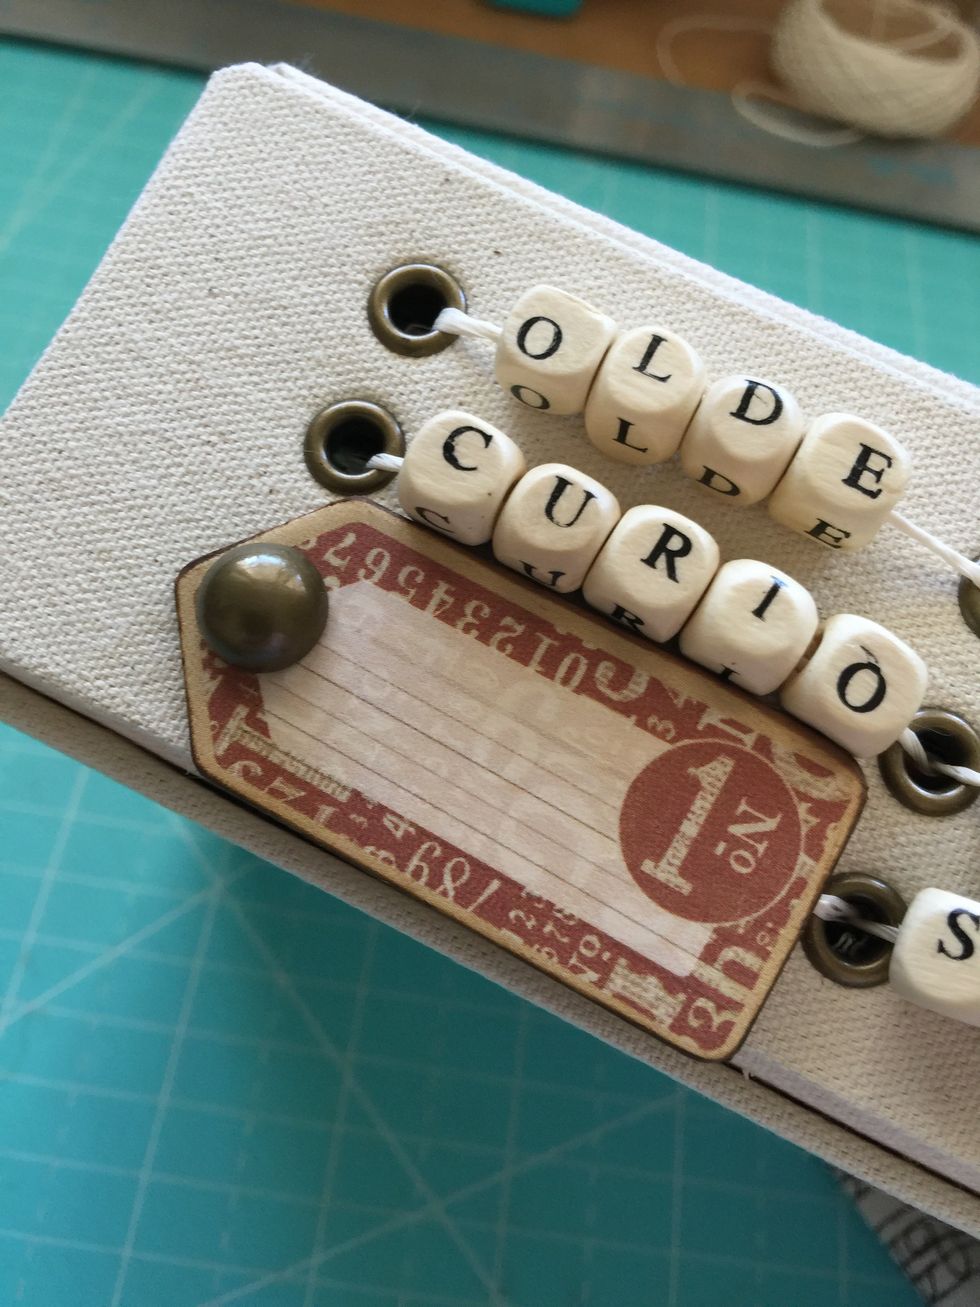
I added a chipboard and a brad.

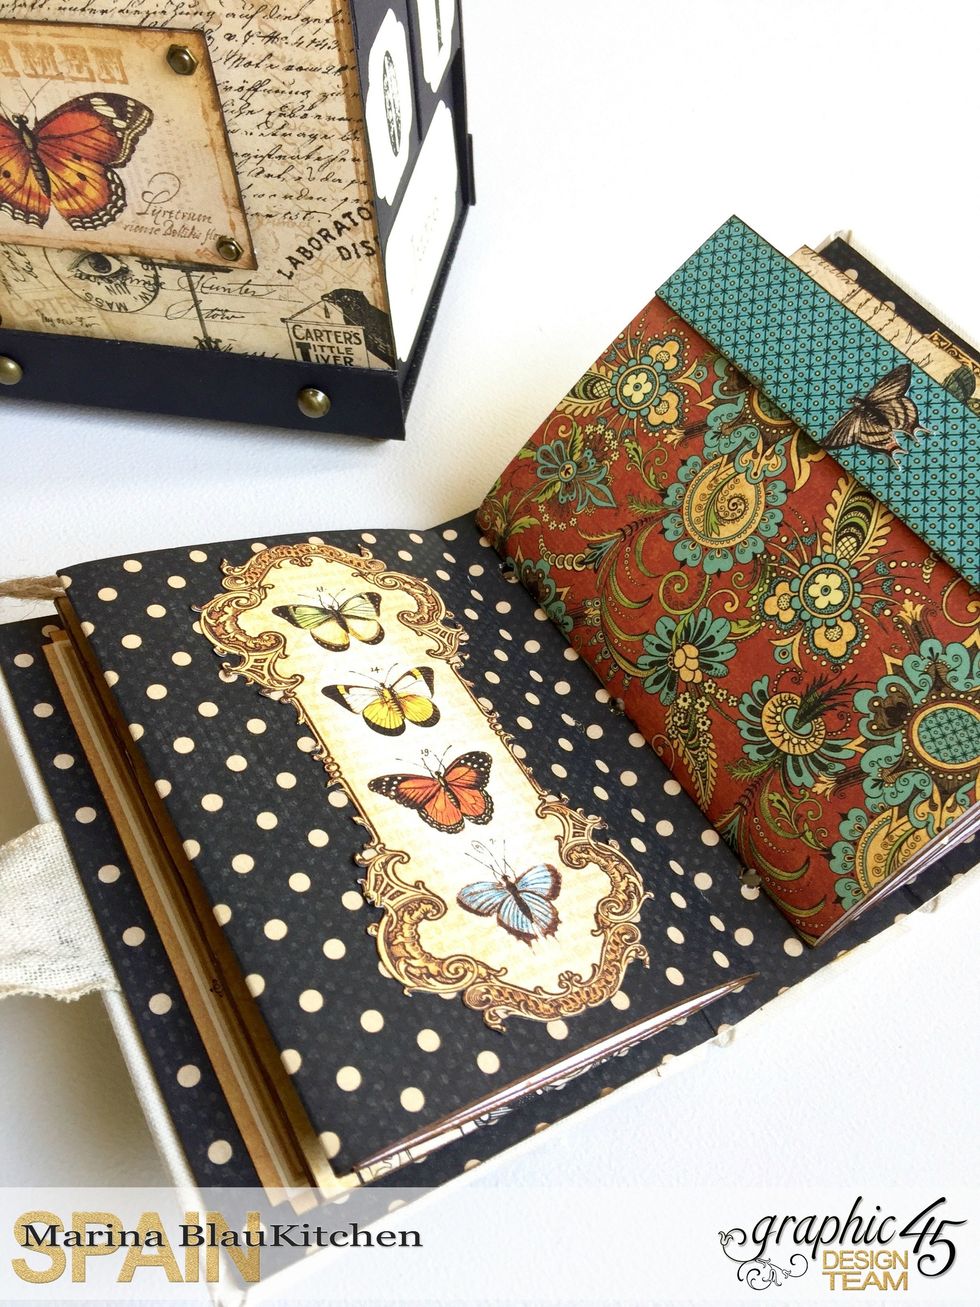
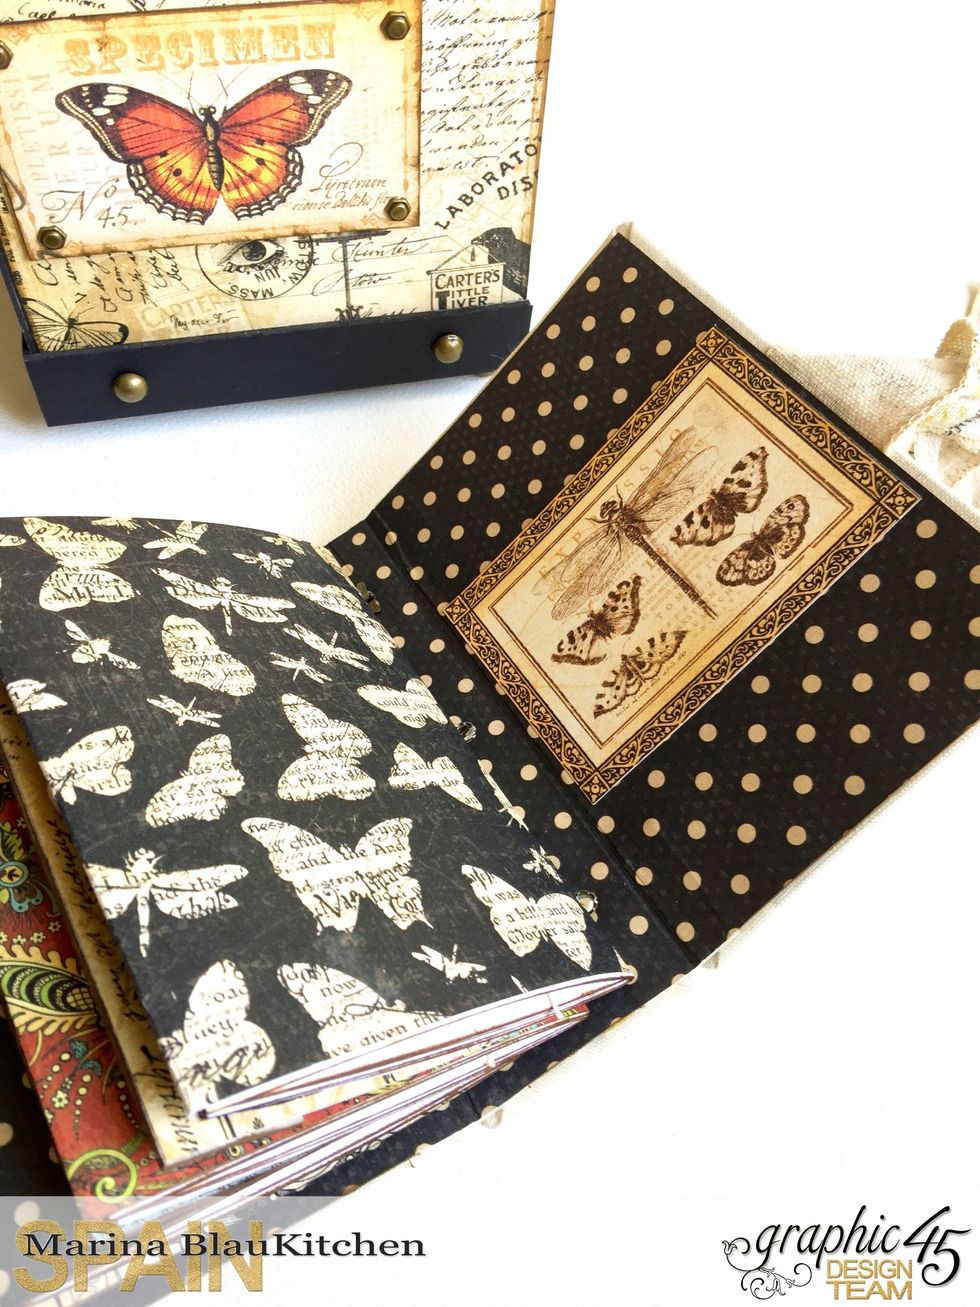
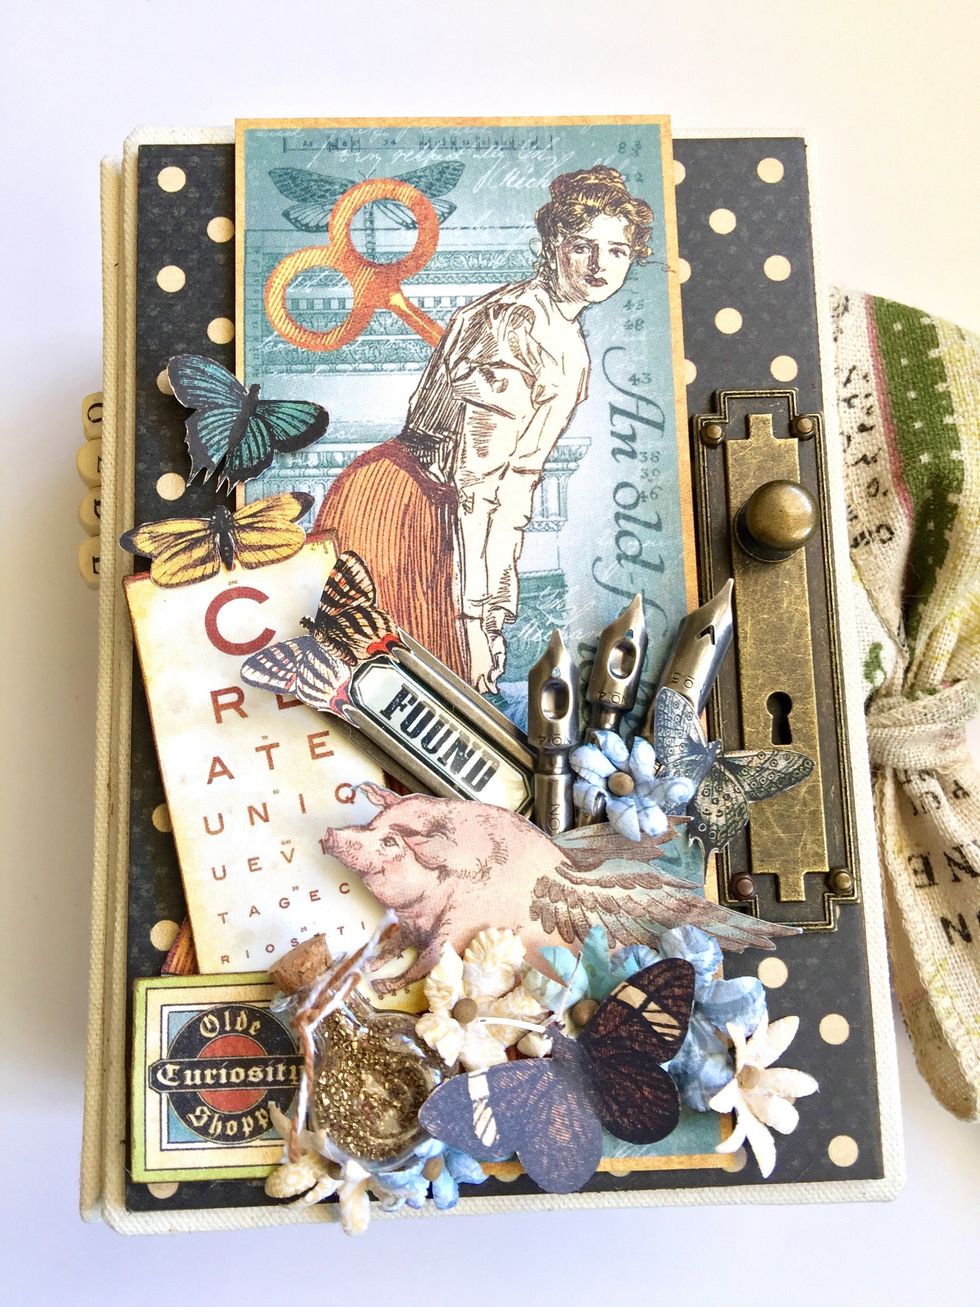
Now just decorate. These are the base decoration parts of the album cover.
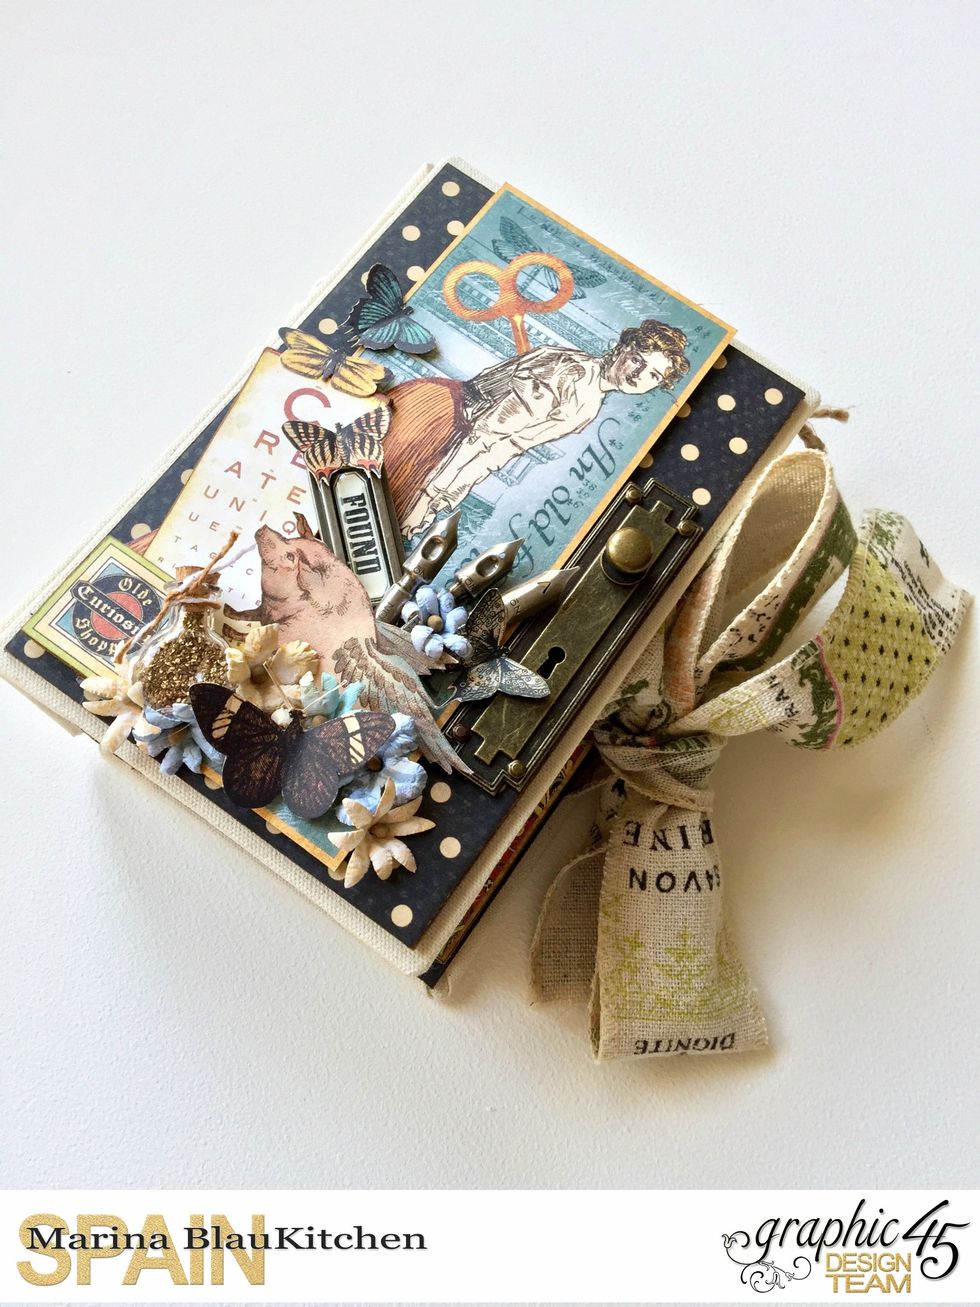
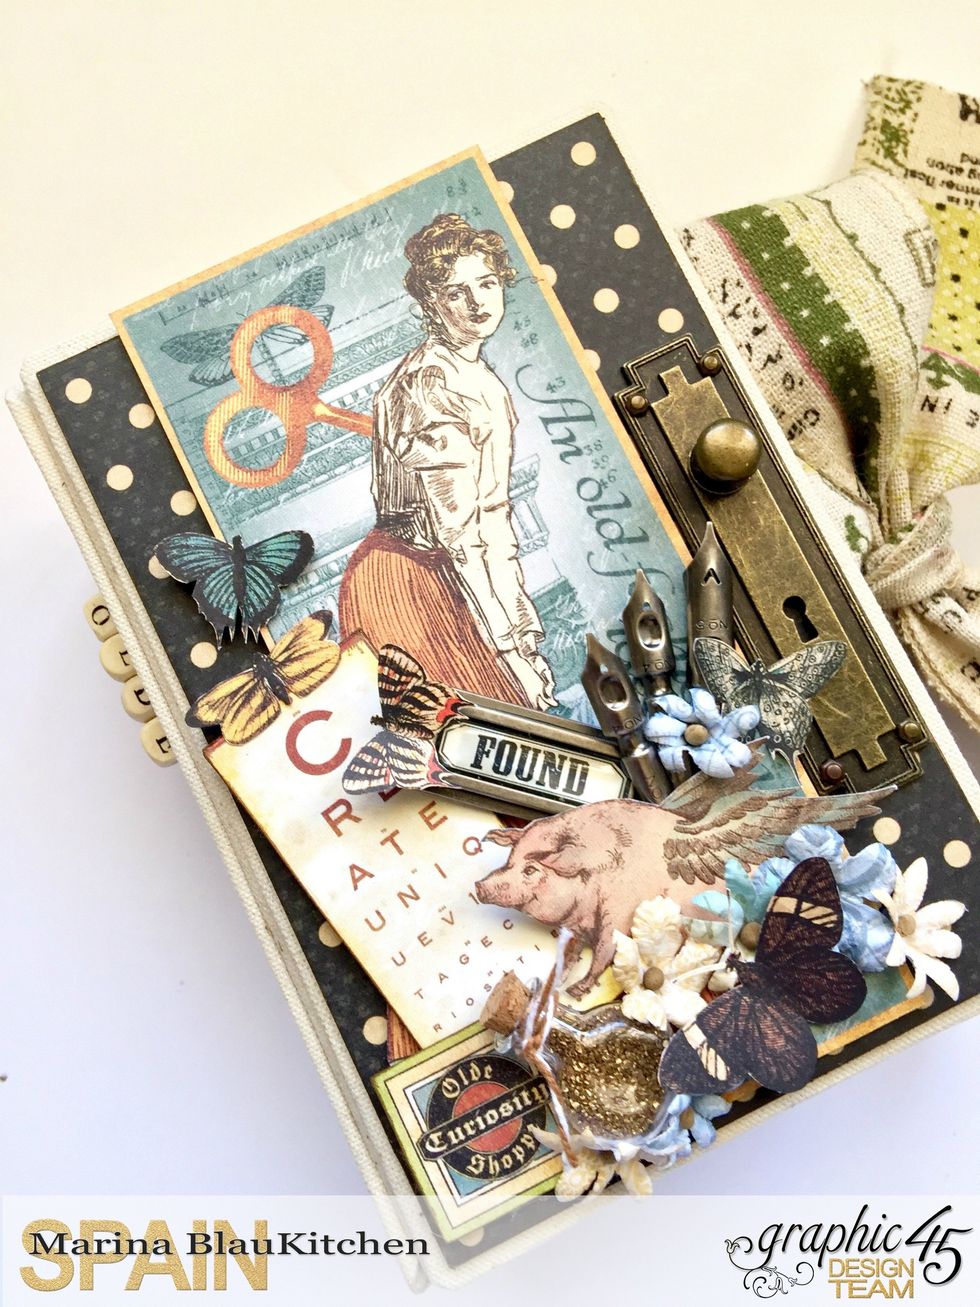
And here is the cover decorated with more elements.


Inside.