The Conversation (0)
Sign Up
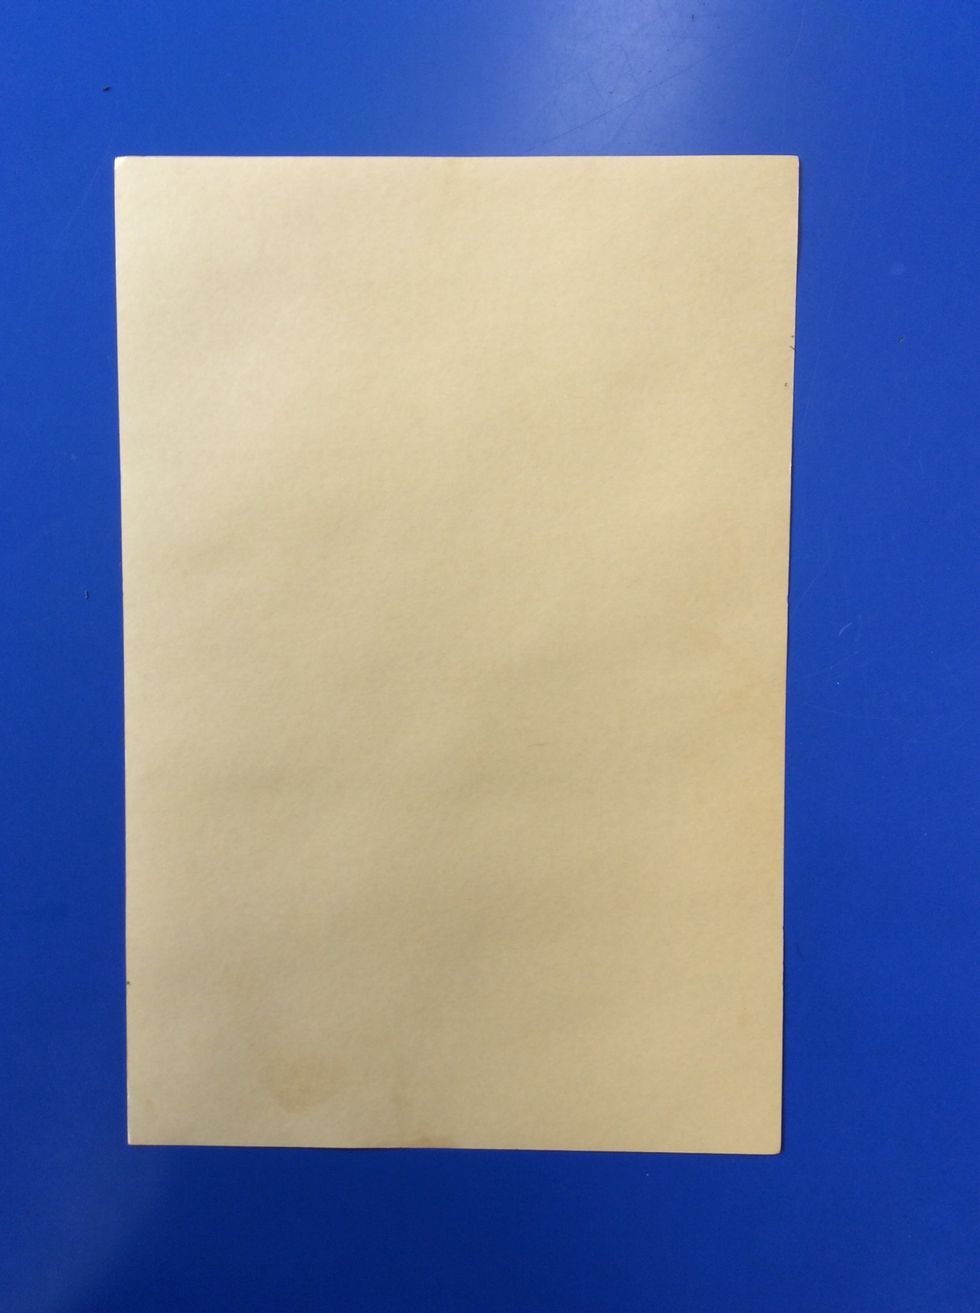
Grab a tan piece of construction paper.
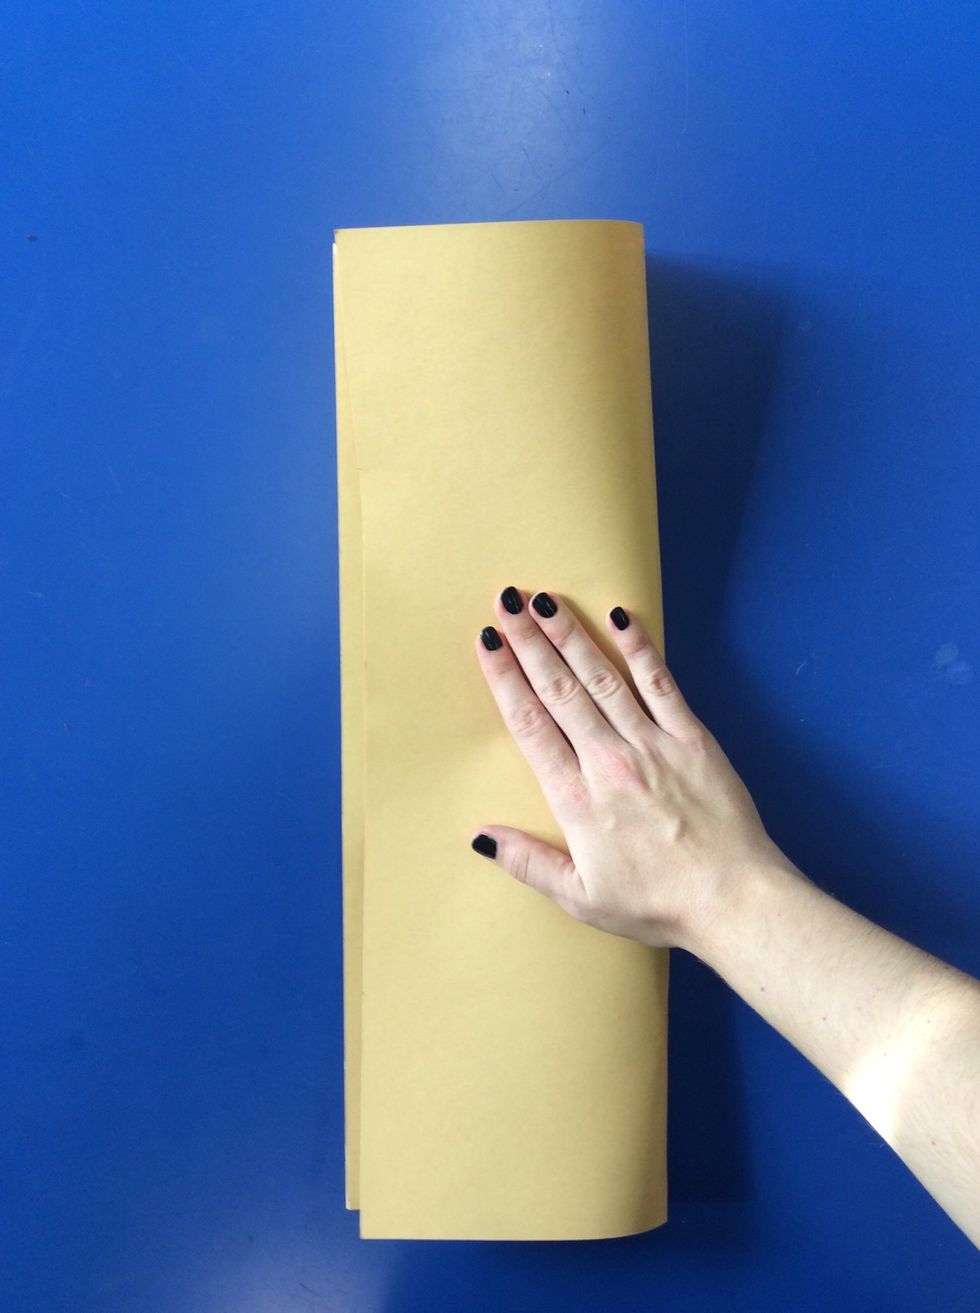
Fold your paper in half "hotdog" style. It should be tall and skinny.

Make sure the fold is on the right side of your paper. If it is not, turn your paper!
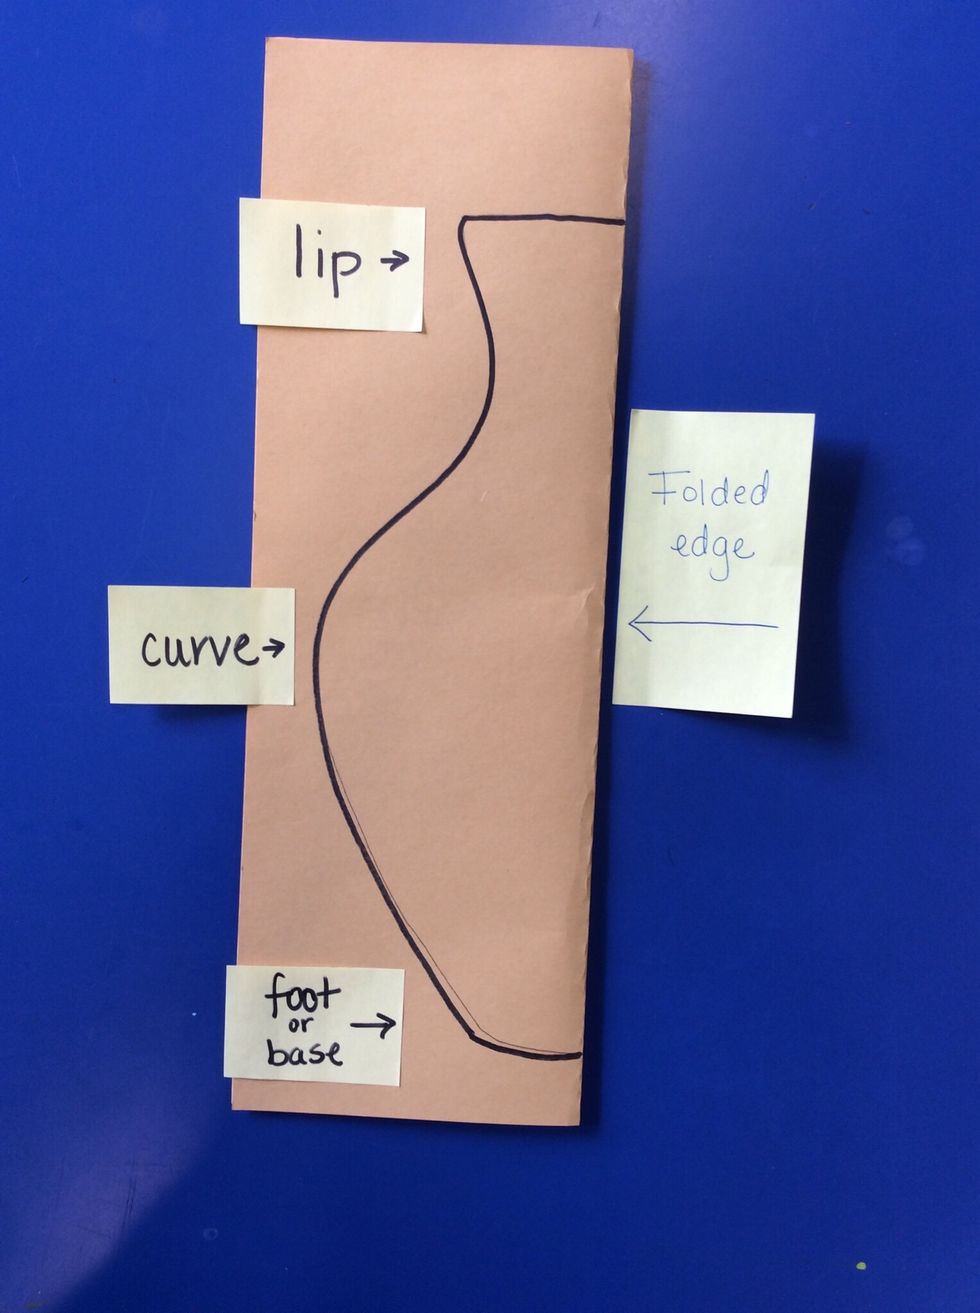
Use a pencil to draw half of your pot. You can look at pictures on Edmodo for shape ideas.
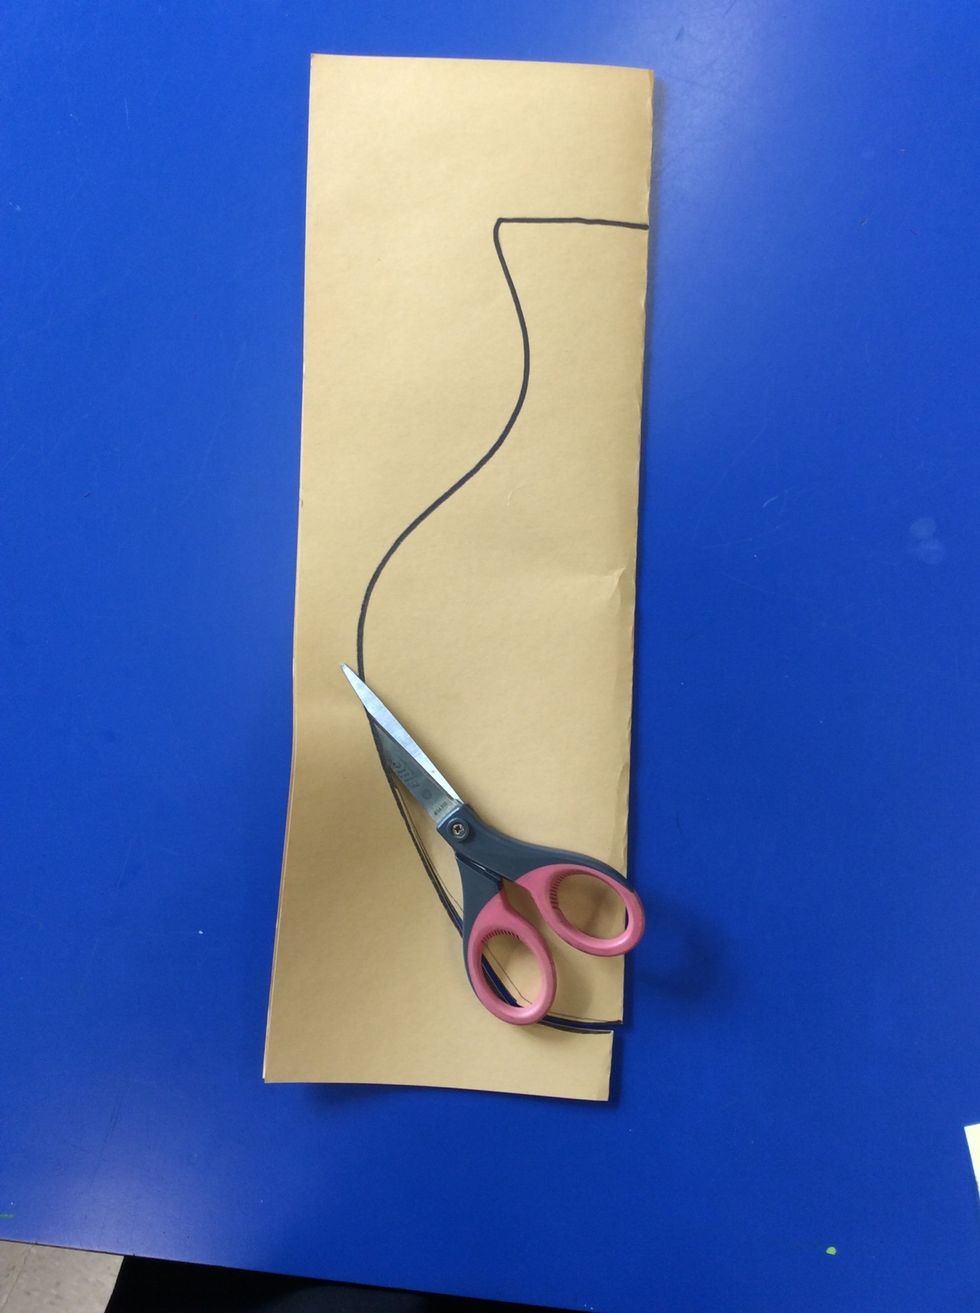
Keep your paper folded and cut out your pot. Throw your scraps in the recycle.
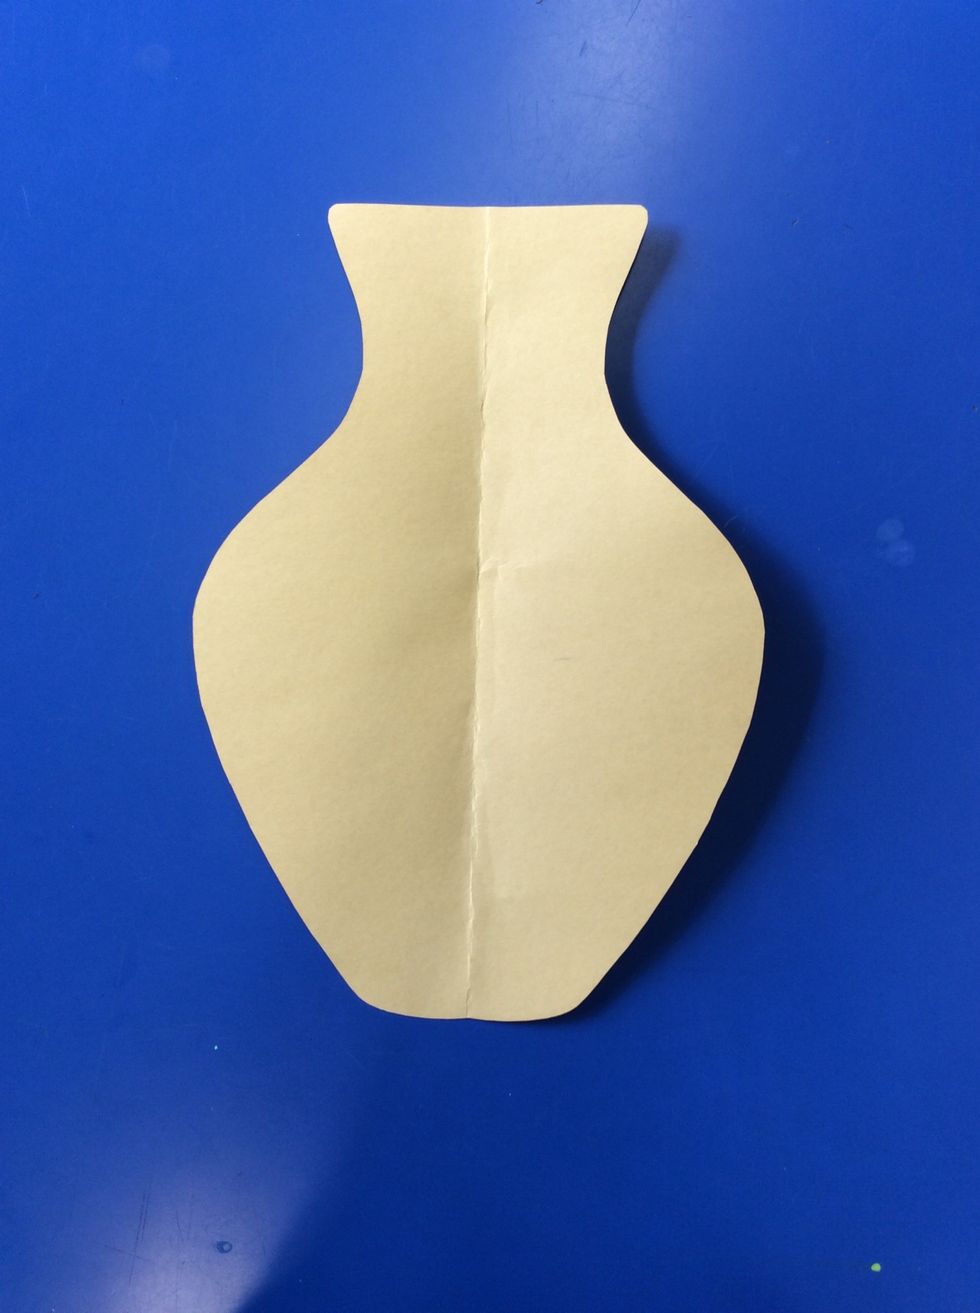
Unfold your paper to see your entire pot.
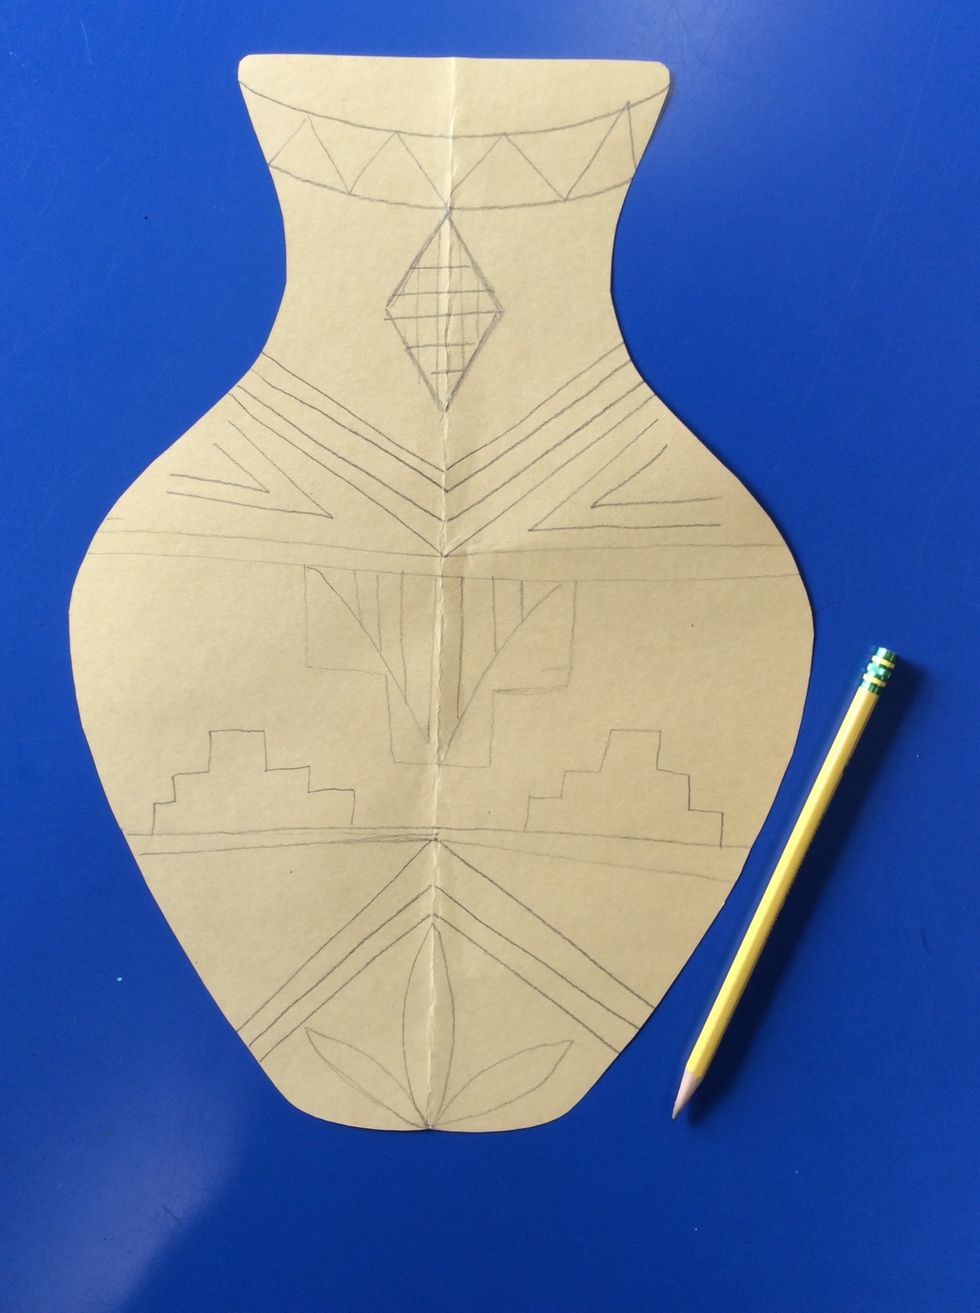
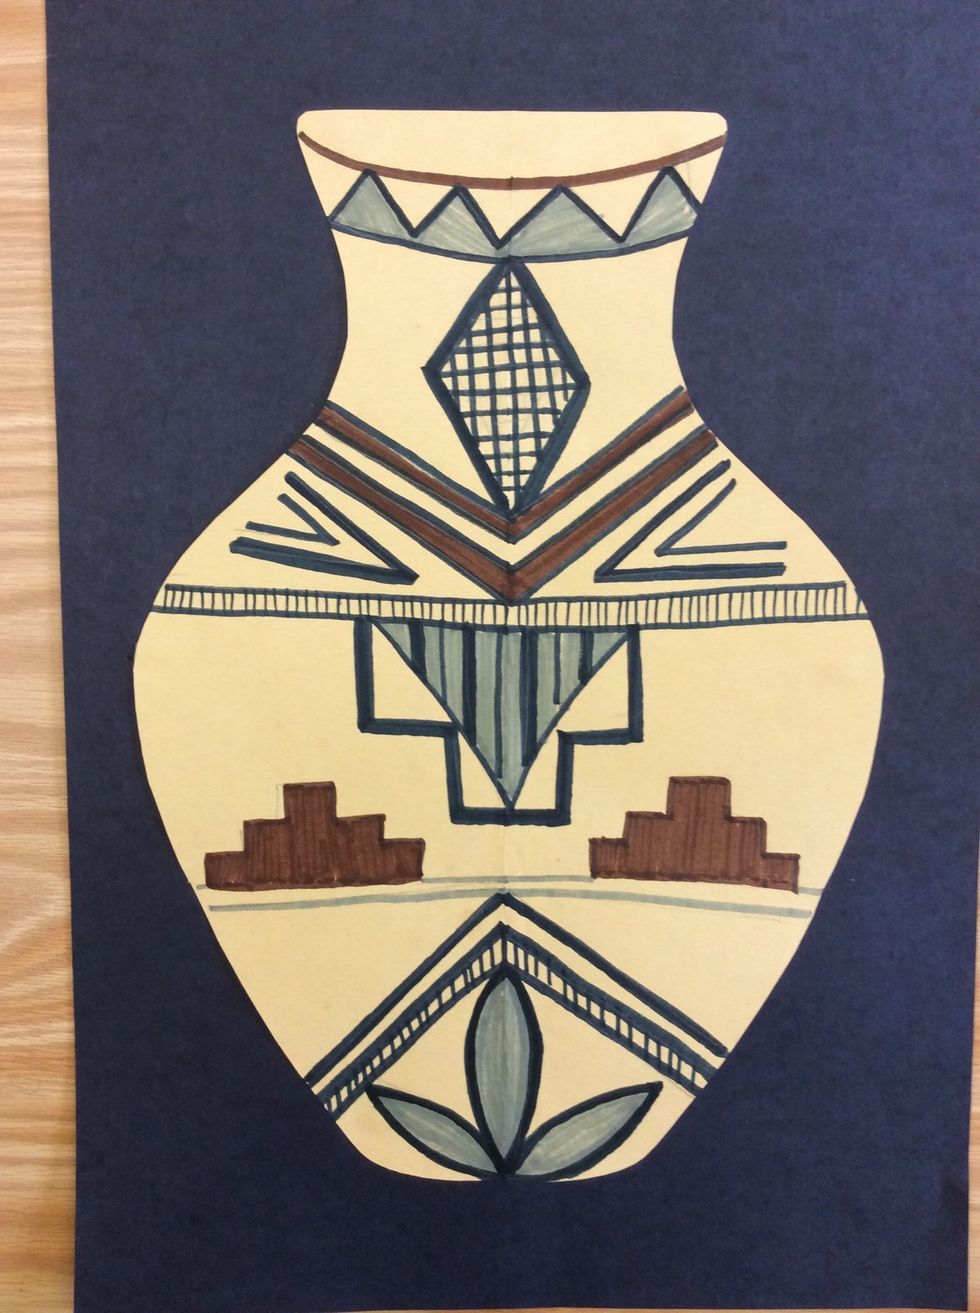
Look at some examples of Pueblo pottery on Edmodo. Use different designs and a pencil to add patterns to your pot.

Use neutral colors (black, brown, grey, white) to color in your pot. You can use marker, oil pastel or crayon.
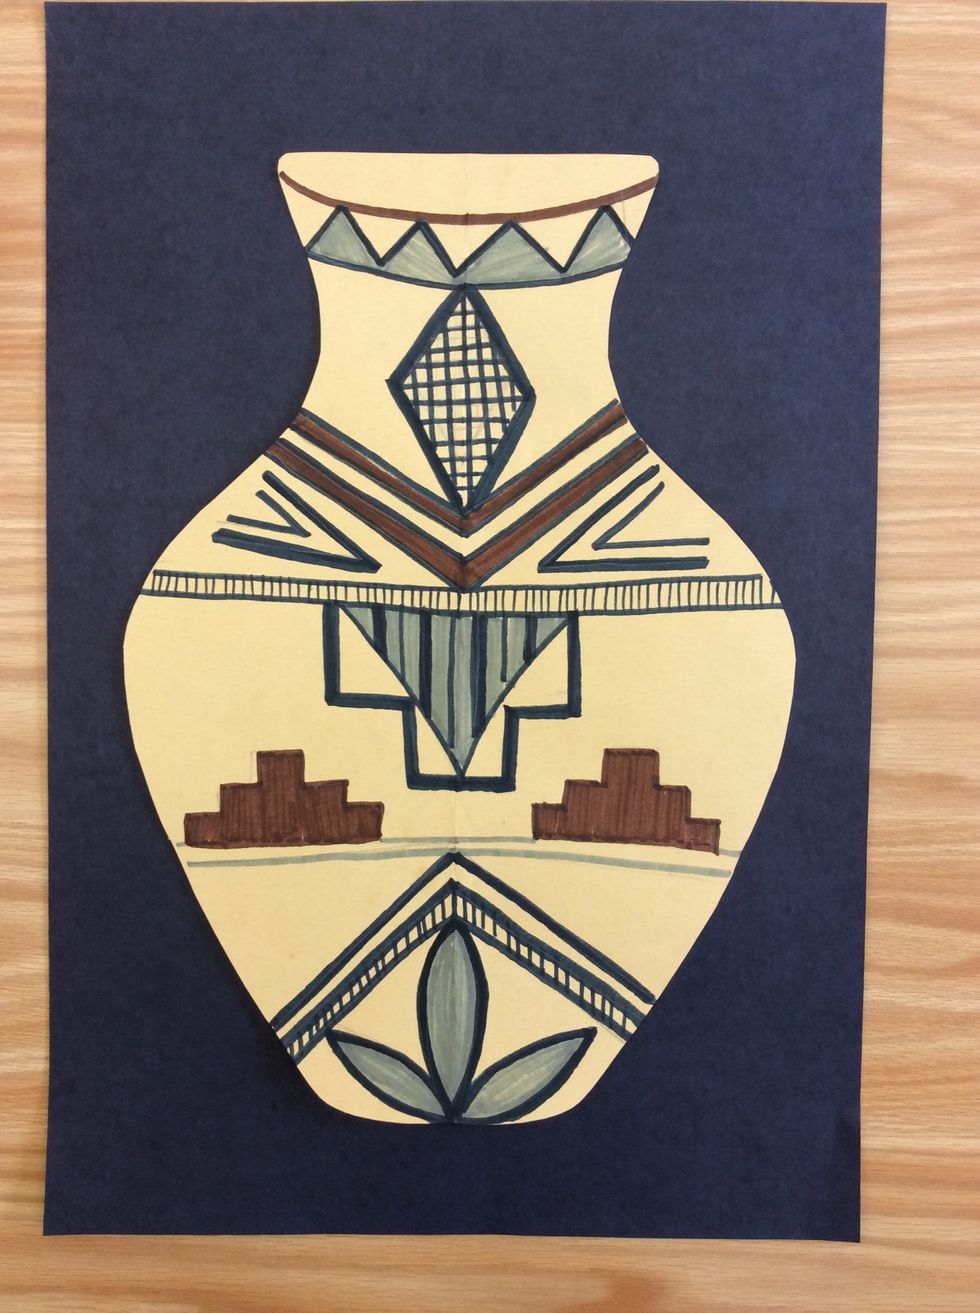
Get a black piece of paper to mount your pot. Place it in the middle of the paper.

Use 6 dots of glue to glue your pot on your black paper