The Conversation (0)
Sign Up
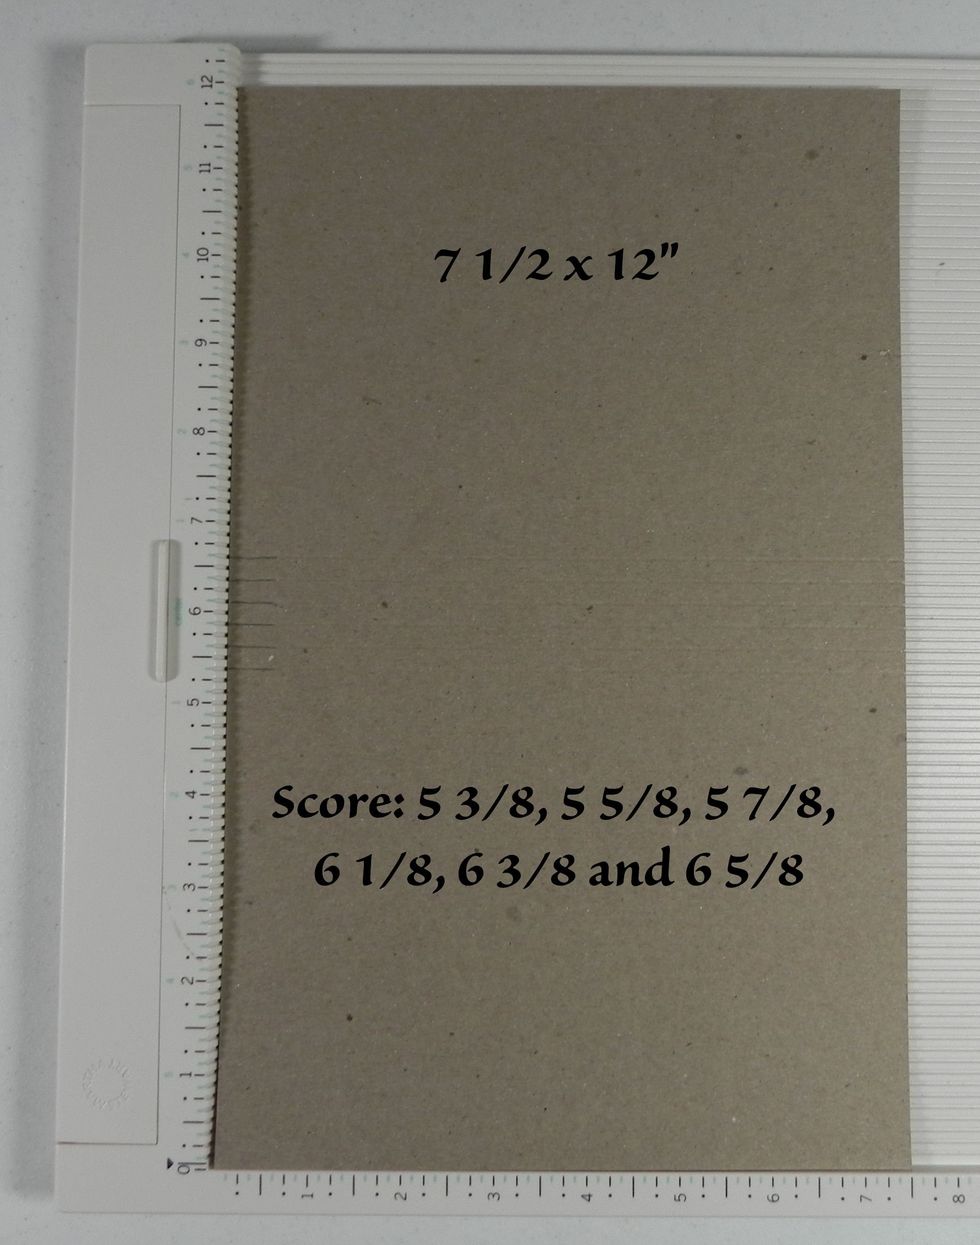
Cut out of Lightweight Chipboard: 7 1/2 x 12". Score: 5 3/8, 5 5/8, 5 7/8, 6 1/8, 6 3/8, and 6 5/8.
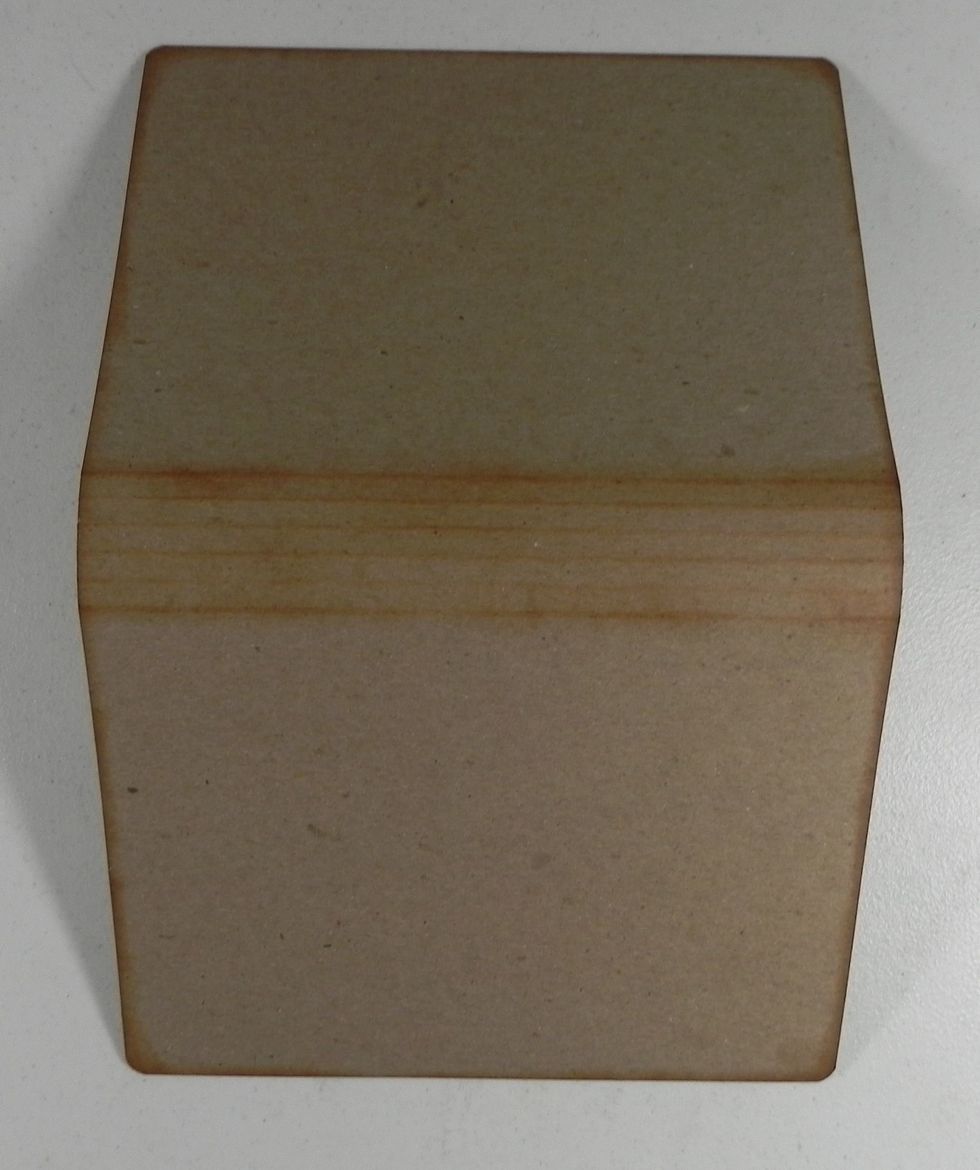
Fold lightly on the score lines. Punch the corners with 1/4" corner rounder. Ink edges.
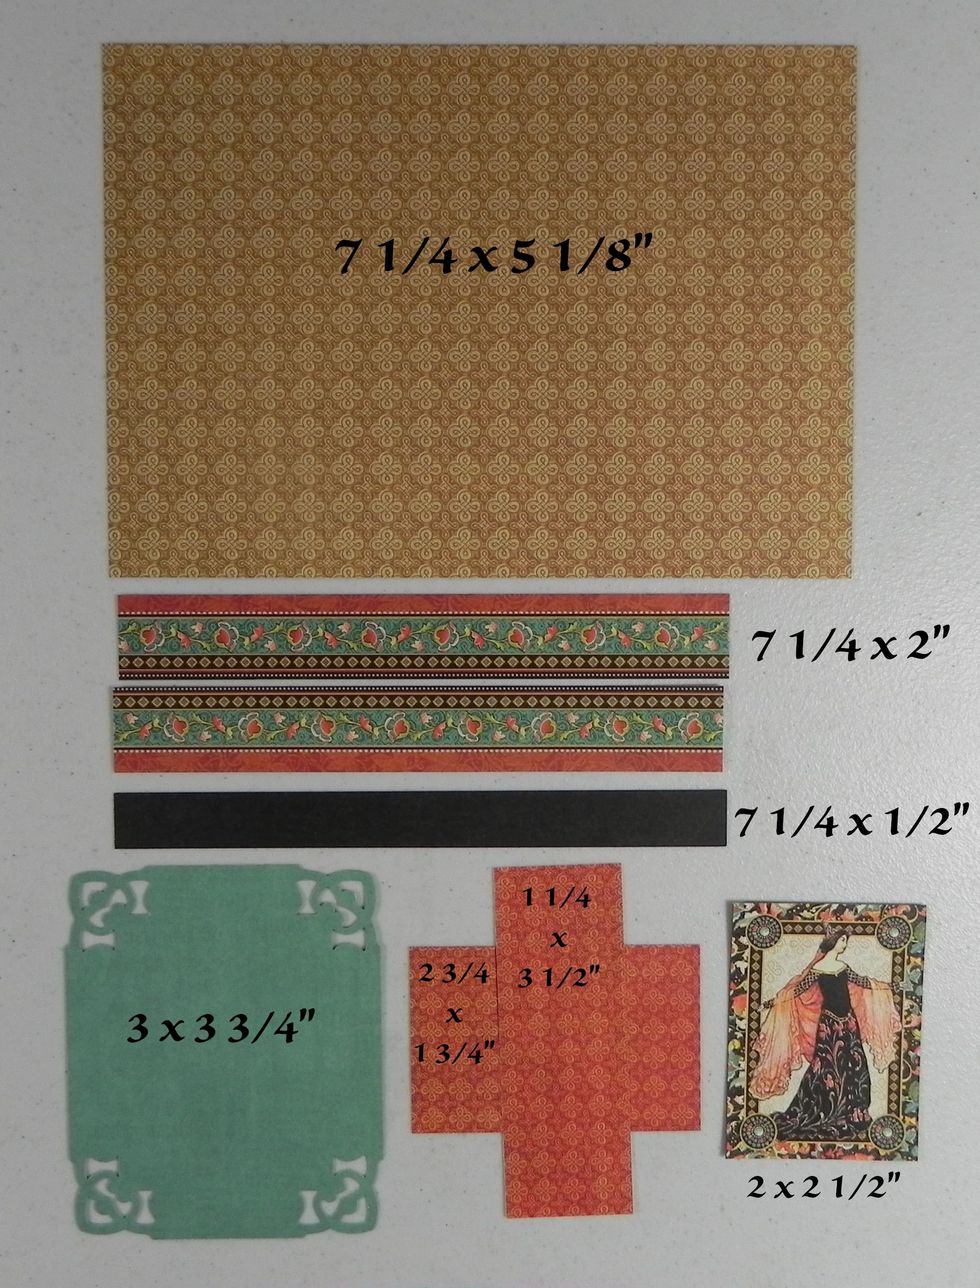
Decorating the Front Cover using pattern paper. The 7 1/4 x 2" piece I used two pieces of paper. Punch the corners of the 3 x 3 3/4". The bottom 3 pictures get stacked together (see next 2 steps).
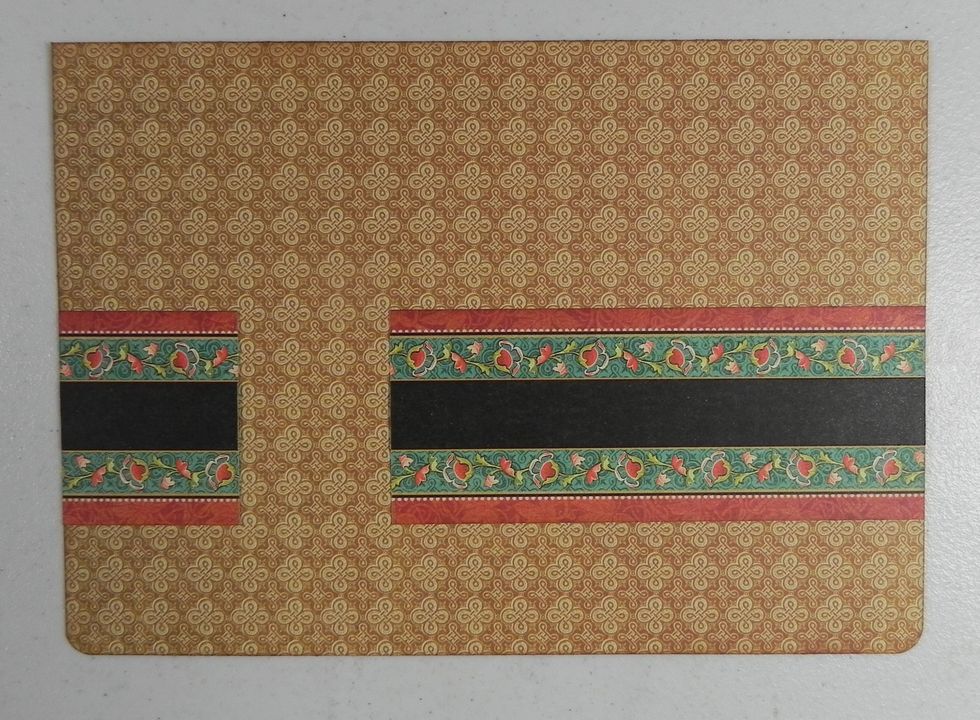
Attach the 7 1/4 x 2" piece first and then the 7 1/4 x 1/2" piece on top of it, centered. These pieces were not 7 1/4" long, so I cut them where another piece will be covering up that area.
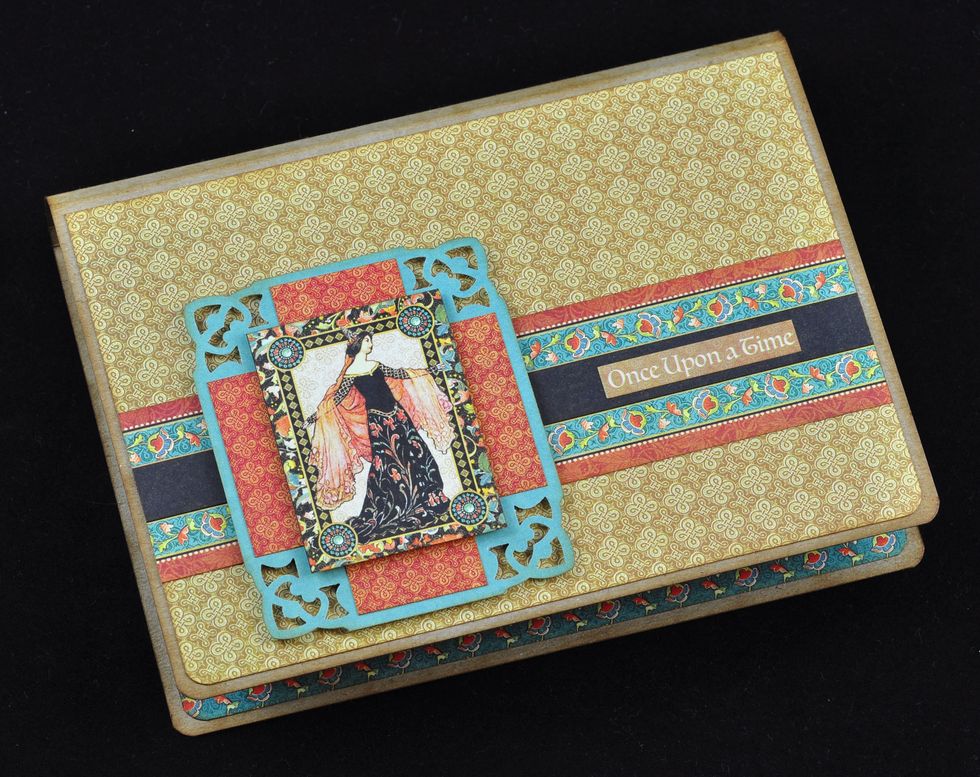
Round the bottom two corners with 1/4" corner rounder on the 7 1/4 x 5 1/8" piece. Ink edges. I used foam squares for the 3 x 3 3/4" piece and the 2 x 2 1/2" piece.
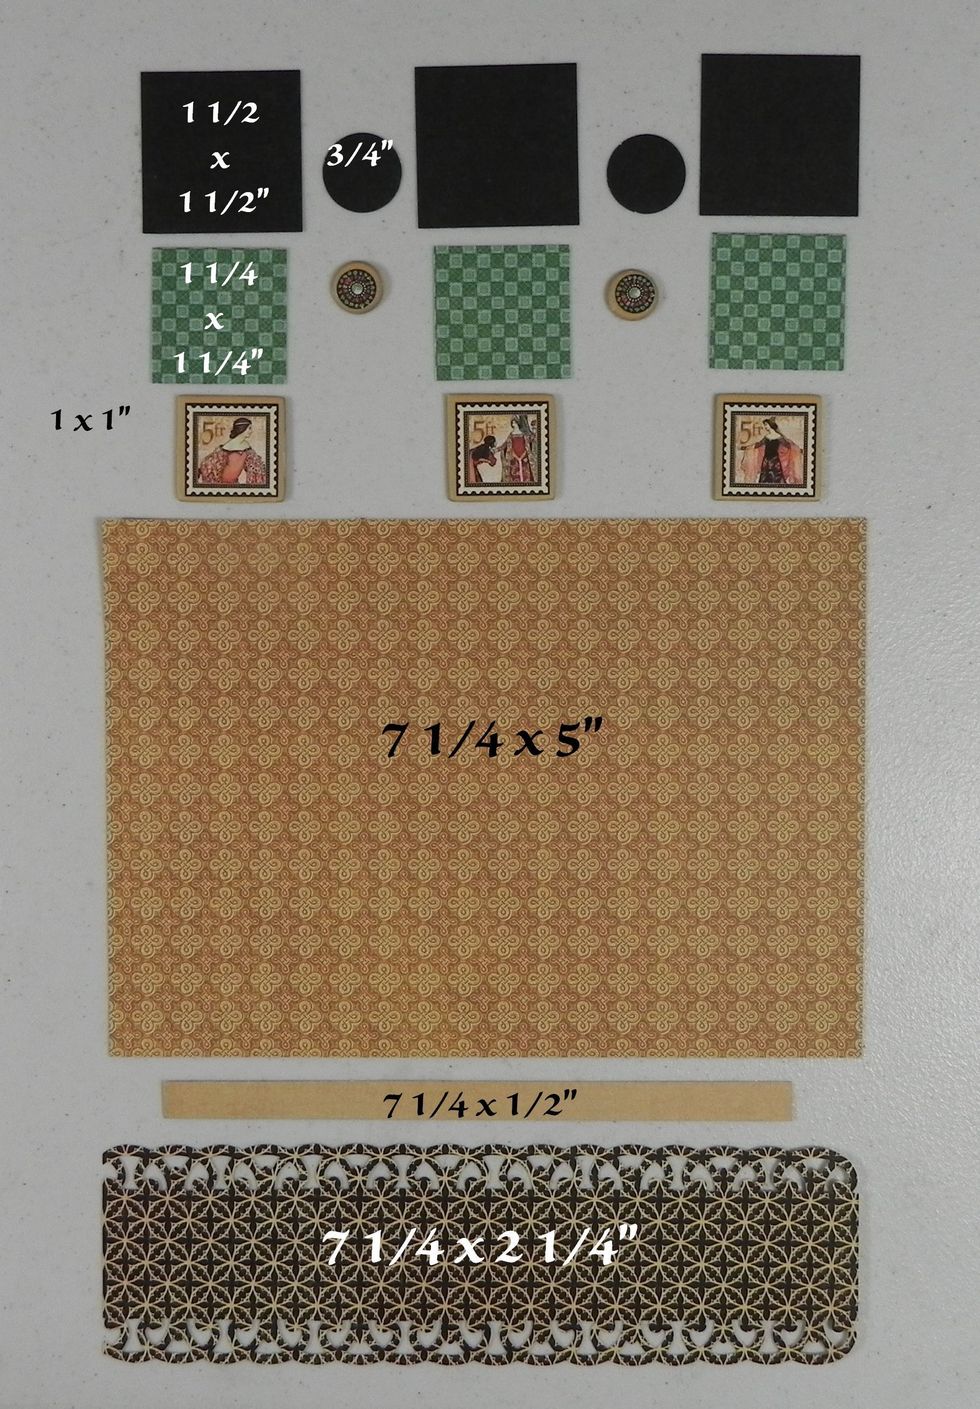
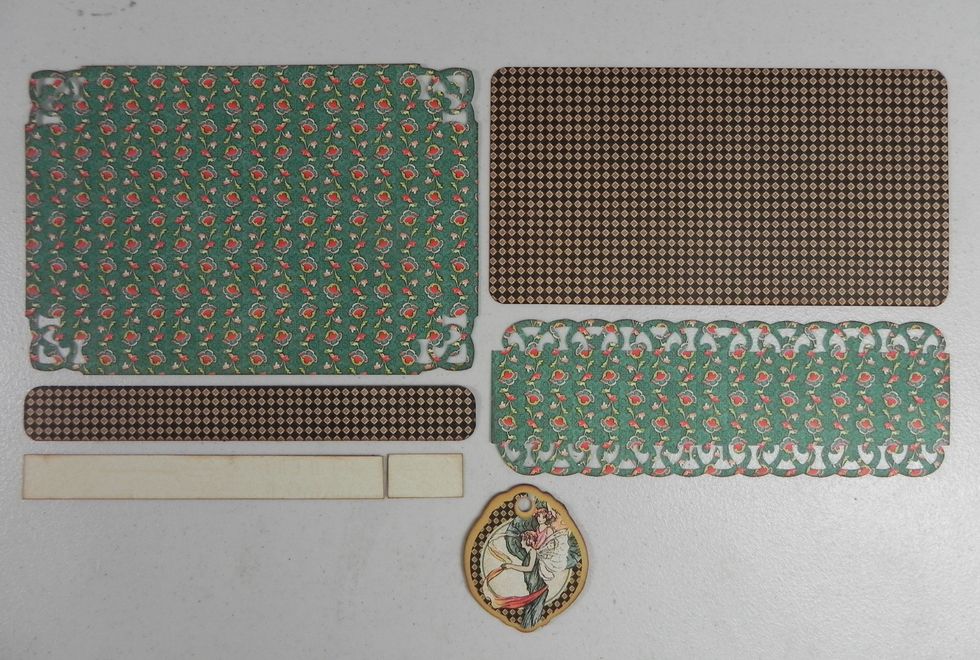
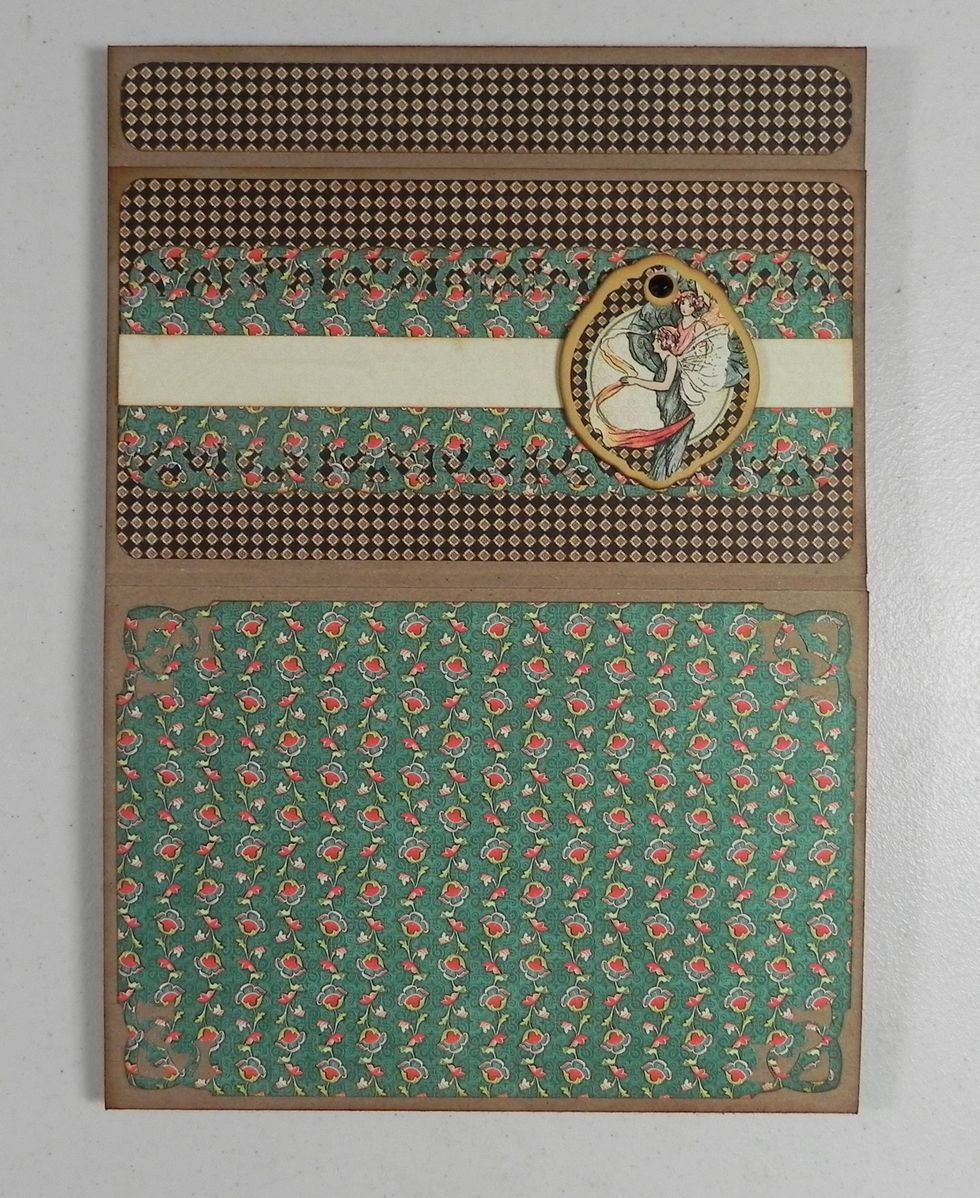
Inside cover. cut out of pattern paper.
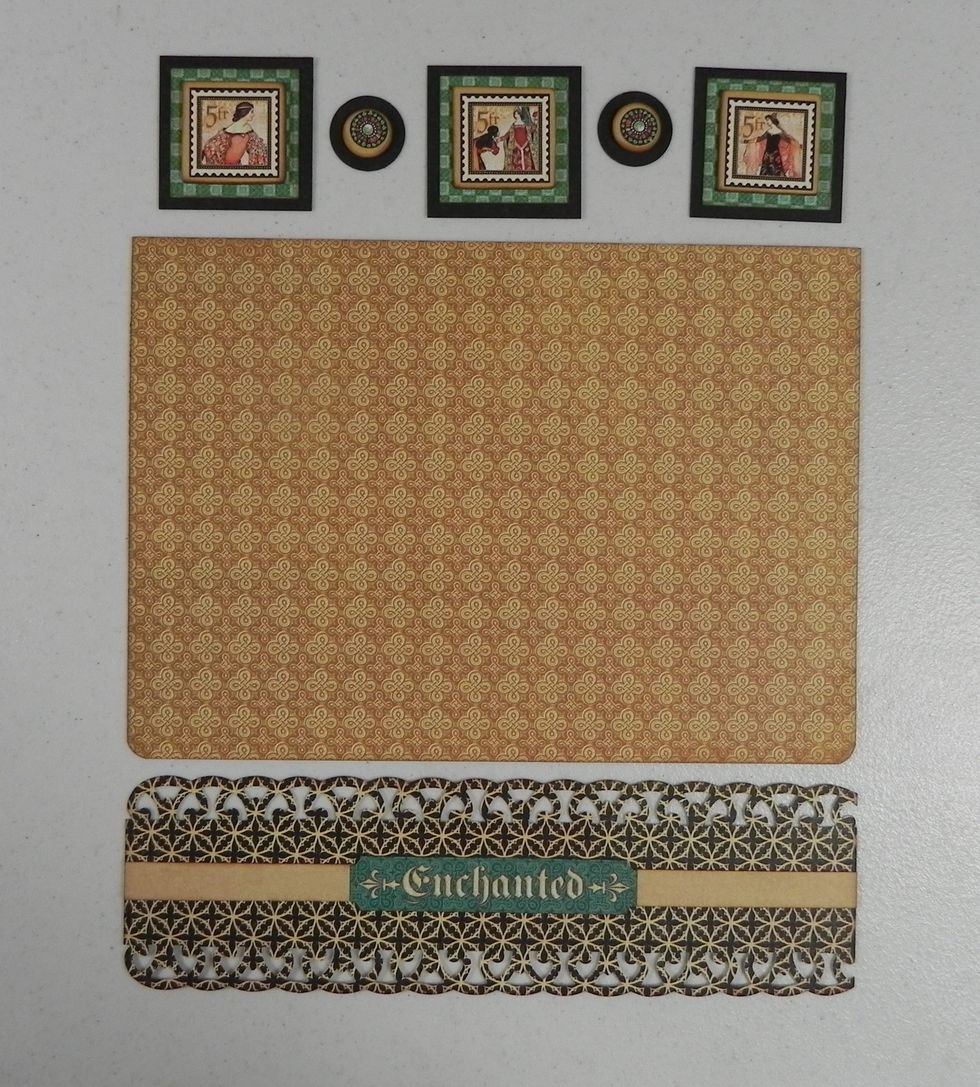
Stack the squares and circles with the chipboard board pieces. Edge punch the 7 1/4 x 2 1/2" piece. Attach the 1/2" strip to the 2 1/2" piece, centered. Add sticker.
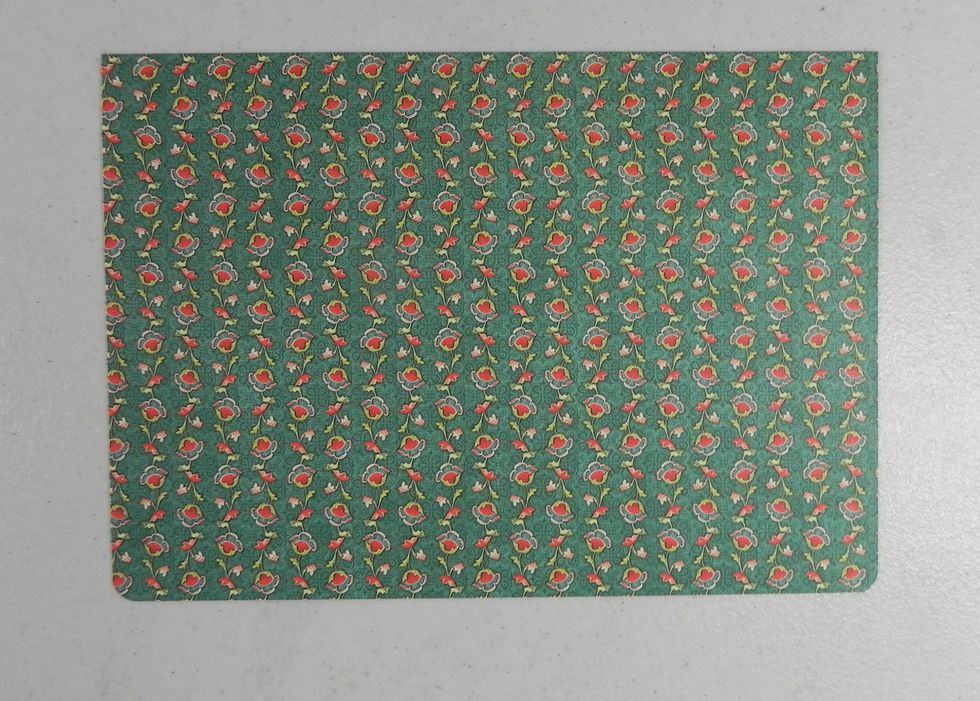
Inside bottom cover, cut out of pattern paper: 7 1/2 x 5". Punch the bottom corners with a 1/4" corner punch. Ink edges.
Attach to album.
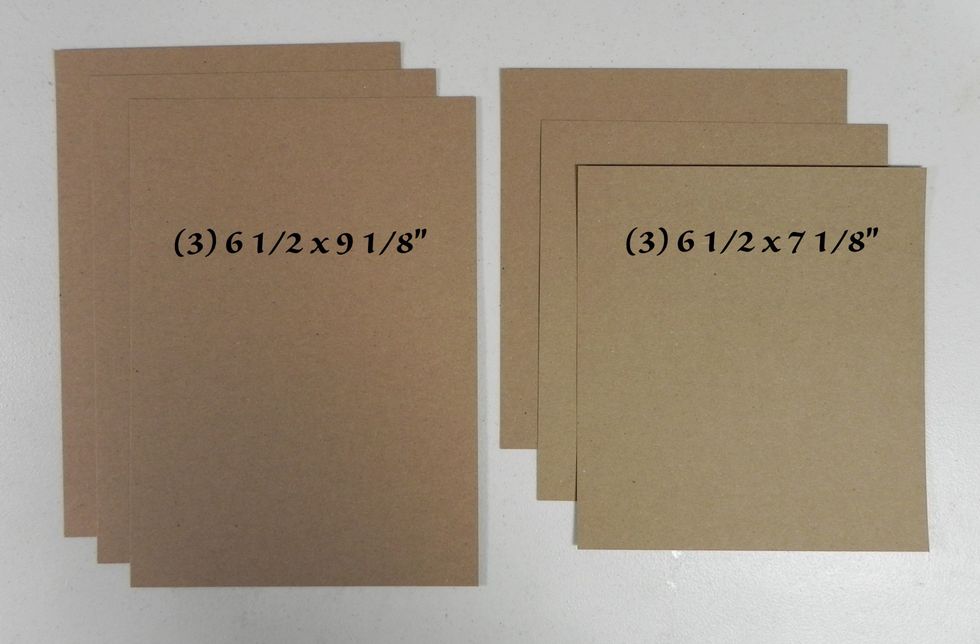
Pages: Cut out of Kraft cardstock or similar. (3) 6 1/2 x 9 1/8" and (3) 6 1/2 x 7 1/8"
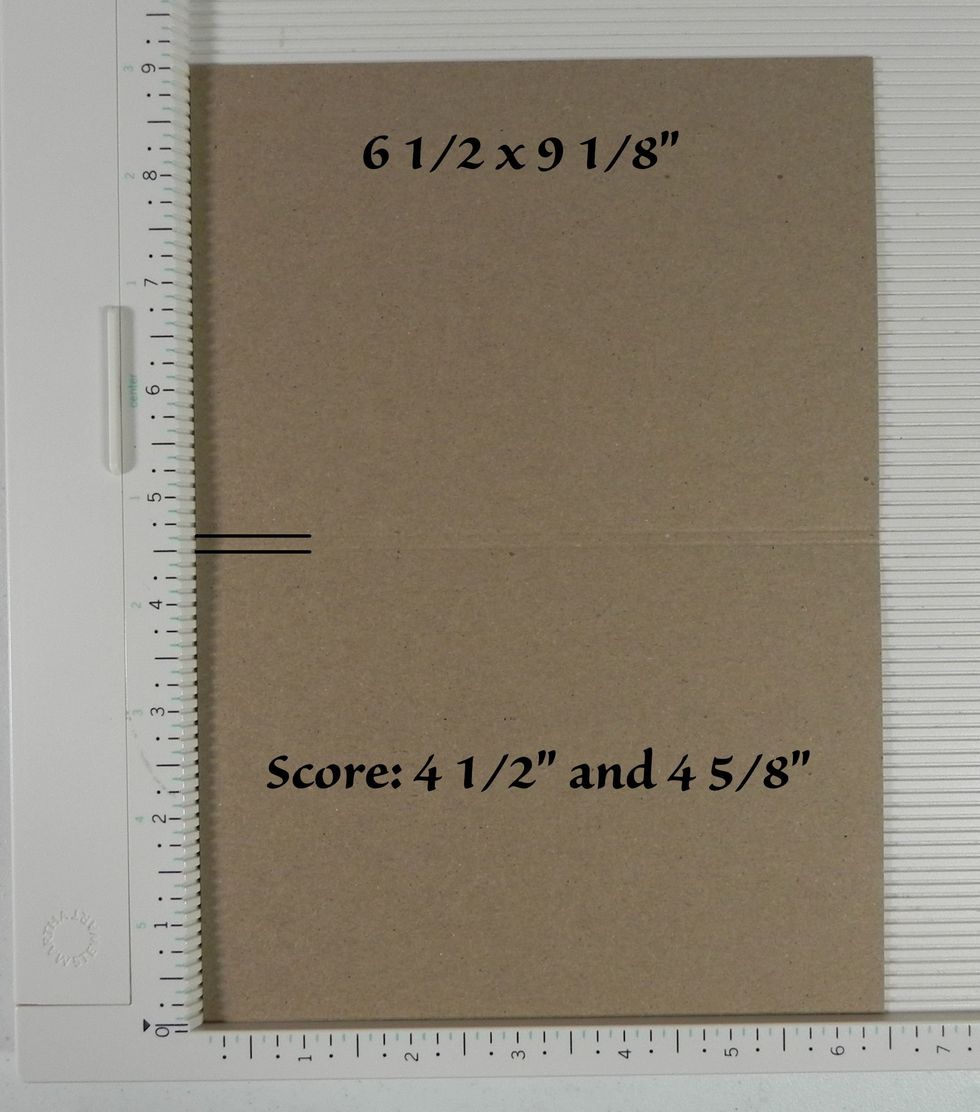
On the 6 1/2 x 9 1/8" pages, score at 4 1/2" and 4 5/8" on the long side (9 1/8" side).
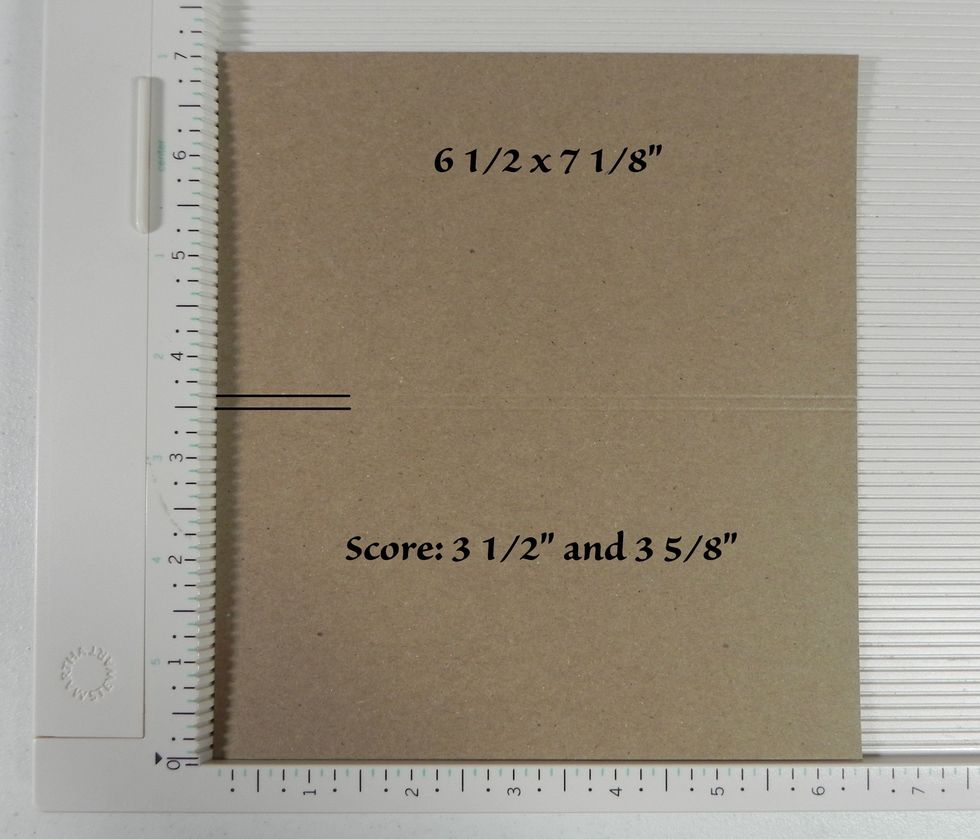
On the 6 1/2 x 7 1/8" pocket pages, score at 3 1/2" and 3 5/8" on the long side (7 1/8" side).
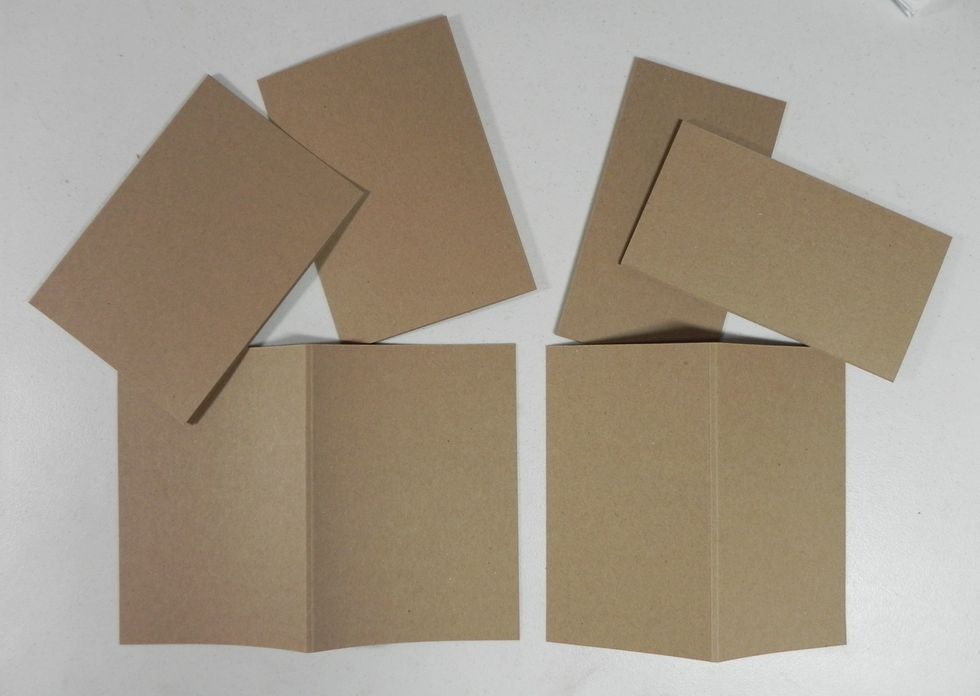
Fold all pages on the score lines (going the same direction).

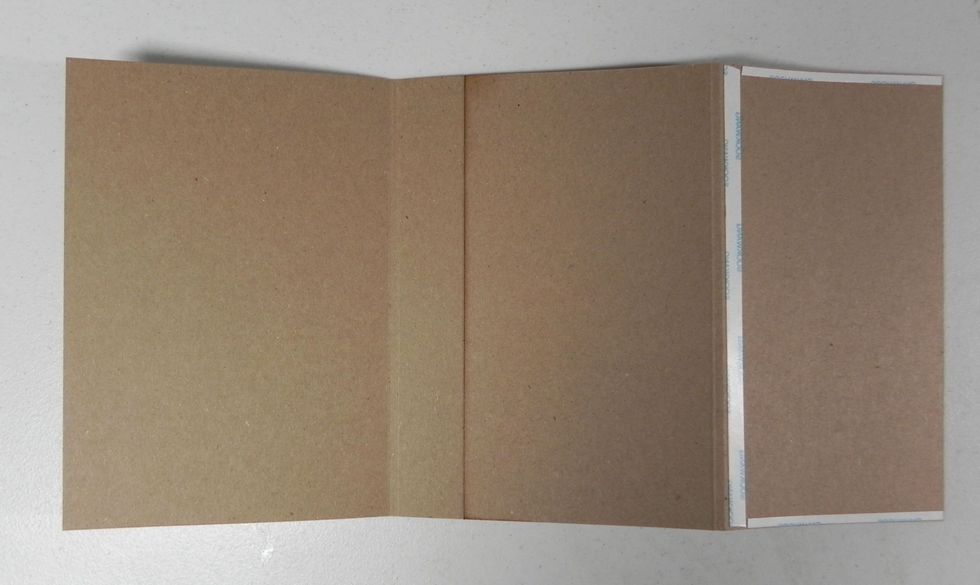
On the pocket pages (6 1/2 x 7 1/8") add tape. On the backside, add 1/4" tape right along the first score line (not on it). Add 1/8" tape to the sides.
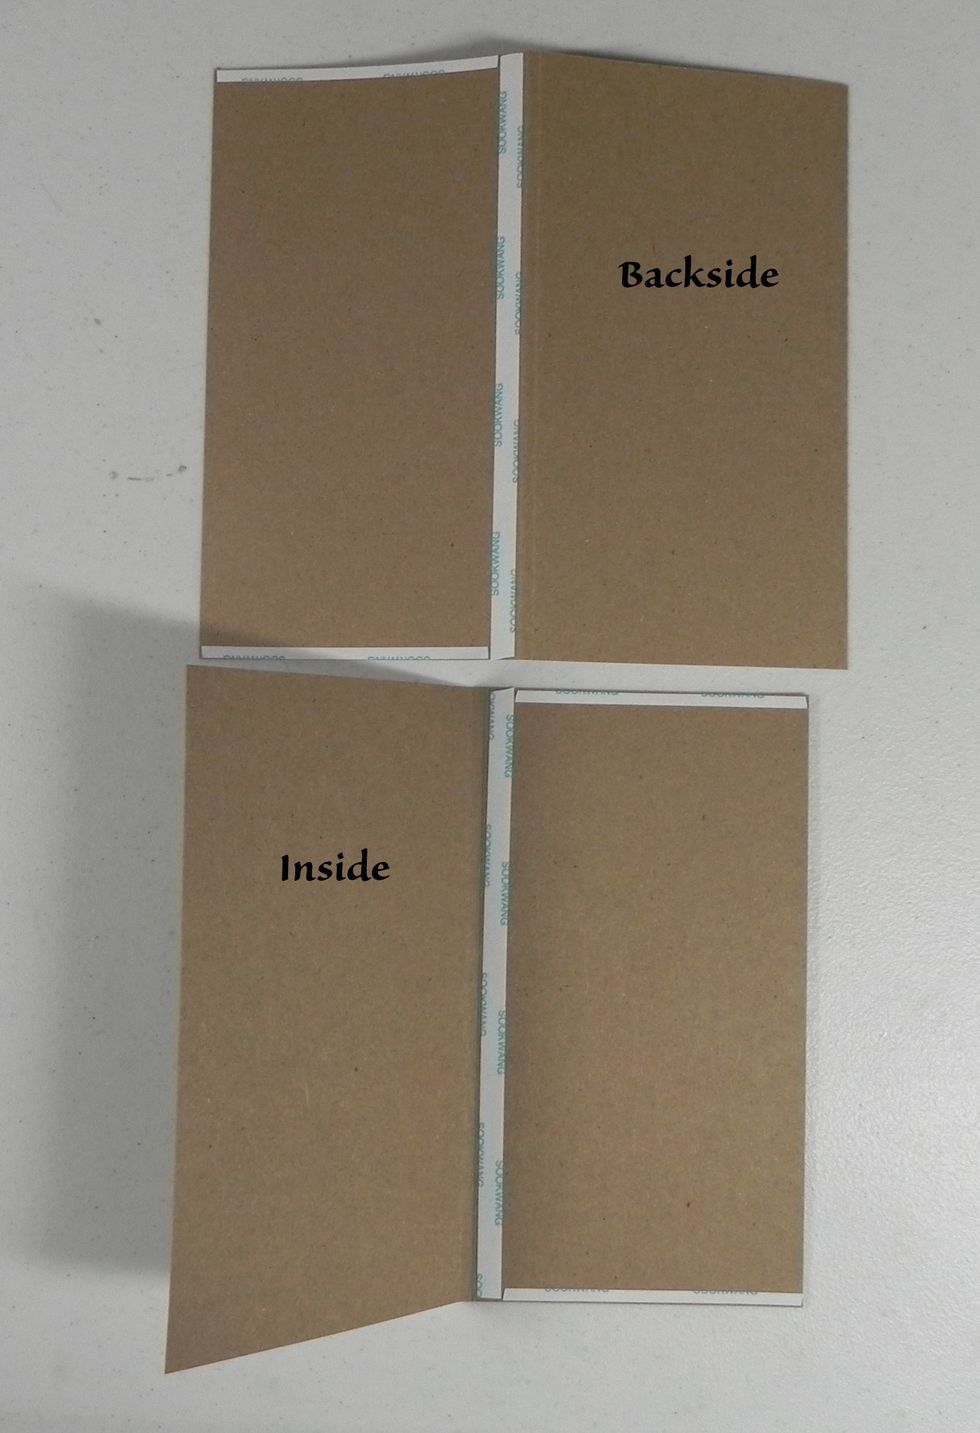
Flip page down (vertically) and on the opposite side add 1/4" tape along the first score line (not over it) and add 1/8" tape to the sides. *Make sure taped sides are not on same flap.
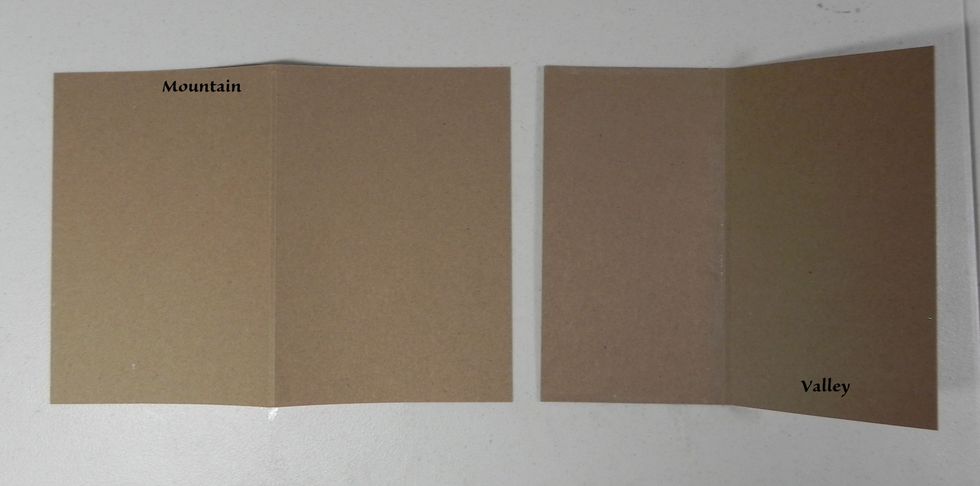
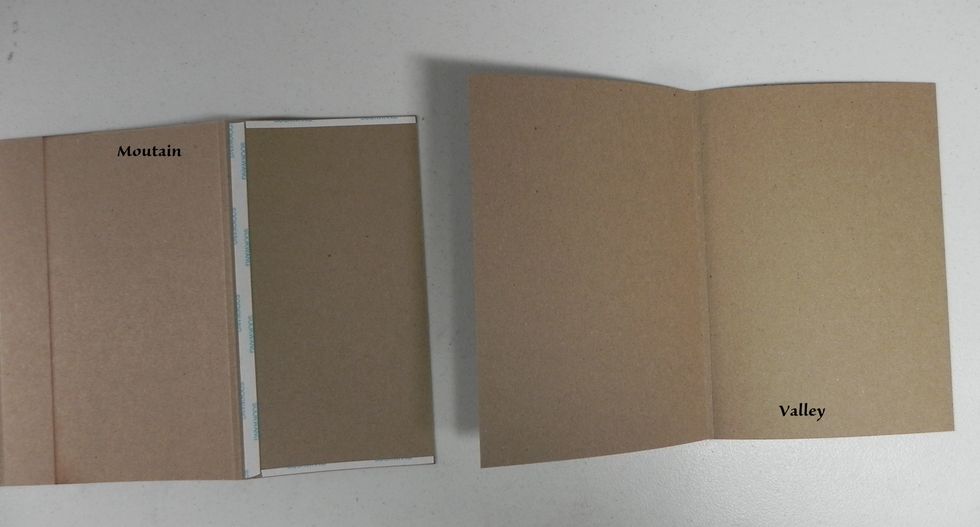
Left side is the main page (mountain side up) and the right side is a pocket page (valley side up). Attach the two pages together by lining up the main page to the first score line of the pocket page.
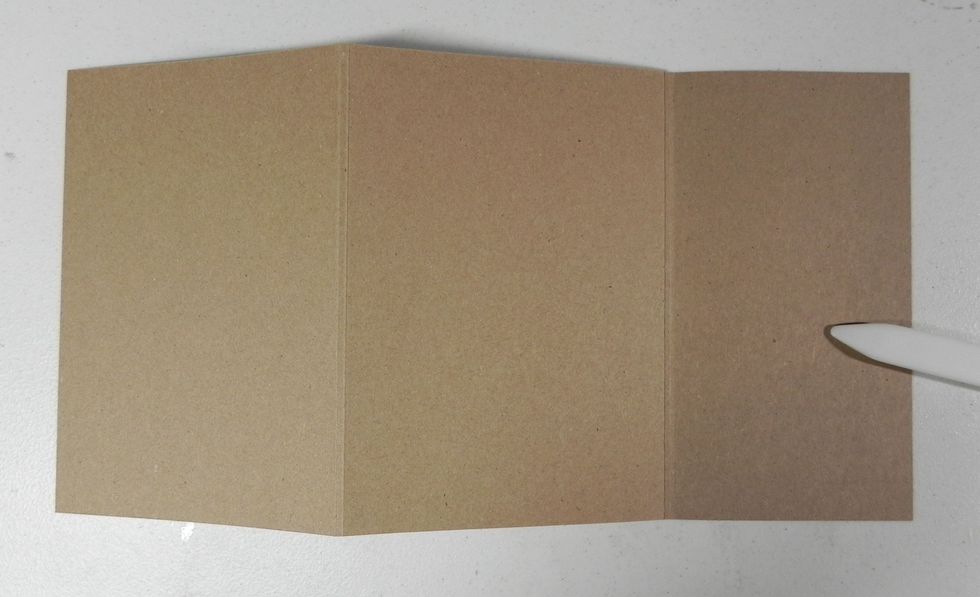
You want to make sure that your pages do not go over the score lines or your pages will not open properly.
Flip your page over to attach the next page.
Attach the next main page (valley side up this time) to the pocket page which should be mountain side up. Line up with the first score line and flush along the sides.
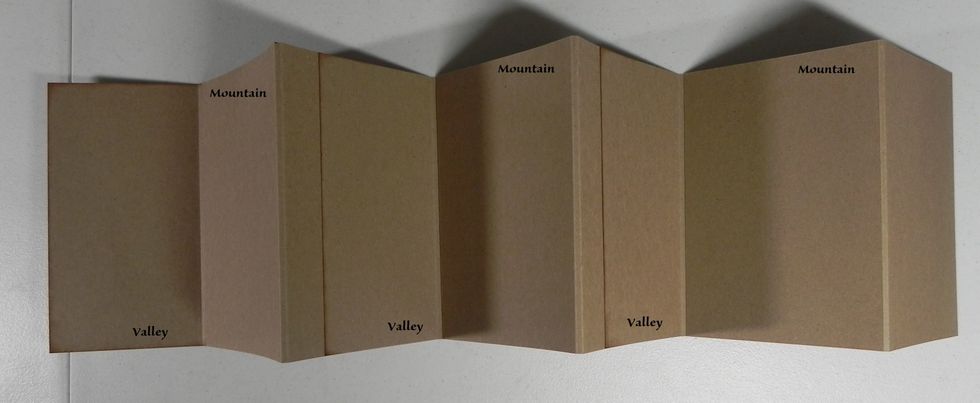
Continue to attach all of your pages. The left side should end in a pocket (valley side up) and the right side should be a main page (mountain side up).
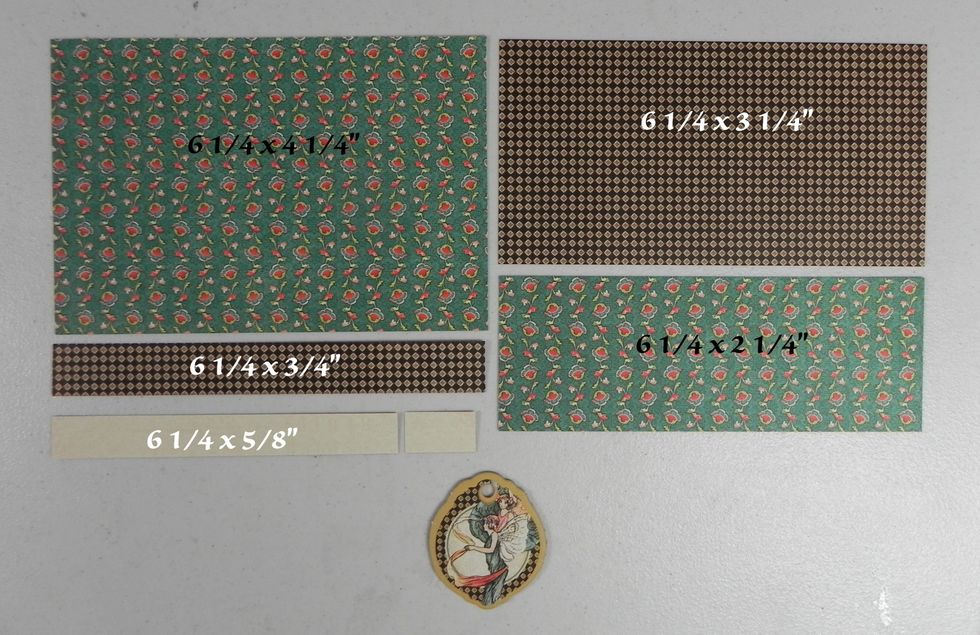
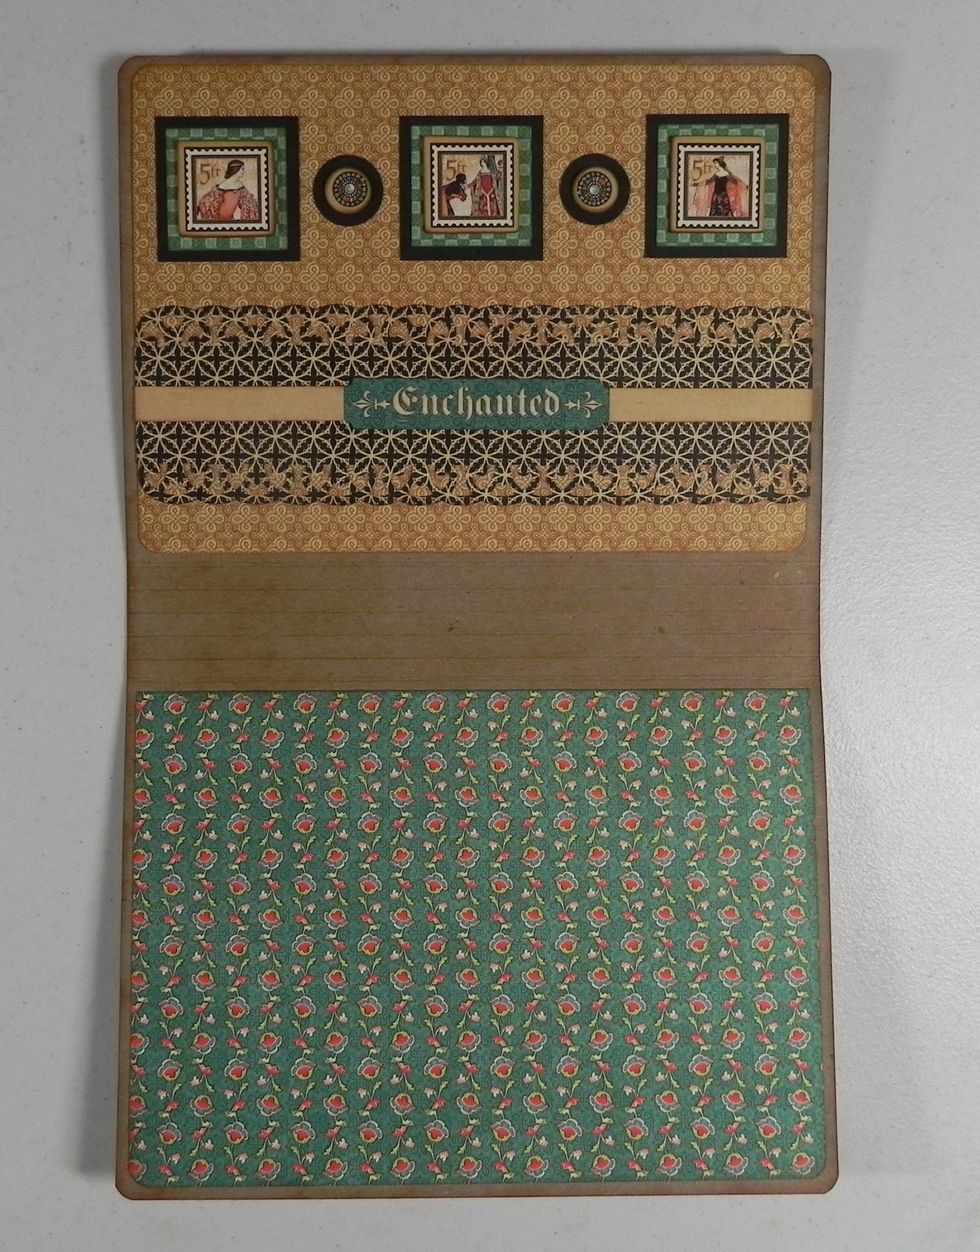
Decorating pages: For just full size mats, use the top two papers. For additional decorations as I did, cut out all pieces. The 6 1/4 x 5/8" piece is actually 6 x 6" and then cut.
6 1/4 x 4 1/4" - all corners punched. 6 1/4 x 3 1/4" and 6 1/4 x 3/4" - 1/4" corner punch. 6 1/4 x 2 1/4" - edge punch. 6 1/4 x 5/8 is actually 6 x 6" cut where the chipboard piece will hide it.

Ink edges before attaching.
I also added a sticker from the collection on the 5/8" strip and bling on the chipboard piece. (Pictures at the end)
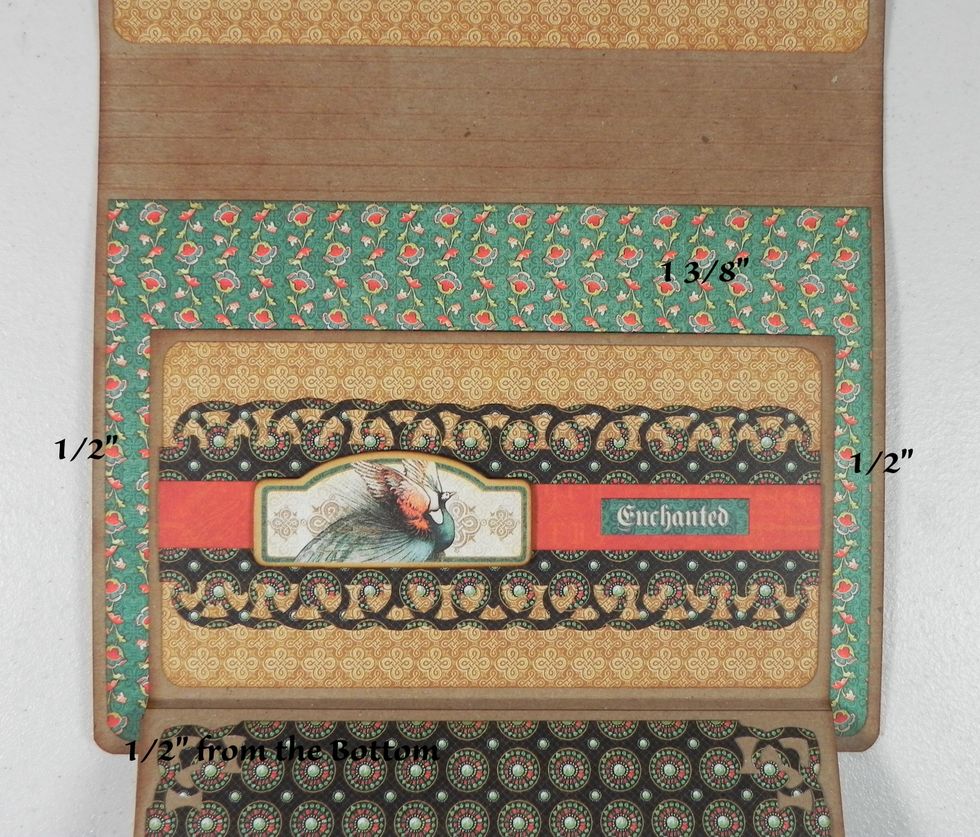
Attach the pages to the album. The last page should be a pocket page. Attach the pocket page 1 3/8" from the bottom score line (at the top) and 1/2" from the sides and bottom.
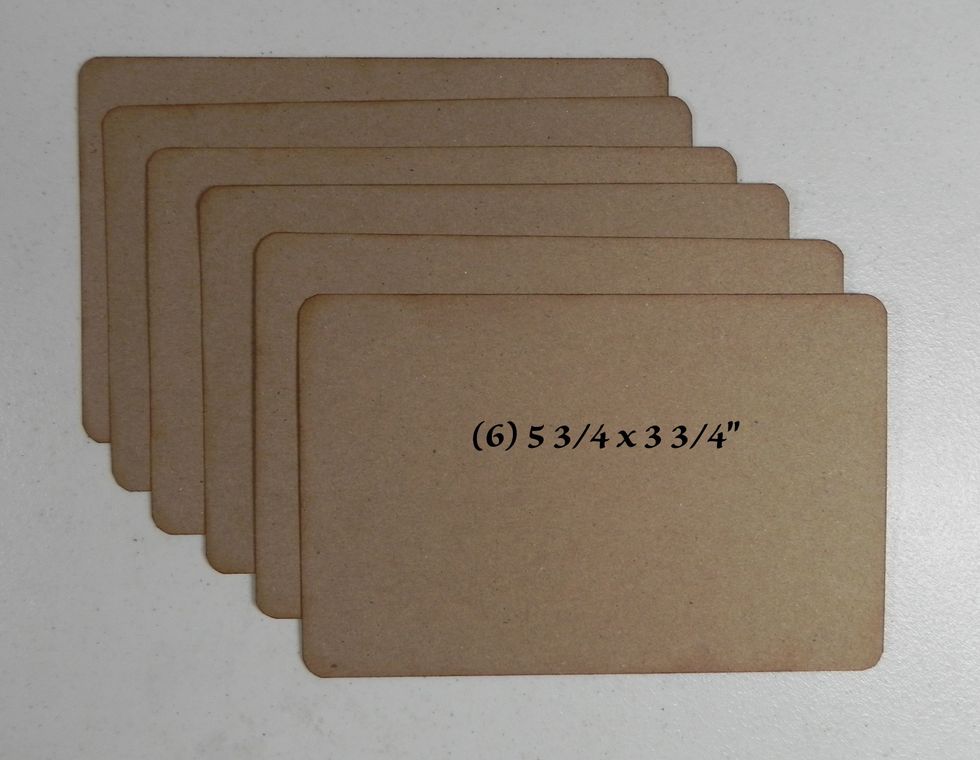
Tags, cut out of Kraft cardstock or similar. (6) 5 3/4 x 3 3/4".
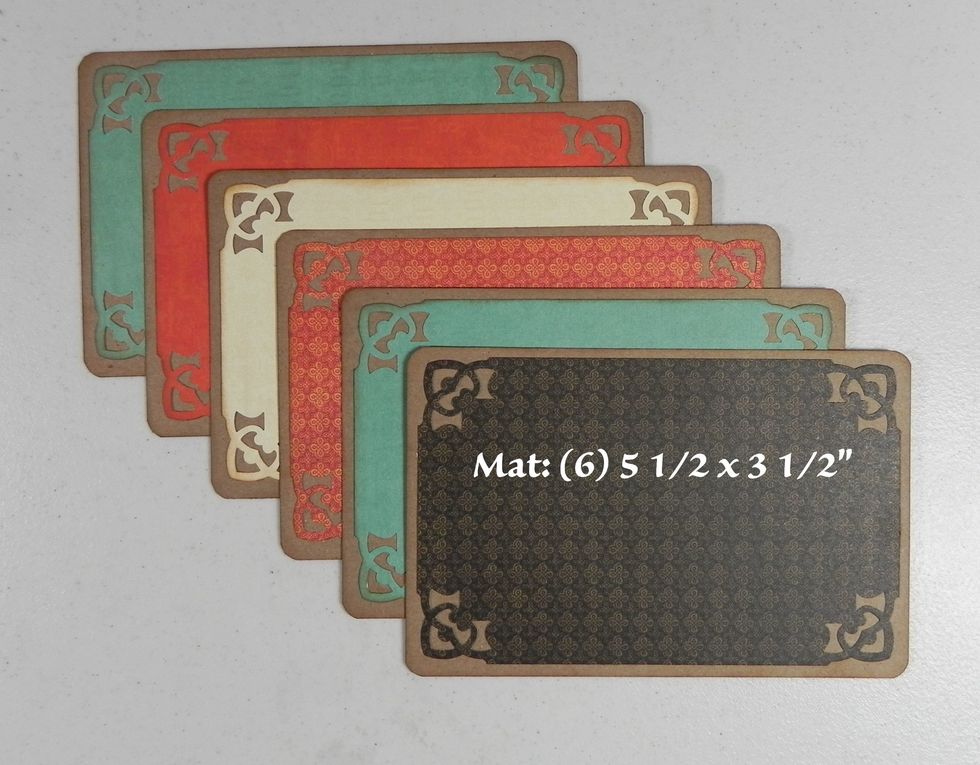
Mats for the tags, cut out of pattern paper. (6) 5 1/2 x 3 1/2". Corners punched.
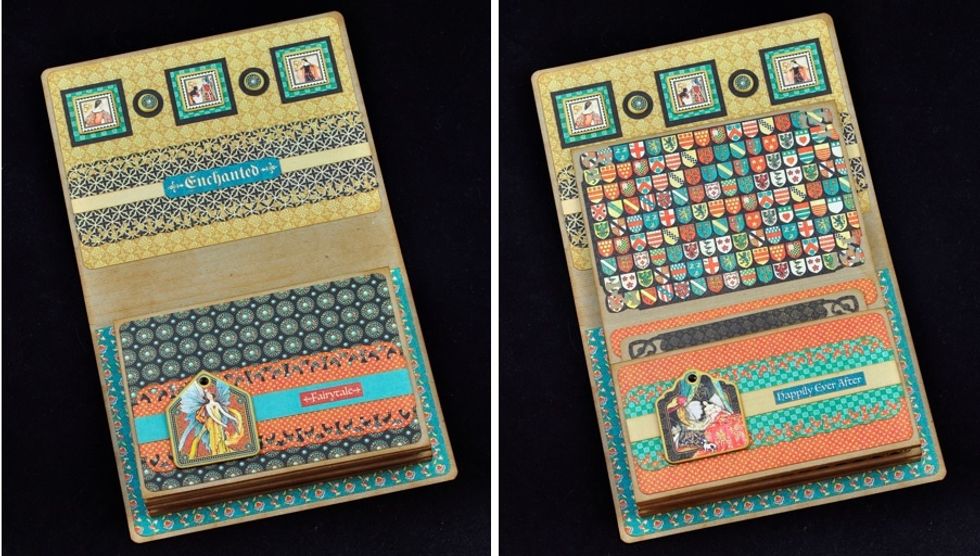
Additional pictures. For more projects, please visit: www.webofcreativity.net.
Additional pictures. For more projects, please visit: www.webofcreativity.net.

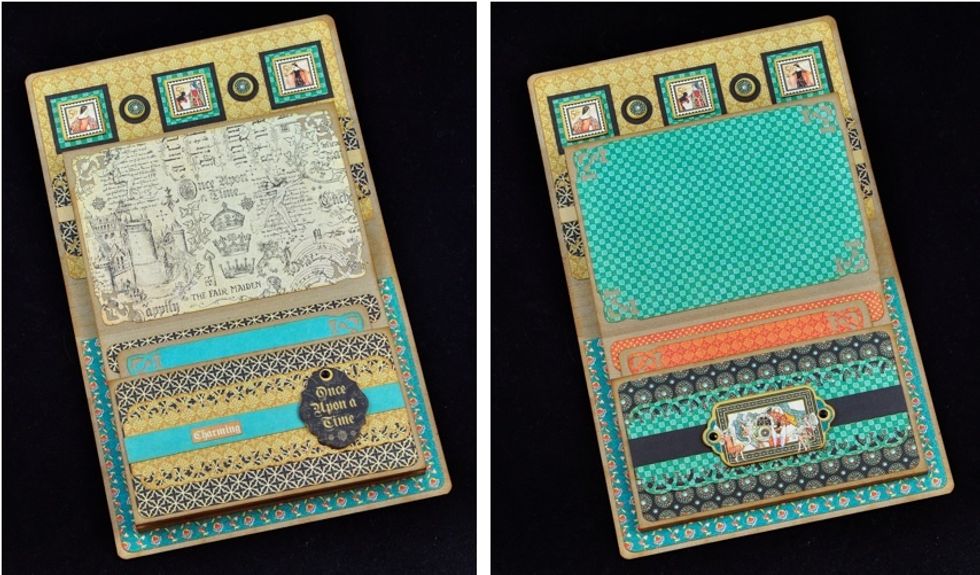
Additional pictures. For more projects, please visit: www.webofcreativity.net.
Additional pictures. For more projects, please visit: www.webofcreativity.net.