The Conversation (0)
Sign Up
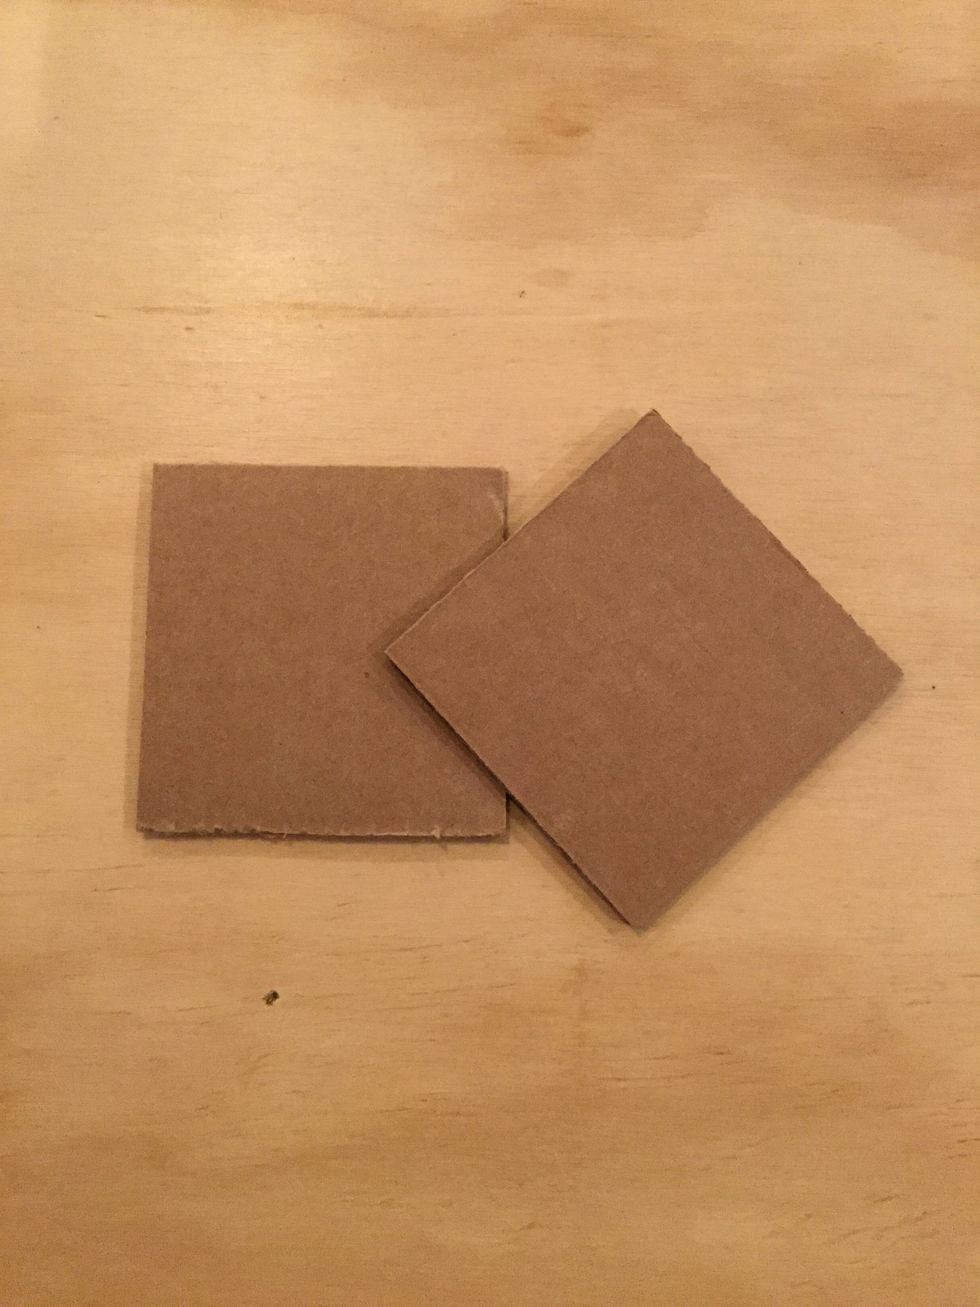
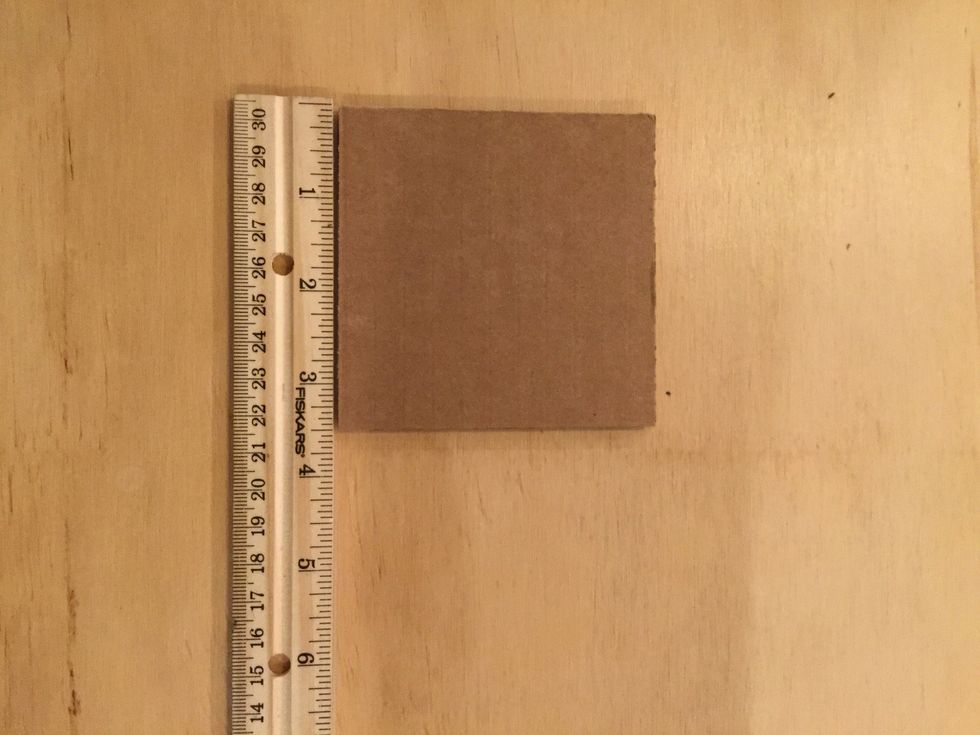
Cut 2 pieces of cardboard cut to 3.5" squares
Check
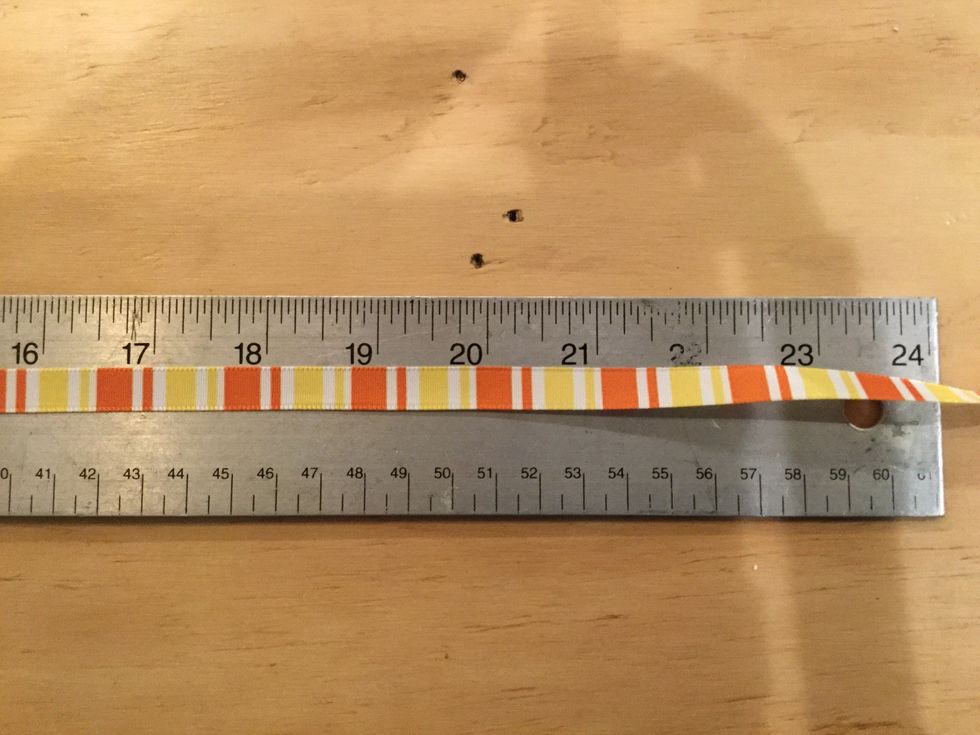
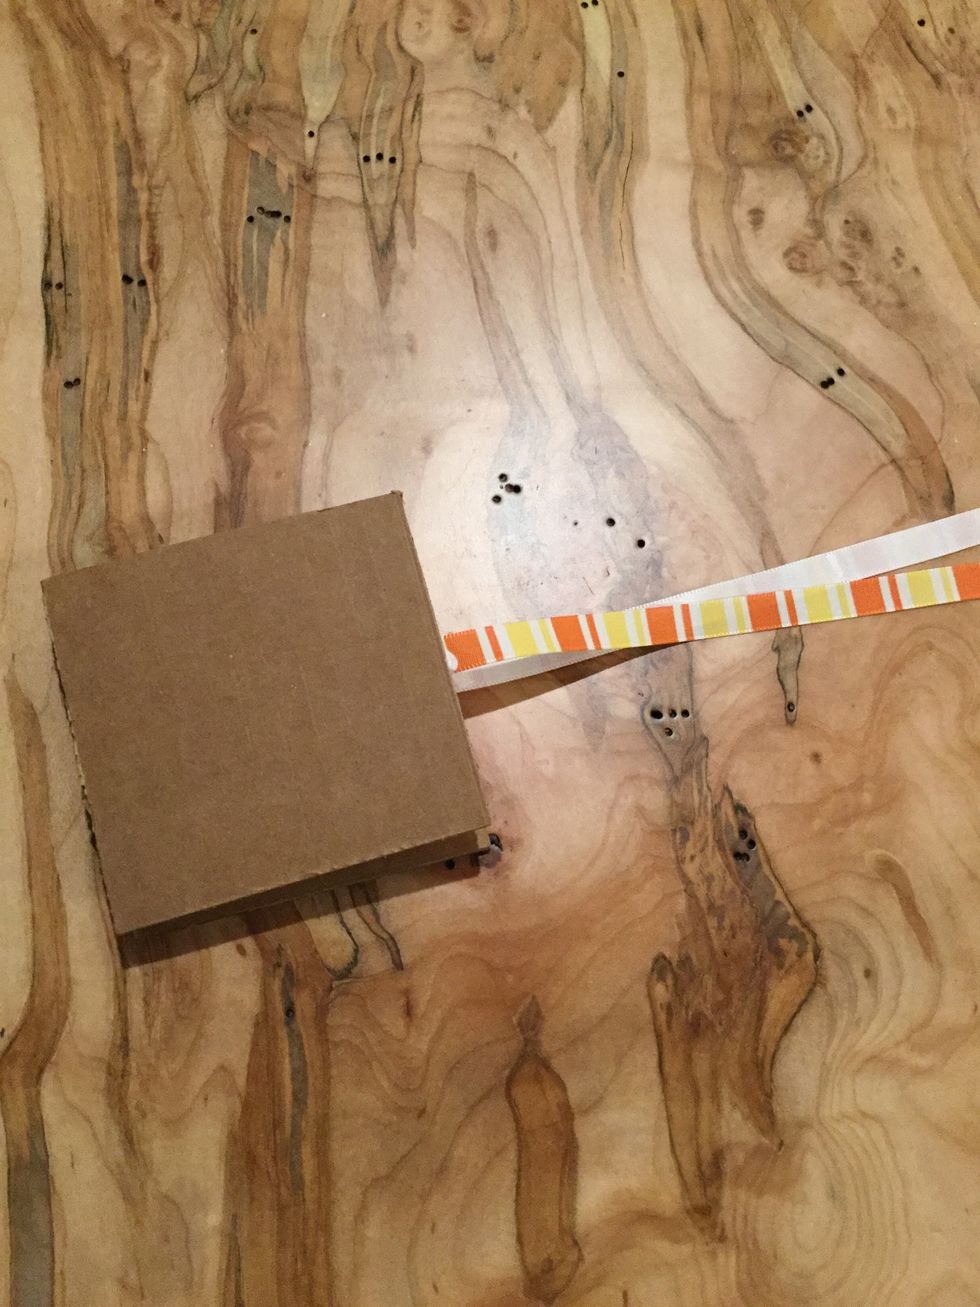
Choose a piece of ribbon and cut to 20 inches or so
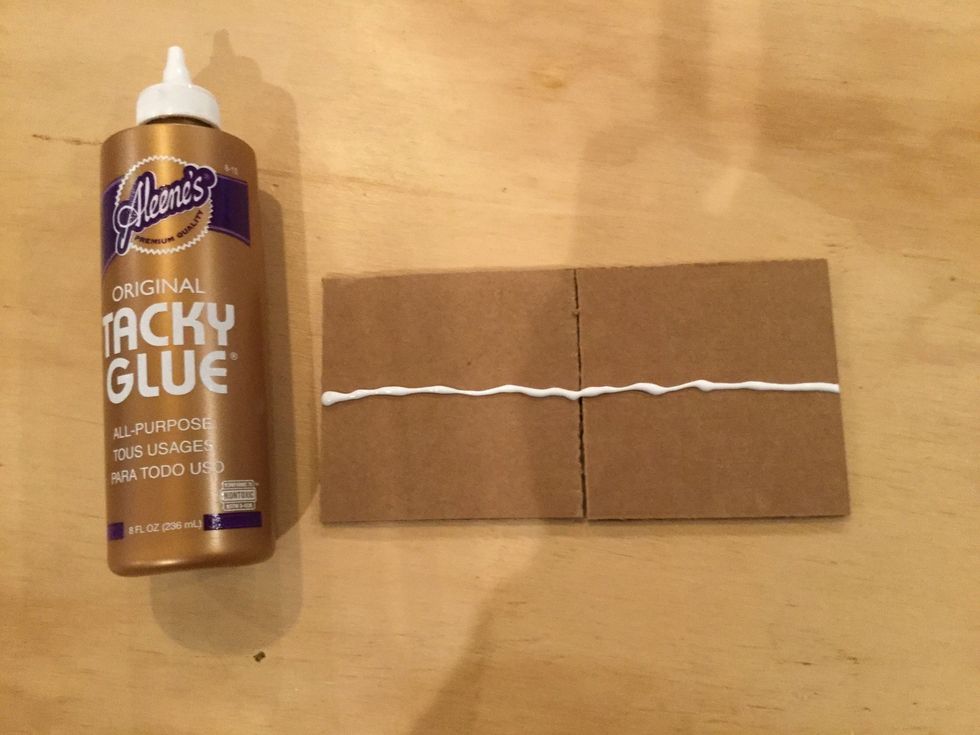
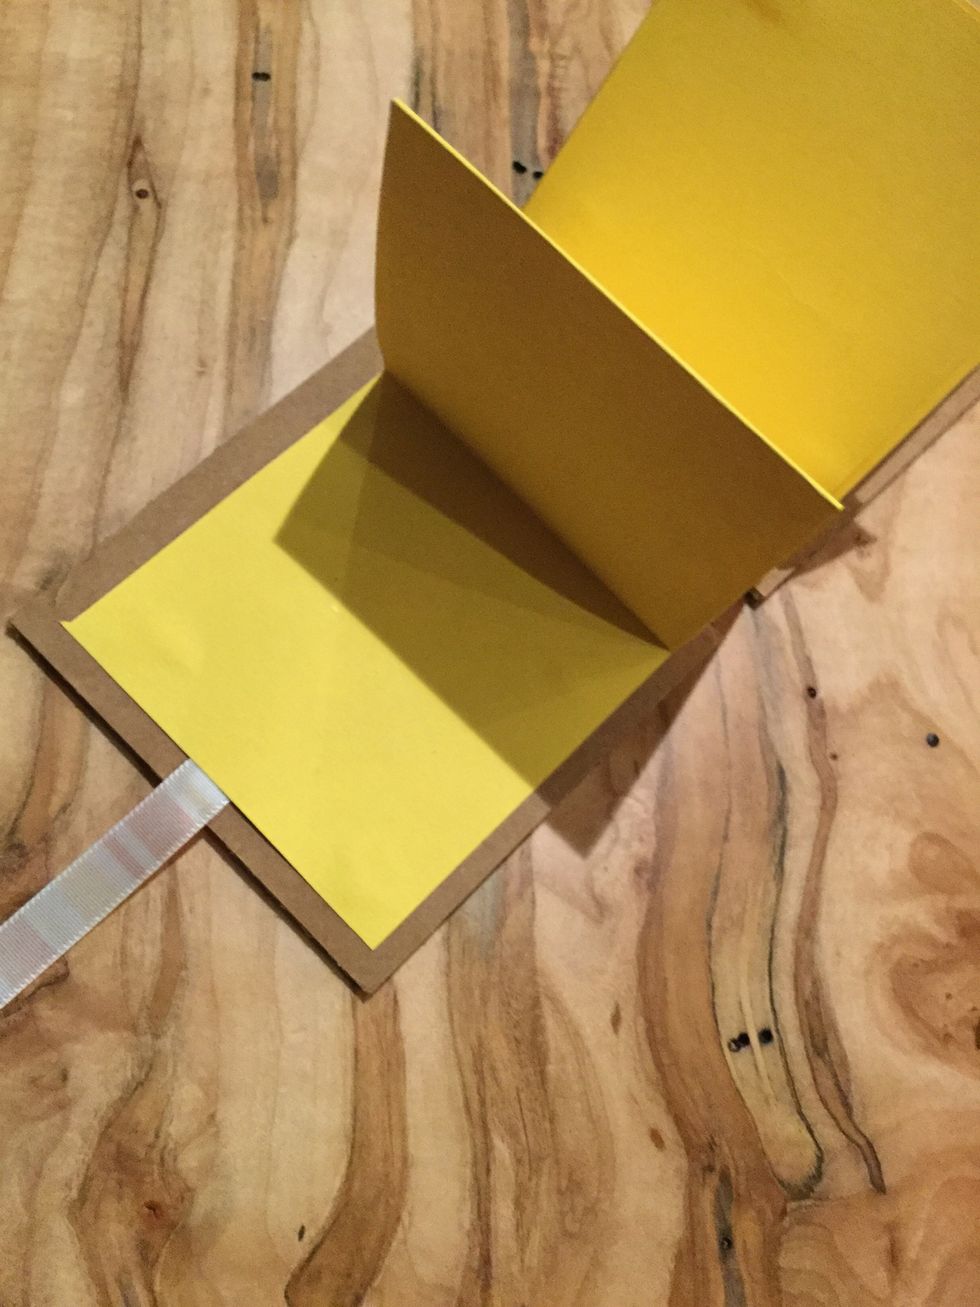
Place the cardboard squares together and run one line of glue or adhesive through the middle

Before laying the ribbon down, separate the cardboard about a half inch, then lay the ribbon facedown ( if it is one sided) across the glue.
Begin marking with pencil and ruler marks at 3", 6" and 9". Do this on all 4 sides.
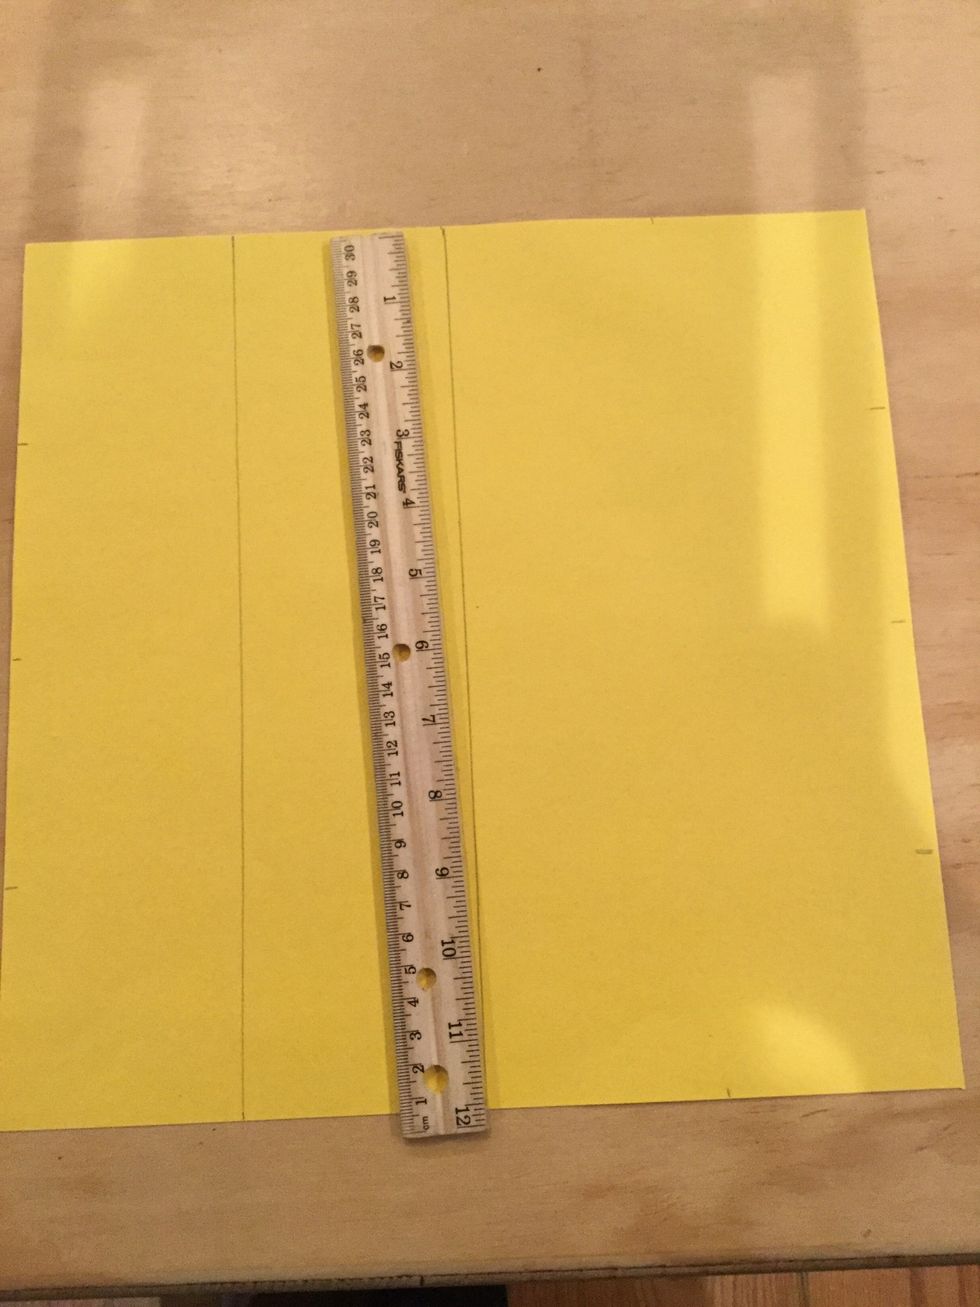
Once all 4 sides are measured and marked draw a pencil line vertically and horizontally at the 3",6" and 9" mark.
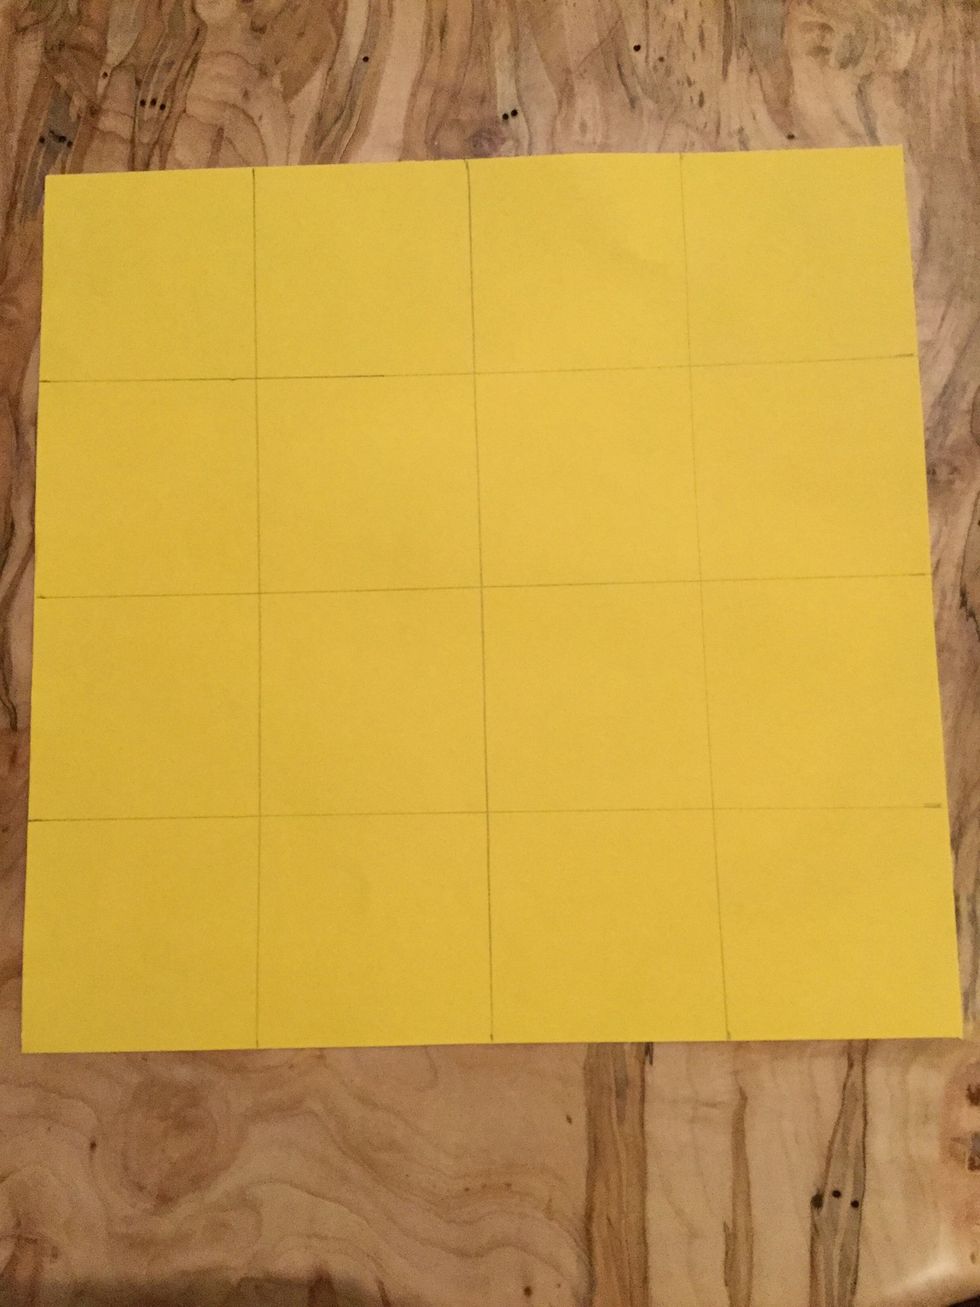
Your marked paper will look like this.
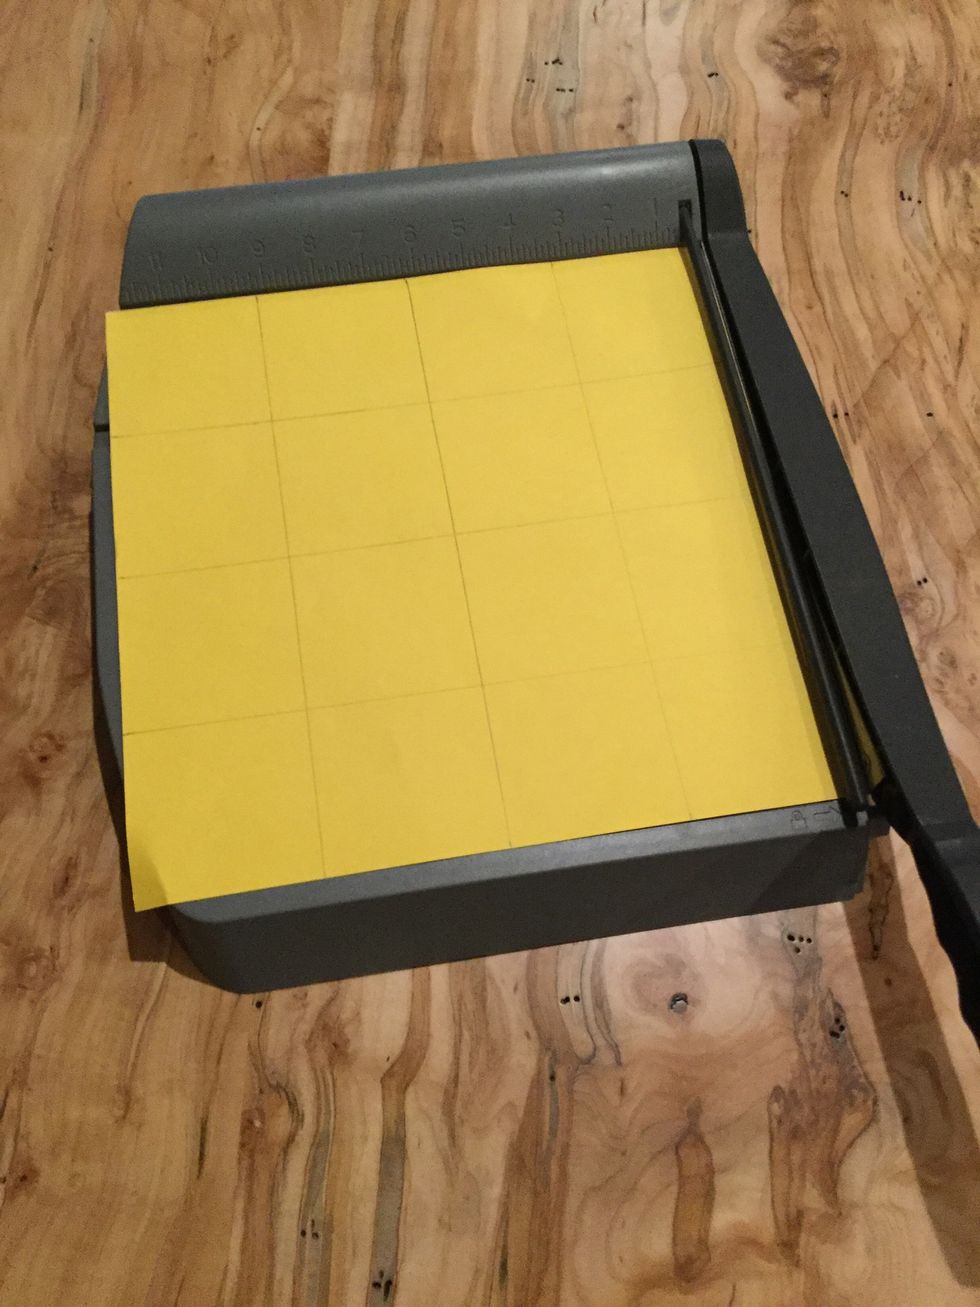
Use a paper cutter if you have on or use scissors to cut the paper into 4 12" strips
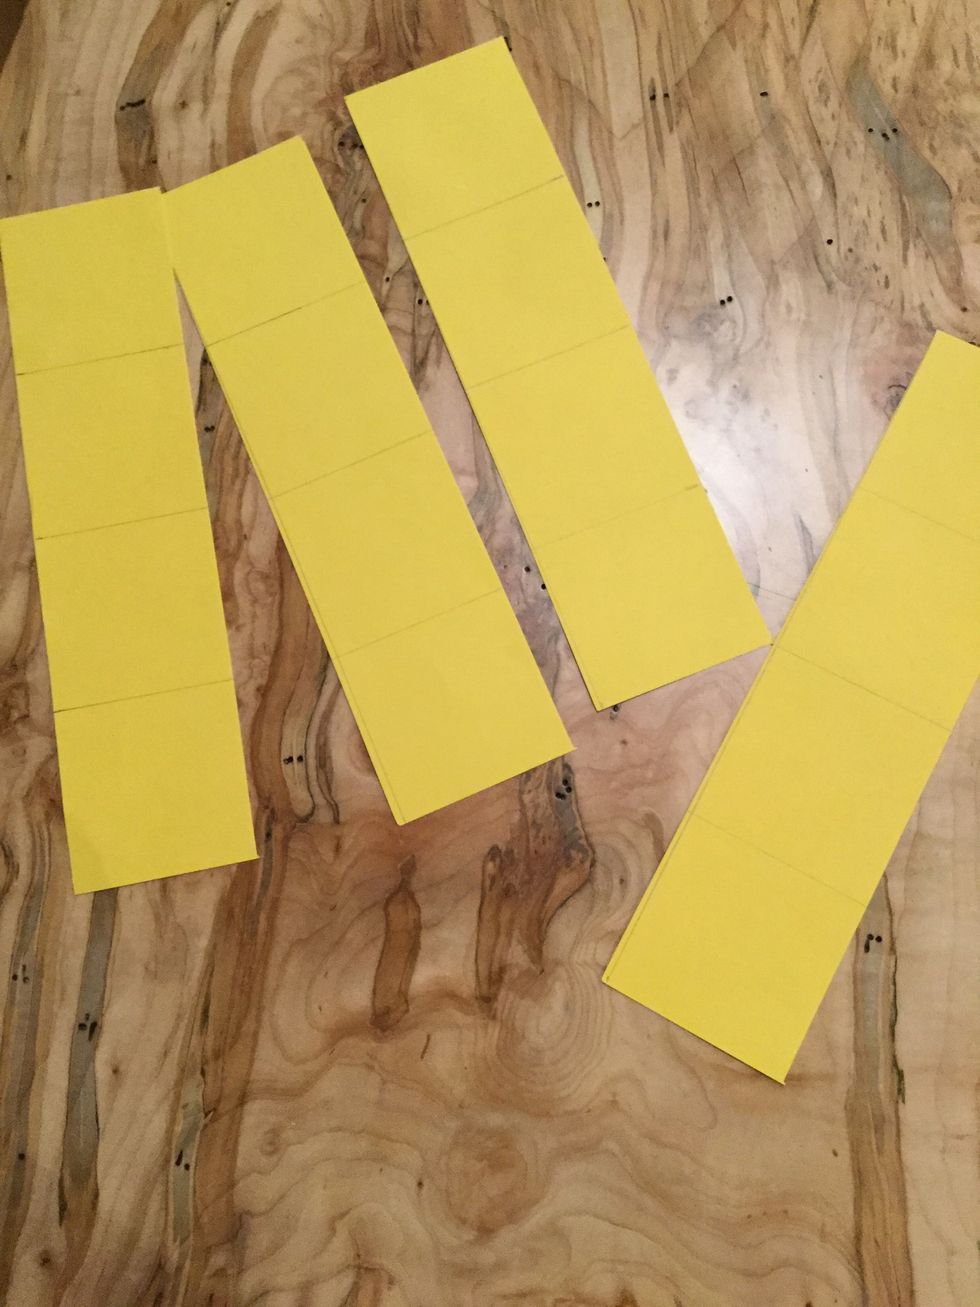
They cut pieces will look like this
Voilá!
Your book is ready for the author and illustrator!
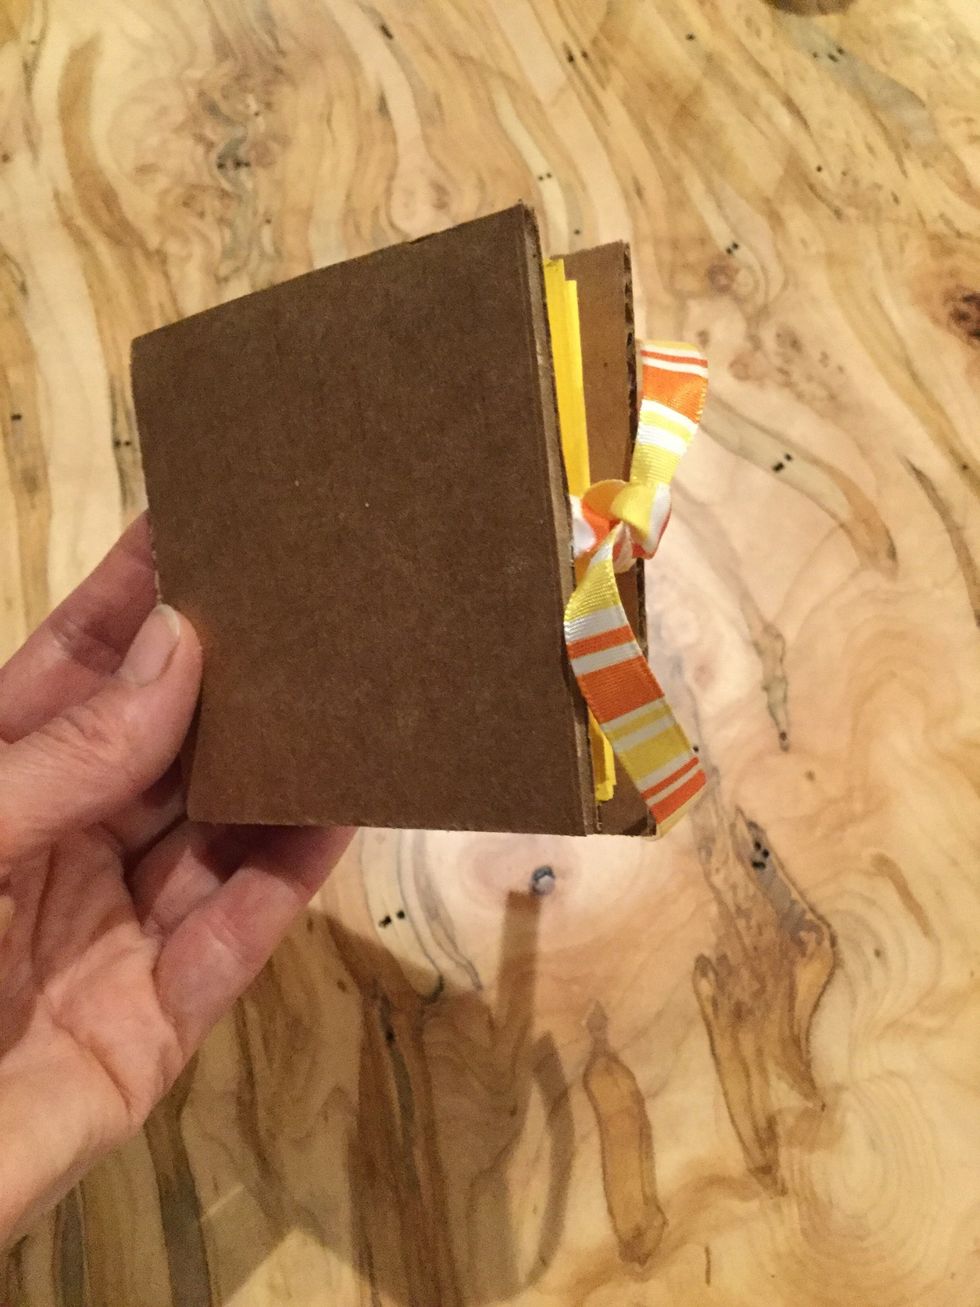
Enjoy! And tie shut when finished.
This how to was first seen on Fancy Pants Design. Fancy Pants Design is a blog for scrapbookers, paper crafters and all creative people. www.misfancypants.typepad.com/little_miss_fancy_pants/