The Conversation (0)
Sign Up
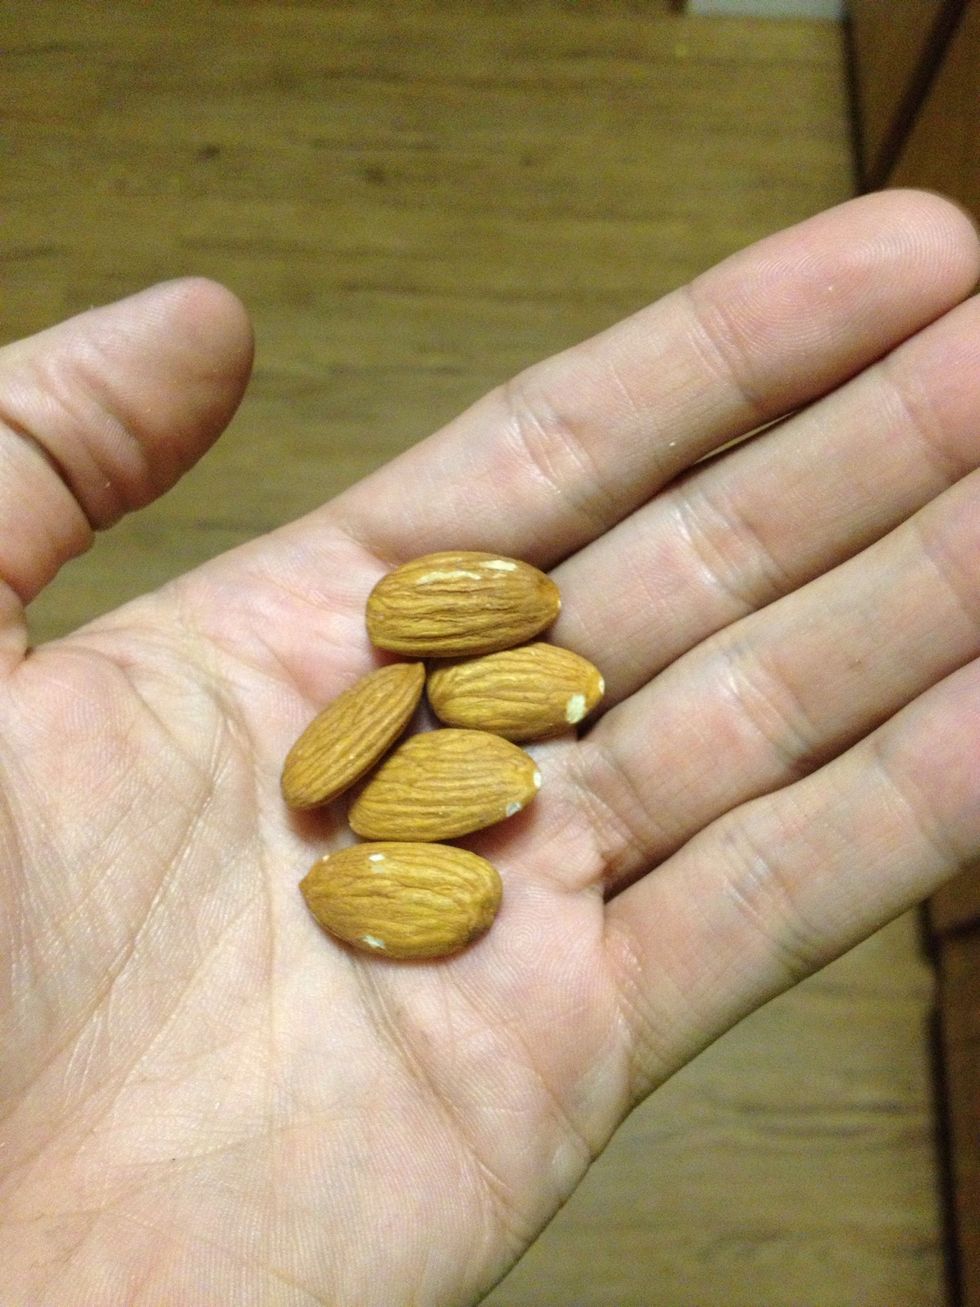
First, you'll want to start off with raw almonds. Why raw? Cuz you're trying to steal all the nutrition it has to offer, but if it's been roasted there will be some missing. Raw is better flavor too.

Measure out 1 cup of raw almonds for every pint of milk you'll want to make.
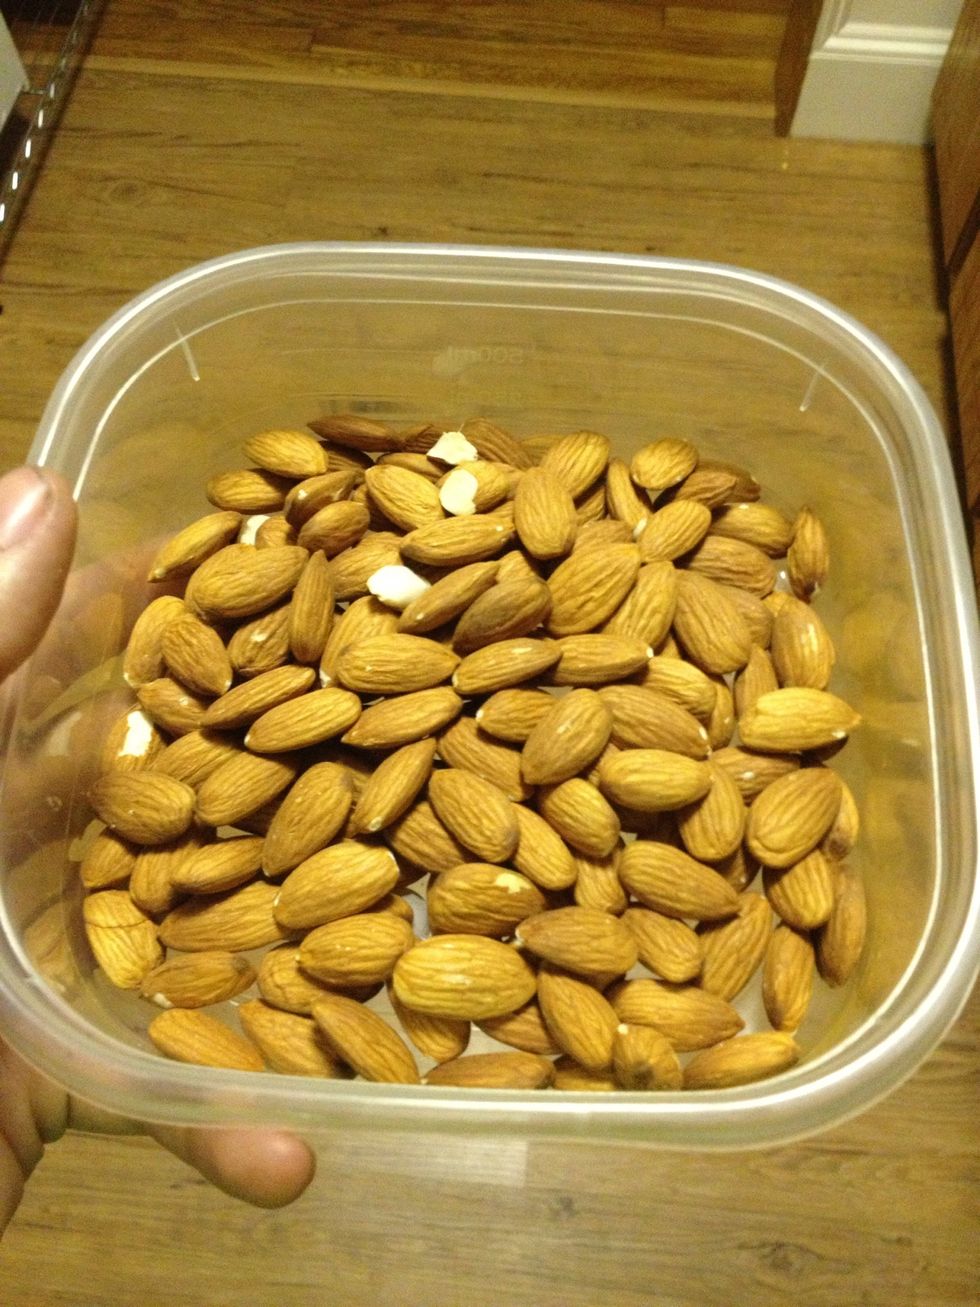
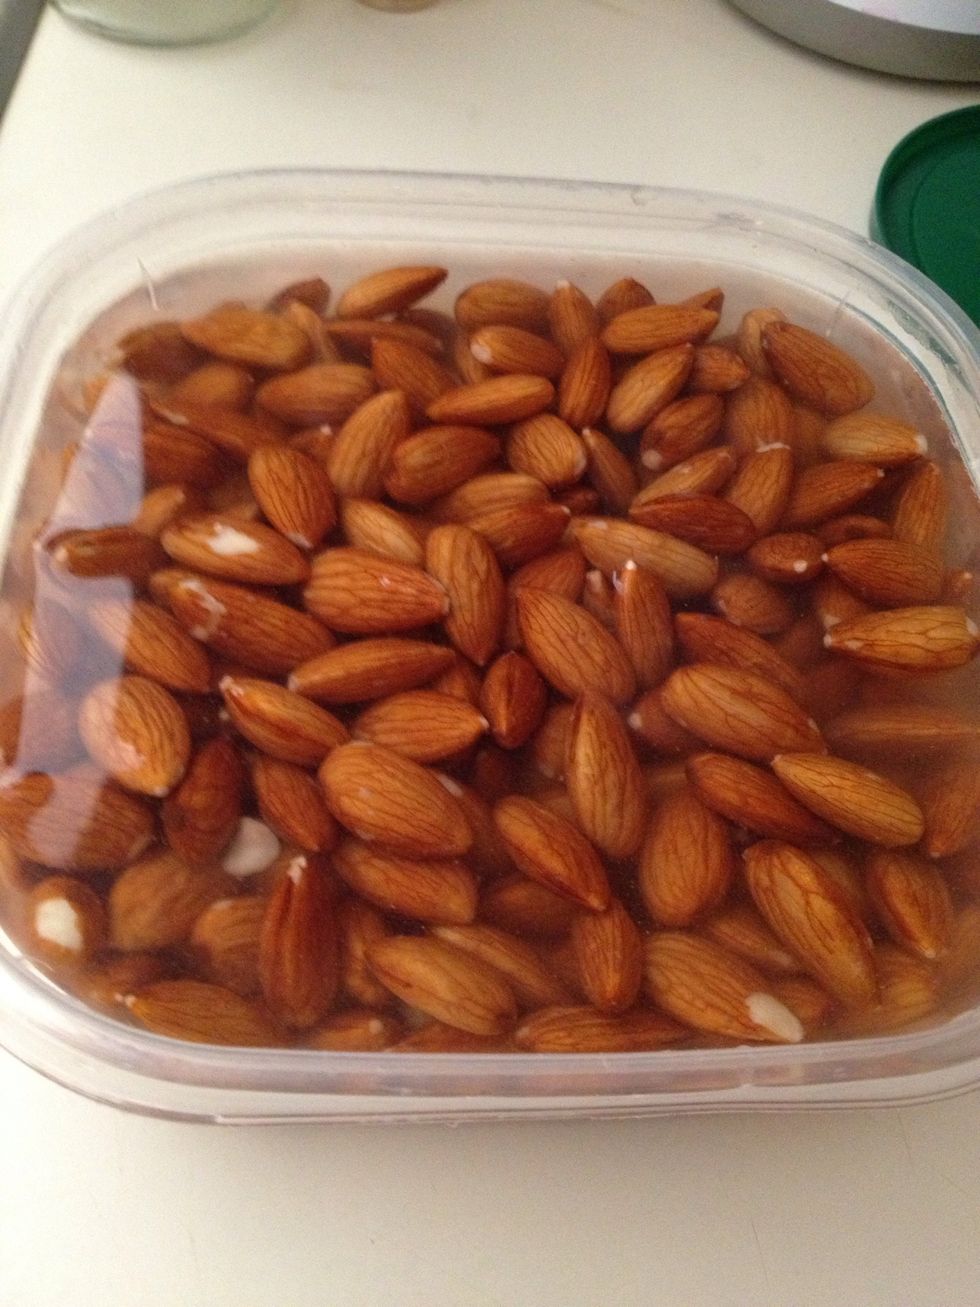
Put your almonds in a container.
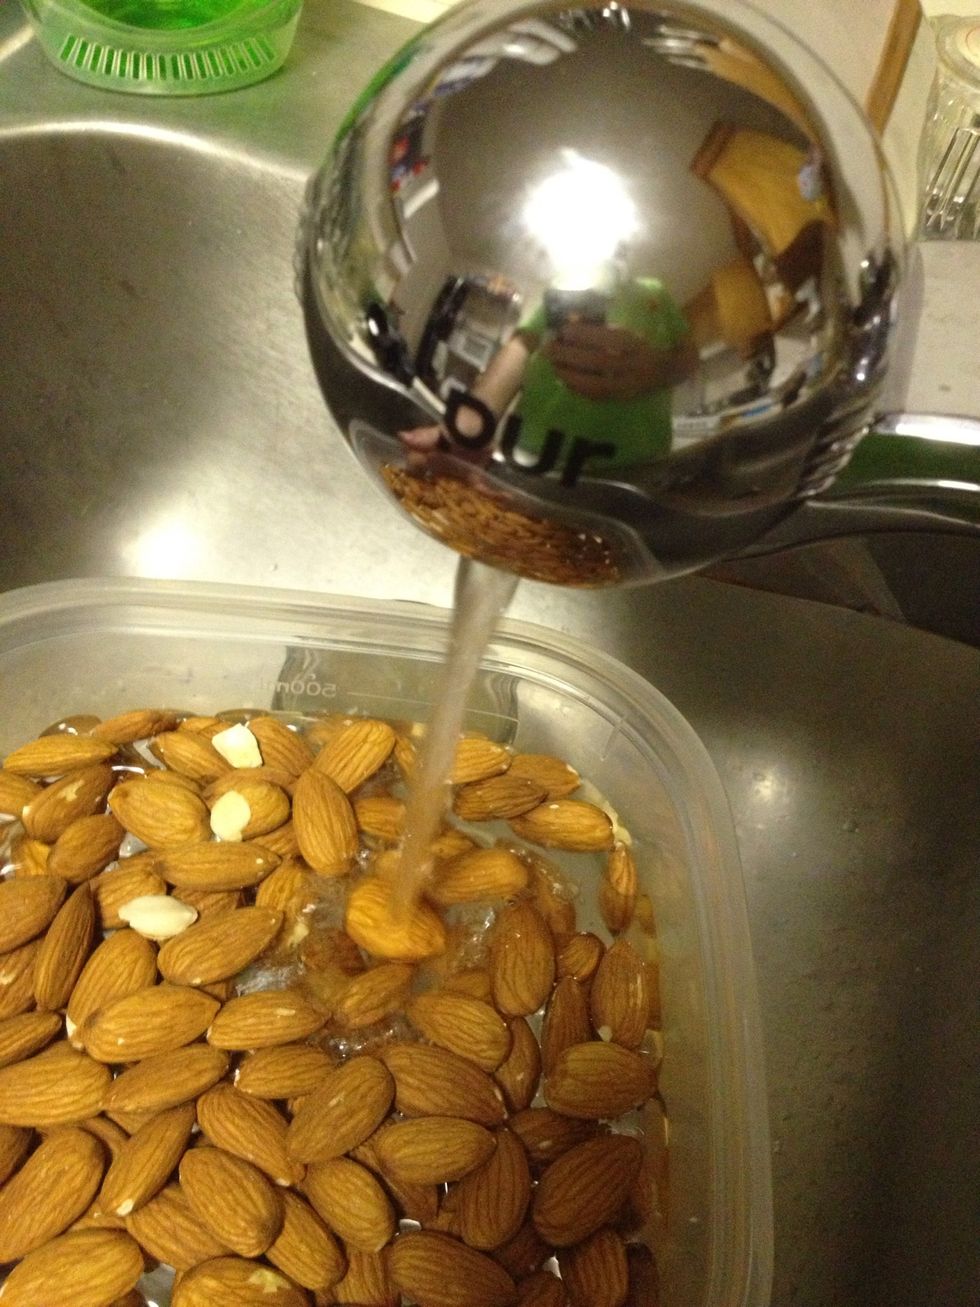
Add filtered or spring water.
Fill it just to cover, and then a bit more. These babies are going to soak up the water and we want them submerged the whole time.
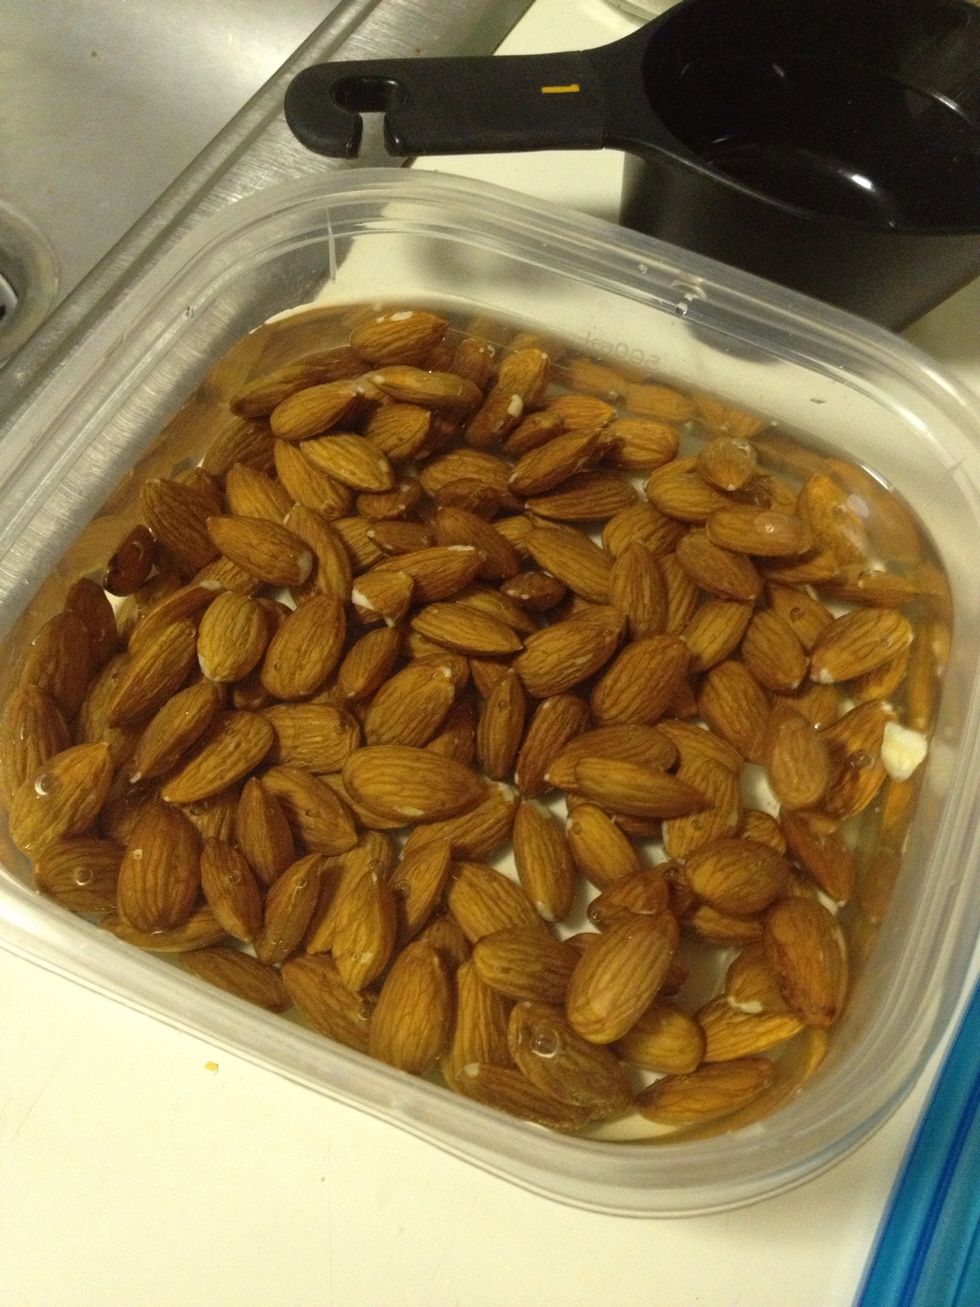
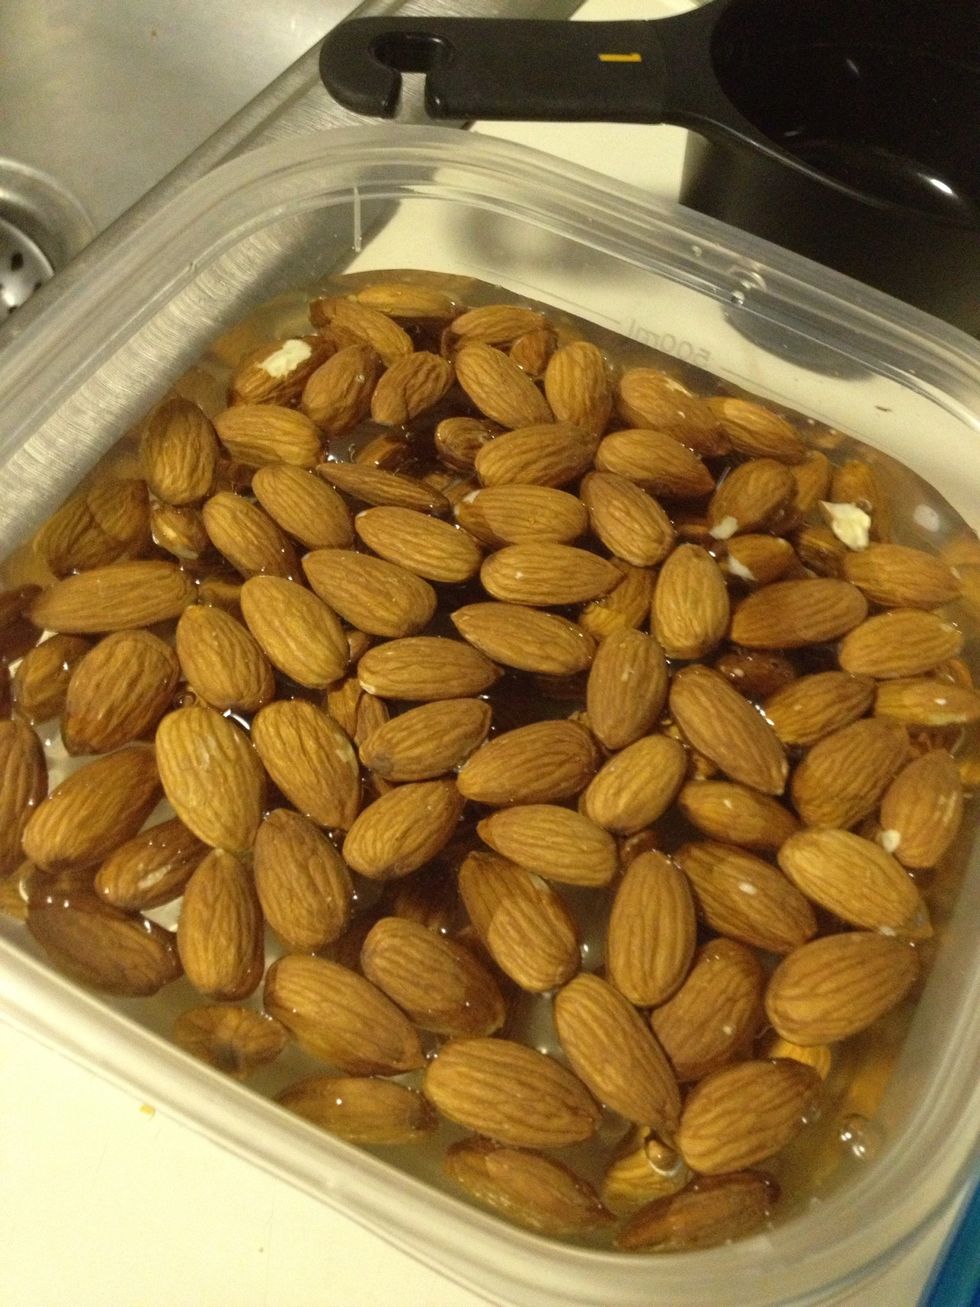
Like this.
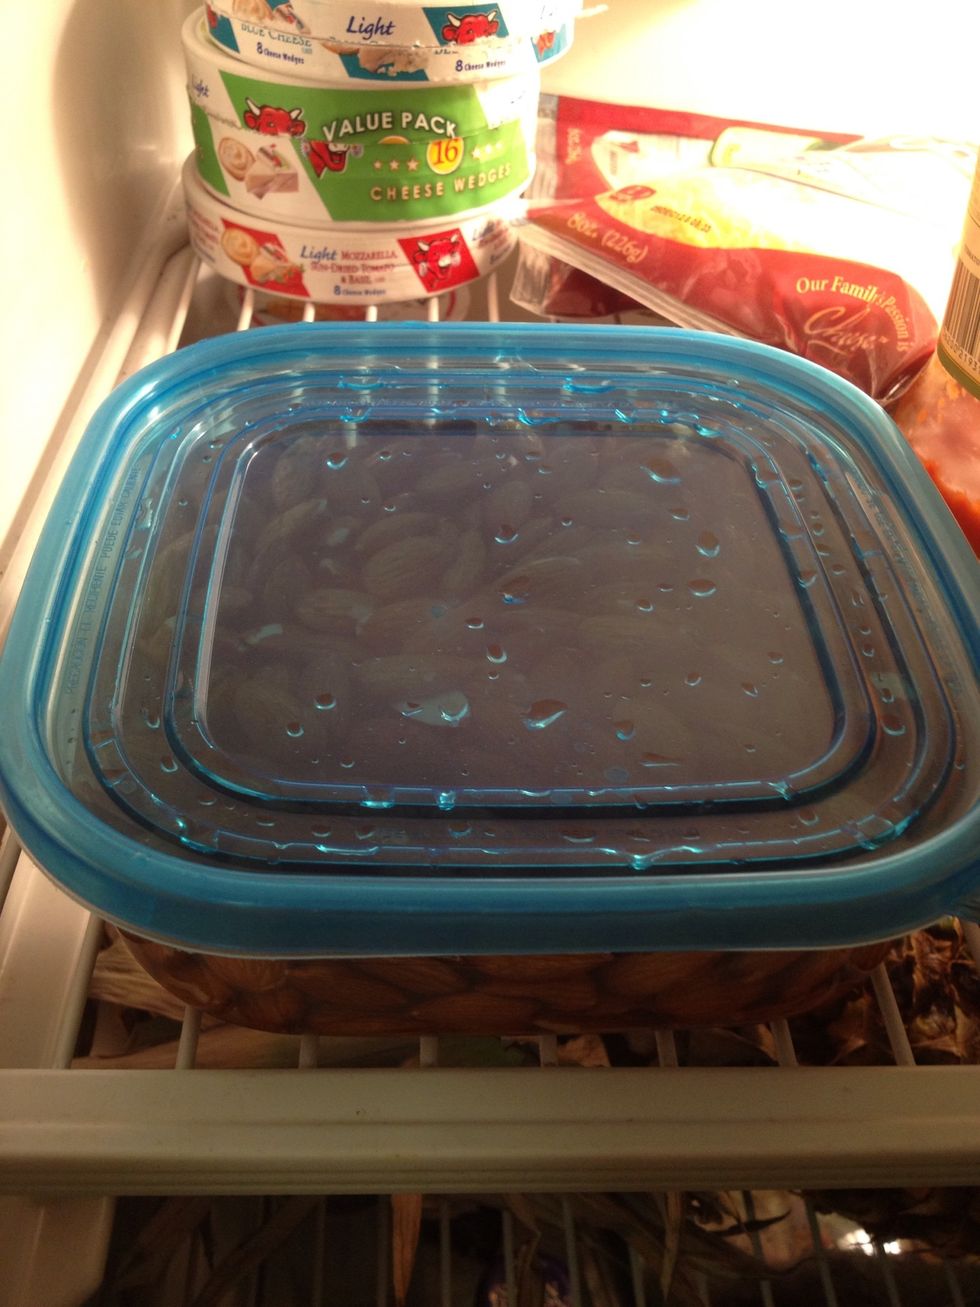
Cover them and pop them into the fridge. I do this before I go to bed. You'll want at least 8 hours for the first soak. Yes, the 1st. There'll be one more the next day. Now have a good night's rest.
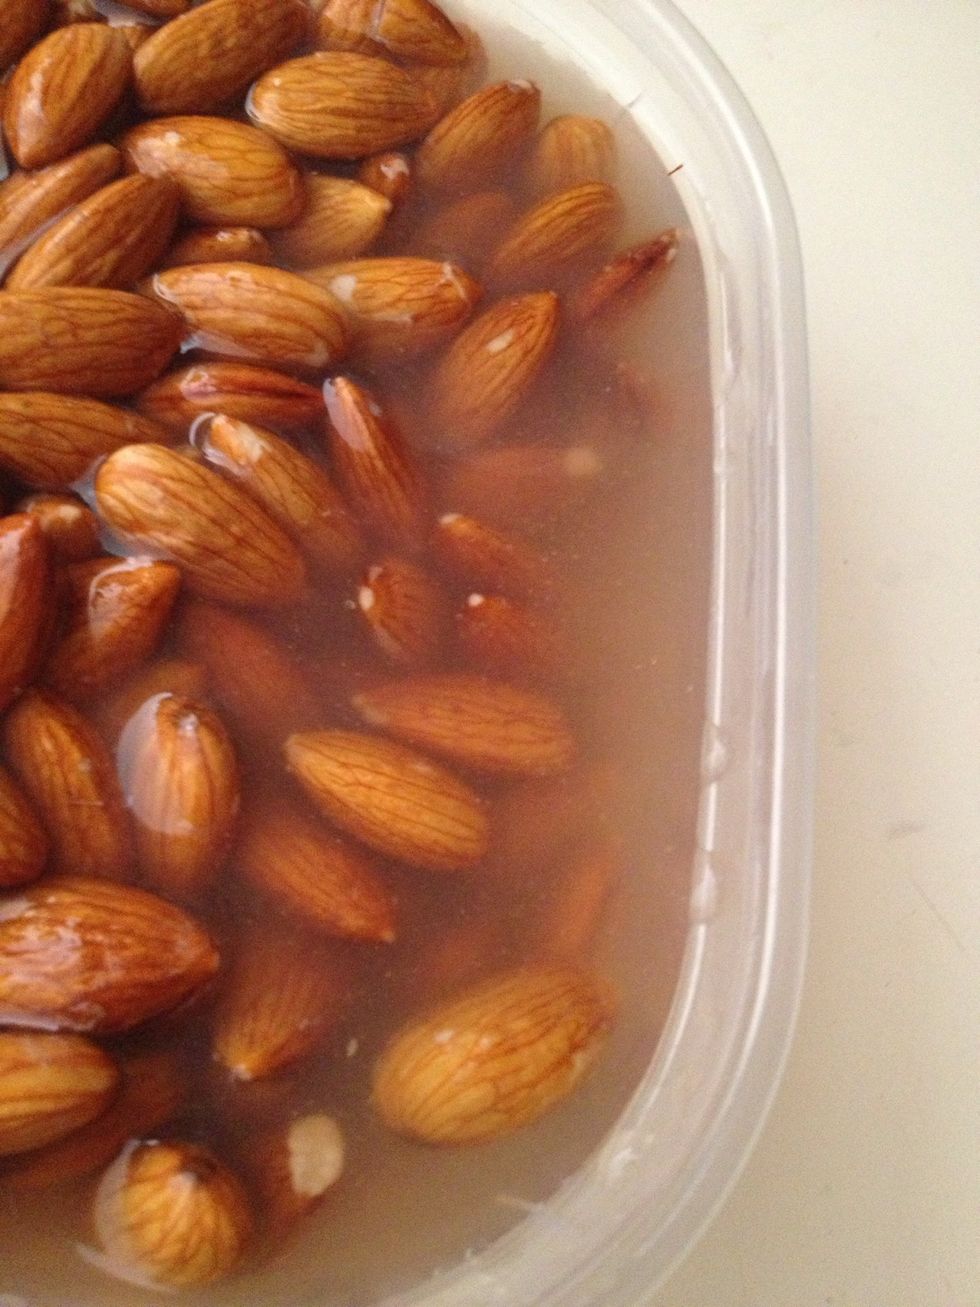
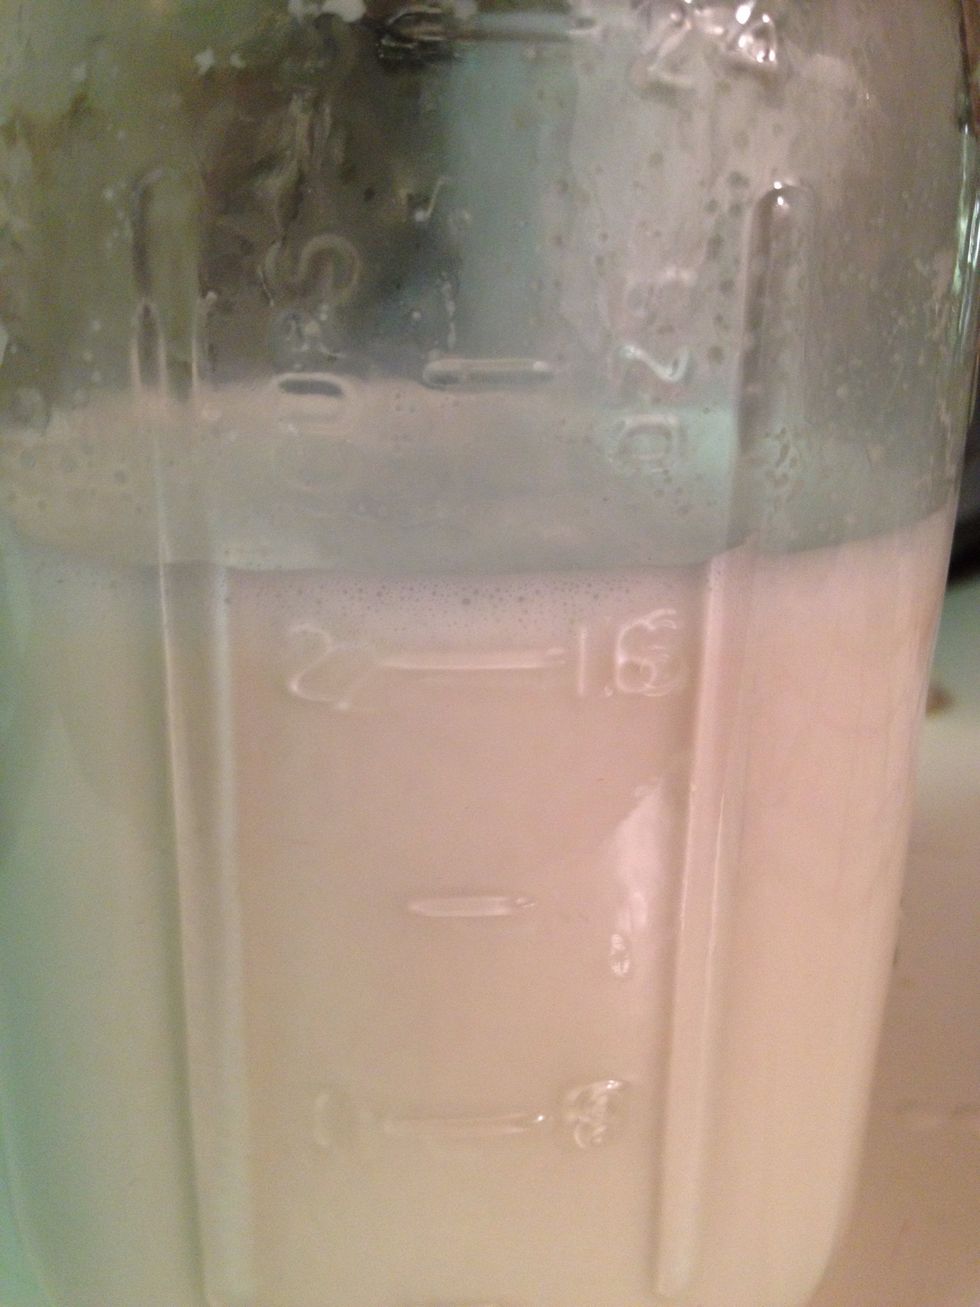
Good morning! 😉 Take your almonds out of the fridge and see what's happened. The water should be murky. This is a result of the skins releasing its enzymes that inhibit digestion.
You can see the difference between the raw on the left and the overnight soaked almond. It's a good start, but not quite there yet.
Drain, rinse, drain again and then refill the container with fresh filtered or spring water.

Back in the fridge. Now go to work, or school, or if you're not leaving, well, then just leave it alone for around 5 hours.
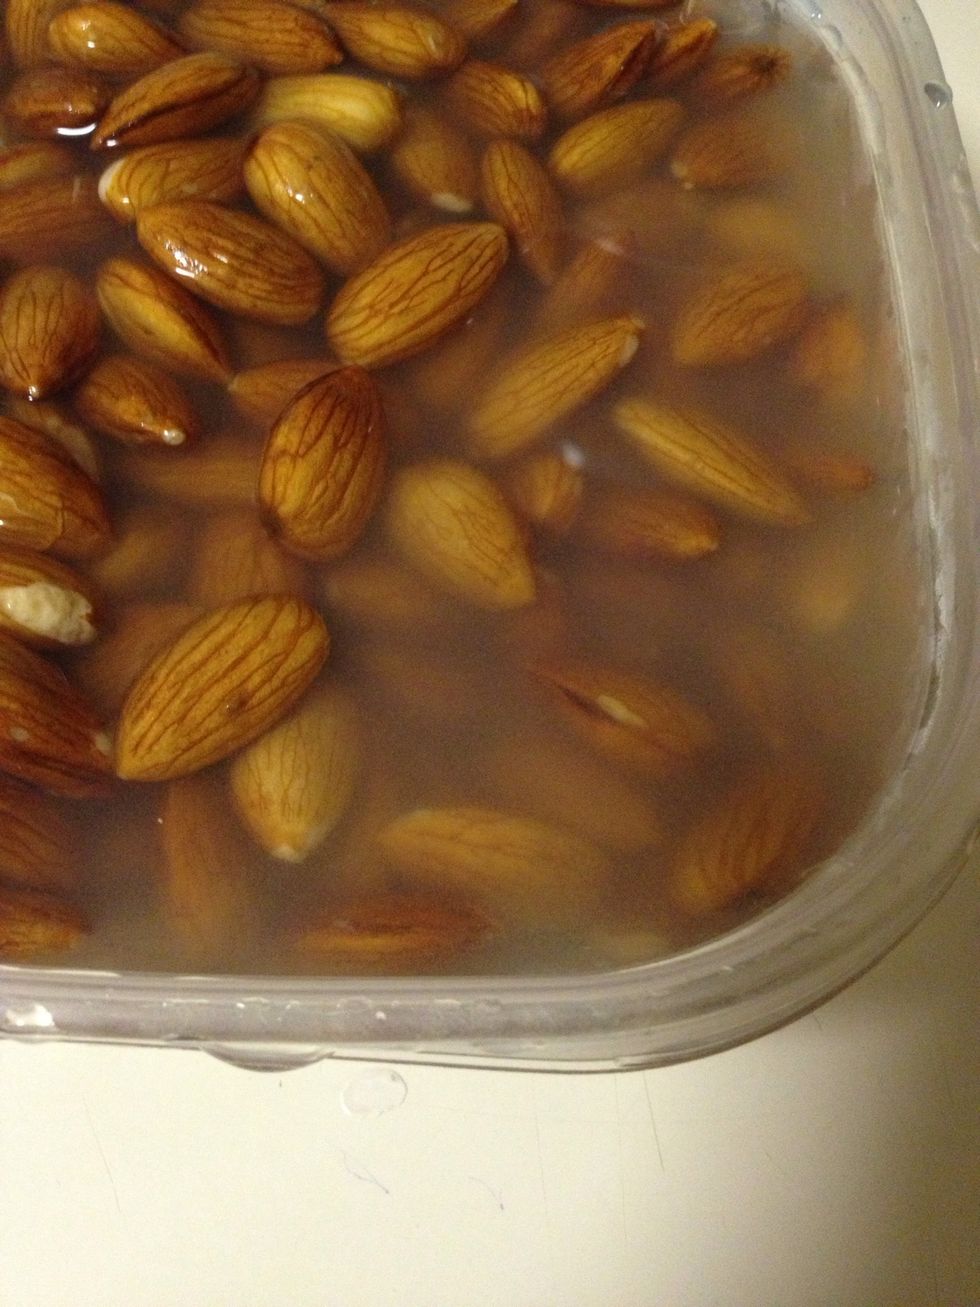
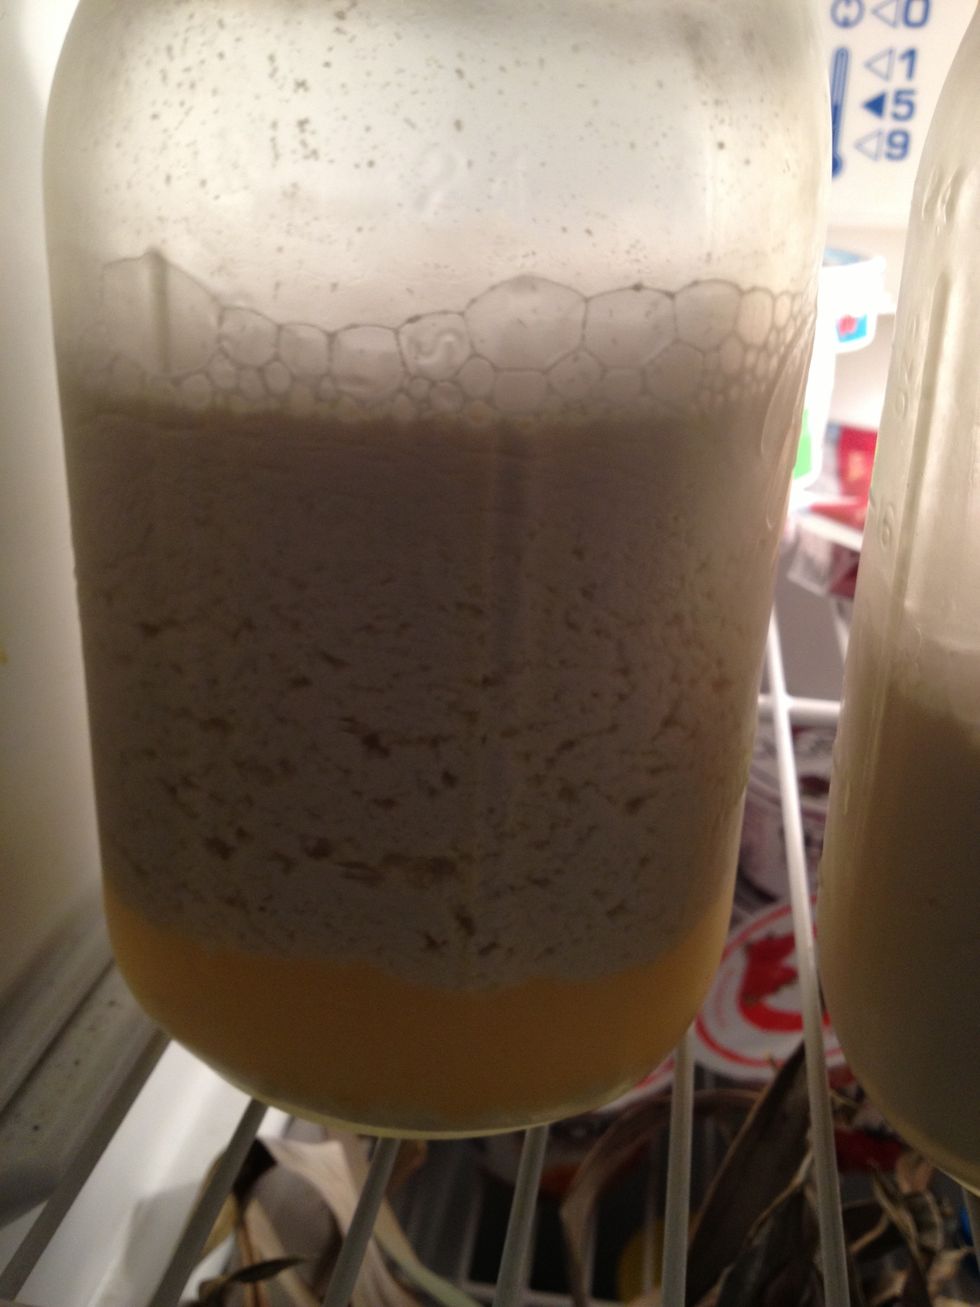
Look! More murkiness. That's a good sign.

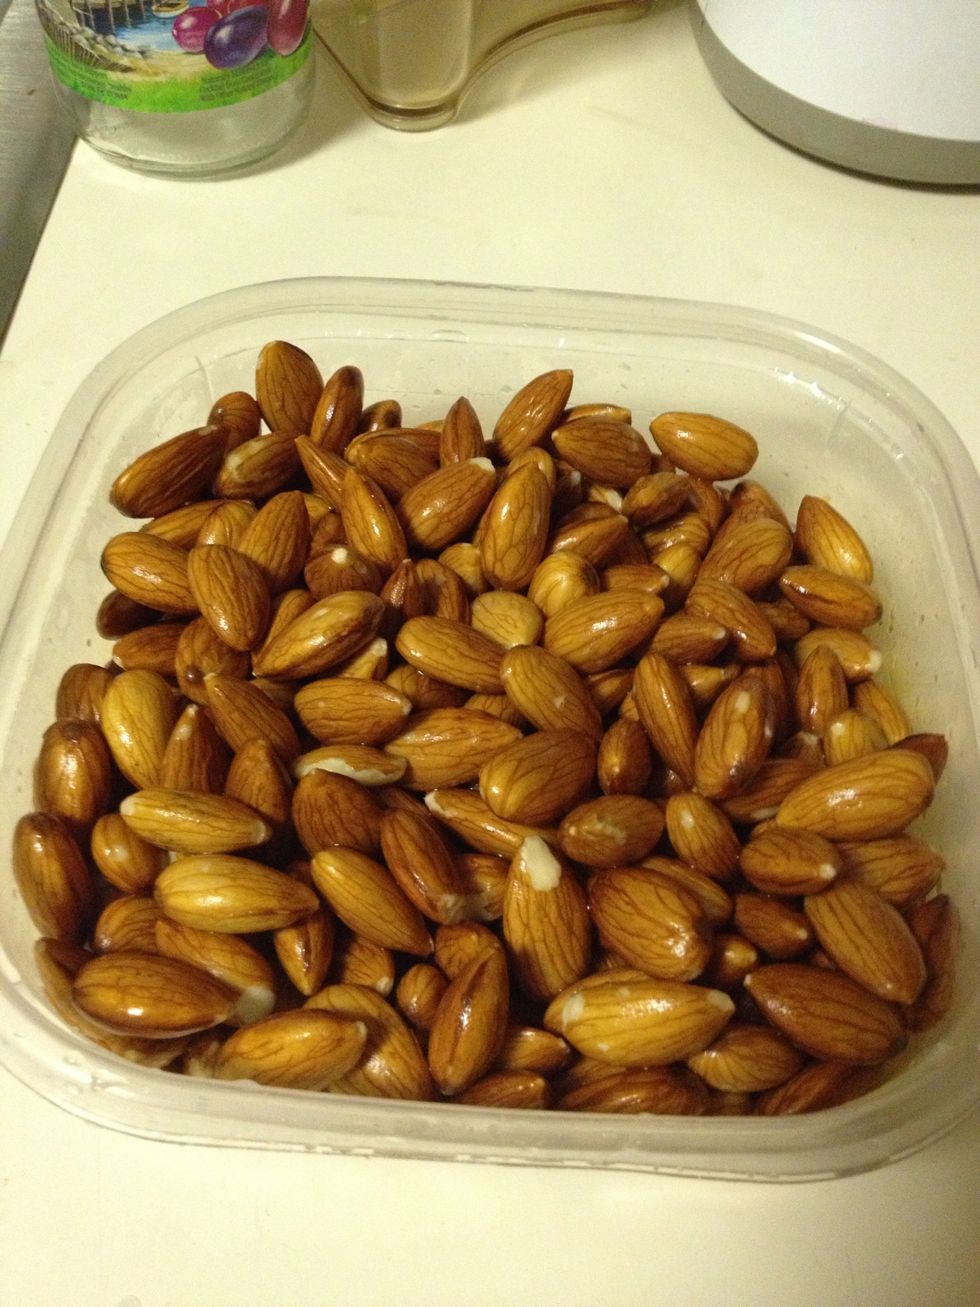
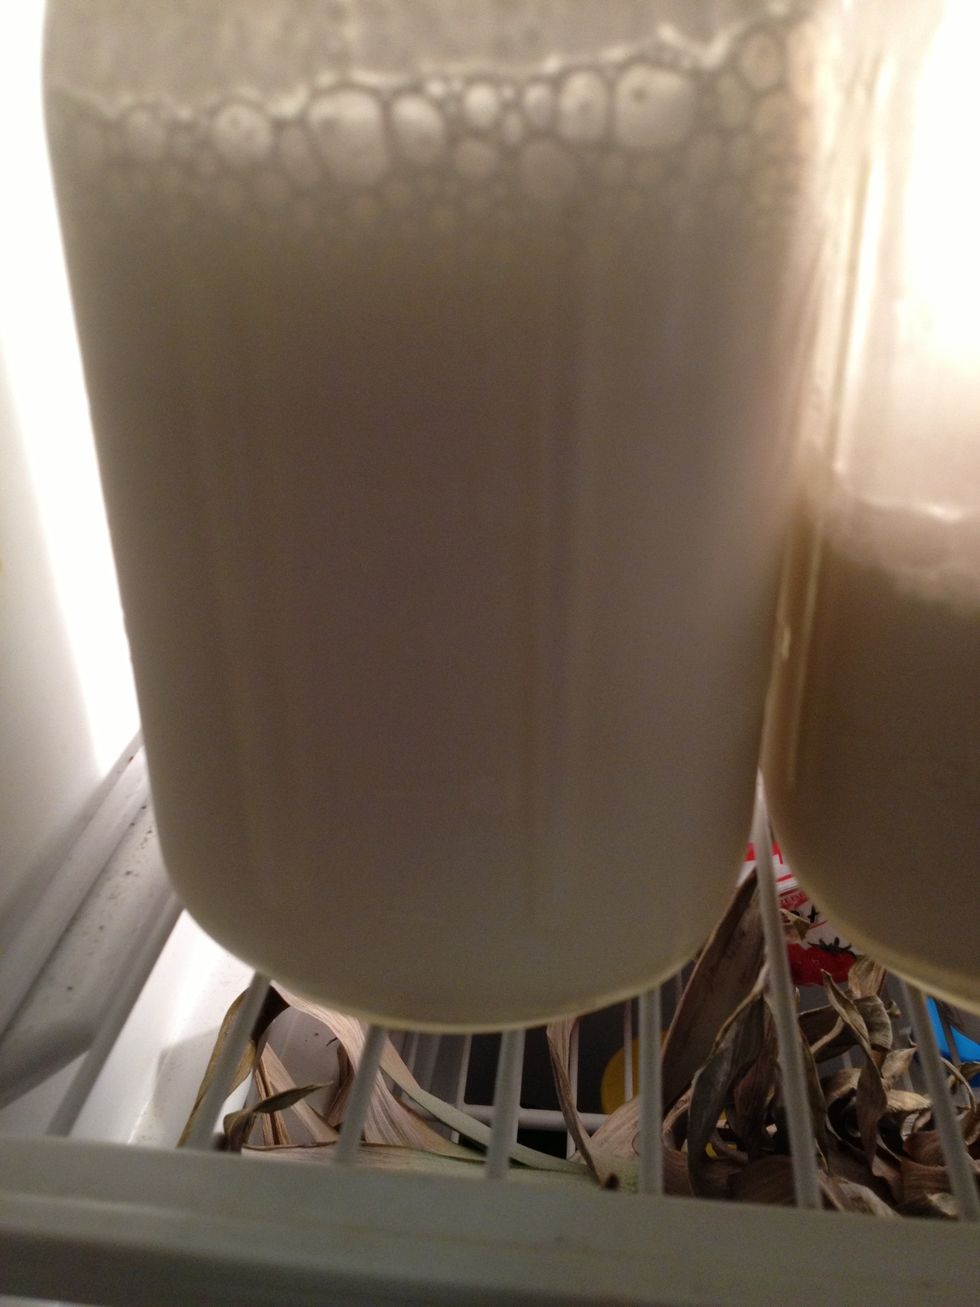
NOW look at the difference. Huge change from raw to fully soaked plumpness. That's what we like to see. Go ahead and nom on one to see how it is different from the raw one.
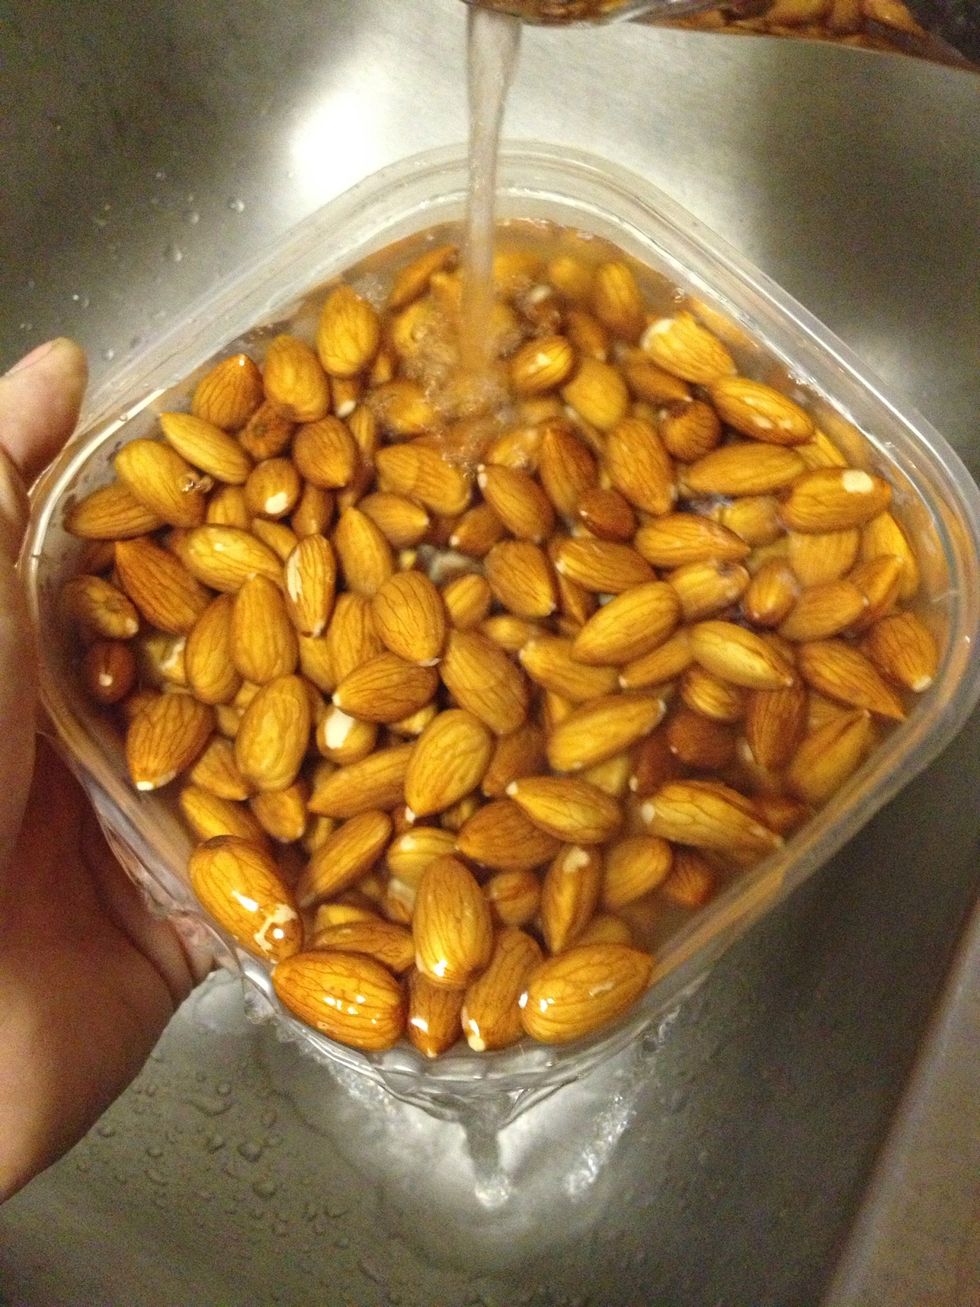
I like to drain and rinse at the same time. Run your water into the container at one corner, slightly tipping it so the water runs out the opposite corner. Don't tip so far that the nuts dump out.
Now drain all the water completely out.
At this point, some people will tell you that you should peel the skin off the nuts. This is a completely unnecessary step. We pulled most if not all of the enzymes out by double soaking.
Don't waste your time peeling it off, it won't end up in your milk. Promise. Okay, moving on.

This folks, is the cheapest, and best nut milk bag I've ever owned. It's a paint strainer from Home Depot that cost me $2 for a pack of 2. Don't buy expensive cloth nut milk bags. Seriously, don't.
Get your bowl out.

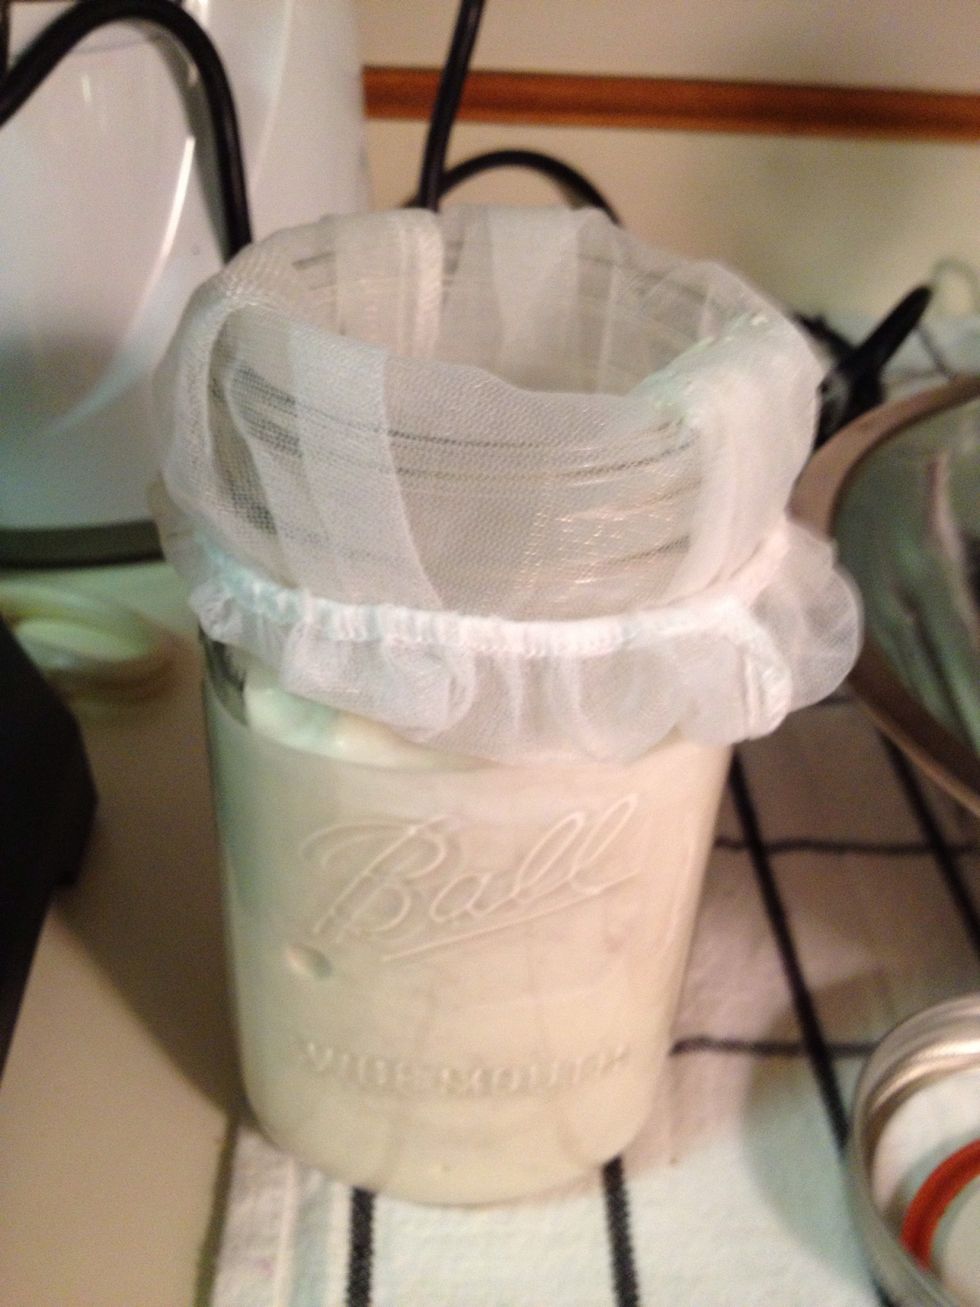
Get your milk container out. I used a mason jar.
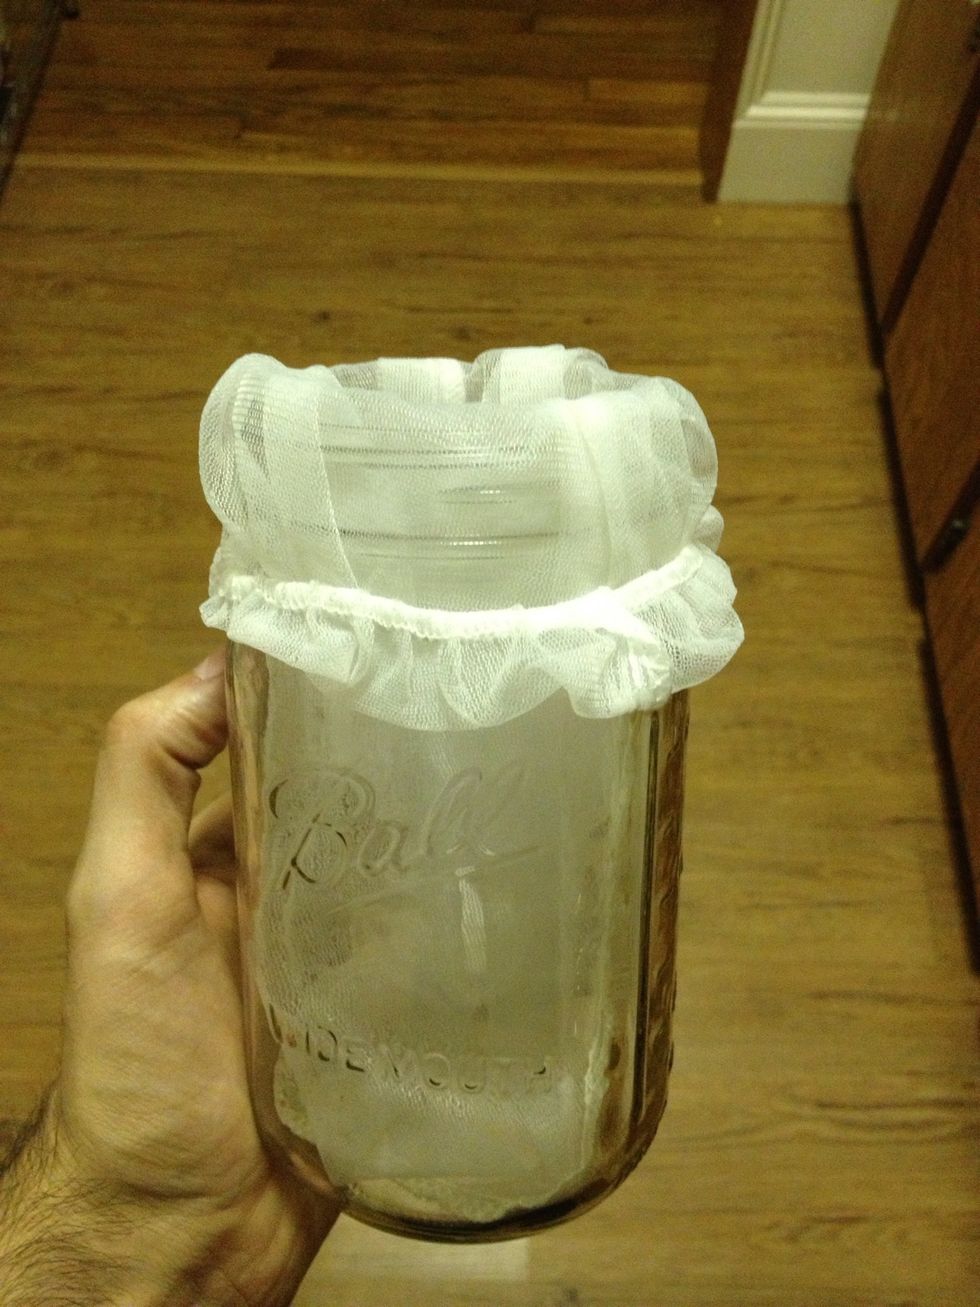
Stick your strainer in the jar, or a small bowl works if you can wrap the top up and over the edges like you see here. We just need the bag to stay open. You'll see why.
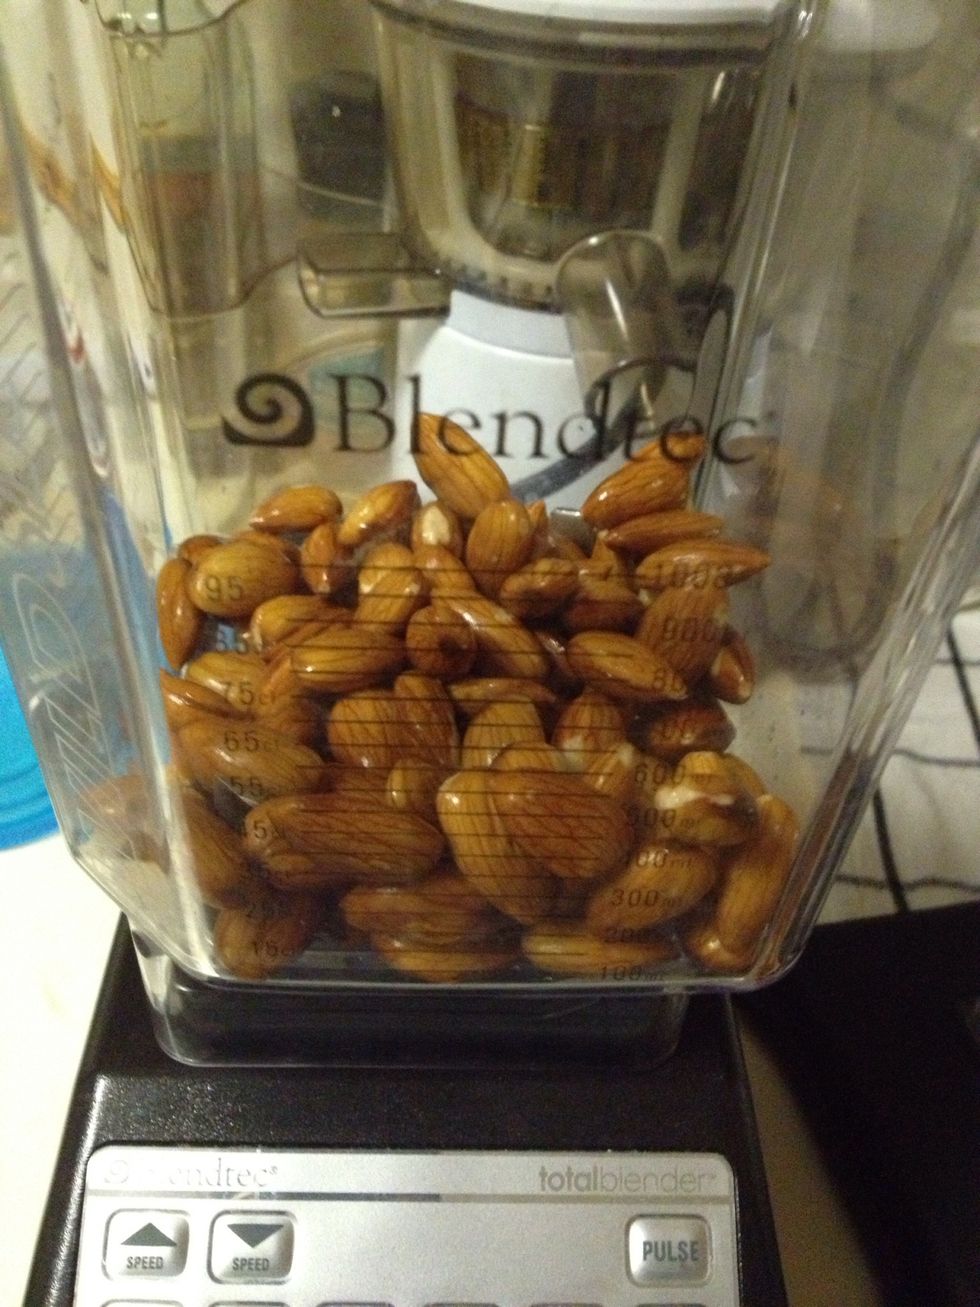
Put your soaked almonds into your blender jar.
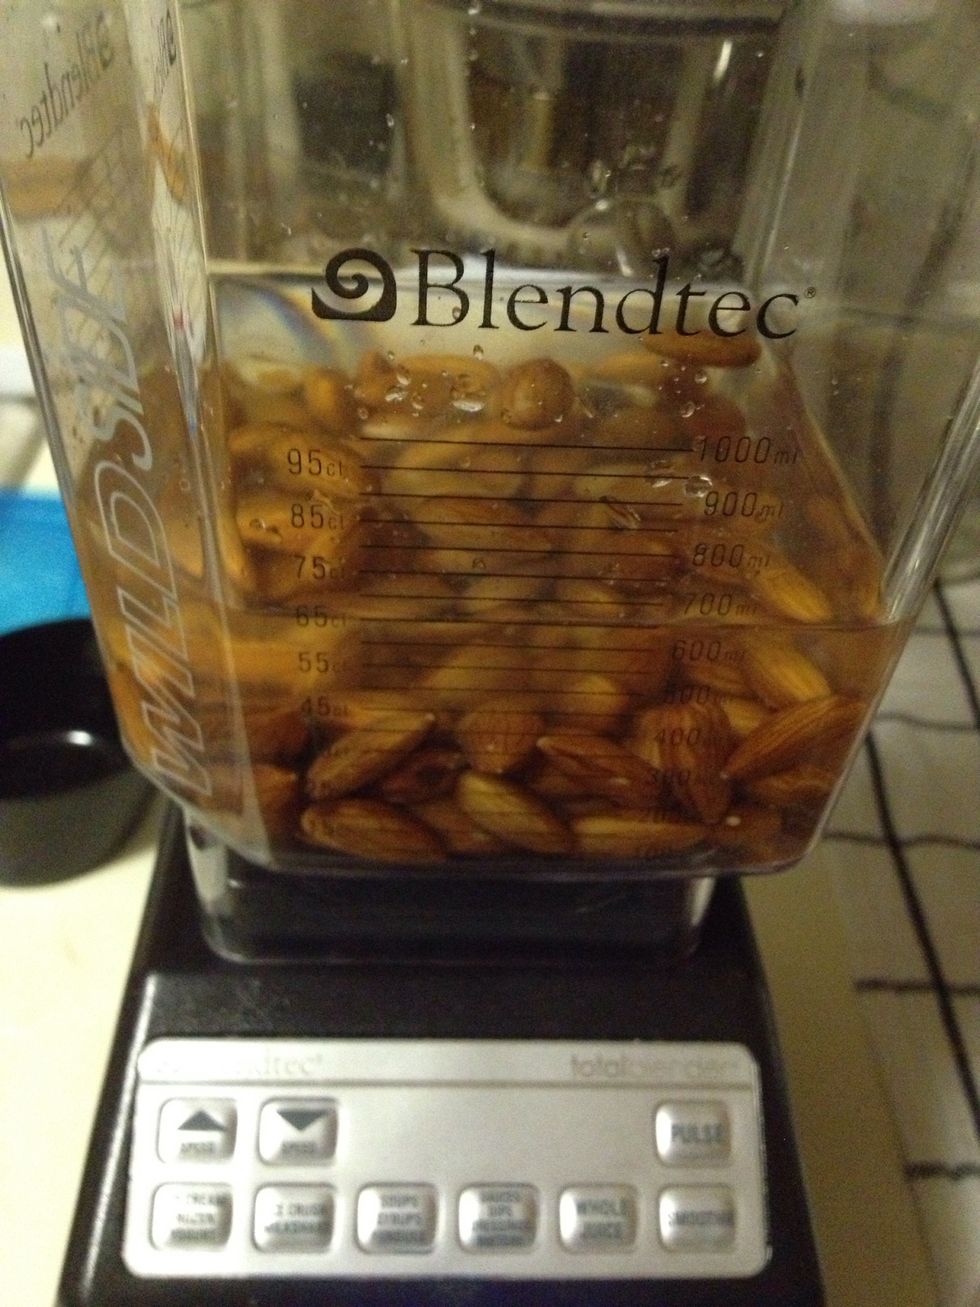
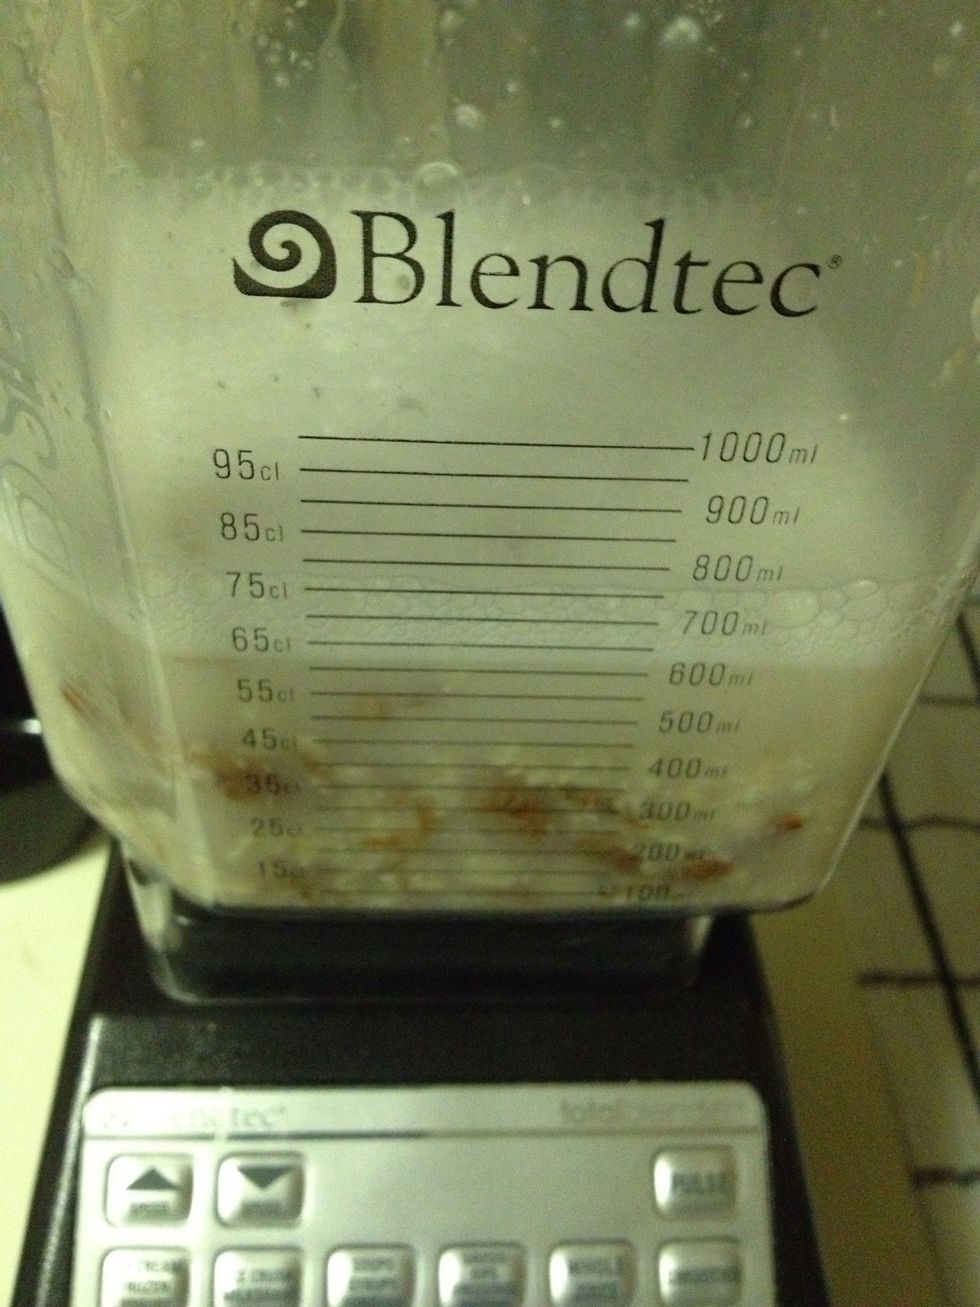
Add 2 cups of filtered or spring water to the blender jar.
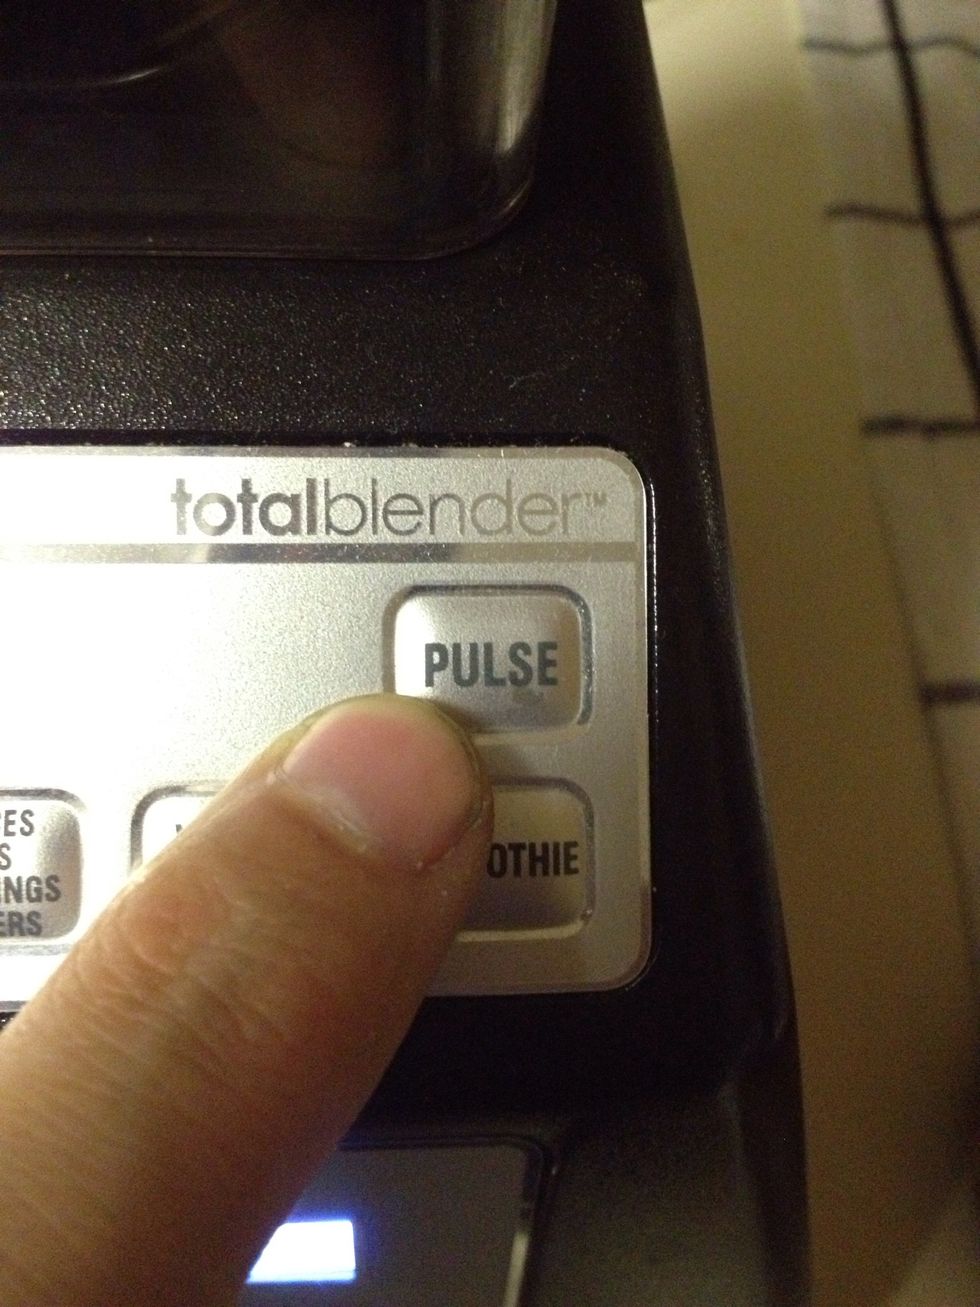
You'll want to PULSE it for a bit to just break up the nuts.
Like so.

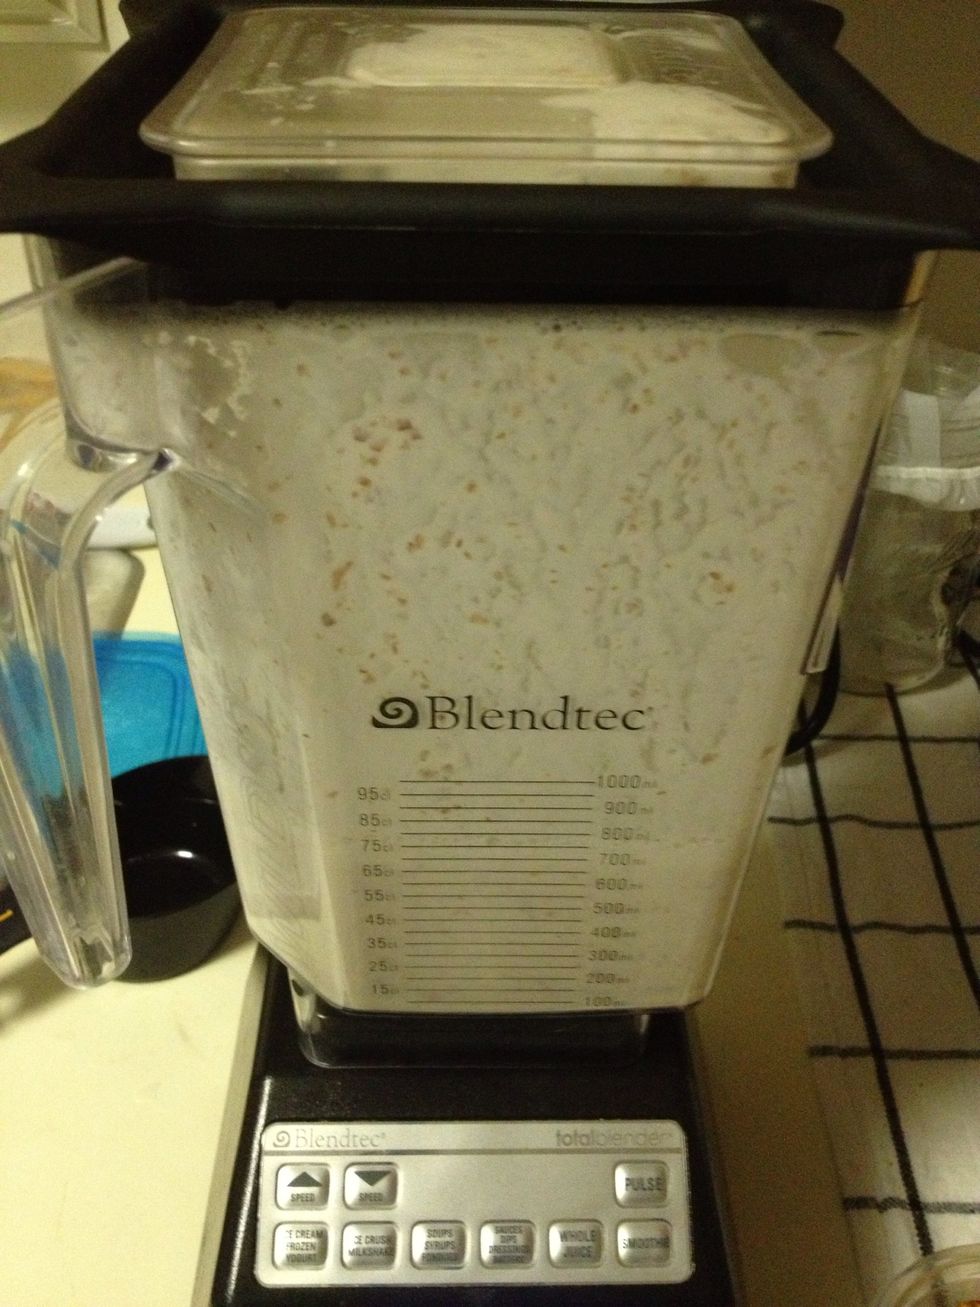
Now turn on the blender at its lowest speed at first and slowly increase the speed.

I found that Speed 5 on my Blendtec was an adequate speed. You don't need to blend it for long.
It should look like this.
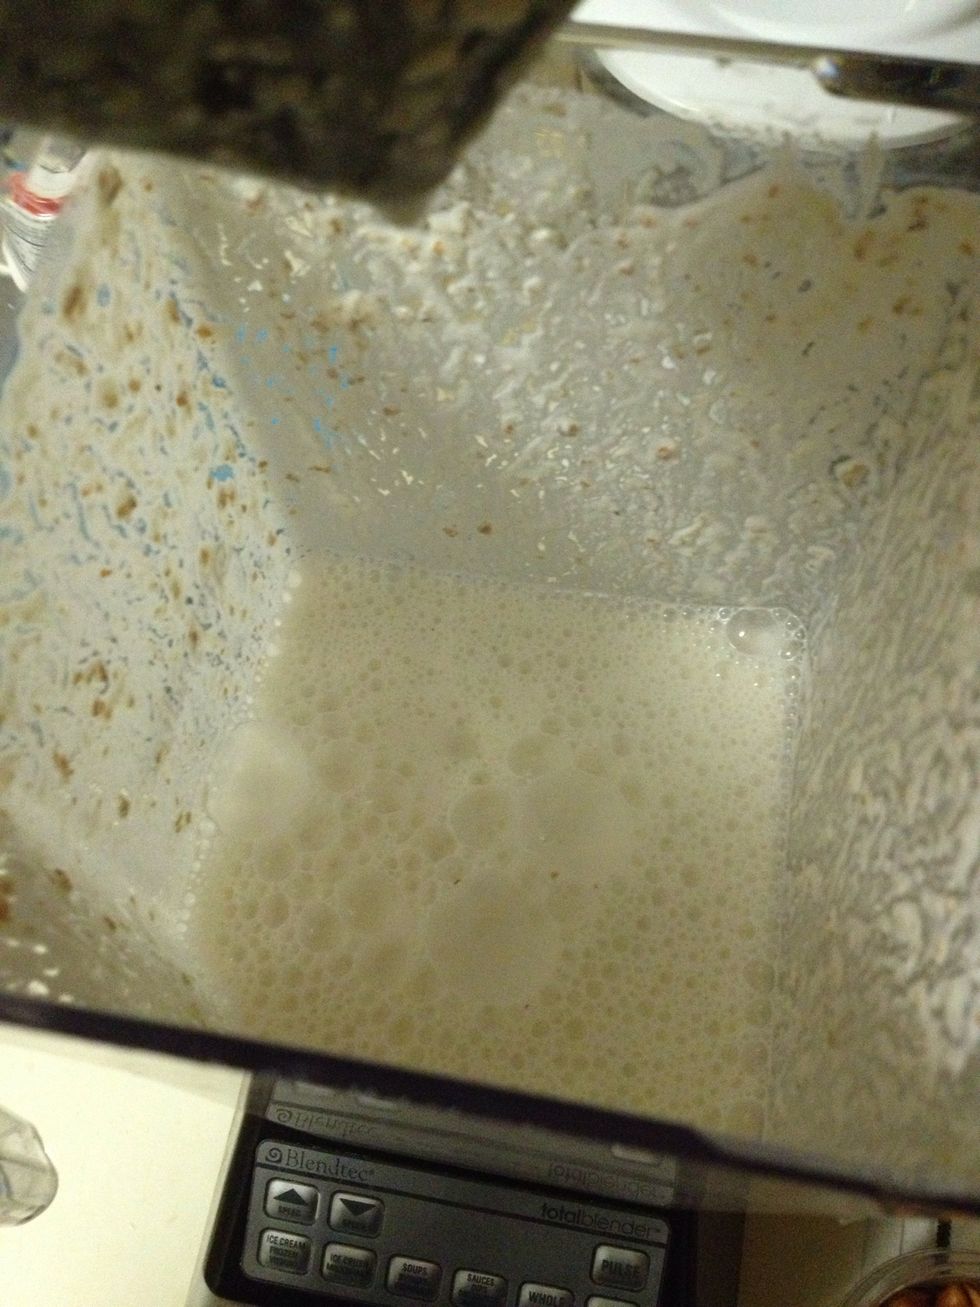
And this.

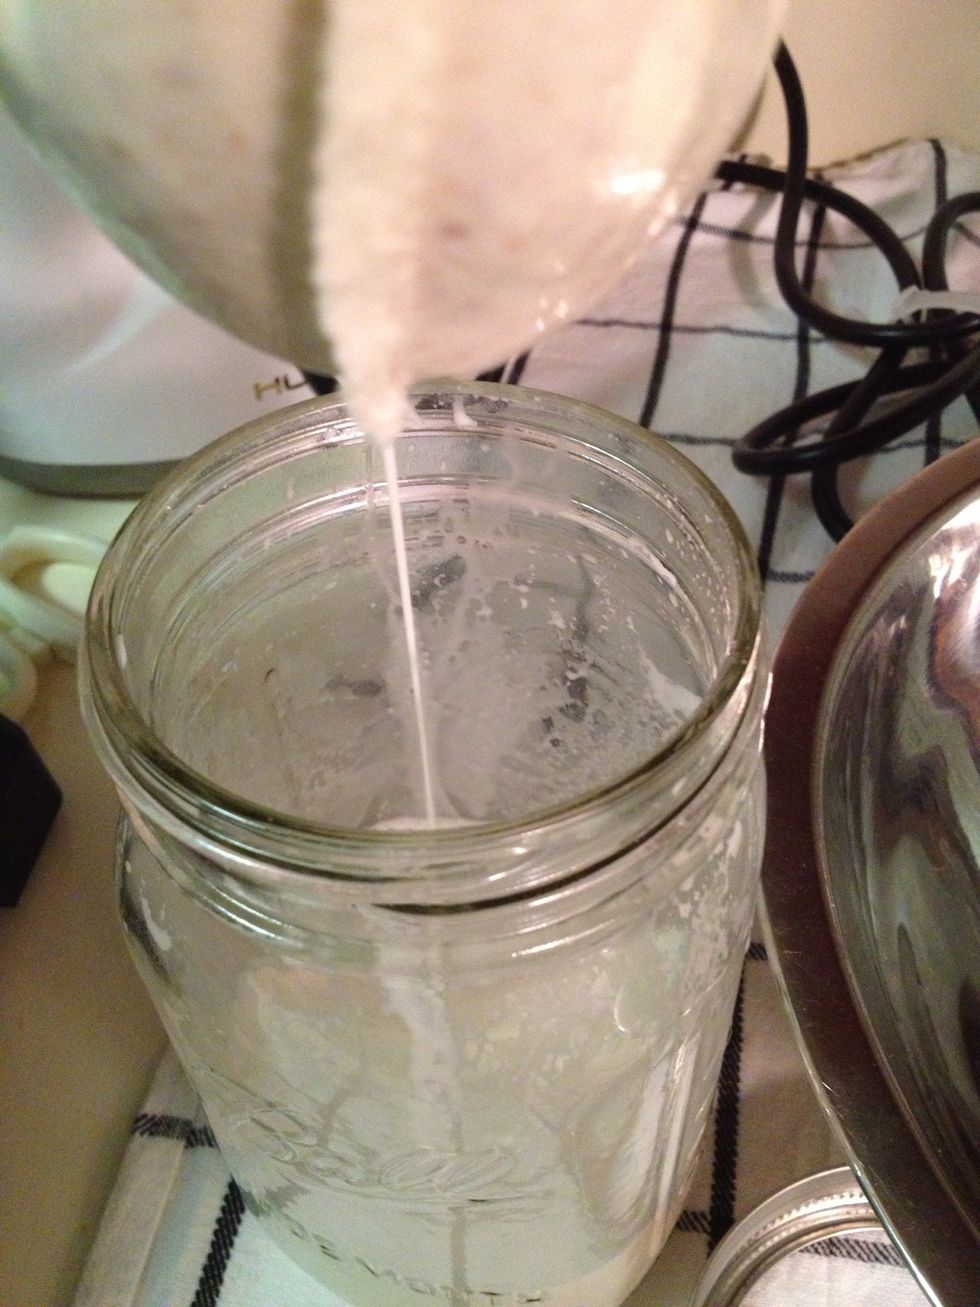
Now we pour the mixture into our strainer lined mason jar (or whatever you put your strainer into.
Almost done. Here comes the fun part.
Gather the top of your strainer and close it up. Gently pull your bag up and let it hover over the opening of your container.
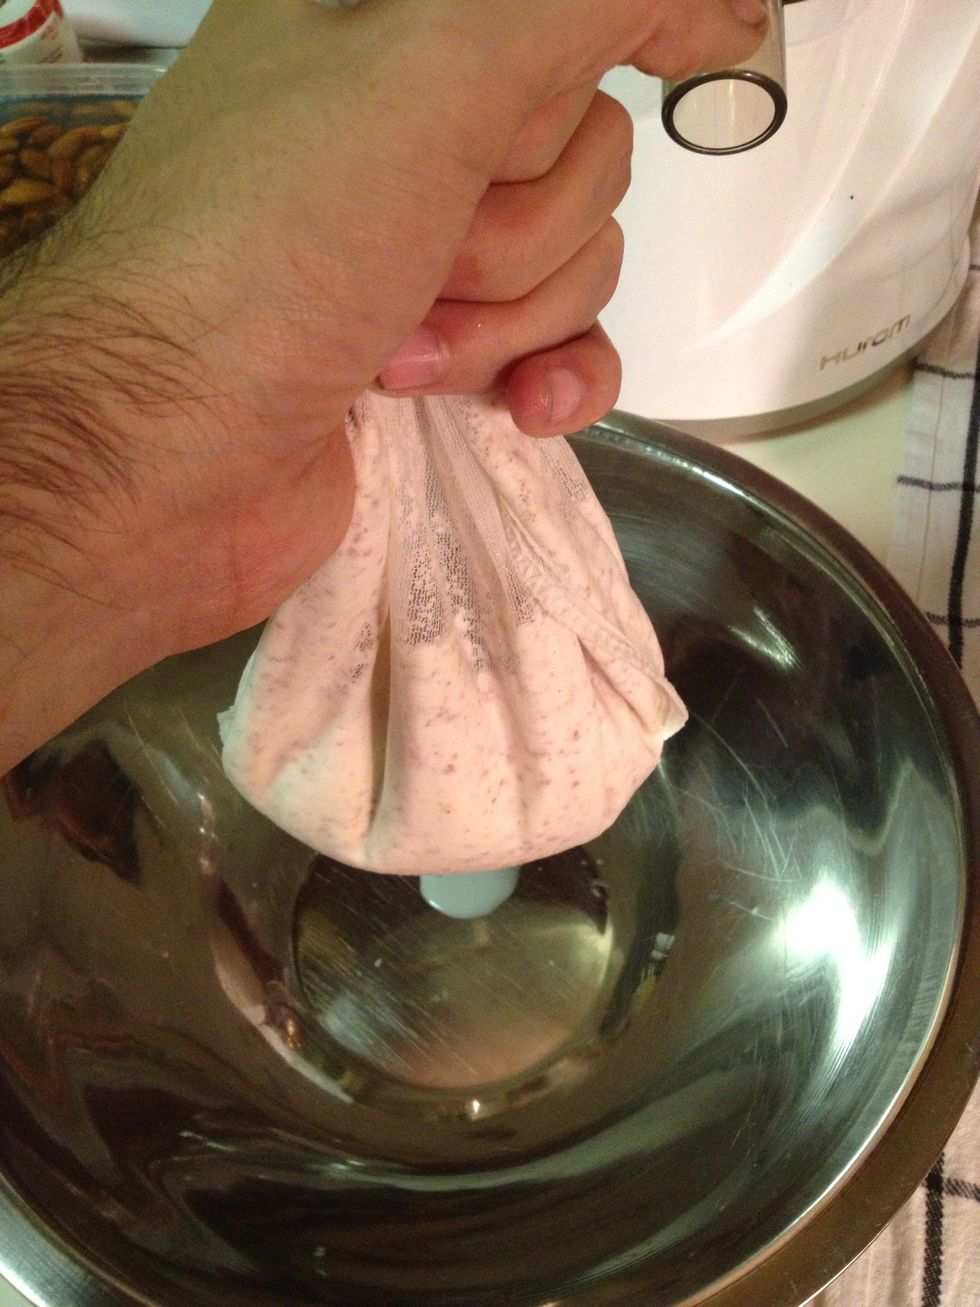
When it stops being a steady stream of milk, carefully bring it over to your bowl.
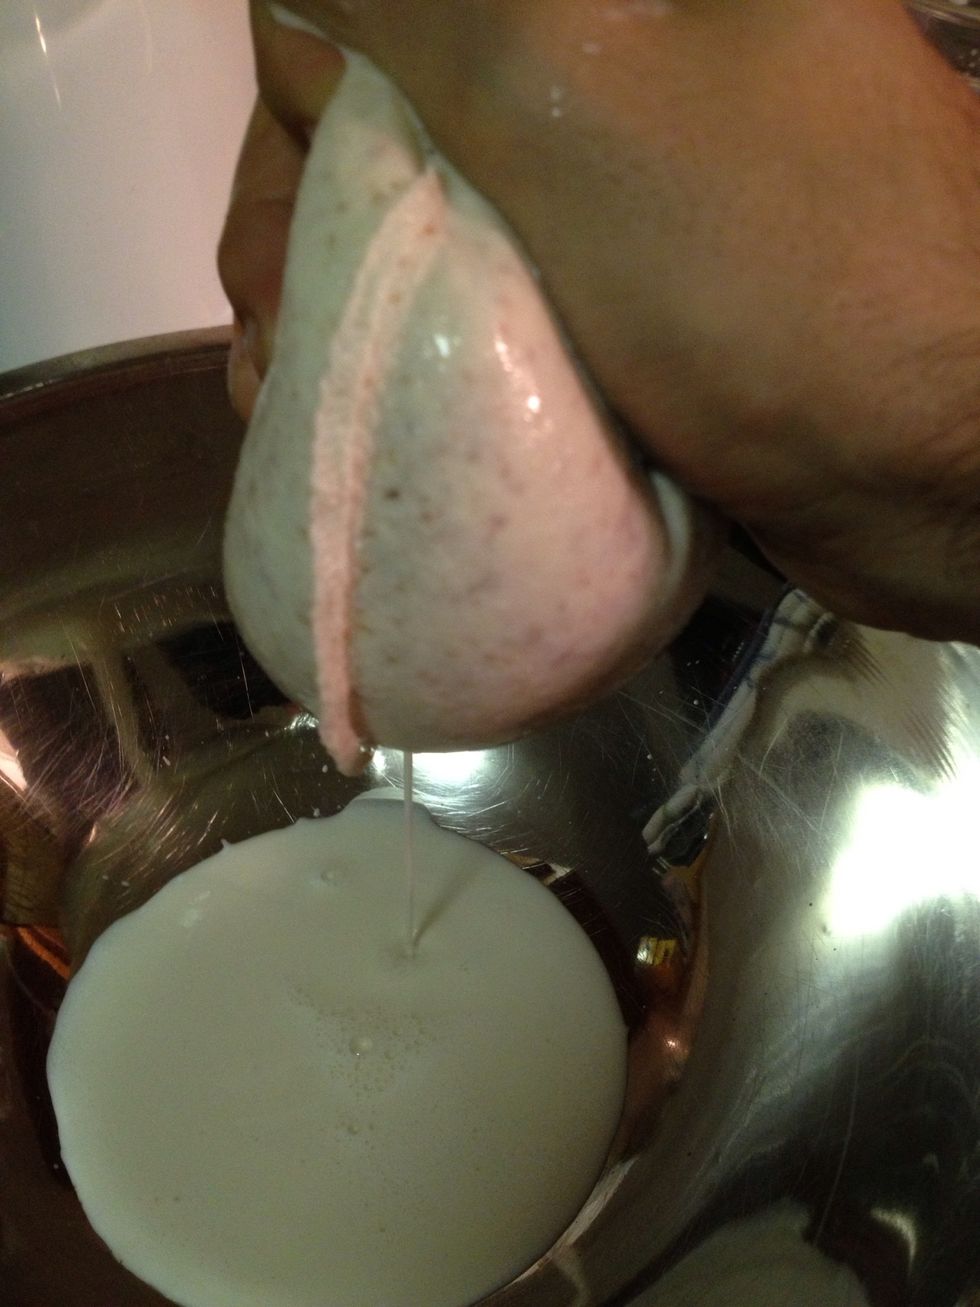
Now gather all the stuff in the bag to the bottom and squeeze. Milk out as much moisture as possible. These bags can take a lot of punishment. I've yet to split one open. Yeah, just a buck people.
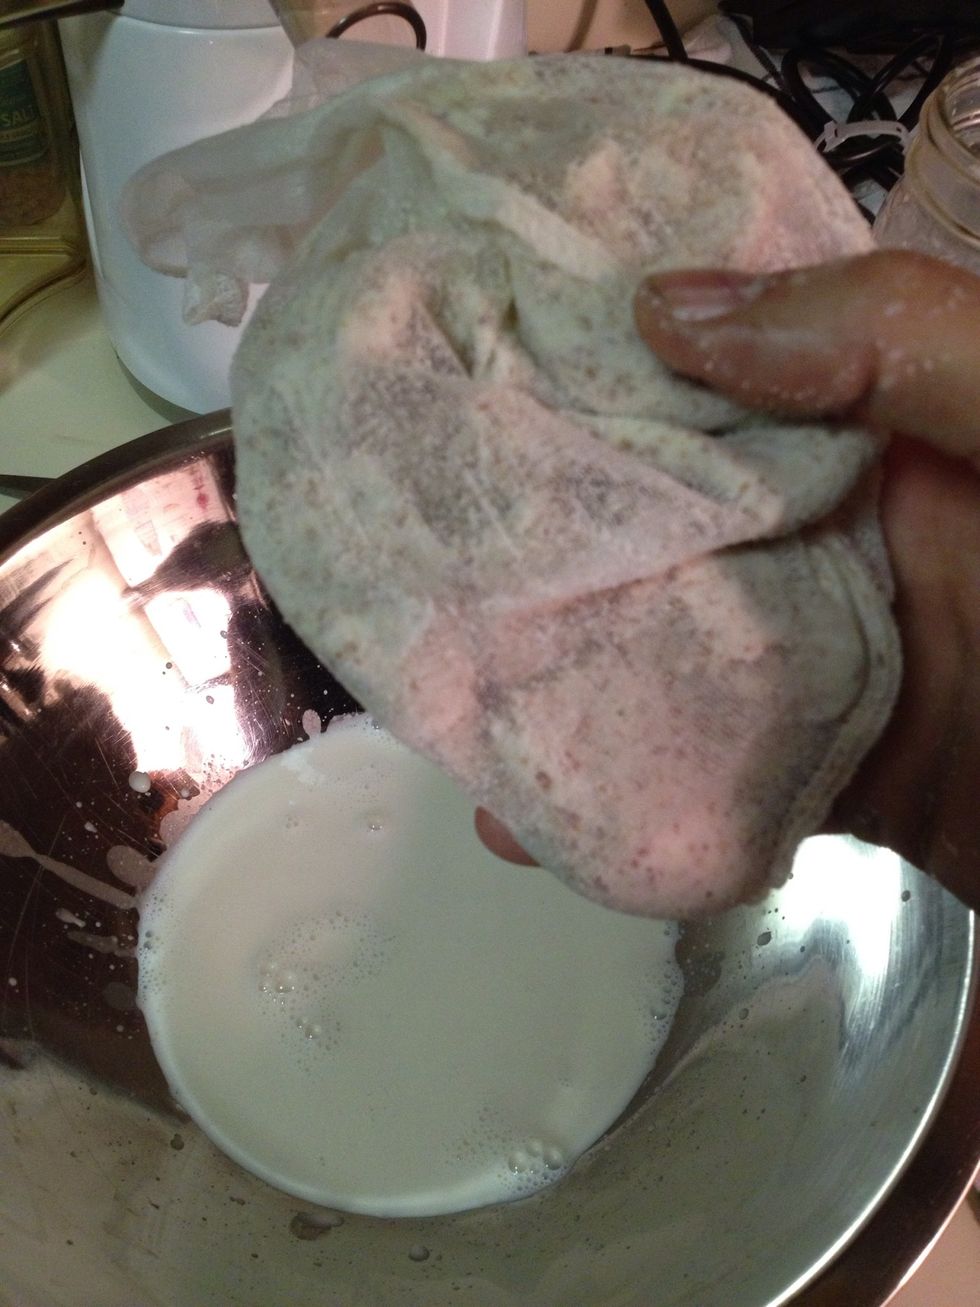
When you're done, it should look like this.
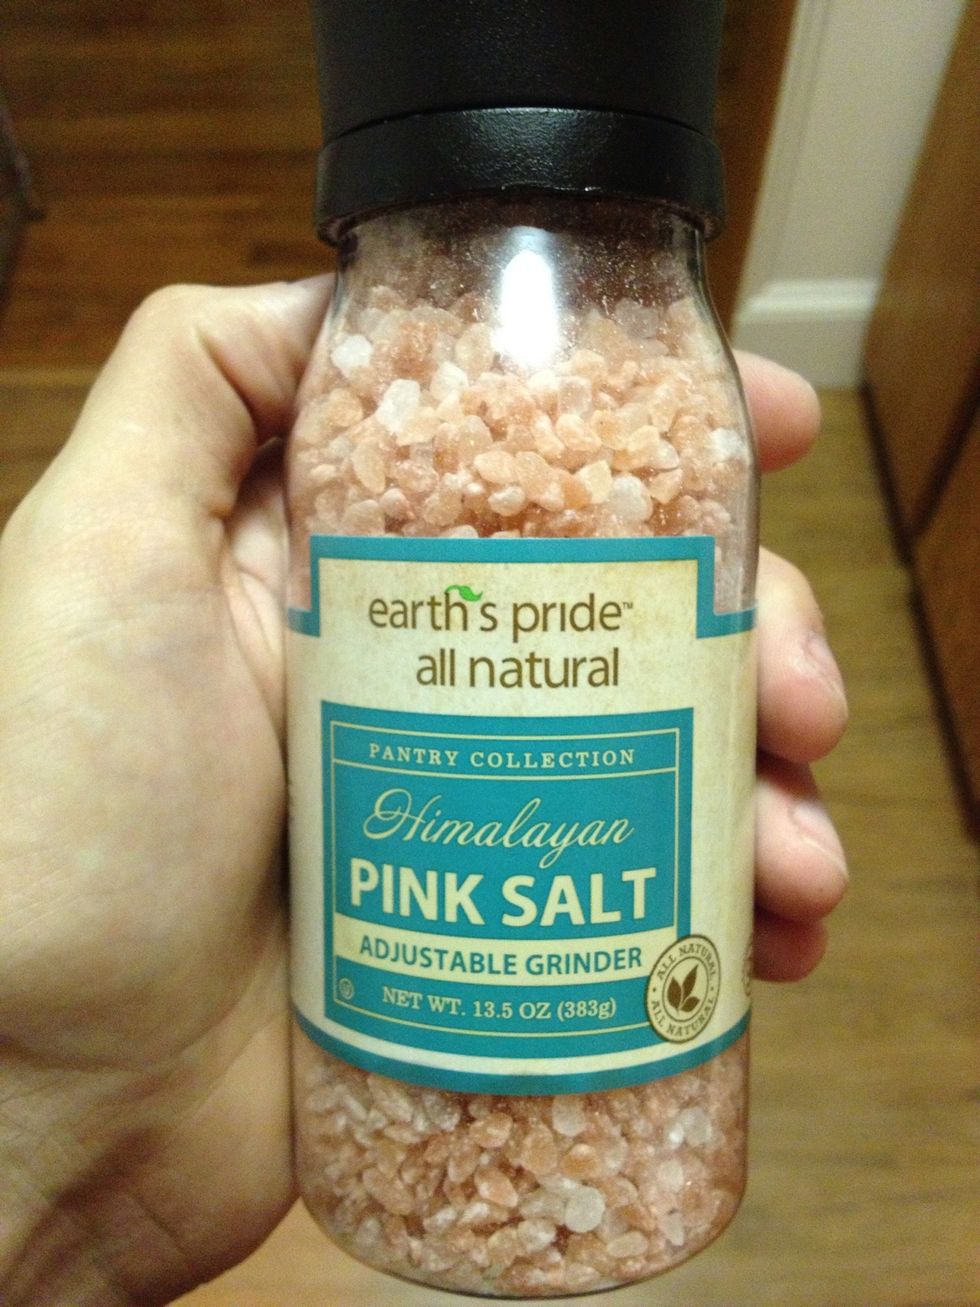
Here's an optional step. Flavoring your milk. Add just a pinch, no more, of Himalayan Pink Salt. Why not kosher or regular table salt. It's just not as good for you. Do some research. Trust me. 😊✌
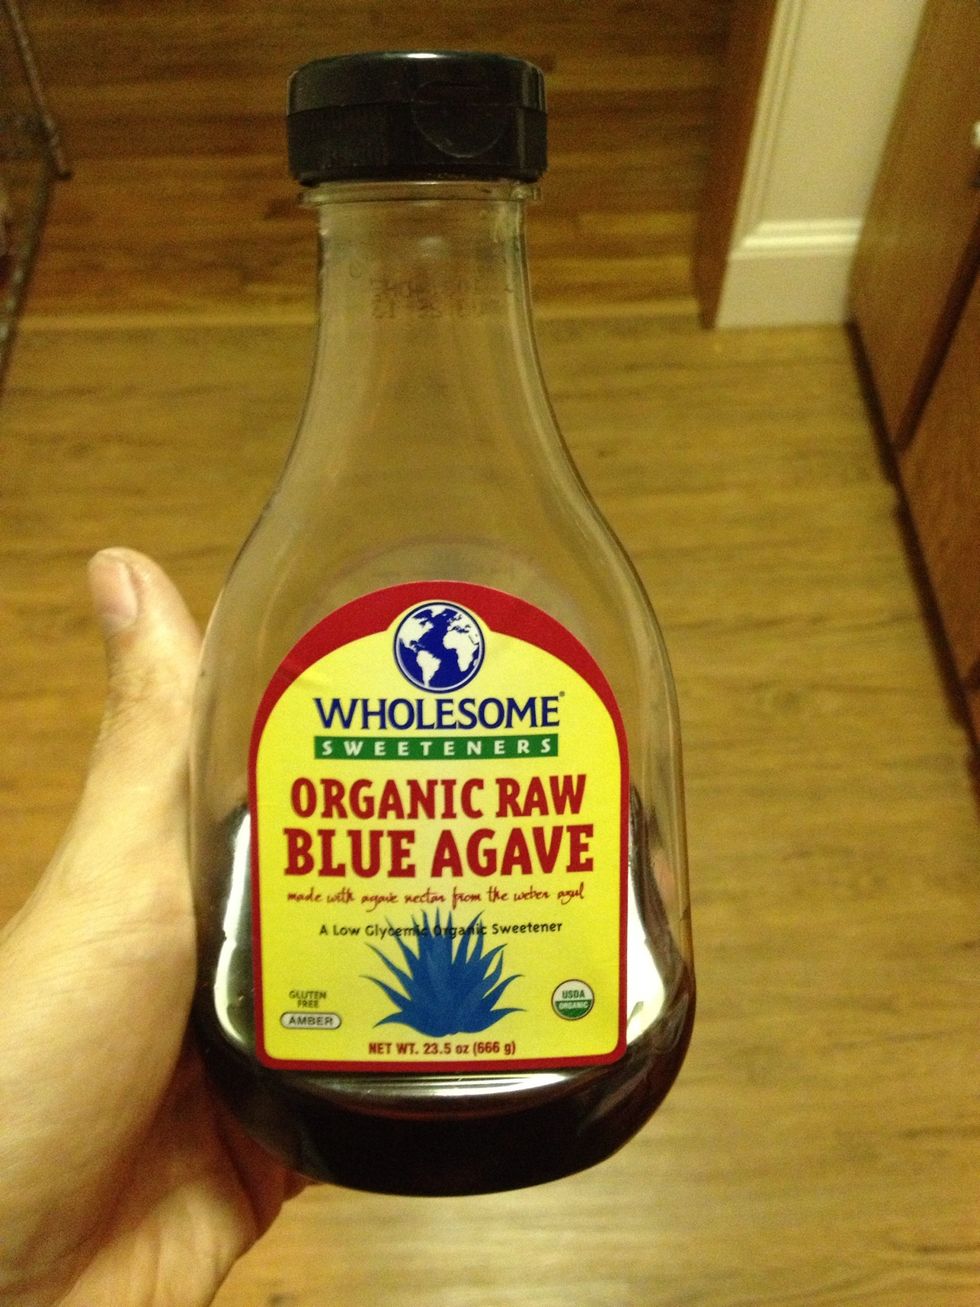
Add a Tablespoon of Raw (if you can find raw) Agave Nectar. If its not sweet enough, add more.
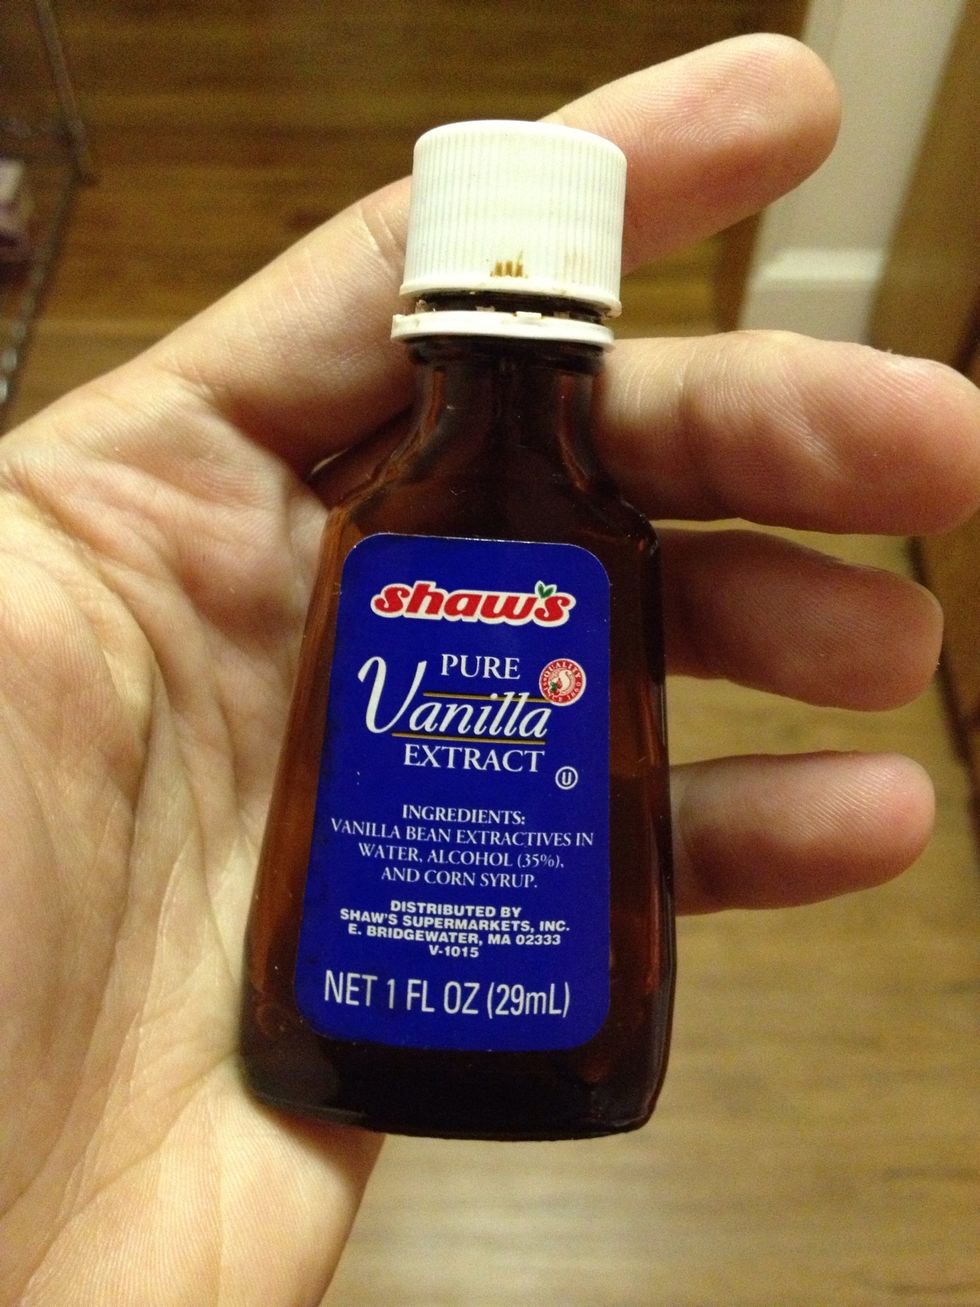
I like to make mine Vanilla flavored too. I add about a 1/2 a Teaspoon. I suppose you could add other flavorings to it, but I like to stay away from artificial things.
Pretty much dead on for a pint. This means I squeezed almost all of the liquid out of my almonds. Yay me.
Just a note: Separation tends to occur in natural homemade almond milk because there isn't any additives in it to prevent it from doing so. This is totally normal and easy to fix.
Just give it a shake. 😃
The last steps are totally optional. If you want to make almond flour save your almond meal (leftover bits). I'll have a guide on this at a later date. If you don't want almond flour, compost it.
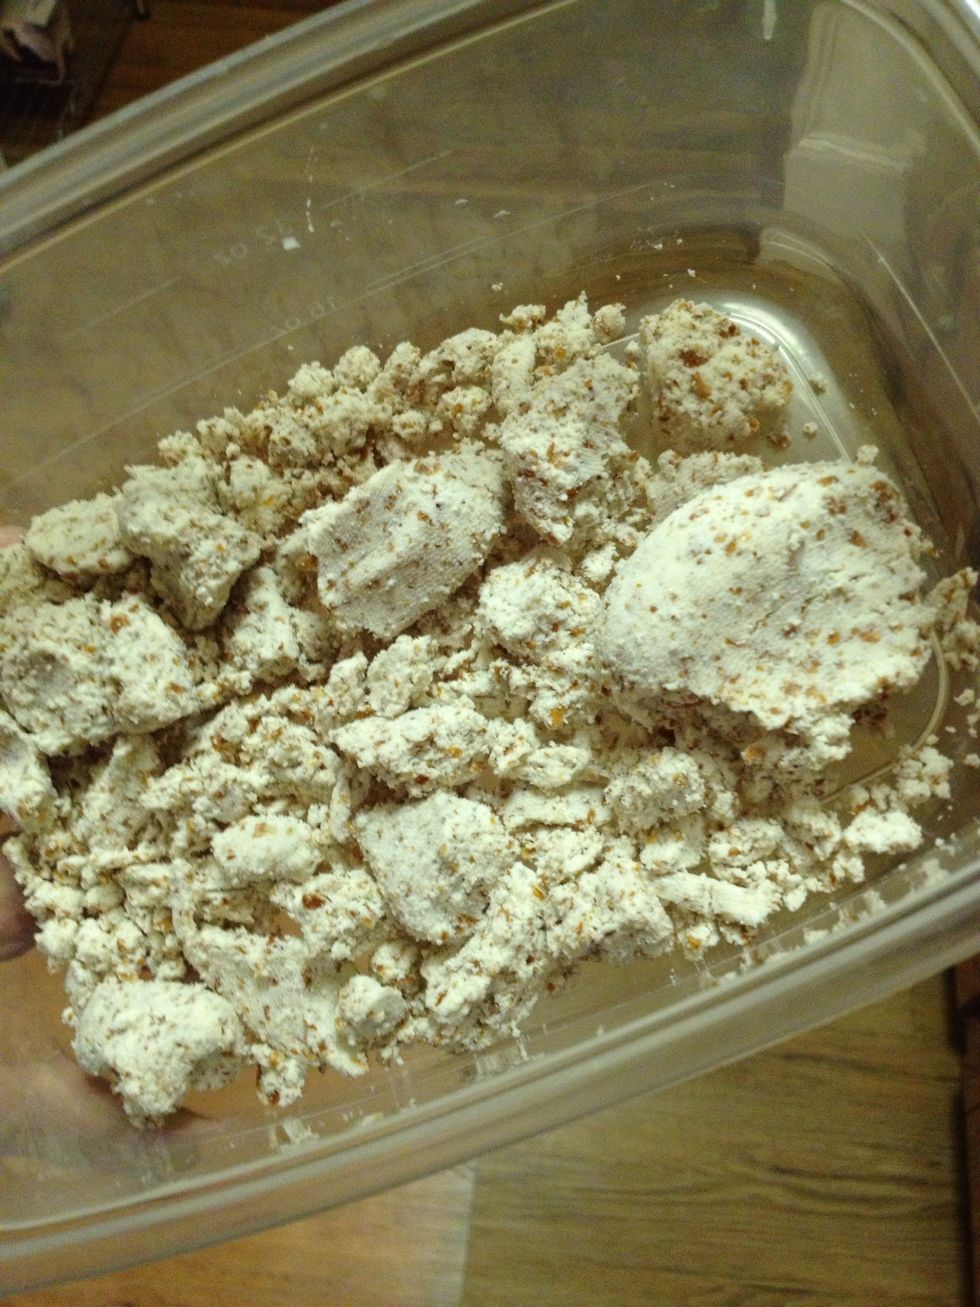
It's still moist, but not very.
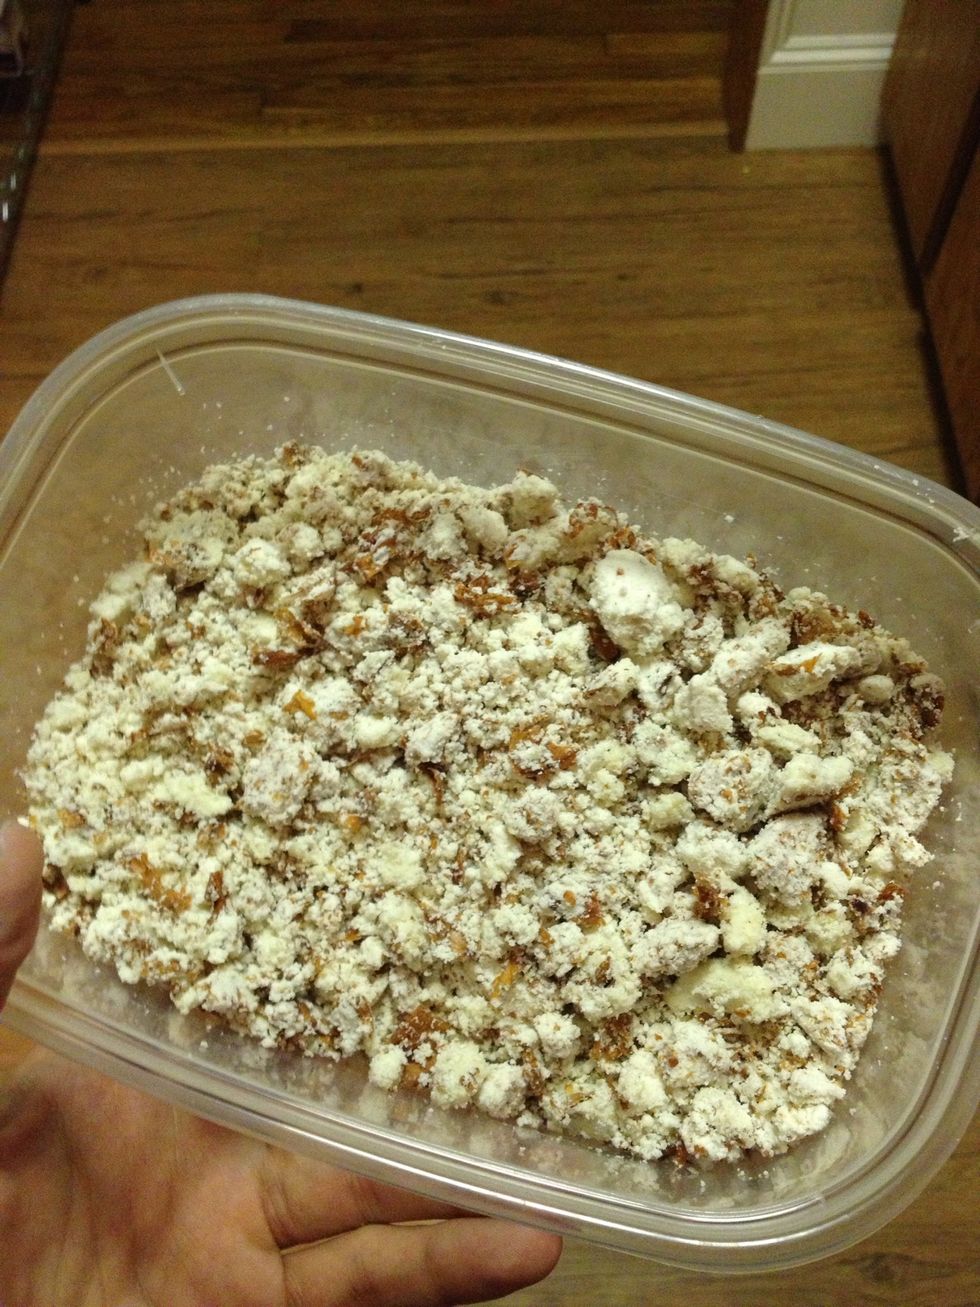
Break it up into consistent sized pieces.
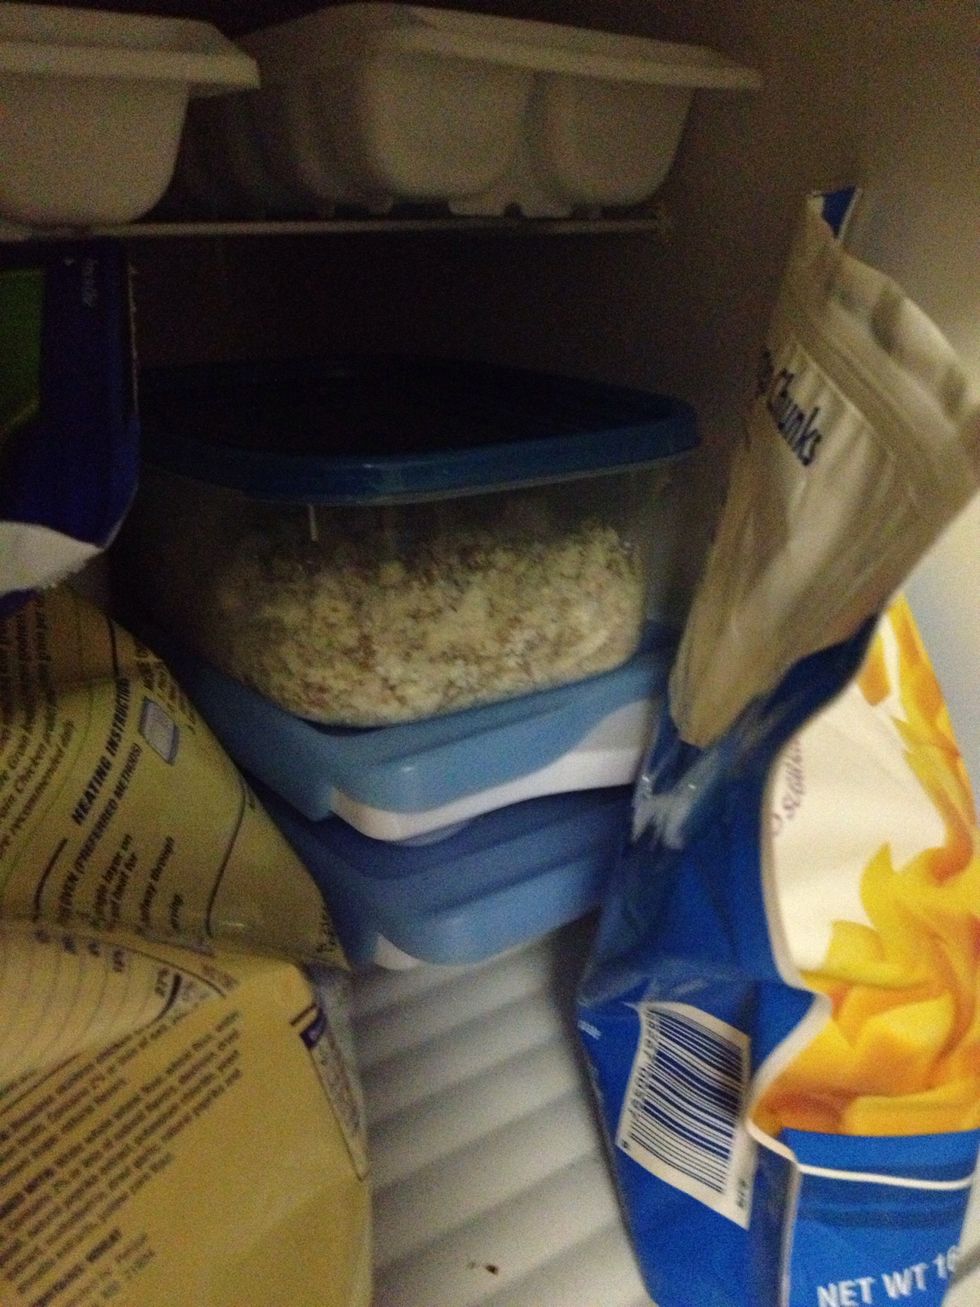
Pop the container in the freezer until you have enough to make a good amount of almond flour. Thanks for viewing and enjoy!