How to make adorable nail design for christmas party
Make Adorable Nail Design for Christmas Party
93
STEPS
TOOLS

Here are the supplies (green nail polish and top coat got cut off of the photo)
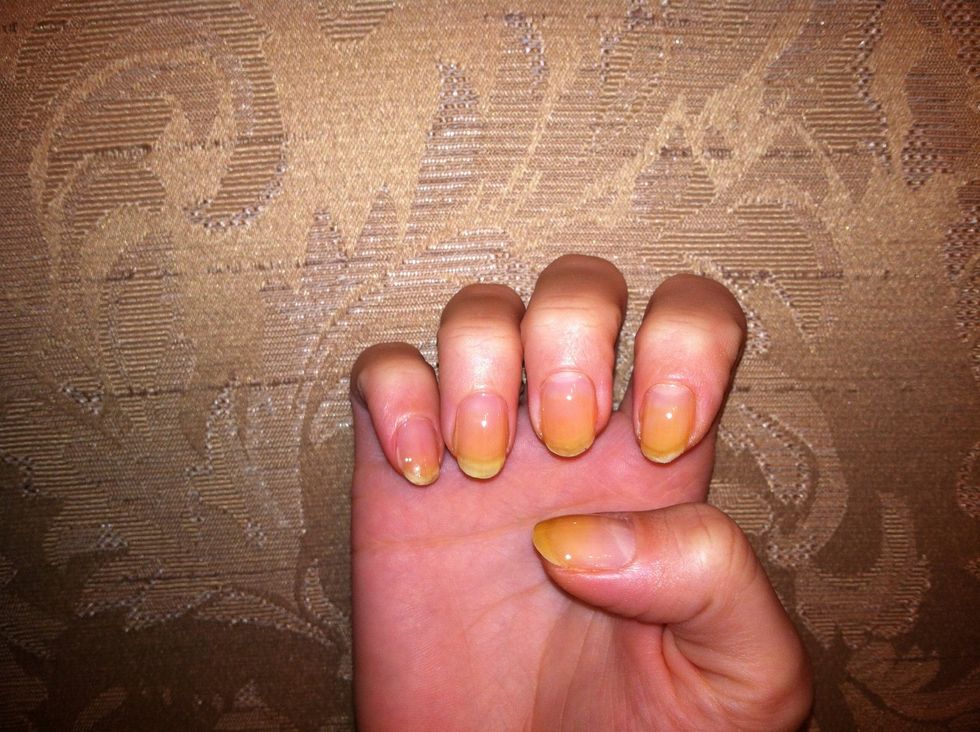
Start with base coat (my nails are stained yellow from not using base coat before)

Paint your nails with black, green, red and the color of your choice as shown above. Let it dry completely. I only did one coat.

Time to design! On your thumb with red nail polish draw a gingerbread man-like shape with gold or light brown nail polish using your dotting tool, toothpick, or nail brush. I use old eyeliner brush :)
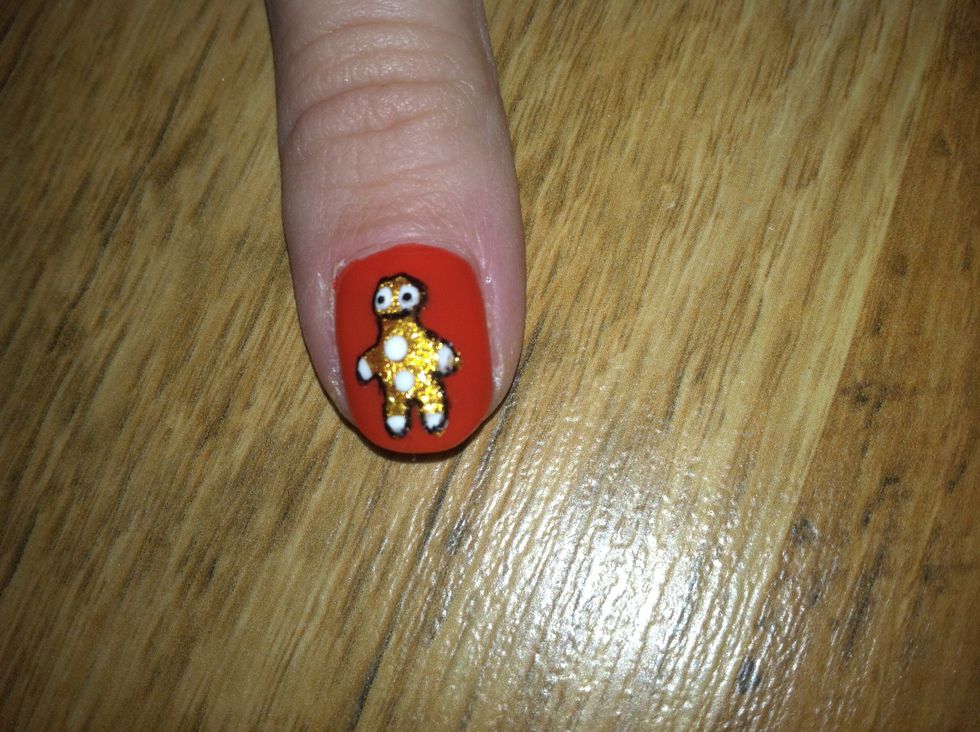
Once the gold shape is dry, bring your gingerman to life by drawing eyes, mouth, buttons and lines on its extremities with white nail polish. I outlined mine with black nail art pen.
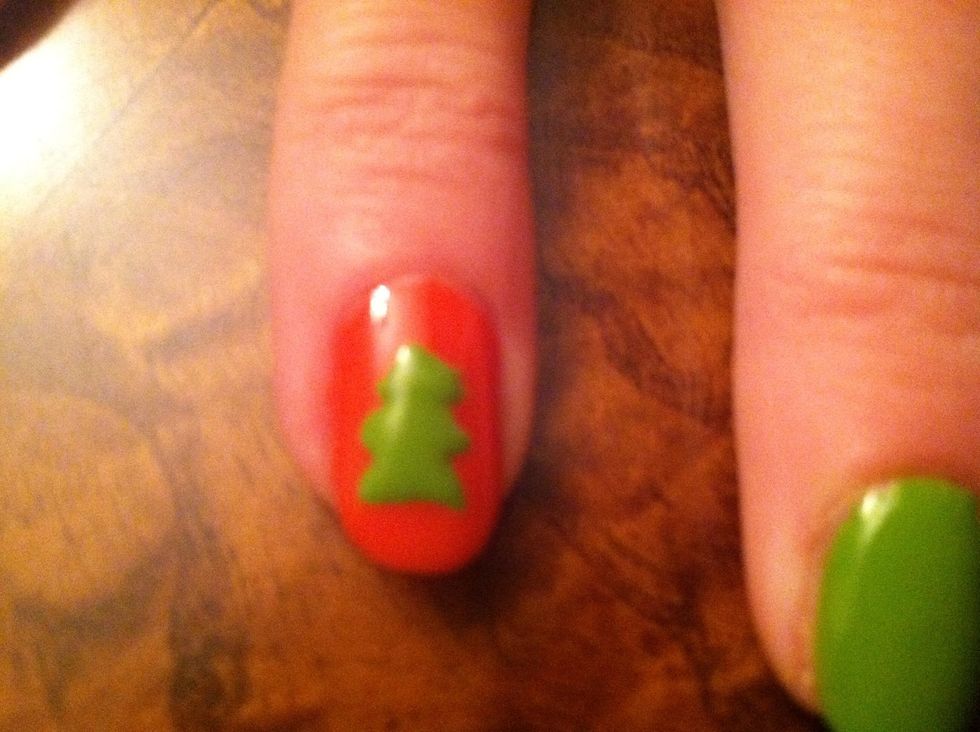
On your second red nail draw a Christmas tree by painting three connected triangles with green nail polish

Once the green shape is dry, bling it up with some ornaments by placing multi-colored randomly placed dots. Don't forget to give it a stem with gold or brown nail polish :)
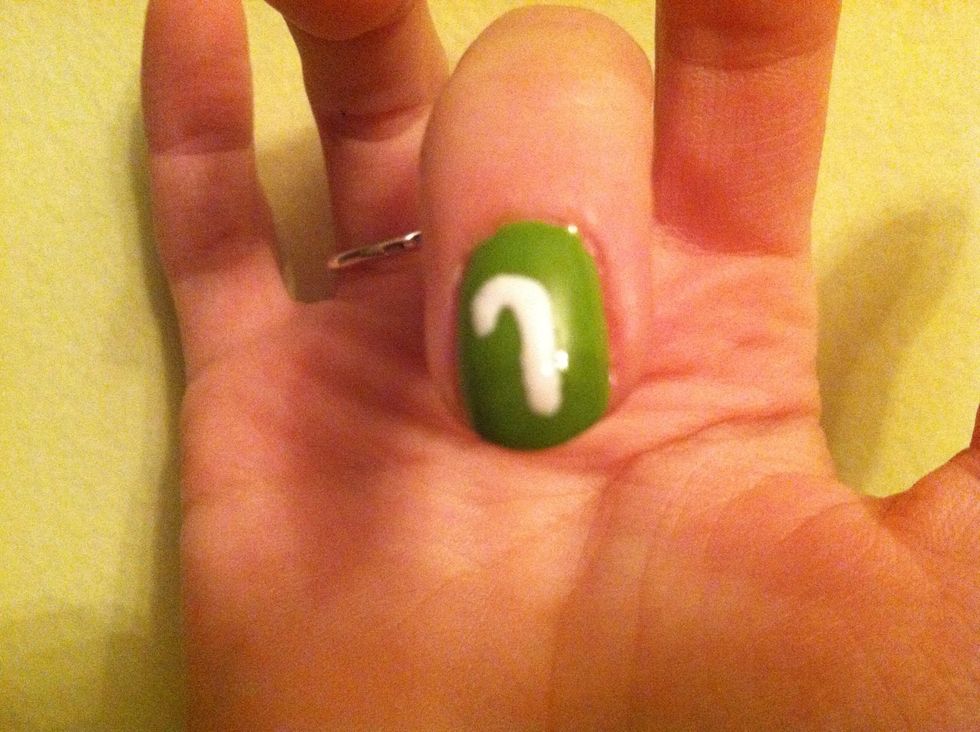
Middle finger with green nail polish gets a cute candy cane shape in white as shown in photo
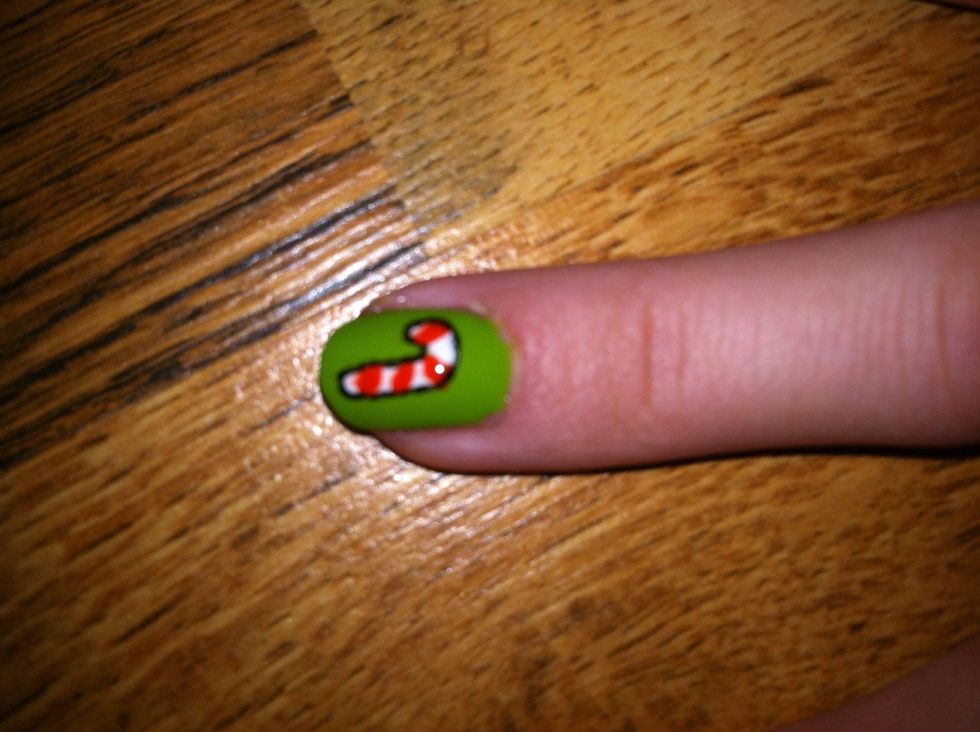
Draw diagonal stripes on your candy cane shape with red nail polish. I also outlined this one with black nail art pen. You can use a toothpick or a pencil for that if you don't have a nail art pen
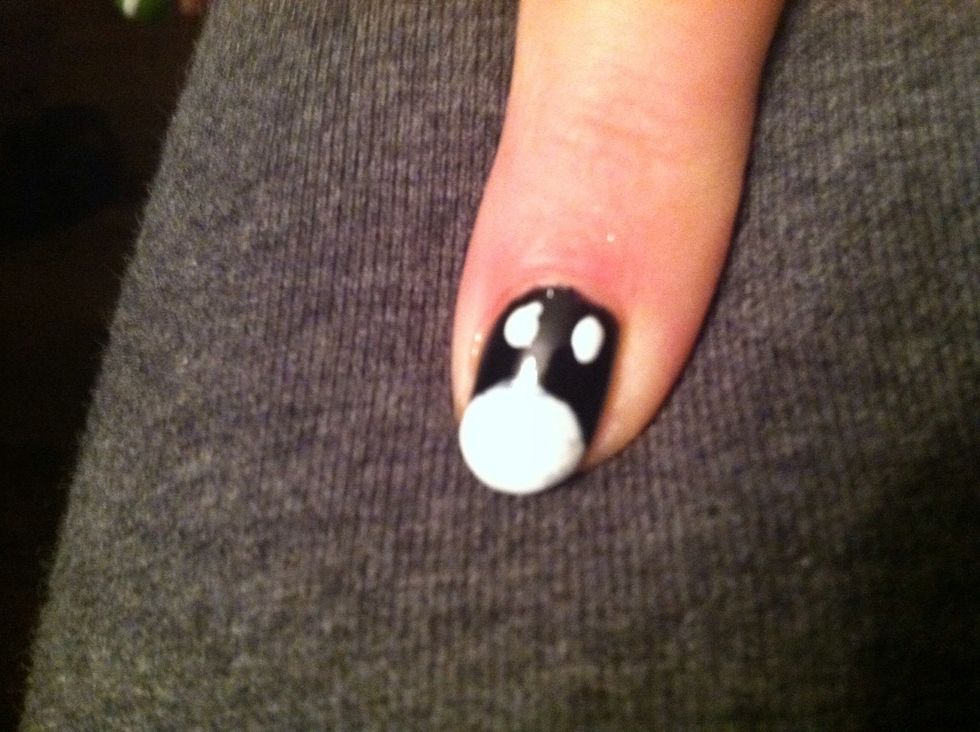
Black nail gets to become a penguin! Draw white half circle at top of nail for its tummy and make sure to give it some eyes, too!
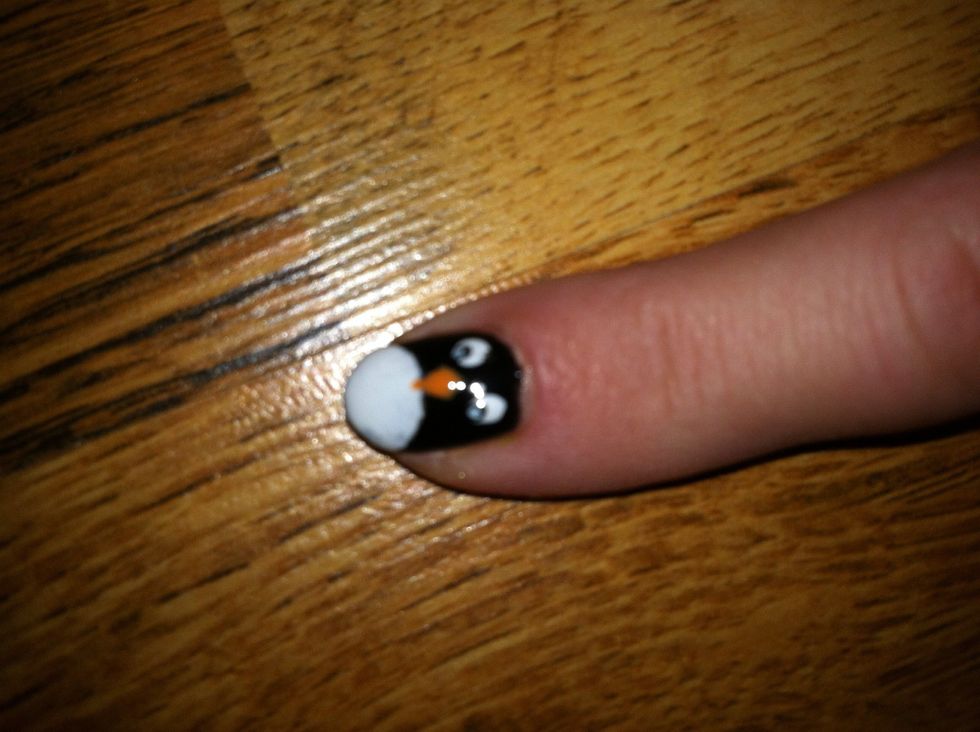
Finish by drawing upside down triangle for nose and add details to the eyes in black.
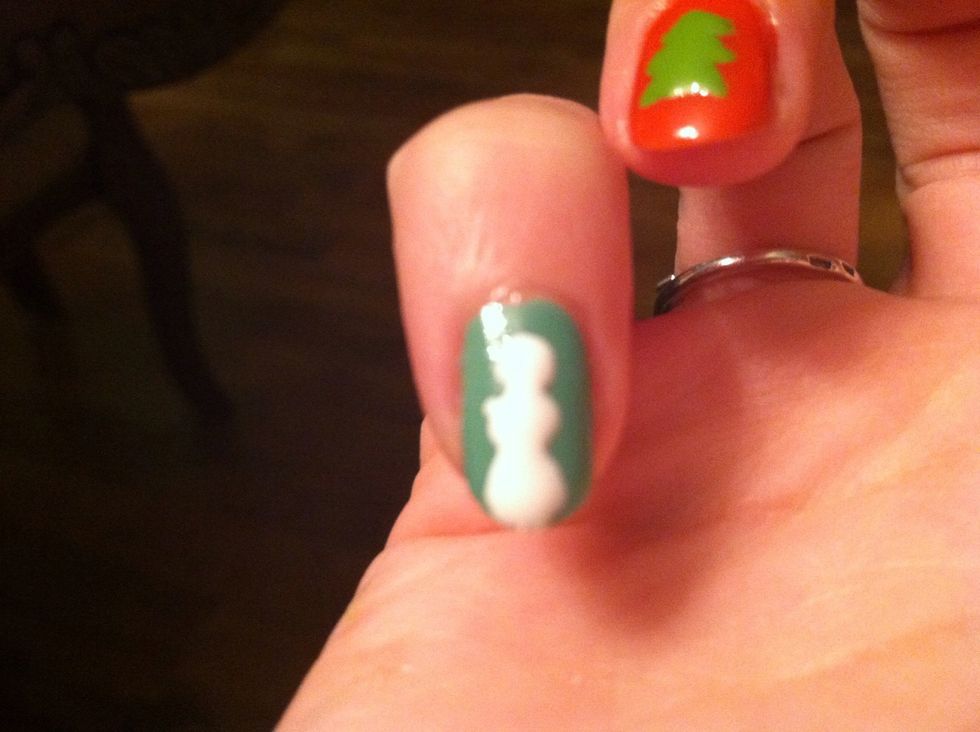
Now, the nail polish of your choice is going to be a cute snowman. Draw three white circles piled on top of each other starting with the biggest one at top of the nail and shrinking them as you go up
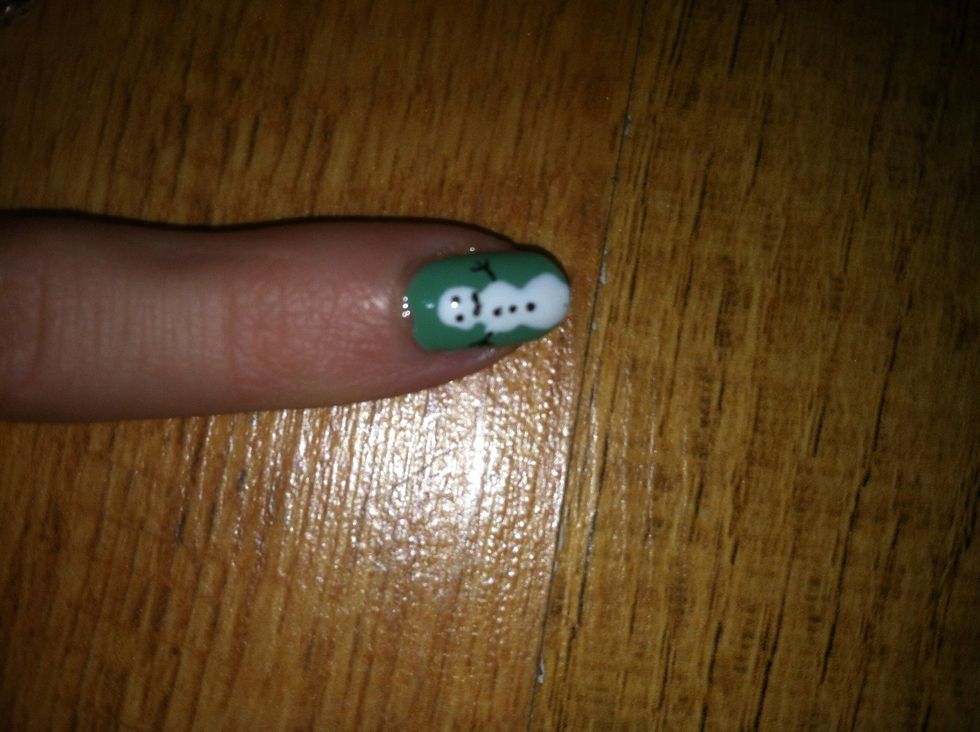
When completely dry, give your snowman eyes, arms, a smile and some fashionable buttons in black.

Time for top coat to make it shiny and last longer ;)
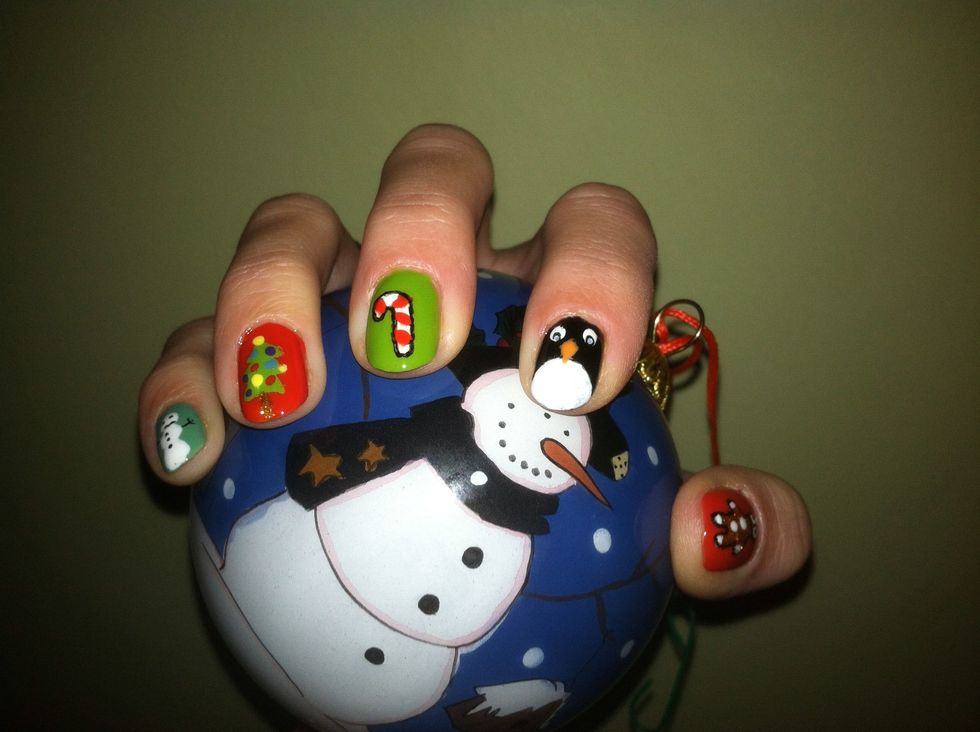
You're done!! Enjoy!!!
- 1.0 Black nail polish
- 1.0 White nail polish
- 1.0 Green nail polish
- 1.0 Red nail polish
- 1.0 Gold or light brown nail polish
- 1.0 Nail art pen, dotting tool, toothpick or mechanica
- Top coat/base coat nail polish (optional)
- Other color nail polish in your favorite shade