The Conversation (0)
Sign Up
First. You must know how to do a 4ward and backward 4 knot!
Cut your strings. I cut 7 because I want a thin zig zag. If you want to do 7 strings, you can choose up to 7 colours. You can do a single colour. You can also do ombré (light to dark or dark to light)

I clipped my strings onto a science book, but you can use a clipboard, or safety pin onto your jeans or pillow, etc. Arrange your strings in order.
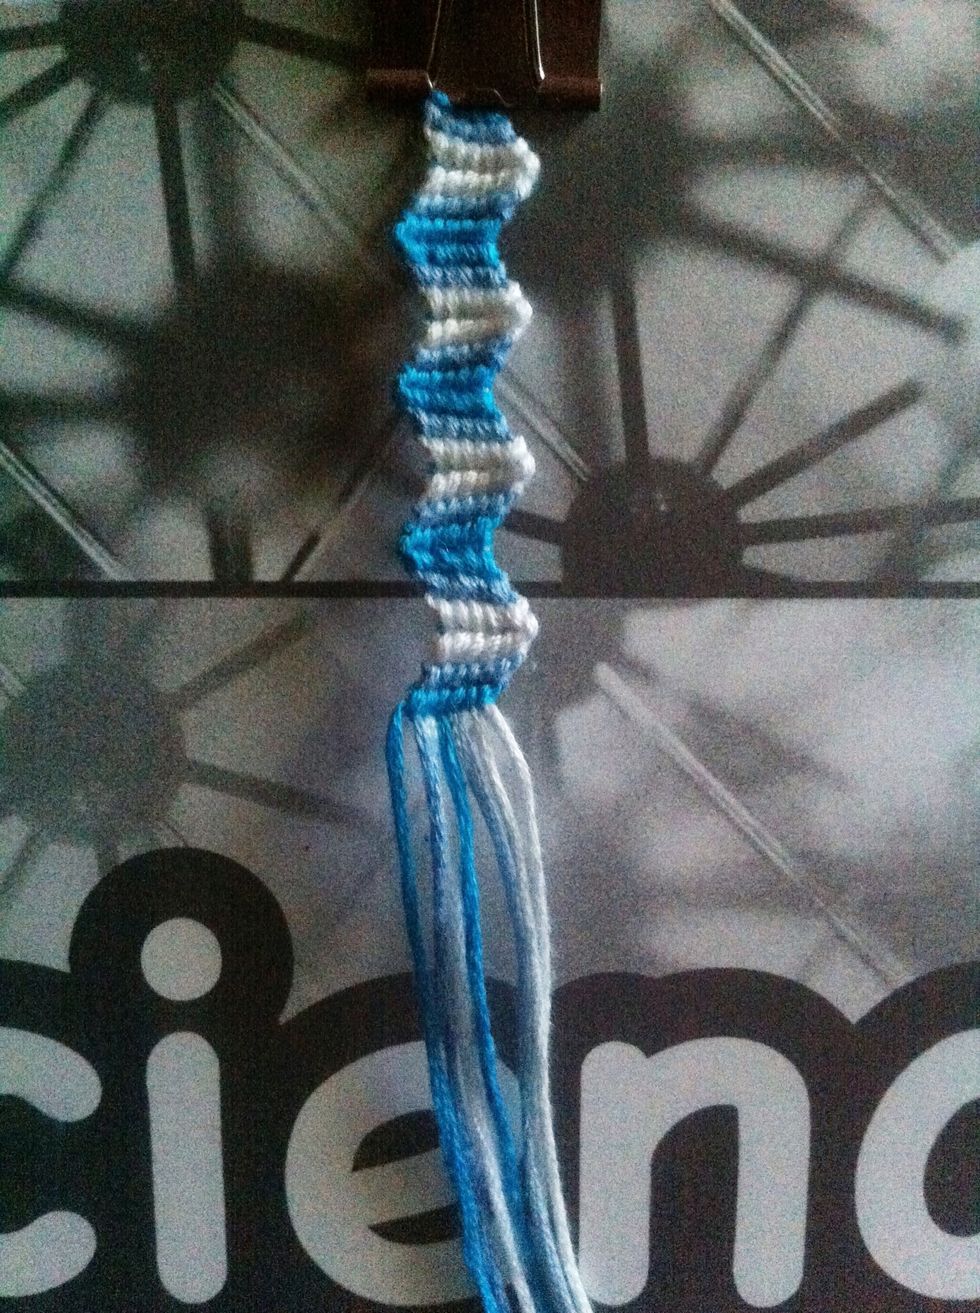
Since I'm currently doing this, I've already done a lot of rows. But pretend I'm just starting. This is what it will turn out! 😊
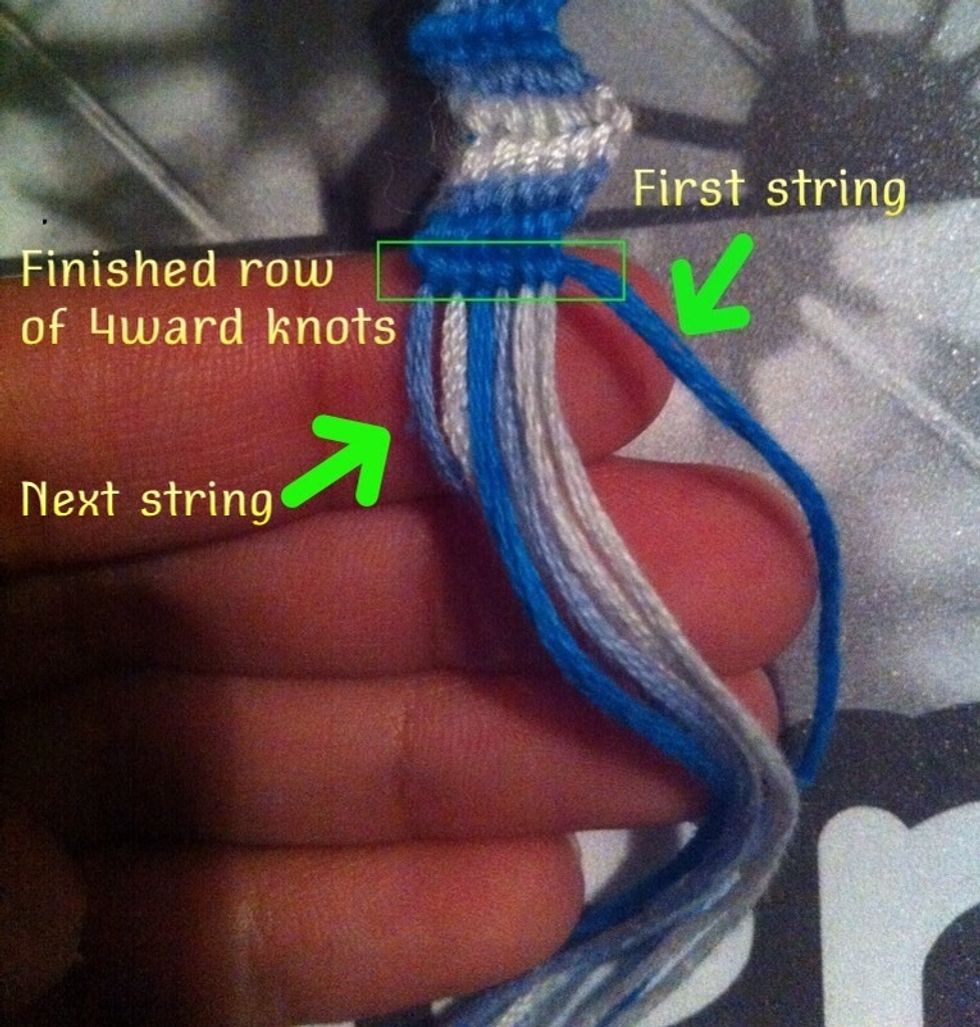
You just repeat with the next string in line and so on until you've finished a whole row. This is what it should look like ^
This is like a candy stripe pattern. Once you've done the first row, you grab the next string in line (See previous pic) and do another row of forward knots. Repeat until you've done 3 rows.
Done 3 rows? Great! You've done a zig, now you can do the zag! (Zigzag)
Like the forward knots, do the same with the backward knots. (Basically its like a backward candy stripe this time) it should look like this ^ Again, repeat until you've done 3 rows of BACKWARD knots.
Then you just repeat! 3 rows of forward knots, 3 rows of backward knots. Keep doing this until you reach desired length.
Thanks for viewing my guide! If you have any questions, comments, suggestions chuck em in the comment box 😊✌