The Conversation (0)
Sign Up
Note: For beginners, but it could be for anyone looking for a fun and helpful DIY.
Note: I used tape balls to tape everything down. Tape balls are a thin piece of tape that you roll up by connecting/overlapping the ends together.
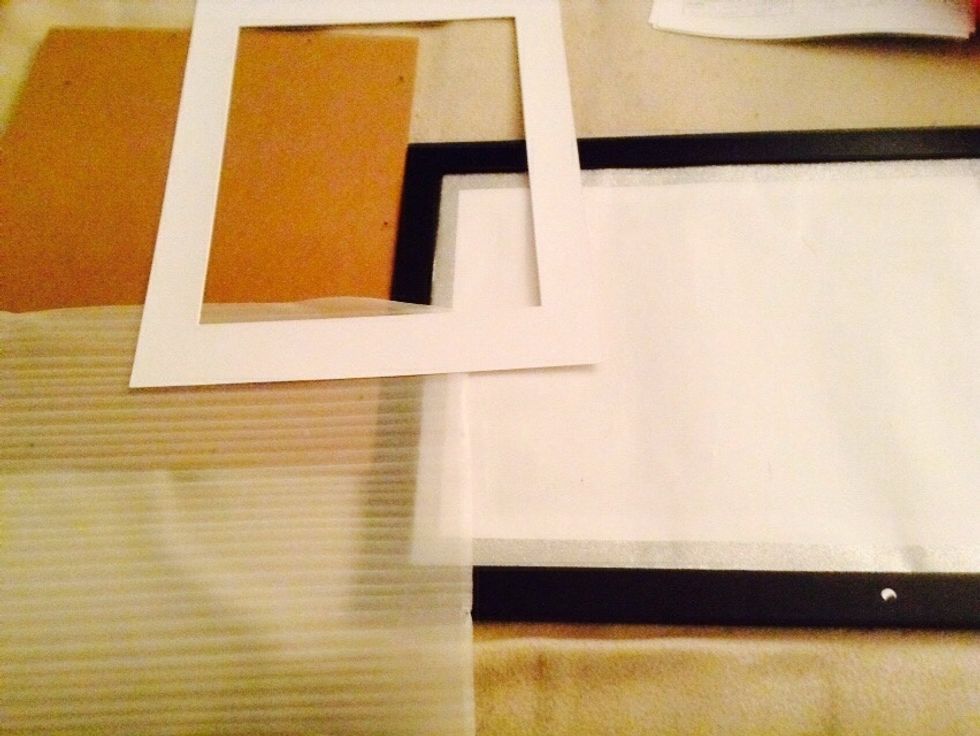
Remove what's inside the picture frame.
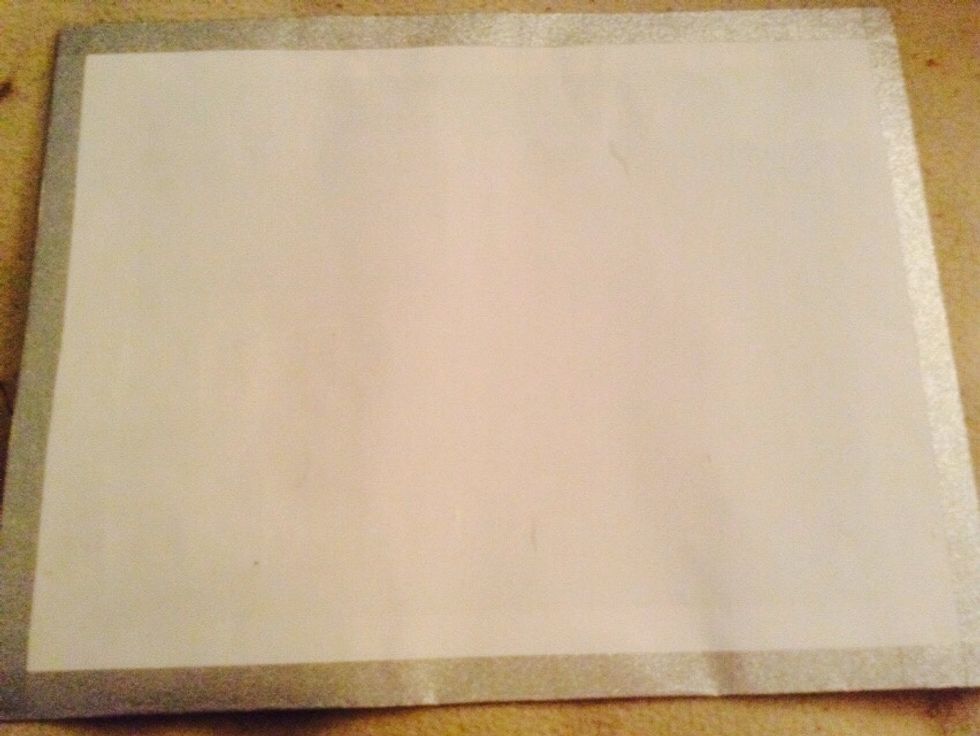
Take the poster board that you have and tape or glue on your colored/scrapbook paper (if wanted). You can also boarder it like I did.

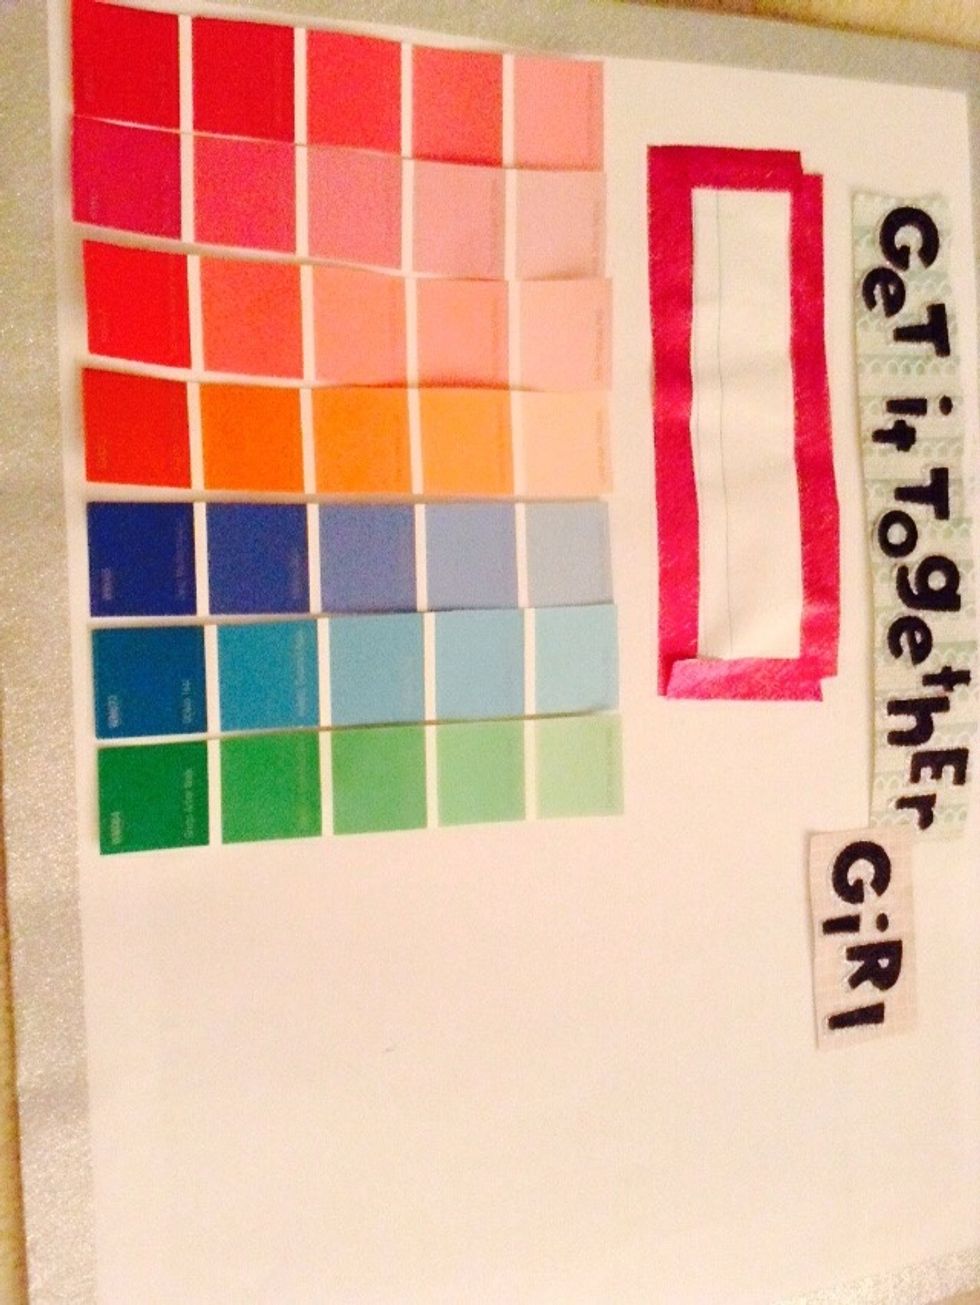
Grab your color/paint samples. I had 7 rectangles so I cut off 2, to make 5. Do that on each sample. Leave the others connected.
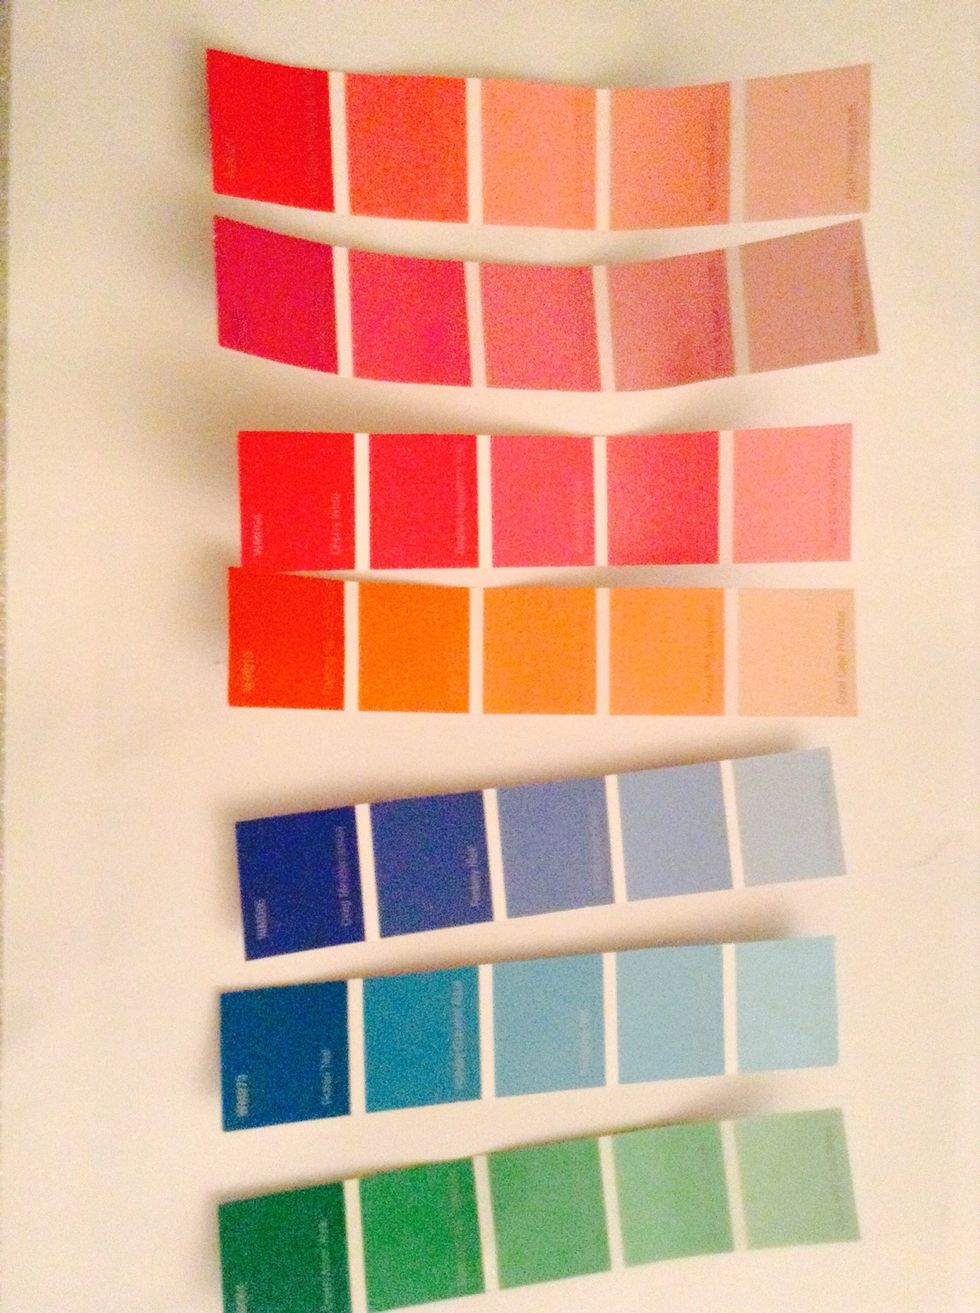
Now cut them into a reasonable square. I eyed them and with first one you'll want to use that as a guide. Do not cut them separately.
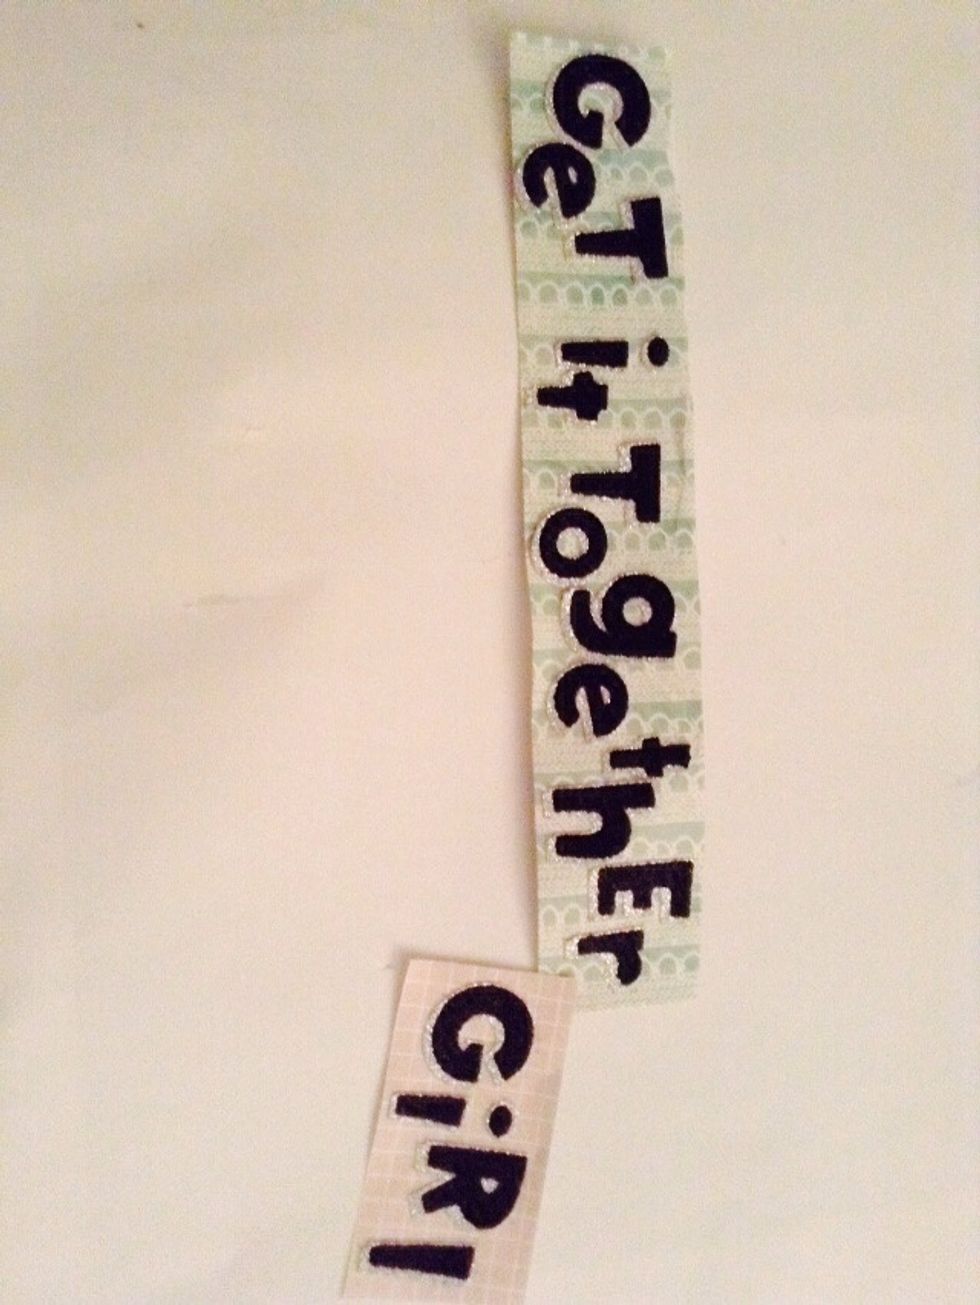
Set the samples aside. Grab your scrapbook paper and letter stickers. Put a short inspirational phrase on there and cut it out.

Now take your board and tape it at the top like in the photo. You can boarder it with tape if you want. I decided not to.

Take a regular piece of lined paper and cut that into a good size rectangle. Tape that a bit below the phrase (like in the photo). Boarder that with wanted tape.
Grab your color samples and then arrange them to your liking. Make sure they're kind of spread apart (a couple millimeters) but not so much that you have barely any space. Put them on using tape balls

Now take a regular sheet of lined paper and tape that in the large empty space. You can boarder it if you want to.
Note: I decided not to decorate mine because I didn't have enough space. If you really want to decorate it, I suggest using a 16 by 20. I used a 14 by 18 (I think) so I didn't have much space.
Note: Customize it to make it yours.
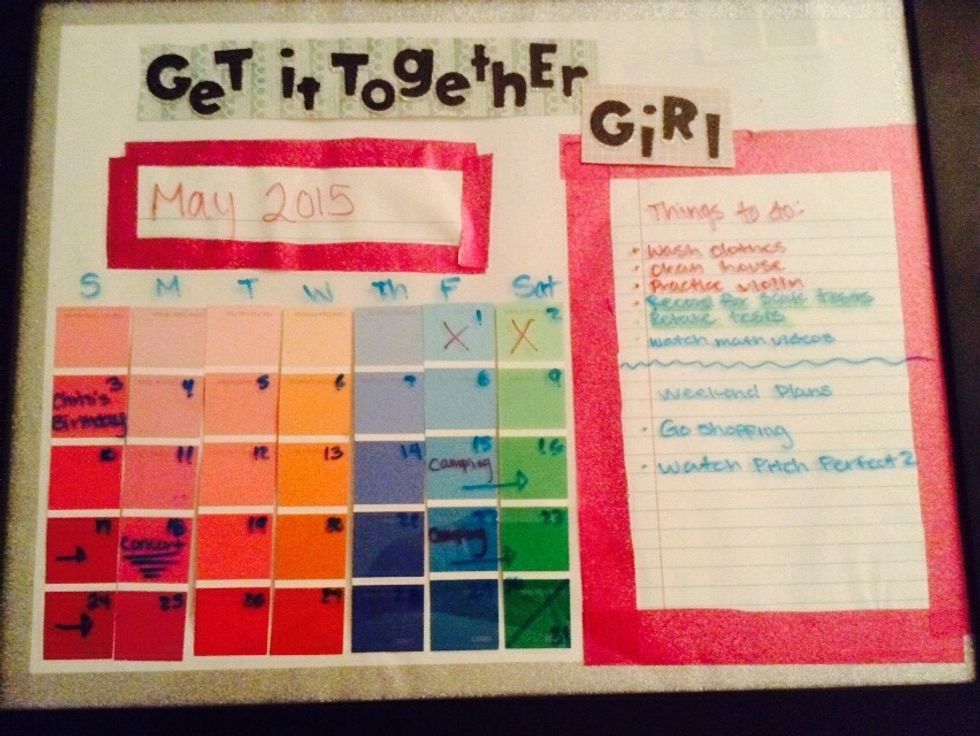
You're done! Congratulations! You have a year round calendar that you don't need to spend money on every year!