The Conversation (0)
Sign Up
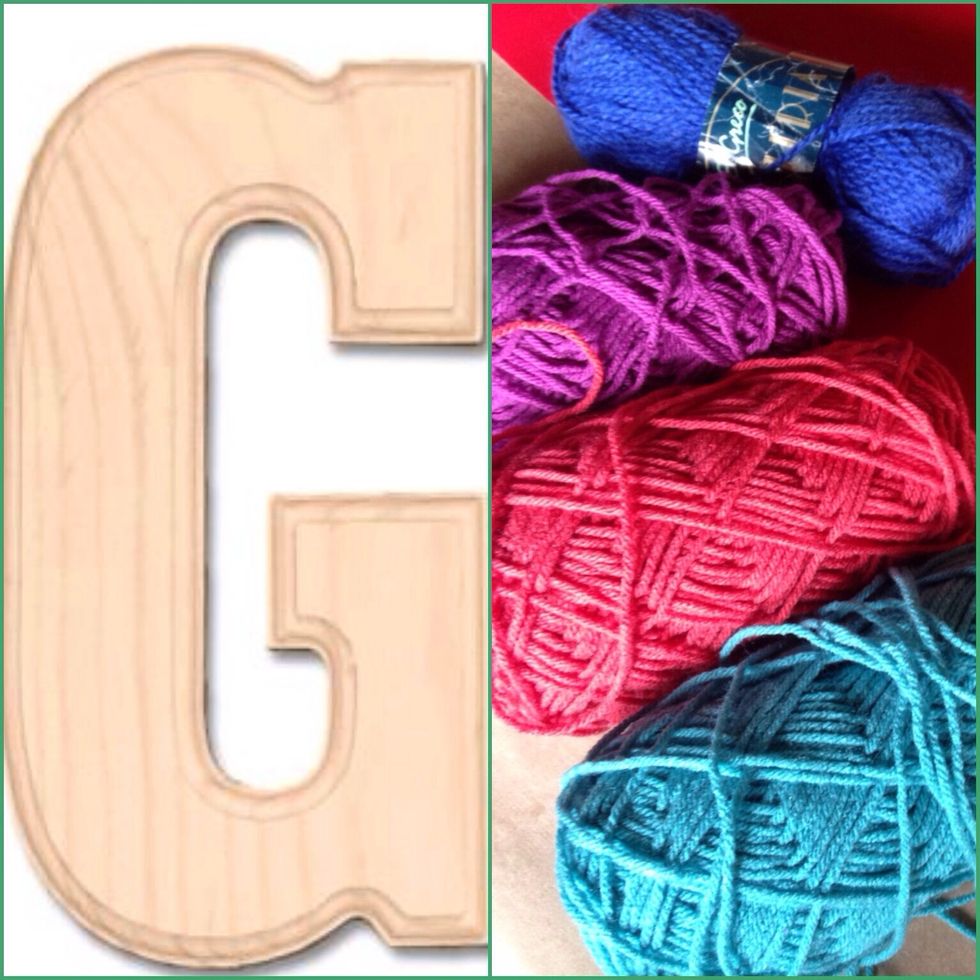
Gather supplies. I got the wooden letter from Hobby Lobby. You can use as many or as little amount of yarns as you want, but they should all be fairly thin.
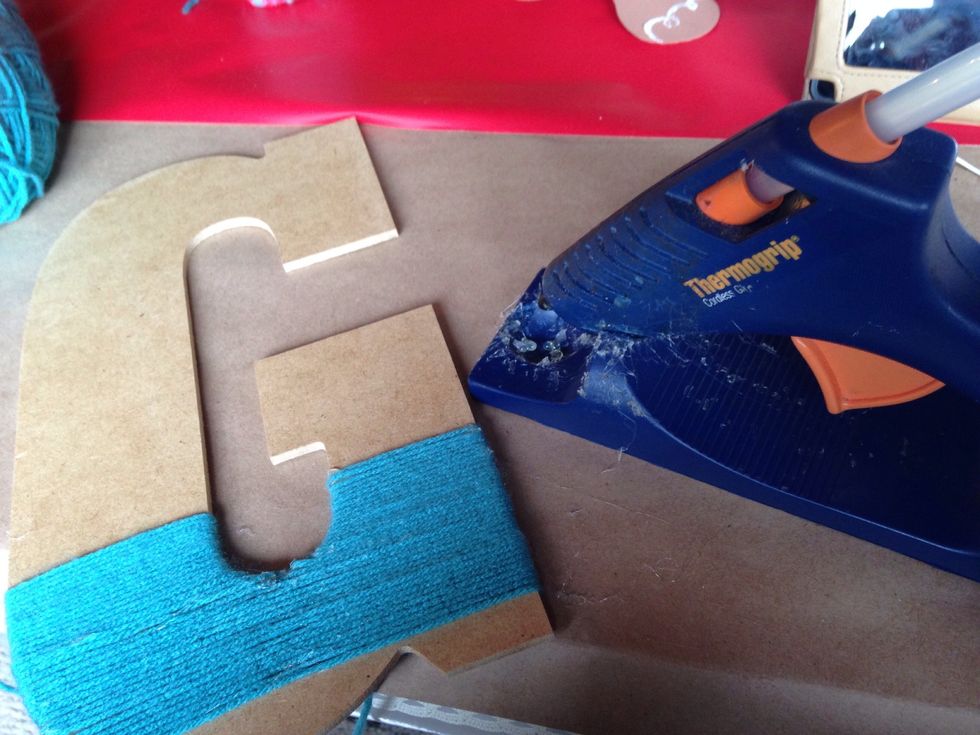
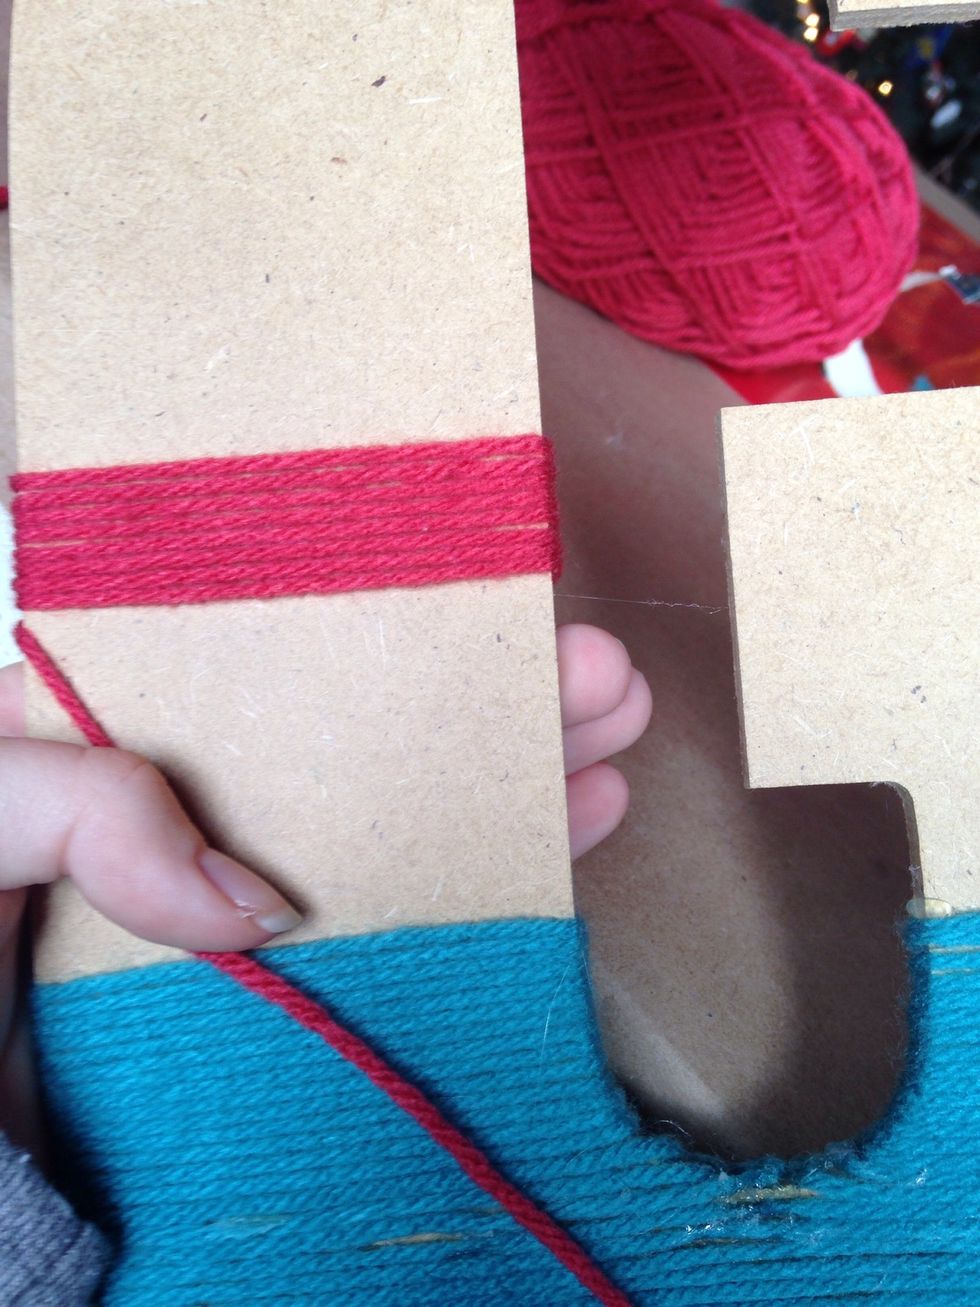
Begin wrapping the yarn around the letter. Start in the back using either hot glue or tacky glue. I preferred using hot glue because it dried immediately.
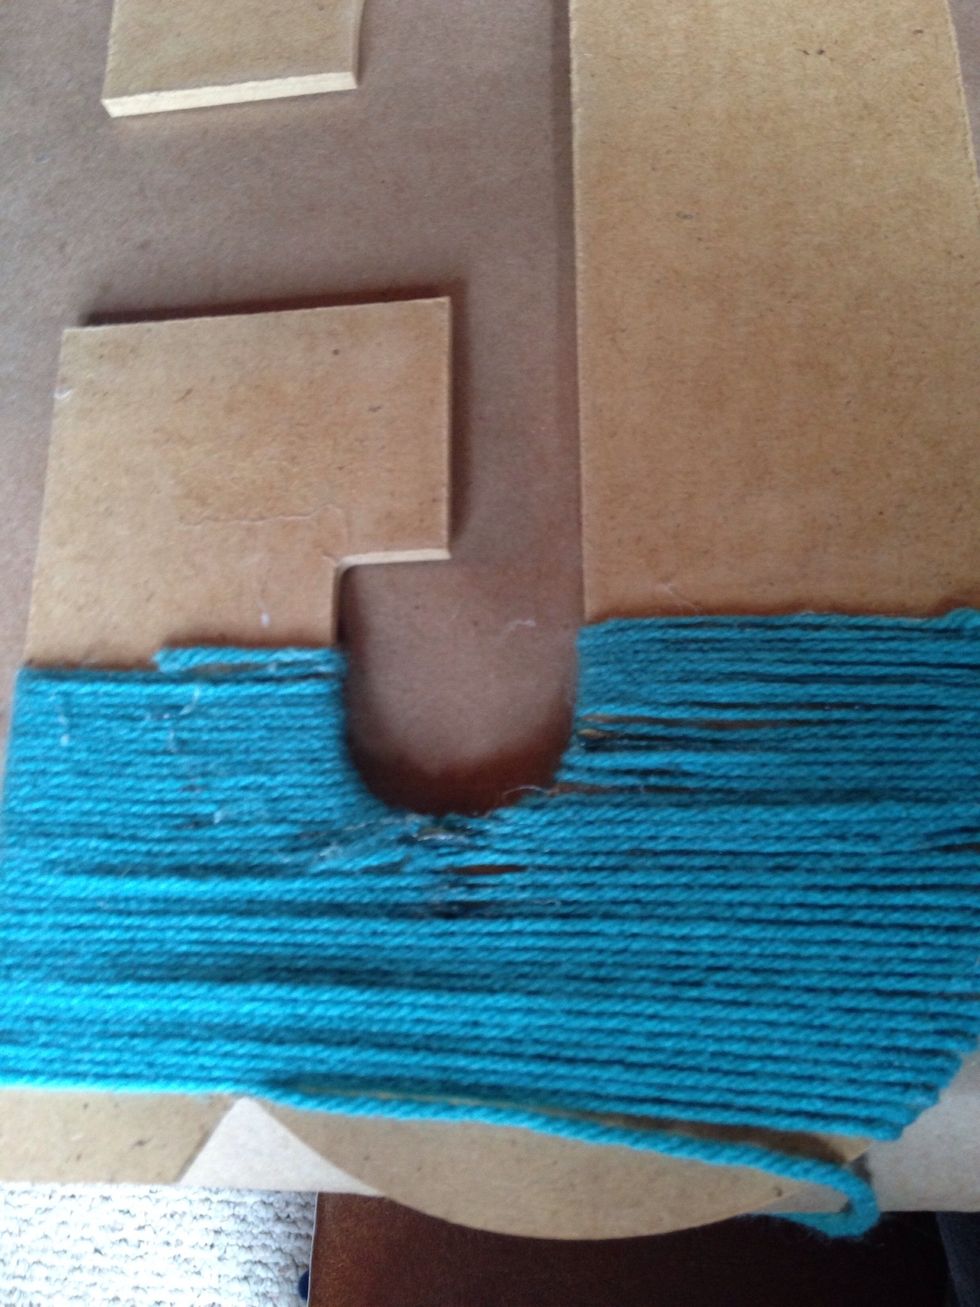
This is the back of the letter. If you use tacky glue, I would suggest covering the back of the letter with the glue. With hot glue, you can just put in a line of glue every few rows.
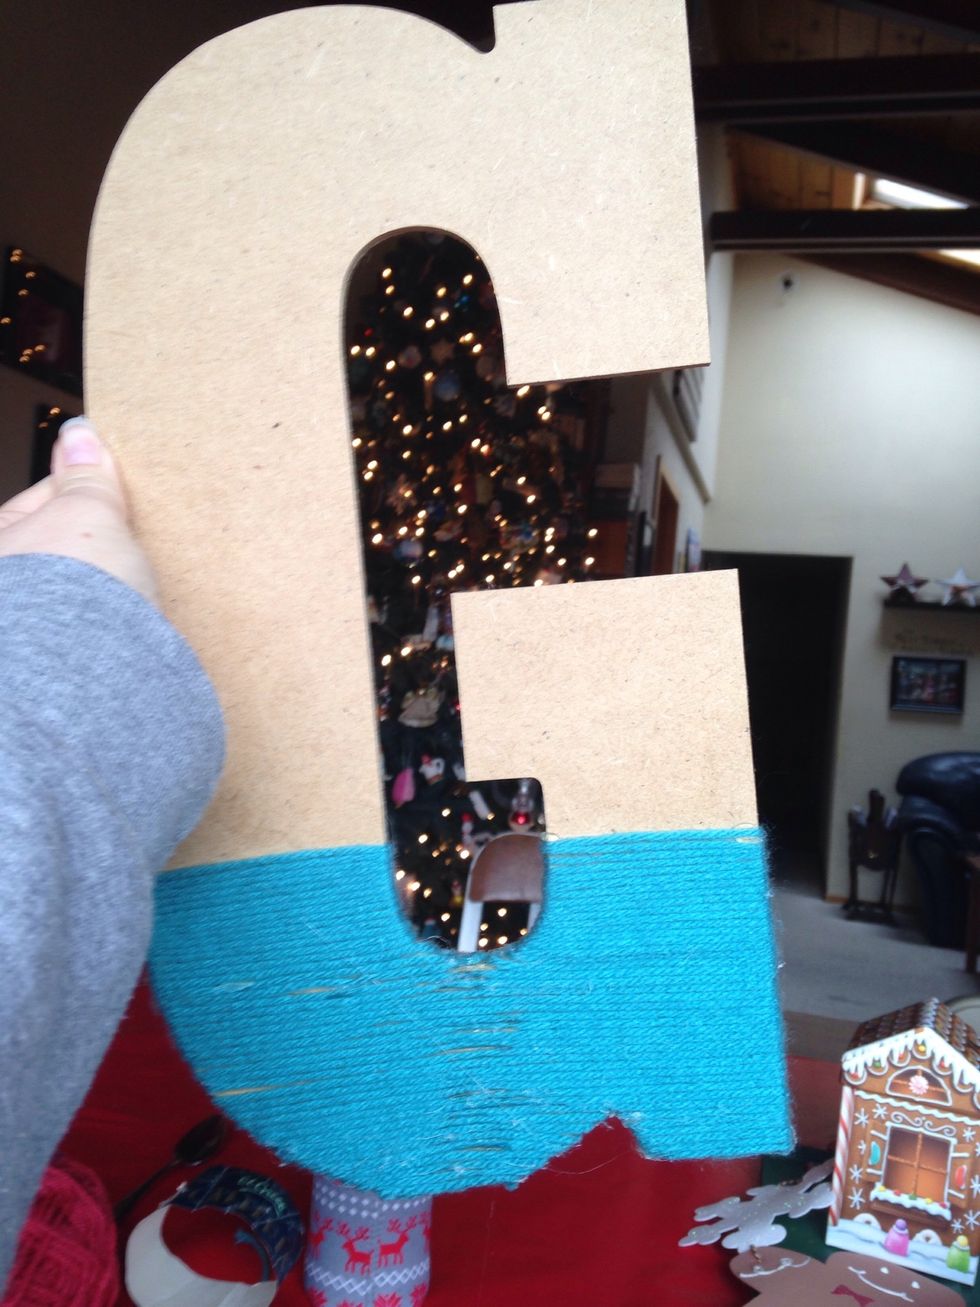
First color done
Continue wrapping with your second color. I did four colors, so I did my best to split the letter into fourths.
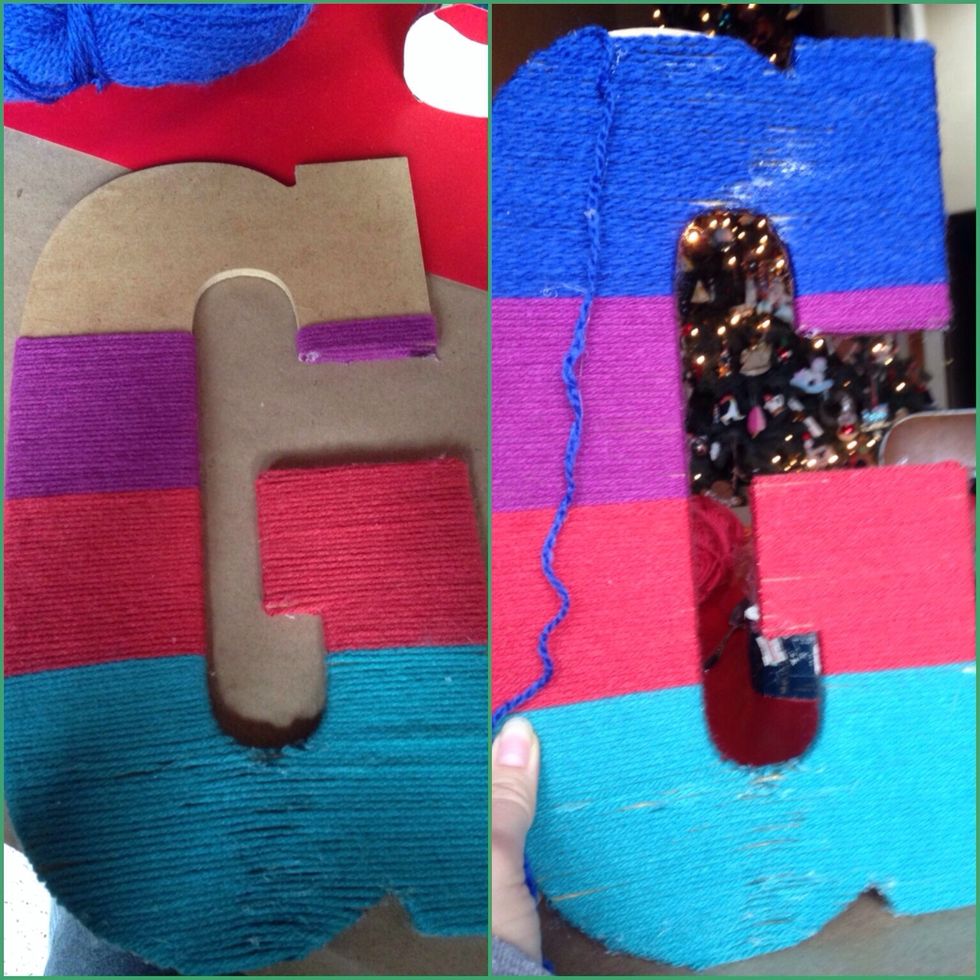
Continue with the rest of the colors and finish off.
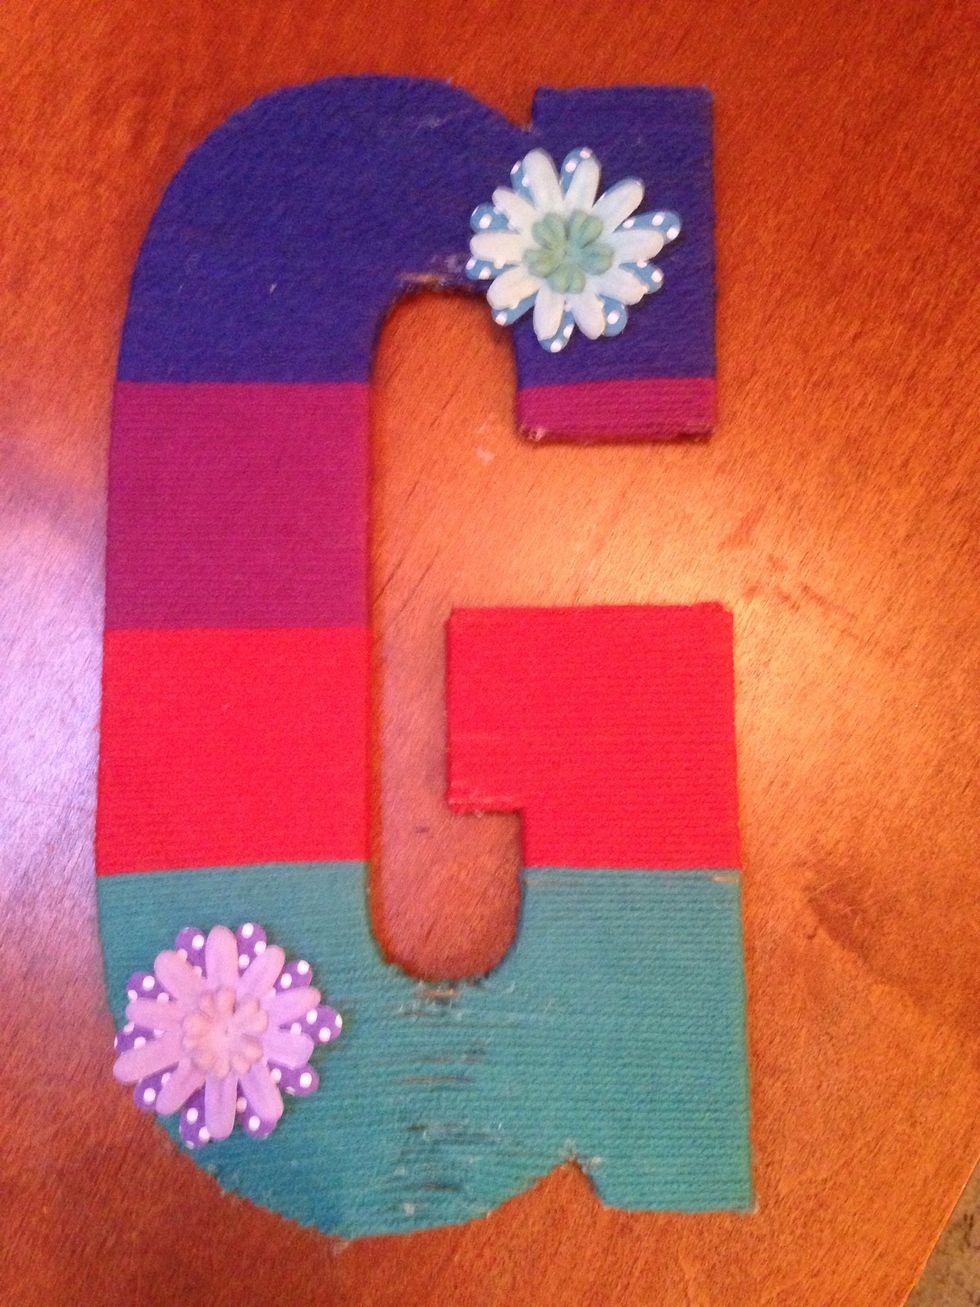
If you would like, add some sort of embellishments to the letter such as flowers, or leave it plain. Finished!