The Conversation (0)
Sign Up
The first step was for her to decide what instrument to make. She knew she wanted a xylophone and decided to use an old wind chime that we already had.
Next she designed her xylophone. All of the supplies she used were items we already had sitting around. She decided to use wood dowels because they would help with absorption. She added foam too.
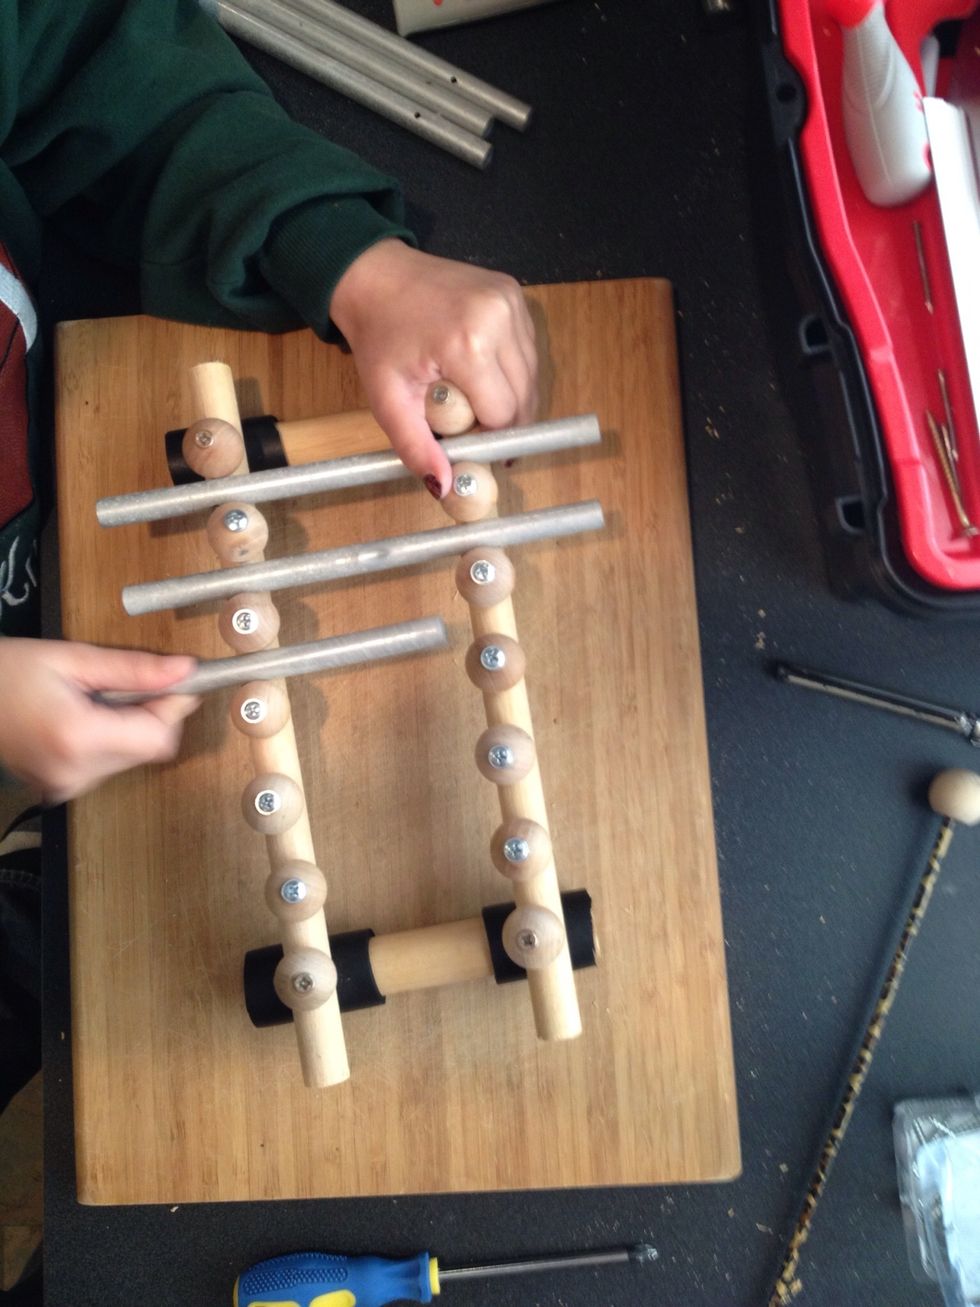
She laid out her project to mock up the design with the supplies she had. The first design failed so she tweaked it and tried again. Success!
The 1 inch wooden ball knobs will need to be drilled through by an adult. When you buy them the holes only go half way through.
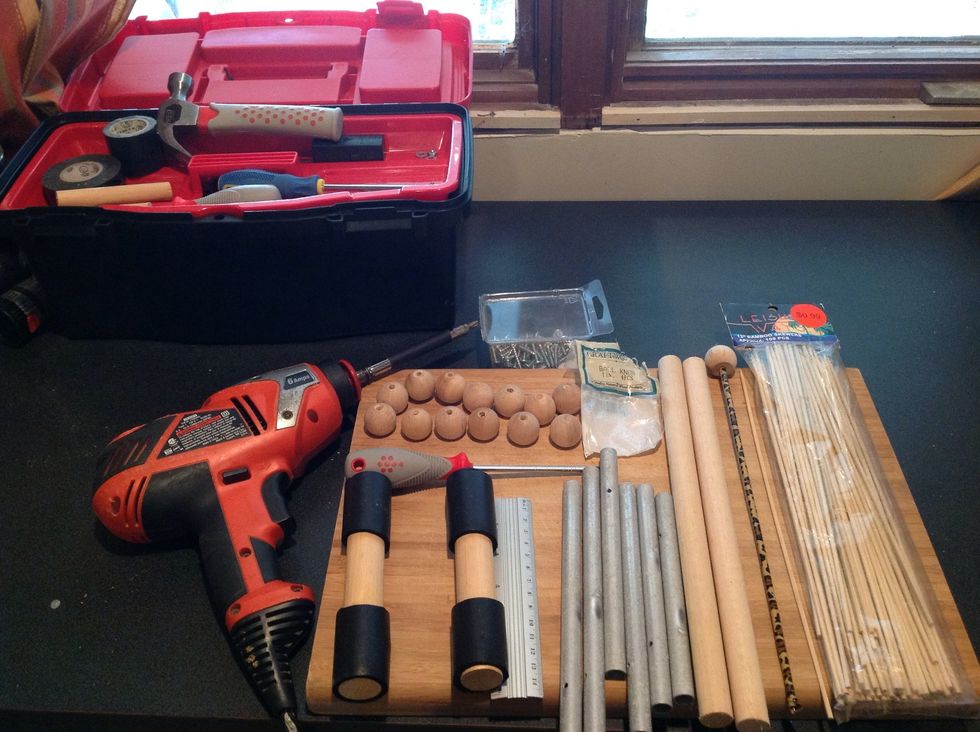
Here is a photo of most of the supplies she used. She also used a file, but that's inside her tool box. (Yes- she has her own toolbox!) She used all of her own tools, but mom and dad used the drill.
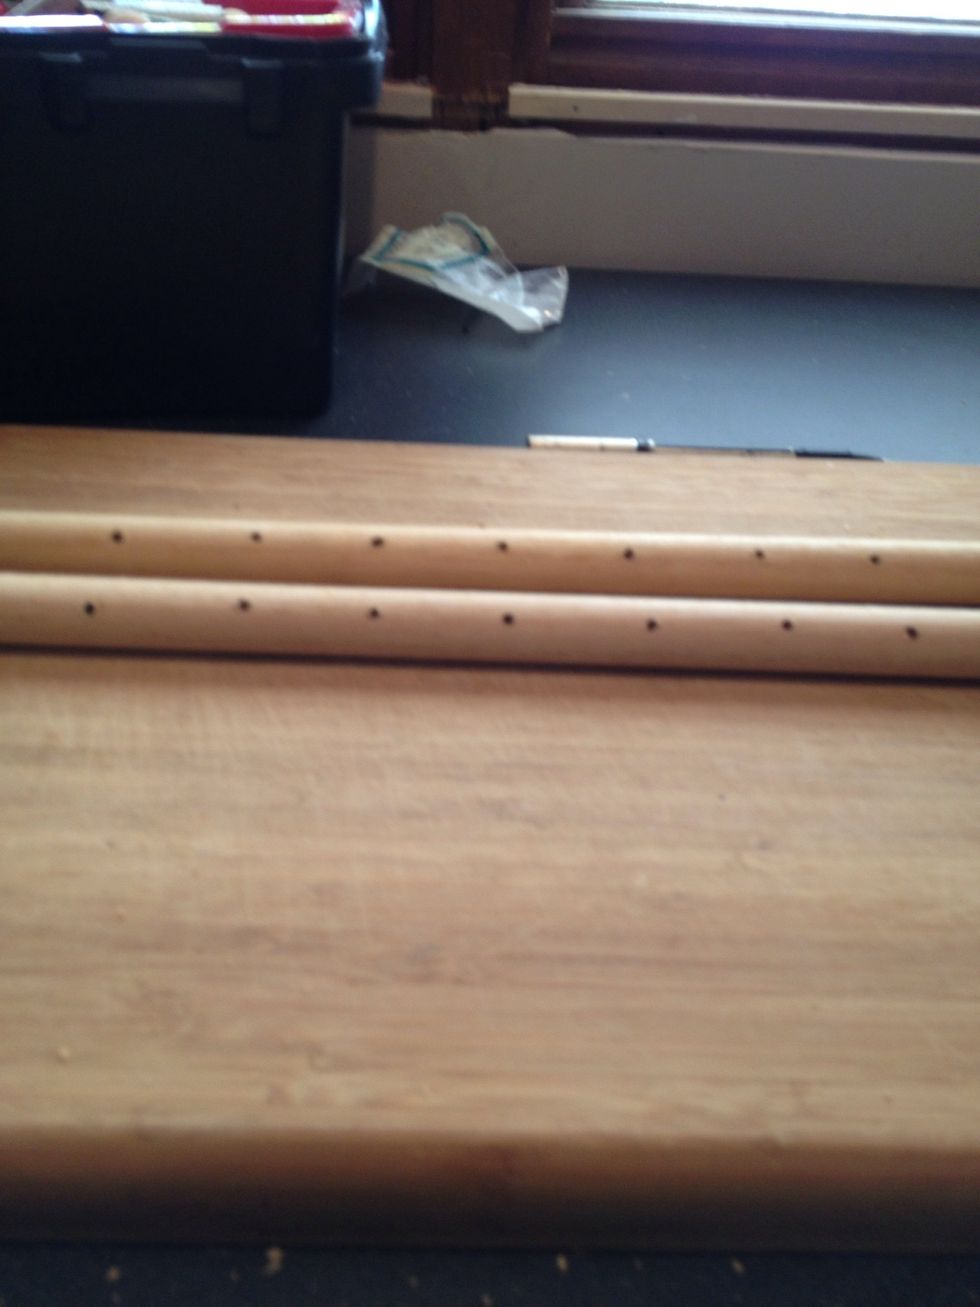
Measure and mark where to drill.

Have an adult predrill the holes for you
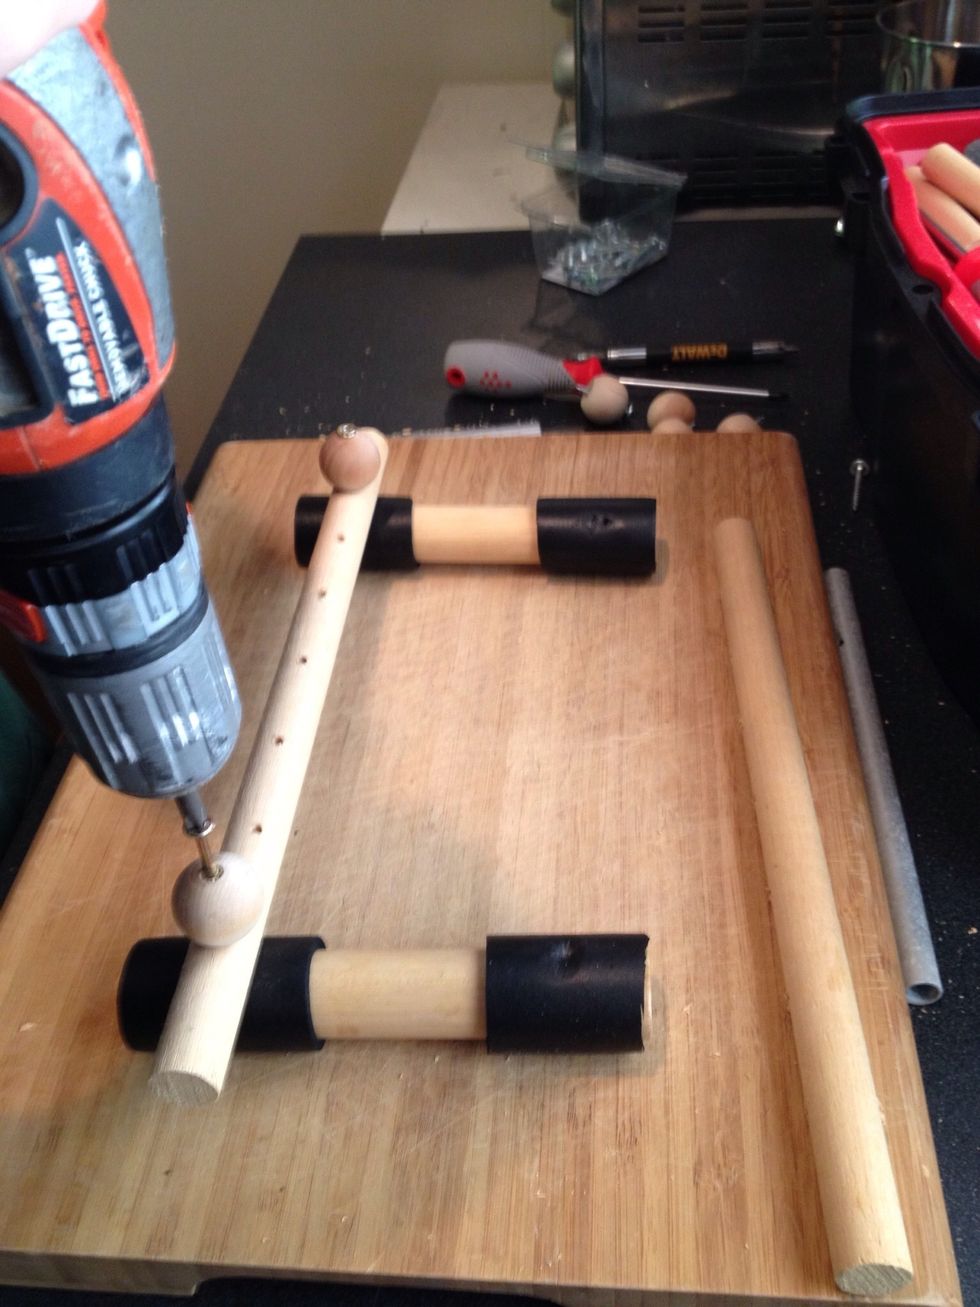
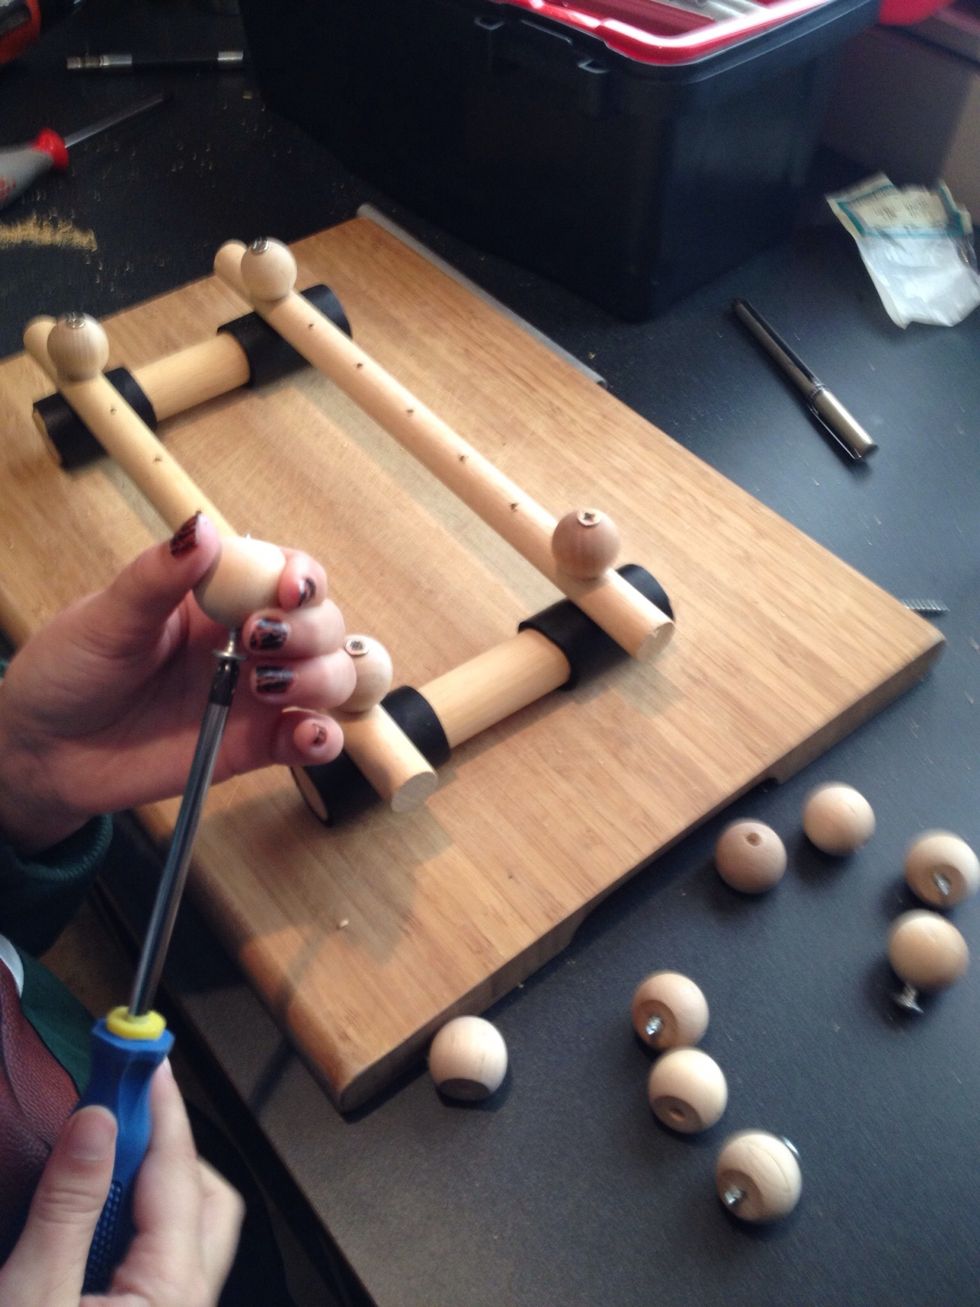
Cut the foam sleeve into 4 pieces and slide onto the legs of the xylophone. Drill the screw through the ball knob and the base dowel rod-into the legs.
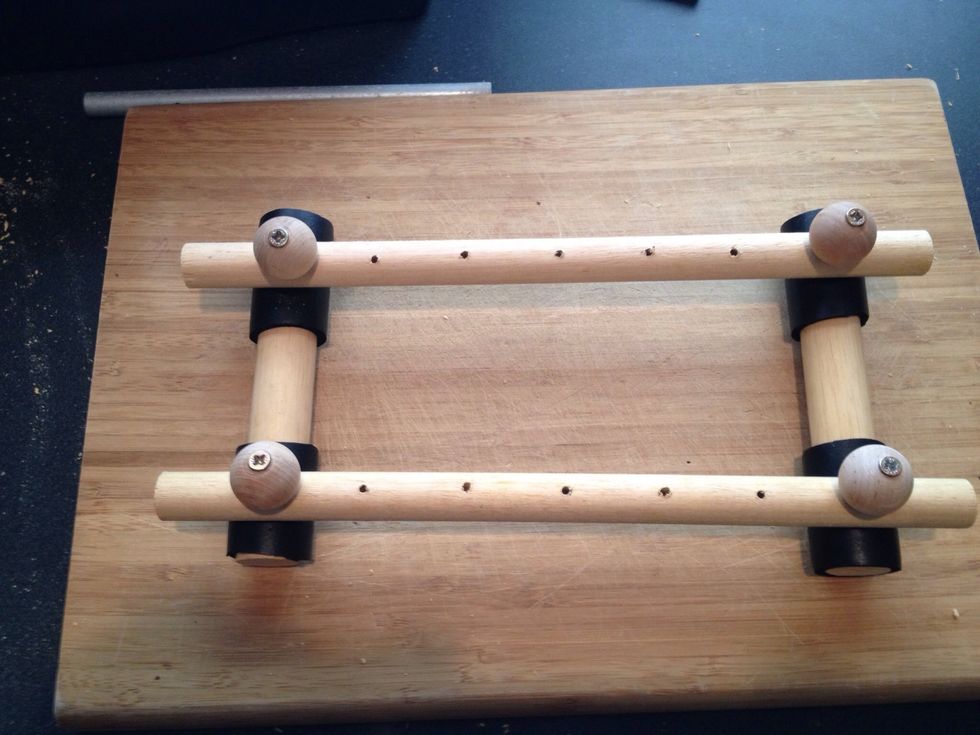
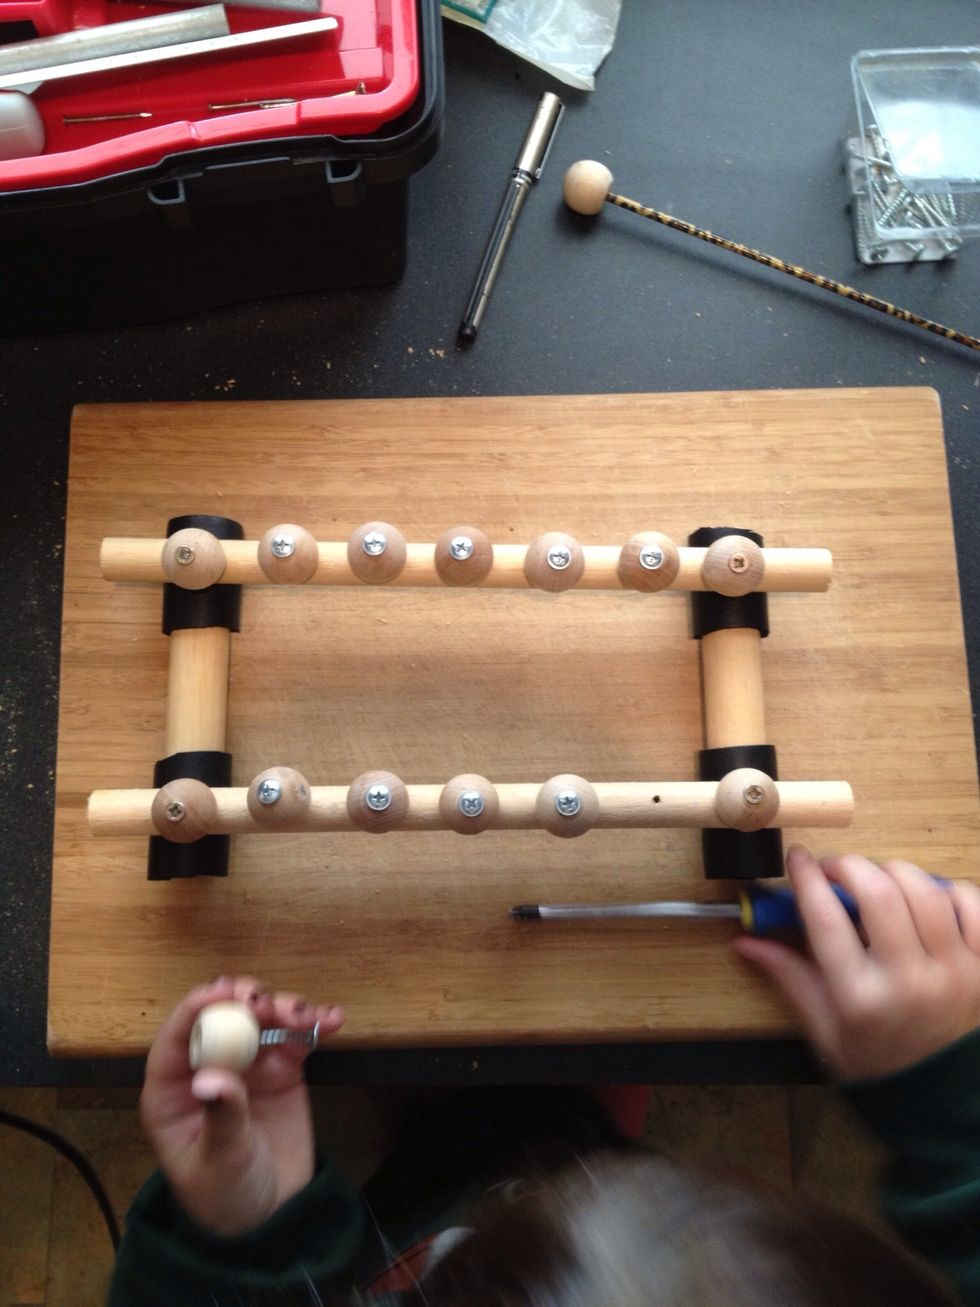
Place a ball knob in this fashion in each place where the dowel rods meet. Use longer screws for this. This gives it stability.
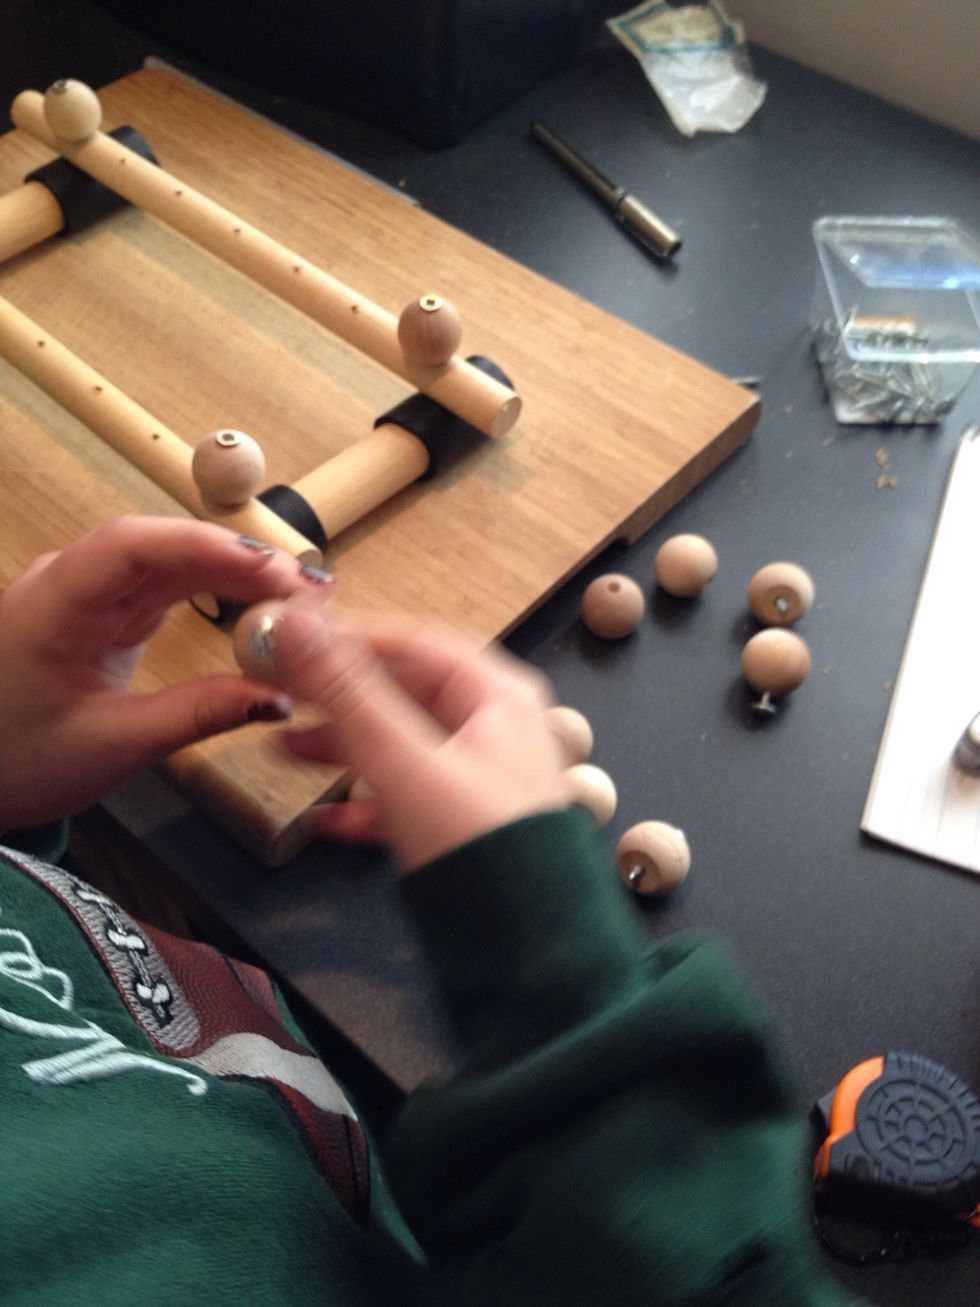
Insert a shorter screw into each of the remaining 10 knobs ( 1 knob is for the mallet, do not put a screw into that knob)
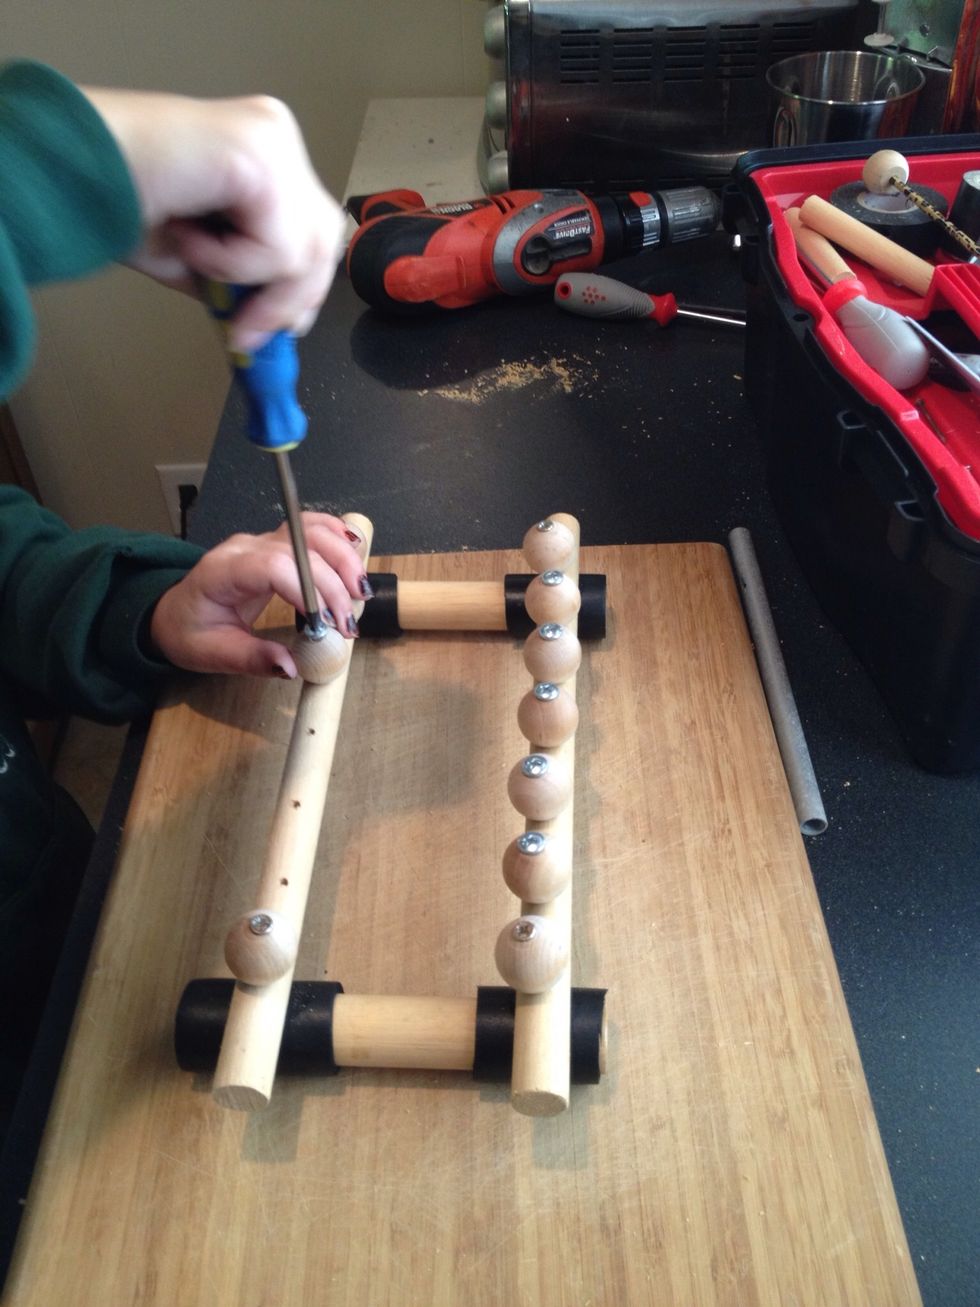
If the screw won't slide through the knob use a screw driver to twist it through.
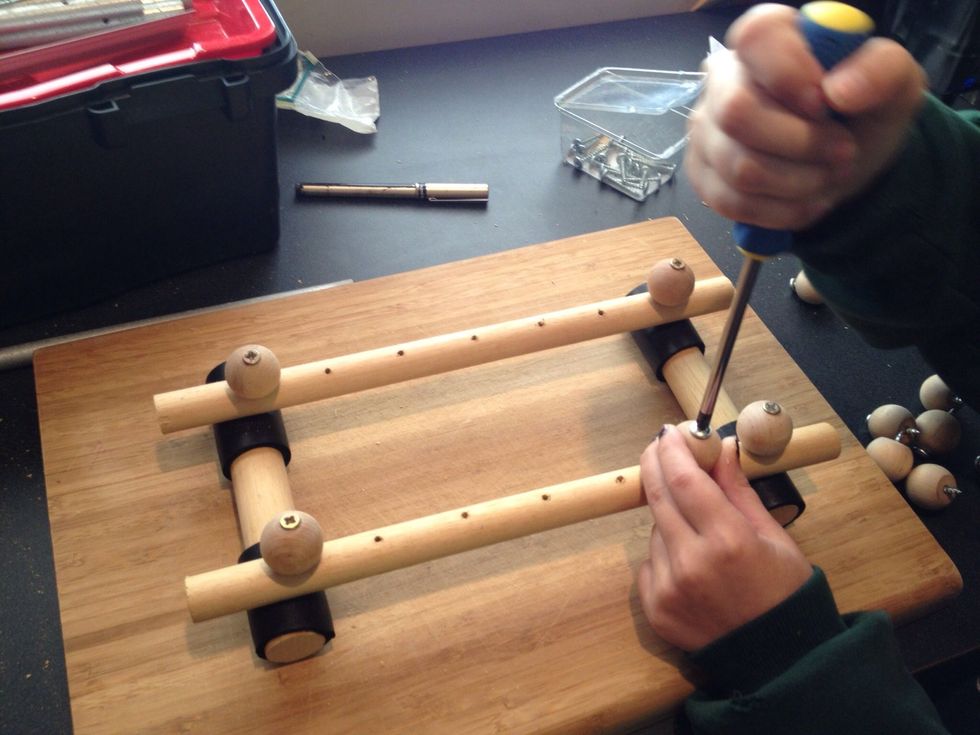
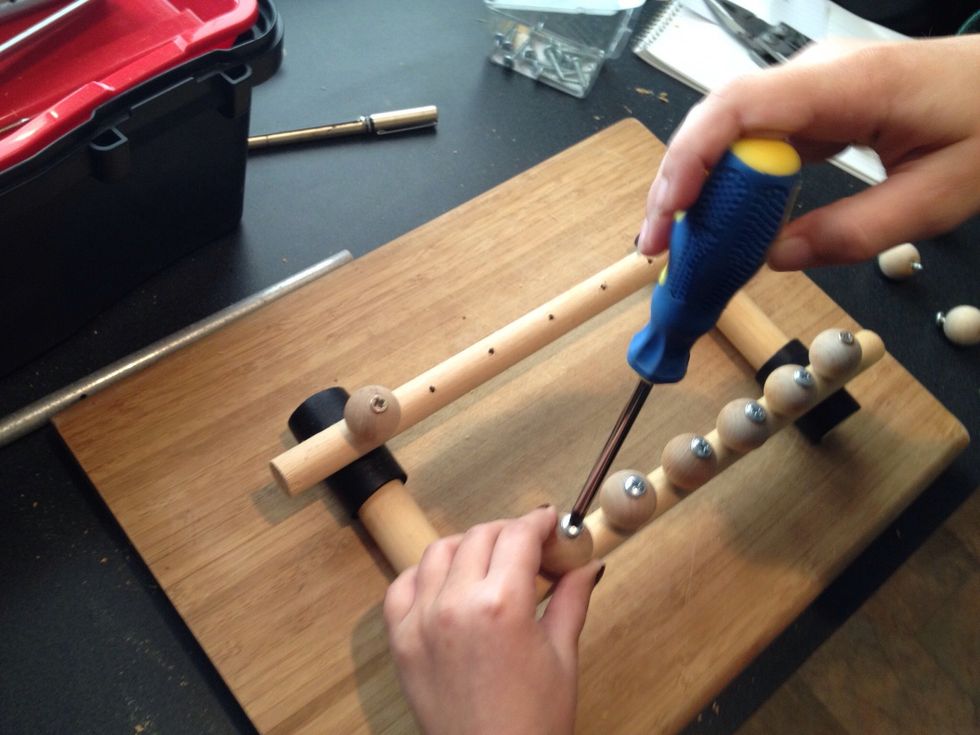
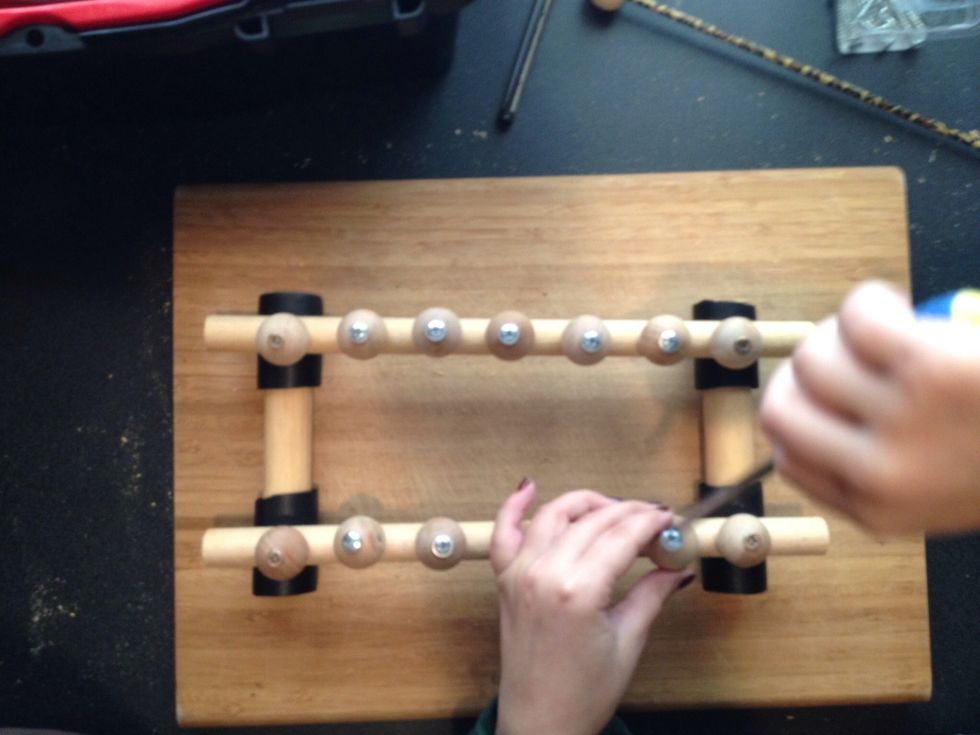
Attach the remaining 10 knobs to the base of your xylophone. She used a screw driver to attach hers, you can also use a drill.
In this pic you can see the mallet. She used a cooking skewer & a piece of duct tape the same length. She rolled the skewer across the tape covering it & making it thicker. It then fit into the knob.
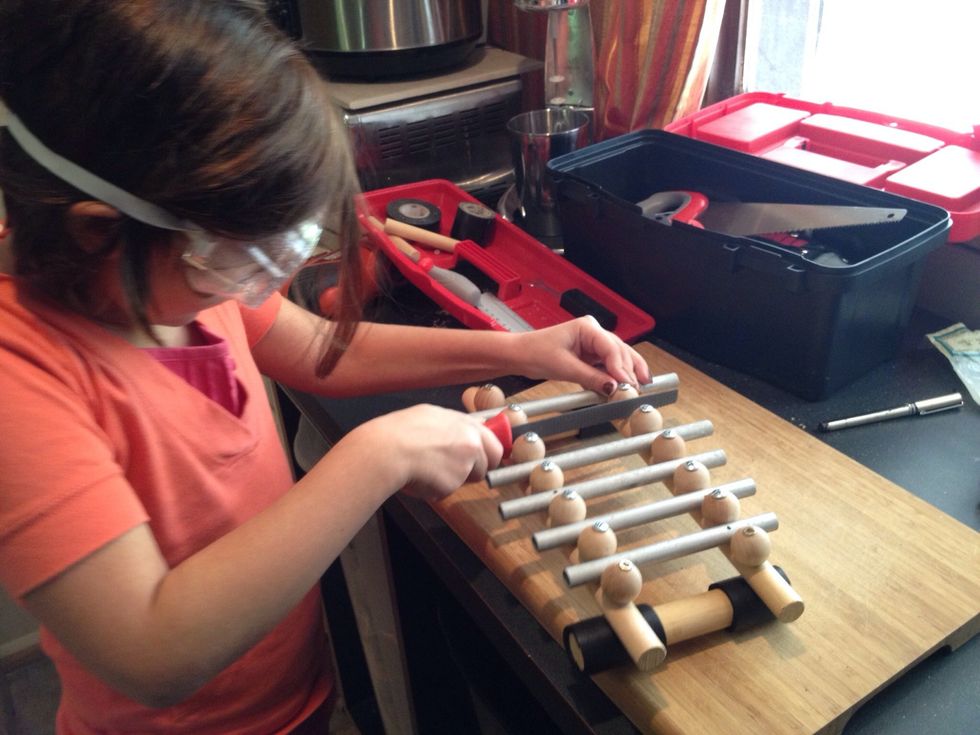
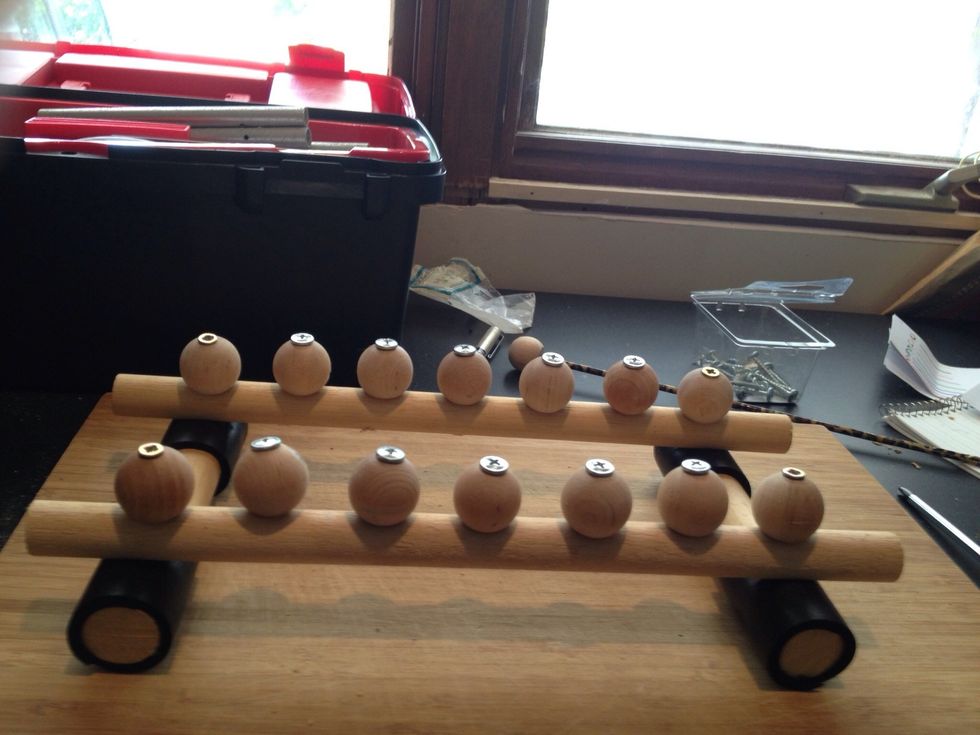
The chimes need to have enough space between the knobs to vibrate. She had to file down the sides of some of the knobs to gain the space needed.
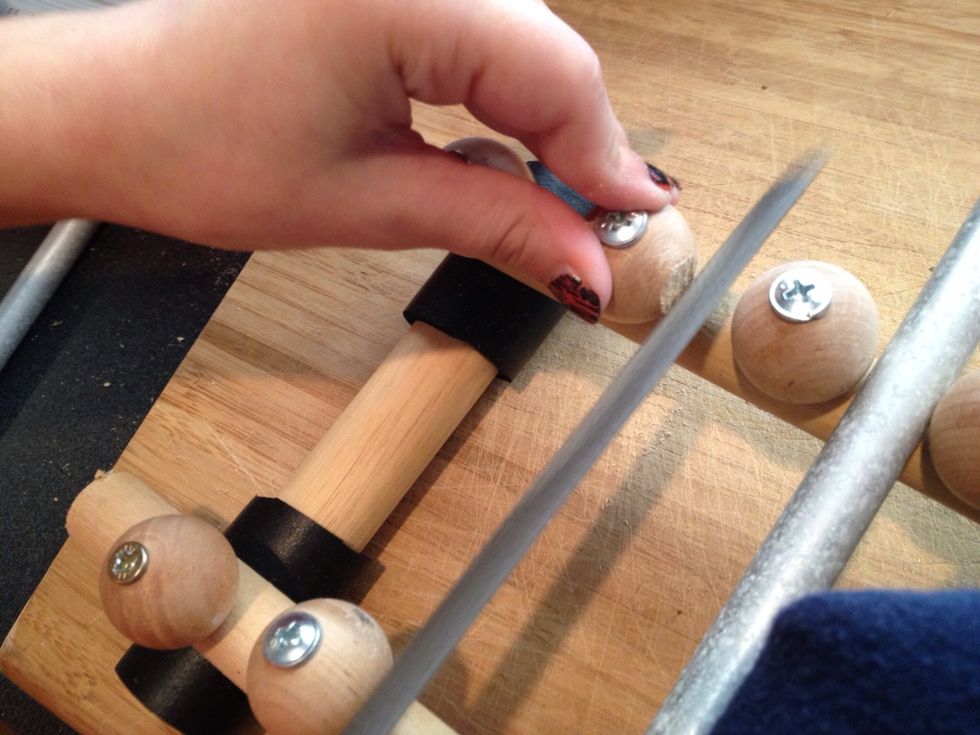
Close up of the area she's filling down.
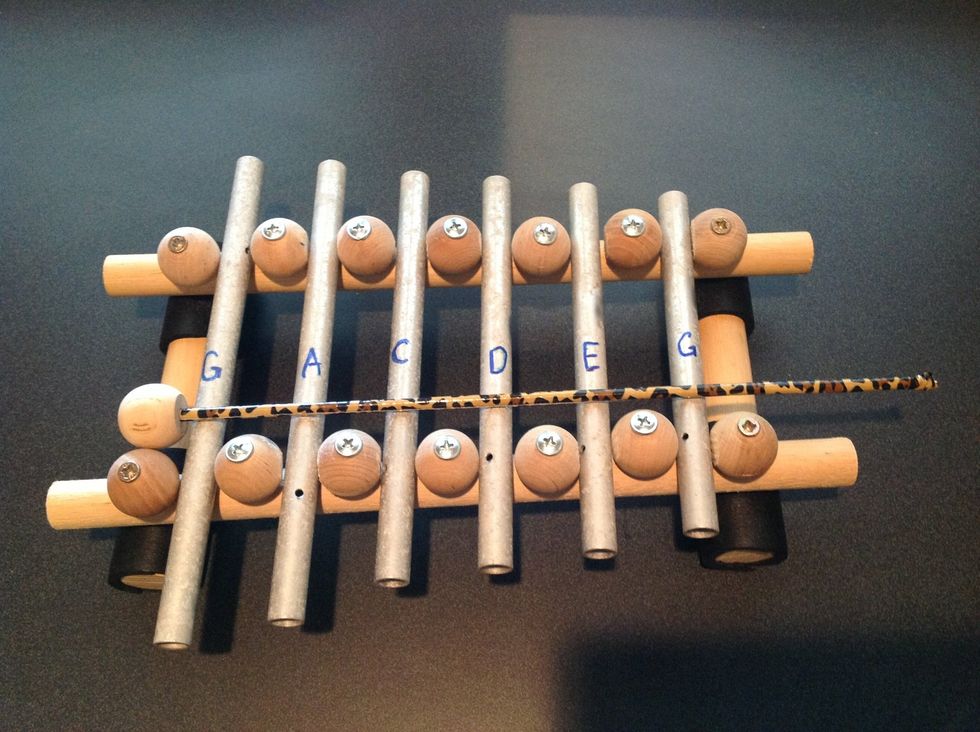
She and her dad figured out which note each chime played and she marked it on the chime and also on the base.
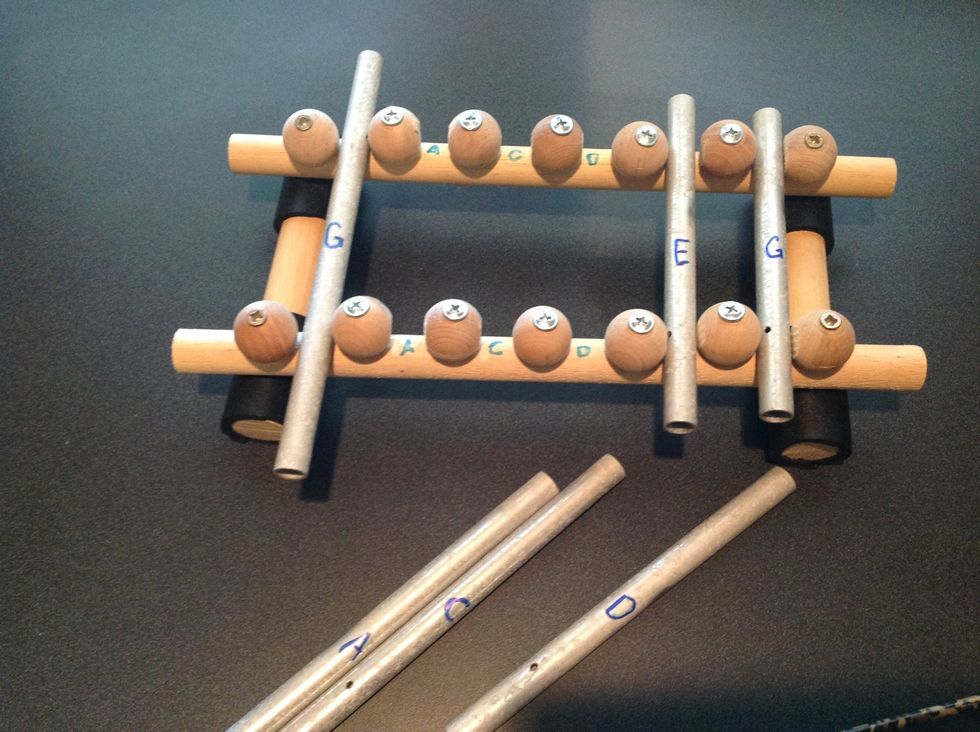
Letters on top of the chimes and corresponding letters below.