The Conversation (0)
Sign Up
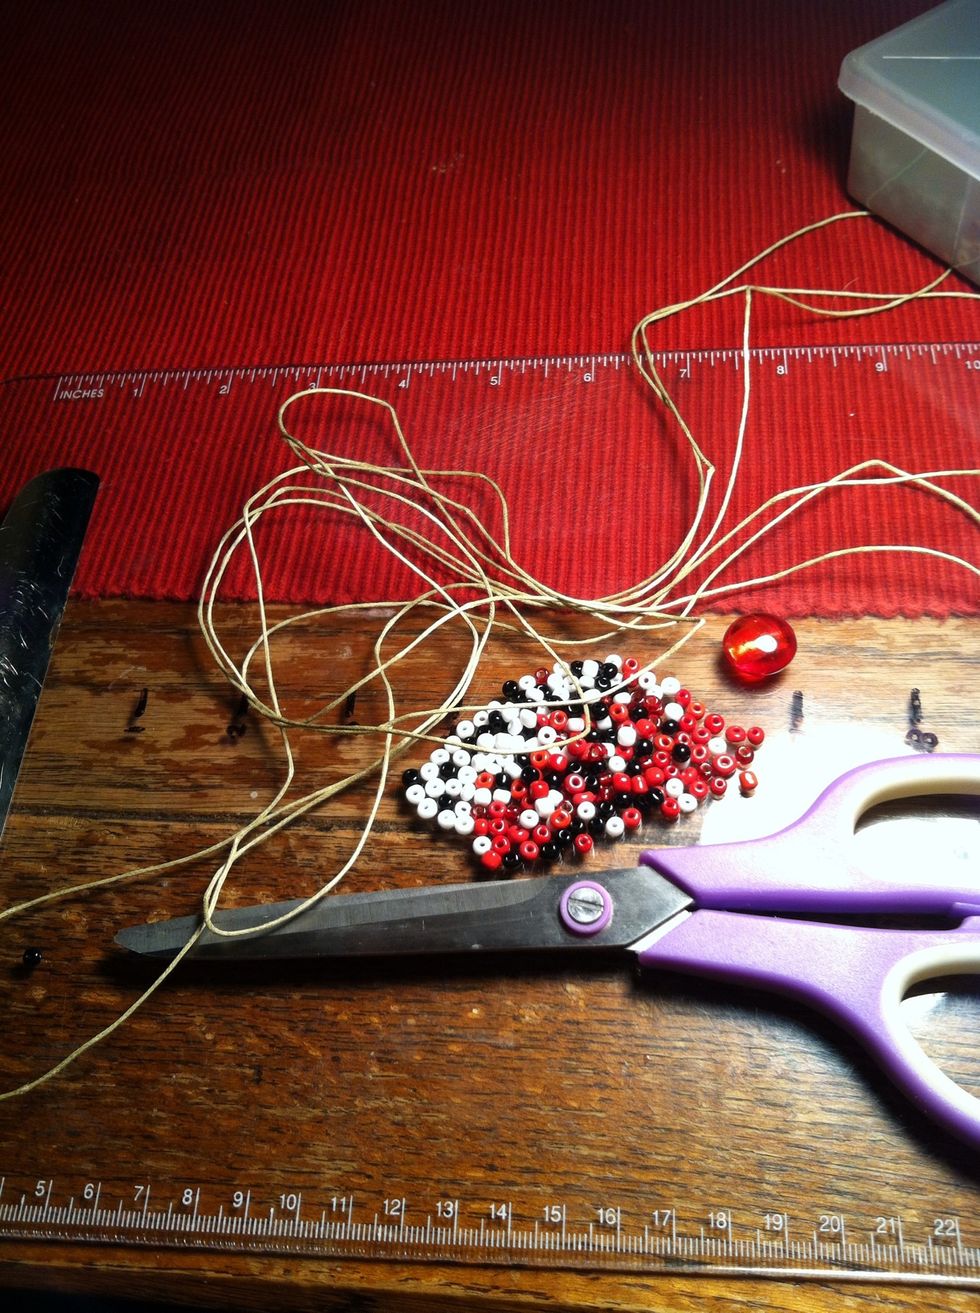
Here are your supplies. For some reason the app keeps crashing when I try to add to the supplies tab. Check the next step for more detail. Please remember the measurements are for a triple strand.
1) 120 inches of waxed cord or hemp, folded in half. 2) 1 scissor 3) clip board or safety pin 4) seed beads or other small bead 5) large bead or button. These measurements are for a 6in wrist.
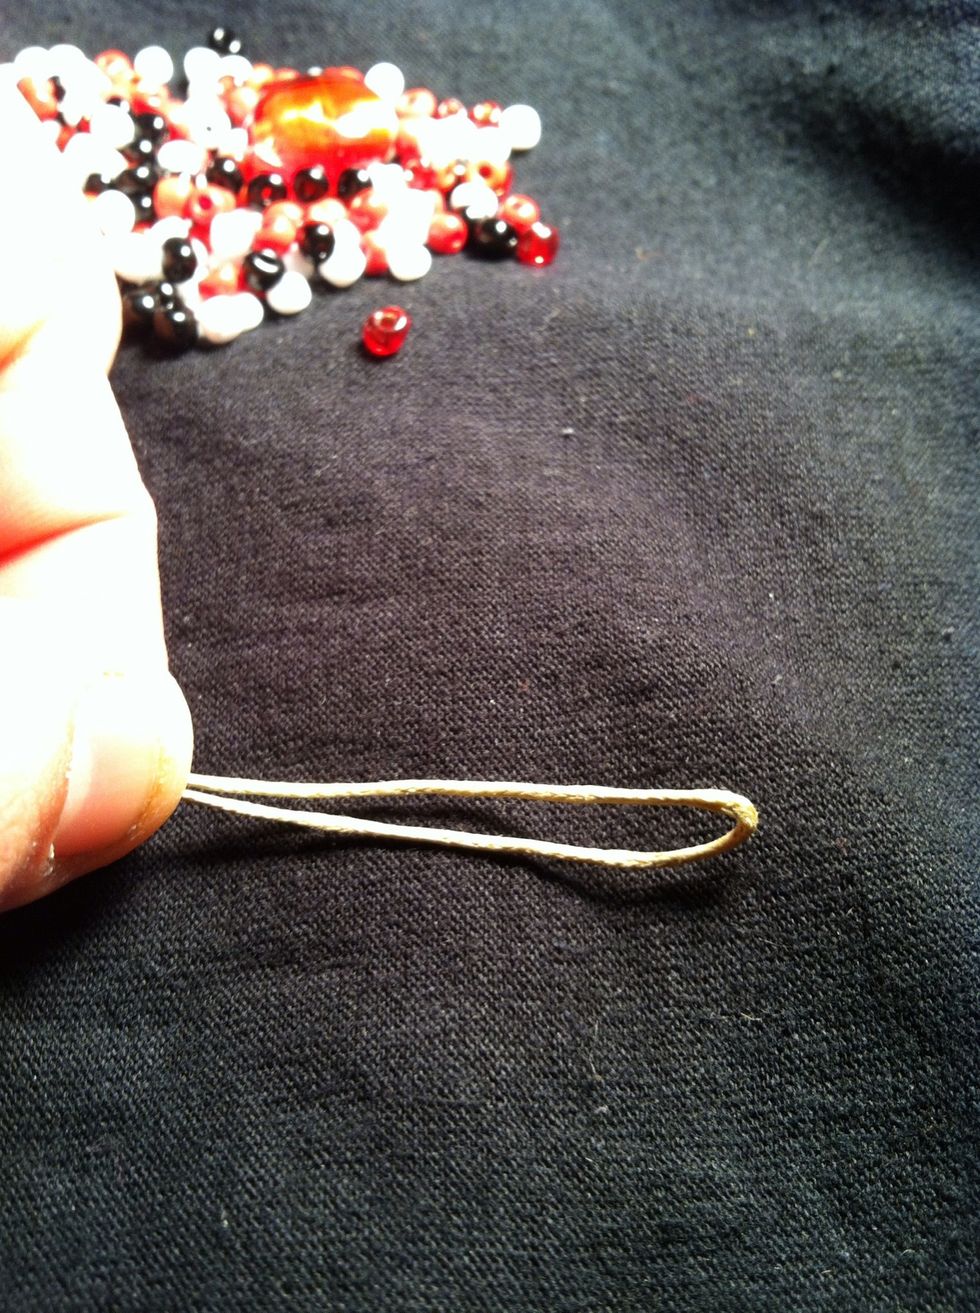
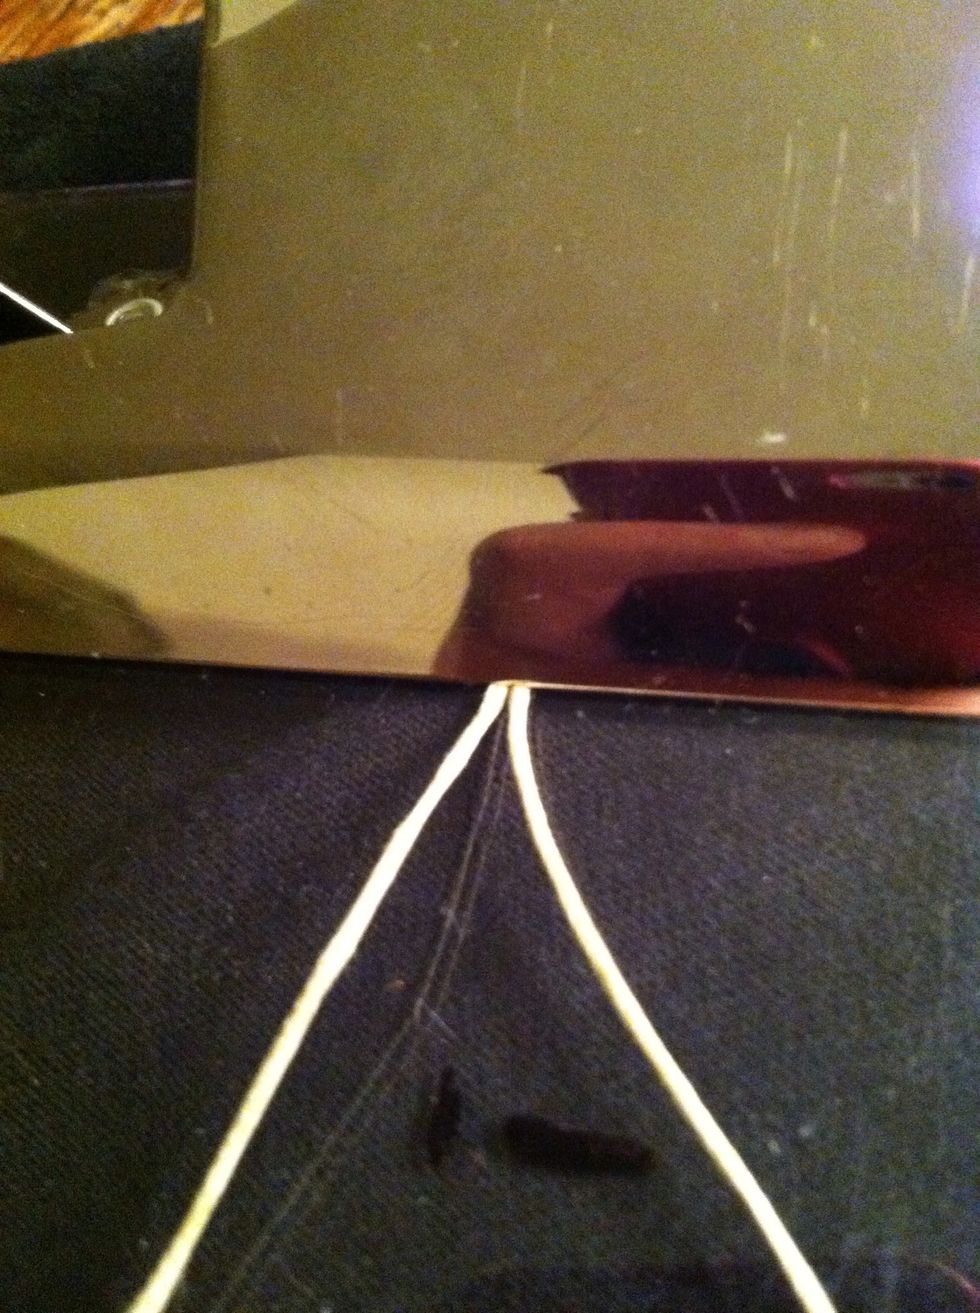
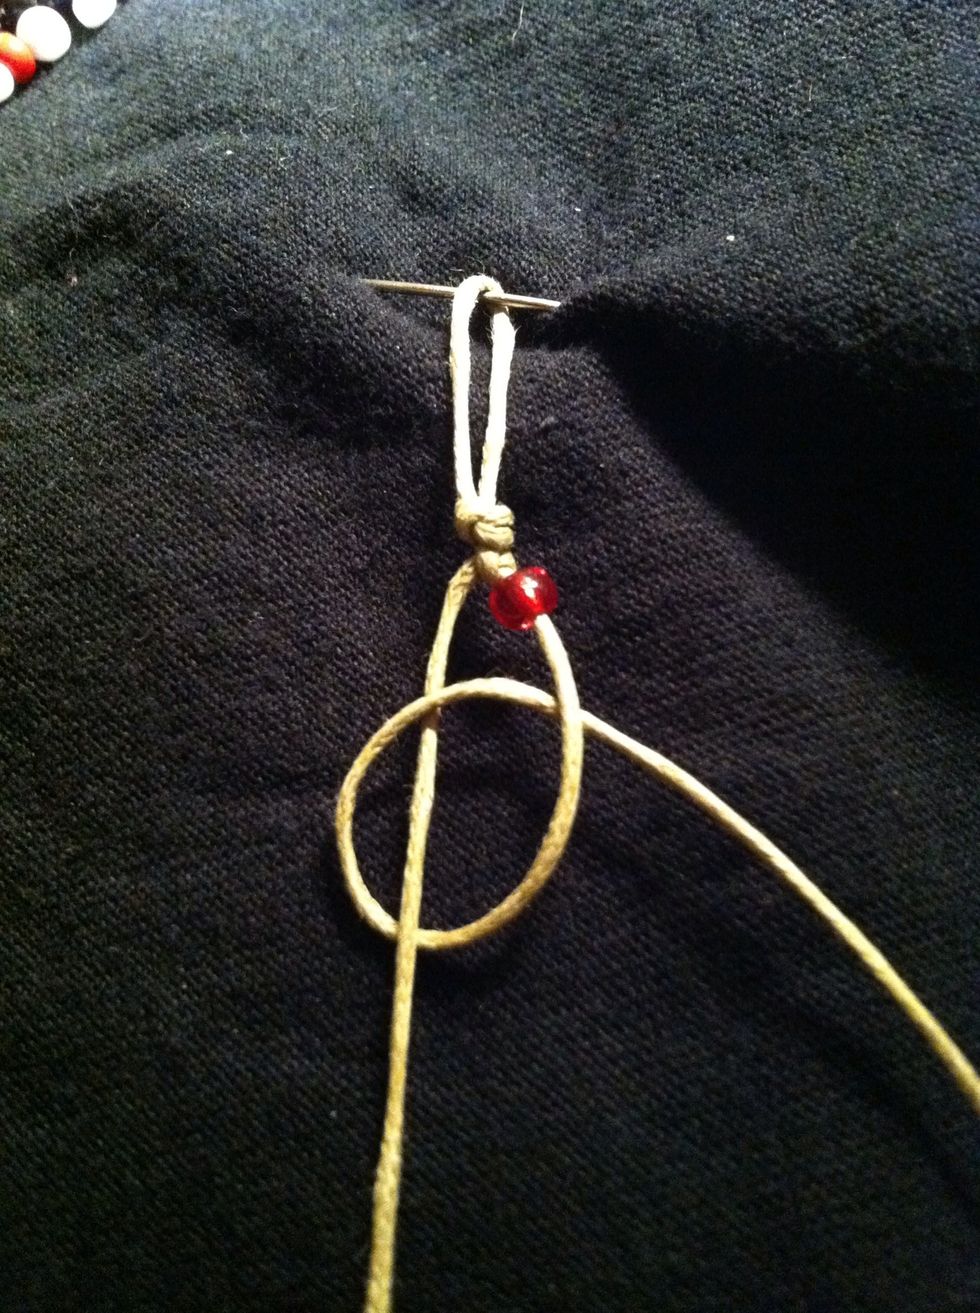
Fold your cord in half and make a loop (the picture cut off the end of the loop.)
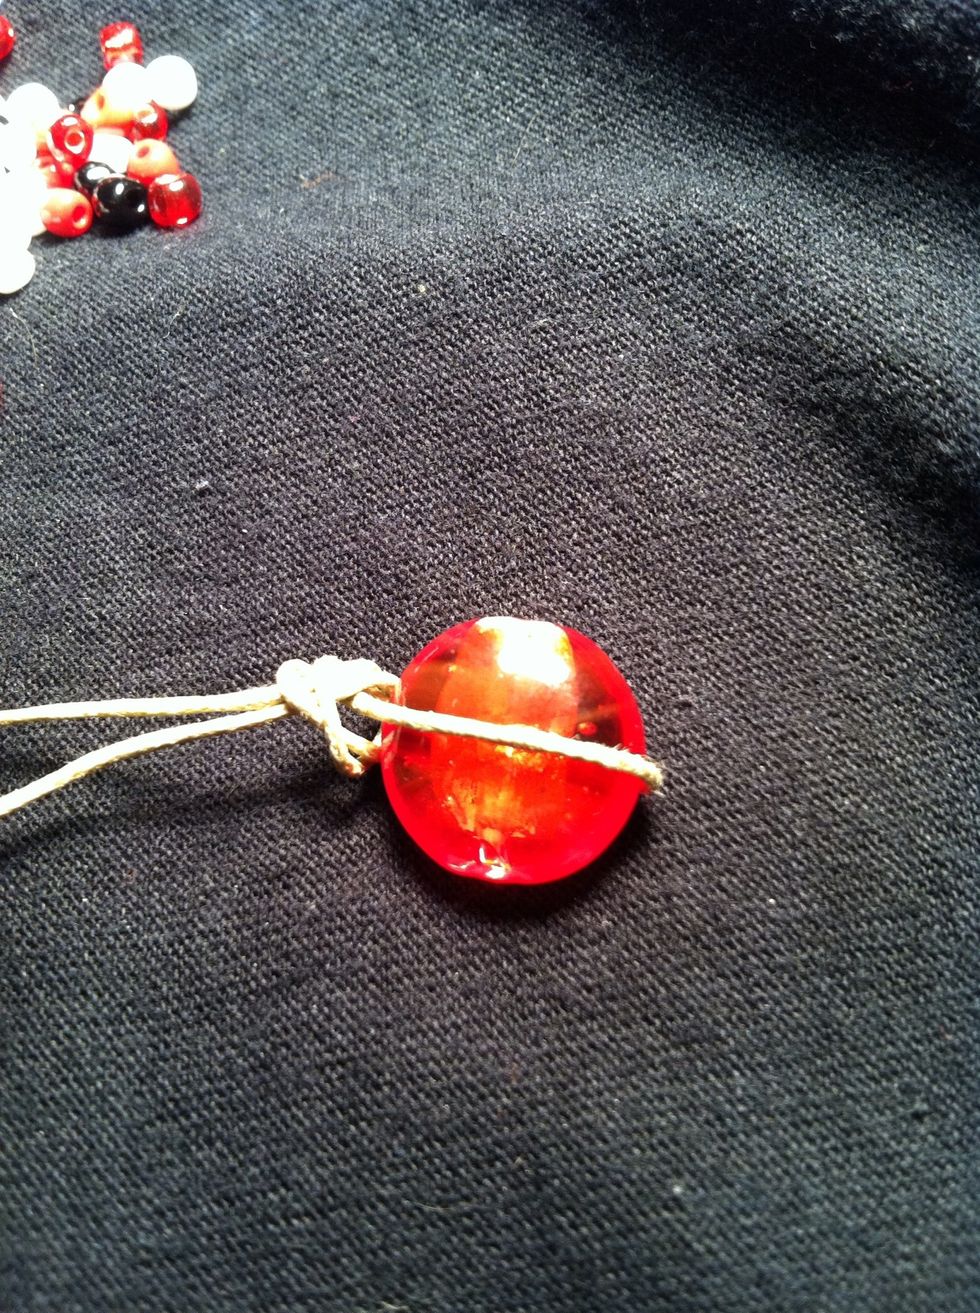
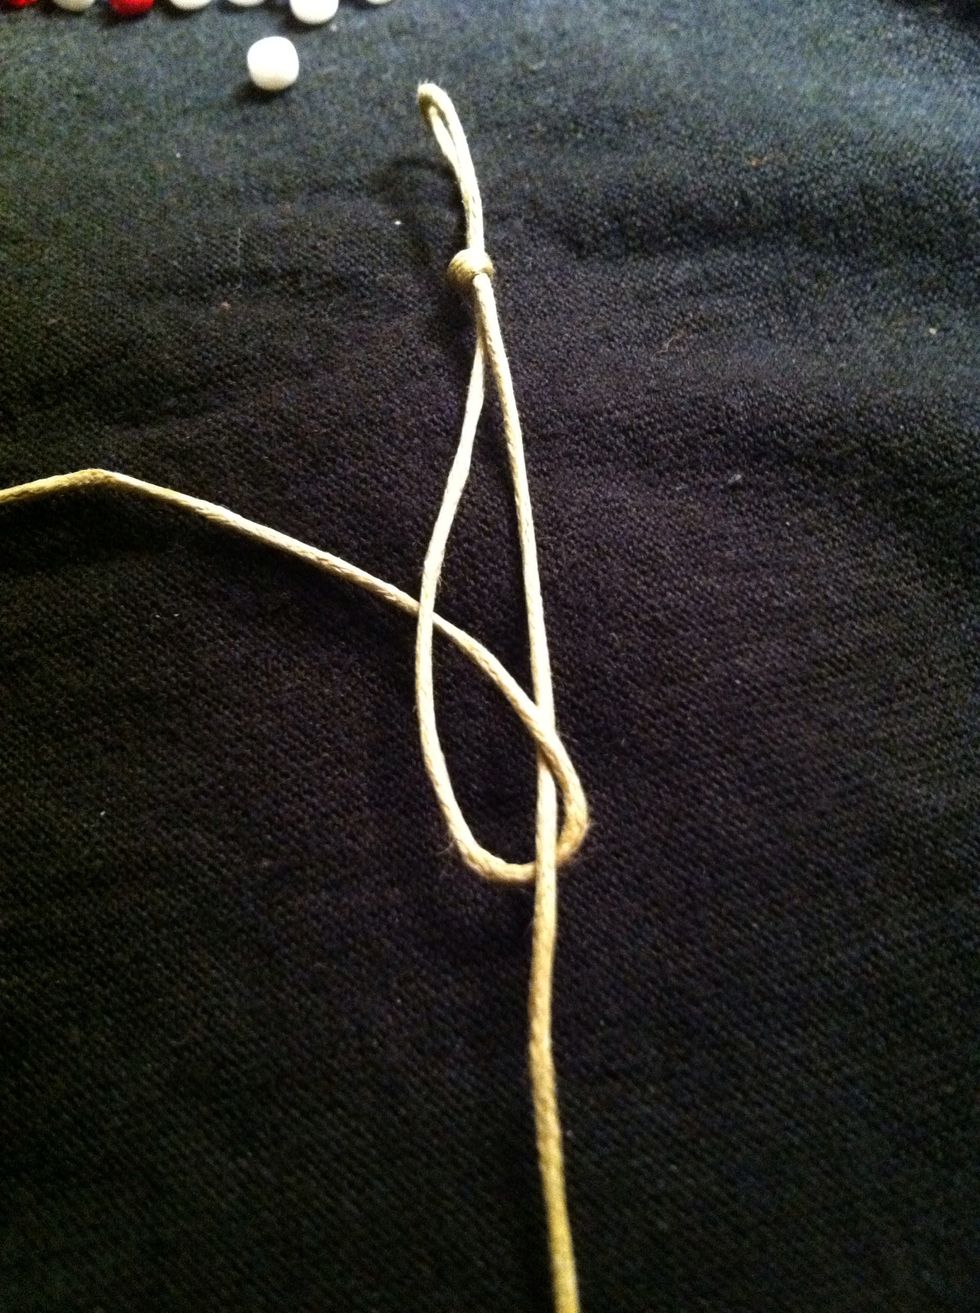
Wrap the loop around the large bead or button for measurement and tie and overhand knot to the correct size. If you're unsure how to make an overhand knot you can comment or msg me.
Side note: if you'd like a tutorial on some basic knot techniques and types please comment and let me know. 😊
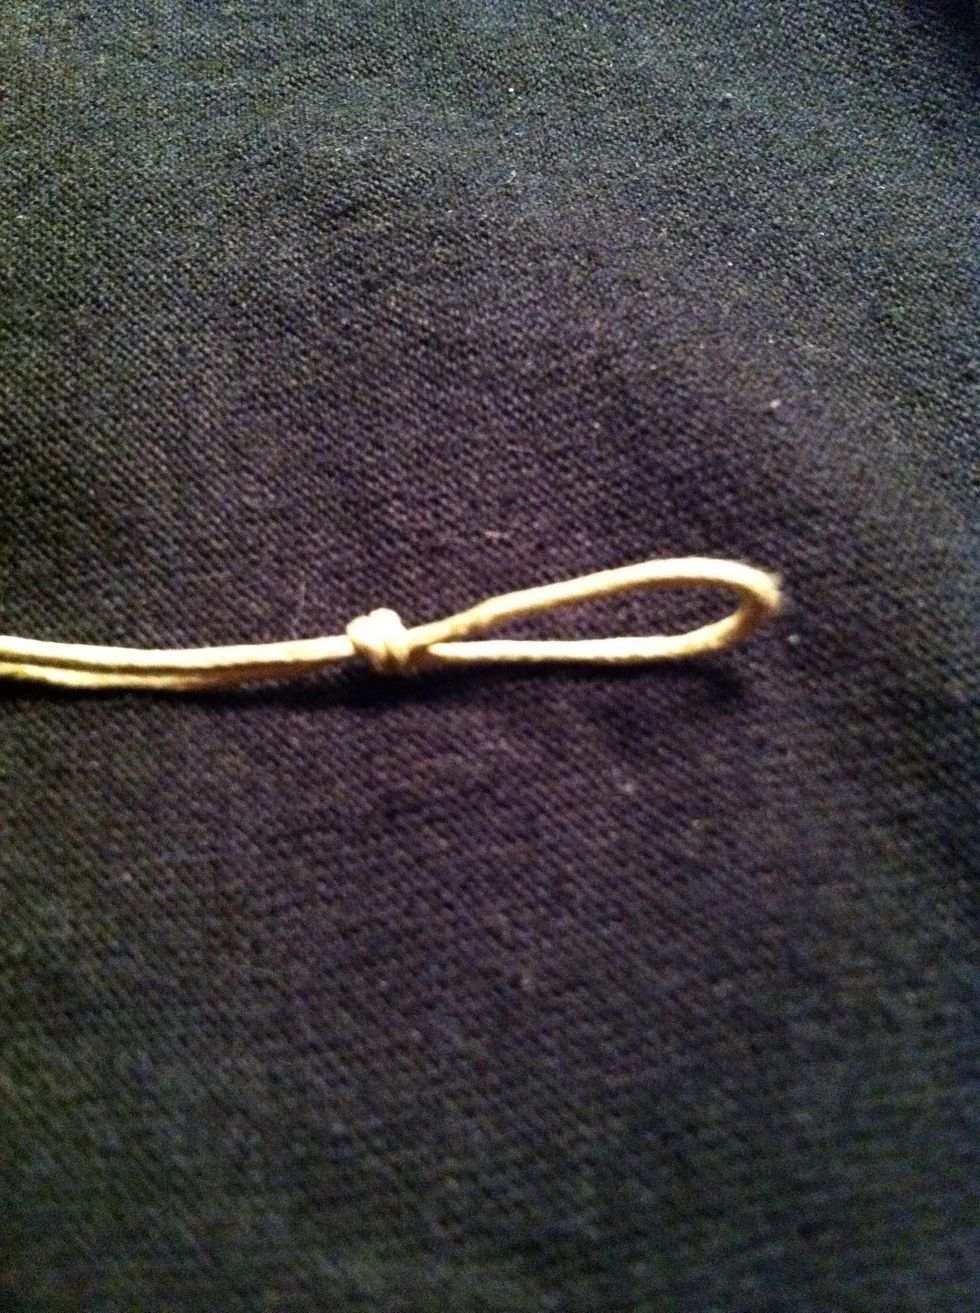
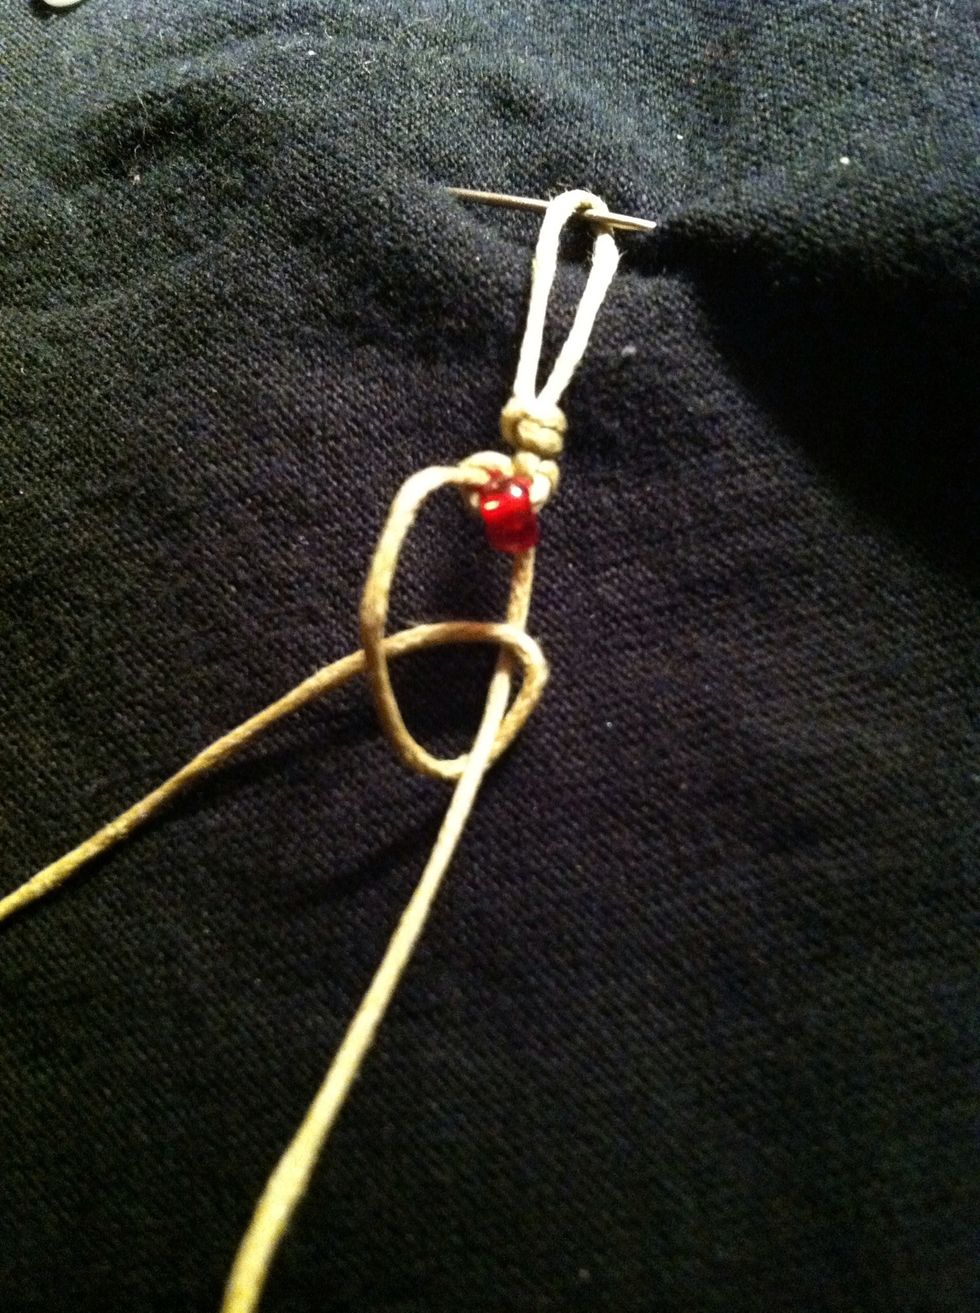
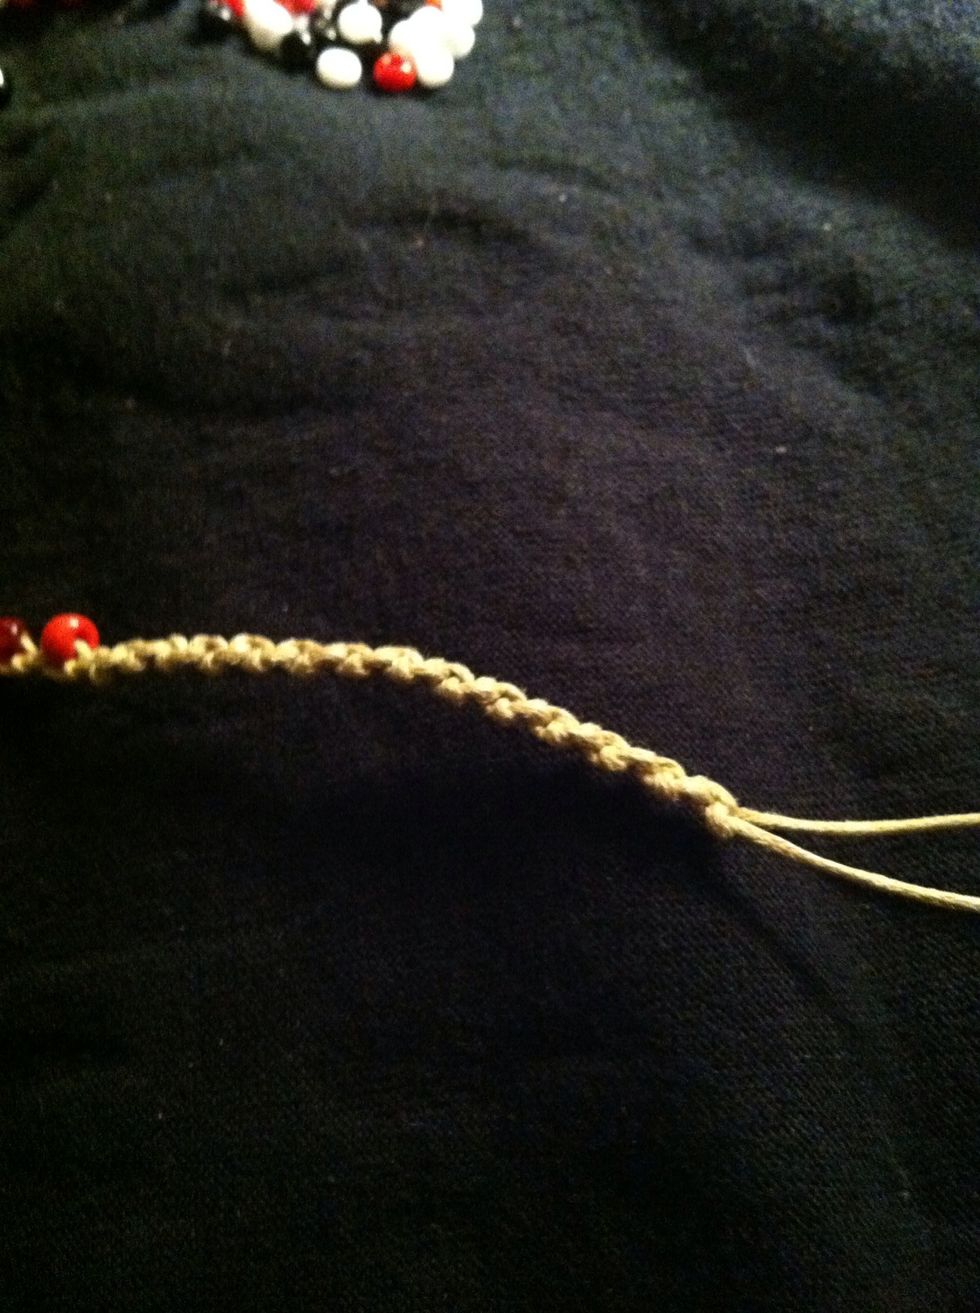
Alright, knot tied and bead removed. You should have this 👆(sorry its so blurry and bright! Yikes!!)
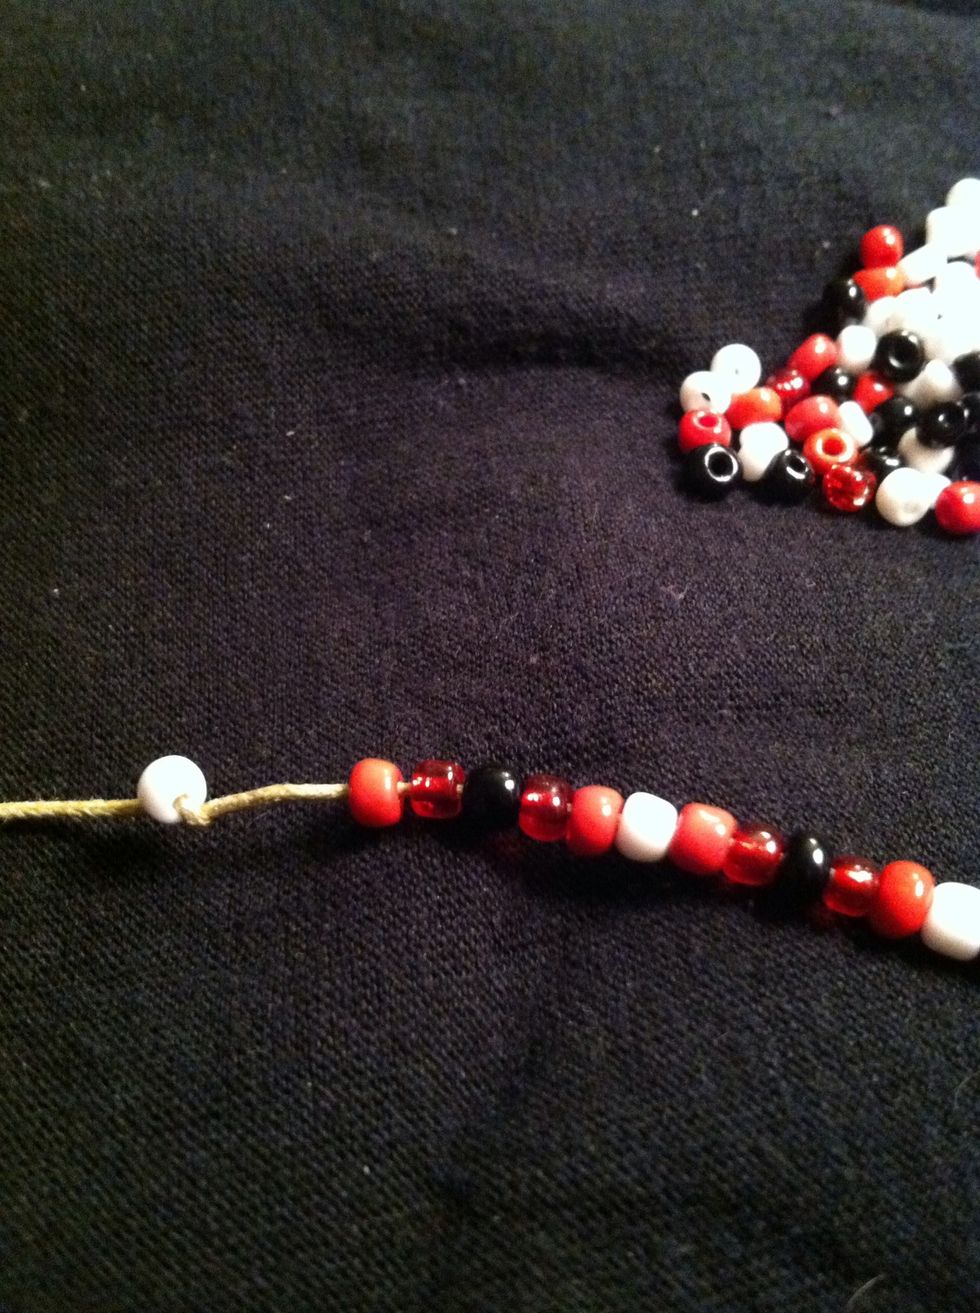
String on your beads, on one strand in any pattern you like... Or no pattern at all. Tie a bead to the end to keep them from falling off. You can add beads to both strands to create a different effect
How many beads is up to you, my method is this: strung beads = 1/2 of final beaded length. If the beaded section is going to be 6in, I string 3in of beads. You can always string more if you need too.
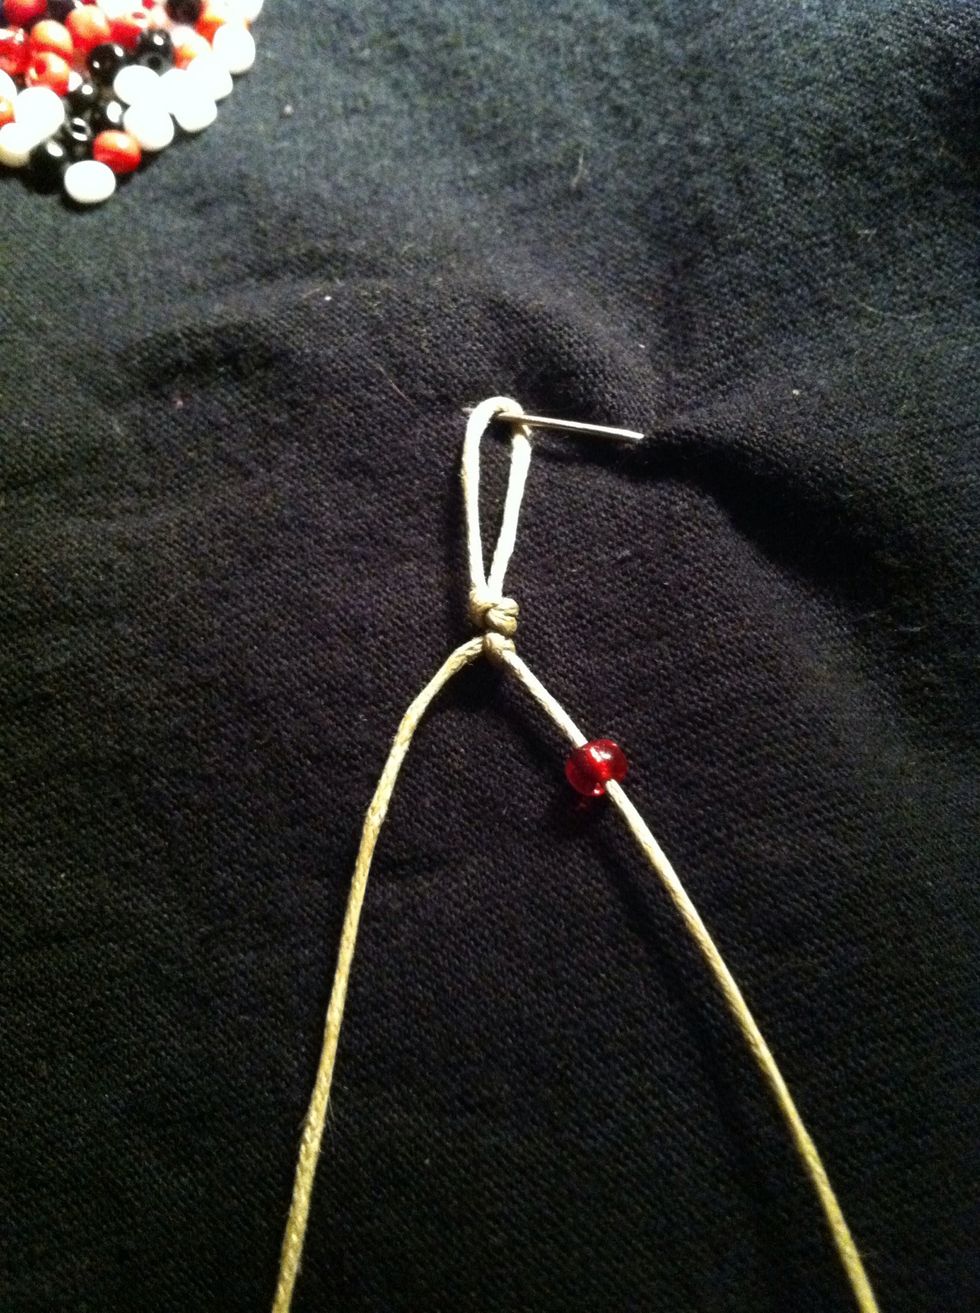
Whether you're using a clipboard or a safety pin, set you two strands up like this. These will always end in the same place. If you tie a knot and the strand ends in the other side it's incorrect.
I tried to get a video but couldn't this is to show you the path of the left strand tying over the right.the idea is to tie the strands over each other alternating back and forth.
Take you right strand and hold it taut. With you left strand go BEHIND the right string, then cross it over towards the left side and go through the hole you created. Pull tight.
Once you get the hang of this is very simple. I will try to add a video soon. If your experienced this would be 1/2 of a bk or backward knot.
Now slide one bead up the right strand and push it snug against the knot. Hold the left strand taut.
Tie the right strand over the left in a mirror image of step 10. Under, over, through, pull tight. Make sure the bead Is snug against knot.
Repeat step 10, tying the left strand (notice no bead) over the right.
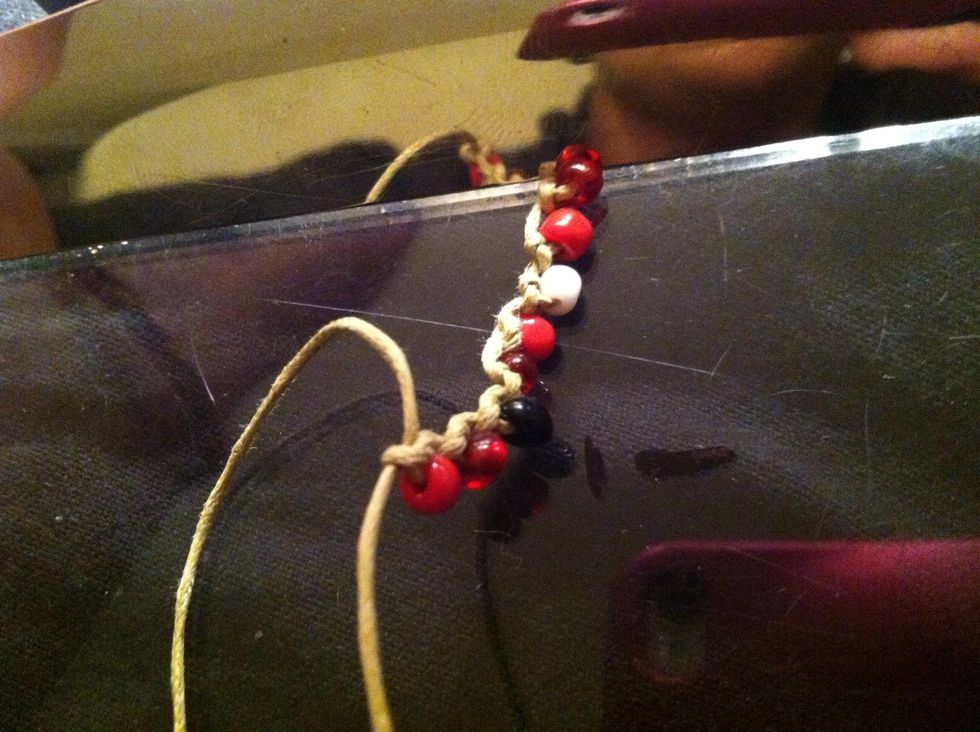
Continue for about 10 beads. If you're doing it correctly it will start to curl. This means you are pulling tight enough. This is good but kinda ugly... Let's fix it!
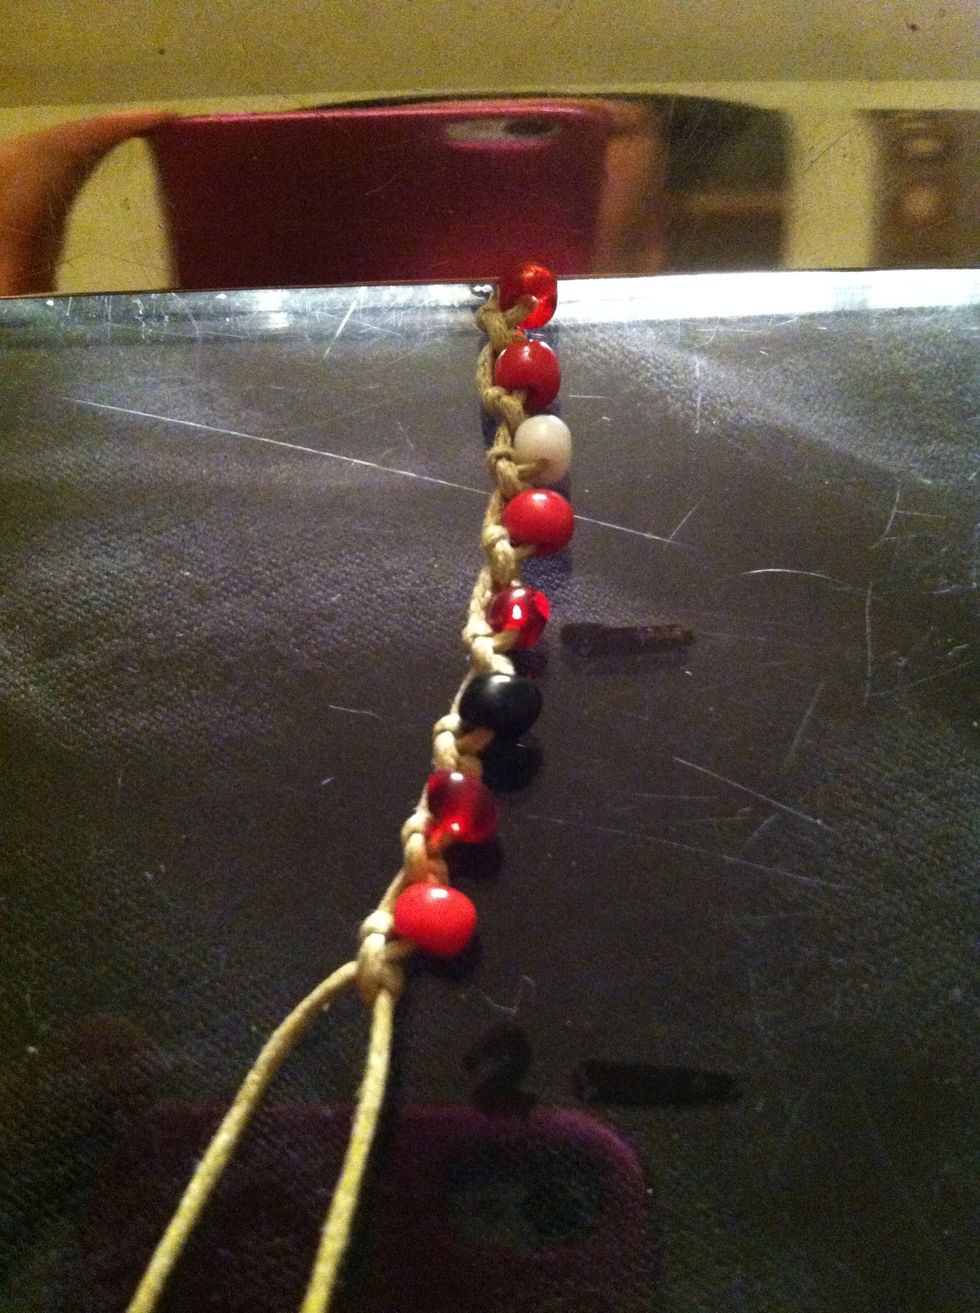
Holding the top loop and the loose strand tug gently in opposite directions. This will loosen and straiten, and your beads should all fall into line.
When you run out of beads, or have reached a desired bead length, continue the back and forth knotting sans beads.
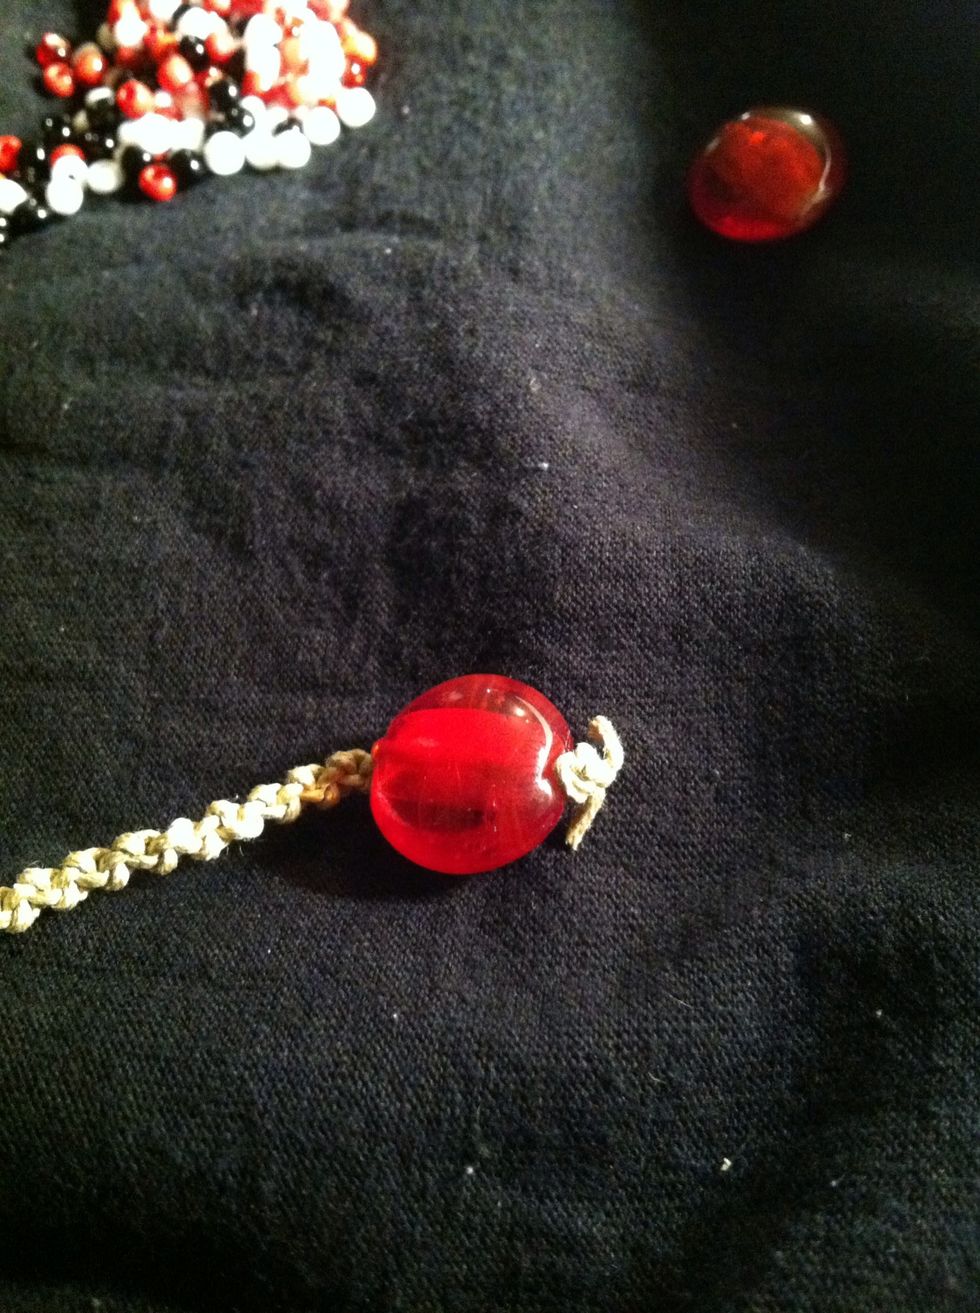
When you've reached a length of your choosing, add your large bead or button and tie it in securely. I usually measure by simply wrapping the bracelet around my wrist 3 times and seeing how it feels.

And there you have it! If its still kinda wonky and curled you can keep stretching it. Remember most hemp and waxed cord will loosen With use. This lays flat on my wrist but not in it's own. Go figure
There are many ways to vary this bracelet and the outcome is always a little different. Try it with larger beads or different spacing. Embroidery floss is great for this too! Enjoy!!