The Conversation (0)
Sign Up
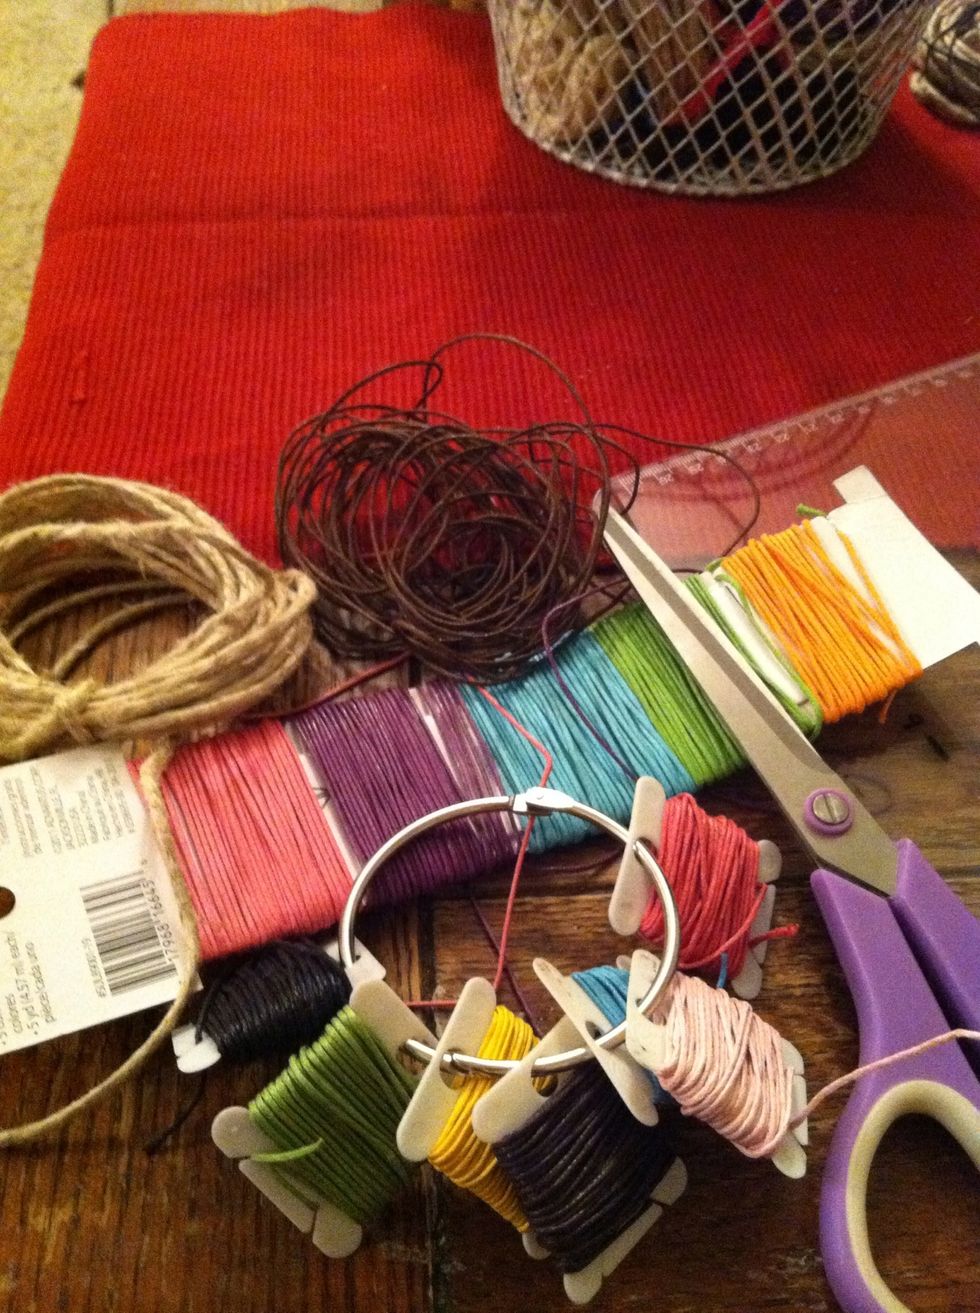
Supplies tab is still giving me trouble. Supplies are: two 75in(ish) lengths of colorful braiding cord, one thick 10in center cord, scissors and a clip board or safety pin.
For the center cord I'm using a tick hemp but a round shoelace works wonderfully also. You can use anything with a thick cord shape such as the handle of a gift bag. Upcycle opportunity!!

This is an example of braiding cord but there are many kinds. I got this in a multi pack at Joann's for around 5$. They sell 3pack of colors at Walmart for around 3$
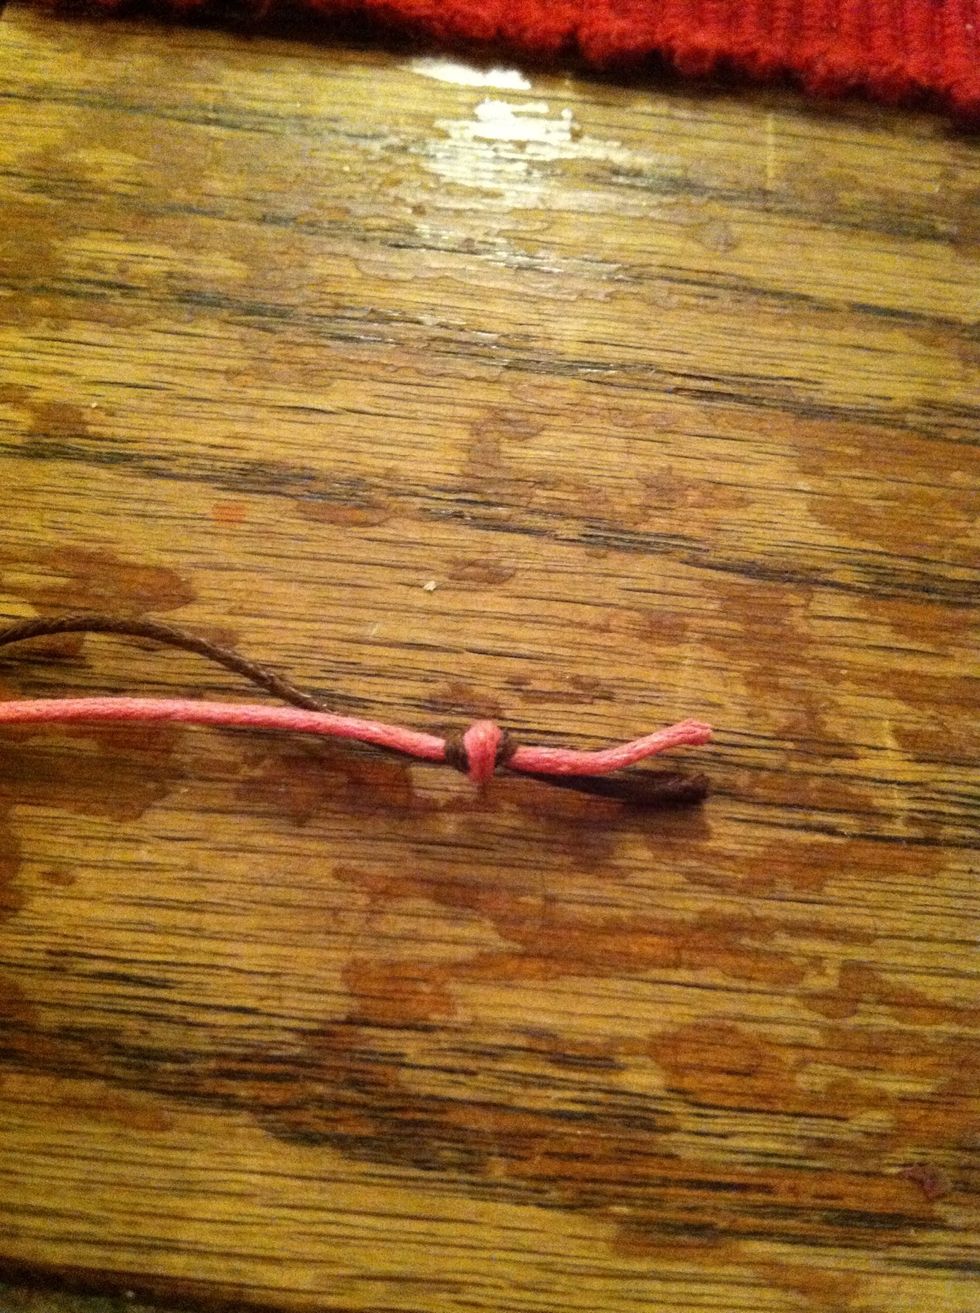
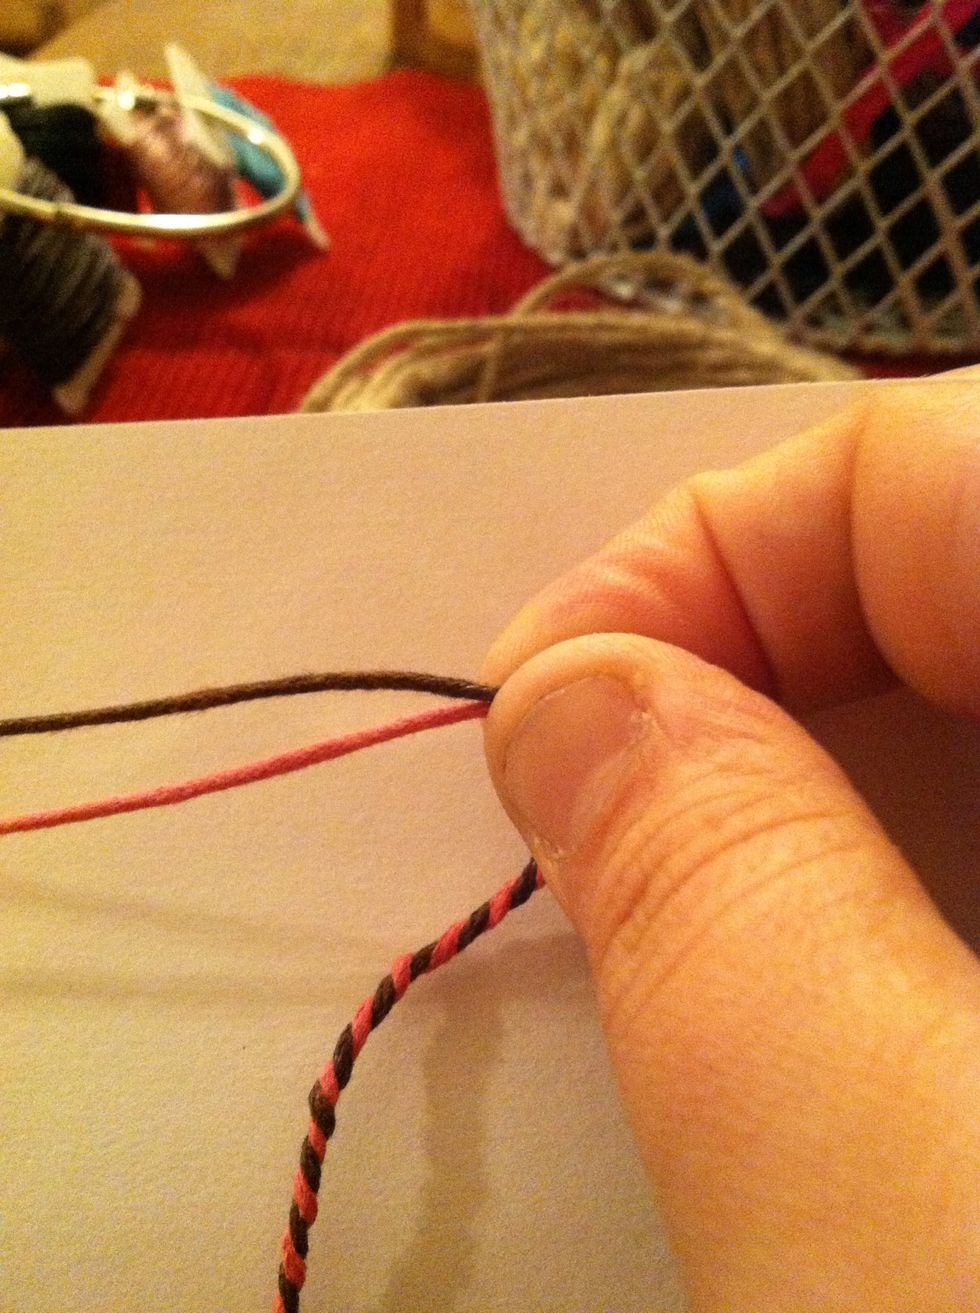
First tie an overhand knot close to the ends of your colored cords. (my guide on knots is coming as soon as I can finish taking the pictures)
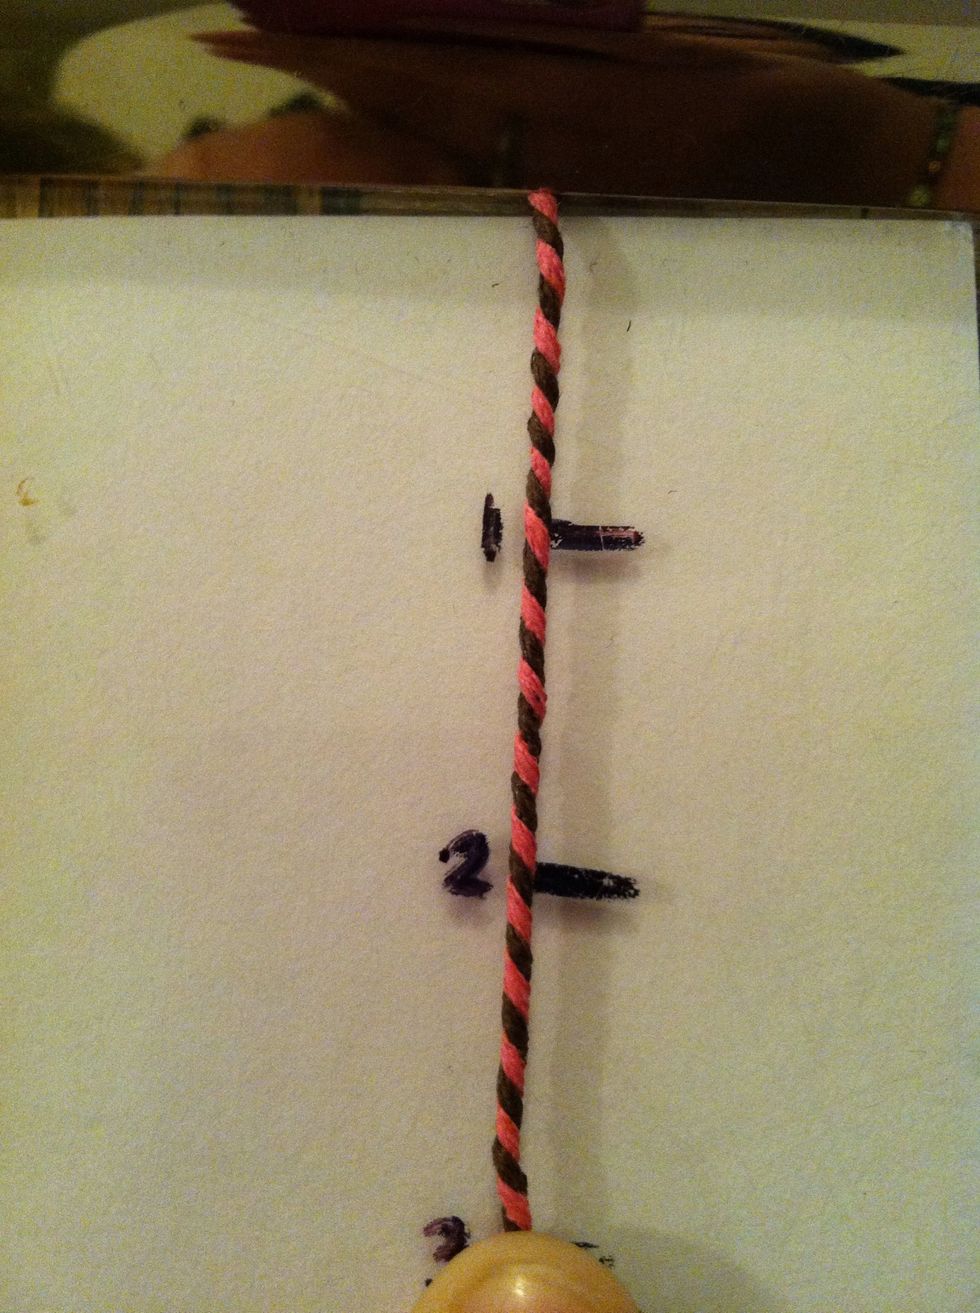
Secure with clipboard or safe pin and twist the cords around each other till you have a 3inch length.
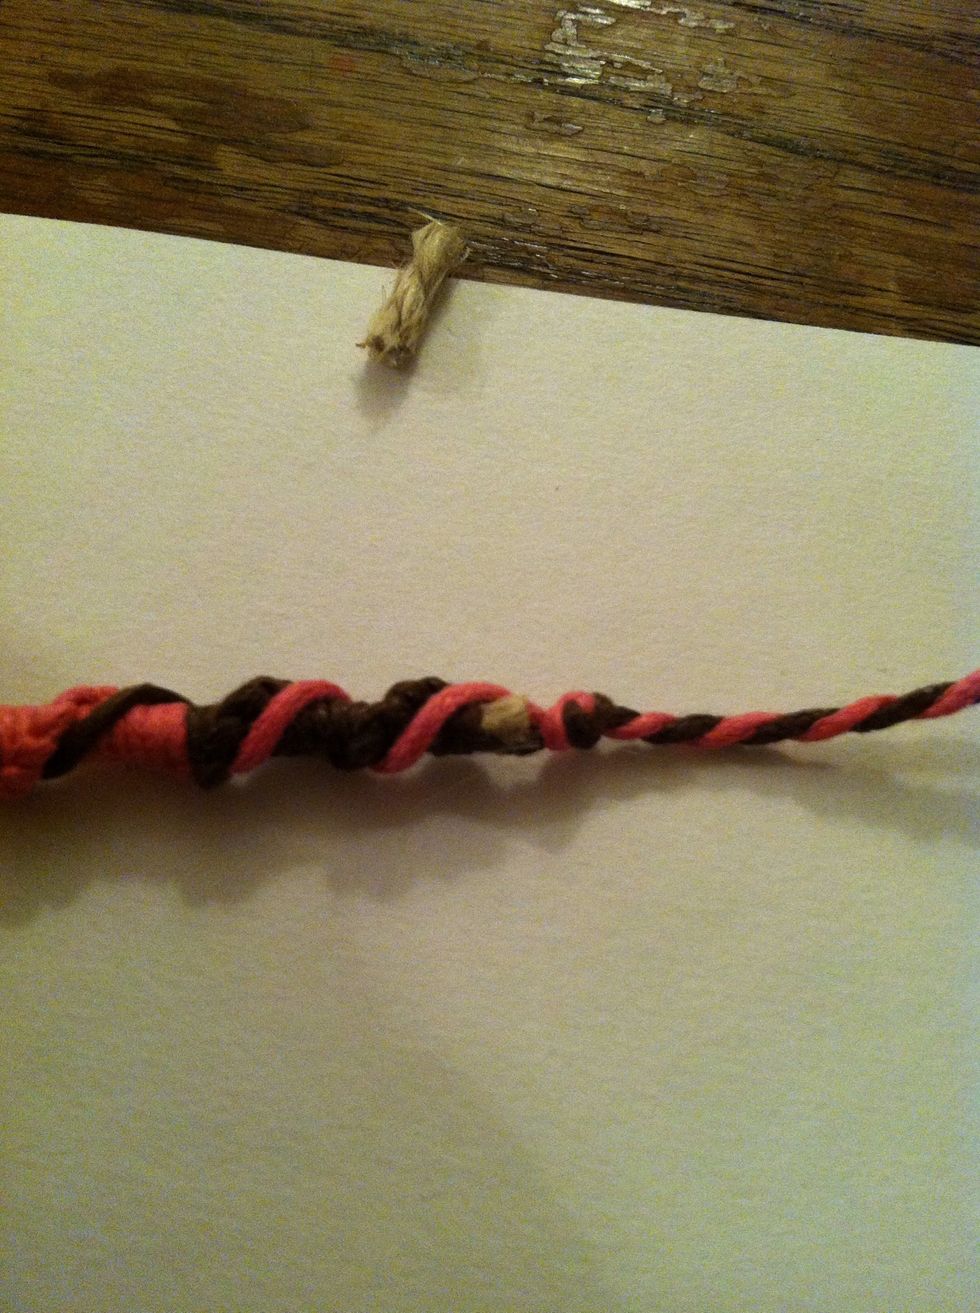
This is what happens when you simply spun them. They won't stay tight enough when you tie them. I got lazy 😓and had to redo it lol.
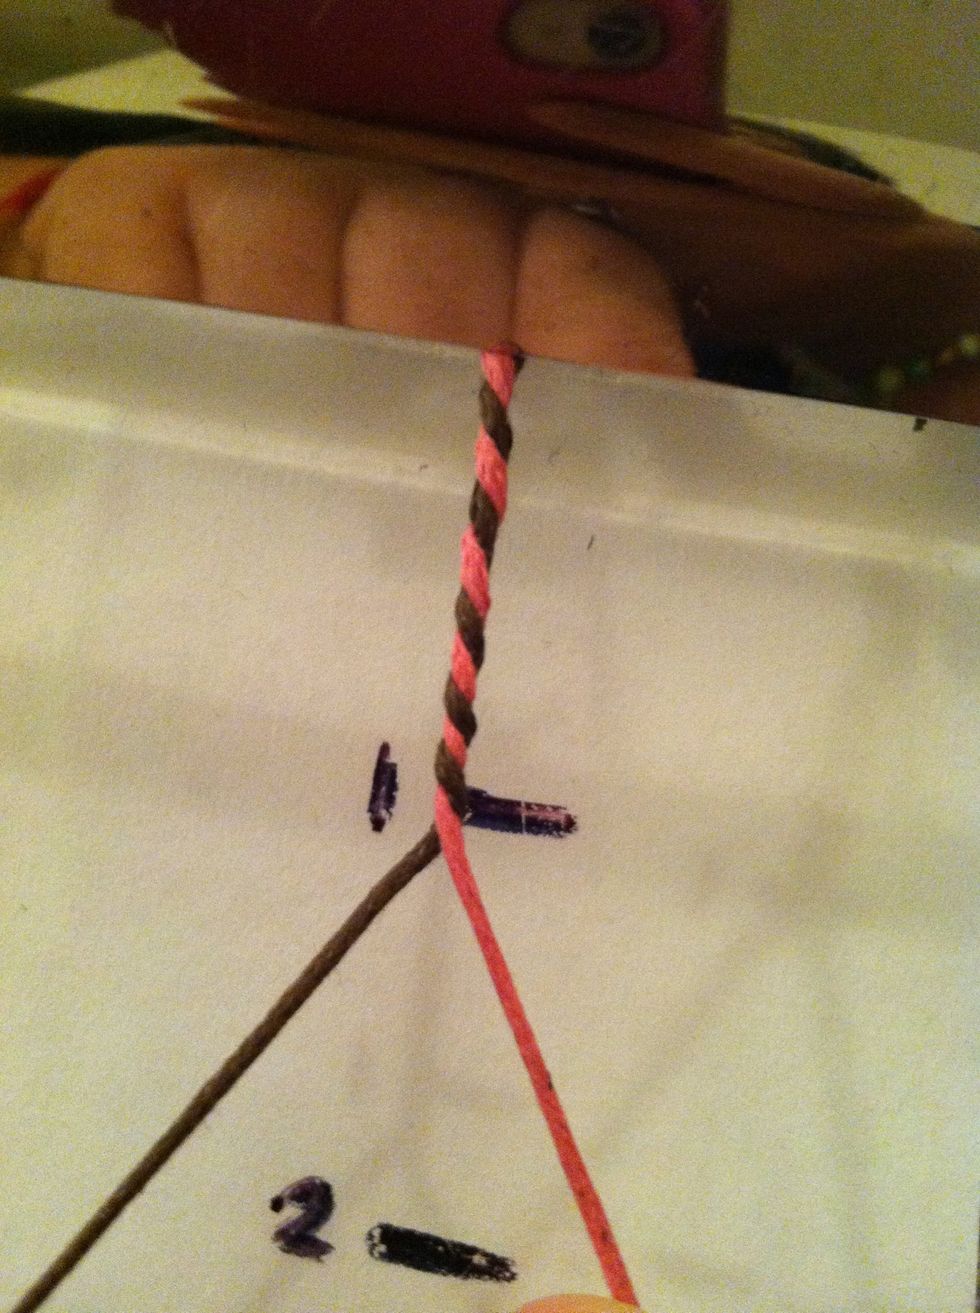
To properly twist them pull the cords away from each other, then pass then to the opposite side and pull tight again. Repeat till you are done and secure with an overhand knot.
My trick for getting it close to 3 inches. Measure, pinch....
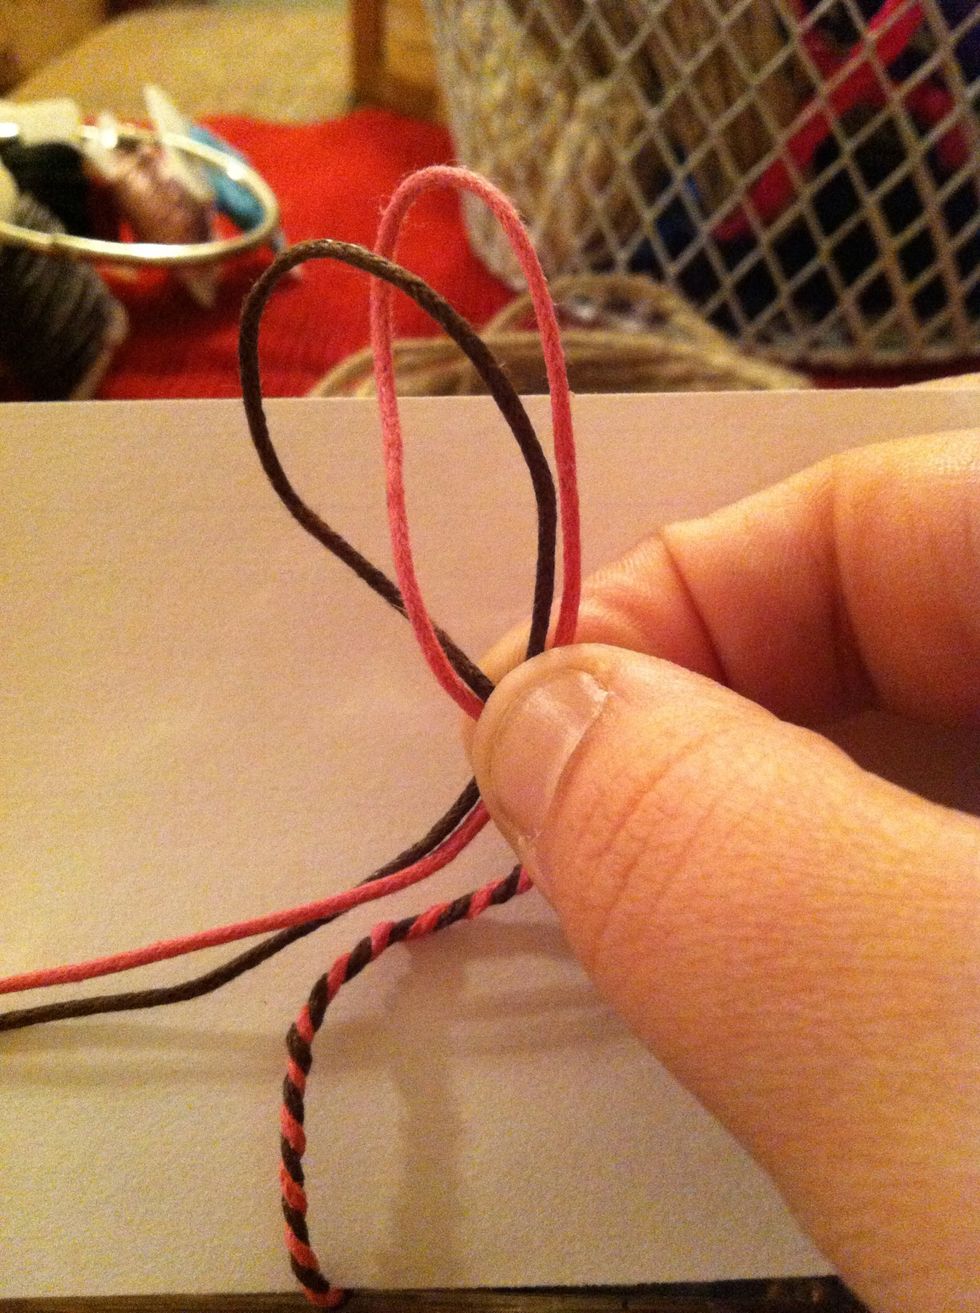
Make a loop and continue to pinch. If you let go it'll get loose.
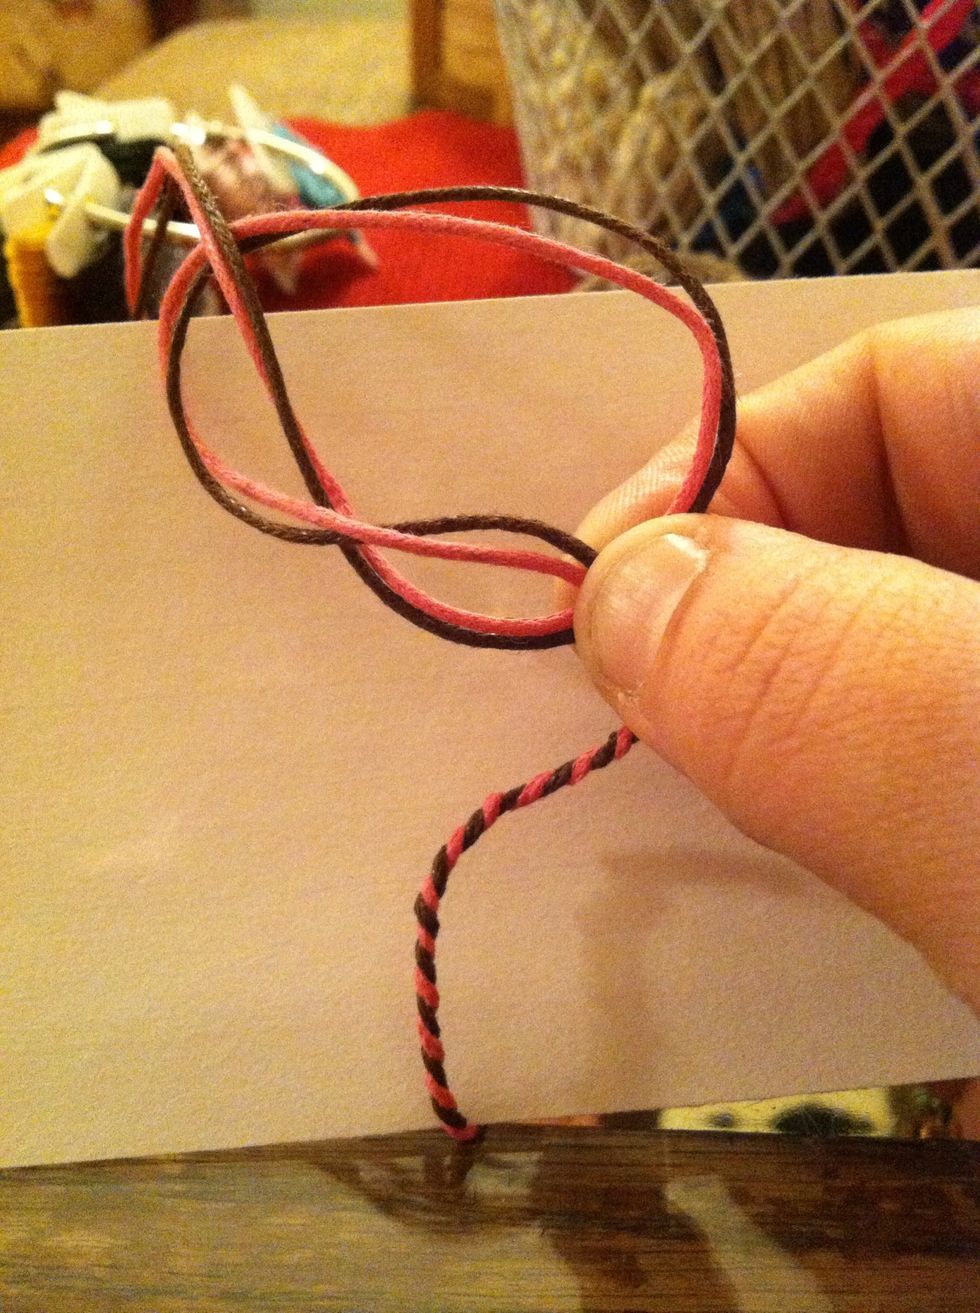
Tail end through the loop while still pinching tightly. Then SLOWLY! Pull it through pushing the closing knot towards your fingers. Patience is key.
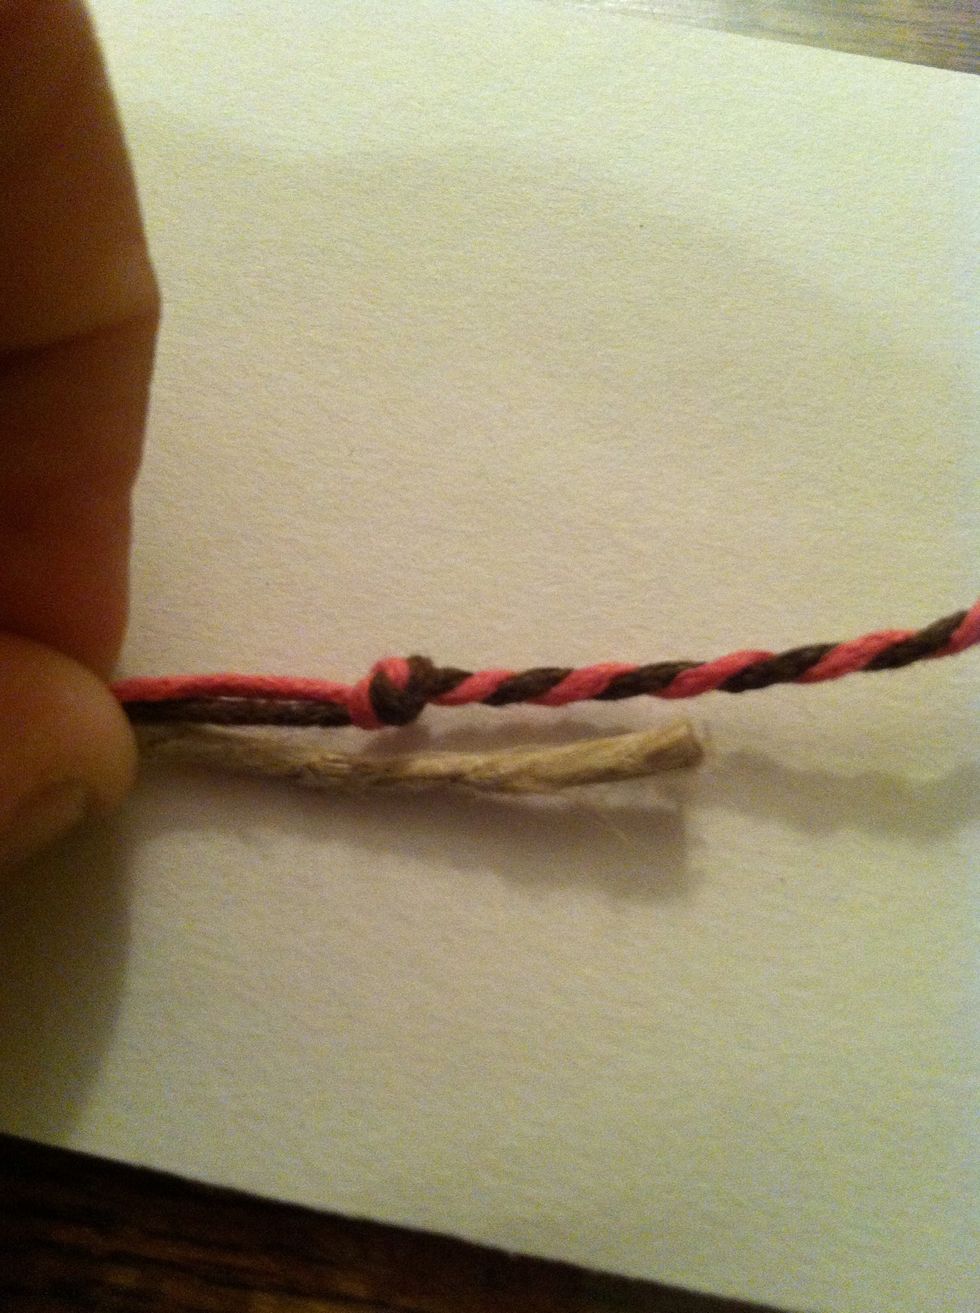
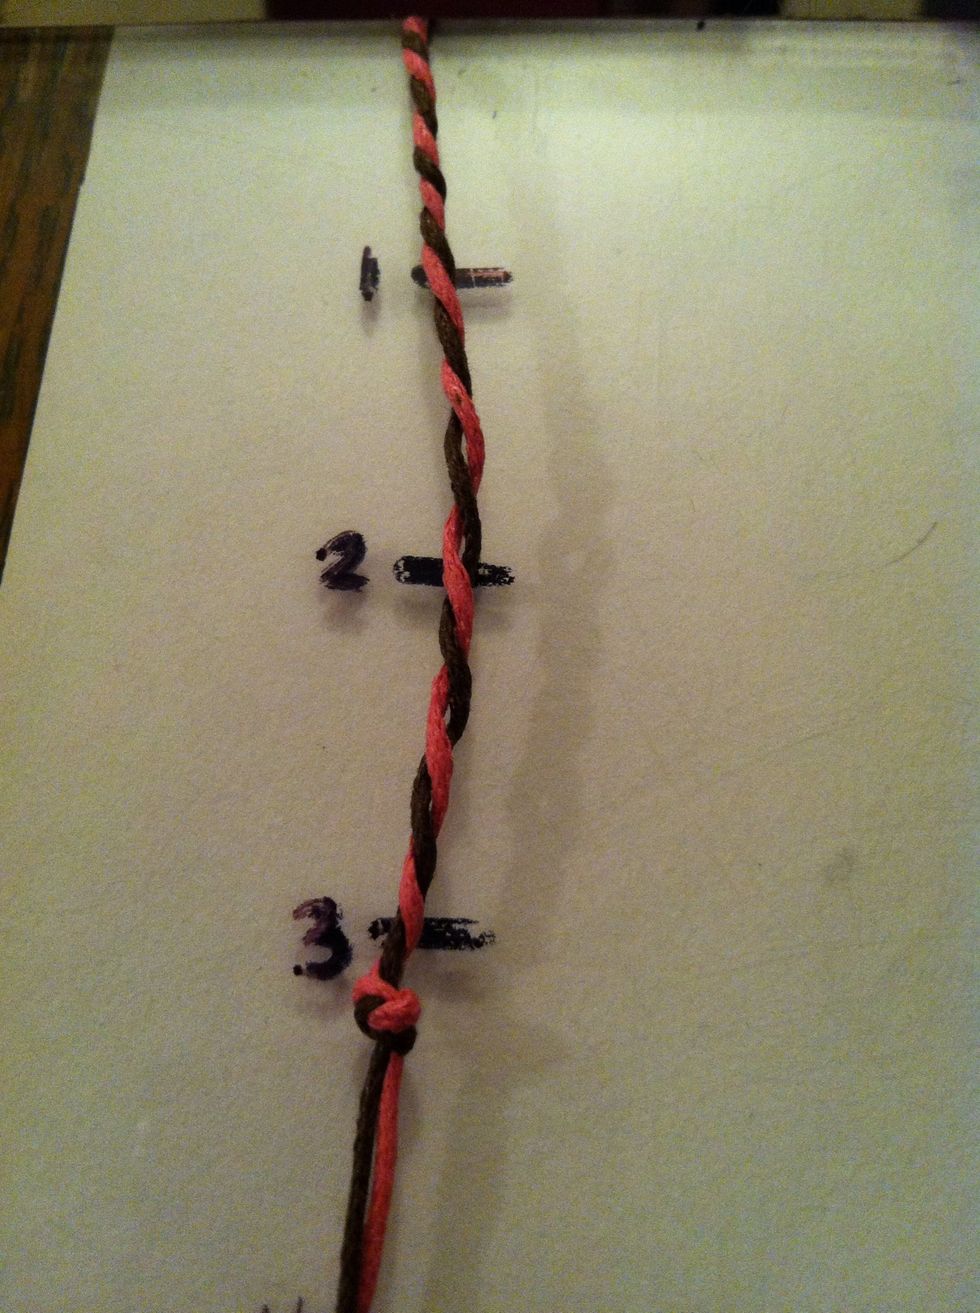
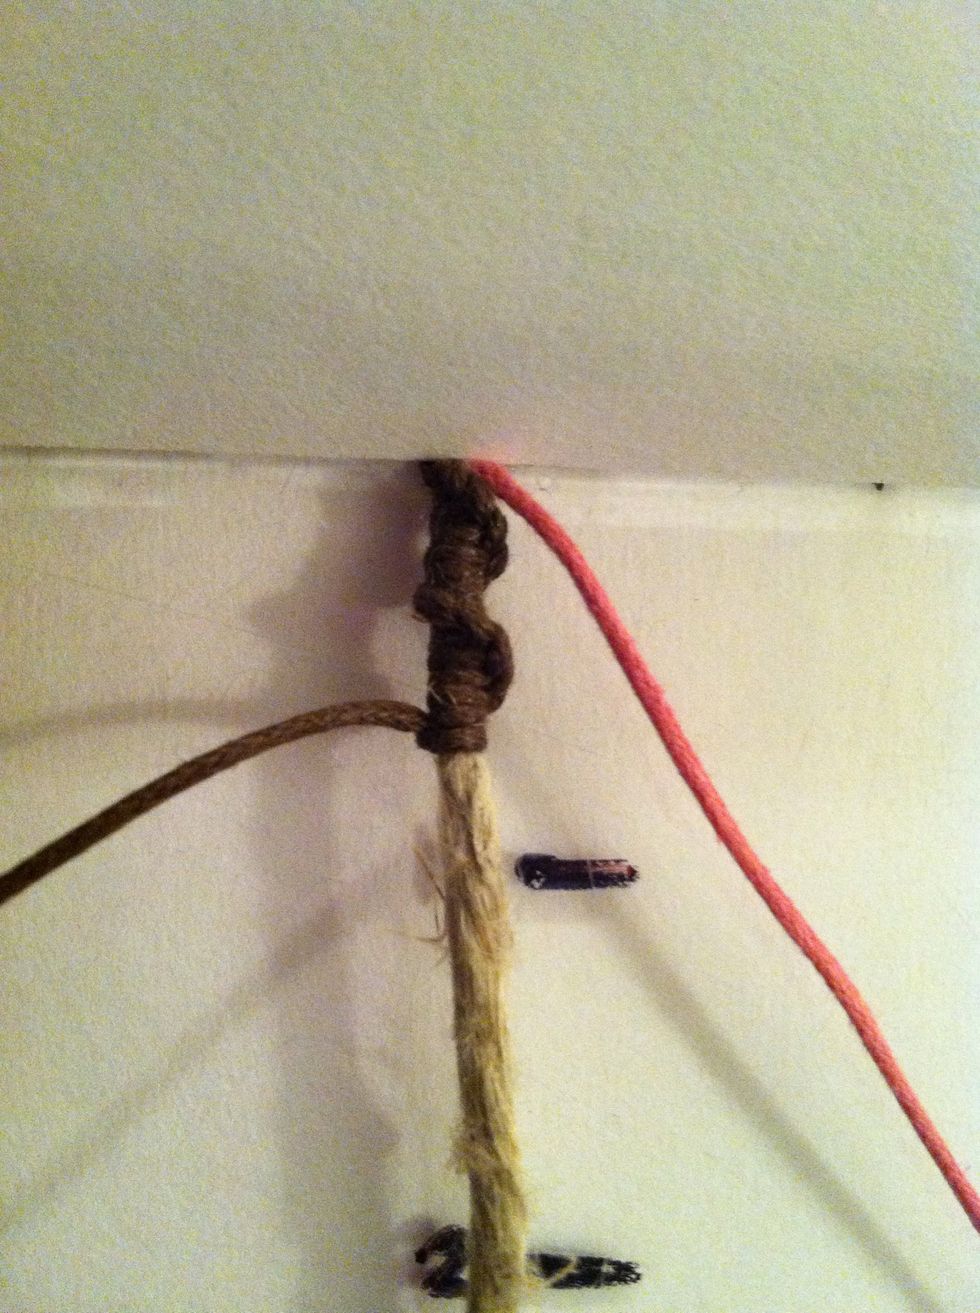
Get your center cord, line it up with your second knot leaving about 1/4in tail. You could also add it to the knot but it's kind of difficult and won't make a huge difference.
Secure together and position as seen in the picture.
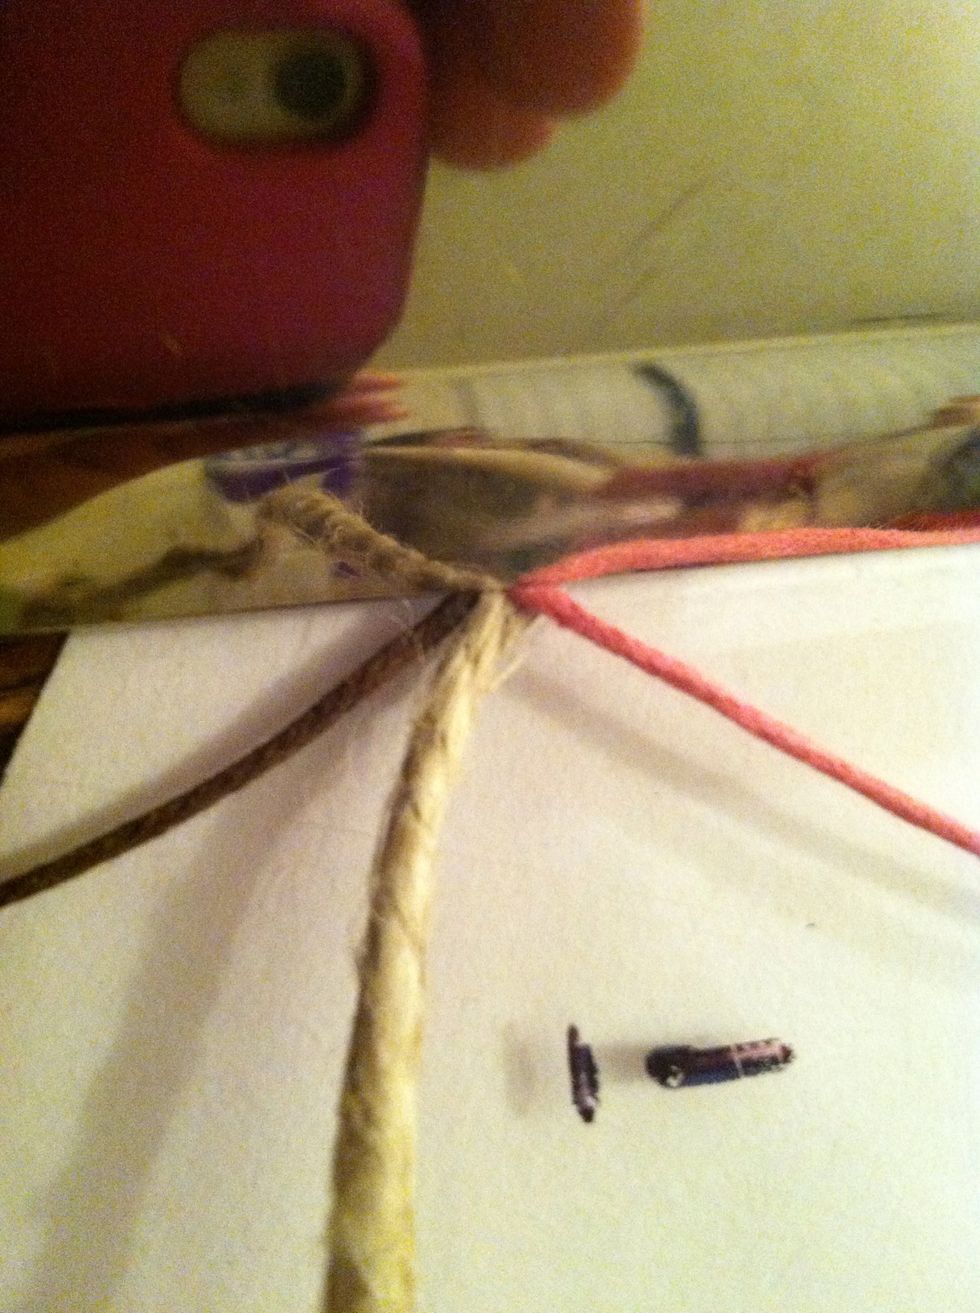
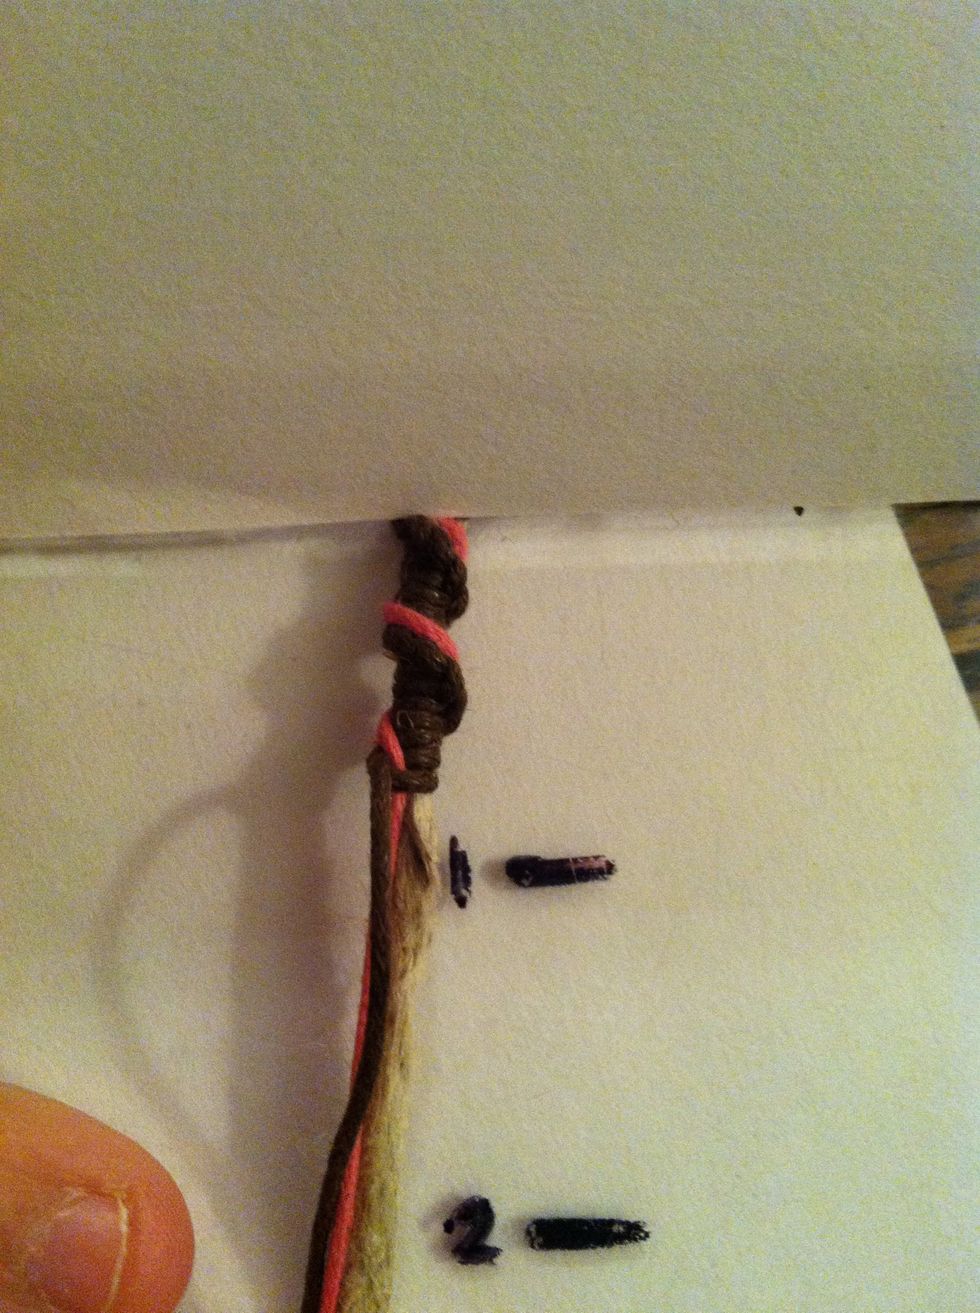
If you know how to make a regular stair case bracelet, then you know this is what to do.... But wait! This ISN'T a regular staircase bracelet!!
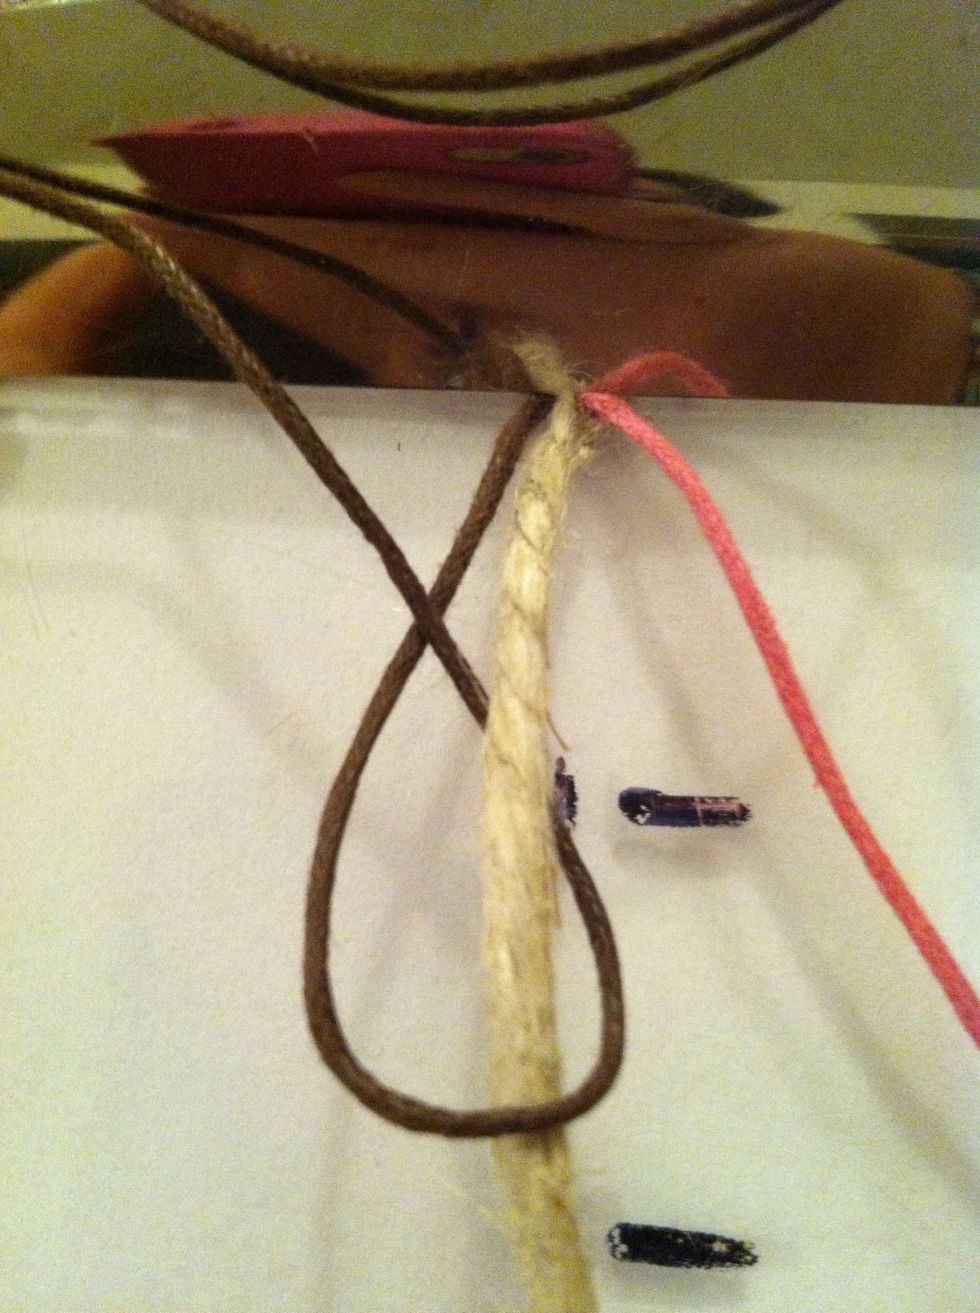
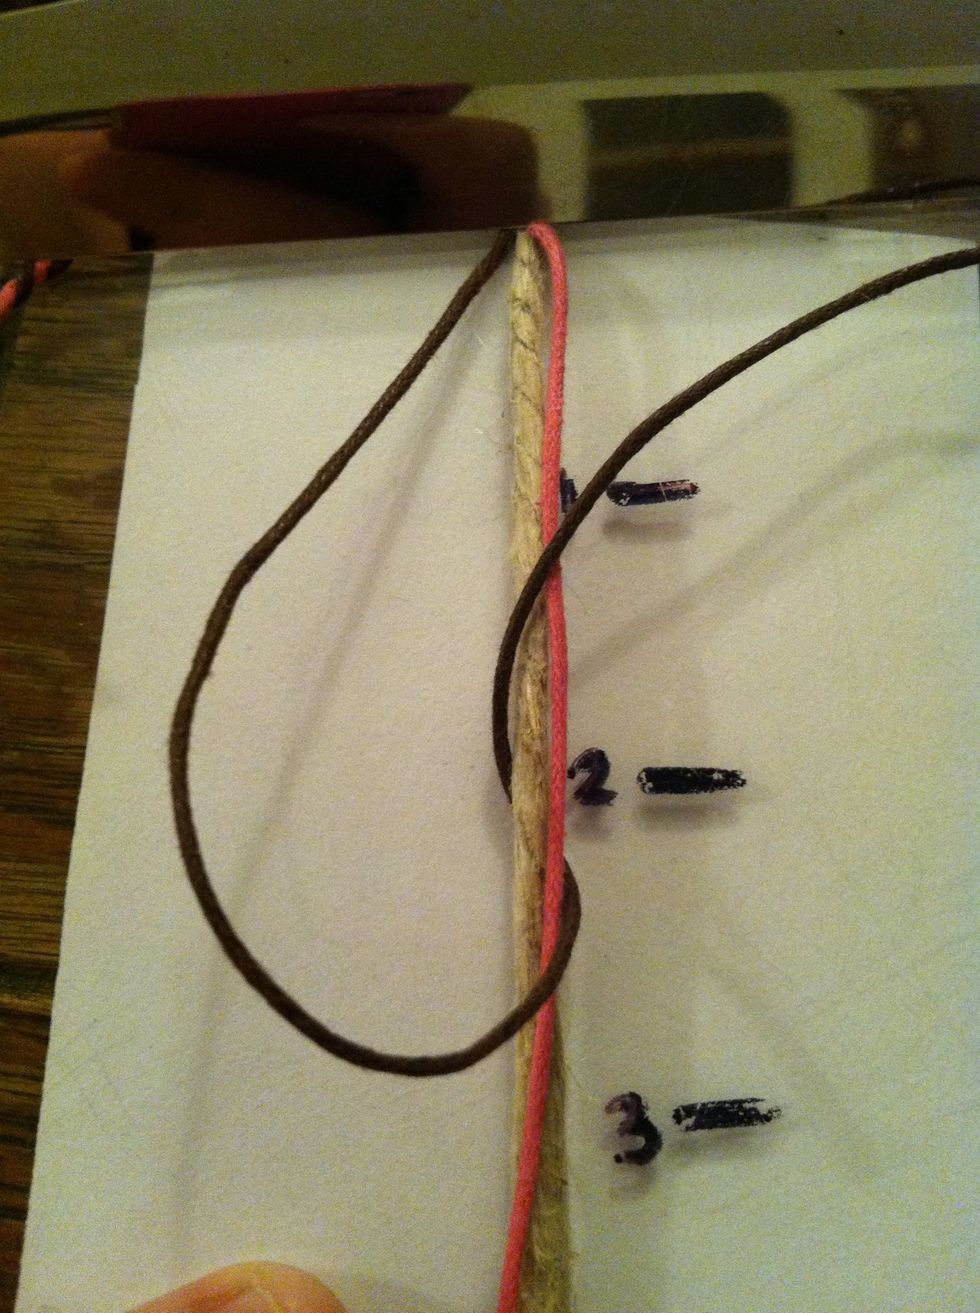
Leave out you second color, this is your wrapping cord. Make a forward knot (fk) over only the center cord.
Continue making fk until you've reached a length you like. I counted about 15 fk I think. See the spiral 'staircase'?
Now take your second color and wrap it around the 'stairs' of the first section. Secure it with a final fk of your first color.
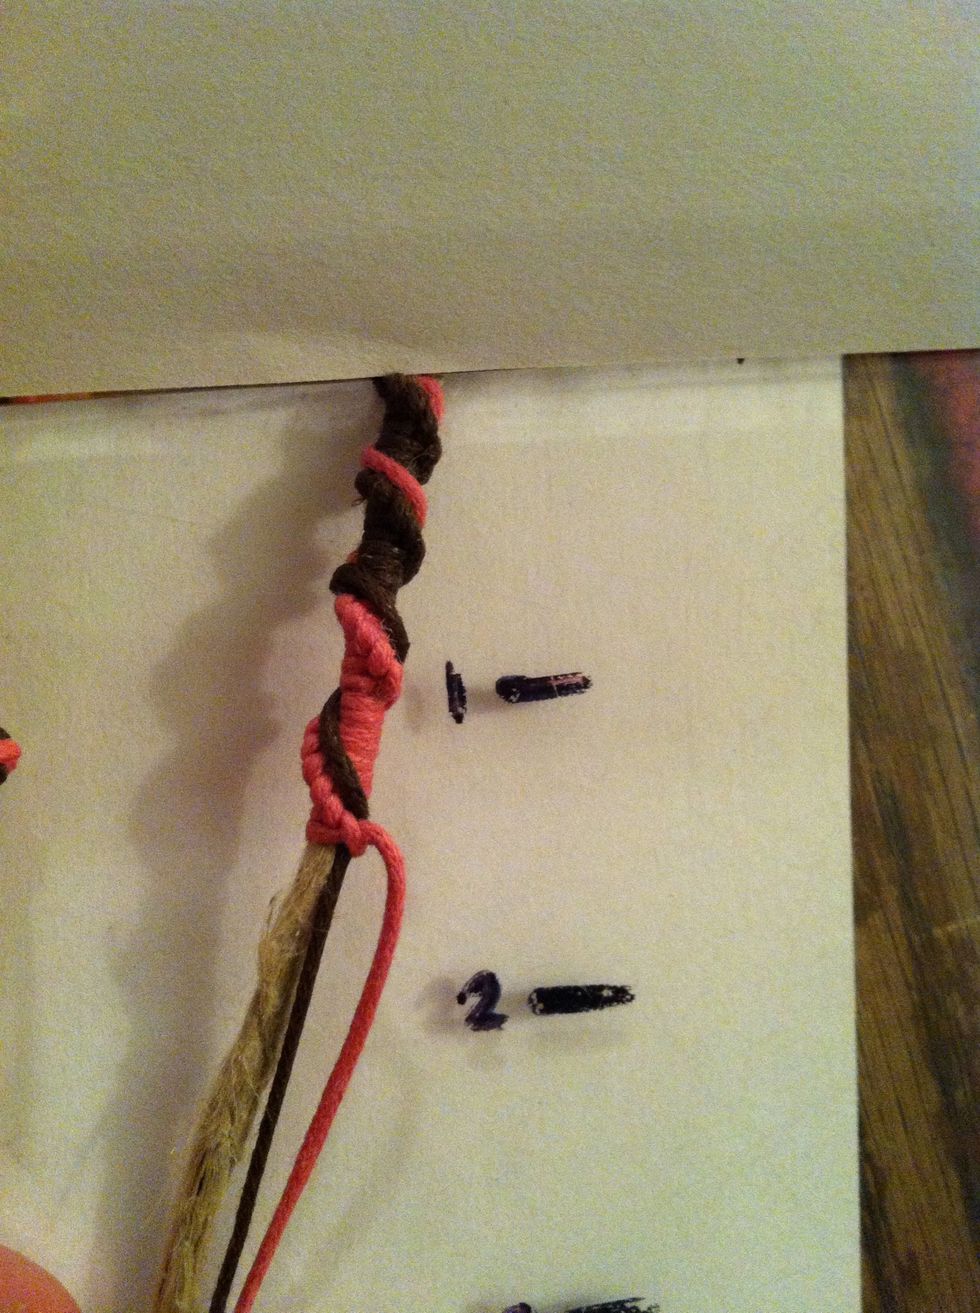
Now leave out your first color and make a staircase section with your second color cord. Wrap and secure your first color. Continent until you've reached a length of your choice.
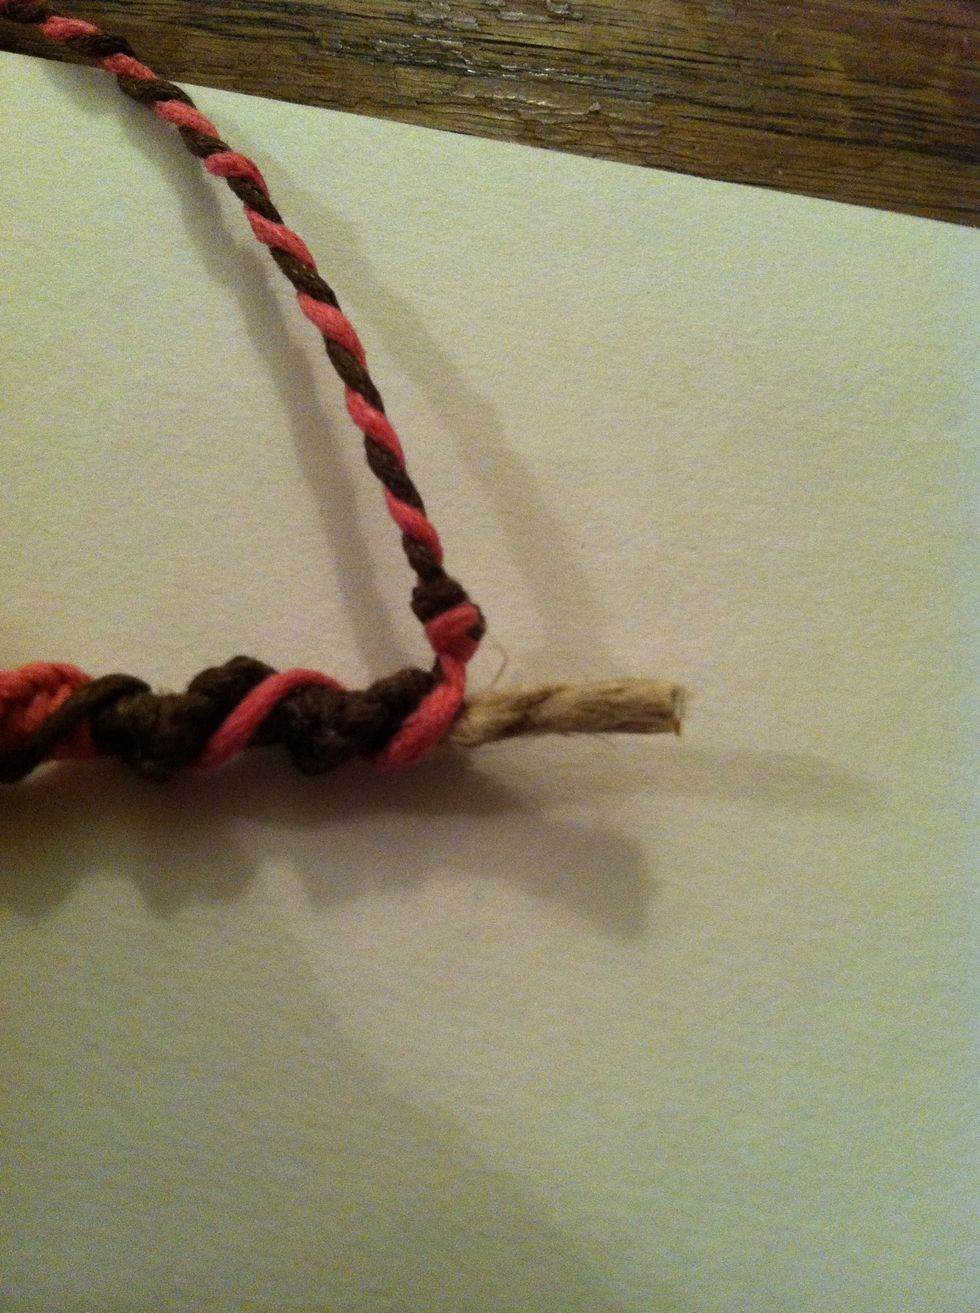
When your through make an overhand knot as close to the end as you can, repeat another twisted section measuring 3 inches.
Cut the tails off your center cord.
Optional but recommended: glue the ends with a waterproof glue to keep the center cord from shifting and the knots falling off the end. Use crazy glue or fabric glue.
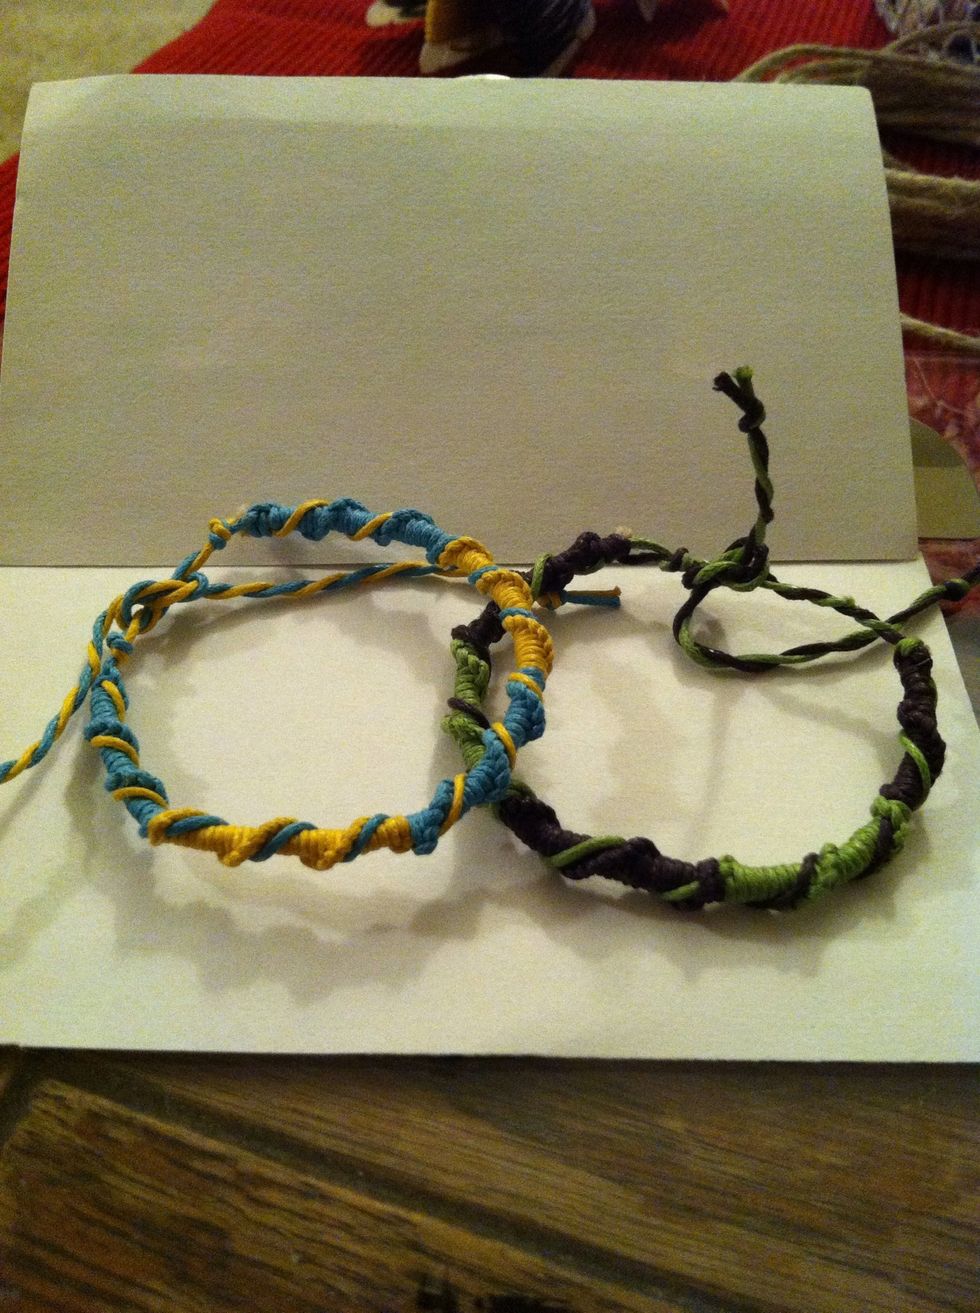
And there you have it. A new 'twist' (pun totally intended!) on a classic favorite!!
You can purchase any of my creations, custom made and available in bulk, at my Facebook page: www.facebook.com/ranebodydecor Or etsy store: http://www.etsy.com/shop/RaneBodyDecor Thank you!!